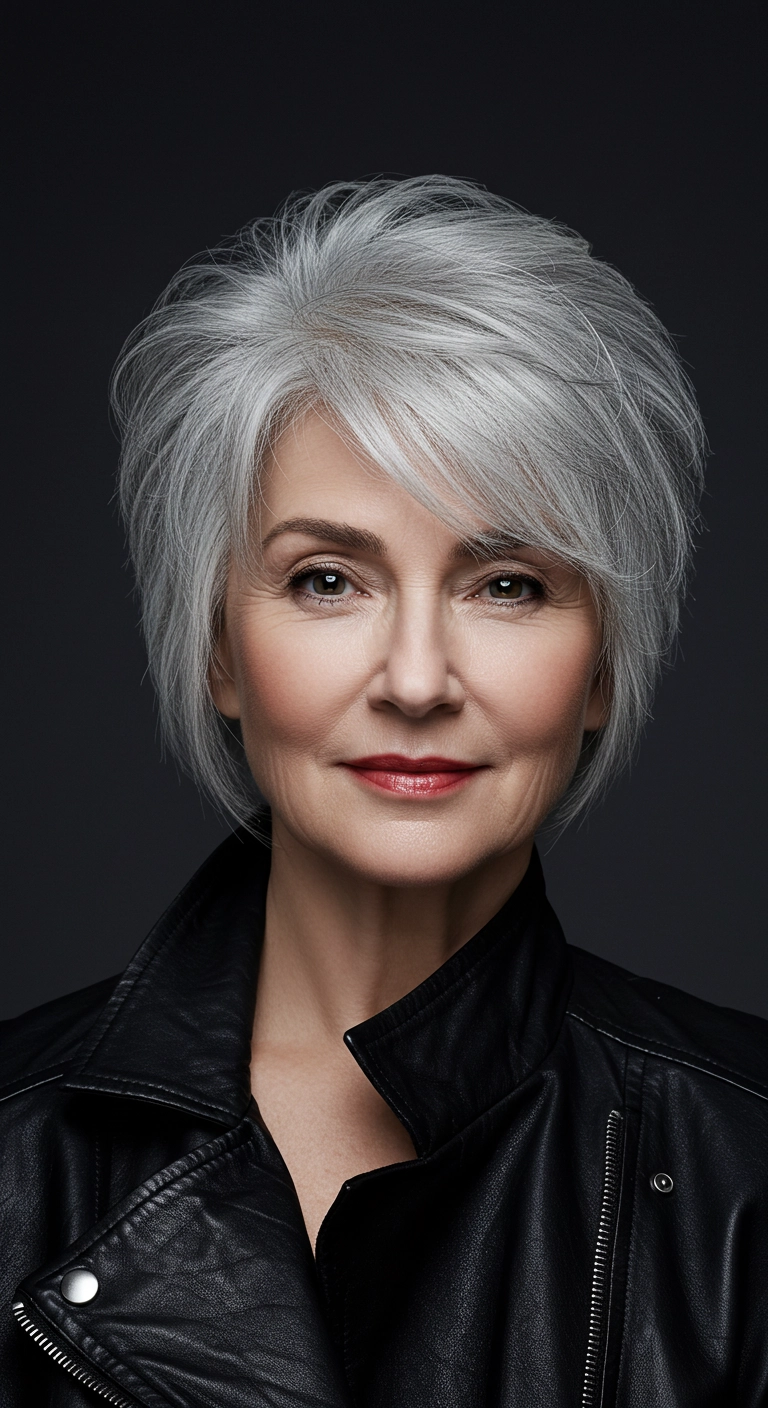
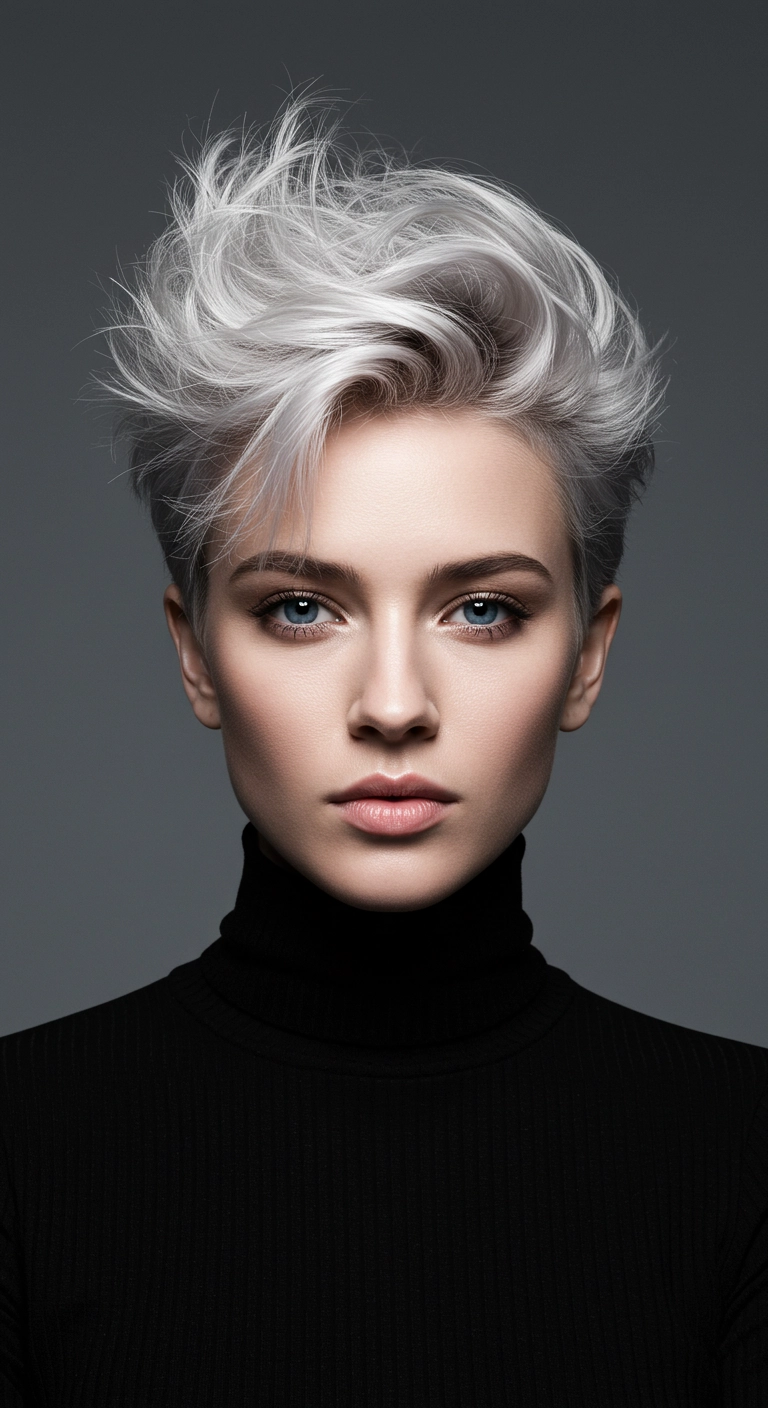
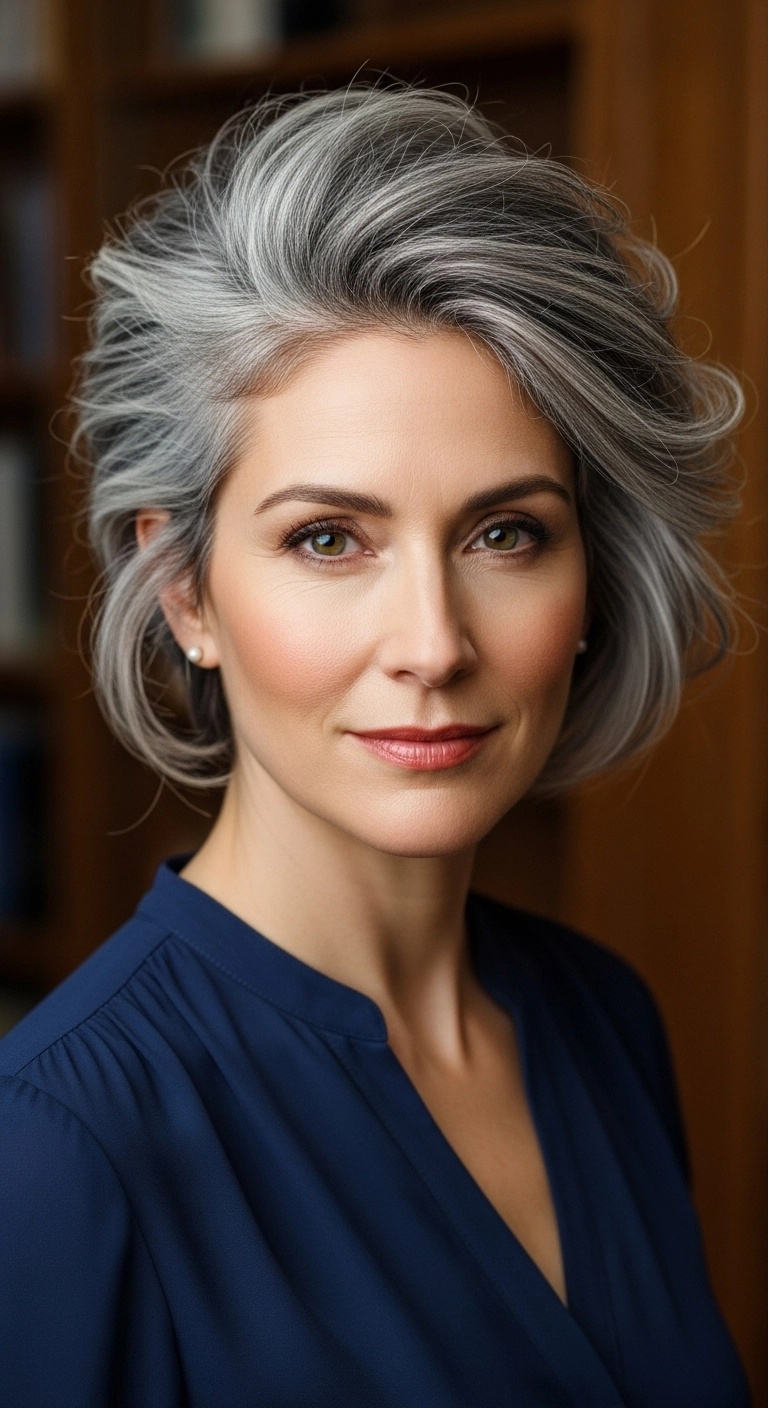
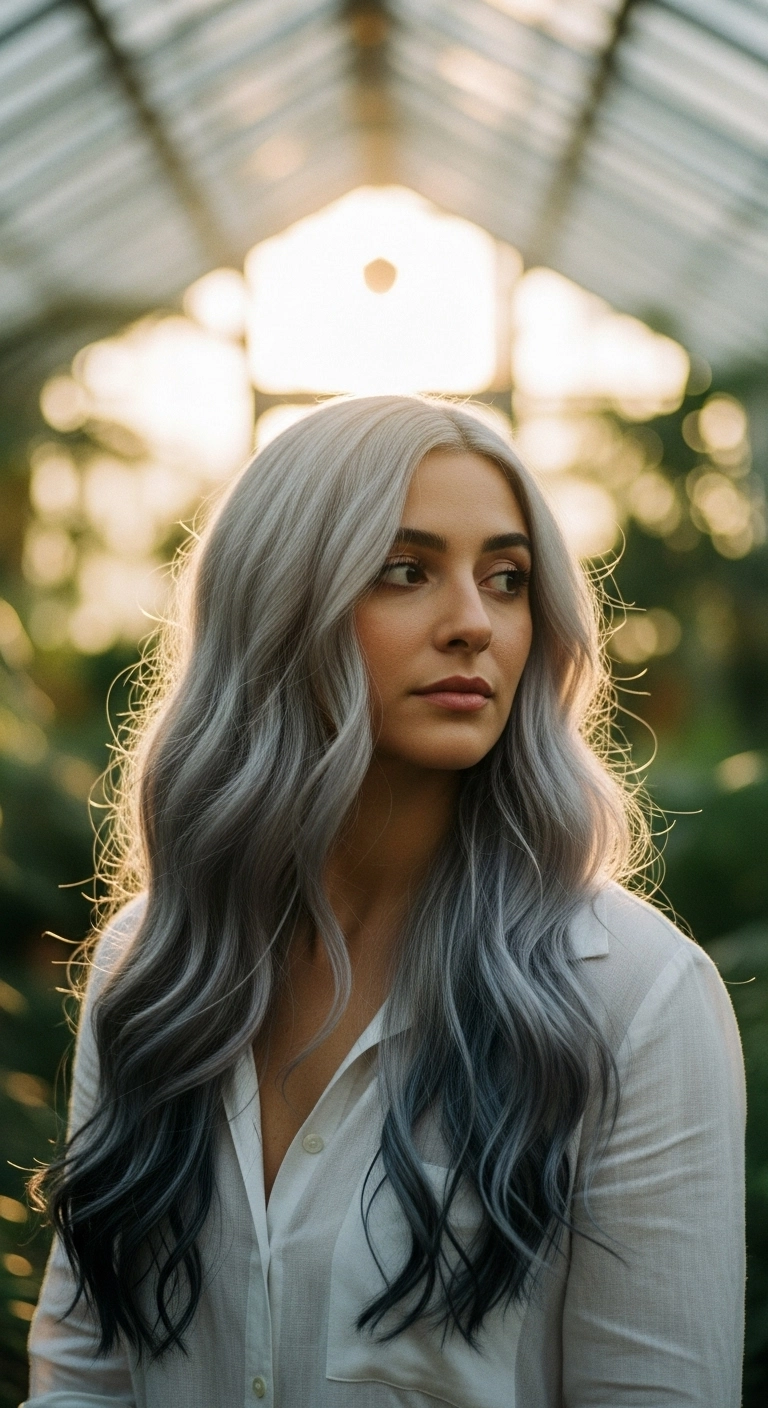
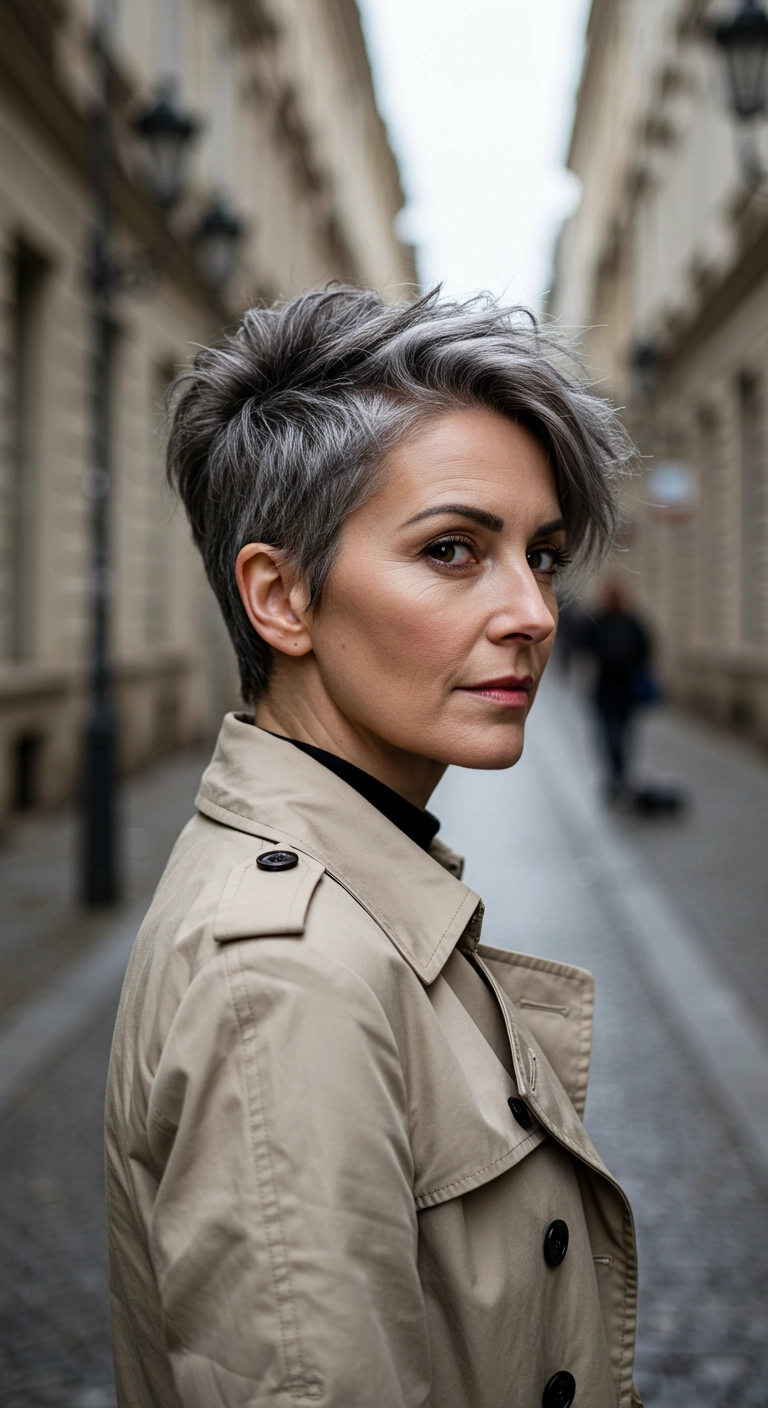
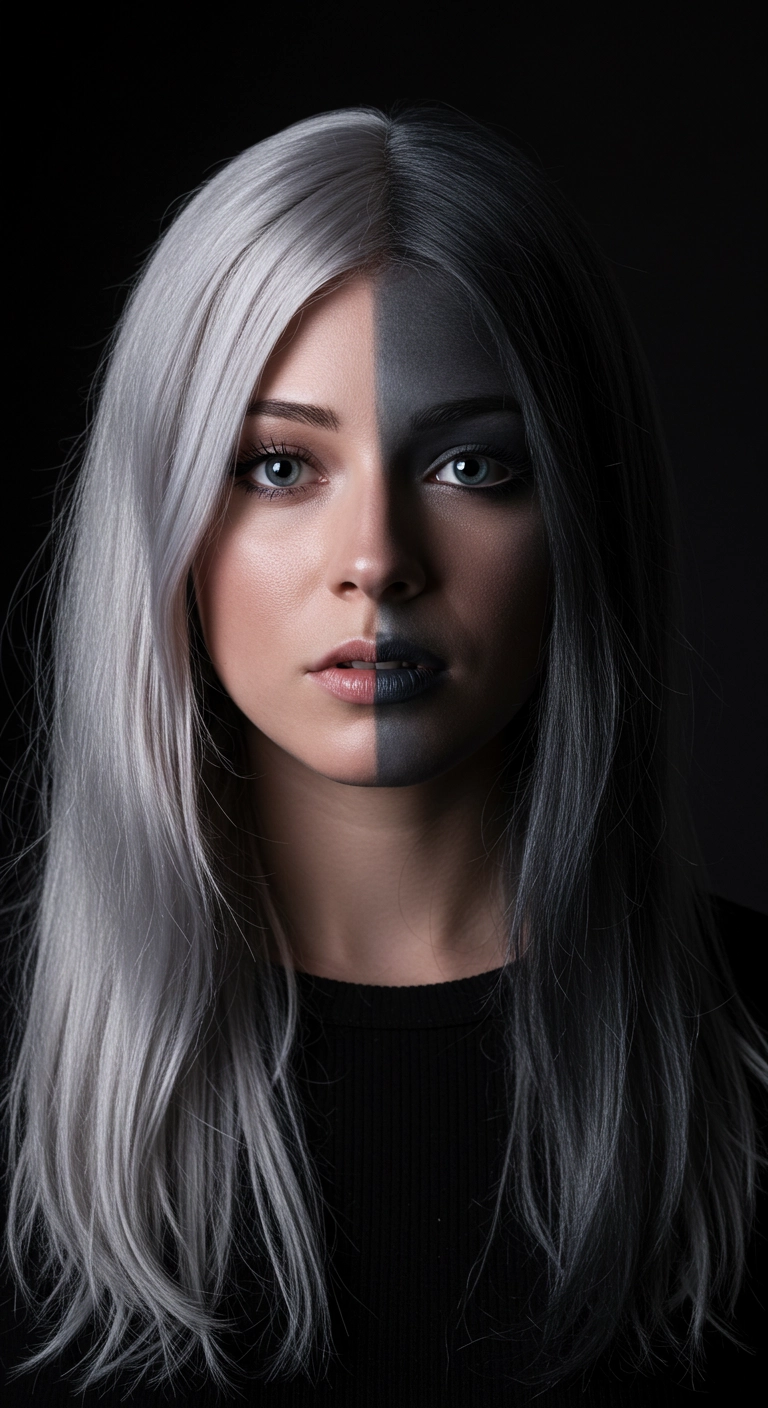
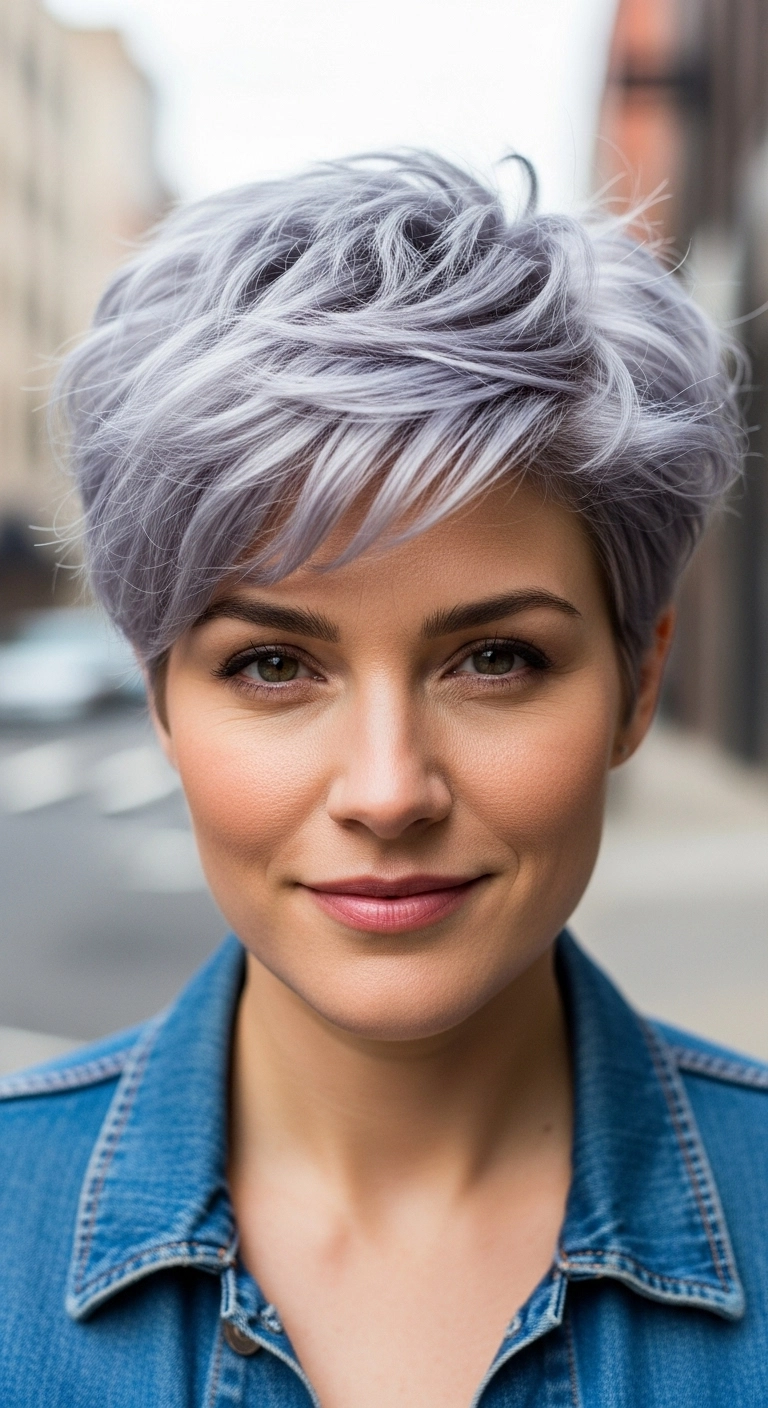
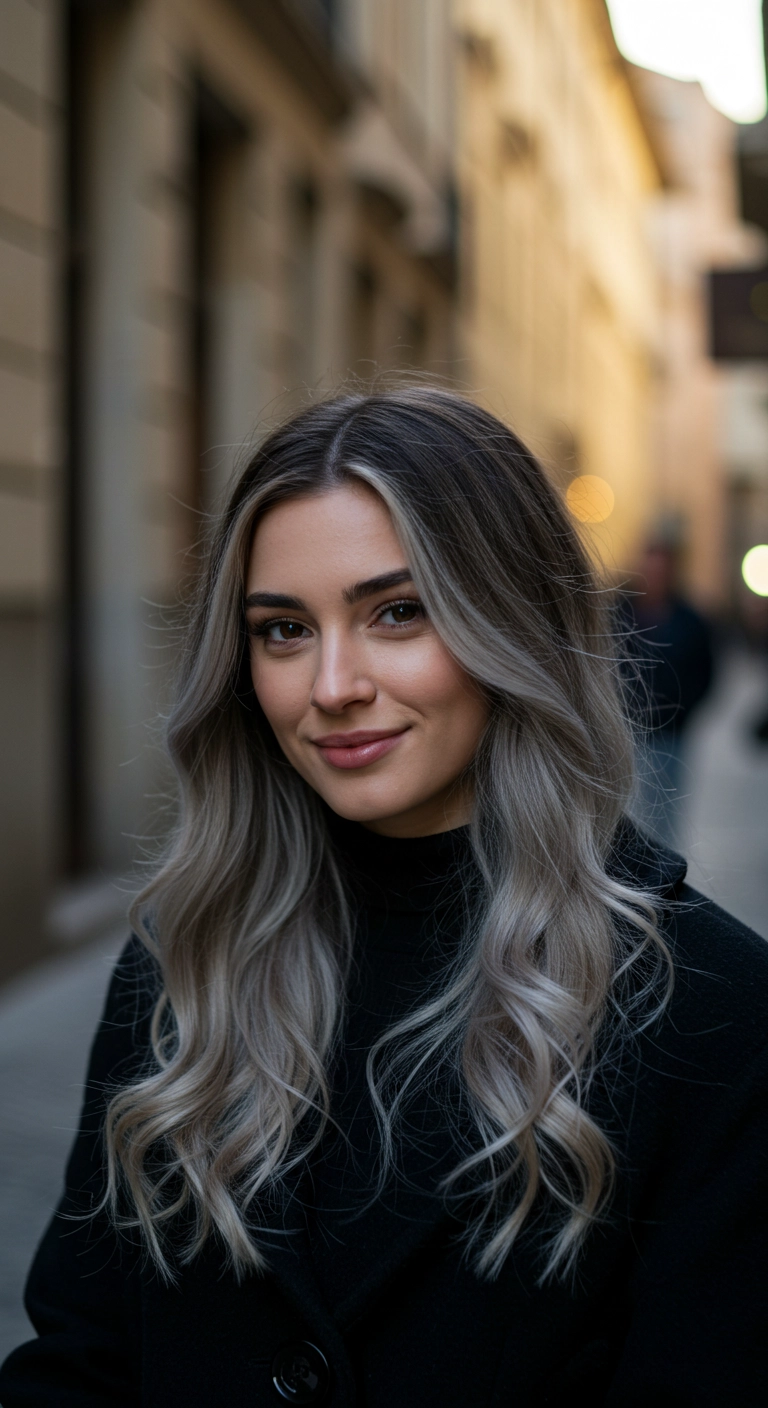
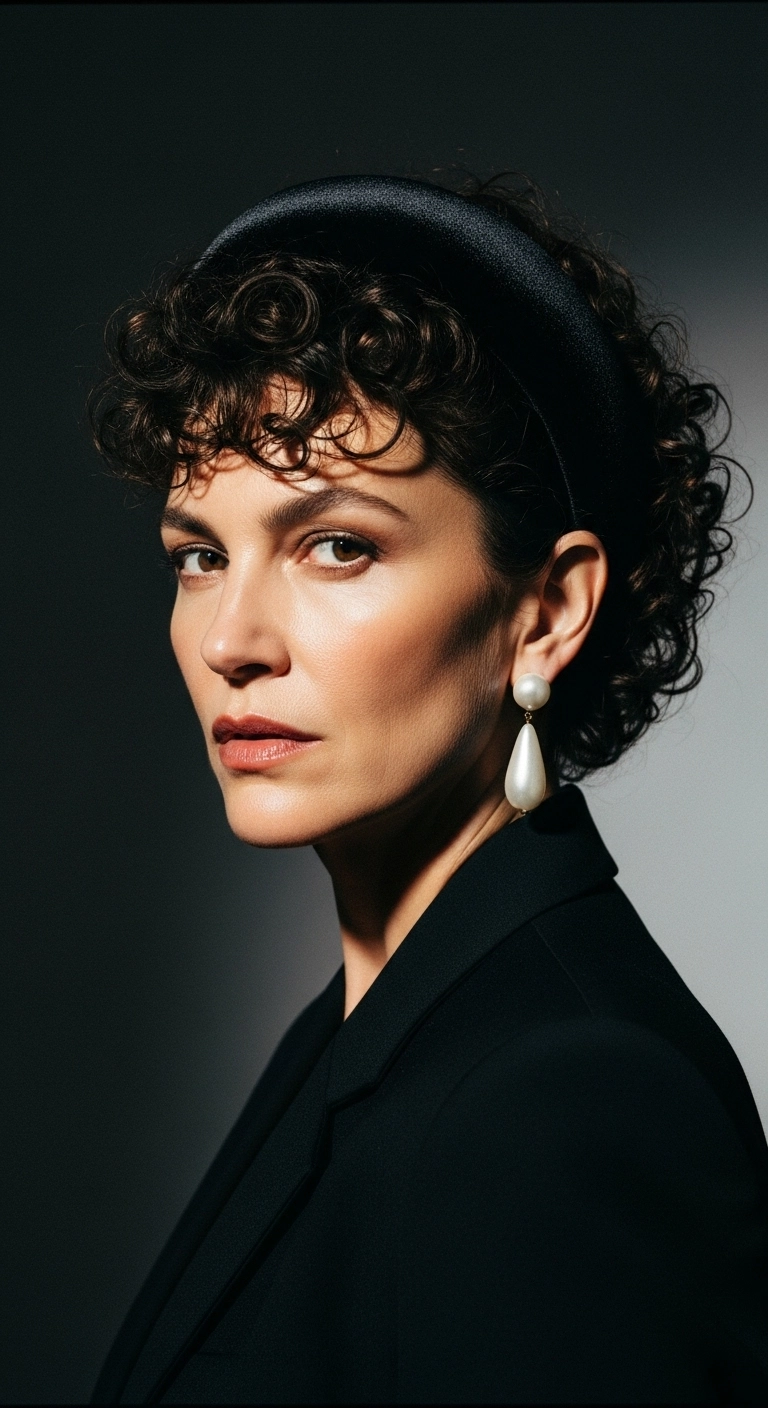
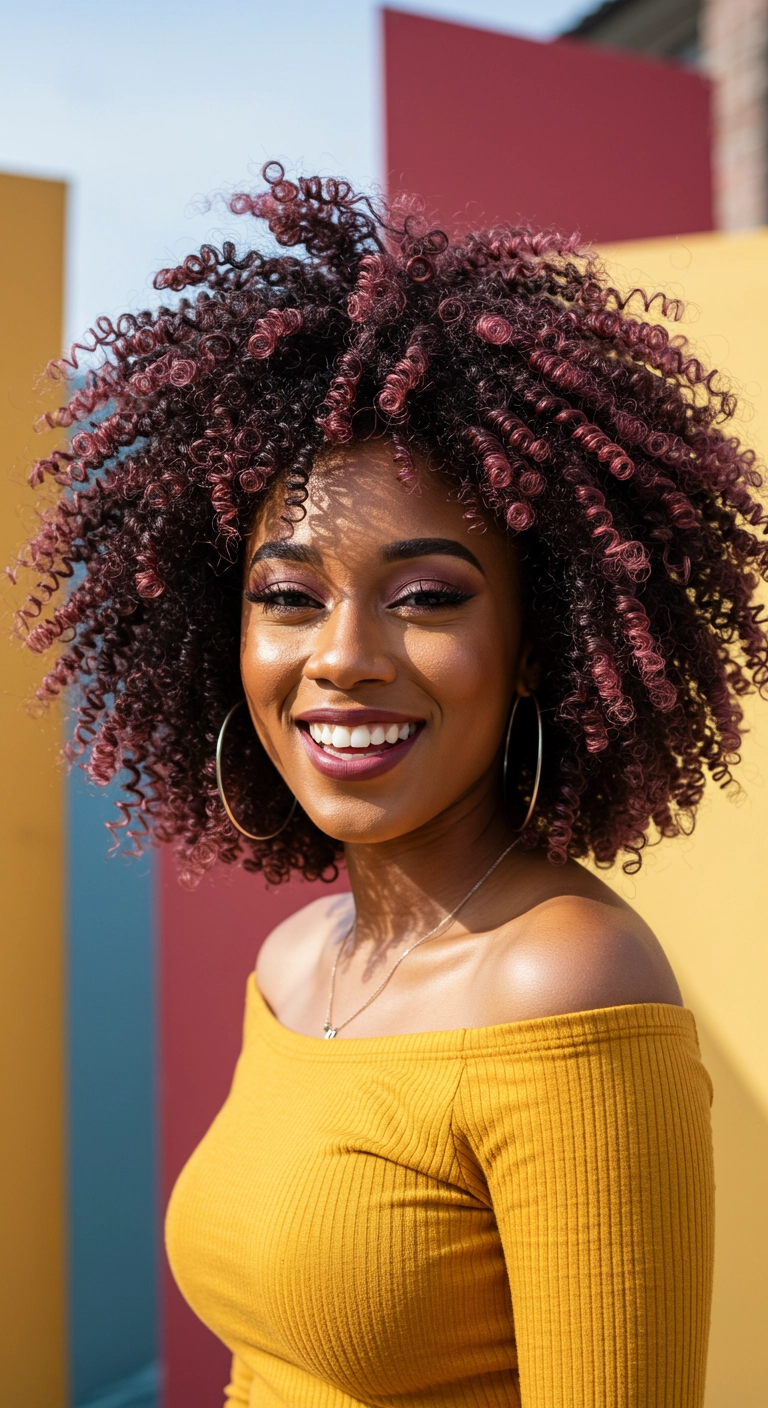
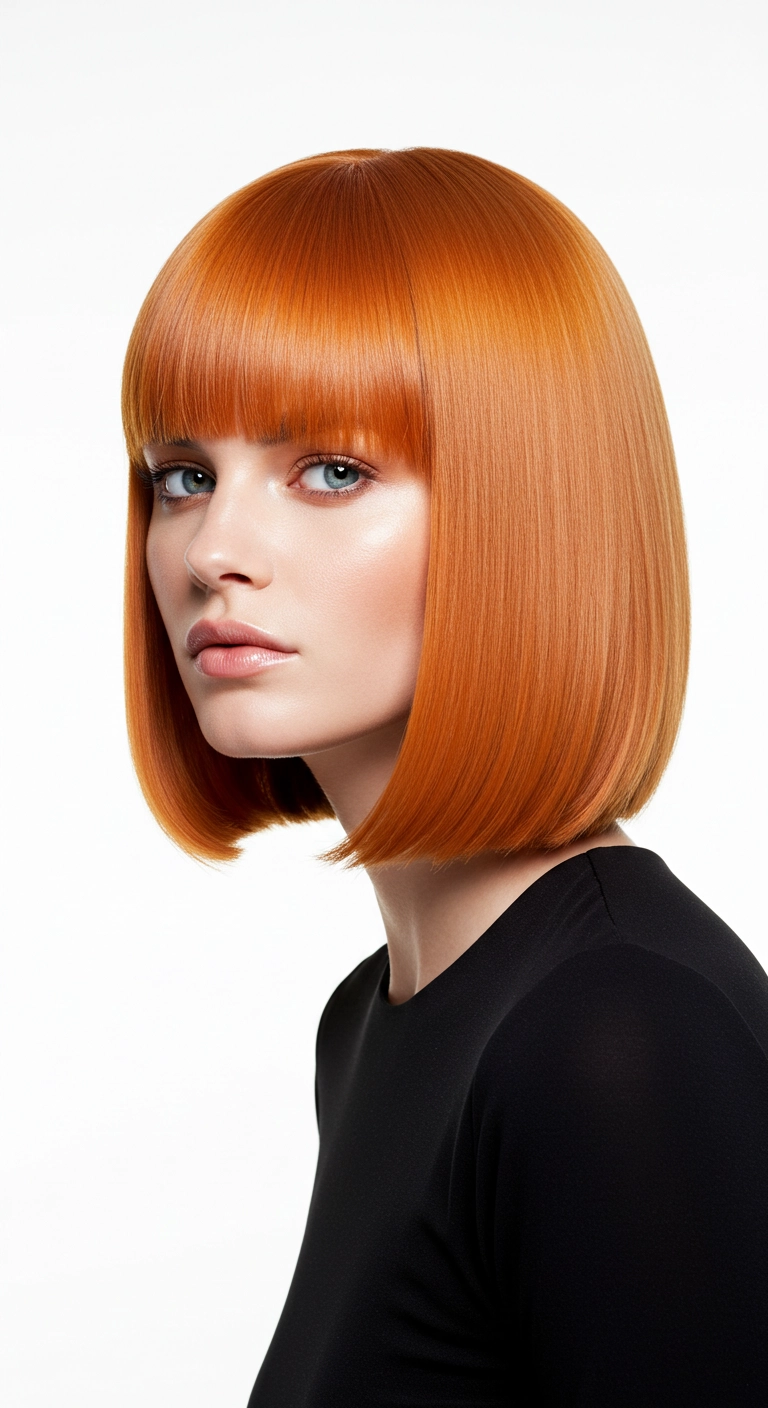
A chic, edgy silver bixie cut that brings all the volume and sophistication. I love how the feathered layers create instant lift at the crown while keeping the edges sleek around the jawline. Paired with a leather jacket, it’s giving confident rock-and-roll elegance without having to spend hours styling.
How to do this
1. Start on freshly washed, damp hair and prep with a lightweight volumizing mousse listed below, focusing on the roots to build that gorgeous crown height.
2. Mist through a heat protectant spray listed below from roots to ends before touching any hot tools to keep your silver strands super bright and healthy.
3. Using a small-to-medium ceramic round brush listed below and a blow dryer with a concentrator nozzle, lift sections upward at the crown and blow-dry against the natural fall to maximize lift.
4. Blow-dry the side-swept front bangs over to one side, curving the ends gently back and away from the face to create that soft, face-framing sweep.
5. For the side sections, direct the airflow downwards and curve the brush gently under towards the jawline for a tailored, tapered silhouette.
6. Emulsify a dime-sized amount of the lightweight styling paste listed below between your fingers, then piece out the ends and smooth down any unruly flyaways around the ears.
7. Lock in the volume and airy movement with a quick spritz of the flexible hold hairspray listed below all over.
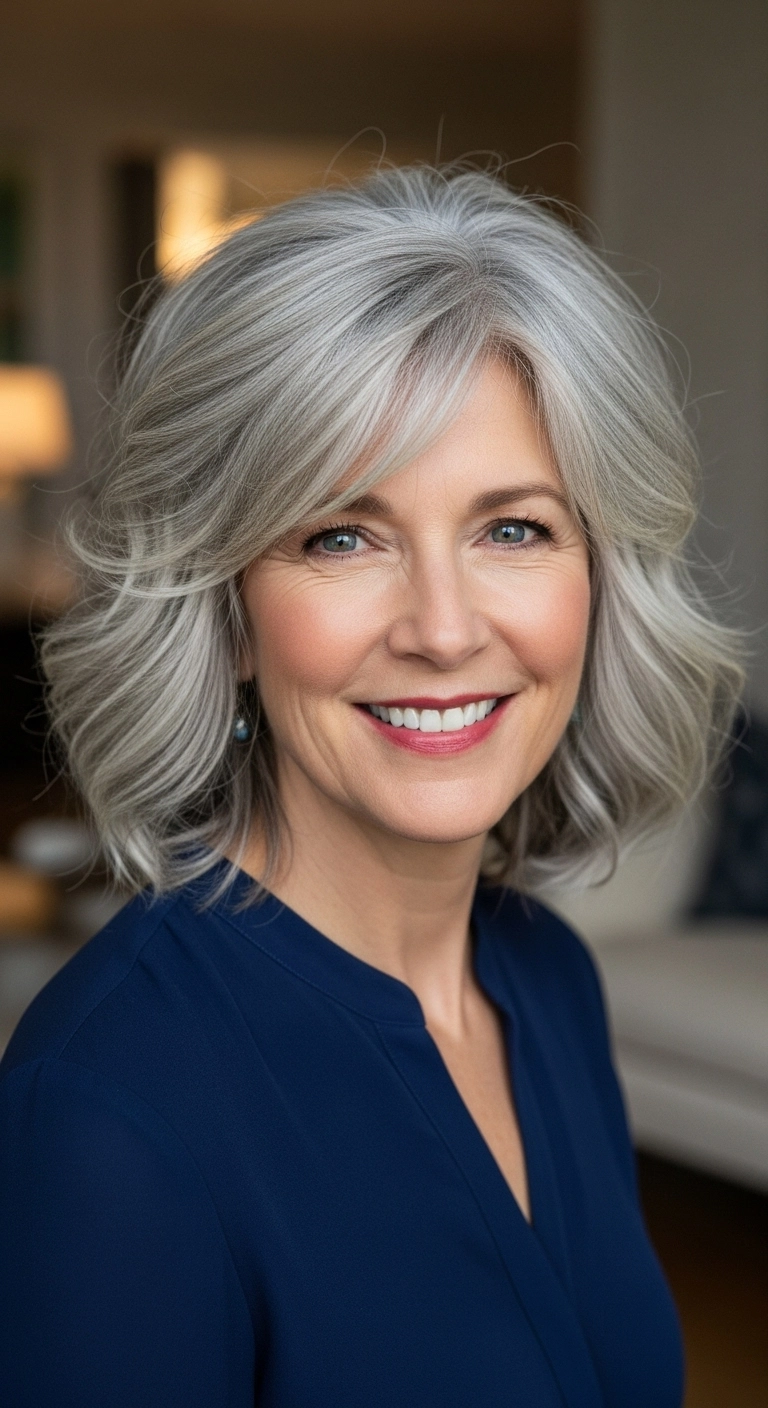
Embracing natural silver has never looked so effortless and gorgeous! A textured lob with a deep side sweep adds instant volume and youthfulness to gray hair. Just add a few loose wand waves, brush them through, and you have that easy, polished bounce that works everywhere from the office to dinner out!
How to do this
1. Start by prepping damp, freshly washed hair with the volumizing root lift spray and heat protectant spray listed below to build foundational body and shield strands from heat.
2. Create a deep side part using a tail comb, then blow-dry your hair in medium sections using a large ceramic round brush to achieve maximum root lift and a smooth, bouncy finish.
3. Once hair is completely dry, section out 1.5-inch pieces and wrap them around a large barrel curling wand listed below, curling away from your face to create soft, cascading 'S' waves.
4. Allow the curls to cool completely for several minutes so the wave shape sets firmly.
5. Gently rake through the waves using a wide-tooth detangling comb or your fingers to break them up into soft, flowing bends.
6. Finish by misting with the texturizing finishing spray and flexible hold hairspray listed below to lock in body, control flyaways, and add a luminous shine.
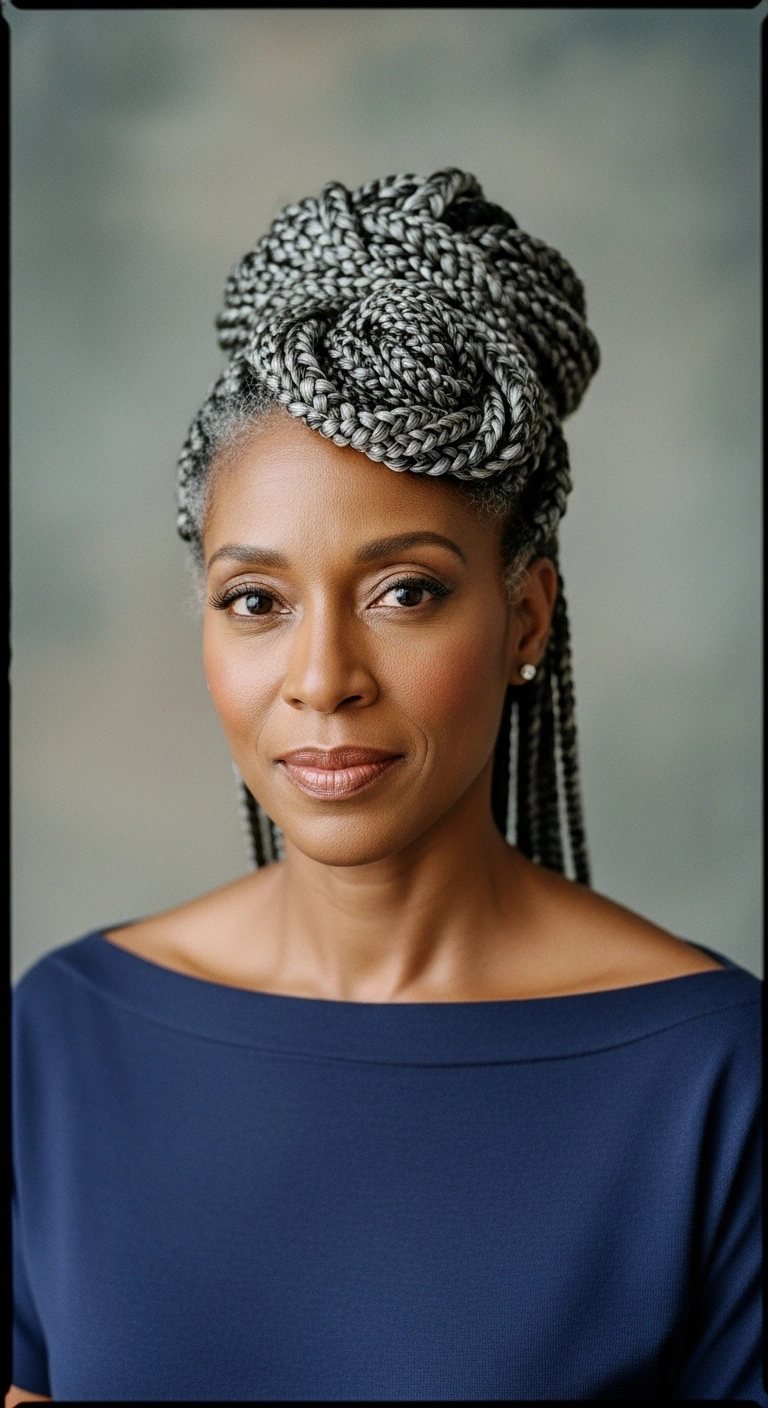
This braided look is effortlessly chic and keeps your hair completely out of your face, making it my absolute favorite for big events or busy work days—I wore a version of this to a formal dinner and received endless compliments!
How to do this
1. Start with clean, detangled, and conditioned natural hair, prepping the scalp using the scalp relief oil listed below.
2. Section hair cleanly into neat squares and install medium box braids using the pre-stretched silver and black braiding hair listed below, ensuring tension is even and comfortable.
3. Dip the finished braided ends carefully into hot water to set and smooth the braids completely.
4. Gather the top half to two-thirds of your braids into a high base at the crown, securing firmly with the strong elastic hair ties listed below.
5. Sculpt the gathered braids into an elevated, structured swirl or rosette bun over the front crown, securing sections in place with the large sturdy bobby pins listed below.
6. Allow the remaining braids to hang elegantly down your back.
7. Smooth down hairline edges and sideburns gently with a fingertip using the edge control styling gel listed below.
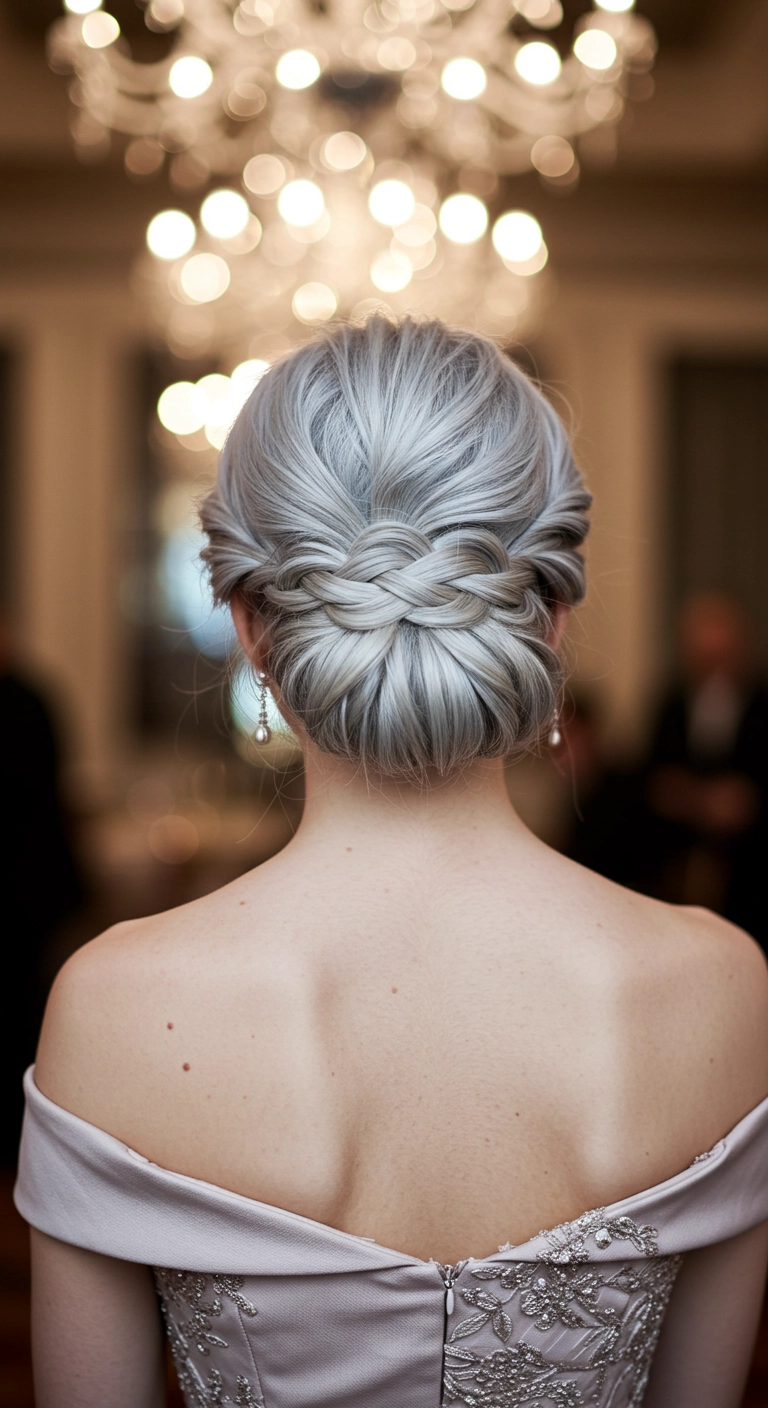
This hairstyle is what I like to call the regal braided chignon. You begin by smoothing your hair into a tucked, voluminous low roll at the base of your neck. Then, bring gentle side twists or braids across the top of the bun to create that gorgeous woven detail that holds everything seamlessly together. It's the ultimate show-stopper for weddings and formal black-tie evenings.
How to do this
1. Start by prepping clean, dry hair with a generous mist of the heat protectant spray listed below, then blow-dry smooth with a round ceramic brush.
2. Separate the front side sections near each ear and clip them away, then gather the remaining back section at the nape of your neck.
3. Form a smooth, rounded low chignon bun at the nape and securely pin it into place using the sturdy bobby pins listed below.
4. Take the left and right front side sections, gently twist and weave them into an overlapping braided band directly across the top curve of your chignon.
5. Tuck and pin the ends discreetly beneath the bun to hide all pins and hair ends.
6. Smooth down flyaways across the crown with a light touch of the smoothing shine serum listed below.
7. Mist thoroughly with the strong-hold finishing hairspray listed below to lock this formal masterpiece in place all evening.
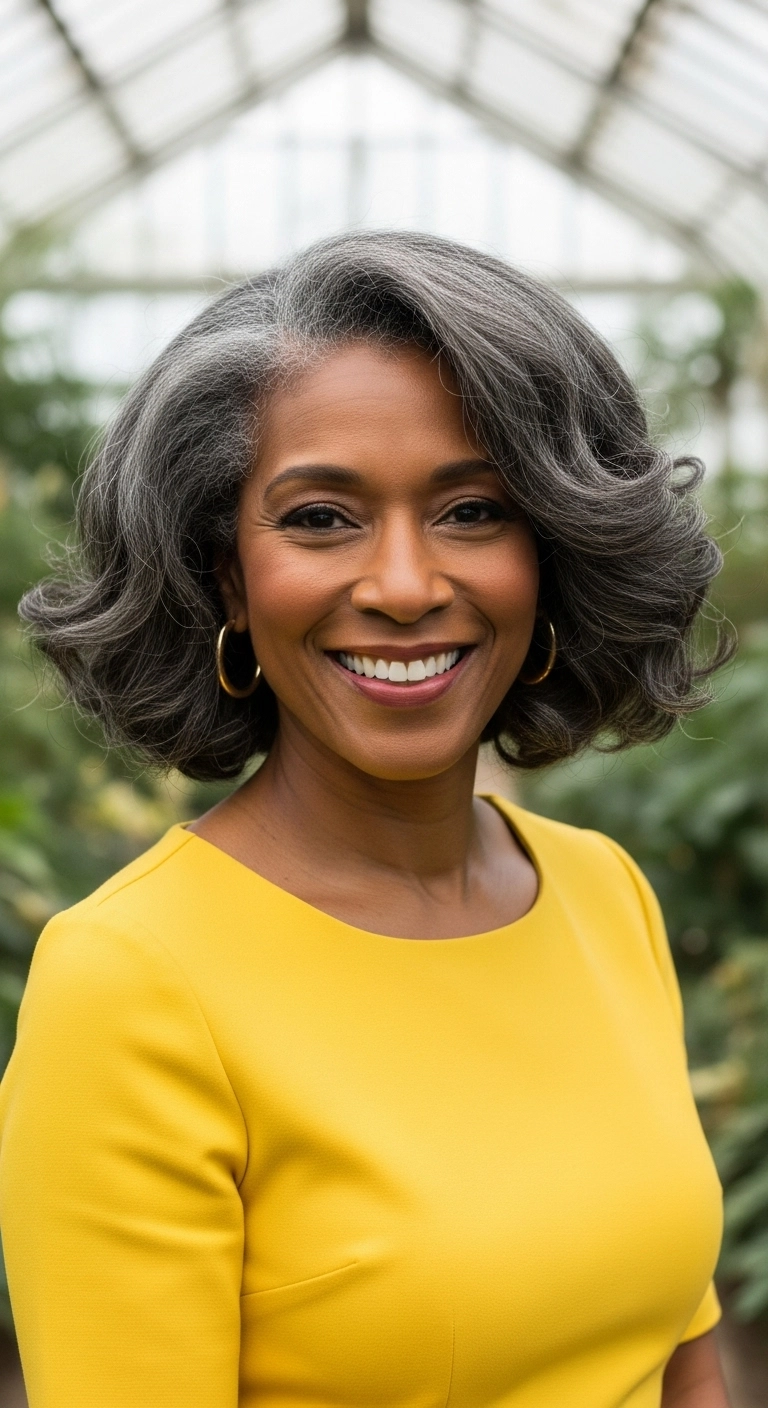
This is a gorgeous way to wear a classic bob if you want maximum body and elegance without feeling weighed down. The sculpted, brushed-out waves frame the face beautifully while highlighting natural silver and charcoal dimension. Perfect for heading into the boardroom or getting dressed up for an evening out, it’s all about smooth bounce and confident polish.
How to do this
1. Start with clean, damp hair and prep with a lightweight leave-in conditioner and the thermal heat protectant spray listed below to shield strands and add slip.
2. Apply a dollop of the volumizing mousse listed below evenly through mid-lengths and roots to ensure lasting bounce and lift.
3. Blow dry using a round ceramic styling brush listed below, lifting upward at the roots to maximize volume and rolling the ends under and away from the face.
4. For extra defined, retro-inspired curls, take medium sections with the ceramic curling iron listed below, curling horizontally and pinning them in place with curl clips while they cool.
5. Once cooled, release the curls and gently brush through using the wide paddle brush listed below to marry the waves into cohesive, sculpted curves.
6. Smooth over any flyaways and boost radiance by applying a few drops of the nourishing hair shine oil listed below to the ends, finishing with a light mist of flexible hold hairspray.
This hairstyle is wonderfully bouncy and flattering, making it the perfect everyday blowout if you want lots of natural volume and soft framing – I styled this for a casual lunch date and received so many compliments on the shine!
How to do this
1. Start with freshly washed, damp hair and apply a generous pump of the volumizing styling mousse listed below evenly from roots to ends.
2. Mist hair with the thermal heat protectant spray listed below to shield strands and add a silky slip before heat styling.
3. Using a blow dryer and the ceramic round brush listed below, lift hair upwards at the roots around the crown and side part to create instant body and bounce.
4. Blow dry the mid-lengths and ends with outward and soft inward rolling motions, sweeping the front fringe softly across the forehead and away from the eyes.
5. For extra movement on the outer edges, take the 1.25-inch curling iron listed below and loosely flick the ends outward and back away from the face for just 5 to 7 seconds per section.
6. Lightly mist with the flexible hold hairspray listed below to lock in the bouncy shape without leaving the hair feeling stiff or crunchy.
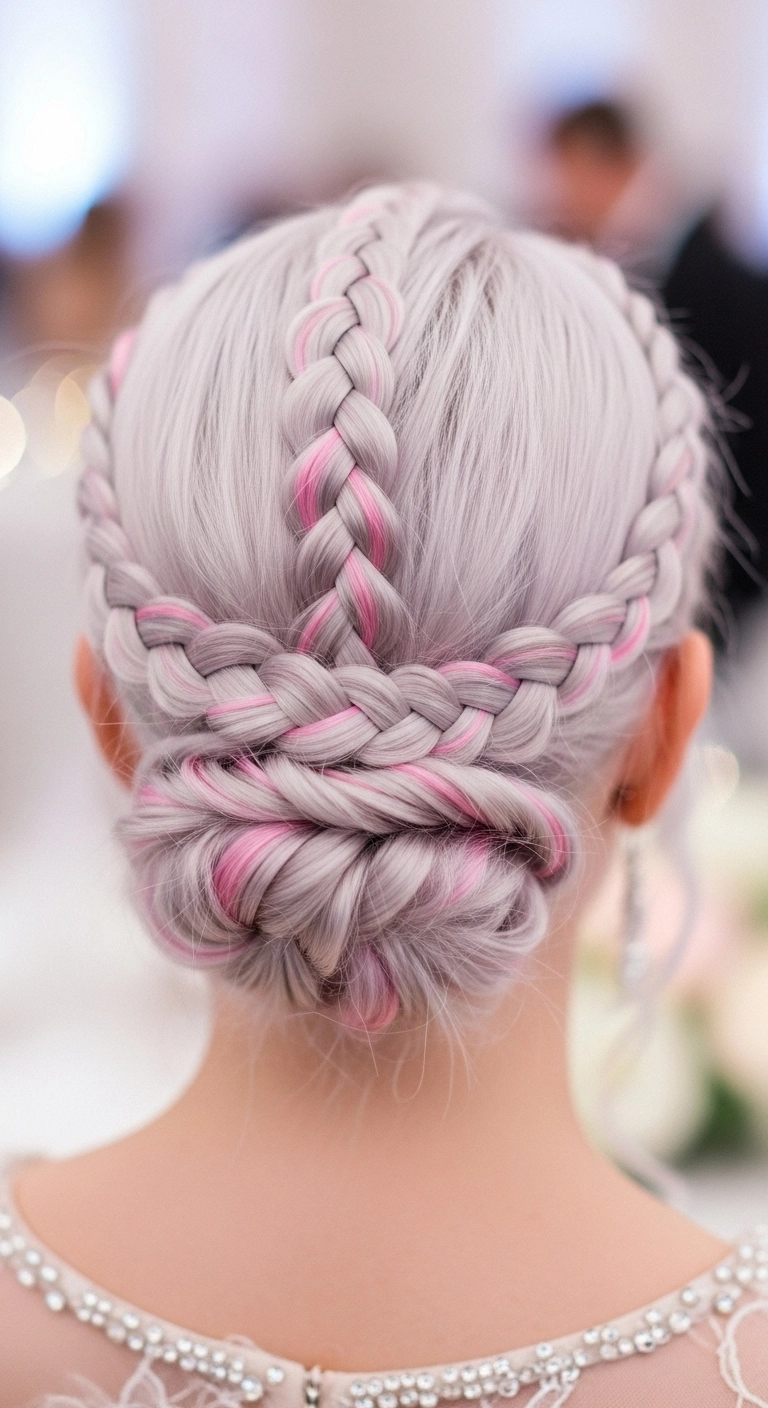
OK, can we take a second to appreciate how magical this braided updo is? The pop of candy pink ribbons woven into that icy silver base gives total fairytale royalty vibes. It's sophisticated enough for a formal black-tie event or wedding, but has just enough playful color to keep it modern and fresh!
How to do this
1. Start with smooth, detangled hair by prepping with the smoothing hair primer listed below and brushing through thoroughly.
2. Section out the crown into a central vertical section and create two side sections along the hairline.
3. Begin a clean Dutch or French braid down the center of the crown, keeping tension consistent to let the subtle pink strands pop cleanly.
4. Braid the left and right hairline sections backward toward the nape so they frame the head.
5. Gather the ends of all three braids at the nape of the neck and twist them horizontally to form a low, dimensional chignon roll, pinning securely using the sturdy curved bobby pins listed below.
6. Gently tug on the outer loops of the braids to add fullness and texture without loosening the structural base.
7. Lock the intricate style in place with a mist of the strong hold bridal finishing hairspray listed below.
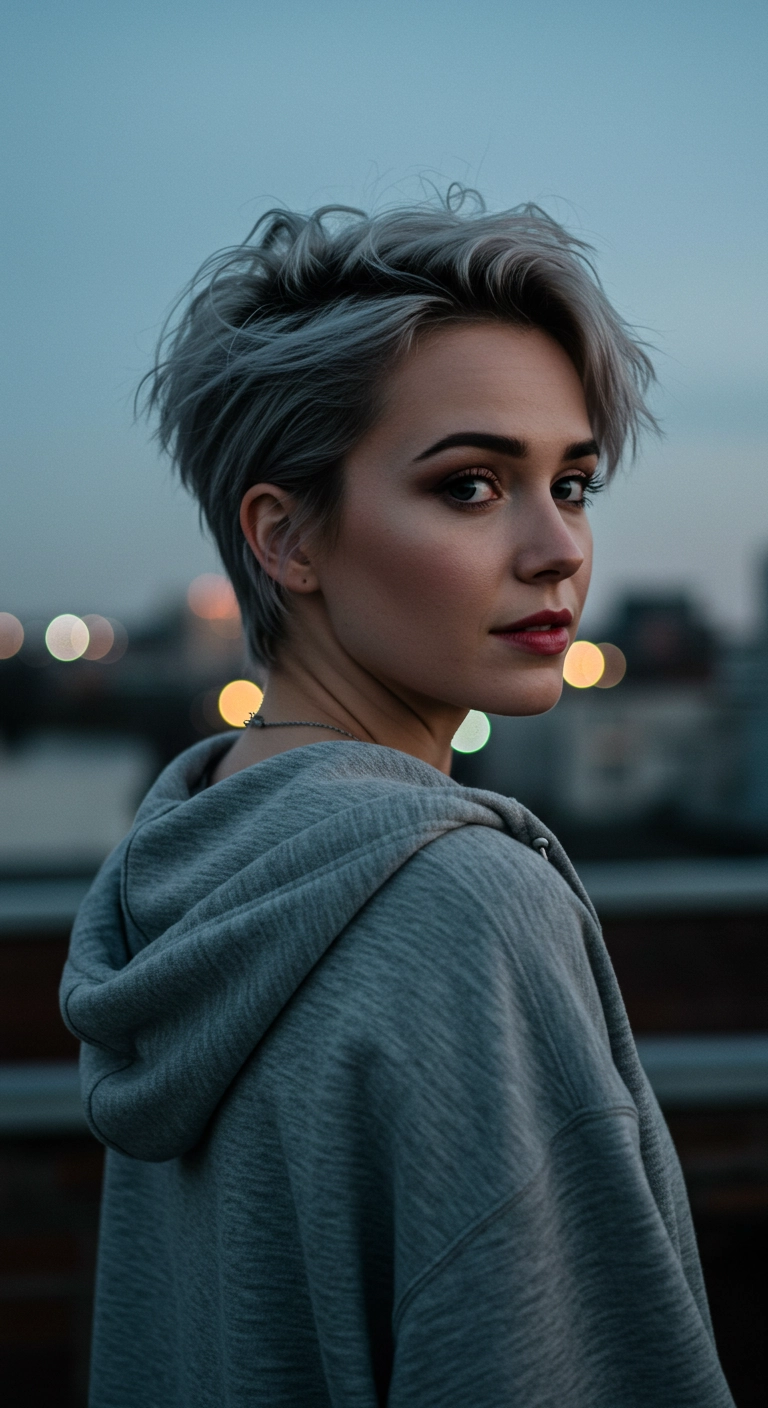
Are you thinking about embracing your natural silver or going for a bold, modern short cut? I included this sophisticated textured pixie because it strikes the ultimate balance between sharp tailoring and effortless energy! The lifted front gives so much natural lift to the face and really accentuates your cheekbones. It's surprisingly versatile too—you can wear it swept-up and edgy like this for work and events, or sleek it down soft on relaxed days. It's the perfect statement of confidence and elegance!
How to do this
1. Start with clean, damp hair and apply a dollop of the lightweight volumizing styling mousse listed below evenly through your roots and mid-lengths.
2. Using a small round boar-bristle brush and your blow dryer with a nozzle attachment, lift the crown and front sections upwards and back to create root elevation.
3. Keep the sides smooth and directed backwards towards the nape while directing airflow downward to flatten side bulk.
4. Once completely dry, work a nickel-sized amount of the matte styling paste listed below between your palms until translucent.
5. Use your fingertips to pinch and rake the top section upward and slightly to the side to create defined, piecy texture with lasting separation.
6. Finish the style with a light misting of the flexible hold hairspray listed below to lock in the volume all day without any crunch.
Products Used
Lightweight Volumizing Styling Mousse
lightweight volumizing styling mousse for short hair
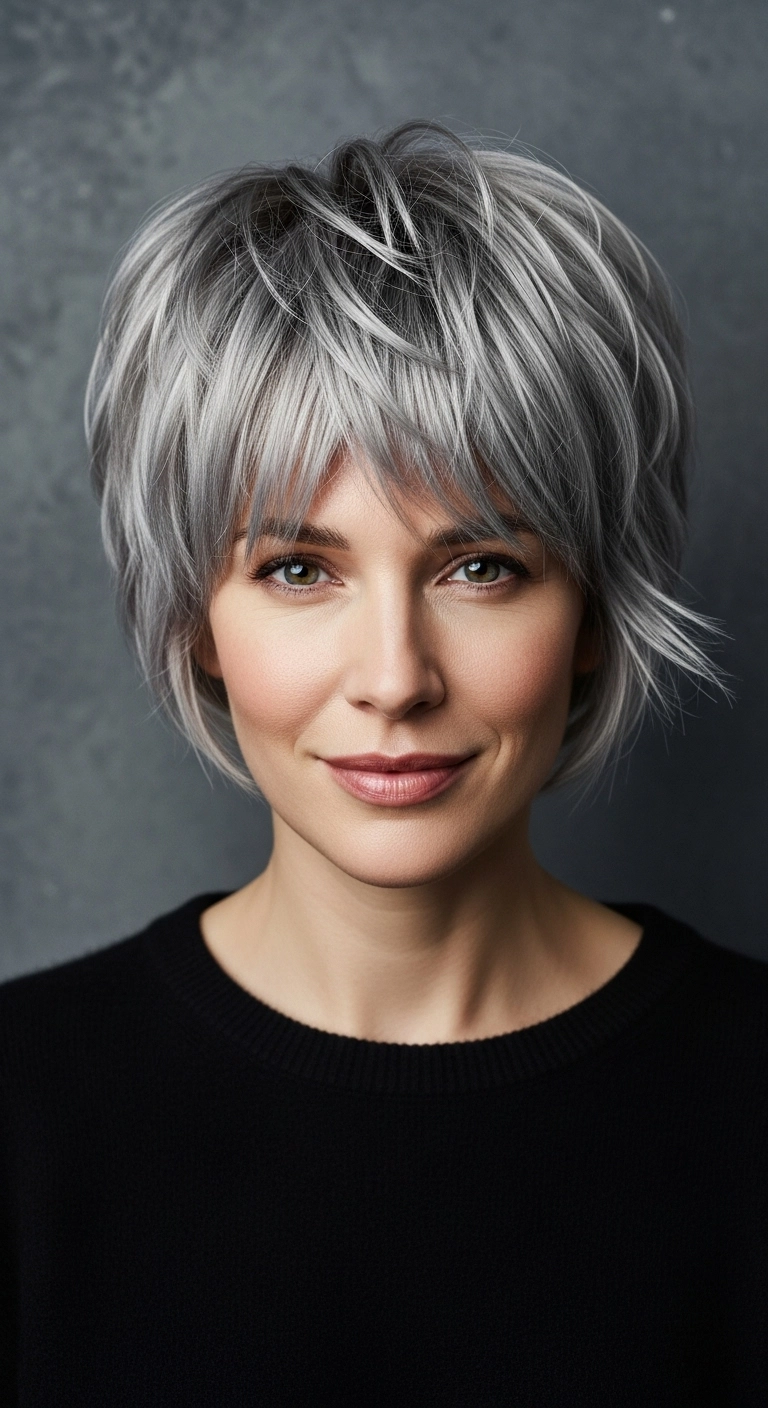
If you've been wanting to go short without losing all your styling fun, this edgy bixie is absolute perfection! The soft, dimensional silver tones mixed with that darker shadow root give it so much natural depth. I love how the wispy fringe frames the face while the piecey layers on top add effortless volume you can style in five minutes flat!
How to do this
1. Start by prepping damp, towel-dried hair with a lightweight volumizing mousse to give the roots plenty of lift and grip.
2. Blow dry using a small ceramic round brush or a paddle brush, lifting hair up at the crown and directing the bangs forward and softly to the side.
3. Once dry, mist with a heat protectant spray and use a mini flat iron just on select outer pieces to create slight flicks and soft, razor-like separation.
4. Warm a pea-sized amount of matte styling paste between your fingertips and gently pinch the ends of your bangs and crown layers to define the textured pieces.
5. Finish off with a spritz of dry texturizing spray all over, gently shaking your fingers through the roots for that perfect, effortless piecey finish.
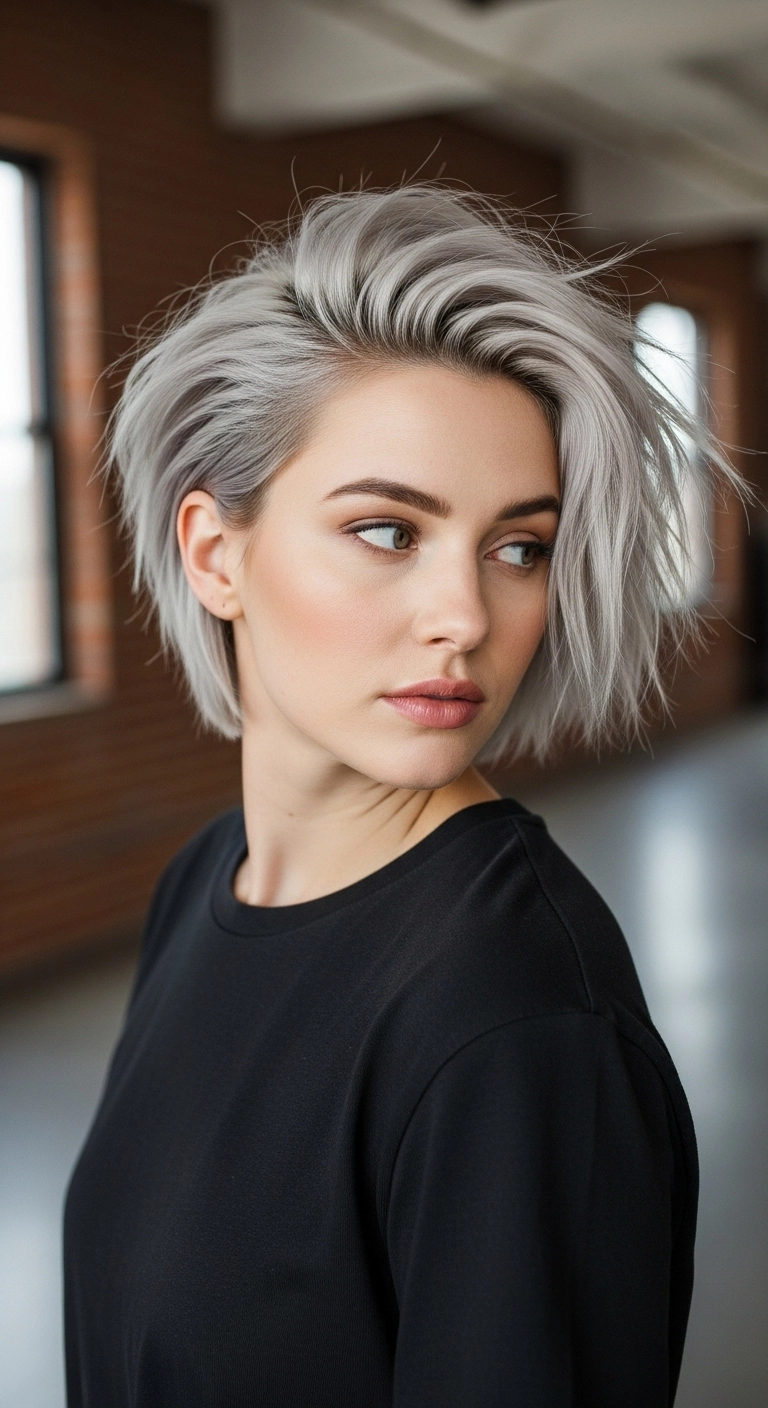
I love how a deep side part completely transforms a short textured cut into something bold and effortless. The icy silver tone gives it an instant cool-girl edge, while the soft shadow at the roots makes styling so much more forgiving as it grows out. You can keep it sleek and tucked behind the ear on one side, or load up on texturizing spray to get this full, tousled volume!
How to do this
1. Start by prepping damp, freshly washed hair with a lightweight volumizing mousse and the thermal heat protectant spray listed below to build foundation and protect the silver pigment.
2. Blow dry using a round ceramic brush, over-directing the roots completely away from your natural part to generate massive volume at the crown and hairline.
3. Once bone dry, use a flat iron or small styling wand to create subtle, inconsistent bends through the top layers, flicking random ends out for an edgy, lived-in feel.
4. Emulsify a dime-sized amount of the matte styling paste listed below between your palms and work it through the roots and mid-lengths to separate pieces and break up uniform sections.
5. Flip your hair over to one side for that dramatic deep side sweep, and spray generously with the dry texturizing spray listed below underneath the crown for all-day grip and grit.
6. Finish the look by misting a flexible hold hairspray lightly across the style to keep the lift locked in without making the hair feel stiff.
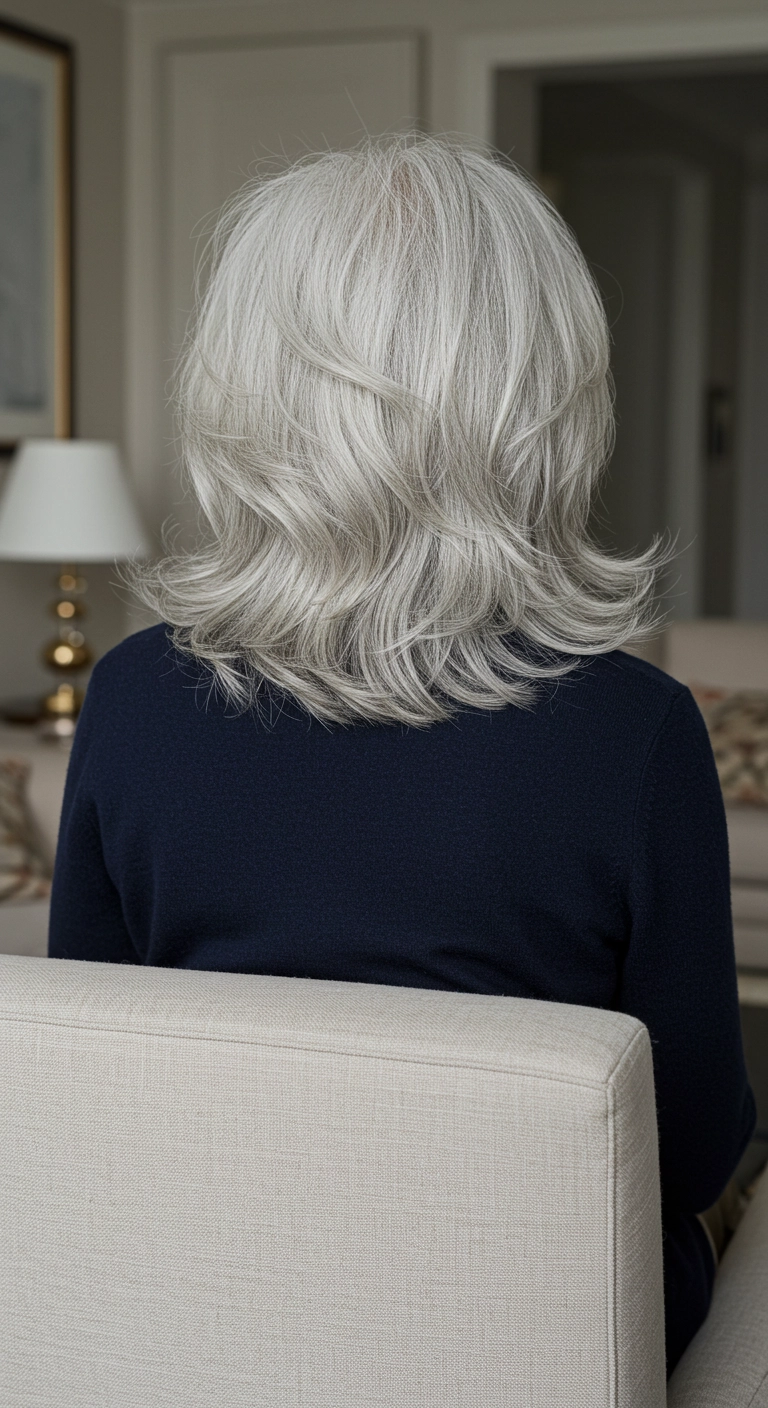
A gorgeous, voluminous feathered blowout like this is proof that embracing natural silver can look ultra chic and vibrant! The layered cut gives so much body and soft movement around the shoulders. I love how the ends flip outward effortlessly, keeping the shape light, airy, and full of bounce.
How to do this
1. Start by prepping towel-dried hair with a lightweight volumizing mousse from roots to ends using the volumizing root lift spray listed below.
2. Section the hair into manageable horizontal layers starting at the nape of the neck.
3. Using a medium-to-large ceramic round brush listed below and a blow dryer fitted with a concentrator nozzle, dry sections lifting upward at the root for maximum body.
4. As you reach the ends of each section, rotate the brush outwards and upward to create that signature feathered flick and flip.
5. For the crown layers, over-direct the hair upward and roll it backwards toward the nape to lock in soft, dimensional cascading movement.
6. Allow the sections to cool slightly before releasing, then mist a light veil of the flexible hold finishing hairspray listed below to keep the flicked shape bouncy all day.
7. Finish by gently smoothing with a drop of the shine-enhancing hair serum listed below through the ends to combat silver hair dryness and flyaways.
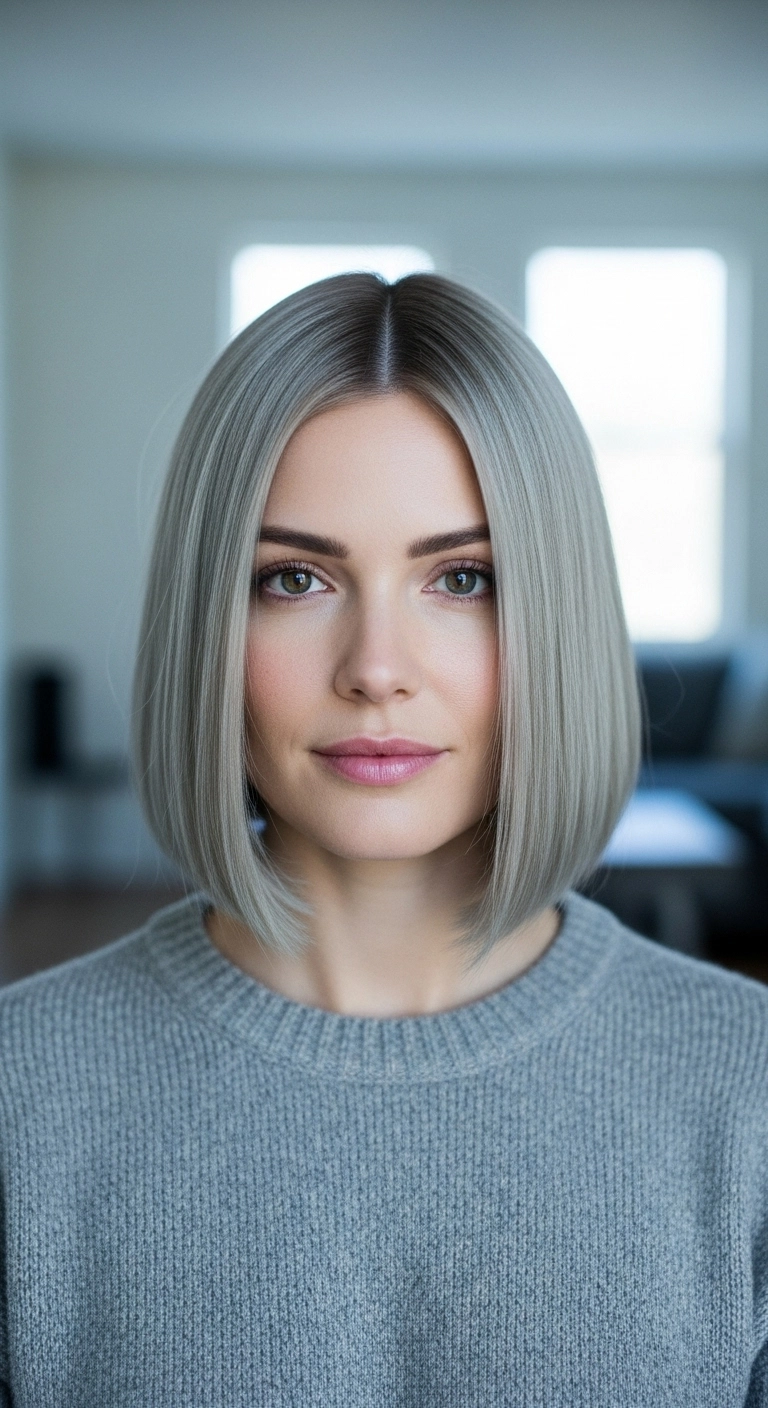
A crisp, blunt bob paired with cool icy silver tones is the ultimate chic statement. The soft shadow root keeps the color dimensional and lived-in while saving you from harsh regrowth lines. If you want those ends to curve under naturally like this, bevel your round brush just slightly inward as you reach the bottom of each section—it hugs your jawline beautifully and gives instant polish.
How to do this
1. Start by prepping damp, freshly washed hair with a lightweight thermal protection serum using the heat protectant serum listed below to guard against high heat styling.
2. Establish a precise, crisp middle part down the center of the scalp with a fine-tooth tail comb.
3. Section the hair into manageable horizontal layers, starting from the nape and working upwards.
4. Blow dry each section using a medium-sized ceramic round brush and the ionic hair dryer listed below, rolling the ends gently inward toward the neck to create that signature soft curve.
5. For an ultra-sleek, glassy finish, glide over 1-inch sections with the ceramic flat iron listed below on medium heat, beveling slightly at the bottom edge.
6. Smooth away any remaining flyaways and boost shine by applying a tiny drop of the shine hair oil listed below between your palms and lightly skimming over the surface.
7. Set the look and preserve that sleek shape with a mist of the flexible hold hairspray listed below.
The feathered silver lob. Truly timeless! I love how effortlessly chic this look is with all the volume and those soft sweeps around the face. It’s perfect for embracing your natural grey while keeping things super fresh and polished.
How to do this
1. Start by washing hair with the purple toning shampoo listed below to keep your natural silver bright and free from any brassy tones.
2. On towel-dried hair, apply a generous pump of the volumizing styling mousse listed below evenly from roots to ends for lift and body.
3. Spritz the heat protectant spray listed below throughout mid-lengths and ends before grabbing your blow dryer.
4. Using the ceramic round hair brush listed below, blow dry your hair section by section, lifting directly at the roots for high-volume crown fullness.
5. When working on the side pieces, roll the brush up and away from your face to create that gorgeous sweeping, feathered curve around your cheekbones.
6. Turn the ends slightly under at the collarbone to frame your jawline neatly.
7. Finish the style by misting with the flexible hold hairspray listed below to keep the bounce all day long without any stiffness.
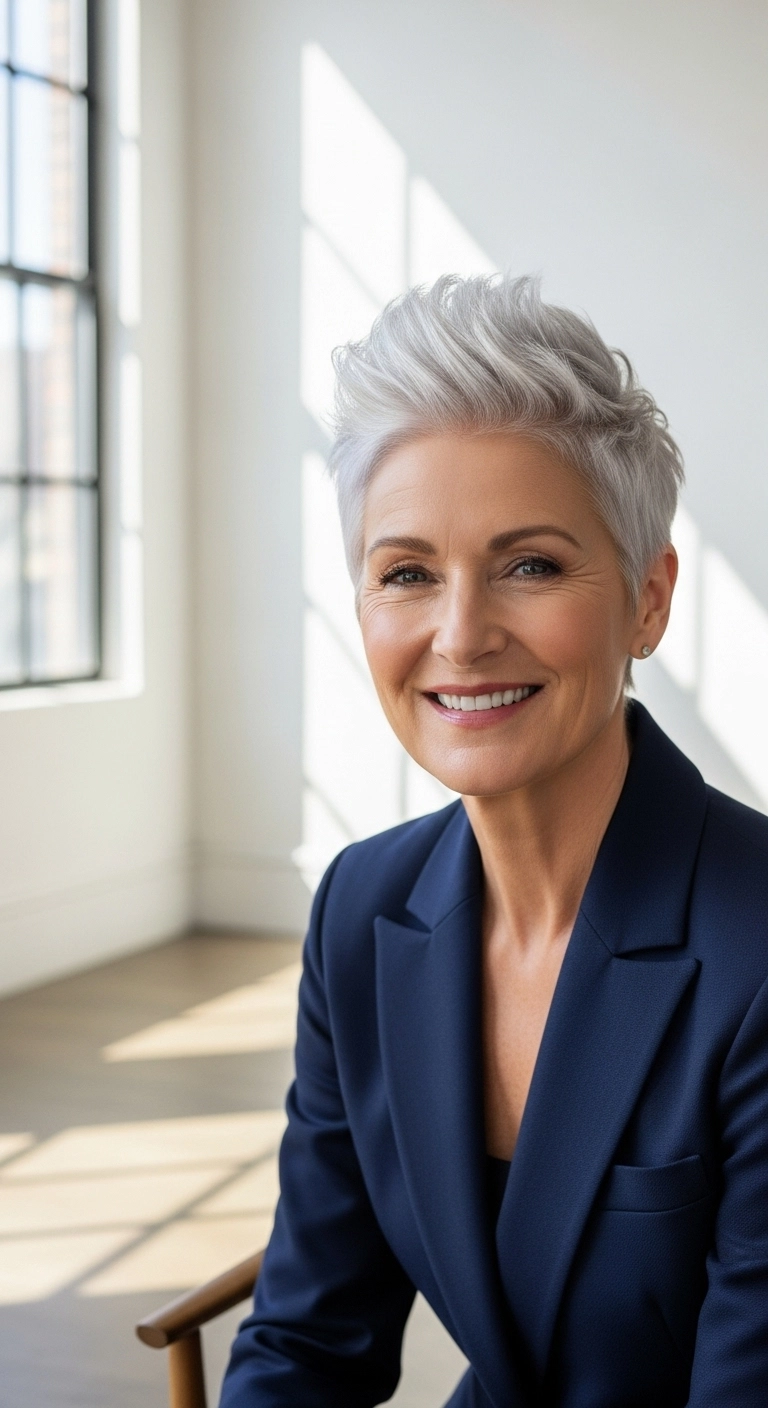
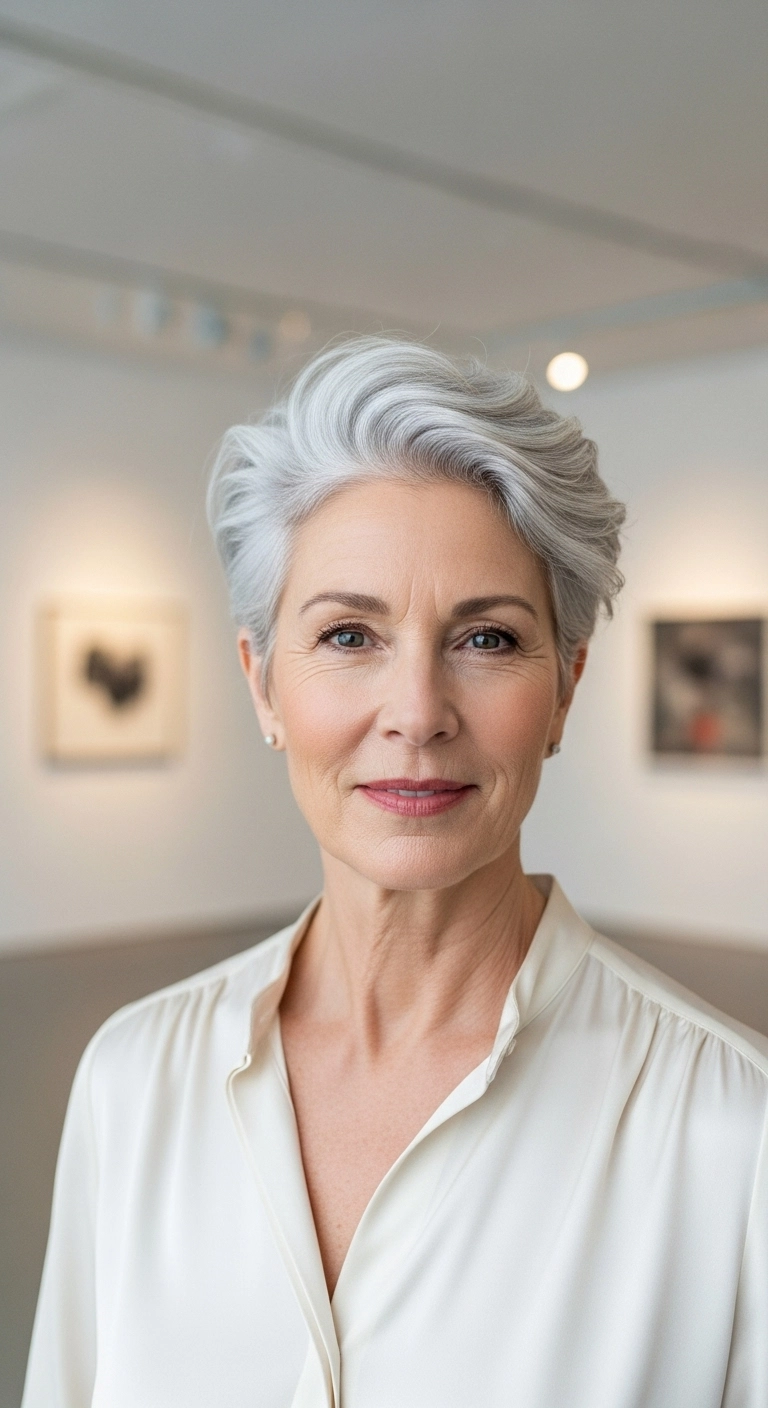
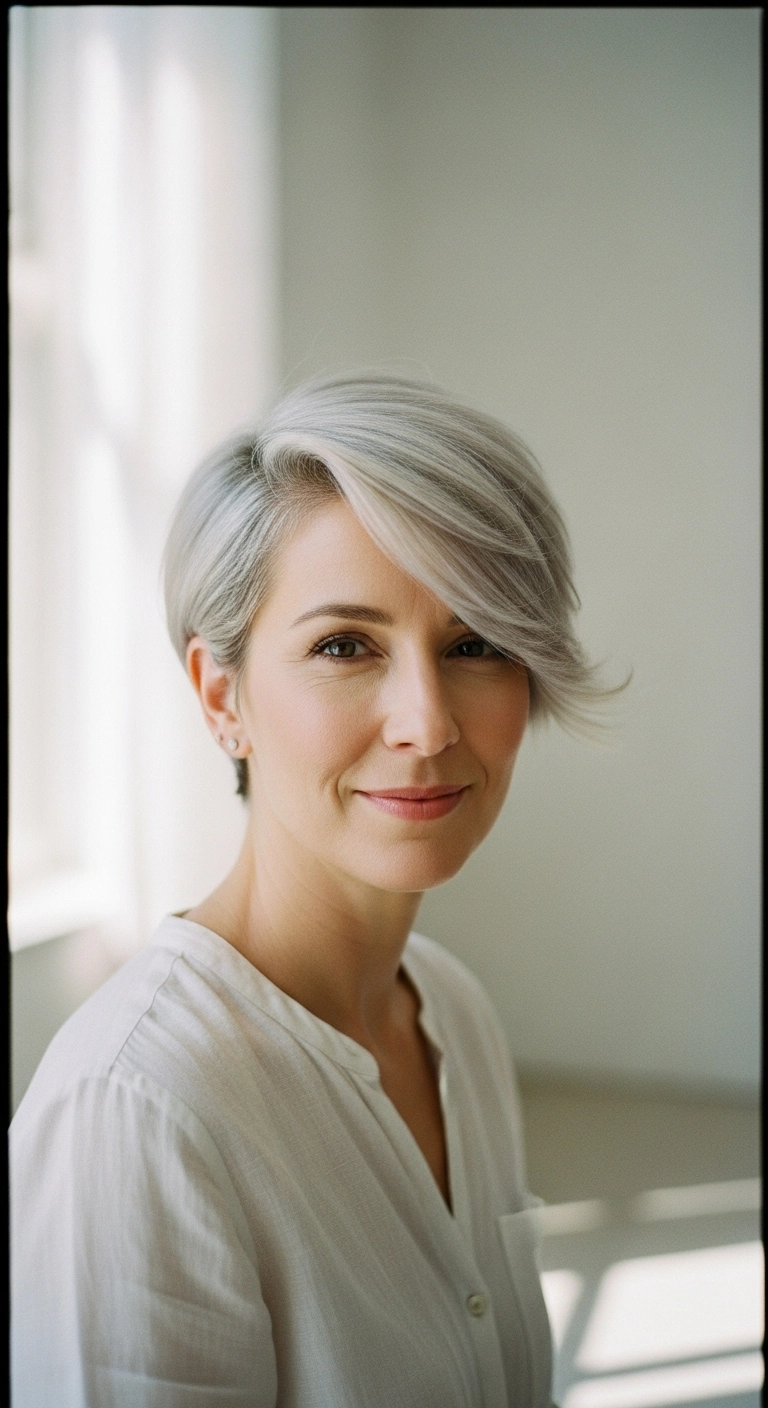
I'm completely obsessed with this sophisticated swept-back pixie cut. It takes natural silver hair and elevates it into something so modern, confident, and impossibly chic. The soft lift at the front and sides gives an instant face-lifting effect that looks stunning for art openings, business meetings, or just grabbing coffee. It's easy to style and proves that going grey can be the ultimate power move.
How to do this
1. Start by washing hair with the purple toning shampoo listed below to keep your silver hair bright and free from brassy yellow undertones.
2. On damp, towel-dried hair, work a pump of the volumizing styling foam listed below through your roots and mid-lengths to give the cut lift and body.
3. Using a blow dryer and the small round ceramic brush listed below, blow dry the hair up and away from your face, focusing heat at the roots along your part to establish height and that sweeping wave.
4. Smooth the sides down and slightly back around the ears, keeping the silhouette neat and tailored.
5. Warm a nickel-sized amount of the lightweight pliable styling pomade listed below between your palms and lightly rake your fingers through the top section to define the wave separation.
6. Finish with a gentle mist of the flexible hold hairspray listed below to lock in the volume and hold the shape all day without feeling stiff.
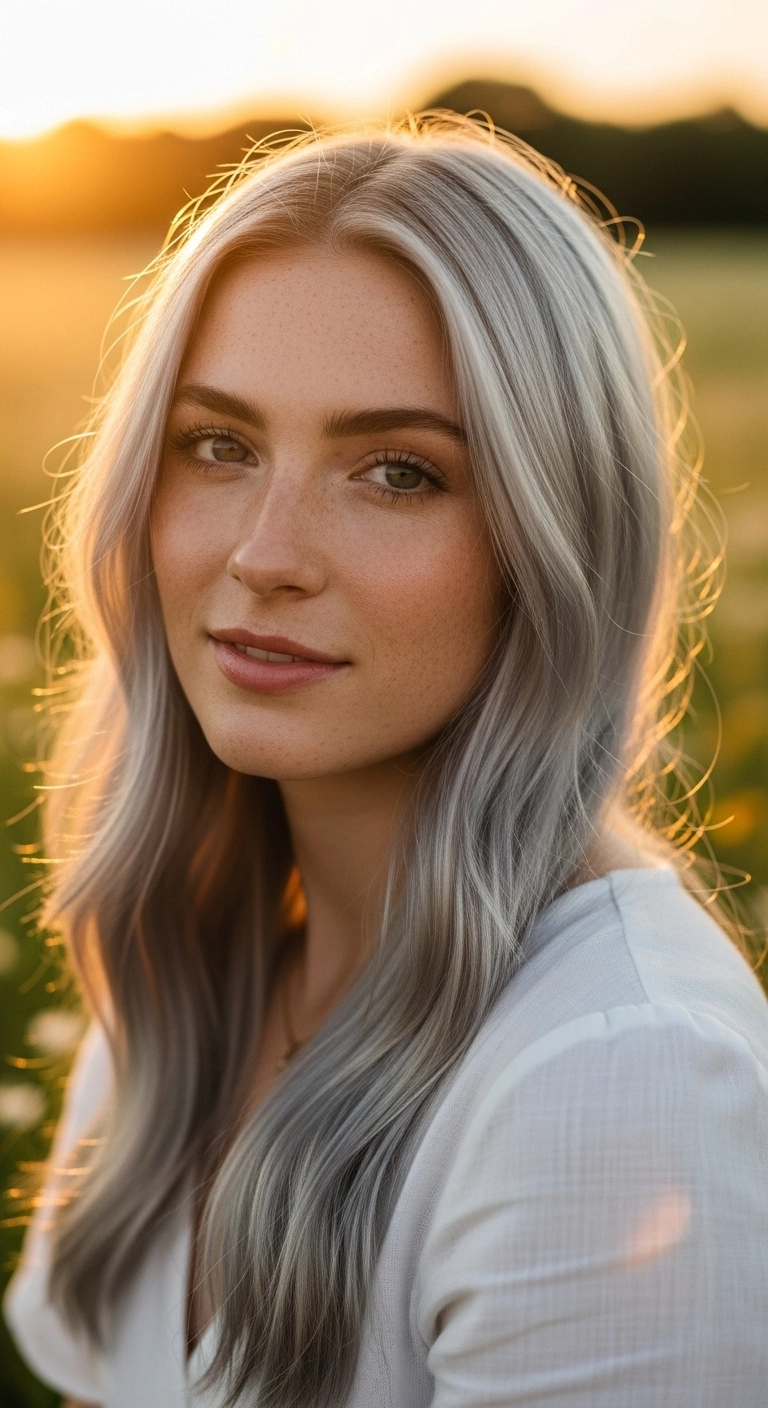
If you've been craving an ethereal, head-turning look, this icy silver tone is an absolute showstopper! A cool silver melt paired with soft, effortless waves makes your hair look dreamy and full of life—plus, it catches the golden hour light in the prettiest way possible.
How to do this
1. Start by bleaching the hair to a clean, pale level 10 yellow base, then tone to an ultra-cool silver using the silver purple toning gloss listed below.
2. Prep damp hair with a small amount of the heat protectant leave-in serum listed below to keep bleached strands protected and silky.
3. Blow-dry using a medium round ceramic brush to build soft volume through the crown and smooth out the cuticle.
4. Take 1.5-inch sections and wrap them loosely around the 1.25-inch ceramic curling iron listed below, directing the front pieces away from your face for that soft bend.
5. Gently brush out the curls using the wide-tooth detangling comb listed below to transform them into soft, effortless cascading waves.
6. Mist lightly with the flexible hold texture hairspray listed below to lock in body and movement without any crunch.
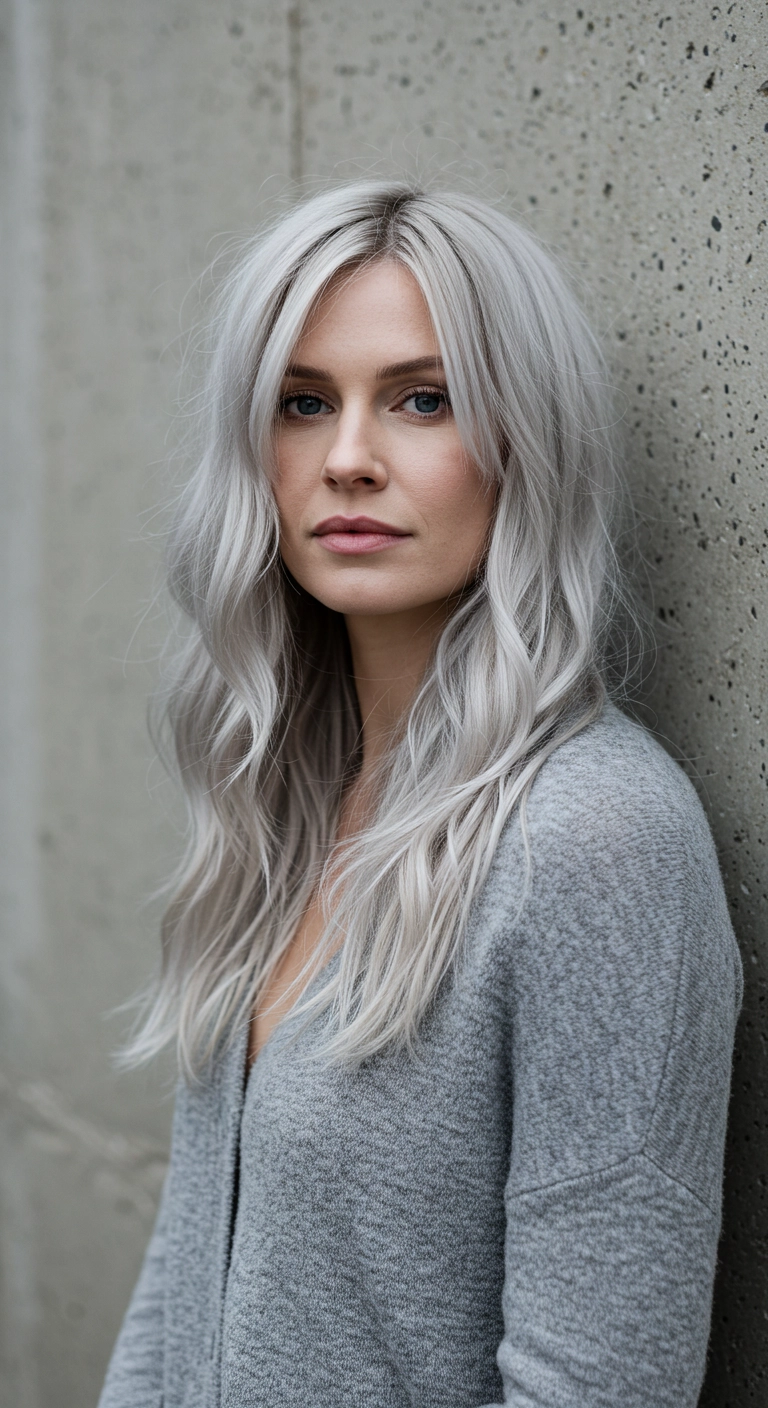
Oh, this icy silver tone is giving total winter goddess vibes and I am completely obsessed! The soft, effortless waves combined with those face-framing pieces make it look so cool and chic. Have you ever dared to go this icy before?
How to do this
1. Start by bleaching the hair to a clean Level 10 pale yellow using professional lightener, ensuring even saturation and minimal overlap.
2. Tone the hair to a neutral-cool silver-white shade using a violet/ash based toner with gentle developer, leaving the roots with a delicate root tap for natural dimension.
3. Prep towel-dried hair with the heat protectant spray listed below to shield lightened strands from hot styling tools.
4. Blow dry using a large ceramic round brush to smooth down the cuticle while maintaining natural body and soft volume at the root.
5. Take vertical 1.5-inch sections and wrap them loosely around a 1.25-inch curling wand, leaving the last two inches straight for that relaxed, modern beach wave finish.
6. Once cooled, rake your fingers through the waves and mist with the dry texturizing spray listed below to add volume and a piecey, lived-in feel.
7. Finish with a lightweight drop of the hair bonding oil listed below focused exclusively on the ends to seal moisture and add reflective shine.
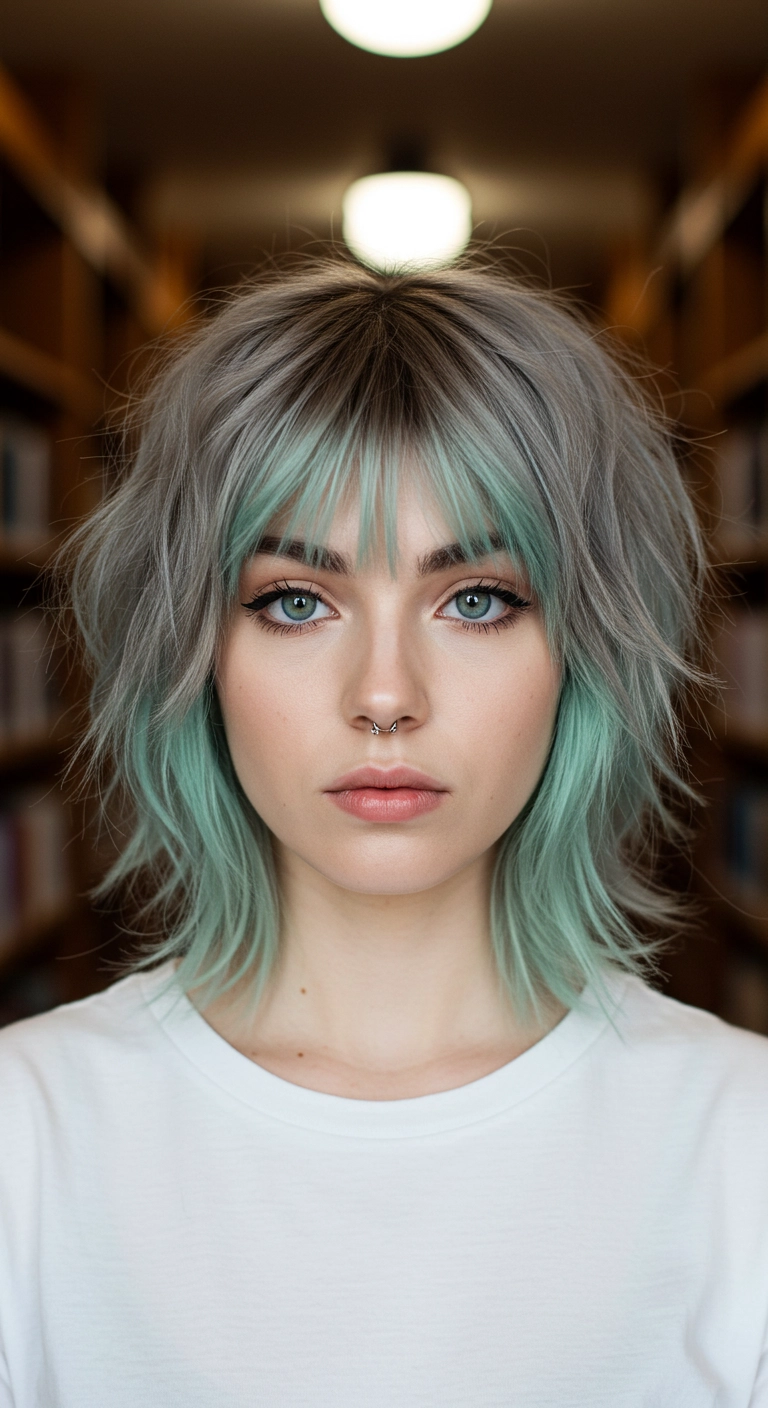
This shaggy lob is such a fun, edgy vibe with that secret pop of mint green peeking through the silvery layers – I wore this style to an indie music festival and got so many compliments on the peekaboo fringe!
How to do this
1. Start by sectioning the hair horizontally, separating the top canopy (crown and surface fringe) from the underneath perimeter and lower fringe band.
2. Lighten both sections to a clean level 10 blonde using the hair lightening kit listed below, taking extra care around the delicate fringe area.
3. Formulate and apply a smoky ash silver toner to the top section, while applying a pastel mint green semi-permanent dye to the lower peekaboo section and under-bangs using the pastel mint hair dye listed below.
4. Cut a textured lob with heavily razored, piecey layers throughout the crown and mid-lengths to emulate a modern shag or wolf cut silhouette.
5. Cut a wispy, shattered fringe across the forehead, allowing the mint green peekaboo layer underneath to peek out distinctly beneath the silver surface strands.
6. Apply a pump of the lightweight styling mousse listed below to damp hair, then rough-dry using a diffuser or round brush to encourage soft movement and bend.
7. Finish by misting the dry texturizing spray listed below through the roots and mid-lengths, shaking it out with your fingers for an effortless, separated finish.
Products Used
Dust-Free Hair Lightening Bleach Kit
dust free hair lightening bleach powder and developer kit
If you've been searching for a short haircut that feels both utterly sophisticated and effortlessly modern, look no further! This silver asymmetrical pixie proves that going short never means sacrificing elegance. The sweeping, face-framing fringe gives it that flirty, soft touch while keeping daily styling super quick and easy.
How to do this
1. Start with clean, damp hair and apply a quarter-sized amount of the lightweight volumizing mousse listed below throughout the roots and mid-lengths to build soft body.
2. Mist lightly with the heat protectant spray listed below to shield strands before heat styling.
3. Create a deep side part using a fine-tooth tail comb, aligning the part with the arch of your eyebrow.
4. Blow dry using a small round ceramic brush, lifting the roots on top and directing the longer side-swept fringe smoothly across the face while curving the ends gently outward.
5. Use a paddle or vent brush to blow dry the cropped sides and nape downward close to the scalp for a sleek, tapered silhouette.
6. Emulsify a tiny dab of the pliable styling pomade listed below between your fingertips and define the ends of the fringe to create that soft, separated flip.
7. Finish the style with a light mist of the flexible hold hairspray listed below to maintain movement without any stiffness.
Short textured cuts like this are having a serious moment. The smoky silver tone paired with a subtle shadow root makes it super wearable while still packing so much edge. My favorite part is how easy it is to style—just rough-dry, work in a bit of matte paste with your fingers, and you get that perfectly undone, effortless vibe in less than five minutes!
How to do this
1. Start with clean, towel-dried hair and apply a quarter-sized amount of the lightweight volumizing mousse listed below evenly through the roots and mid-lengths to give structure.
2. Use a blow dryer with a nozzle attachment and roughly dry the hair using your fingers, lifting at the roots to maximize volume and establish a relaxed side-swept direction.
3. Once hair is completely dry, work a pea-sized amount of the matte styling paste listed below between your palms until warm and pliable.
4. Rake the paste lightly through the top layers, lightly pinching and piecing out sections around the crown and fringe to create that effortless, lived-in separation.
5. Mist lightly with the texturizing sea salt spray listed below to add grit and keep the definition without making the hair stiff.
6. Keep the silver-ash tone vibrant and free of brass between washes by regularly using the purple toning shampoo listed below once or twice a week.
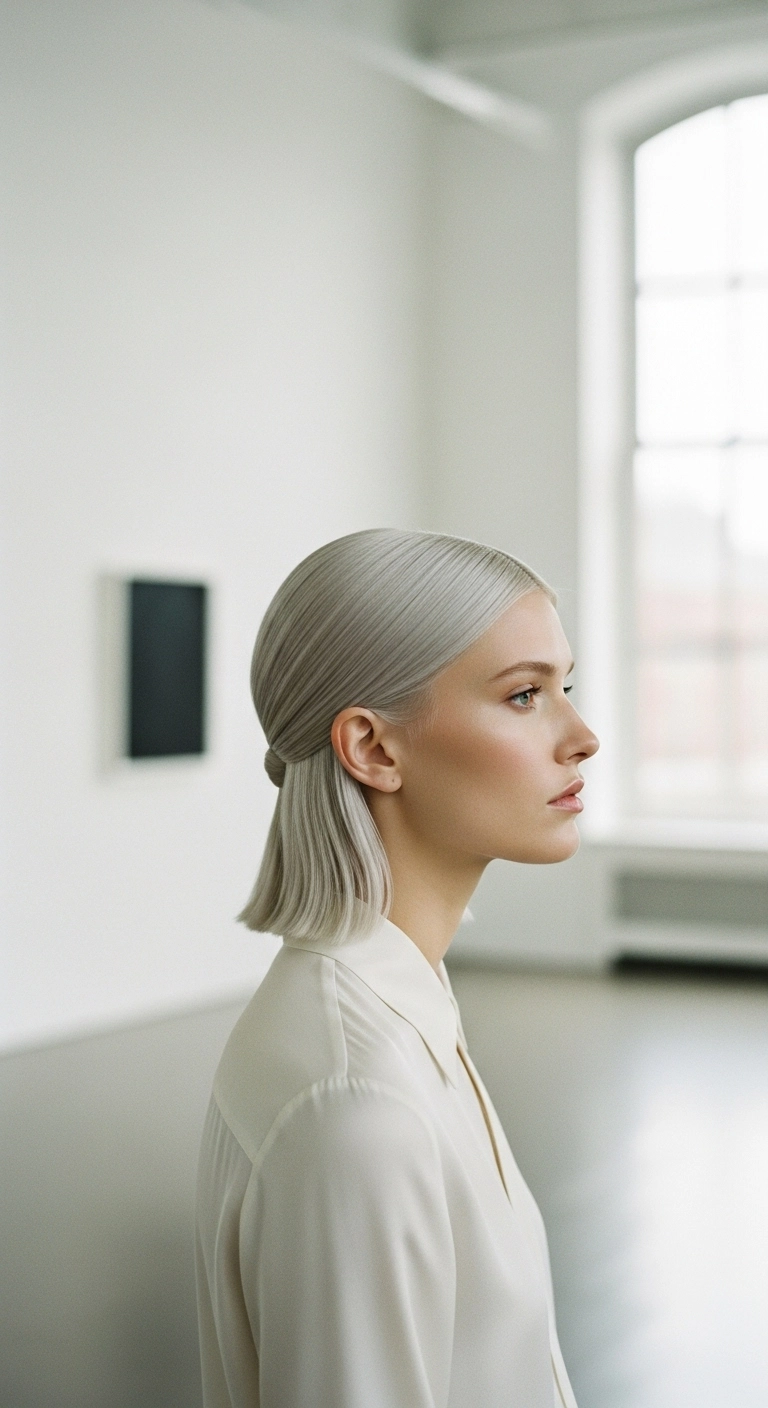
I know a lot of people think bobs can feel a bit repetitive to style, but doing this slicked-back half-up vibe completely transforms it into high fashion! I went for an ultra-crisp, ironed-straight finish to let that icy silver tone really pop against a clean outfit. Tucking the sides back into a tiny low tie keeps your hair completely out of your face while highlighting your jawline. It feels so modern and sophisticated, but honestly takes less than ten minutes once your hair is straightened!
How to do this
1. Prep freshly washed, damp hair with a smoothing heat protectant spray using the heat protectant spray listed below to shield your blonde strands from thermal damage.
2. Blow-dry hair completely flat and smooth using a directional concentrator nozzle and the paddle hair brush listed below, following down each strand from roots to ends.
3. Define a razor-sharp center part through the front using the fine-tooth tail comb listed below, then smooth hair down evenly along both sides of your head.
4. Take small horizontal sections and flat iron the length bone-straight using the ceramic flat iron listed below, ensuring the ends stay cleanly aligned and blunt.
5. Warm a pea-sized amount of smoothing pomade between your palms and smooth the front side sections cleanly back behind your ears.
6. Secure the gathered side sections tightly at the nape or lower back of your head using the clear elastic hair ties listed below, making sure the lower back layer drops freely underneath.
7. Finish the look by misting a light veil of the high-shine finishing hairspray listed below over the crown and perimeter to tame flyaways and enhance the silver gloss.
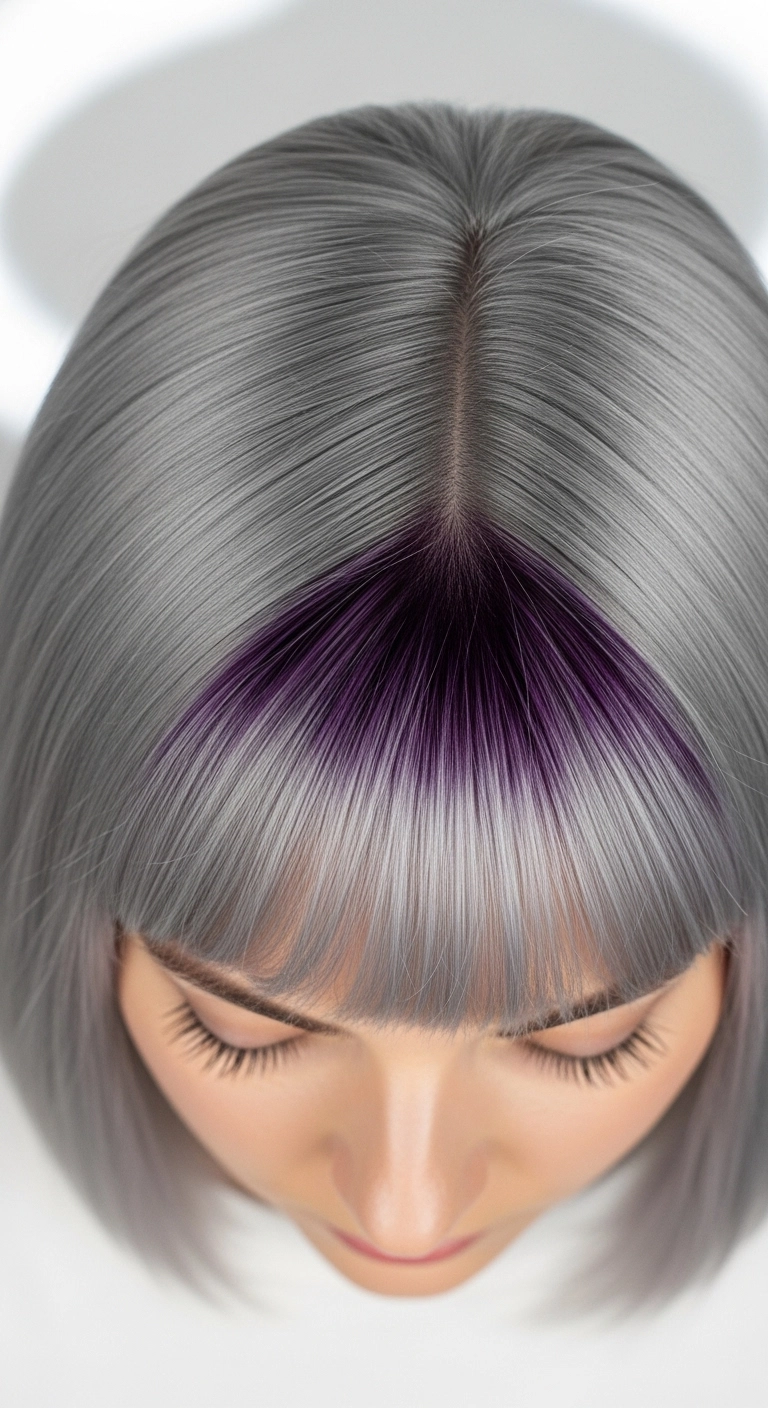
This sleek silver bob is so insanely cool and futuristic! The peek of deep purple right at the root of the bangs gives it such a fun, edgy vibe without feeling overpowering. If you want something super polished with a unique pop of color, you will absolutely obsess over this look!
How to do this
1. Start by sectioning off a clean triangular panel at the front hairline right where the bangs will live, keeping the rest of the hair neatly clipped away.
2. On pre-lightened level 10 platinum hair, apply a deep violet semi-permanent dye to the root area of the bangs using the professional tint brush and bowl listed below.
3. Feather the violet shade downward slightly to create a soft blur into the silver lengths without creating a harsh line.
4. Tone the remaining lengths with an icy silver toner using the sulfate-free silver toning shampoo listed below to keep that gorgeous metallic finish bright.
5. Once rinsed and dried, prep the hair thoroughly using the heat protectant spray listed below to shield strands from hot tool damage.
6. Flat iron the hair in ultra-thin, smooth sections using the tourmaline ceramic flat iron listed below, slightly curving the ends under for that classic blunt bob curve.
7. Finish the entire style with a light mist of the shine-enhancing lightweight serum listed below to get that ultra-reflective, glassy effect.
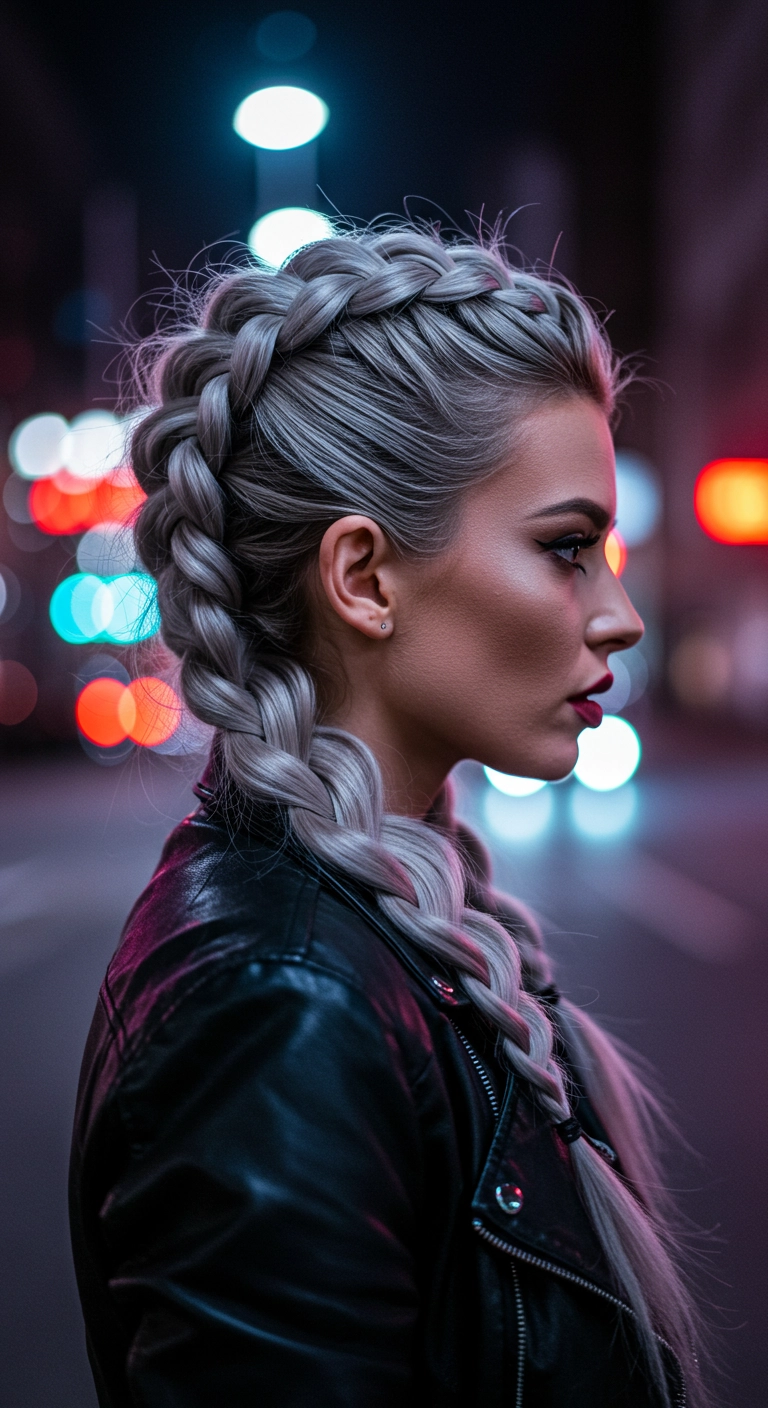
This chunky Dutch braid is seriously the ultimate cool-girl hairstyle! It keeps all your hair secure and out of your face, but still gives that bold, edgy statement vibe especially paired with stunning icy silver tones. If you have thick hair and love a style that feels effortlessly badass from day to night, you definitely need to try this one!
How to do this
1. Start with clean, detangled hair and prep your roots and lengths with a texturizing volume powder to give the strands plenty of grip.
2. Section off a 2-to-3-inch wide section right along the top center of your head from the front hairline back toward the crown.
3. Divide that section into three equal pieces and begin a Dutch braid by crossing the outside strands underneath the middle strand rather than over.
4. As you work your way down the center of the head, smoothly incorporate side sections into each strand before crossing underneath, keeping the tension firm and centered.
5. Continue braiding down the nape of the neck and bring the braid forward over one shoulder, continuing with a standard three-strand braid underhand down to the ends.
6. Secure the bottom using a clear elastic hair tie, leaving a few inches of tail unbraided.
7. Gently pull and tug on the outer loops of each stitch—this is called pancaking—to fluff out the braid and give it that super thick, chunky dimension.
8. Mist thoroughly with a flexible hold hairspray to lock down flyaways while keeping the sleek, edgy finish intact.
I'm completely obsessed with this cut because it is equal parts edgy, modern, and insanely chic! It instantly highlights your cheekbones and jawline, and that lifted, swept-up texture gives it so much cool attitude. Plus, having short hair means drying time takes literally five minutes in the morning. If you've been thinking about taking the plunge and going bold with a bright platinum crop, this is your sign to try it!
How to do this
1. Start on freshly washed, damp hair and prep using the volumizing root lift mousse listed below to ensure maximum hold and height.
2. Mist hair with the thermal heat protectant spray listed below to shield strands from hot styling tools.
3. Using a blow dryer fitted with a concentrator nozzle and a small ceramic round brush, dry the top section upwards and back, lifting directly off the scalp to create extreme volume.
4. Blow-dry the sides and back down flat and snug against the head shape for a sleek, tapered contrast.
5. Warm a pea-sized amount of the matte styling texturizing paste listed below between your palms and work it through the mid-lengths and ends of the top section, piecing out the ends and sweeping the fringe slightly forward and to the side.
6. Finish the look by misting all over with the strong hold matte hairspray listed below to lock the sculpted quiff in place all day.
I’m completely obsessed with this chic silver bob. It has the most incredible root lift and those soft, feathered layers that flick away from the face give it such an elegant, timeless feel. It's truly the ultimate sophisticated cut for naturally grey or silver hair, and it transitions so effortlessly from a day at the office to a fancy evening dinner.
How to do this
1. Start with freshly washed, towel-dried hair and apply a generous dollop of the volumizing root lift mousse listed below directly at your roots.
2. Mist through the mid-lengths and ends using the lightweight thermal heat protectant spray listed below to shield the silver tones from heat damage.
3. Section the hair into manageable horizontal layers, starting from the nape and working upwards.
4. Blow dry using the ceramic round brush listed below, lifting upward at the roots to maximize crown volume, then rolling the ends backward and away from the face for that feathered sweep.
5. For the top and face-framing pieces, over-direct the hair forward and roll back over the brush, letting it cool briefly in the brush to lock in that dramatic swoop.
6. Once dry, work a nickel-sized amount of the flexible texturizing cream listed below through the ends with your fingertips to separate and define the layers.
7. Finish the entire style with a light mist of the medium hold finishing hairspray listed below to keep everything perfectly in place all day.
OK, if you’ve been waiting for a sign to go totally cool-toned, this is definitely it! The way this icy silver melts down into soft denim-slate tones gives such a dreamy, ethereal vibe without looking too stark. Add some effortless, relaxed waves and you've got an absolute showstopper of a look for any season!
How to do this
1. Start by prepping freshly washed, damp hair with the lightweight thermal heat protectant spray listed below to shield platinum strands from hot tool damage.
2. Blow dry hair thoroughly using a large ceramic round brush, lifting at the crown to create natural body and directing front pieces back and away from the face.
3. Divide your hair horizontally into manageable sections, beginning at the nape of the neck.
4. Take wide vertical sections and wrap them loosely around a 1.25-inch curling wand using the ceramic curling iron listed below, leaving the very ends slightly straight for a modern wave.
5. Alternate curl directions slightly through the mid-lengths, but ensure all face-framing strands around the cheekbones are curled outward away from your face.
6. Once all sections have fully cooled down, rake through the waves with your fingers or the wide-tooth comb listed below to transform tight curls into soft, cascading S-waves.
7. Mist with the texturizing wave spray listed below throughout the mid-lengths and ends for dimension and light grip.
8. Finish with a drop of the smoothing hair oil listed below to hydrate lightened ends and seal down any stray flyaways.
If you're looking for proof that short silver hair is the ultimate power move, this is it! It’s effortlessly cool, wonderfully textured, and has that chic, lived-in lift that makes every outfit look elevated. I love how the deeper charcoal underneath makes the bright silver layers on top pop so effortlessly.
How to do this
1. Start on freshly washed, towel-dried hair and apply a golf-ball sized dollop of the lightweight volumizing mousse listed below throughout the roots and crown for lift.
2. Use a directional blow dryer fitted with a concentrator nozzle and a small ceramic round brush to lift the hair upwards at the roots and sweep the longer top layers across to the side.
3. Keep the sides and nape flat against the head using your fingers or a flat paddle brush as you finish drying.
4. Once completely dry, warm a dime-sized amount of the matte styling paste listed below between your palms to emulsify.
5. Work the paste through the crown and front fringe with your fingertips, piecing out sections to emphasize the textured, feathered layers.
6. Finish with a light mist of the flexible hold texturizing hairspray listed below to keep the volume buoyant and locked in all day.
This icy silver shade is such a showstopper and gives the ultimate cool-toned edge, which makes it totally unforgettable – I rocked this platinum vibe at an event and got compliments all night long!
How to do this
1. Start by bleaching the hair to a clean level 10 platinum blonde using the hair lightening bleach powder listed below.
2. Tone the pre-lightened hair thoroughly with a cool silver ash toner using the silver toning gloss listed below to cancel out all warmth.
3. Apply a leave-in smoothing treatment and thermal shield using the heat protectant spray listed below on damp hair.
4. Blow dry straight using a large ceramic round brush to achieve smooth face-framing curvature and soft volume at the roots.
5. Use a flat iron on low-to-medium heat to gently bevel the face-framing pieces inwards around the cheekbones and collarbones.
6. Finish with a few drops of the lightweight hair serum listed below on the mid-lengths and ends for high-gloss, frizz-free shine.
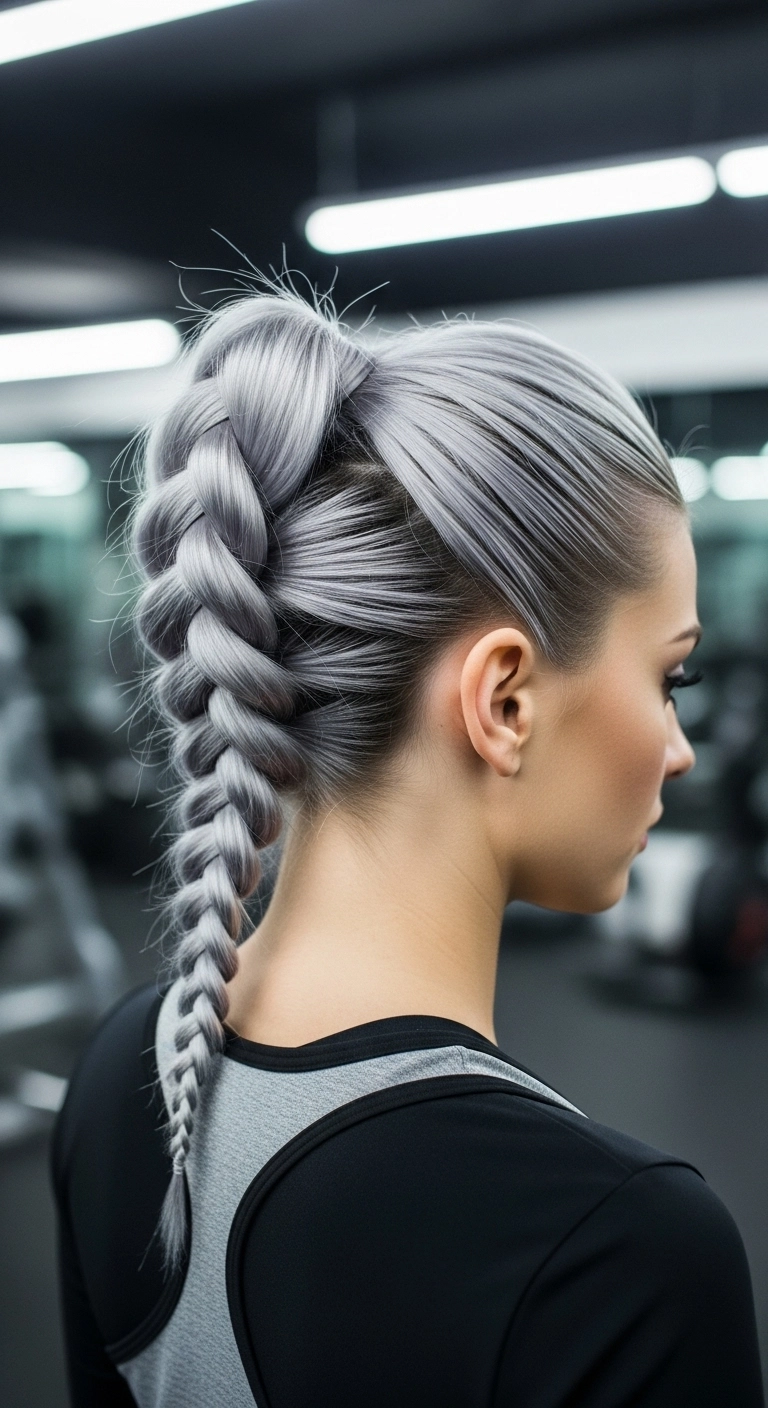
A high braided ponytail is literally the holy grail for workout days when you still want to look totally put together. I love how the metallic silver shade catches the overhead gym lights, and wrapping the base gives it that sleek, high-end athletic finish. It keeps every single strand out of your face, doesn't bounce around, and honestly looks like something straight out of a high-fashion fitness campaign.
How to do this
1. Start with smooth, detangled hair by brushing through with the paddle detangling brush listed below to remove any knots.
2. Apply a dime-sized amount of the smoothing styling serum listed below through your mid-lengths and ends to tame flyaways and maximize that metallic shine.
3. Brush all your hair smoothly upward into a sleek, high ponytail near the crown of your head, securing it tightly with a snag-free hair elastic.
4. Take a small 1/2-inch strand from underneath the ponytail and wrap it around the base elastic to conceal it completely, pinning the end securely with a bobby pin.
5. Divide the ponytail into three equal sections and begin braiding a classic, tight three-strand braid (or inverted Dutch braid) straight down the back.
6. Secure the tail at the bottom using the mini clear elastic hair ties listed below, leaving a tiny blunt tassel at the tip.
7. Gently pinch and pull the outer edges of each braid stitch (pancake technique) to add thickness and definition.
8. Mist all over with the strong-hold anti-frizz hairspray listed below and smooth the sides of your head with a boar bristle finishing brush for a flawless, gym-ready hold.
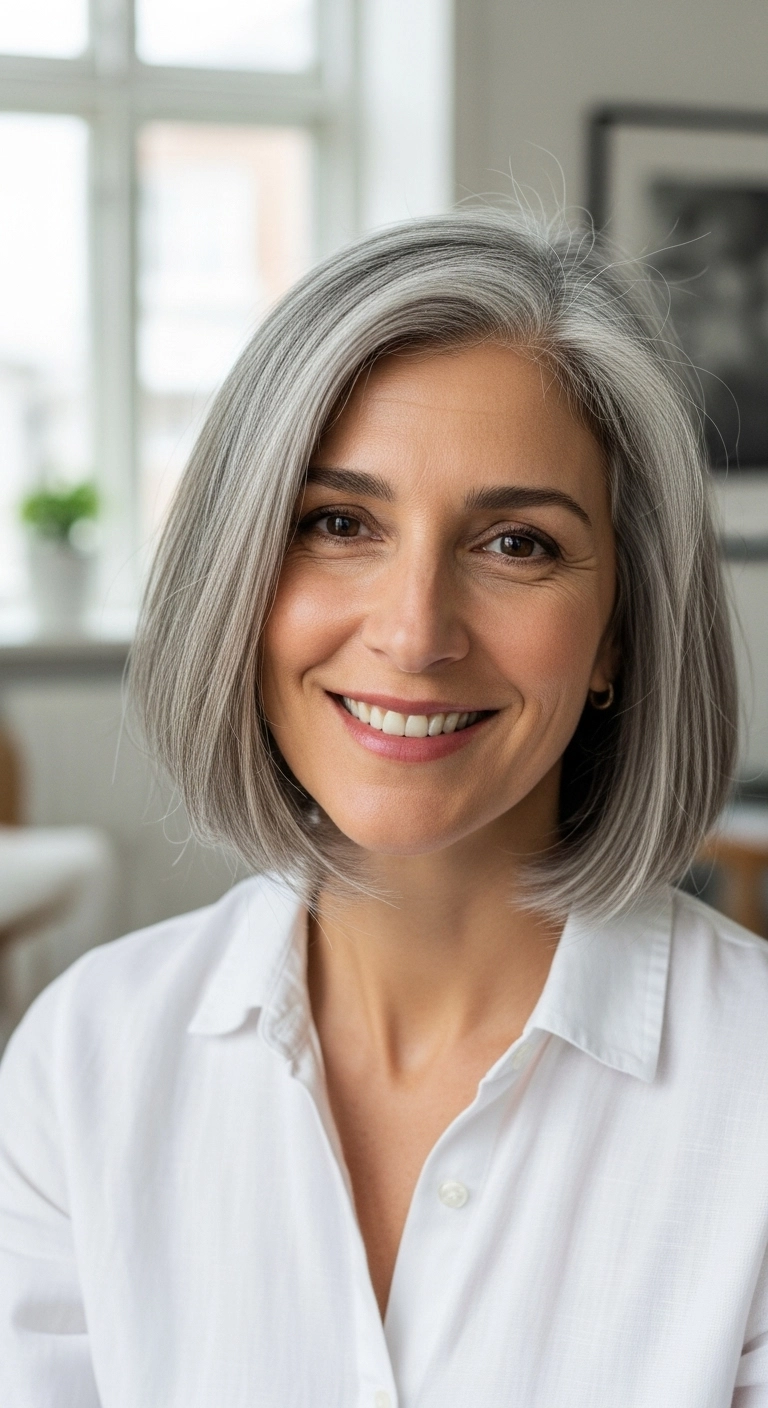
This is a go-to cut if you want an effortlessly chic way to embrace your natural silvers without looking outdated. The softly rounded ends frame the jawline beautifully, and styling it with a simple round brush gives you that clean, put-together finish in under fifteen minutes.
How to do this
1. Start on freshly washed, towel-dried hair and apply a smoothing blowout cream listed below from mid-lengths to ends to keep the silver strands bright, frizz-free, and silky.
2. Mist lightly with the heat protectant spray listed below to shield hair cuticles against thermal stress and prevent silver tones from yellowing.
3. Create a deep, clean side part using the tail comb listed below, aligning the part with the peak of your eyebrow for an effortless, flattering drape.
4. Blow dry in sections using the medium ceramic round brush listed below, rolling the ends inward gently to create that soft, chin-hugging curve.
5. Use a cool shot from the dryer on the top front section while lifting at the root to set natural volume and a slight sweep across the forehead.
6. Finish with a dime-sized amount of the lightweight anti-yellowing hair oil listed below, smoothing over the surface for mirror-like shine and clean definition.
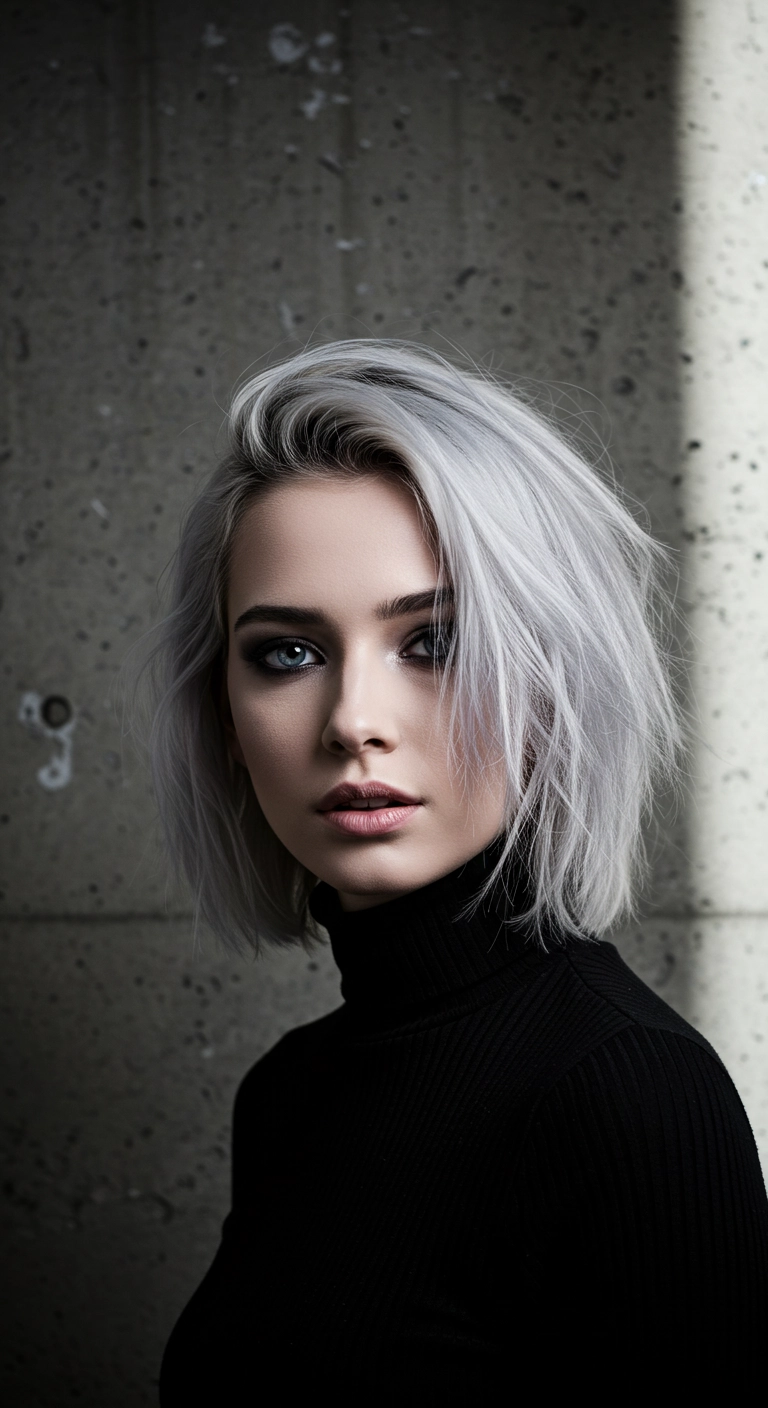
There’s honestly nothing cooler than a choppy silver bob with an exaggerated side flip! I love how effortlessly moody and edgy this look feels, and the piecey layers give it so much natural body without looking like you tried too hard.
How to do this
1. Start on clean, towel-dried hair and prep your strands with a lightweight volumizing mousse to build body from the roots up.
2. Blow-dry using a medium ceramic round brush, flipping the hair over to the opposite side of your natural part to generate serious root lift.
3. Once dry, take a flat iron and create subtle, subtle bends through the mid-lengths rather than a strict curl to give it that effortless, undone movement.
4. Spray throughout with the dry texturizing spray listed below, lifting sections and spraying underneath for airy separation.
5. Warm a dime-sized amount of the matte styling paste listed below between your fingertips and gently piece out the ends and face-framing fringe.
6. Finish with a spritz of the flexible hold hairspray listed below to lock that dramatic deep side-part in place without making it stiff.