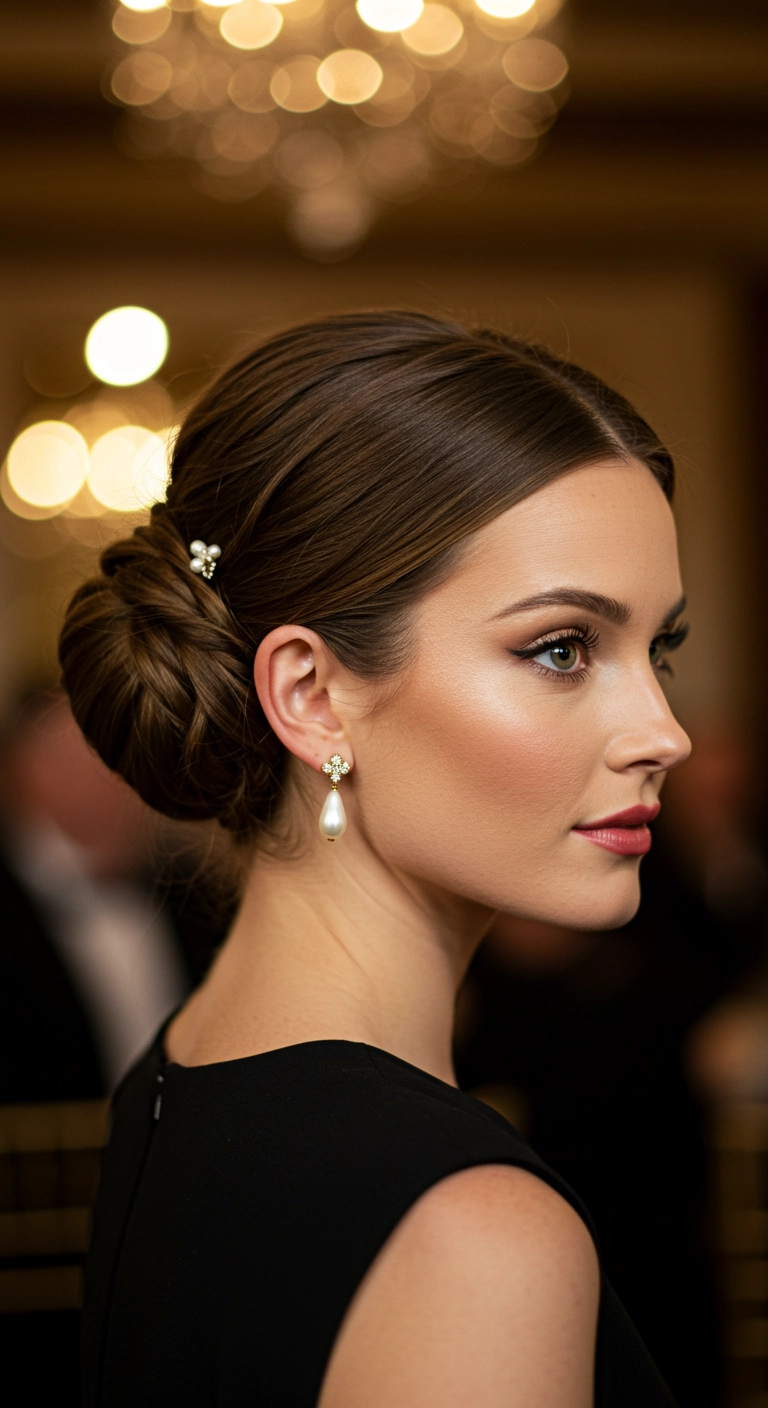
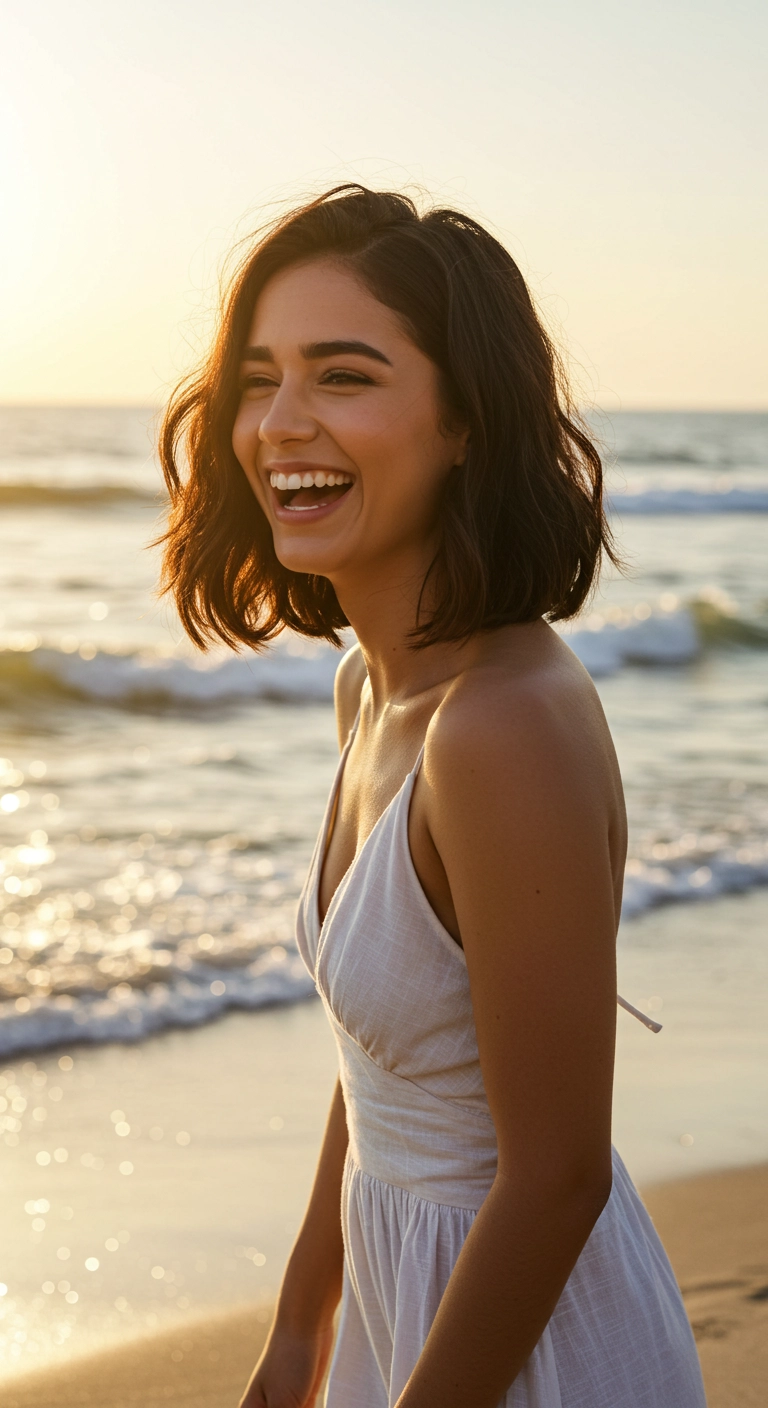
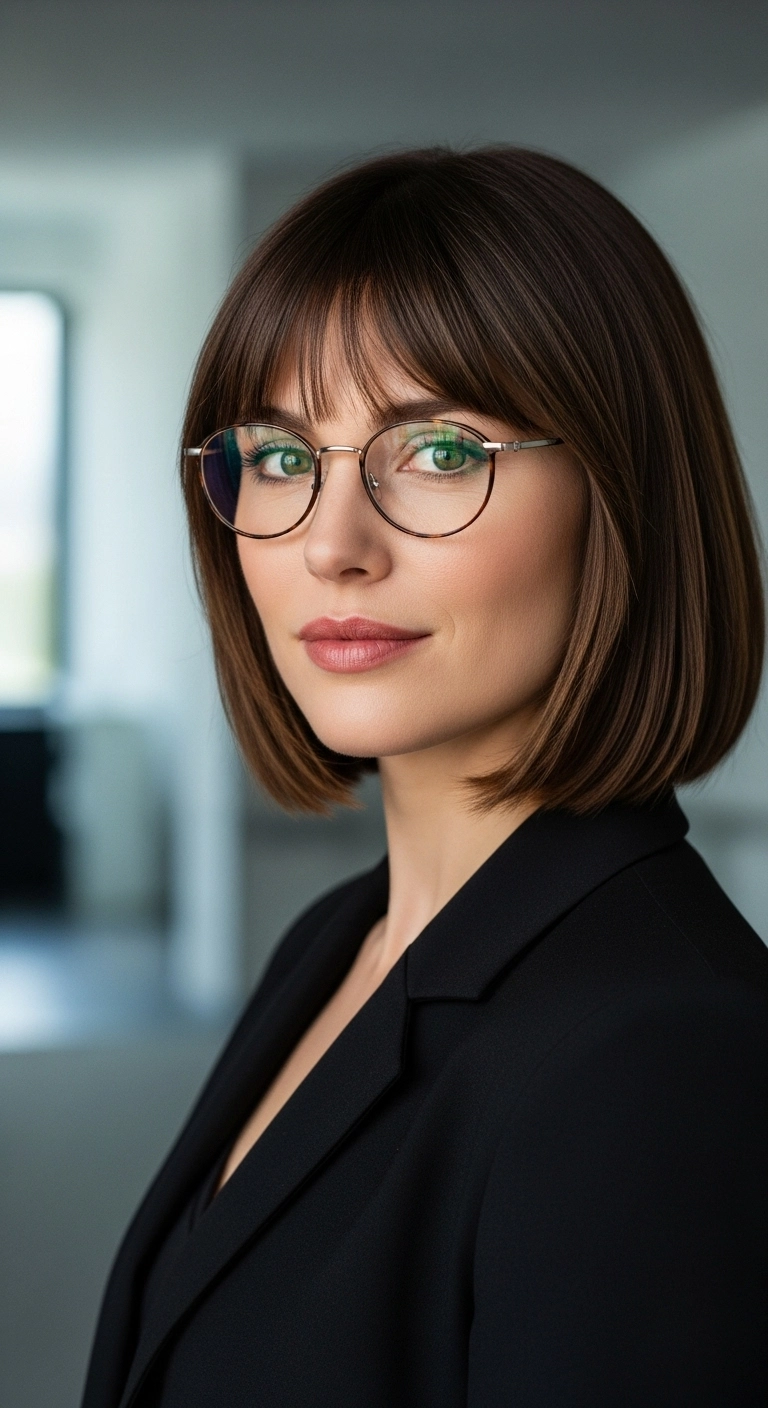
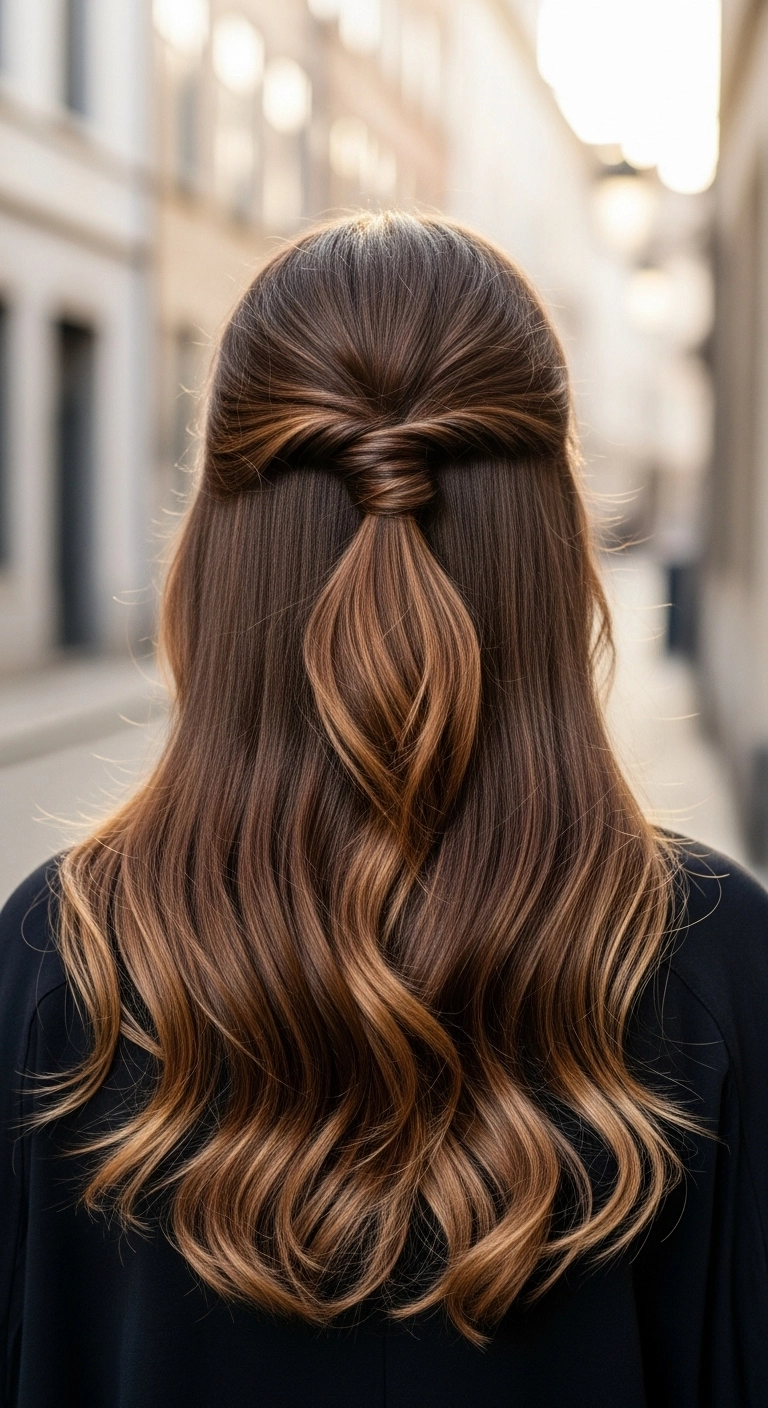
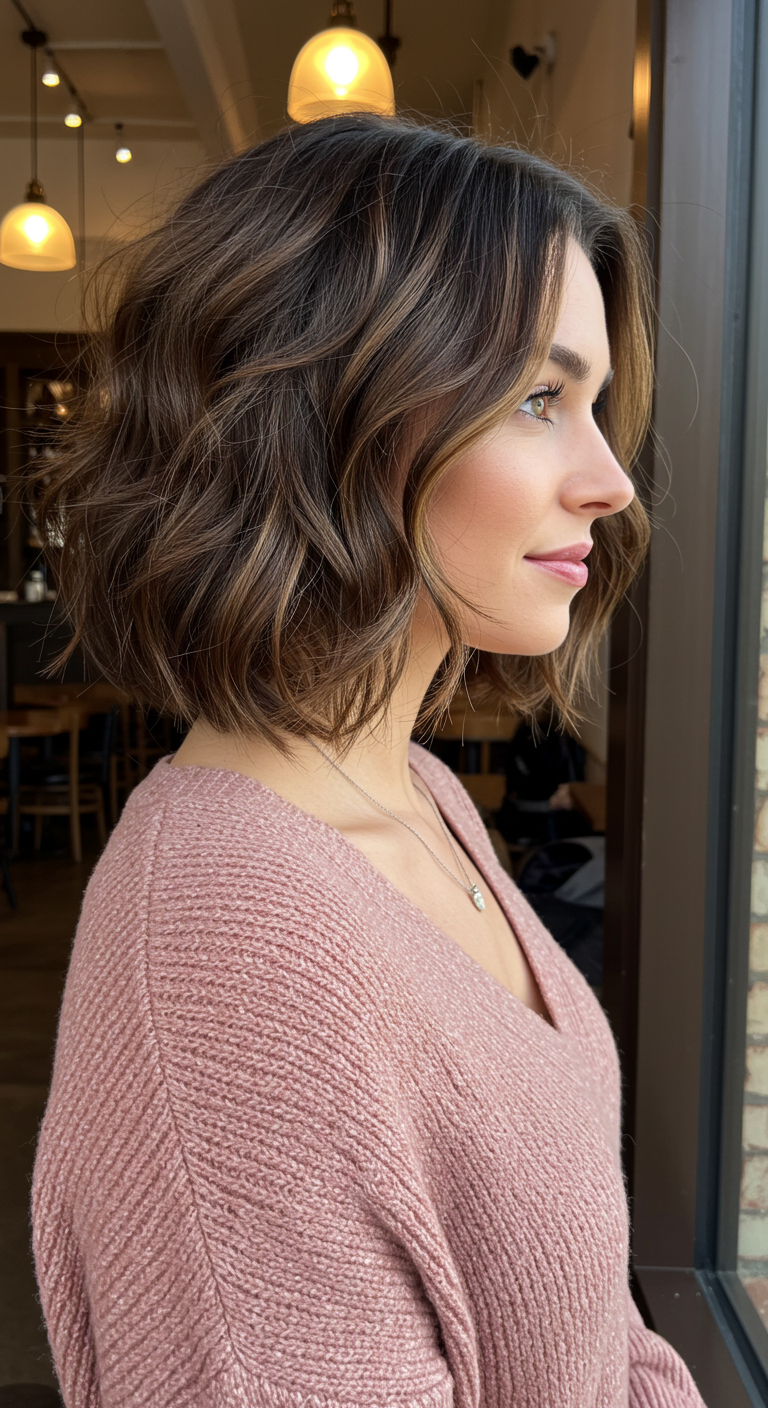
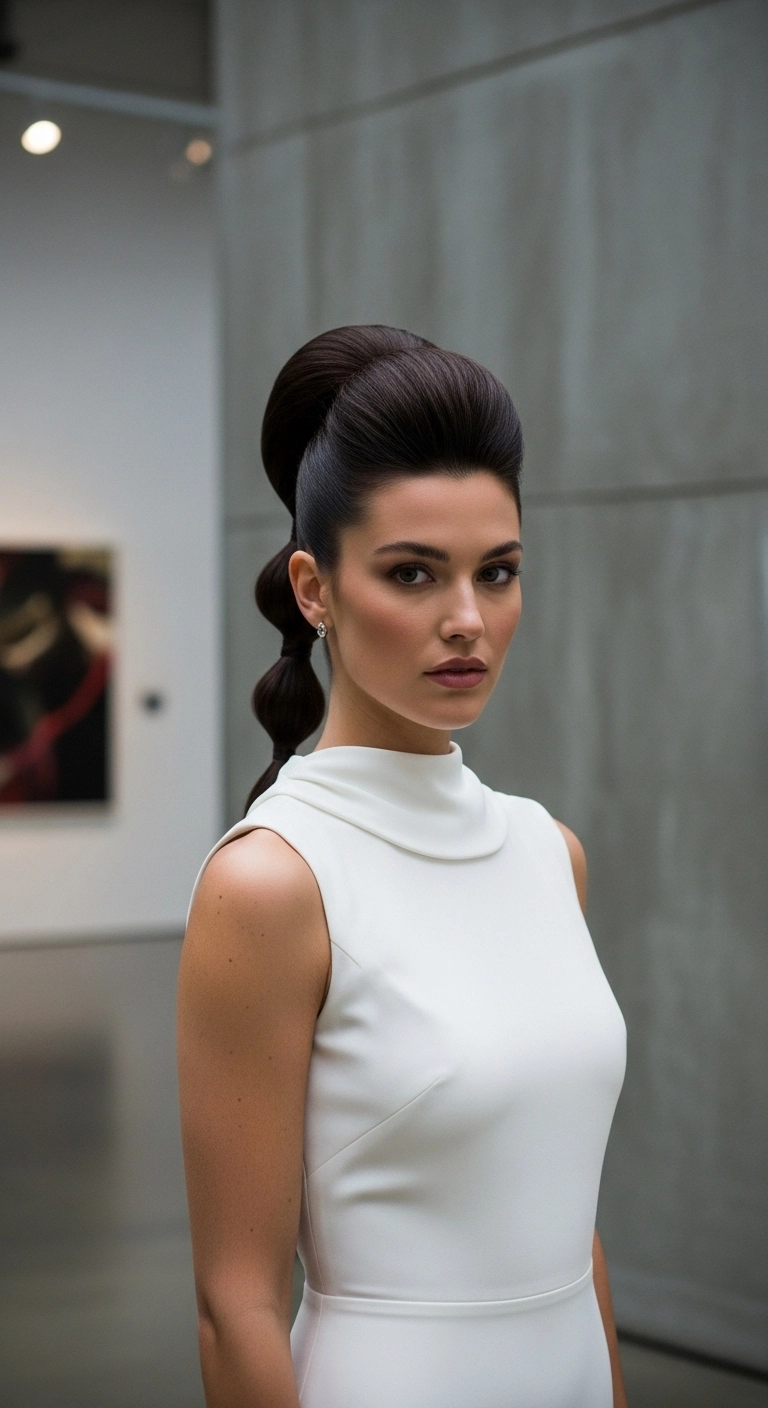
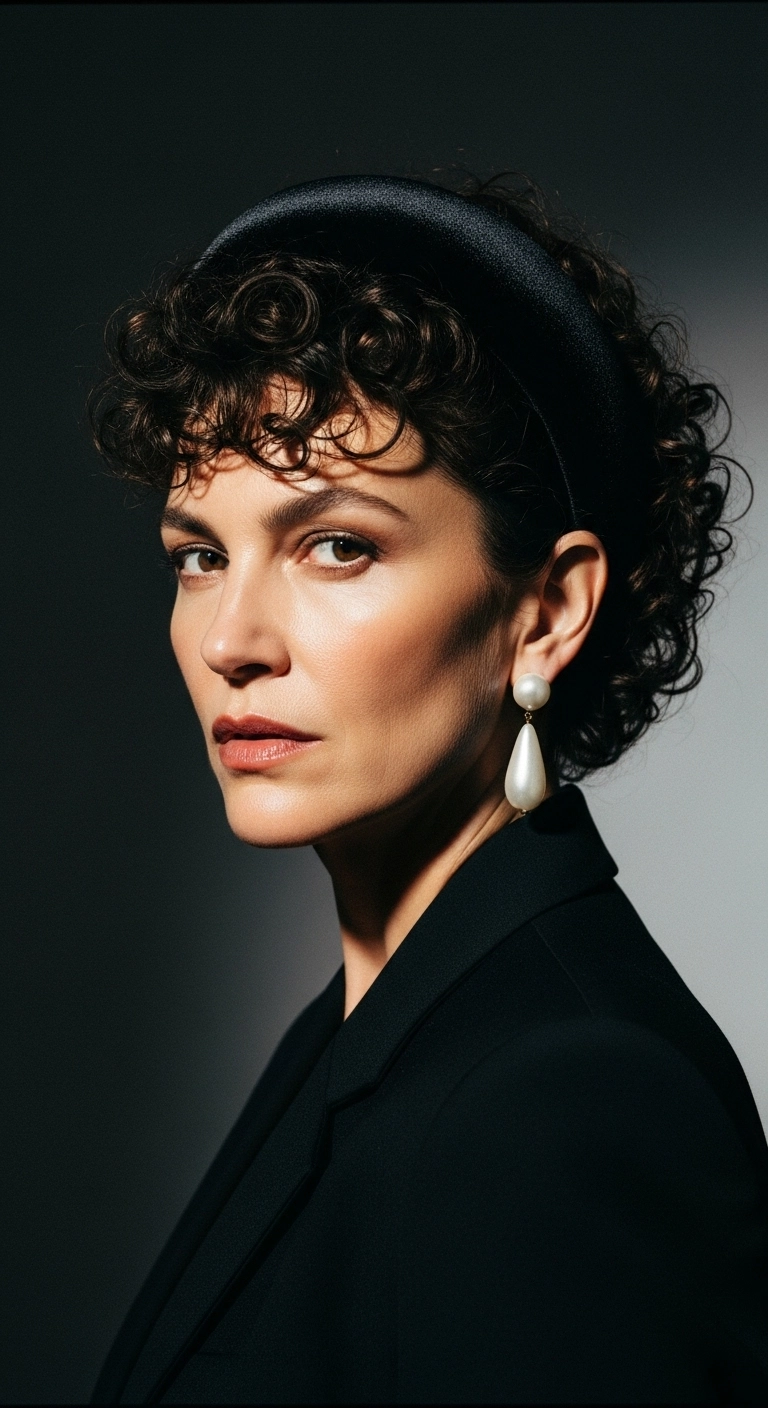
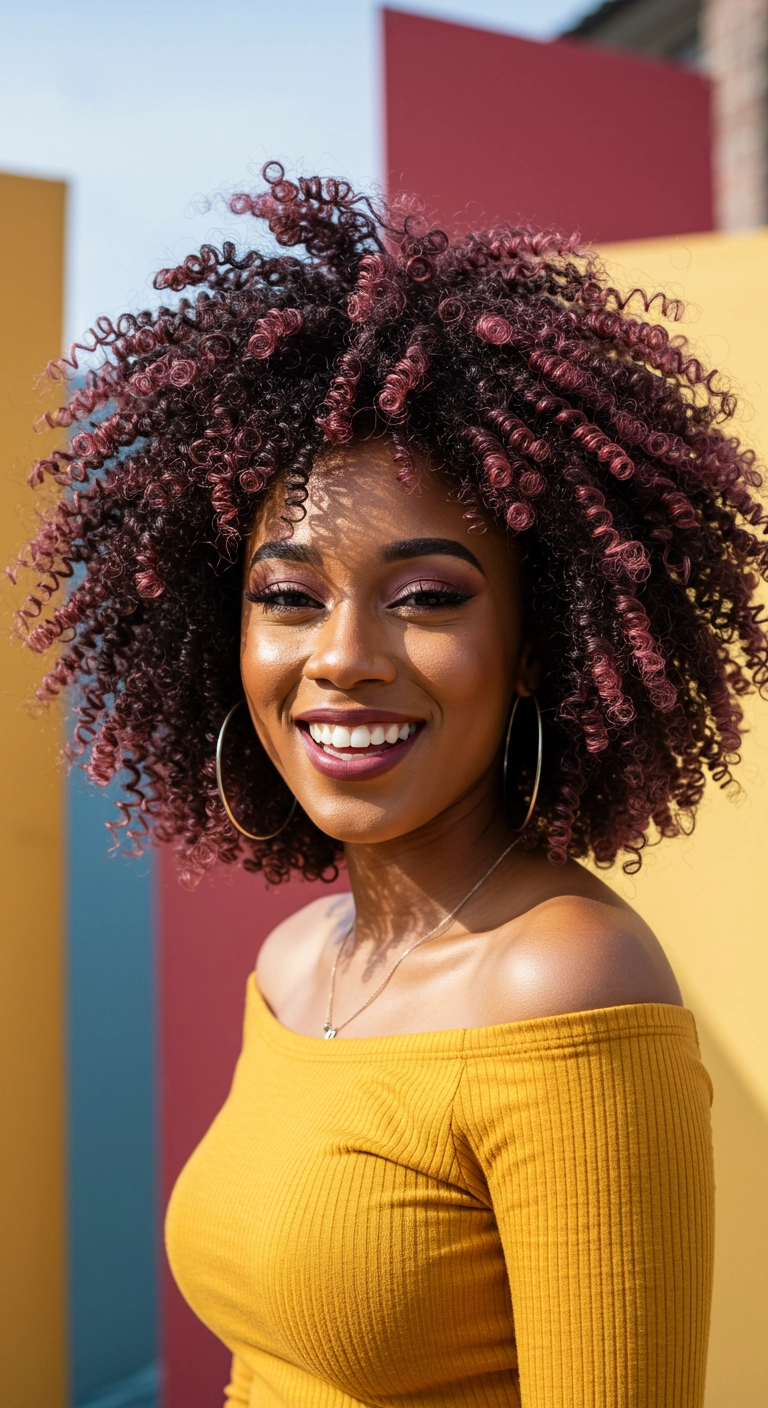
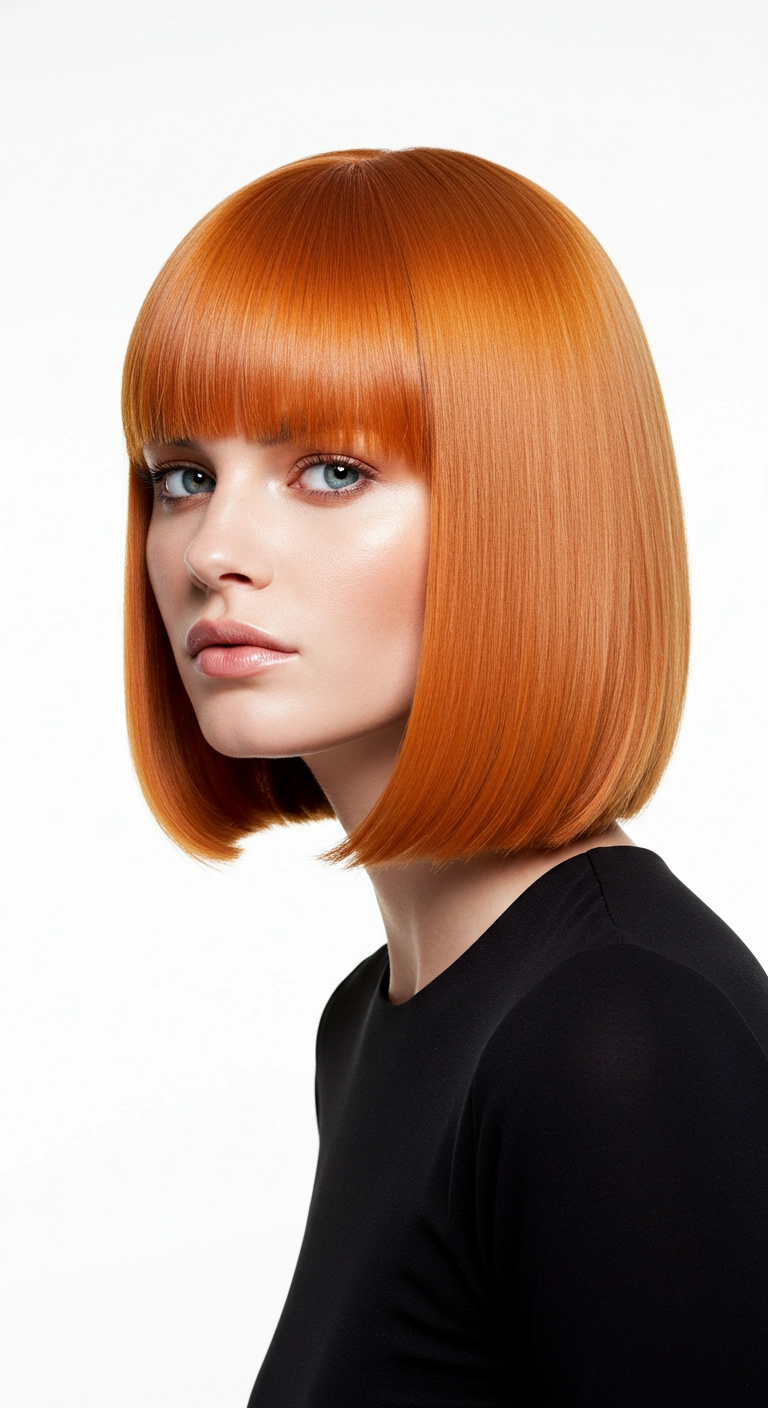
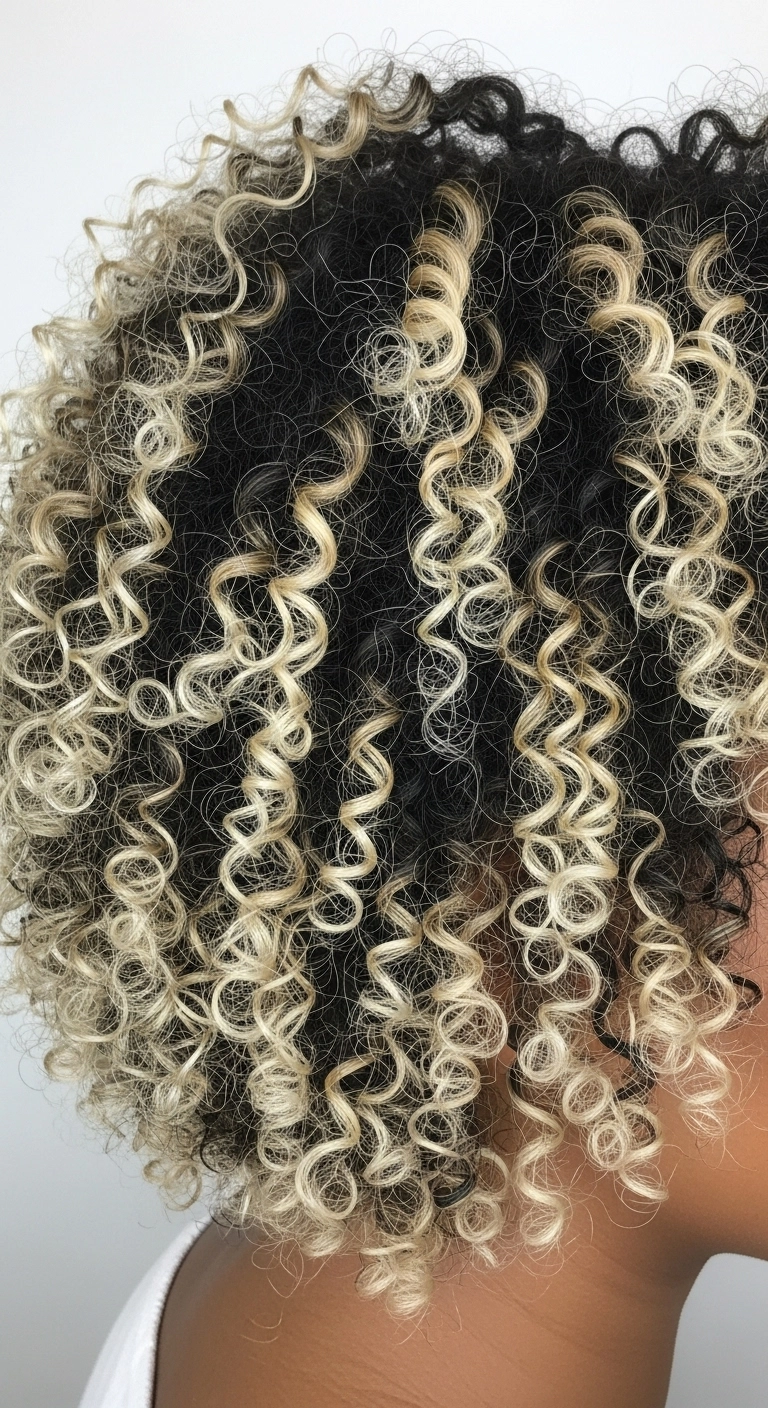
Need an updo that screams timeless luxury for your next big formal event? A sculpted low chignon is the ultimate classic that never misses. It keeps all your hair sleek, polished, and out of the way while showing off your neckline and statement earrings. Add a delicate pearl pin and you're instantly red-carpet ready without having to overthink it!
How to do this
1. Start with freshly washed, blown-out hair, applying a small amount of the smoothing hair serum listed below to eliminate frizz and create a high-shine finish.
2. Create a clean middle or subtle off-center part down to the crown, then smooth both sides down behind the ears using the boar bristle styling brush listed below.
3. Gather all of your hair into a low ponytail right at the nape of your neck and secure tightly with the snag-free clear hair elastics listed below.
4. Twist the ponytail length firmly, then wrap it upward and around the base to form a neat, horizontal twisted chignon roll.
5. Secure the bun seamlessly along its perimeter using the matte finish bobby pins listed below, tucking the ends cleanly underneath.
6. Insert a decorative hair accessory, such as the pearl bridal hair pin listed below, just above the side of the bun for an elegant accent.
7. Lock the entire updo into place and tame any flyaways around the hairline with a generous mist of the strong hold hairspray listed below.
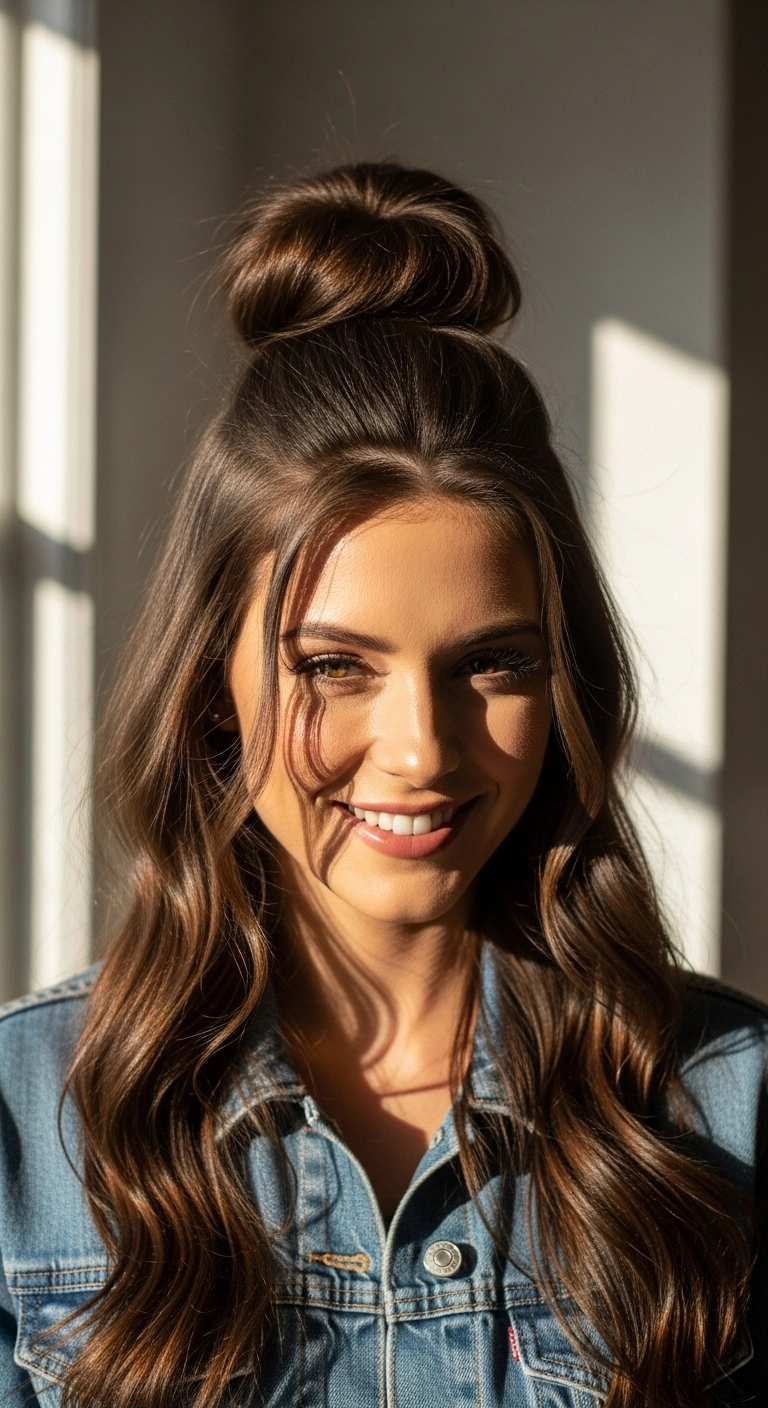
I think the half-up top knot is hands down one of the easiest and most versatile hairstyles for second-day hair. It pulls the weight away from your face while still showing off your length and soft, bouncy waves! You can make the top bun super sleek or pull it apart for a messier, more casual daytime vibe.
How to do this
1. Start by prepping clean, dry hair with a lightweight heat protectant spray using the heat protectant spray listed below to shield strands from hot tools.
2. Add loose, flowing waves throughout the entire head by wrapping 1.5-inch sections around a wide-barrel curling wand, leaving the very ends slightly straight for a natural vibe.
3. Section off the top crown portion of your hair from the temples upward, leaving two soft, thin face-framing strands loose in the front.
4. Gather this top section high on the crown and secure it into a ponytail using a snag-free hair elastic.
5. Twist the ponytail loosely around its base to create a relaxed, rounded top knot bun, securing it underneath with bobby pins.
6. Gently pull on the edges of the bun to fan it out and give it that effortless, full volume look.
7. Finish the look by misting a flexible hold texturizing spray across the lengths and bun using the dry texturizing spray listed below to hold the waves and texture all day.
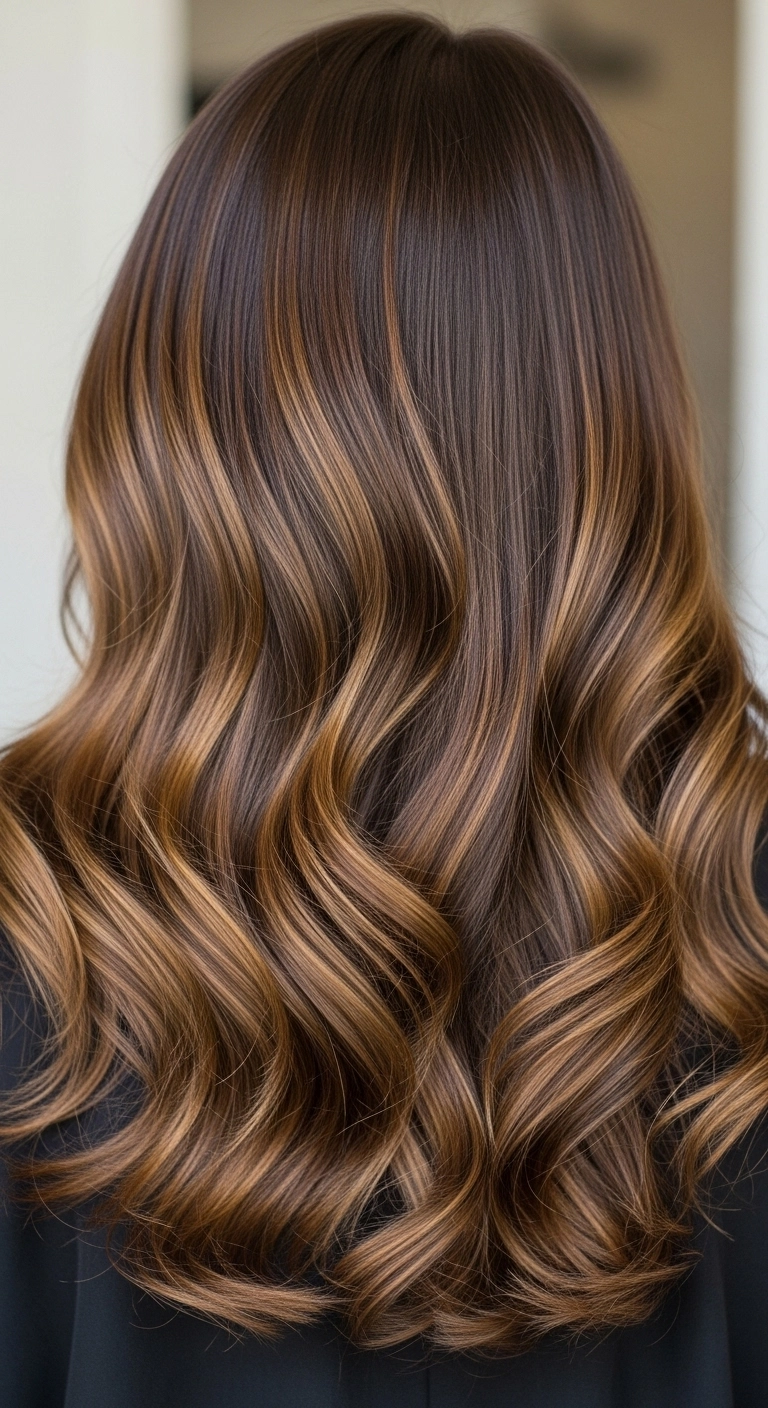
If you want to add life and movement to your dark hair without committing to an all-over light shade, this caramel ribbon balayage is pure magic. The warm ribbons catch the light beautifully on loose curls, giving you that rich, expensive brunette feel that's super easy to grow out.
How to do this
1. Start by prepping freshly washed, damp hair with a lightweight smoothing blowout cream and the heat protectant spray listed below to shield your strands from heat damage.
2. Blow dry the hair in medium sections using a large ceramic round brush to achieve maximum root lift and a silky, frizz-free foundation.
3. Once the hair is fully dry, section it horizontally from the nape of the neck up to keep your styling neat and organized.
4. Take 1.5-inch vertical sections and wrap them around a 1.25-inch curling iron barrel, directing the curls away from where the face would be and leaving the very ends softly relaxed.
5. Allow each curl to completely cool down before touching it so the wave pattern locks firmly in place.
6. Gently rake through the curls with a wide-tooth detangling comb to transform tight spirals into smooth, cascading ribbon waves.
7. Finish by misting a small amount of the high-shine finishing oil listed below over the mid-lengths and ends for that glossy salon finish, followed by a light spray of flexible hold hairspray.
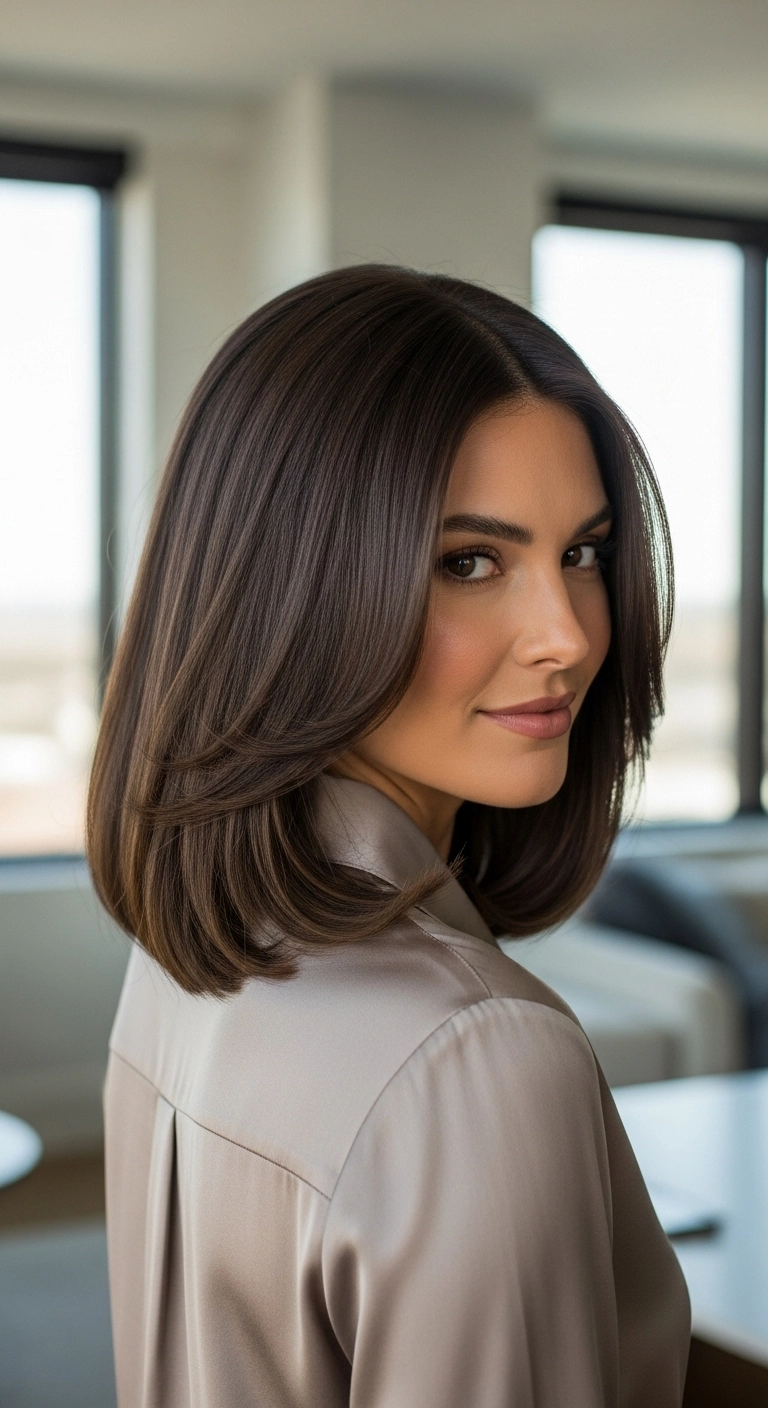
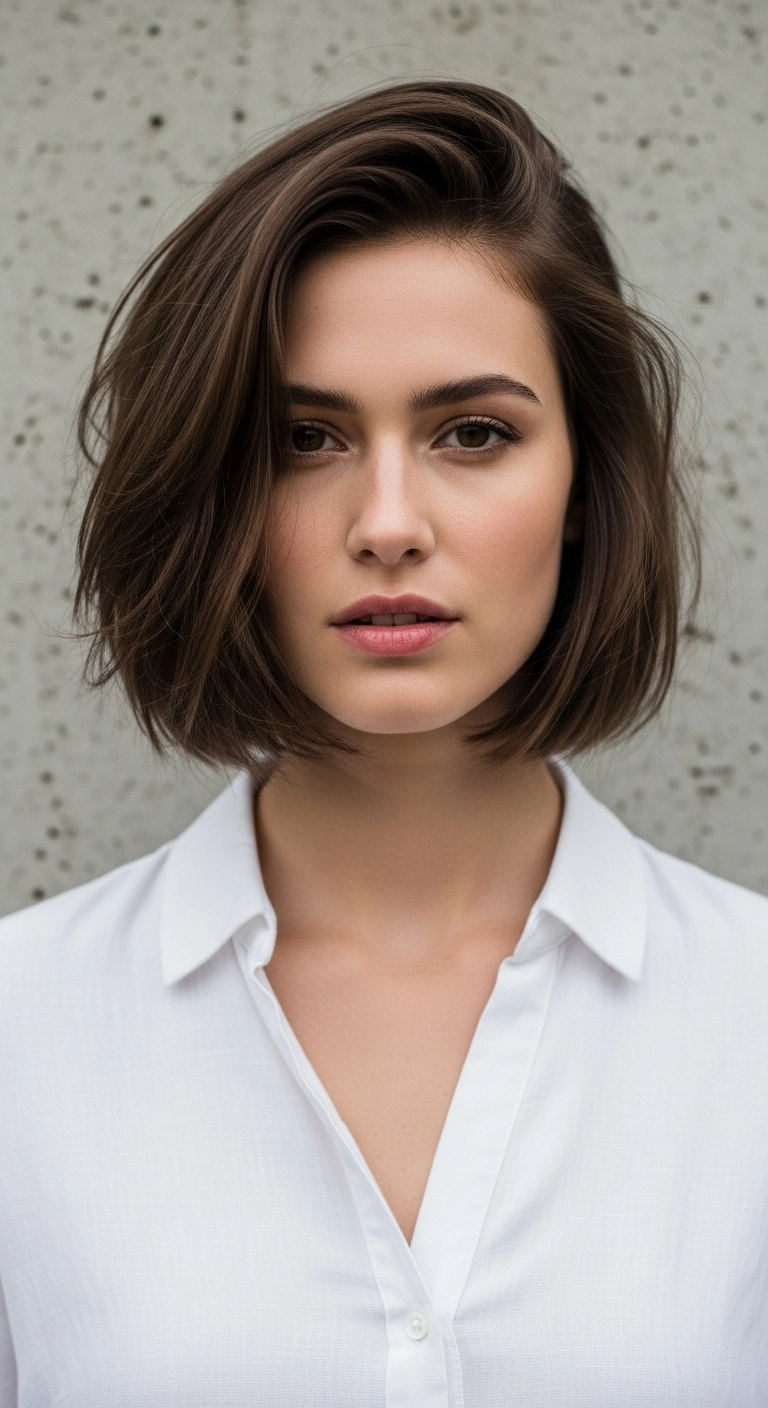
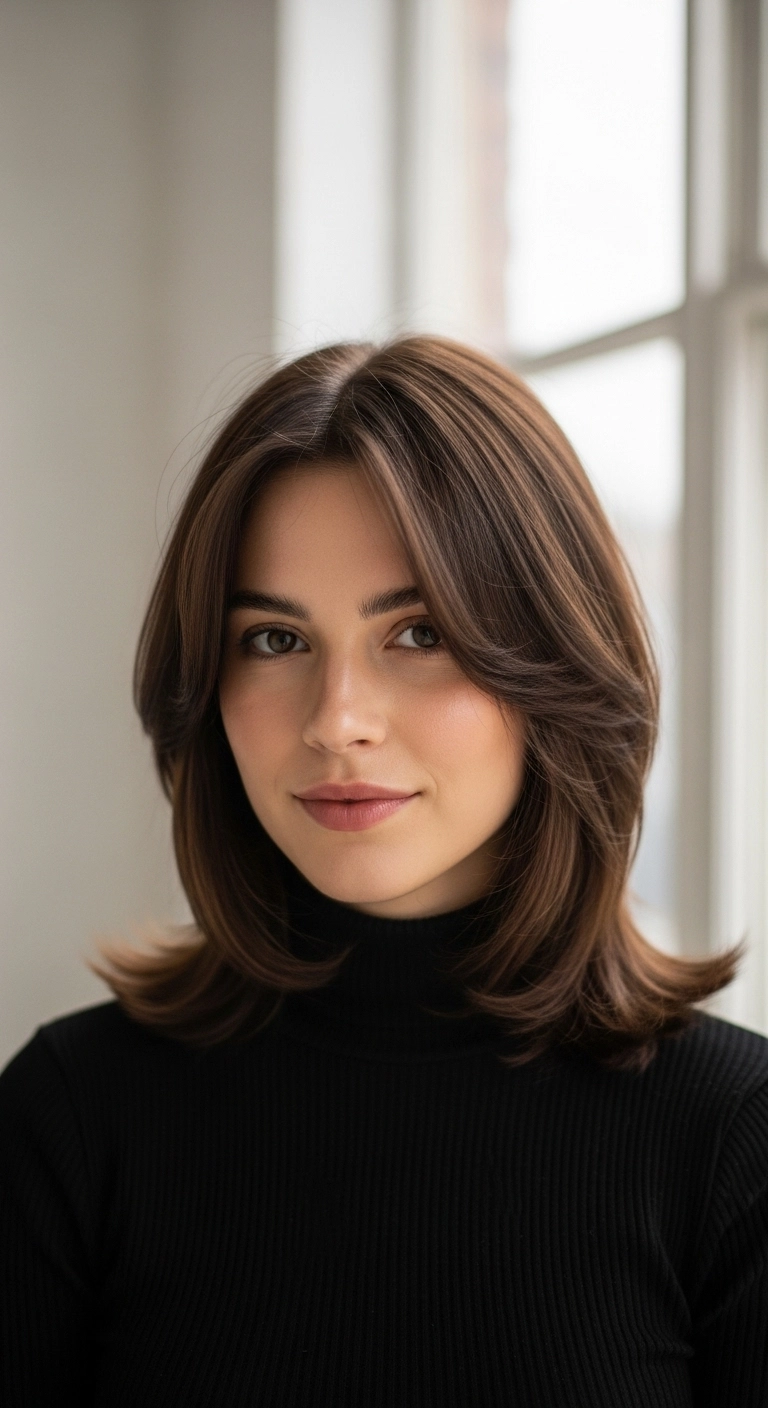
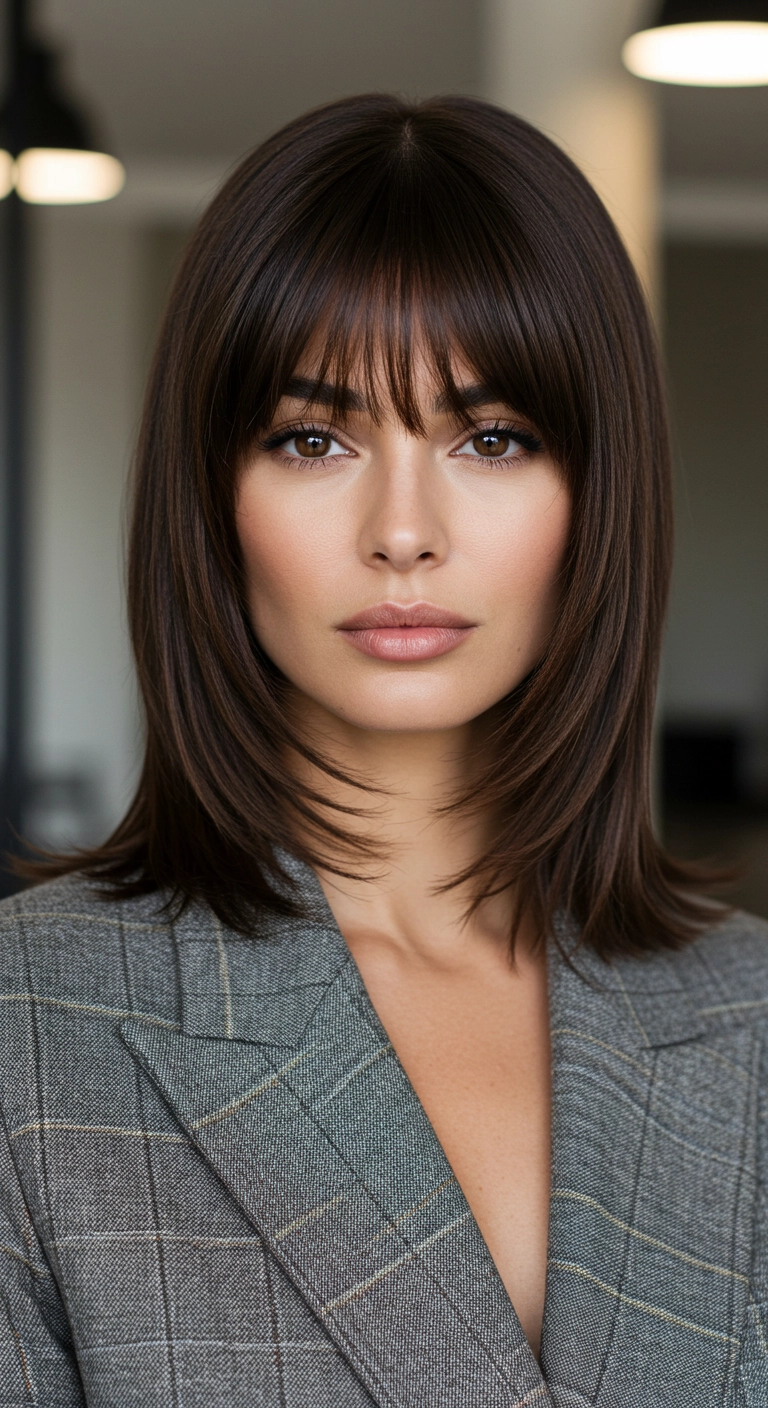
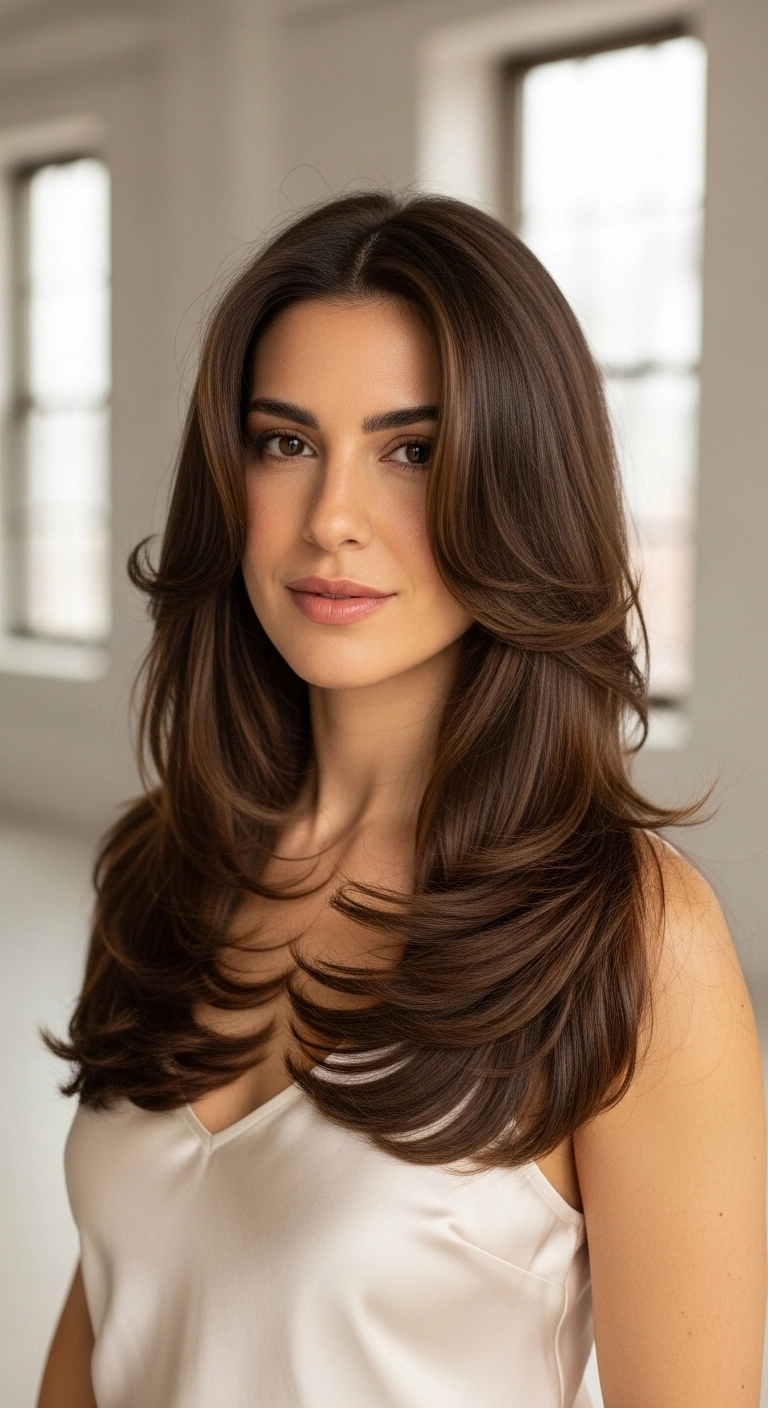
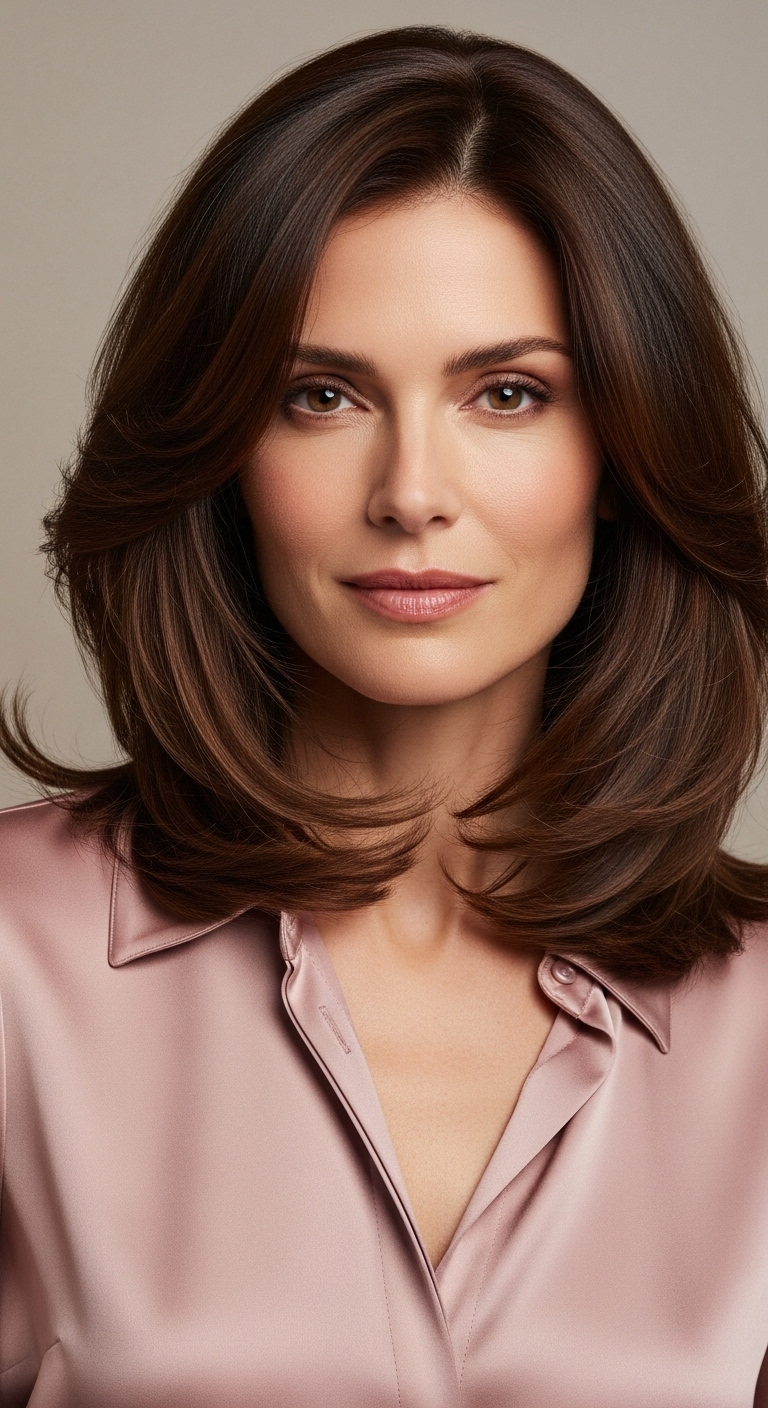
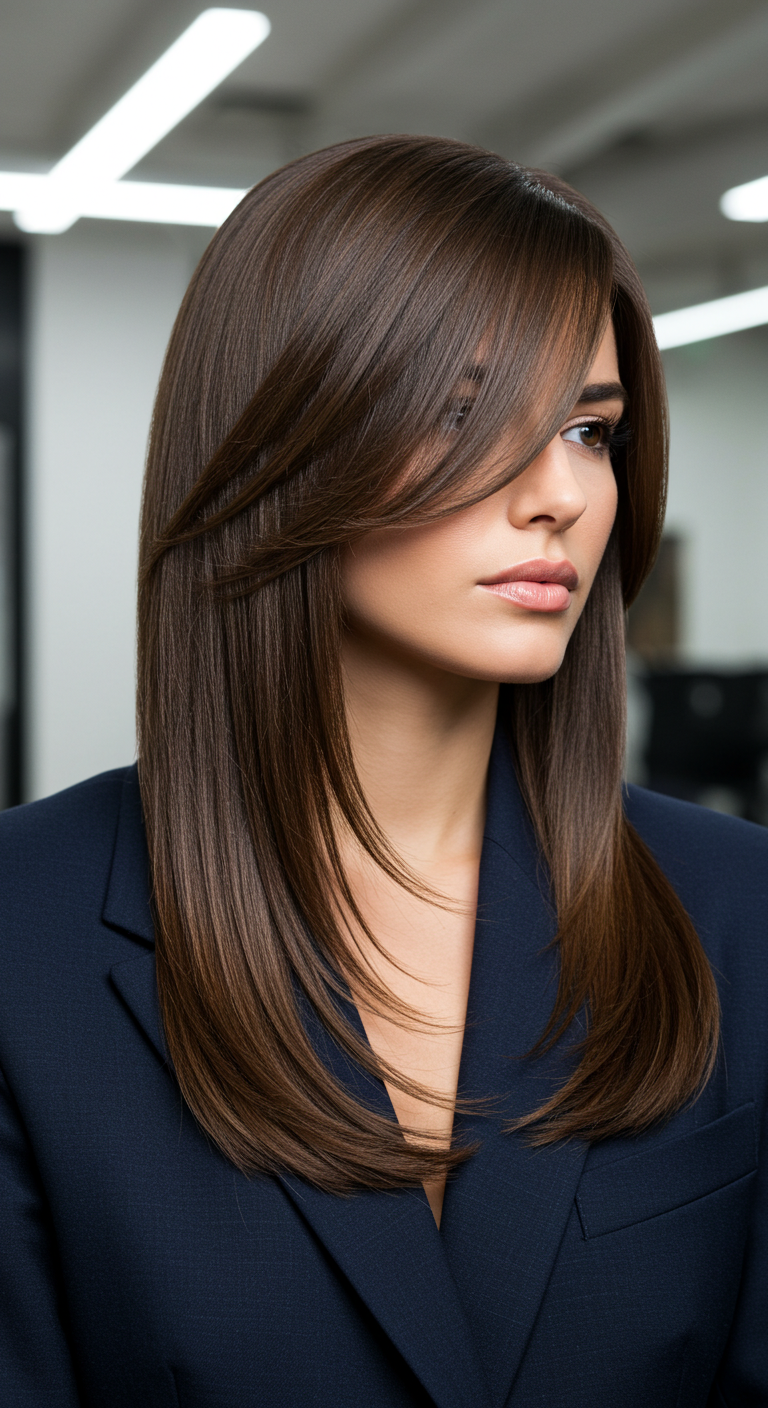
I’m absolutely in love with this hairstyle because it gives you that ultra-polished 'clean girl' look without needing hours of fuss. The face-framing layers curve so beautifully around the cheekbones, and the rich chocolate brown tone looks unbelievably healthy and shiny. It’s chic enough for important work meetings or date night, but still bouncy and effortless for day-to-day wear. Definitely give this blowout lob a try, it’s a total confidence booster!
How to do this
1. Start with freshly washed, towel-dried hair and apply a smoothing leave-in primer followed by a heat protectant spray using the Heat Protectant Spray listed below.
2. Section the hair into manageable horizontal layers, starting at the nape of the neck and securing the top with clips.
3. Using the Ceramic Round Blowout Brush and a concentrator-nozzle hairdryer, blow dry each section downward from roots to ends, curling the ends under smoothly to create that bouncy curve.
4. For the front face-framing layers, overdirect the brush forward and roll backward away from the face as you dry to create a sweeping, feathered curtain effect.
5. Set the styled front layers in large Velcro rollers while they cool down to lock in that voluminous bend and shape.
6. Gently remove the rollers, lightly brush through with a wide-tooth comb or soft bristle brush, and smooth a dime-sized drop of the Nourishing Hair Oil listed below through the lengths for high-gloss shine.
7. Finish the entire look with a light mist of the Flexible Hold Hairspray listed below to control flyaways and keep the shape soft and touchable all day long.
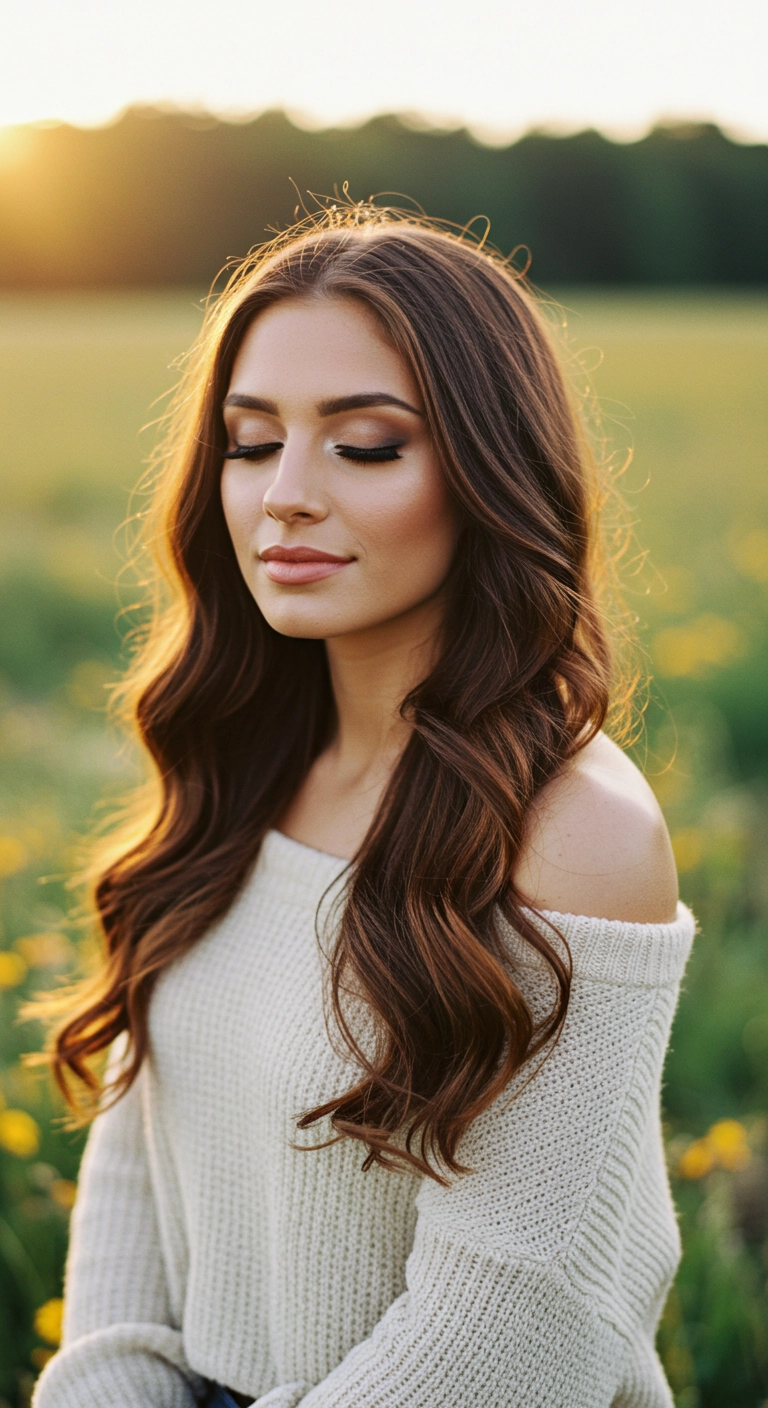
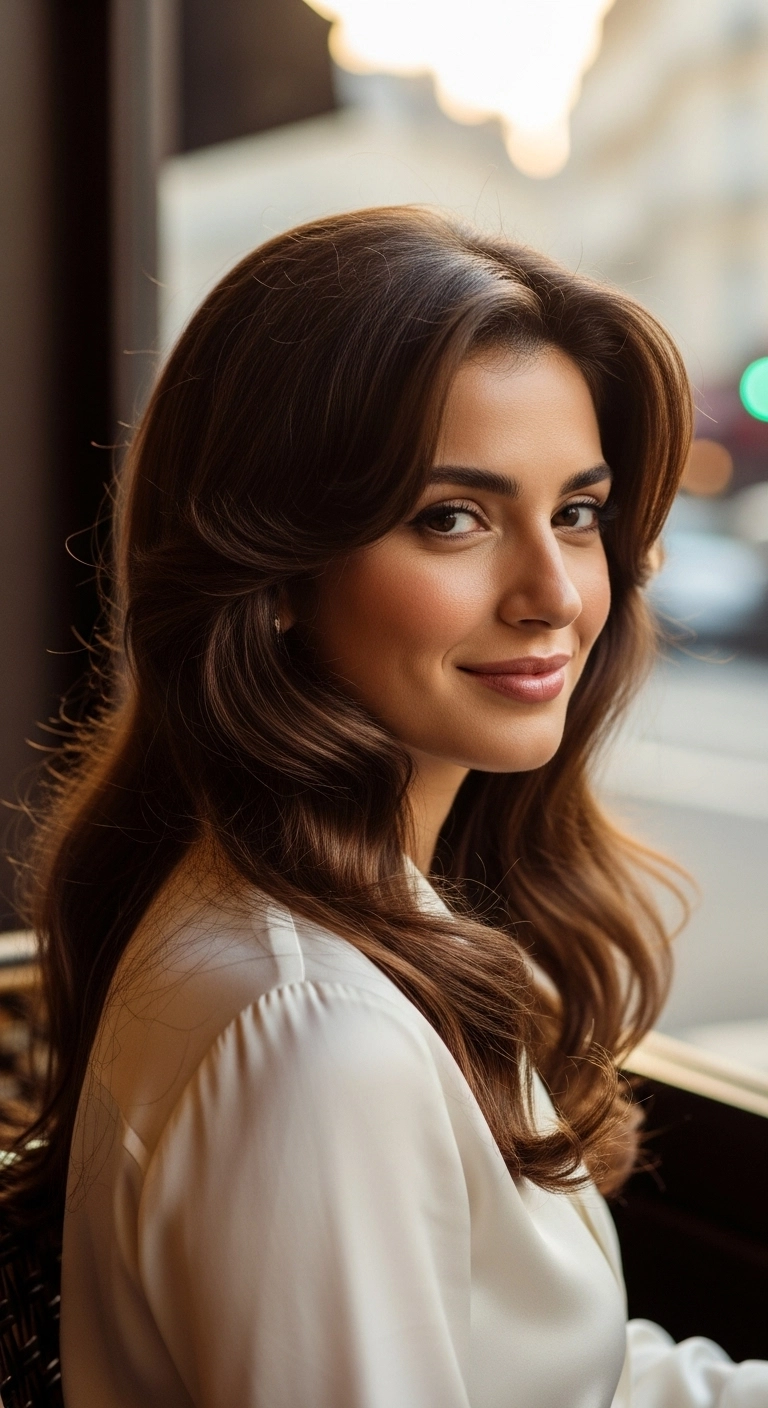
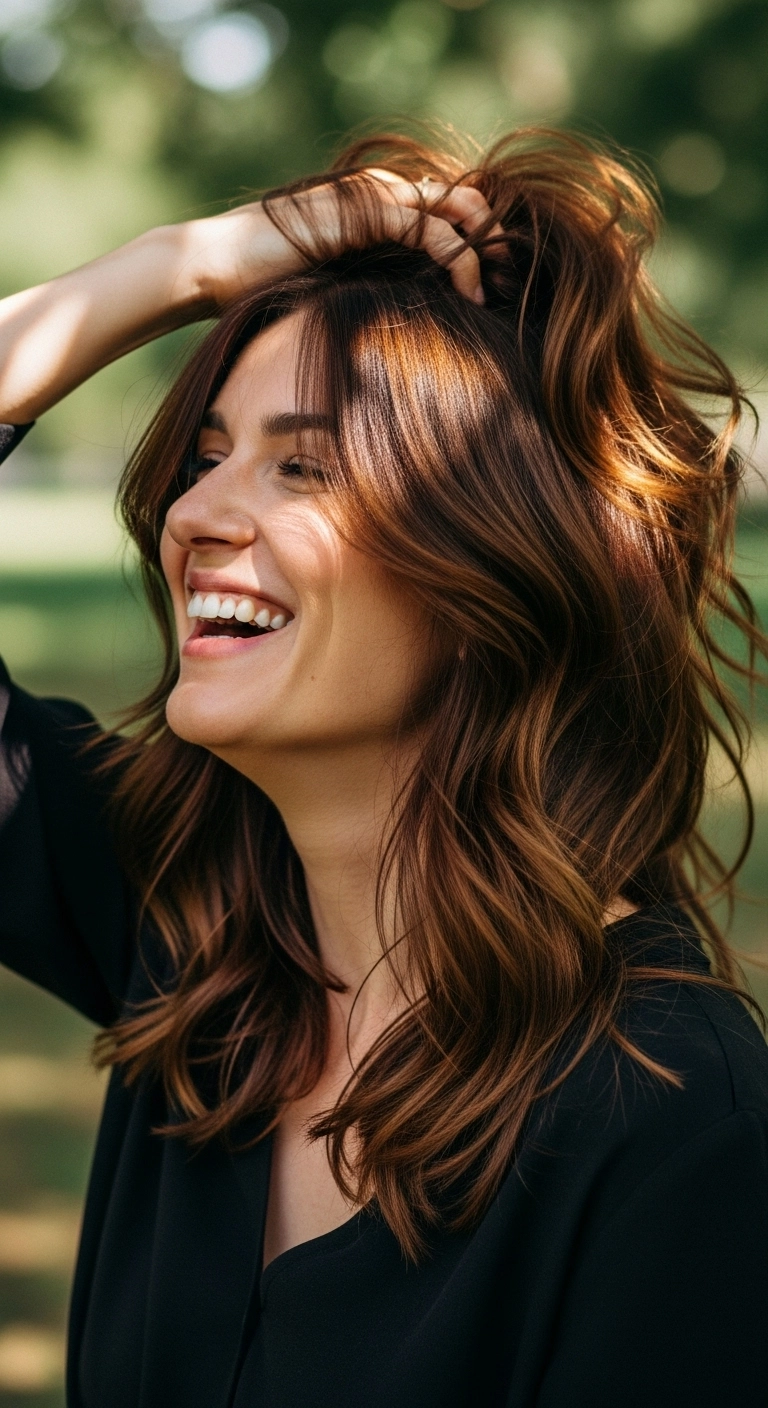
Are you completely obsessed with soft, dreamy waves that look effortlessly put-together? I added this gorgeous chocolate brown blowout to the list because it feels so romantic and timeless, don’t you think?! You can dress these big, tumbling curls up for a wedding or date night, or pair them with your favorite cozy sweater for an effortless golden-hour vibe. There’s something so flattering about face-framing waves that never goes out of style, which I just love! Try out this look the next time you want that classic, feminine glow.
How to do this
1. Start by prepping damp hair with a small amount of the lightweight heat protectant spray listed below from mid-lengths to ends to keep the hair silky and shielded from heat.
2. Blow dry the hair using a round ceramic brush, lifting at the roots to build natural body and rolling the ends under for a smooth, glossy base.
3. Section the hair into 1-to-2-inch pieces and use the 1.25-inch ceramic curling iron listed below to curl each section away from the face, holding for just a few seconds to create soft, elongated ribbon waves.
4. Let the curls cool completely so they set properly, then mist lightly with the flexible hold hairspray listed below to lock in the bounce without stiffness.
5. Gently brush through the curls using the wide-tooth comb listed below to transform them into seamless, cascading waves.
6. Finish the look by smoothing a couple of drops of the nourishing hair shine oil listed below through the ends to tame any flyaways and boost golden-hour shine.
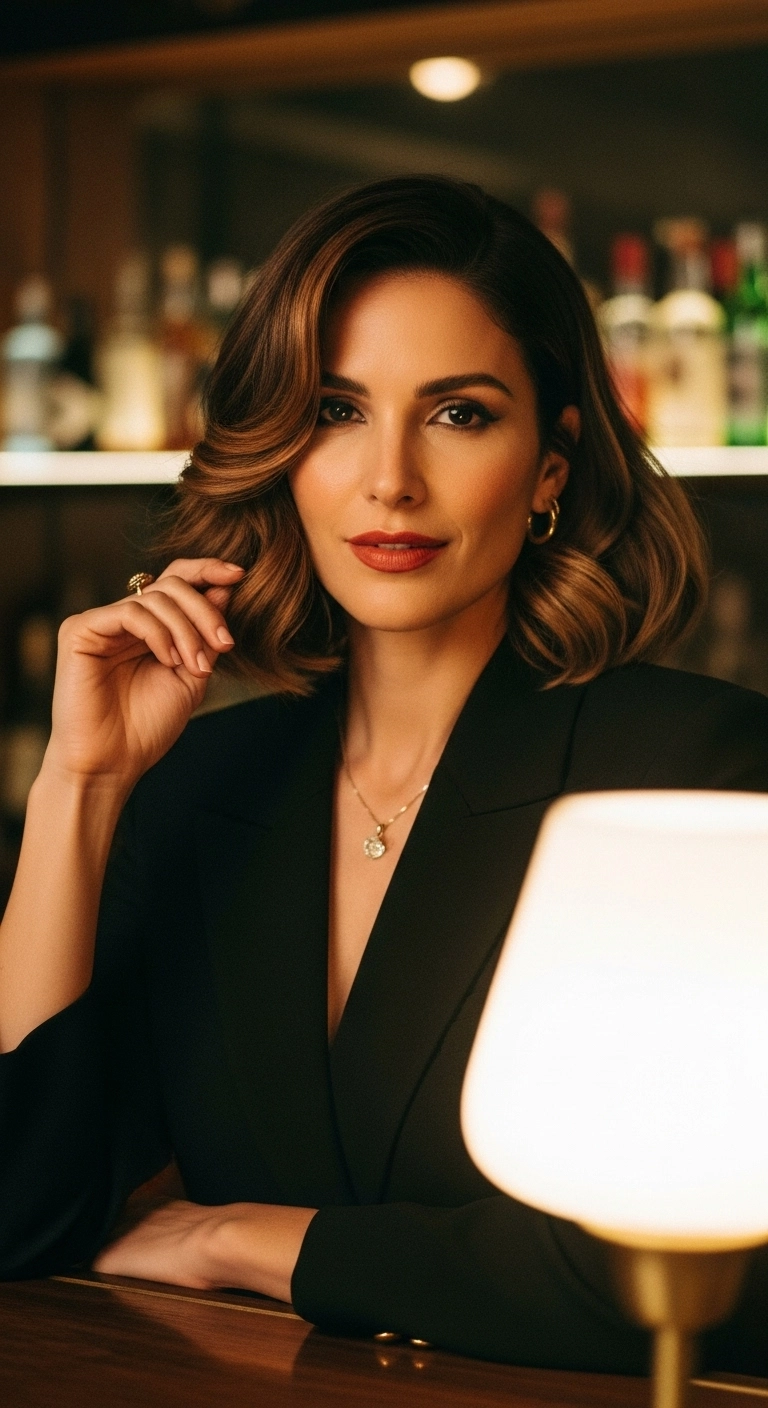
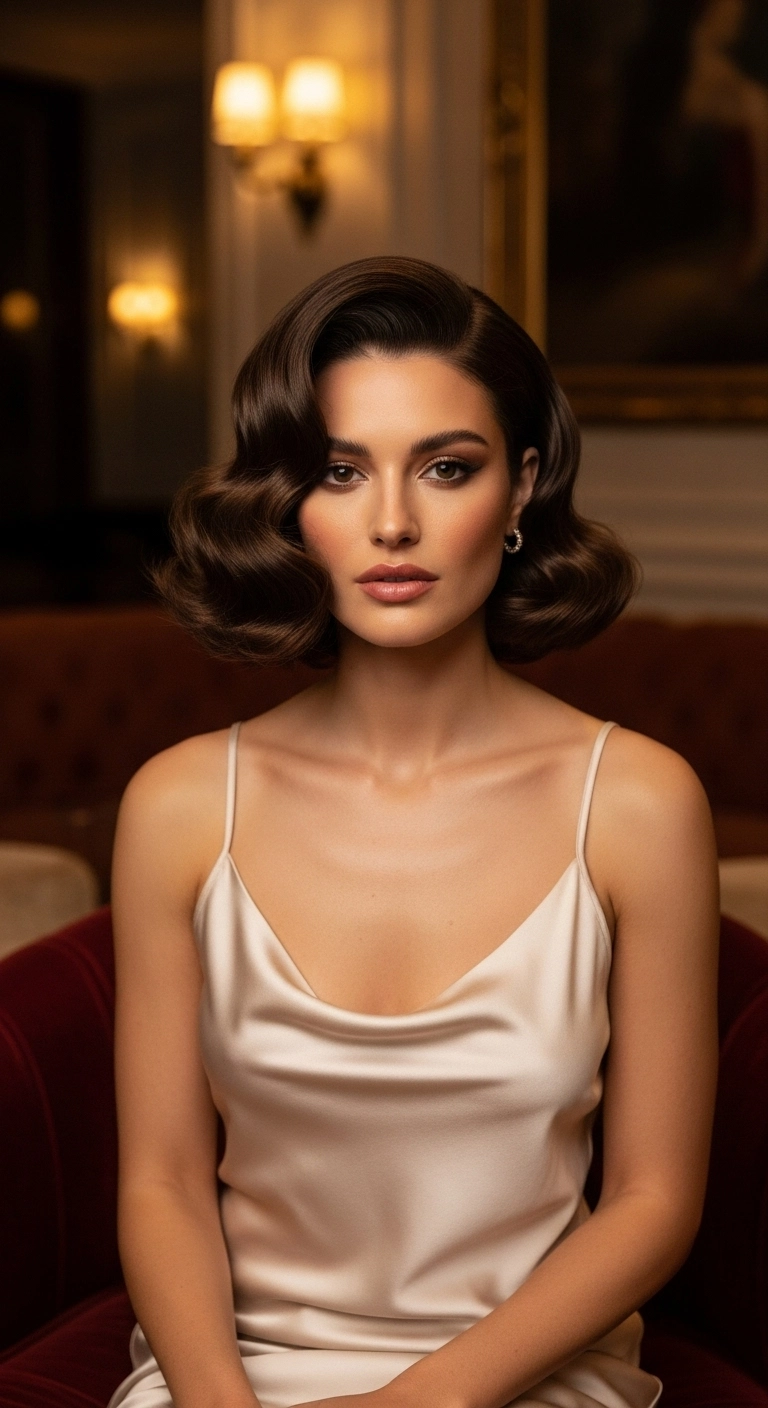
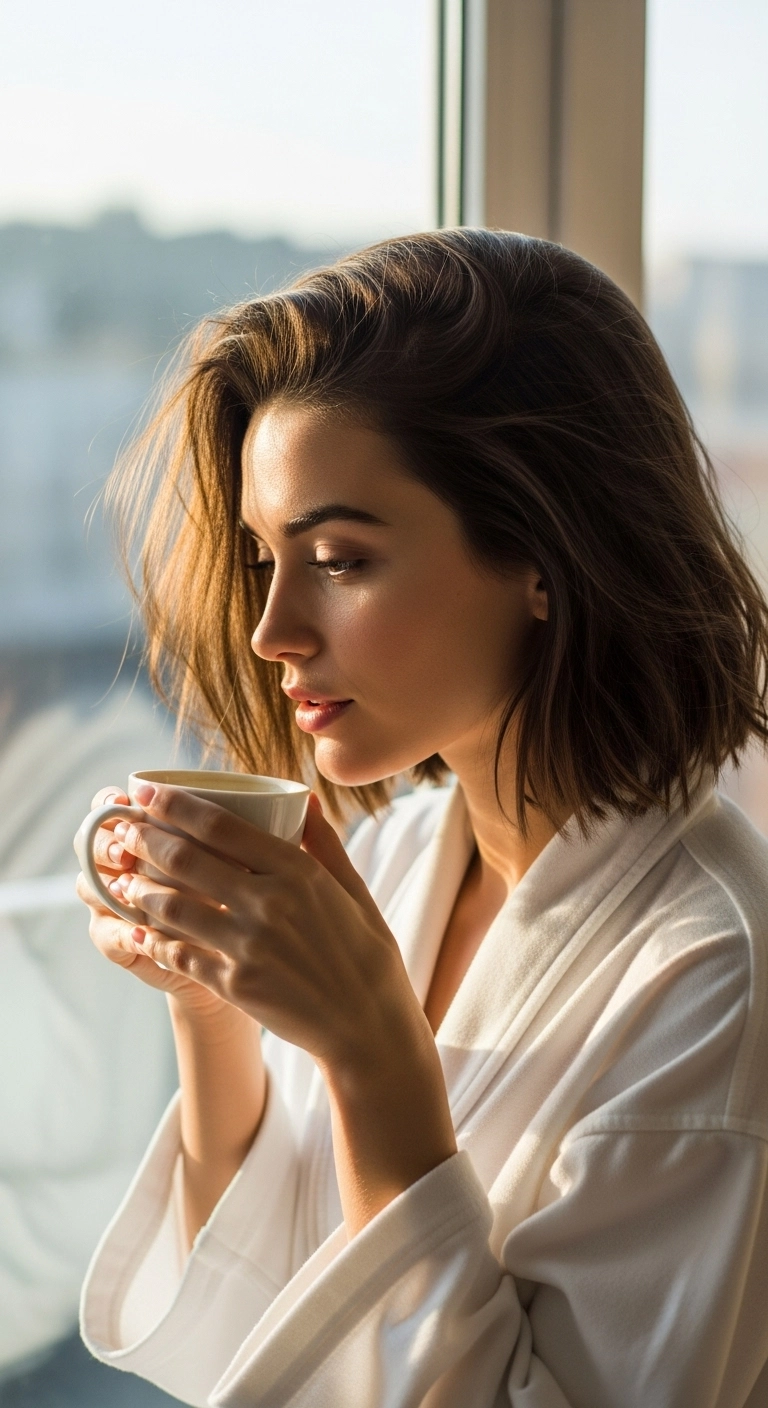
I love how luxurious and effortless this Italian bob looks! The deep side part combined with those polished brushed-out waves gives it such a classic vintage vibe that still feels totally modern. It's honestly my go-to cut recommendation if you want something chic that looks amazing for both everyday styling and fancy evenings out.
How to do this
1. Prep damp hair by applying a smoothing heat protectant spray with argan oil listed below from roots to ends.
2. Blow dry using a large ceramic round brush listed below, lifting at the roots to build maximum volume and tucking the ends under for a soft, rounded bounce.
3. Create a deep side part to set the dramatic side swoop.
4. Using a 1.25-inch curling iron listed below, wrap horizontal sections away from the face, letting each curl cool completely in place.
5. Gently brush through the curls using a boar bristle paddle brush listed below to transform tight curls into soft, glossy, flowing waves.
6. Finish by misting with a flexible hold shine hairspray listed below to lock in the bounce and glossy finish all evening.
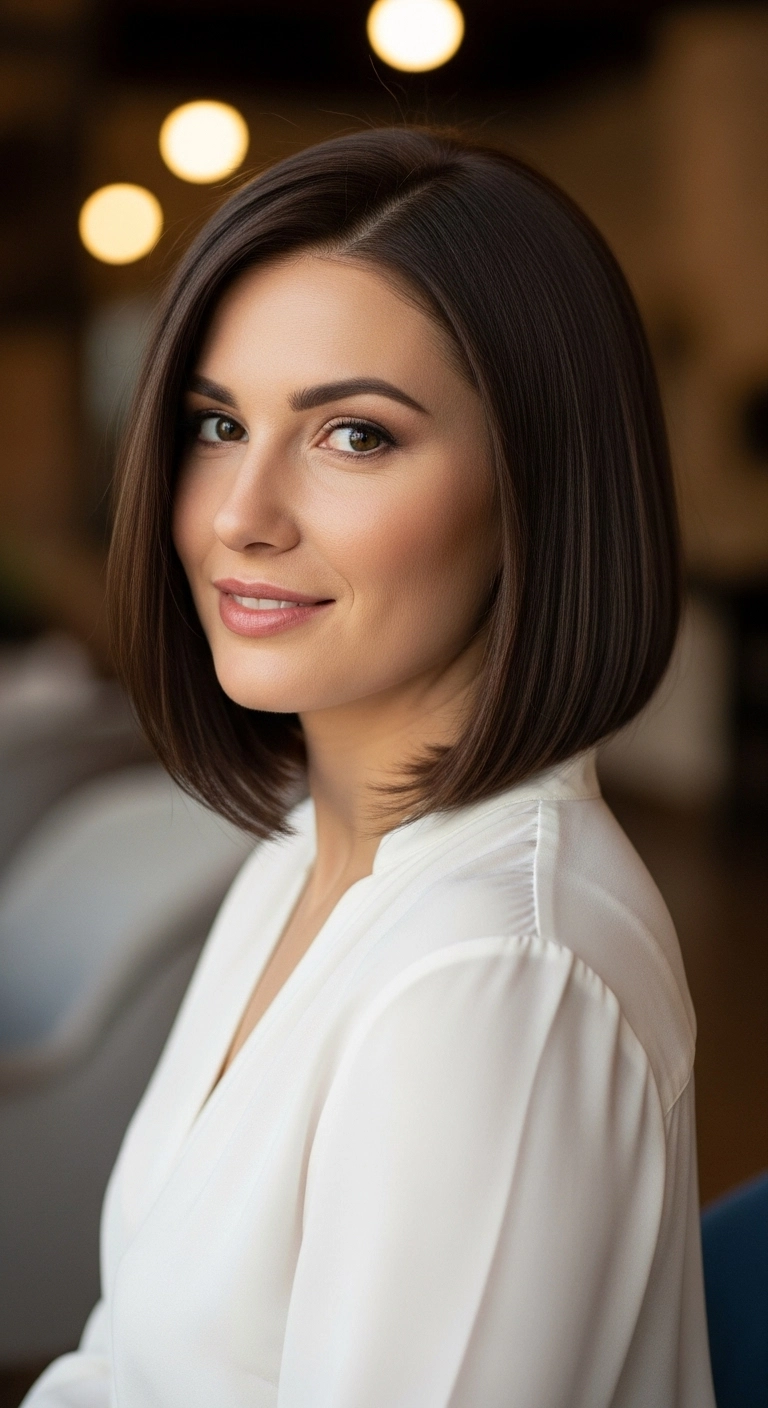
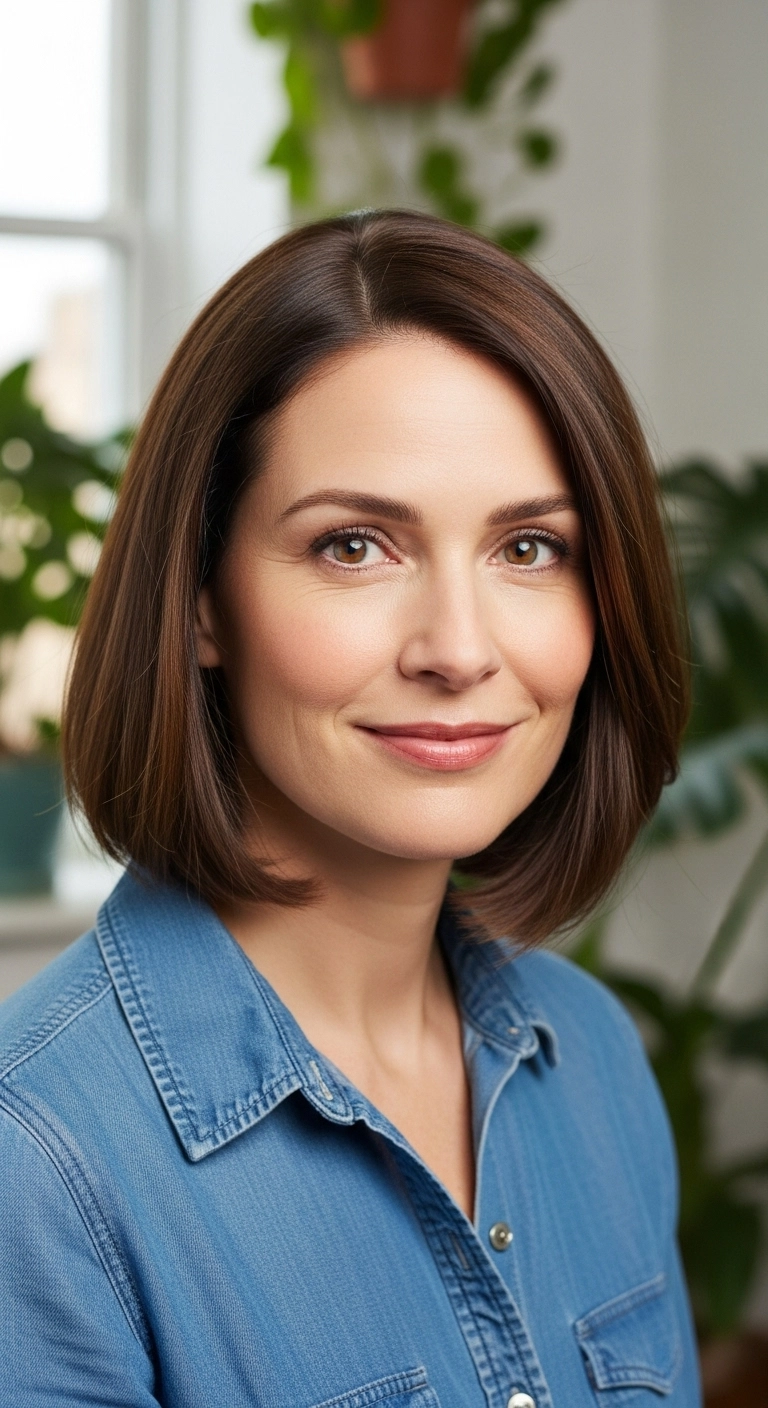
A classic bob will never go out of style, especially when it has that effortless Parisian bounce. The subtle inward bevel on the ends frames the jawline so elegantly and makes fine-to-medium hair look instantly thicker. If you want a cut that always looks put-together whether you’re heading to the office or running errands in the rain, this sleek rounded bob is absolute perfection.
How to do this
1. Start with freshly washed, towel-dried hair and apply a smoothing blowout cream to ensure softness and eliminate frizz.
2. Mist your strands thoroughly using the thermal heat protectant spray listed below to shield hair from heat styling.
3. Section your hair horizontally into manageable layers, clipping the top sections out of the way.
4. Blow dry each section using the round ceramic blowout brush listed below, directing the airflow down the hair shaft and rolling the ends gently inward toward the neck.
5. For the face-framing front pieces, roll the round brush slightly back and under to give that soft, sweeping bend around the cheekbones.
6. Finish off the style by applying a few drops of the lightweight nourishing hair oil listed below to smooth flyaways and add a glossy, healthy sheen.
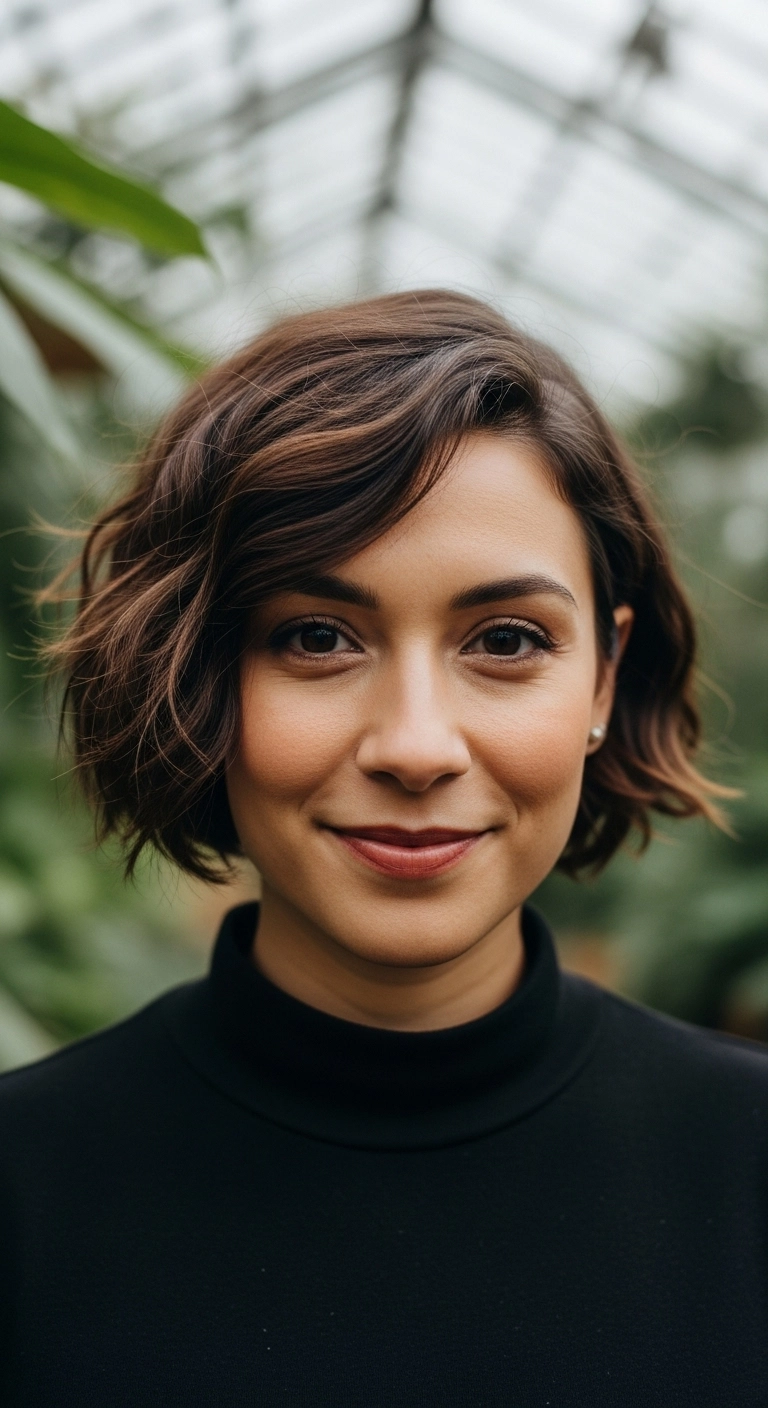
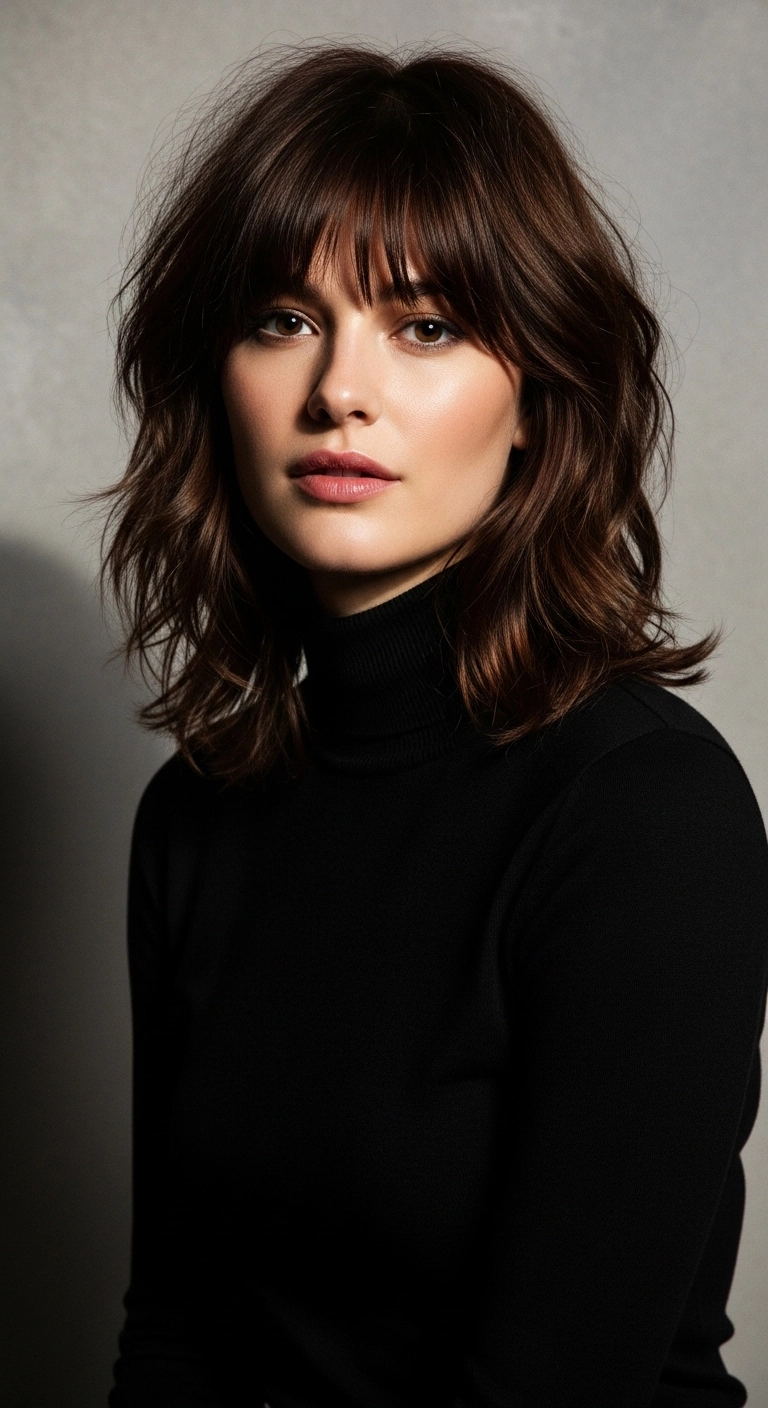
This textured wavy bob is so effortless and chic, honestly it's one of my absolute favorites! It adds instant volume and frames your face so beautifully without feeling stiff or overly styled. If you're looking for a fresh, low-fuss chop that still feels super elevated, you will fall in love with this cut!
How to do this
1. Start by washing and prepping clean, damp hair using a lightweight volumizing mousse to give the cut lift and body.
2. Apply a dime-sized amount of the heat protectant spray listed below all through the lengths before blow-drying.
3. Rough-dry your hair using a blow dryer and a small round brush, lifting at the roots to create natural volume, especially along the deep side part.
4. Using a 1-inch curling wand or flat iron listed below, take random 1-inch vertical sections and create soft, alternating S-waves, leaving the ends slightly undone for that chic, lived-in feel.
5. Gently sweep the front fringe across your forehead to frame the eyes gracefully.
6. Finish by misting the dry texturizing spray listed below through the mid-lengths and shaking out the waves with your fingers for a relaxed, effortless bounce.
I think the side-parted jawline bob is one of the easiest ways to get that timeless, effortlessly chic look without spending hours styling. Flipping your part over to the opposite side gives you instant root lift and that lived-in French girl texture. You can dress this look up with a sleek finish for work or muss it up with a bit of texturizing spray for an easy daytime vibe!
How to do this
1. Start with clean, damp hair and apply a golf-ball-sized dollop of the volumizing mousse listed below directly into your roots for lasting lift.
2. Mist your mid-lengths and ends with the heat protectant spray listed below to shield strands and seal in moisture.
3. Create a deep side part on your preferred side using a tail comb.
4. Section your hair into manageable tiers, then blow-dry using the round ceramic brush listed below, lifting upwards at the roots and rolling under gently at the jawline.
5. Once fully dry, spray the dry texturizing spray listed below through the roots and mid-lengths while flipping your head over to build airy volume.
6. Work a tiny drop of the lightweight hair styling oil listed below between your palms and smooth over the ends to define individual textured pieces and tame flyaways.
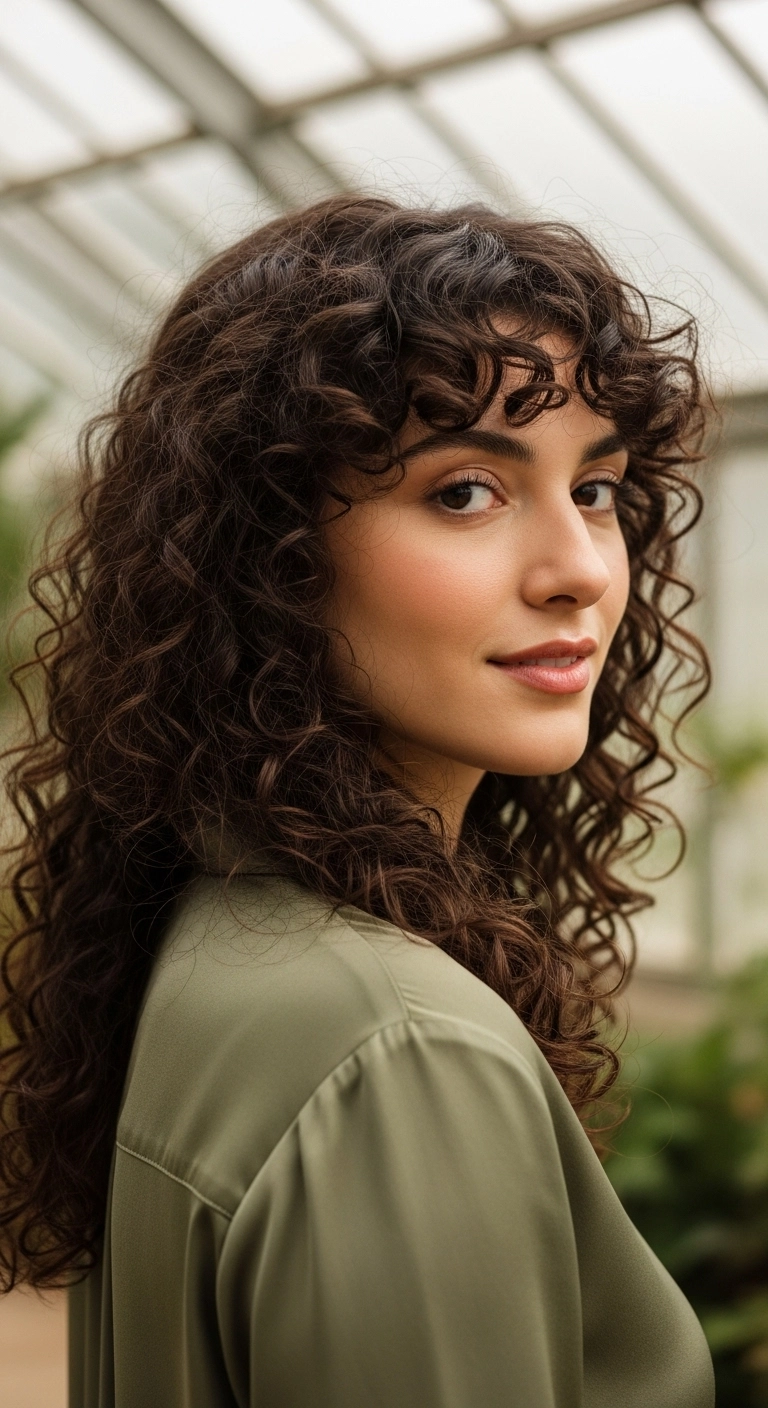
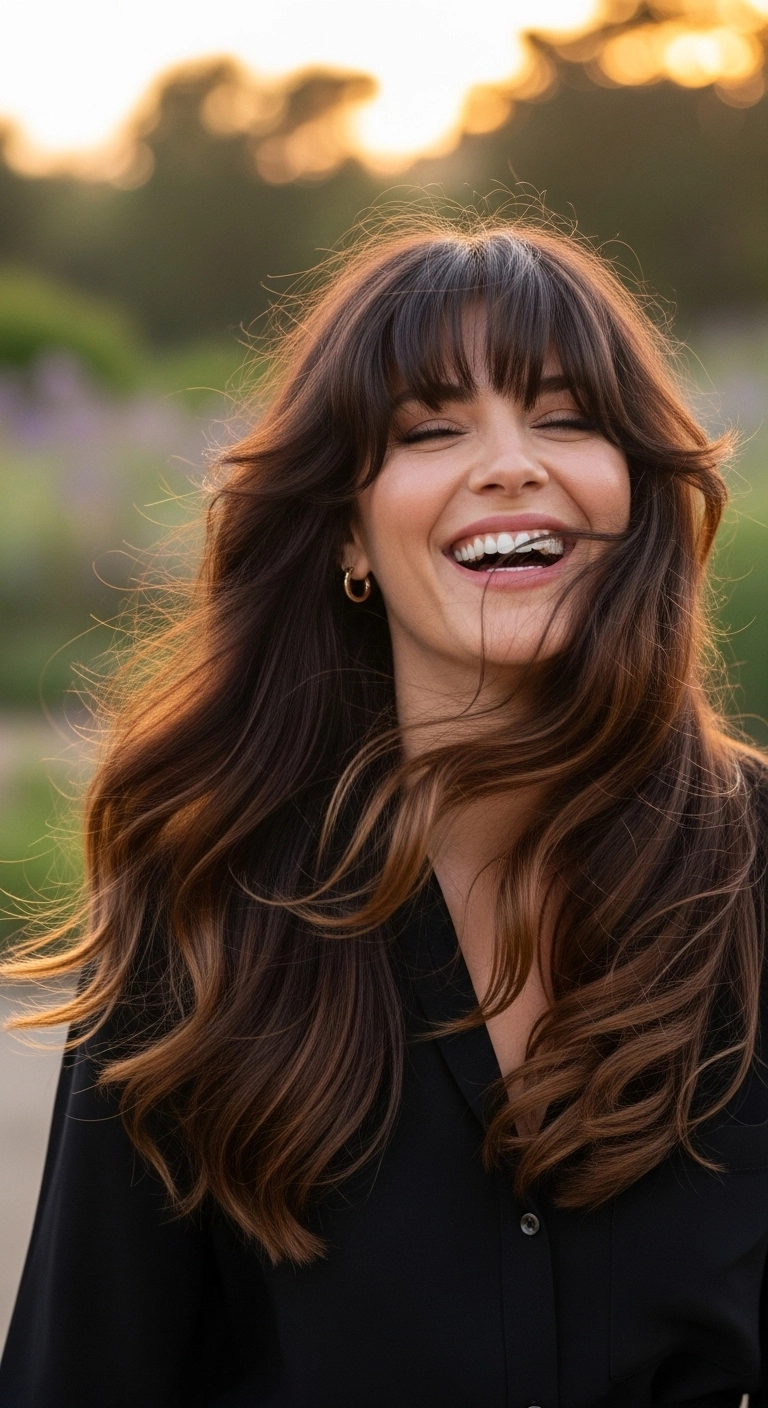
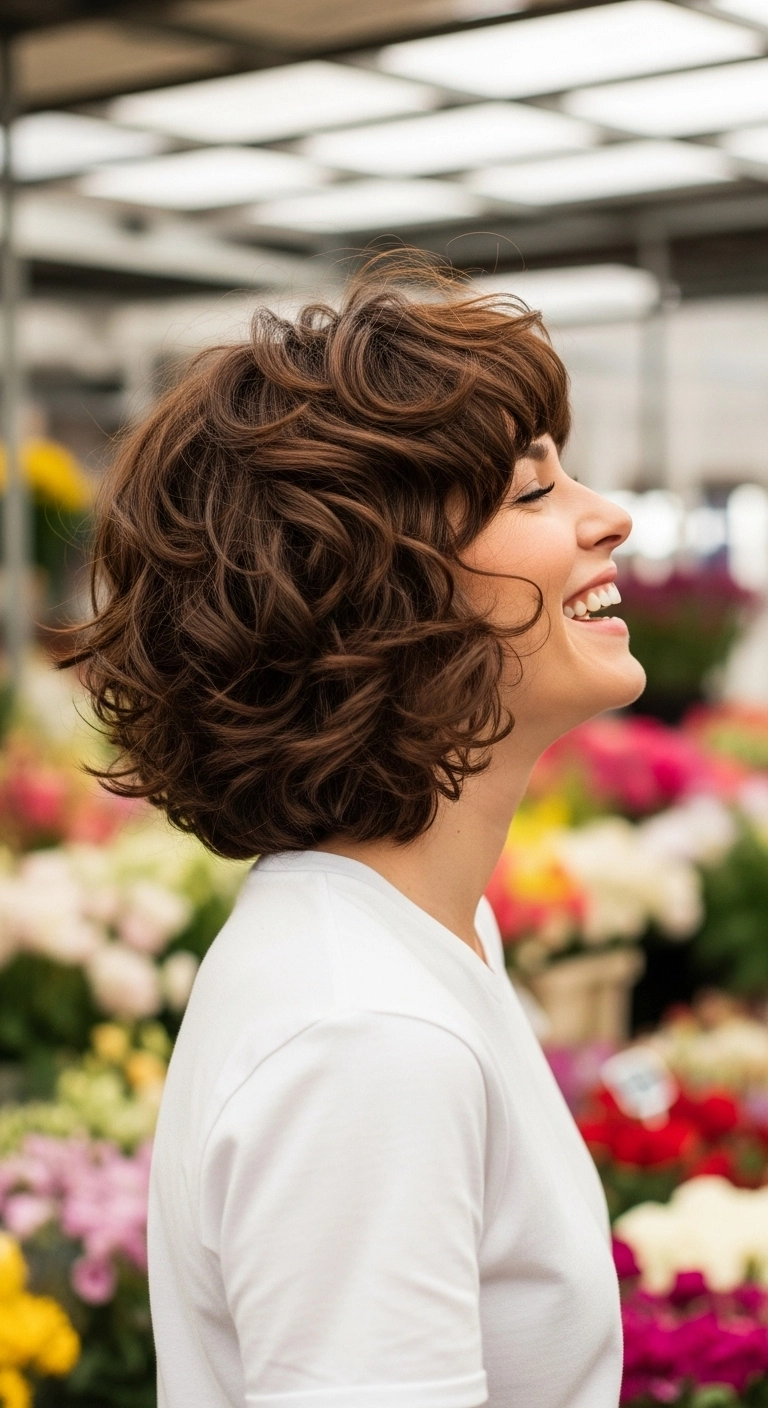
Are you completely obsessed with bouncy, effortless curly bangs like I am? I just had to include this gorgeous layered curly look because it gives that perfect romantic, naturally lived-in energy! The soft layers add so much natural lift and body around the crown while letting the spiral curls cascade effortlessly down the back. Whether you’re running weekend errands or dressing up for a golden-hour date, it shows off natural texture in the most stunning way!
How to do this
1. Start on freshly washed, soaking wet hair using the sulfate-free curl hydrating shampoo listed below to retain maximum moisture without weighing down your texture.
2. Rake a nickel-sized amount of the curl-defining leave-in cream listed below thoroughly from roots to ends, using your fingers to evenly distribute and encourage curl clumping.
3. Apply a light layer of the lightweight curl defining gel listed below using the praying hands method to lock in shape and fight unwanted frizz.
4. For the bangs, gently scrunch each ringlet individually upward with your fingers so they dry in a soft, bouncy spiral across your forehead without shrinking too high.
5. Attach the collapsible diffuser attachment for hair dryer listed below and gently dry your hair on low heat and low airflow, hovering around the crown and cup-scrunching the lengths until 90% dry.
6. Once fully dry, dispense two drops of the nourishing lightweight hair oil listed below between your palms and gently scrunch through your curls to break the cast and add glossy shine.
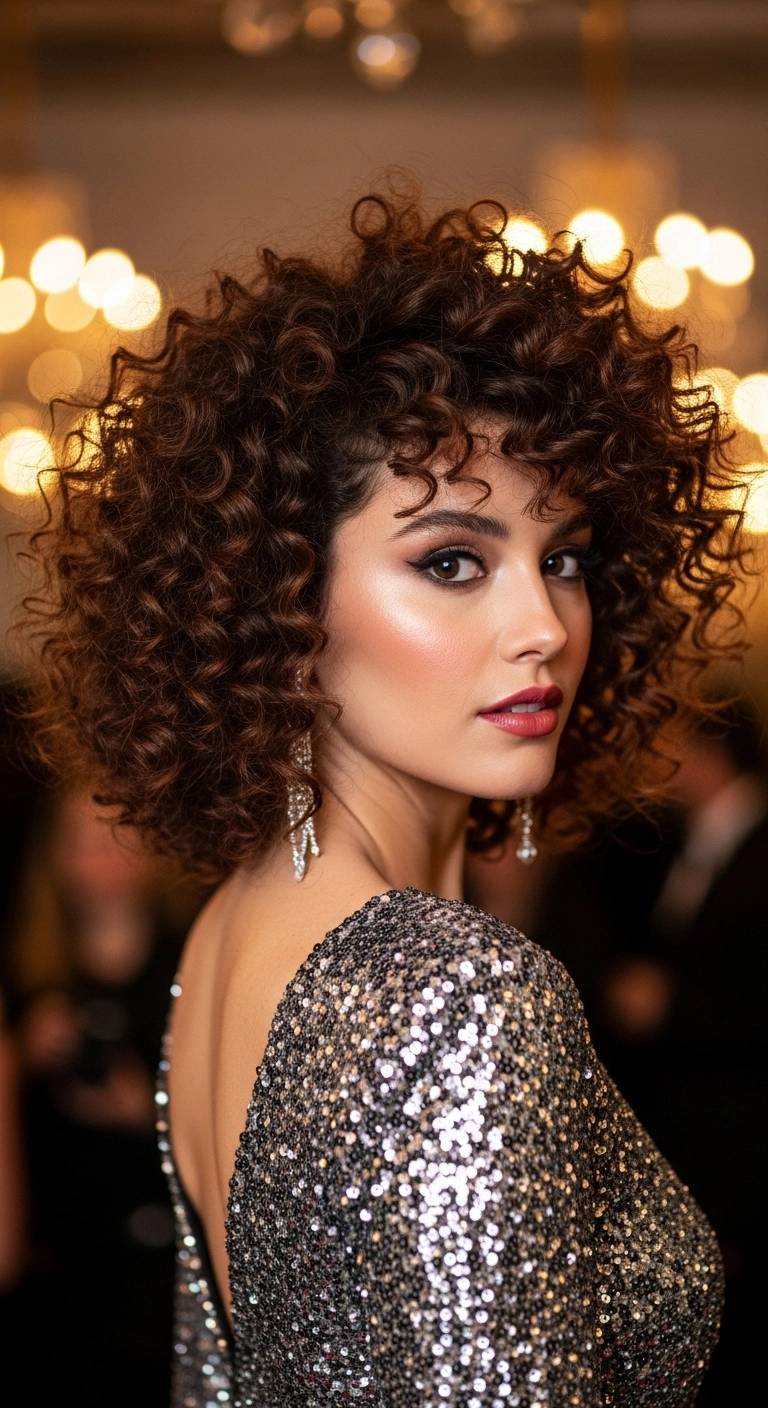
This curly bob is pure Hollywood magic and full of incredible bounce! It frames the face so gorgeous with those soft ringlet bangs, and you can fluff it up to get that dreamy, dramatic silhouette. If you have natural ringlets or 3B/3C curls, you are going to fall in love with how stunning and effortless this looks for a night out!
How to do this
1. Start on freshly washed, soaking wet hair using a moisturizing curl-defining shampoo and rich conditioner to establish maximum hydration.
2. Rake a generous amount of curl defining cream through your strands section by section, ensuring even saturation from roots to ends.
3. Apply a firm yet touchable curl styling gel using the 'praying hands' method to lock in the coil structure and ward off frizz.
4. Section out the bangs and front layers, shaping each ringlet around your fingers using a specialized curl defining brush for maximum definition.
5. Flip your head upside down and gently dry with a universal hair diffuser attachment on low heat and medium airflow until hair is completely dry.
6. Once fully dry, break the gel cast by scrunching a few drops of lightweight hair bonding oil into the curls to release massive volume, bounce, and high-shine gloss.
Nothing beats the effortless bounce of a classic 90s blowout! I love how those sweeping curtain layers frame the face so naturally while keeping all the rich, glossy movement intact.
How to do this
1. Prep damp, freshly washed hair with a lightweight smoothing blowout cream using the blowout cream listed below to shield against heat and build volume.
2. Section the hair into manageable horizontal layers starting from the nape, leaving the face-framing fringe for last.
3. Using a large ceramic round brush and a concentrated blow dryer nozzle, dry each section by pulling upward at the root for maximum lift and rolling the mid-lengths outward to create a smooth, polished bend.
4. As you finish each warm section, immediately wrap it onto a jumbo velcro roller using the jumbo velcro hair rollers listed below and allow it to set until completely cooled.
5. For the curtain bangs, blow dry them forward and upward, then roll backwards away from the face to create that signature sweeping wing around the cheekbones.
6. Gently unroll all rollers, rake through with your fingers or a wide-tooth comb, and apply a drop of lightweight hair oil using the hair shine serum listed below to lock in gloss and eliminate flyaways.
7. Mist with a flexible-hold hairspray using the flexible hold hairspray listed below to ensure the bouncy curves hold all day without stiffness.
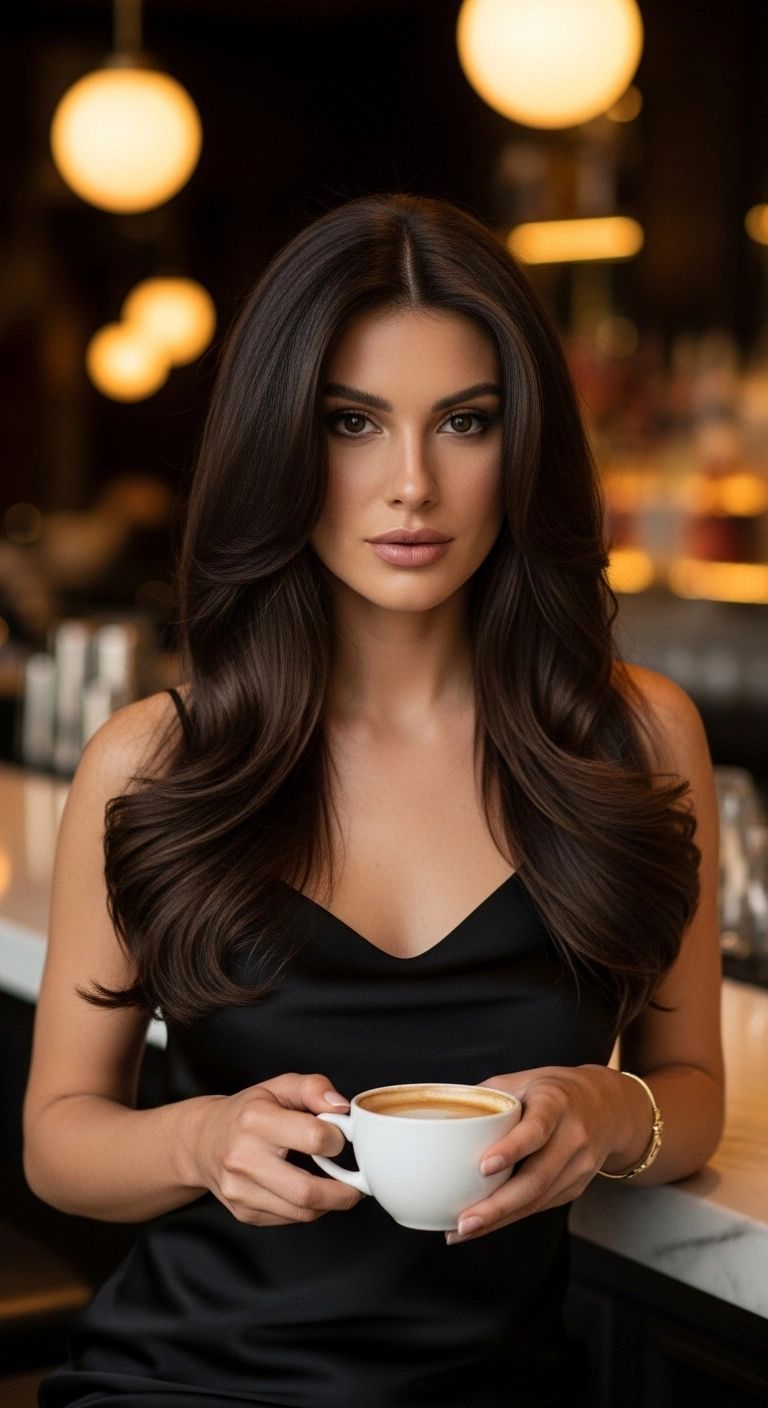
Are you ready to embrace the ultimate rich-girl blowout? If you want serious volume and shine without losing that touch of effortless movement, this deep chocolate layered cut is calling your name. It’s ultra-flattering, timeless, and makes every casual coffee run feel like a luxury moment. Who could say no to that kind of everyday glamour?
How to do this
1. Start by washing your hair with a hydrating shampoo and conditioner, then gently towel-dry until damp.
2. Apply a dime-sized amount of smoothing blowout serum and generously mist the heat protectant spray listed below from mid-lengths to ends to shield from heat damage.
3. Section your hair into manageable quadrants and, using a large round ceramic barrel brush listed below alongside a concentrator nozzle on your blow dryer, blow each section smooth while lifting at the root for volume.
4. As you reach the ends of each section, roll the round brush upwards and backwards away from the face to create those signature polished, flipped-in bouncy curves.
5. For the face-framing curtain bangs, blow dry them forward over your forehead first, then roll them back and away from your cheeks to create that gorgeous sweeping wing effect.
6. Once cooled, rake through lightly with your fingers and apply a drop of lightweight shine hair oil listed below to tame flyaways and enhance that glossy espresso finish.
7. Mist all over with the flexible hold hairspray listed below to lock in the volume and bounce all day.
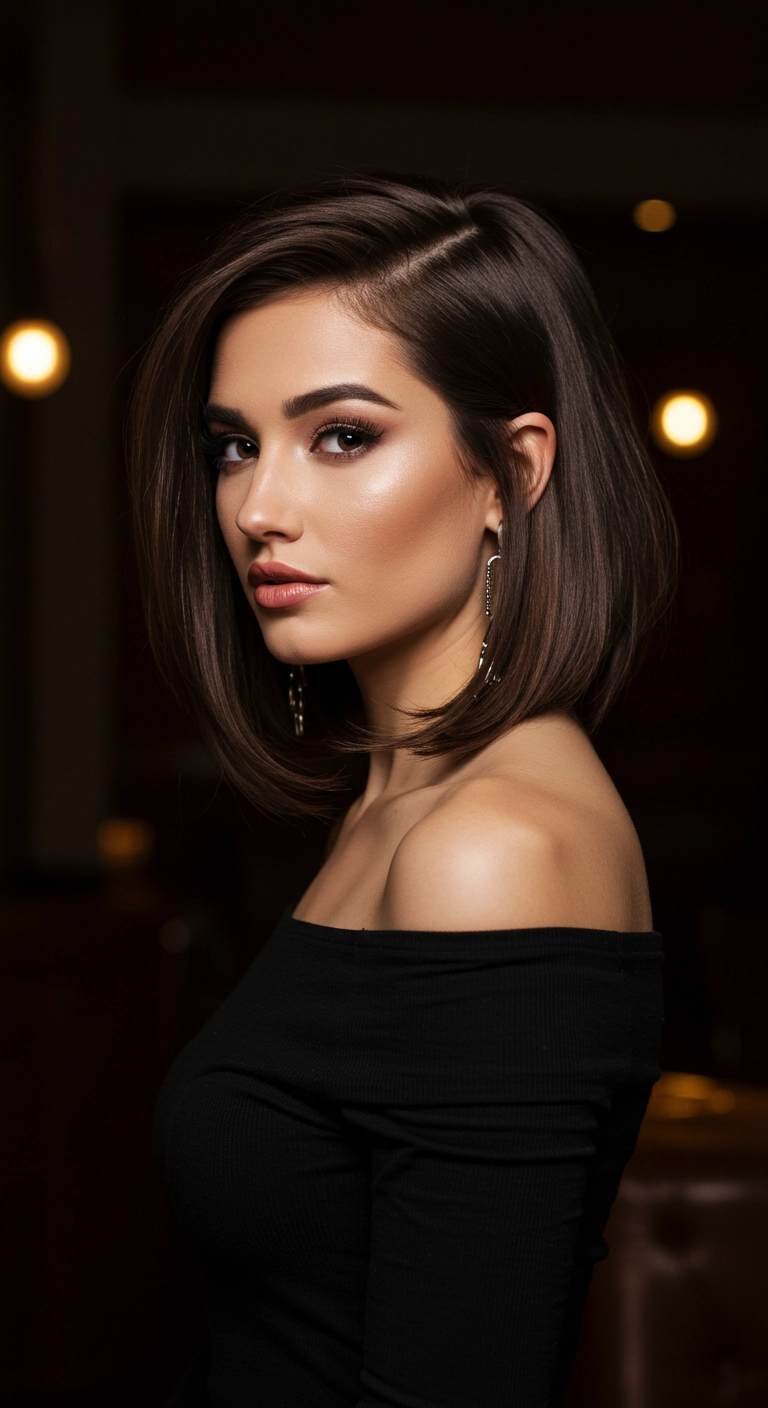
A polished long bob will never go out of style. There’s something so timeless and elegant about a sleek blowout tucked subtly behind one ear. If you want your bob to have that bouncy, effortless body at the roots, try blow-drying the front section in the opposite direction before flipping it over into a deep side part. It instantly adds volume and makes fine or medium hair look twice as thick!
How to do this
1. Start on freshly washed, damp hair and prep with a smoothing heat protection cream listed below from mid-lengths to ends.
2. Create a clean, deep side part using a fine-tooth tail comb, aligning it roughly with the arch of your eyebrow.
3. Apply a small amount of volumizing root lift mousse listed below at the crown and roots around the part line to get that lifted, bouncy shape.
4. Blow dry the hair in horizontal sections using a ceramic round brush listed below. As you reach the ends, roll the brush inward toward your neck and apply tension with the dryer to create a soft, rounded bevel.
5. For the heavy side of your parted fringe, blow dry the hair upward and back over the forehead before letting it cascade over to achieve effortless root volume.
6. Once fully dry, smooth through any flyaways and seal the cuticle using a lightweight hair shine serum listed below.
7. Finish off with a light mist of flexible hold finishing hairspray listed below to ensure the sleek bend holds all day without stiffness.
There is nothing quite like a bouncy 90s-inspired blowout on a layered lob! I love how effortlessly the curtain layers frame the face while those flipped-out ends give it so much movement and retro charm.
How to do this
1. Start with freshly washed, towel-dried hair and apply a quarter-sized amount of the smoothing blowout cream listed below throughout your mid-lengths and ends.
2. Mist your roots with the volumizing root lift spray listed below to ensure you get that bouncy, lifted crown.
3. Section your hair into workable sections and rough-dry until it is roughly 80% dry.
4. Using the ceramic round brush listed below and a blow dryer fitted with a concentrator nozzle, blow out the hair section by section, rolling the bottom lengths outward to create that signature flippy kick.
5. For the face-framing curtain bangs, roll them up and back away from the face over the round brush, letting them cool completely before releasing them so they sweep outward gracefully.
6. Finish the look by misting a light coat of the flexible hold hairspray listed below and smoothing down any flyaways with a drop of nourishing hair oil.
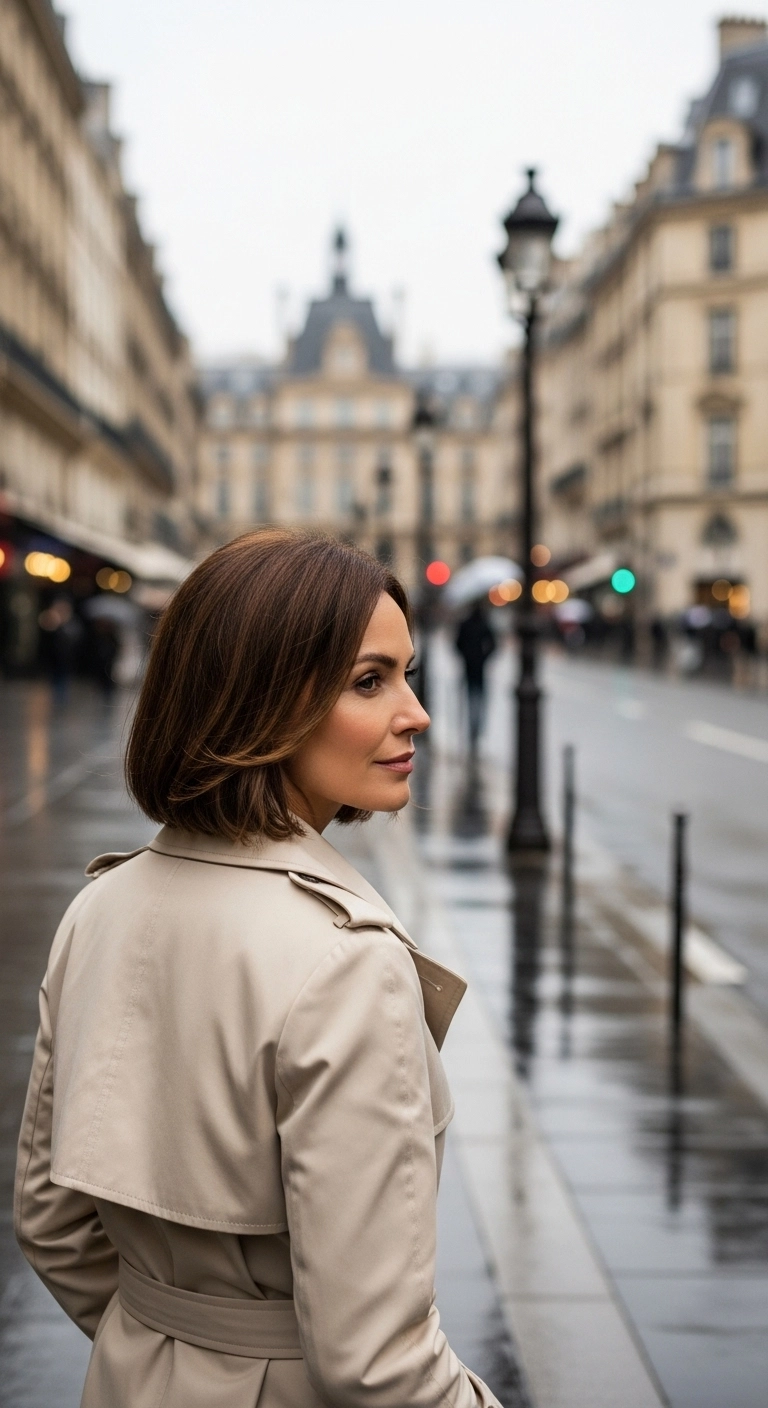
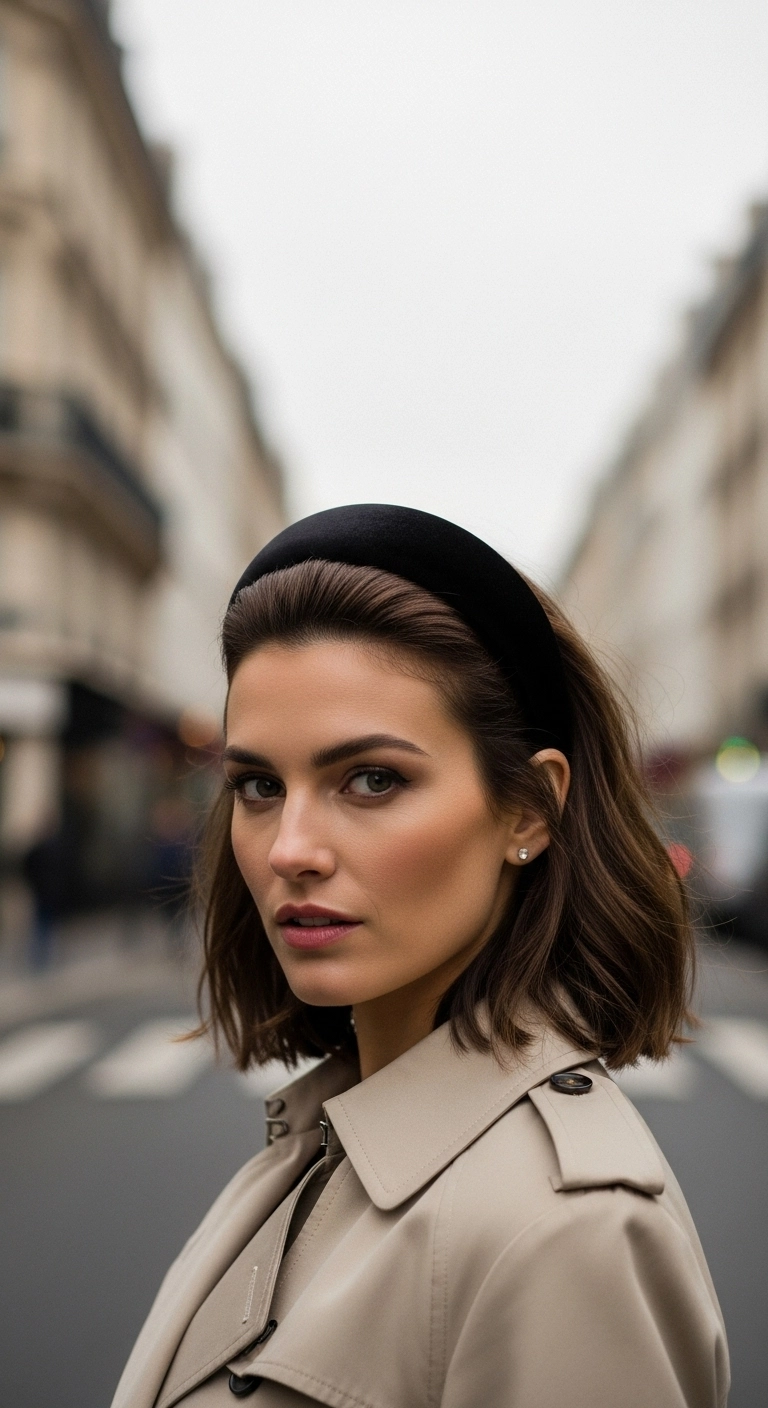
This hairstyle is super fast and easy, which makes it a great go-to for city strolling or rainy days when you still want to look completely put together — I wore this style exploring Paris and it was PERFECT!
How to do this
1. Start by prepping clean, damp hair with the volumizing root lift spray listed below to give your crown plenty of body and height.
2. Blow dry using a round ceramic brush, directing the front hairline upwards and back to create that smooth, lifted sweep off the face.
3. Once dry, mist with the thermal heat protectant spray listed below to shield strands from hot styling tools.
4. Take random 1-2 inch vertical sections and wrap them loosely around the 1.25 inch curling iron listed below for just 3-4 seconds, creating soft, undone bends rather than structured curls.
5. Gently brush through the waves with your fingers or a paddle brush, then spritz mid-lengths with the dry texturizing spray listed below for that Parisian effortless fullness.
6. Slide the black velvet padded headband listed below onto your crown, positioning it about an inch behind your front hairline to showcase that pretty swept-back volume.
7. Finish the look with a light mist of the flexible hold hairspray listed below to keep everything locked into place all day.
A feathered lob paired with wispy fringe is truly the ultimate modern classic. It gives off that effortlessly put-together French girl vibe while still feeling super sleek and professional. If you want a cut that frames your face and makes your hair look instantly fuller without tons of complicated styling, feathering the ends inward is the secret trick.
How to do this
1. Start by prepping freshly washed, damp hair with a lightweight thermal protectant spray listed below to shield strands from heat styling.
2. Section off your fringe first; dry your bangs using a small round ceramic brush, directing airflow straight down and rolling slightly under for that soft, airy Birkin bang shape.
3. Section the remaining hair horizontally into manageable tiers, starting at the nape.
4. Blow dry each section using the medium round boar bristle brush listed below, beveling the ends inward toward your collarbone to accentuate the face-framing feathered layers.
5. For a sleek finish, take a professional ceramic flat iron listed below and make a quick pass through the mid-lengths, gently curling the edges inwards around your chin and neckline.
6. Warm two drops of lightweight smoothing hair oil listed below between your palms and smooth over the lengths to eliminate any flyaways and boost shine.
7. Finish by misting with the flexible hold hairspray listed below to keep the feathered shape intact without any stiff feeling.
If you love a classic vintage 60s or 70s flair that still feels completely fresh, this bouncy lob is seriously everything! It gives your collarbone-length hair so much movement and lift, especially with the soft flicked ends and that gorgeous sweeping fringe.
How to do this
1. Start by prepping clean, damp hair with a lightweight thermal protectant using the heat protectant spray listed below to shield strands and add initial slip.
2. Apply a dollop of volumizing mousse from roots to mid-lengths to give the blowout body and long-lasting bounce.
3. Section the hair into manageable horizontal layers, starting from the nape and working upwards.
4. Blow dry each section using the large ceramic round brush listed below, rolling the ends upwards and outward to create that iconic retro flick.
5. When drying the face-framing front pieces, sweep them up and back away from the face to create a soft, flattering side swooped curve.
6. Roll the warm sections onto the jumbo Velcro rollers listed below and allow them to fully cool down for maximum volume and curl memory.
7. Gently remove the rollers and smooth through the ends with a soft paddle brush or wide-tooth comb, finishing with a drop of nourishing shine serum on the mid-lengths and ends for high gloss.
8. Lock in the bounce and hold with a fine mist of the flexible hold hairspray listed below.
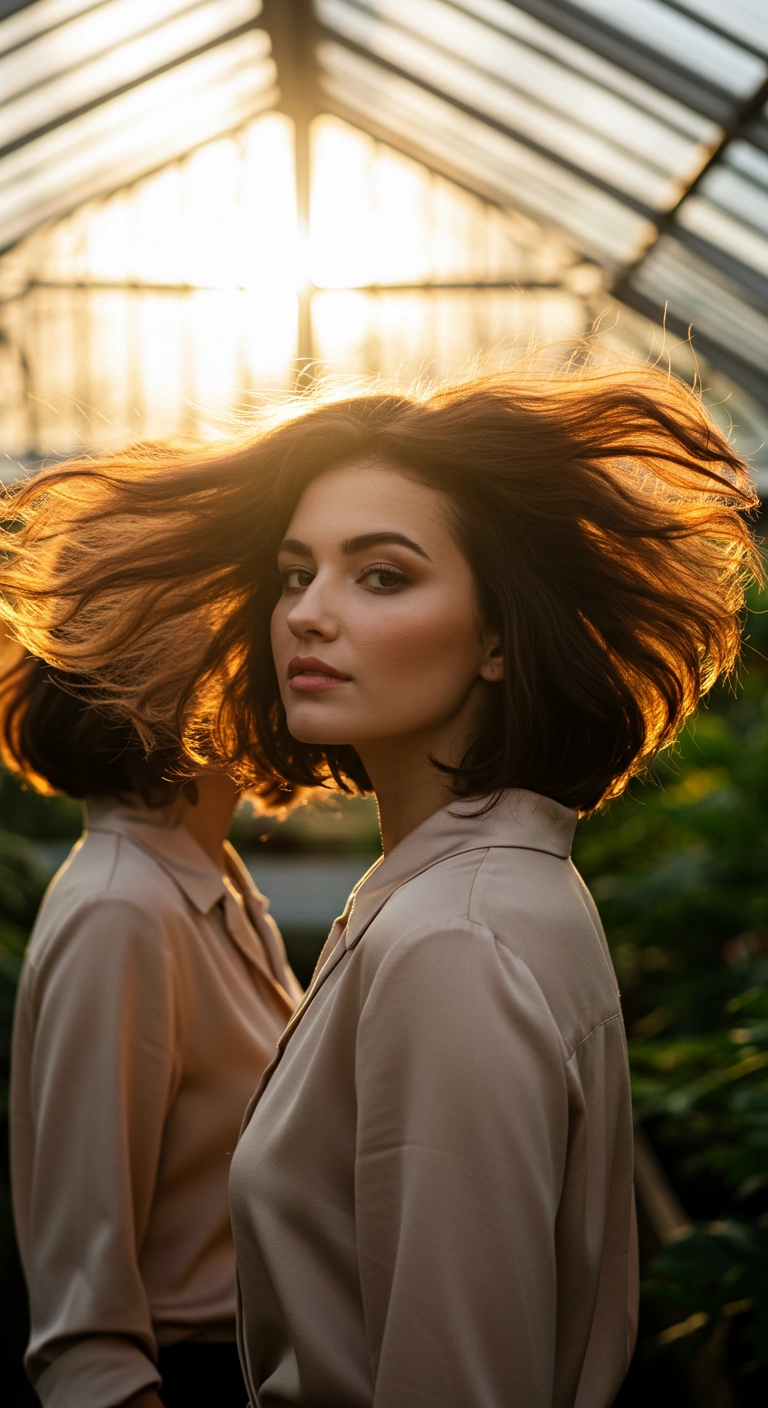
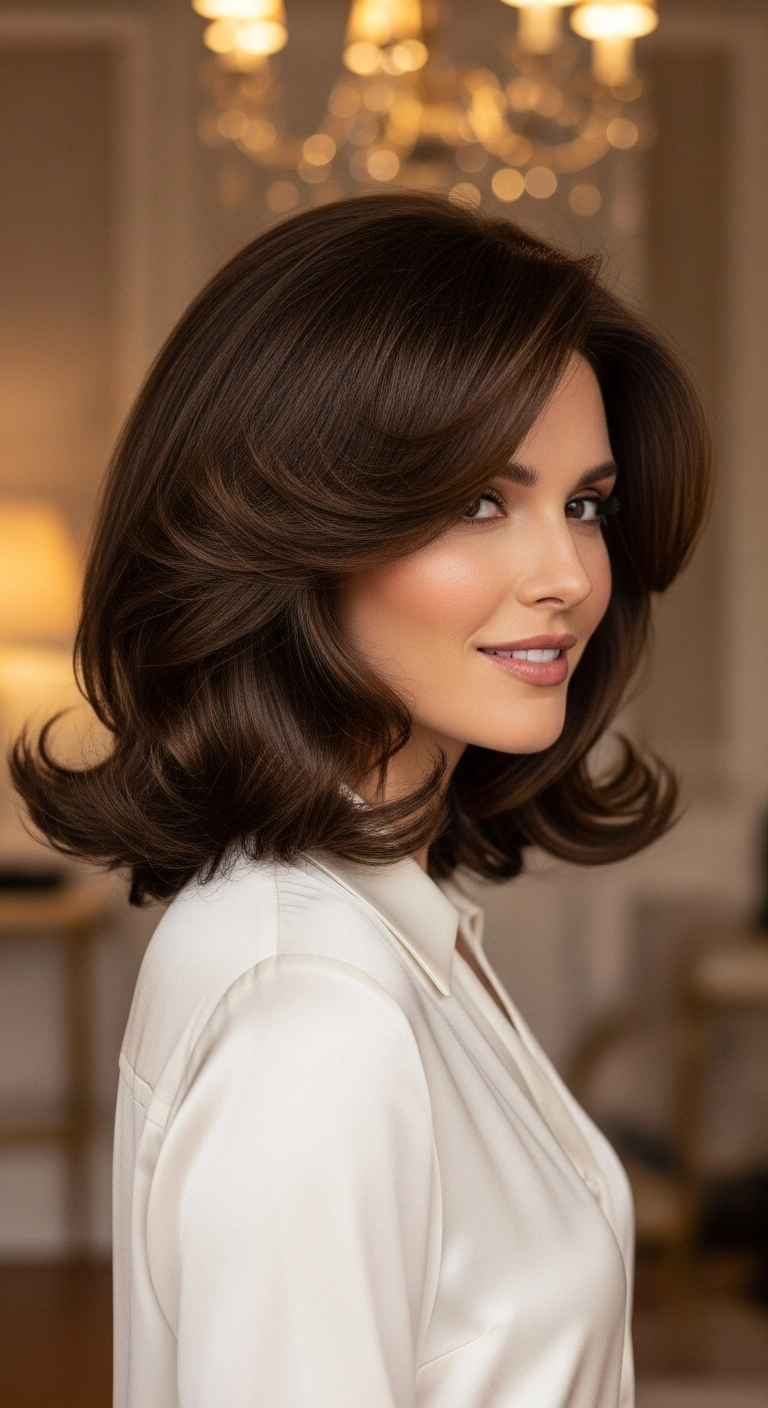
There’s nothing quite like a bouncy Italian bob catching the golden hour light! I love how effortlessly full and chic this cut feels—you get all that glamorous retro volume without having to fuss over perfection.
How to do this
1. Start by washing hair with a volumizing shampoo and conditioner to build airy foundation, then towel dry gently.
2. Apply a dollop of the volumizing mousse listed below evenly through your damp roots and lengths for lasting bounce.
3. Mist all over with the heat protectant spray listed below to shield strands before heat styling.
4. Blow dry using a round ceramic brush, lifting upwards at the roots and rolling under at the ends to create smooth fullness and body.
5. Use a large-barrel curling wand on random mid-length sections for just a couple of seconds to add loose, undone wave bends.
6. Flip your head upside down and spritz with the dry texturizing spray listed below to break up the shape and deliver effortless windblown movement.
7. Finish by smoothing a tiny droplet of the nourishing hair serum listed below onto the ends to tame flyaways and enhance natural shine.
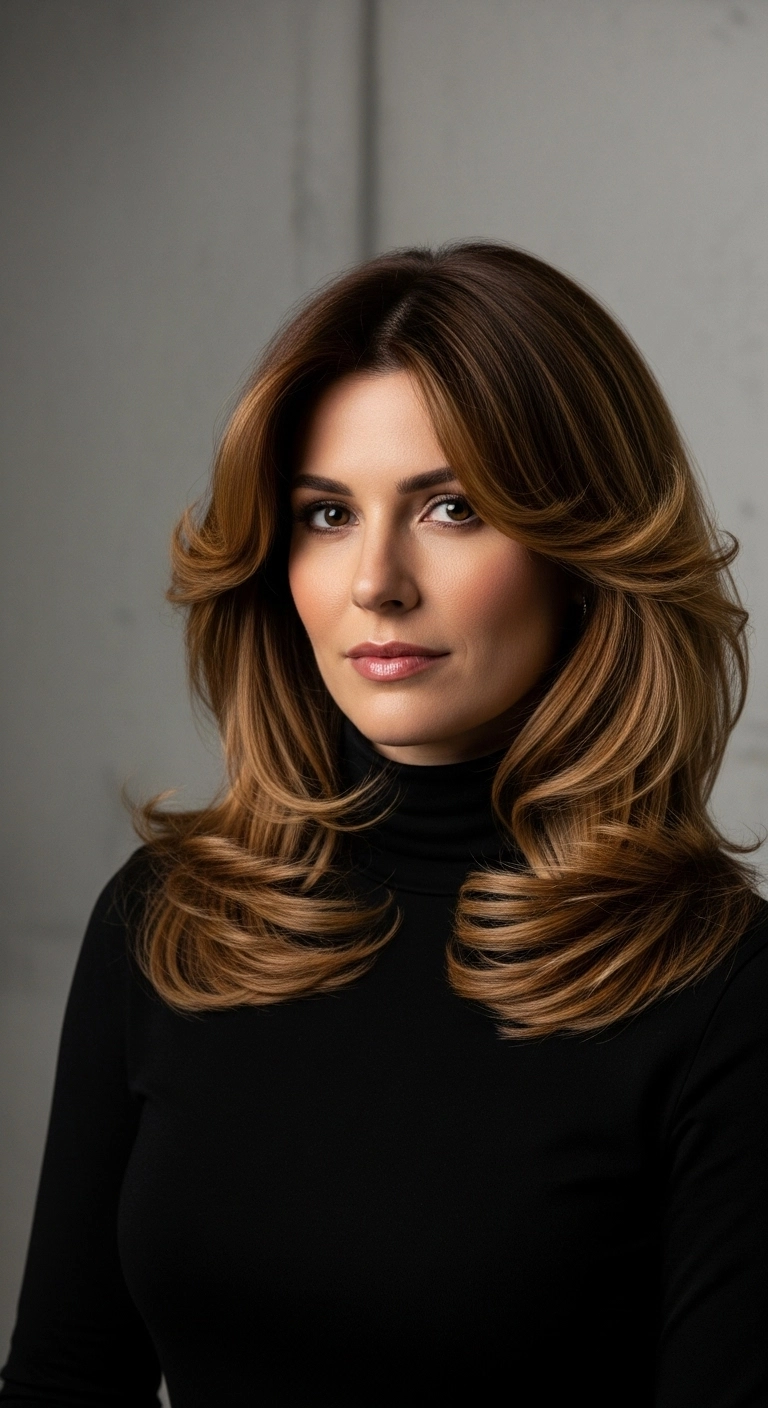
Nothing beats the bounce of a gorgeous vintage-inspired blowout! The way these flipped-back curtain layers frame the face while giving off effortless 70s supermodel vibes is just perfection. Throw in some honey-caramel balayage tones and you've got pure hair luxury without trying too hard.
How to do this
1. Start with clean, damp hair and apply a quarter-sized amount of the volumizing blow dry cream listed below evenly throughout your mid-lengths to ends.
2. Mist your roots with the root lifting volume spray listed below to give your crown plenty of lift during the blowout.
3. Section off your hair into manageable tiers, working from the bottom up using the ceramic round brush listed below and a concentrated blow dryer nozzle to dry hair upwards and curl the ends under and inward.
4. When working on the top and face-framing curtain bangs, blow dry hair completely away from the face, rolling the brush outward to create that iconic winged sweep.
5. Set each warm section immediately on the jumbo self-grip hair rollers listed below, allowing them to fully cool down for at least 15 to 20 minutes to lock in maximum bounce and curvature.
6. Gently unroll each section, lightly rake your fingers through the curls, and mist all over with the flexible hold finishing hairspray listed below for all-day touchable hold and shine.
Nothing beats the timeless appeal of a big, bouncy 90s blowout. The secret to this gorgeous movement is all in the heavy, cascading butterfly layers paired with soft curtain bangs that frame the cheekbones. If you want this look to hold its shape all day, let your hair fully cool in velcro rollers before shaking it out—it gives that salon-fresh bounce every single time.
How to do this
1. Start with freshly washed, damp hair and apply a generous pump of the volumizing styling mousse listed below throughout your roots and mid-lengths.
2. Mist your hair evenly from mid-lengths to ends with the heat protectant spray listed below to shield your hair and add smoothness.
3. Section your hair into manageable tiers, beginning at the nape of the neck, and use a round thermal ceramic blowout brush listed below along with your blow dryer.
4. Roll each section under and upwards to create deep, curved inward flips on the longer bottom layers.
5. When working on the top front curtain bangs and cheek-skimming layers, roll the brush backwards away from the face to achieve that signature cascading flip.
6. Roll each warm section onto the large self-grip velcro rollers listed below and leave them pinned in place while the hair cools down to lock in volume.
7. Remove the rollers gently, shake out the curls with your fingers, and warm a tiny drop of the lightweight nourishing hair serum listed below between your palms to smooth flyaways and add a glossy finish.
If you want that ultimate cool-girl, French-inspired vibe, this look is your holy grail! Combining soft, eye-skimming fringe with bouncy, outward-flipped layers gives you tons of body without feeling stiff. It’s effortless, flirty, and moves like a dream whenever you catch the breeze!
How to do this
1. Prep damp, freshly washed hair by applying a lightweight volumizing mousse to the roots and a heat protectant spray throughout your lengths using the heat protectant spray listed below.
2. Blow dry your bangs forward using a small-to-medium ceramic round brush, angling slightly down to create that airy, piecey Birkin-fringe shape.
3. Section the rest of your hair and round-brush it in large sections, flipping the cheek-grazing layers outward away from the face for that classic breezy 70s flick.
4. For extra loose movement in the lengths, take a 1.5-inch curling iron and wrap mid-lengths loosely around the barrel, leaving the ends soft, using the ceramic curling iron listed below.
5. Let the curls cool completely, then flip your head over and gently shake them out with your fingers.
6. Mist a dry texturizing spray generously throughout the layers to give it that effortless, lived-in body and wind-swept separation using the texturizing spray listed below.
7. Finish by rubbing a drop of lightweight hair oil between your palms and smoothing over any unruly flyaways while keeping the ends shiny and healthy.
I think the layered shaggy lob is one of the easiest cuts to style if you love that understated, cool French-girl aesthetic. The eyebrow-skimming wispy bangs add so much frame and focus to your eyes, while the feathered perimeter gives your hair plenty of bounce without feeling weighed down. You can let it air dry for an effortless everyday wave or pop in a couple of quick bends with a curling wand whenever you want a slightly more elevated, textured look!
How to do this
1. Start on freshly washed, damp hair and prep with a lightweight volumizing mousse through the roots and mid-lengths using the volumizing styling foam listed below.
2. Blow-dry the bangs forward using a small round boar bristle brush, rolling down and slightly under to give them a natural bend, then lightly sweep them apart with your fingers.
3. Rough-dry the rest of the hair with a diffuser or by tousling with hands to encourage your natural texture and body.
4. Once completely dry, take random 1- to 2-inch vertical sections and create alternating loose bends using the 1.25-inch ceramic curling wand listed below, leaving the ends slightly straight or subtly flicked outward.
5. Mist a generous amount of the dry texturizing spray listed below through the lengths while gently shaking your head upside down to break up the waves and build shaggy volume.
6. Finish by pinching the tips of the bangs and framing layers with a tiny dab of the lightweight styling hair paste listed below to give them piecey definition that holds all day.
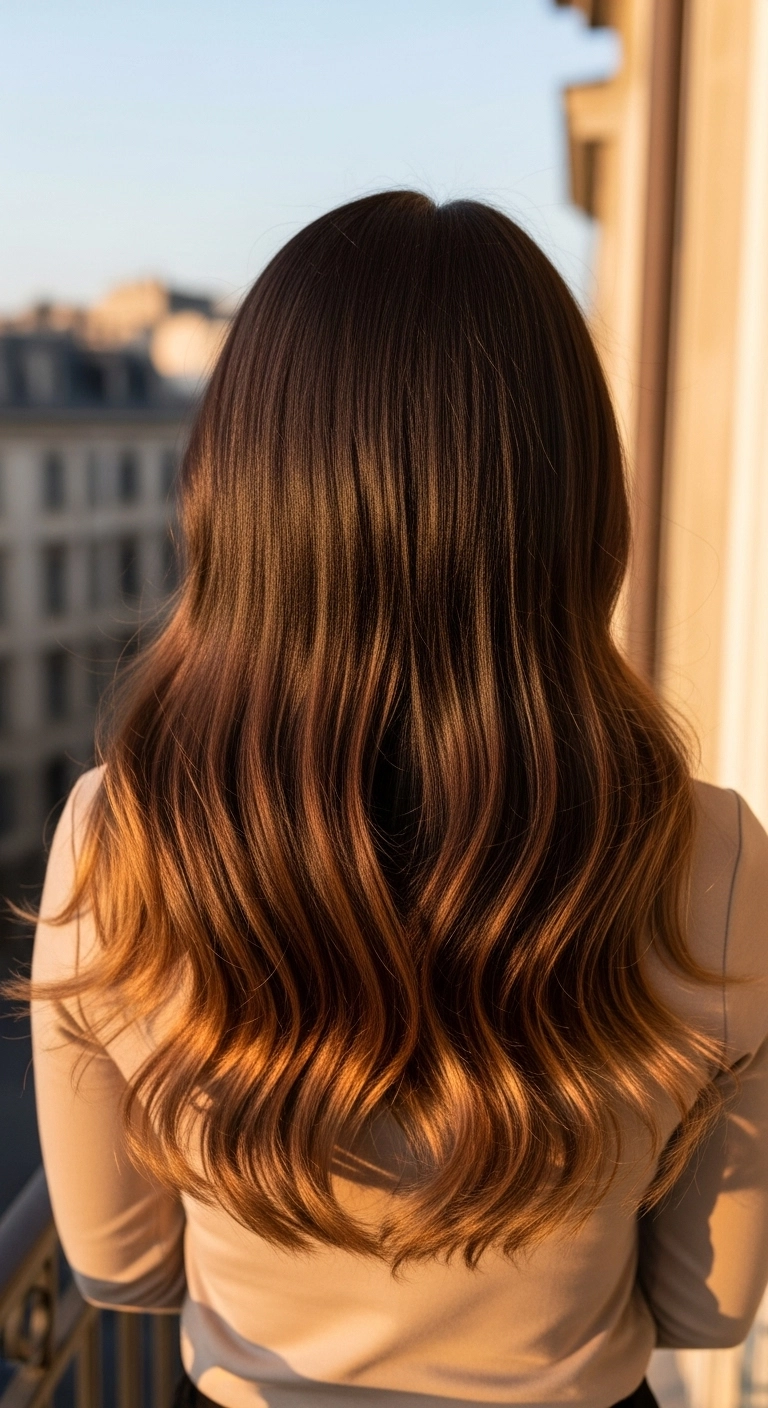
Can we just talk about this stunning, warm caramel balayage for a second?! I absolutely had to share this gorgeous soft-wave style because it has that effortless, rich brunette look that feels so luxurious and healthy. The seamless melt from a deep chocolate base into honey and golden ribbons catches the light in the most breathtaking way, especially when styled into loose, flowing waves. Whether you wear it polished for work or tousled for weekend brunch, this cut and color blend is timeless perfection!
How to do this
1. Start by prepping clean, damp hair with a heat protectant spray and a lightweight smoothing blowout cream to ensure a frizz-free foundation.
2. Blow-dry using a large ceramic round barrel brush, directing the airflow down the hair shaft to build smooth volume through the crown and mid-lengths.
3. Once completely dry, divide the hair into horizontal sections from the nape to the crown.
4. Take 1.5 to 2-inch vertical subsections and wrap them loosely around a 1.25-inch curling iron or wand, leaving the very ends slightly relaxed.
5. Alternate the curl direction slightly or curl away from the center to achieve seamless, fluid S-waves.
6. Allow all curls to cool completely, then gently rake through them with a wide-tooth detangling comb to soften the curls into uniform waves.
7. Finish the look by misting a lightweight shine oil mist over the mid-lengths and ends for that radiant, glossy finish, followed by a light mist of flexible hold hairspray.
There's nothing quite like a sleek, rounded bob to instantly make you feel put together! I love how effortlessly elegant this rounded silhouette looks tucked behind the shoulder, especially with that ultra-glossy chocolate brown finish.
How to do this
1. Start on freshly washed, damp hair and prep from roots to ends with a lightweight smoothing blow dry cream listed below to combat flyaways.
2. Mist lightly with the heat protectant spray listed below to shield strands and add a silky touch.
3. Create a clean, defined deep side part using a fine-tooth tail comb.
4. Clip the top half up and begin drying the lower sections with an ionic hair dryer and a medium ceramic round brush listed below, rolling the ends inward gently to create that subtle bevel.
5. Work your way up toward the crown, pulling the front pieces forward and curling them slightly under toward your cheekbones to frame the face.
6. If needed, do a quick pass over the mid-lengths with a flat iron to lock in mirror-like smoothness while keeping the ends rounded.
7. Finish by rubbing a single drop of the hair shine serum listed below between your palms and smoothing over the surface to tame any flyaways and boost radiance.
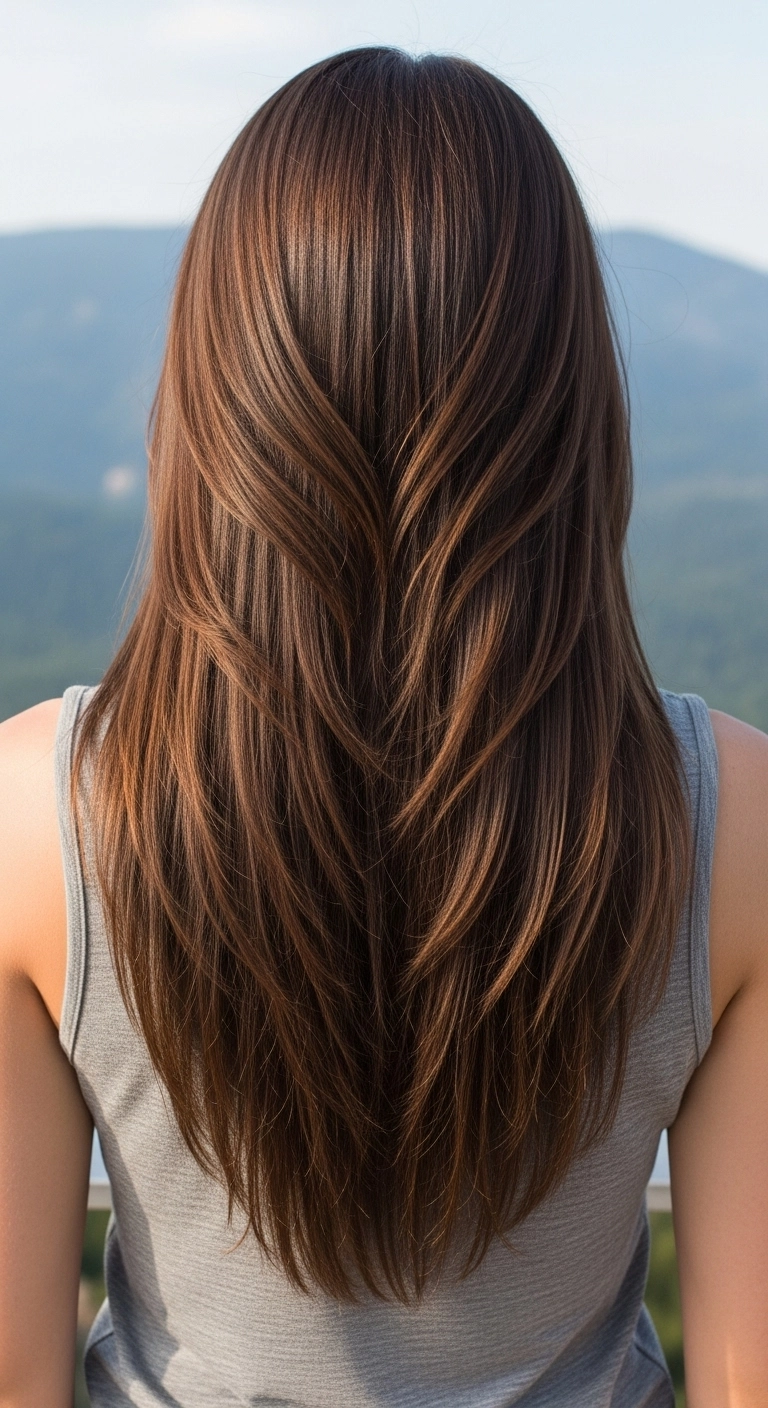
I am totally obsessed with the clean, flowing drama of a sharp V-cut! When you add those seamless, inwardly curved layers, thick hair goes from feeling heavy to looking completely weightless and bouncy. It gives that gorgeous waterfall effect down your back while showing off every bit of your dimensional highlights.
How to do this
1. Start by prepping damp, freshly washed hair with a lightweight smoothing cream and a thermal heat protectant spray to ensure a sleek, frizz-free blowout.
2. Section the hair horizontally, starting at the nape of the neck, and clip away the top layers.
3. Using a large ceramic round barrel brush and a powerful ionic hairdryer, blow dry each section downwards, curving the brush inwards toward the center of the back as you reach the ends.
4. Continue working upward through the layers, directing the airflow down the hair shaft to seal the cuticle and maximize natural shine.
5. For the upper tiered layers, over-direct the hair slightly backward and roll the ends inward with the round brush to create that cascading chevron/V-shape silhouette.
6. Finish off by smoothing a couple of drops of lightweight argan hair serum through the mid-lengths and ends using your fingers to tame flyaways and enhance the dimensional highlights.
I'm absolutely obsessed with this flipped-out blowout look because it brings that gorgeous retro supermodel energy straight into everyday life. It gives you so much body and movement while keeping your hair looking ultra-shiny and healthy. It's chic enough for the office, stunning for a dinner date, and makes you feel like you just stepped out of an expensive salon blowout bar. Definitely give this hairstyle a try, it's a lot easier to do than you would think!
How to do this
1. Start with freshly washed, towel-dried hair and apply a quarter-sized amount of the volumizing mousse listed below evenly through your roots and mid-lengths.
2. Mist your strands thoroughly with the heat protectant spray listed below to shield your hair and add a sleek barrier against blowout heat.
3. Section your hair into manageable tiers, beginning at the nape of the neck, and use the large ceramic round brush listed below while blow drying with tension to build max lift at the roots.
4. As you reach the ends of each section, roll the brush outward and upward away from the neck, hitting it with warm air and then a cool shot to lock in that dramatic retro flip.
5. For the front layers and swooping curtain fringe, blow dry up and away from your face, rolling them onto the jumbo self-grip velcro rollers listed below to set while they cool.
6. Gently remove the rollers after 10-15 minutes, lightly brush through the curls to blend, and smooth down any flyaways using a few drops of the lightweight hair shine oil listed below.
7. Finish with a generous mist of the flexible hold hairspray listed below all over to keep the voluminous bounce and flipped ends intact all day long.
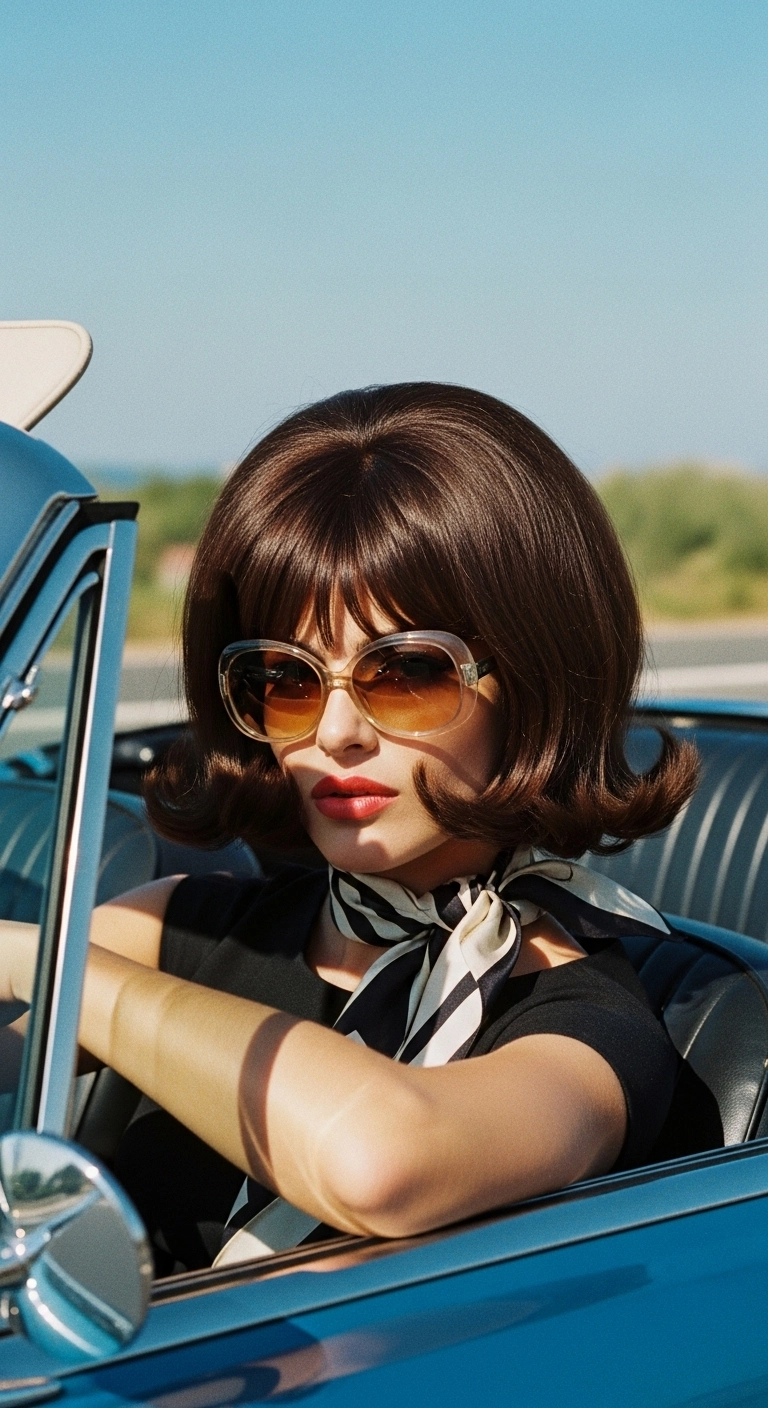
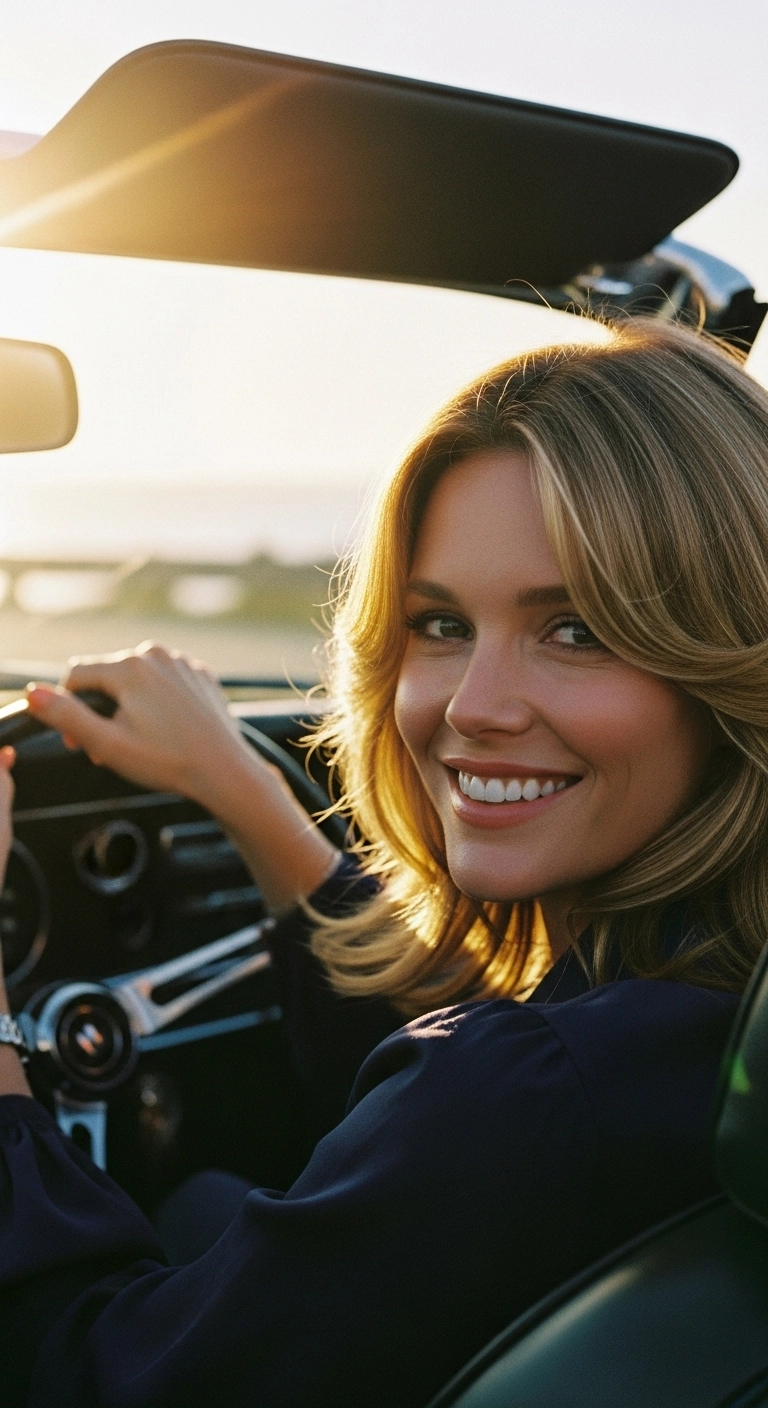
This retro 60s flippy bob gives total classic cinema glamour, which makes it an absolute showstopper for cruising with the top down or heading to a stylish vintage event – I wore this style for a road trip weekend and felt effortlessly chic the entire time!
How to do this
1. Start with clean, damp hair and apply a generous pump of the volumizing styling mousse listed below throughout the roots and mid-lengths to build the foundation for a 60s bouffant.
2. Mist your hair with the heat protectant spray listed below to shield strands before heat styling.
3. Blow-dry the hair using a round ceramic barrel brush, over-directing sections at the crown upwards and backwards to generate substantial volume and lift.
4. Section off the lower perimeter and use the 1.5-inch ceramic curling iron listed below to curl the ends dramatically upward and outward into signature retro flips.
5. Set the crown and flipped ends on the jumbo velcro rollers listed below while still warm, allowing them to cool completely for 15-20 minutes to lock in structural shape and bounce.
6. Remove the rollers gently, lightly tease the roots at the crown using a teasing comb for added height, and smooth the surface hair over top.
7. Style the bangs with a light inward curve so they frame the forehead softly, then mist the entire look with the firm hold hairspray listed below to ensure the voluminous flips hold their shape all day.
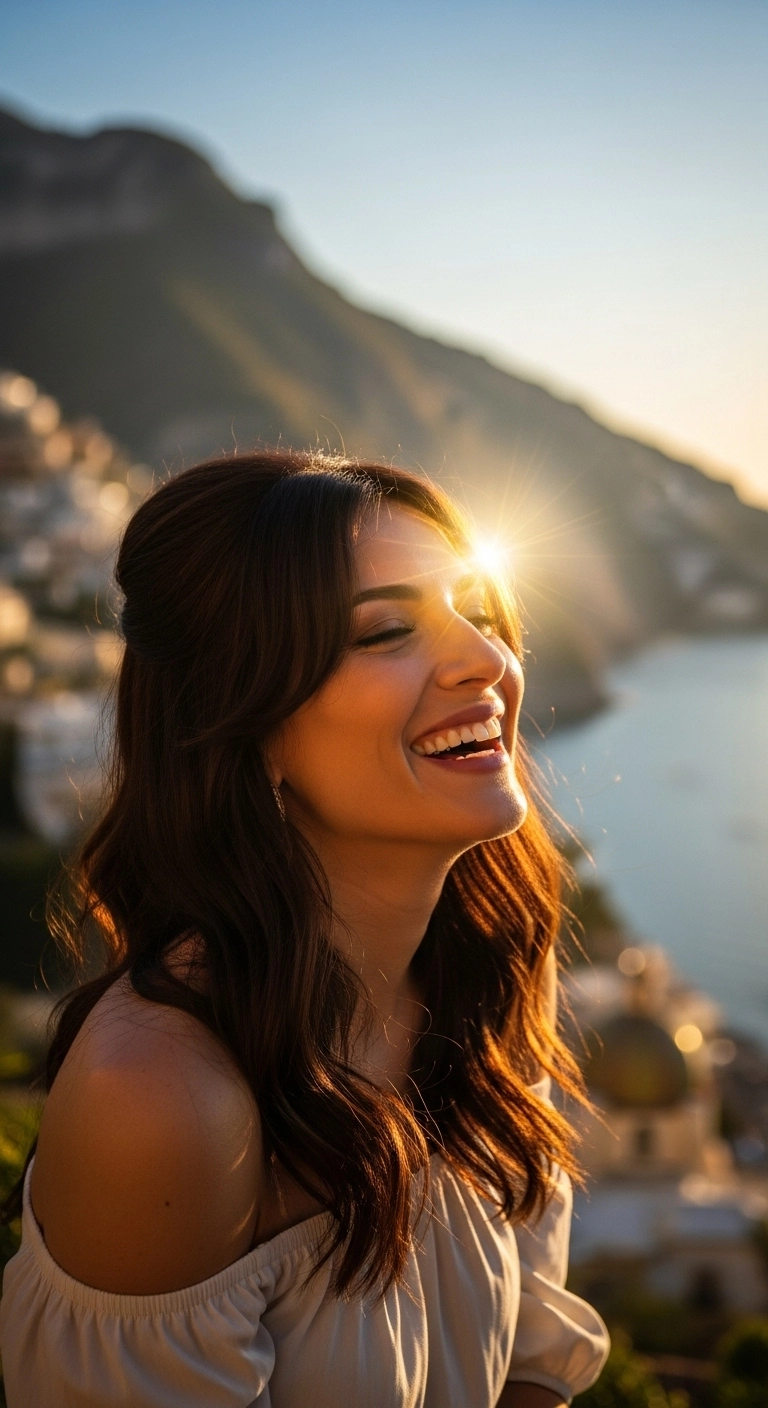
I’m absolutely in love with this hairstyle because it gives off that effortlessly gorgeous, romantic Italian summer vibe while keeping your hair swept away from your face. It's super easy to style for vacation photos, outdoor dinners, or even a date night when you want to feel pretty without looking like you tried too hard. Definitely give this hairstyle a try, it’s a lot easier to do than you would think!
How to do this
1. Start by prepping damp hair with a lightweight blow-dry heat protectant cream listed below to smooth frizz and protect from heat.
2. Blow out the hair with a large round ceramic barrel brush listed below, focusing on lifting the roots for soft volume around the crown.
3. Once dry, curl broad vertical sections away from the face using the 1.25-inch curling iron listed below, leaving the ends slightly relaxed for that soft, romantic bend.
4. Part your front bangs down the center and sweep them softly outward to frame the face.
5. Gather the top half of your hair—from above each ear towards the back of the crown—and secure it loosely at the back using small bobby pins or a small clear hair elastic listed below, gently pulling a few strands forward around the temples.
6. Finish off with a spritz of the flexible hold hairspray listed below and a drop of nourishing shine serum on the mid-lengths and ends.
Oh, the effortless dimensional brunette, how I adore you! That sun-kissed warm caramel tone with bouncy layered waves is pure perfection. Have you ever rocked this rich shade before?
How to do this
1. Start by washing hair with a color-safe nourishing shampoo and conditioner, then apply a dime-sized amount of the lightweight heat protectant smoothing serum listed below to towel-dried mid-lengths and ends.
2. Mist hair with the volumizing root lift spray listed below directly onto the crown and roots for touchable body.
3. Blow-dry using the ceramic round brush listed below, lifting upward at the roots to build volume and rolling hair away from the face around the cheekbones to create soft curtain curves.
4. Take a 1.25-inch curling iron and wrap random vertical sections away from the face, leaving the last inch of the ends out to maintain an effortless, lived-in bend rather than tight curls.
5. Flip your head upside down and thoroughly shake out the waves, then spray the dry texturizing spray listed below through the roots and mid-lengths to build airy separation.
6. Finish by raking a tiny drop of the shine-enhancing lightweight hair oil listed below through the ends to define the layers and enhance dimension.
If you've got natural waves or curls and want something super chic that doesn't feel heavy, this curly French-inspired bob is seriously the dream!! It has so much natural movement and bounce, plus the soft curly bangs frame your face in the most effortless, romantic way.
How to do this
1. Start on freshly washed, damp hair and apply a quarter-sized amount of curl defining cream listed below from mid-lengths to ends to keep curls defined without frizz.
2. Gently rake through with a wide tooth detangling comb listed below to ensure even distribution.
3. Mist a lightweight volumizing root lifting spray listed below directly at the crown and roots to create that airy, lifted silhouette.
4. Attach a bowl diffuser to your hair dryer using the universal hair diffuser attachment listed below, tilting your head side-to-side and cupping curls upwards on low heat until 85% dry.
5. Use a small barrel curling wand on any loose sections around the face and bangs that need extra definition, wrapping loosely away from the eyes.
6. Once completely cool and dry, flip your head upside down and shake out the roots using your fingertips with a few spritzes of the flexible hold texturizing spray listed below for that bouncy, effortless shape.
If there's ever a time to channel timeless movie star energy, this is it! I am completely obsessed with how luxurious and sculpted these classic Hollywood waves look on a jaw-grazing bob. It takes a little patience with a brush and setting clips to get that seamless S-curve, but the payoff is pure, glossy perfection that turns heads anywhere you go.
How to do this
1. Prep freshly washed, damp hair with a golf-ball sized amount of the volumizing styling mousse listed below from roots to ends for structure and memory.
2. Blow dry the hair smoothly using a medium round ceramic brush and the tourmaline ionic hair dryer listed below, making sure to create a crisp, deep side part while directing the root upwards for maximum lift.
3. Mist individual 1-inch horizontal sections with the thermal heat protectant spray listed below to shield hair and add shine.
4. Using the 1.25-inch ceramic curling iron listed below, curl all sections horizontally in the exact same direction (towards the face), rolling the barrel all the way up and pinning each warm curl against your head with setting clips to cool down.
5. Once fully cooled, remove the clips and gently brush through the curls using the natural boar bristle dressing brush listed below until the individual curls merge into one cohesive, glossy Hollywood S-wave pattern.
6. Roll the bottom ends inward along the jawline to create the sculpted bob silhouette, securing the shape with creaseless clips at each wave indentation.
7. Set everything firmly in place with an all-over mist of the flexible hold luminous hairspray listed below, then remove the clips once dry.
Isn’t this relaxed wavy lob just gorgeous?? It gives that ultimate effortless, beachy feel that looks amazing no matter where you're heading! One thing I love about this hairstyle is how low-maintenance it truly is. You can literally wake up, add a few loose bends with an iron or let your natural texture air dry, spritz a little sea salt spray, and look instantly put together!
How to do this
1. Start by prepping damp hair with a lightweight styling mousse and the heat protectant spray listed below to shield strands and build airy volume.
2. Blow-dry using a round brush or diffuse with your head upside down to encourage natural texture and root lift.
3. Take a 1.25-inch curling iron or wand and wrap random 1- to 2-inch vertical sections away from the face, making sure to leave the last inch of your ends straight for that relaxed, modern lob silhouette.
4. Alternate the curl direction on remaining sections around the crown to prevent the waves from clumping together into a single uniform wave.
5. Once cool, mist generously with the sea salt spray and dry texturizing spray listed below, raking through gently with your fingers to break up the waves.
6. Finish off by flipping your hair to a deep side part and scrunching a drop of the hair oil listed below through the tips for shine and separation.
Whenever I want a look that feels instantly pulled-together and sophisticated without tons of fuss, a neat, rounded bob is always my top pick! This style has that timeless Parisian chic energy, especially paired with those airy, piecey bangs that graze the brows. It frames the face and glasses so beautifully, and keeping the ends gently curled under gives it that ultra-clean, salon-fresh blowout vibe that works just as great for a morning meeting as it does for a dinner date.
How to do this
1. Start by prepping freshly washed, damp hair with a lightweight blow-dry primer using the heat protectant blowout spray listed below to smooth frizz and protect your strands.
2. Blow-dry the bangs first while they are still quite wet, brushing them side-to-side and downward with a small round brush or paddle brush using the ionic hair dryer listed below to create that soft, wispy separation.
3. Section off the rest of your hair into manageable tiers, beginning at the nape of the neck.
4. Take a medium-sized ceramic round brush using the ceramic round blowout brush listed below and blow-dry each section forward and gently rolling under toward your jawline to get that gorgeous beveled curve.
5. For extra sleekness, you can run a flat iron lightly over the mid-lengths and softly curve the ends inward, but keep the motion fluid so you don't create any stiff creases.
6. Warm two drops of lightweight finishing serum between your palms using the nourishing hair smoothing serum listed below and lightly run it over the outer layer to tame flyaways and enhance shine.
7. Finish with a quick mist of flexible hold hairspray using the lightweight flexible hold hairspray listed below from an arm's length away to keep your sleek bob in place all day.
This twisted half-up style is seriously so romantic and pretty, and it takes barely five minutes once your waves are in! I love how the little topsy knot shows off all the warm caramel balayage ribbons running through the back. It’s polished enough for a wedding or date night but effortless enough to wear everyday with your favorite sweater!
How to do this
1. Prep clean, dry hair with a generous mist of the heat protectant spray listed below to shield your strands and add a silky shine.
2. Using the 1.25-inch curling iron listed below, curl wide sections of the mid-lengths to ends away from your face to create soft, romantic cascading waves.
3. Brush through the curls gently using the boar bristle paddle brush listed below to relax them into smooth, cohesive waves.
4. Gather a horizontal section from each side above your ears, smoothing them back toward the center of the crown.
5. Secure the two side sections together with a small clear hair elastic listed below, then flip the tail upward and loop it through itself to create an effortless topsy twist.
6. Take a small tail strand from underneath the twist, wrap it tightly around the elastic to fully conceal it, and pin it securely underneath with bobby pins.
7. Finish the entire style with a light mist of the flexible hold hairspray listed below for all-day hold without any stiffness.
If you're craving a fresh chop that still feels feminine and easy to style, this textured bob is literally my absolute favorite! The warm honey babylights give so much dimension to dark hair without harsh lines, and those loose lived-in bends look effortlessly cool for everyday wear.
How to do this
1. Start on freshly washed, damp hair and prep with the leave-in heat protectant spray listed below to shield strands from thermal damage.
2. Rough dry your hair with a blow dryer until it is completely dry, using a round brush around the crown and front sections to give the roots some natural lift.
3. Section the hair horizontally from ear to ear, clipping the top section away so you can work on the bottom perimeter first.
4. Take vertical 1-inch sections and wrap them loosely around the 1.25-inch ceramic curling iron listed below, alternating directions toward and away from the face, while leaving the very ends straight for that chic, undone look.
5. For the front face-framing pieces, curl them gently away from the face to flatter cheekbones and highlight the caramel money piece.
6. Once the entire head is waved and cooled down, mist generously with the dry texturizing spray listed below to break up the curl pattern and add airy volume.
7. Rake your fingers through gently and finish with a drop of the nourishing hair oil listed below pressed into the mid-lengths and ends for soft separation and shine.
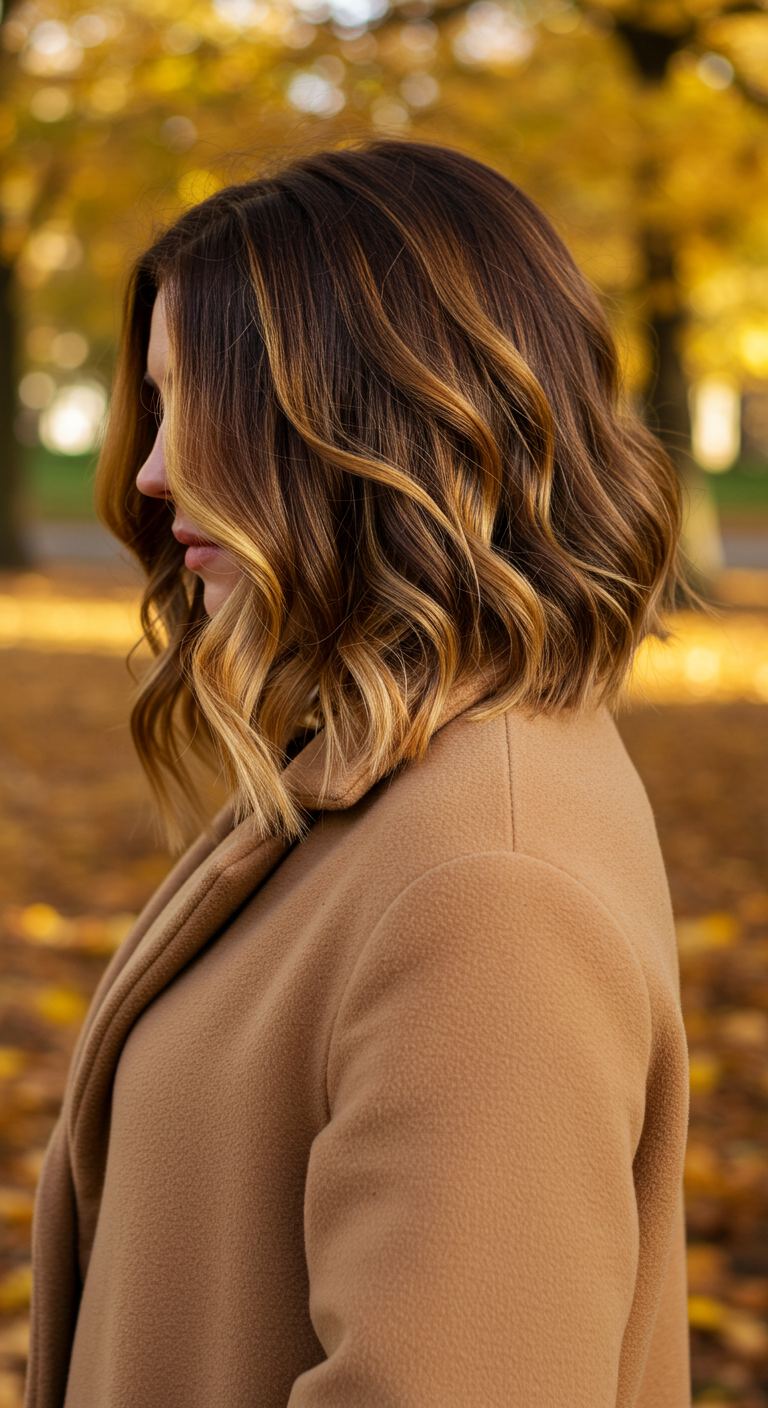
Honestly, a rich caramel balayage on a textured lob is fall hair perfection! Those warm ribbons catching the light paired with soft, effortless waves give the coziest, chicest vibe. Have you ever tried an angled lob for the season?
How to do this
1. Start by prepping clean, damp hair with the heat protectant spray listed below to shield strands and add a sleek foundation.
2. Blow-dry the hair smooth using a medium round boar bristle brush, lifting slightly at the root to create natural body and bounce through the crown.
3. Divide hair into manageable horizontal sections, clipping the top out of the way.
4. Take 1- to 1.5-inch vertical ribbons using the 1.25-inch ceramic curling iron listed below. Wrap mid-lengths around the barrel away from the face, leaving the last inch of the ends straight for that relaxed, modern lob look.
5. Continue alternating wave directions throughout the sides and back to build natural dimension, ensuring the front face-framing pieces are directed back and away from the face.
6. Once all waves have cooled completely, lightly rake through with your fingers or a wide-tooth comb to soften the bends into effortless, fluid ribbons.
7. Finish by misting the dry texturizing spray listed below through the mid-lengths and underside for piecey separation, and seal the ends with a drop of lightweight hair oil.
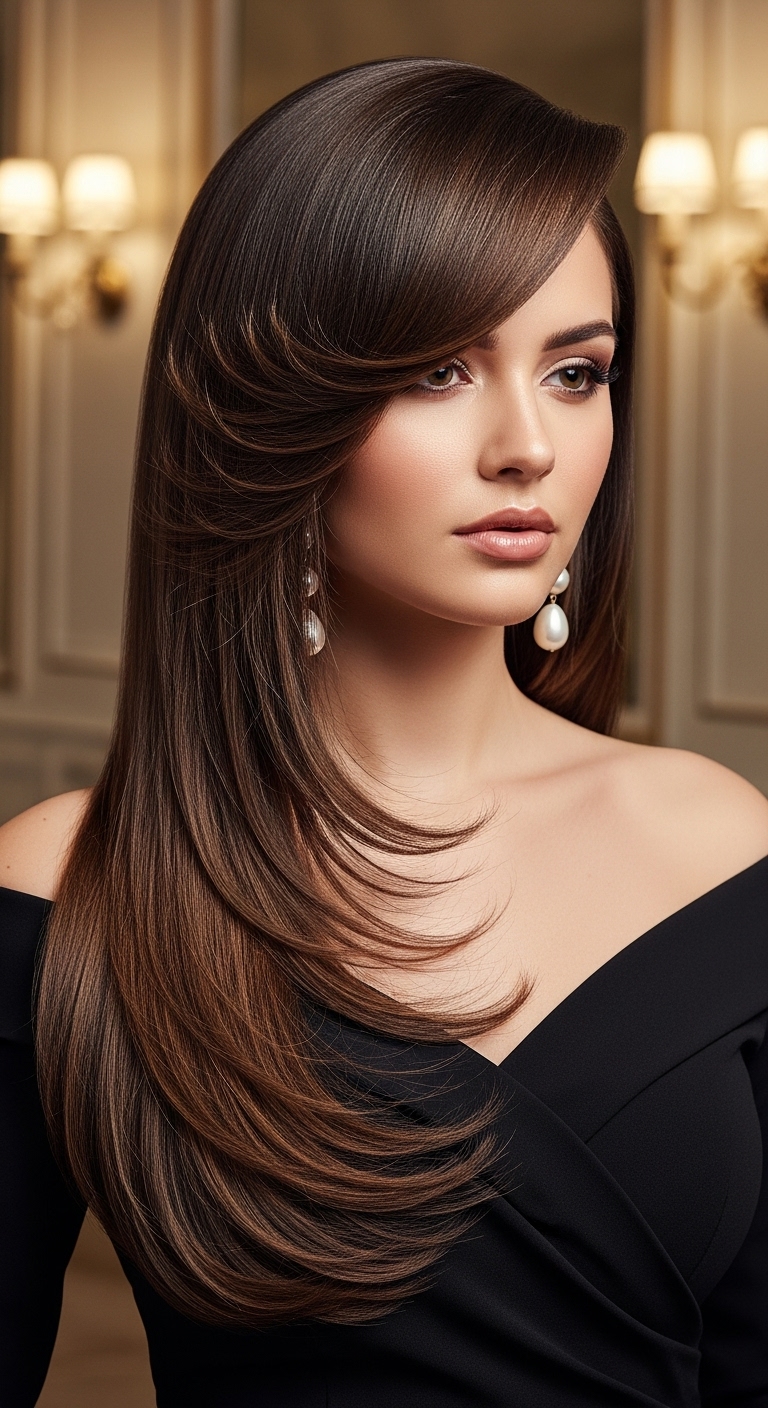
Can we talk about how glamorous and timeless this feathered look is?! I fell in love with these tiered, sculpted layers the moment I saw them—they bring so much Old Hollywood drama and movement without needing crazy curls. The deep side-swept fringe drapes so elegantly across the forehead and flows right into those gorgeous layered tiers. It's the ultimate show-stopping style for a fancy night out, formal gala, or date night when you really want to turn heads!
How to do this
1. Start by washing your hair with a rich smoothing shampoo and conditioner, then gently towel dry until damp.
2. Apply a dime-sized amount of the smoothing blowout cream listed below throughout your mid-lengths and ends to lock in sleekness and prevent heat damage.
3. Mist all over with the heat protectant spray listed below, combing thoroughly with the wide-tooth comb to ensure even distribution.
4. Section off the hair horizontally, starting from the nape, and blow dry each tier using the ceramic round brush listed below, rolling the ends inward to create that sculpted, curved feathering.
5. For the iconic swooping side fringe, take the deep side-parted front section and blow dry it forward and over to the side on a large round brush, letting it cool while wrapped around a Velcro roller to set the dramatic curve.
6. Once fully dry, unroll the fringe and gently blend the stepped layers forward over the shoulder using your fingers.
7. Finish by misting a light coat of the high-shine finishing hairspray listed below to tame flyaways and give it that ultra-glossy, mirror-like red carpet finish.
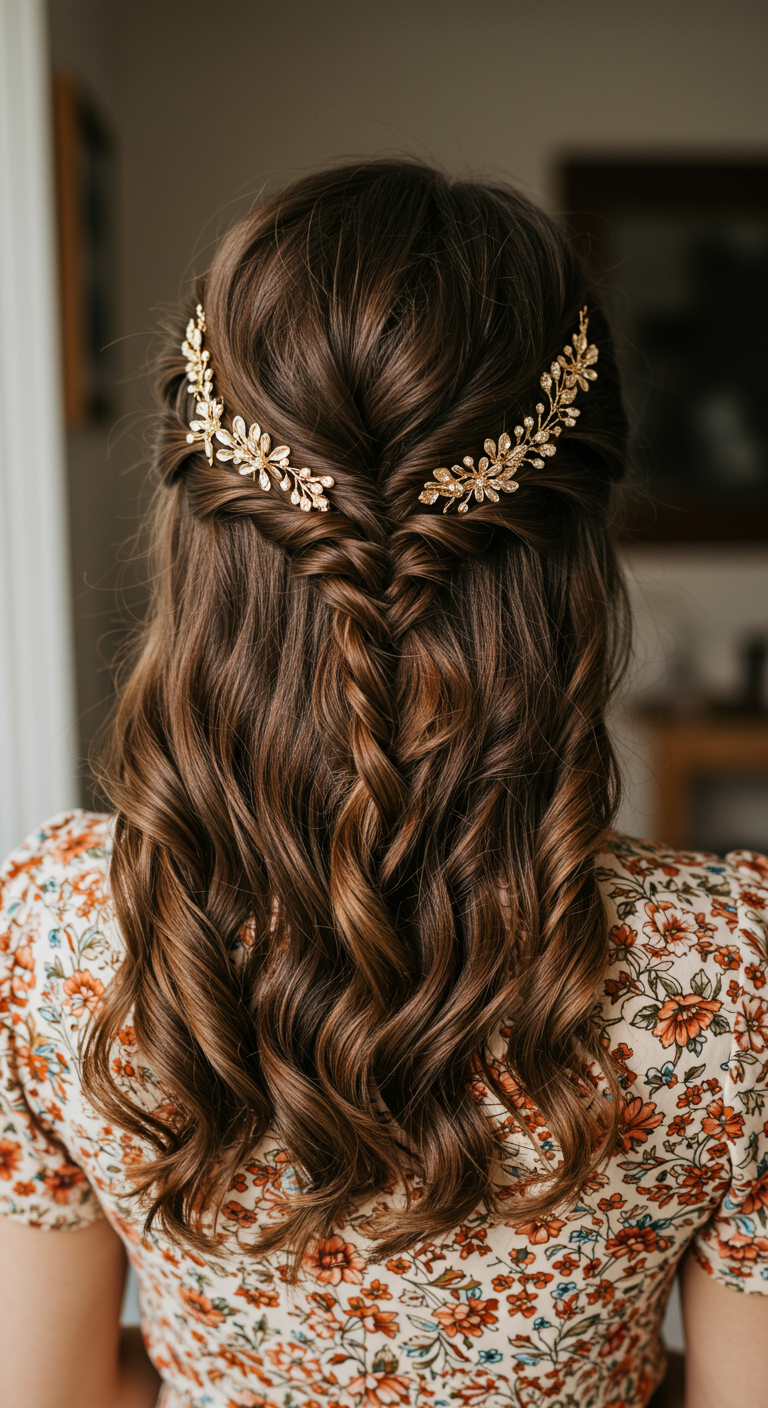
If you're looking for that fairytale bridal or bridesmaid look that keeps hair out of your face while letting your long curls shine, this half-up fishtail style is perfection!! The twisted crown and delicate gold leaf vines give it such an ethereal, romantic feel without feeling stiff or overly done.
How to do this
1. Prep dry hair with a generous mist of heat protectant spray using the thermal styling heat protectant mist listed below, ensuring even distribution from roots to ends.
2. Using a 1.25-inch curling iron, curl medium sections away from your face to create soft, romantic waves throughout the entire head.
3. Lightly brush through the curls with a wide-tooth detangling comb to soften them into uniform, bouncy waves.
4. Gather a 2-inch section of hair from above each ear, twist both sections loosely backwards toward the center of your crown, and secure them together with a clear mini elastic band.
5. Divide the gathered tail into two equal parts and weave a short fishtail braid down about 3 to 4 inches, securing the end with another small clear elastic.
6. Gently pinch and pull (pancake) the edges of the twists and the fishtail braid to create an effortlessly full, romantic texture.
7. Carefully pin the gold floral hair vine accessories above each twisted section using matching bobby pins to frame the half-up crown.
8. Lock the style in place with a flexible hold finishing hairspray for long-lasting hold and shine.
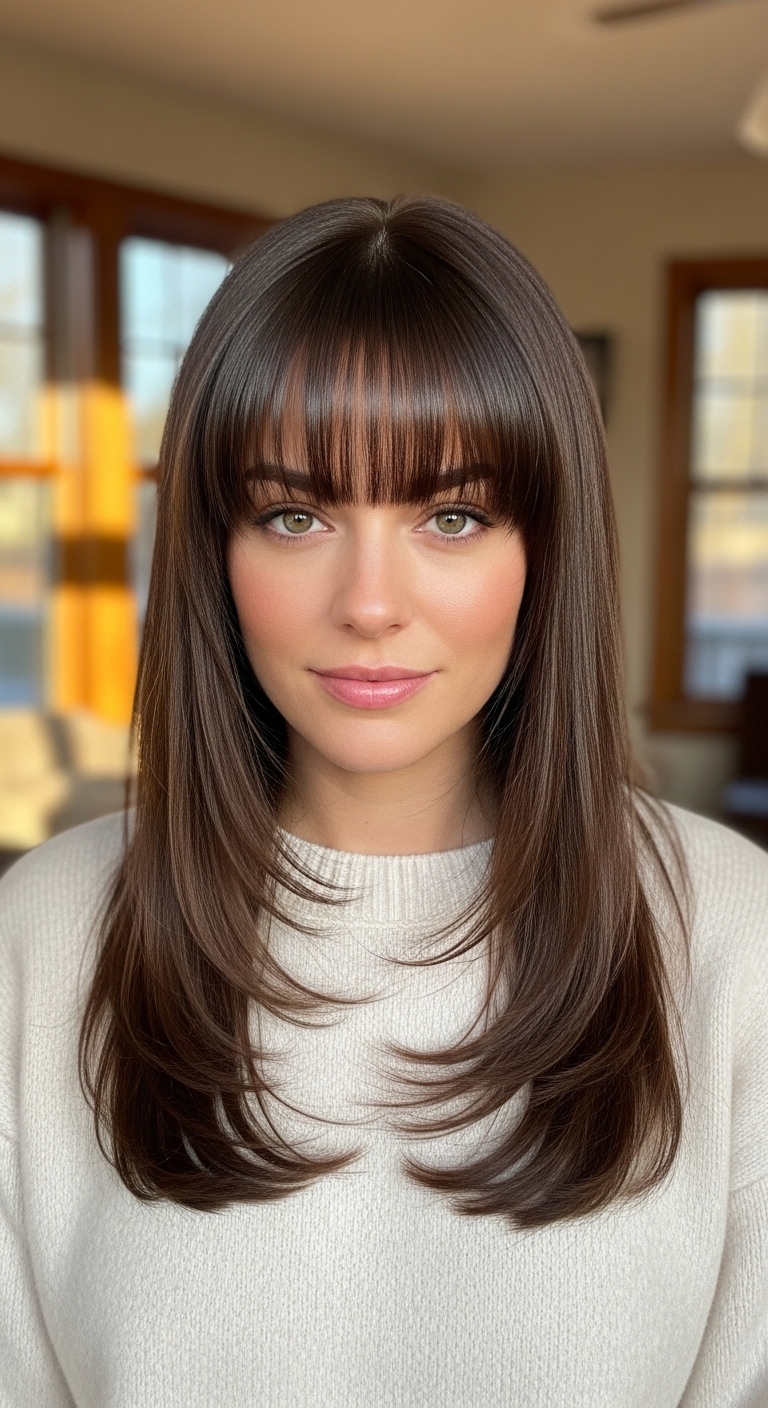
I fell in love with this cut because it gives you that polished, retro-modern vibe without feeling stiff. The face-framing layers cascade so effortlessly, and the eyebrow-skimming bangs bring all the attention right to your eyes. It is honestly the ultimate blowout look for medium to thick hair that needs movement without losing its length. If you've been on the fence about getting bangs or subtle layers, this is your sign to try it!
How to do this
1. Start by washing hair with a smoothing shampoo and conditioner, then gently towel-dry until damp.
2. Apply a dime-sized amount of smoothing blowout cream and spritz the heat protectant spray listed below evenly throughout your lengths.
3. Section off your fringe first. Using a small round ceramic brush, blow dry the bangs straight forward and roll them slightly under for that soft, airy curvature.
4. Divide the rest of your hair into horizontal sections, starting from the bottom layers at the nape of your neck.
5. Using the large ceramic round brush listed below and a concentrator nozzle on your blow dryer, blow each section smooth from roots to mid-lengths, curling the ends inward towards your collarbones to create that bouncy cascade.
6. Roll the face-framing layers under gently toward your face to emphasize the graduated tiered cut.
7. Finish by warming two drops of the nourishing shine hair oil listed below between your palms and smoothing it over mid-lengths and ends, then lock in place with a mist of flexible hold hairspray.
I think the layered lob is one of the most flattering, timeless cuts you can ask for, especially when paired with a rich, glossy chocolate brunette. The inward-curled blowout frames the jawline and collarbones beautifully, giving it that luxurious 90s supermodel bounce. It's sophisticated enough for everyday professional wear yet glamorous enough for an evening out.
How to do this
1. Start with freshly washed, towel-dried hair and apply a generous pump of the smoothing blowout lotion listed below from mid-lengths to ends.
2. Mist hair evenly with the thermal heat protectant spray listed below to shield strands from hot tool damage.
3. Section the hair into manageable horizontal layers, starting at the nape of the neck, and use the round ceramic blow dry brush listed below along with a blow dryer to smooth each section while rolling inward at the ends.
4. As you work your way up to the face-framing layers, overdirect the brush forward and curve gently inward around the jaw and collarbone to create that signature bouncy contour.
5. Secure the crown and side sections onto the large velcro roller set listed below while the hair is still warm to lock in lasting body and root lift.
6. Once fully cooled, remove the rollers and smooth a few drops of the high-shine hair serum listed below through the ends to tame flyaways and enhance glossy reflection.
7. Finish the entire style with a light mist of the flexible hold hairspray listed below to ensure soft movement and touchable hold all day.
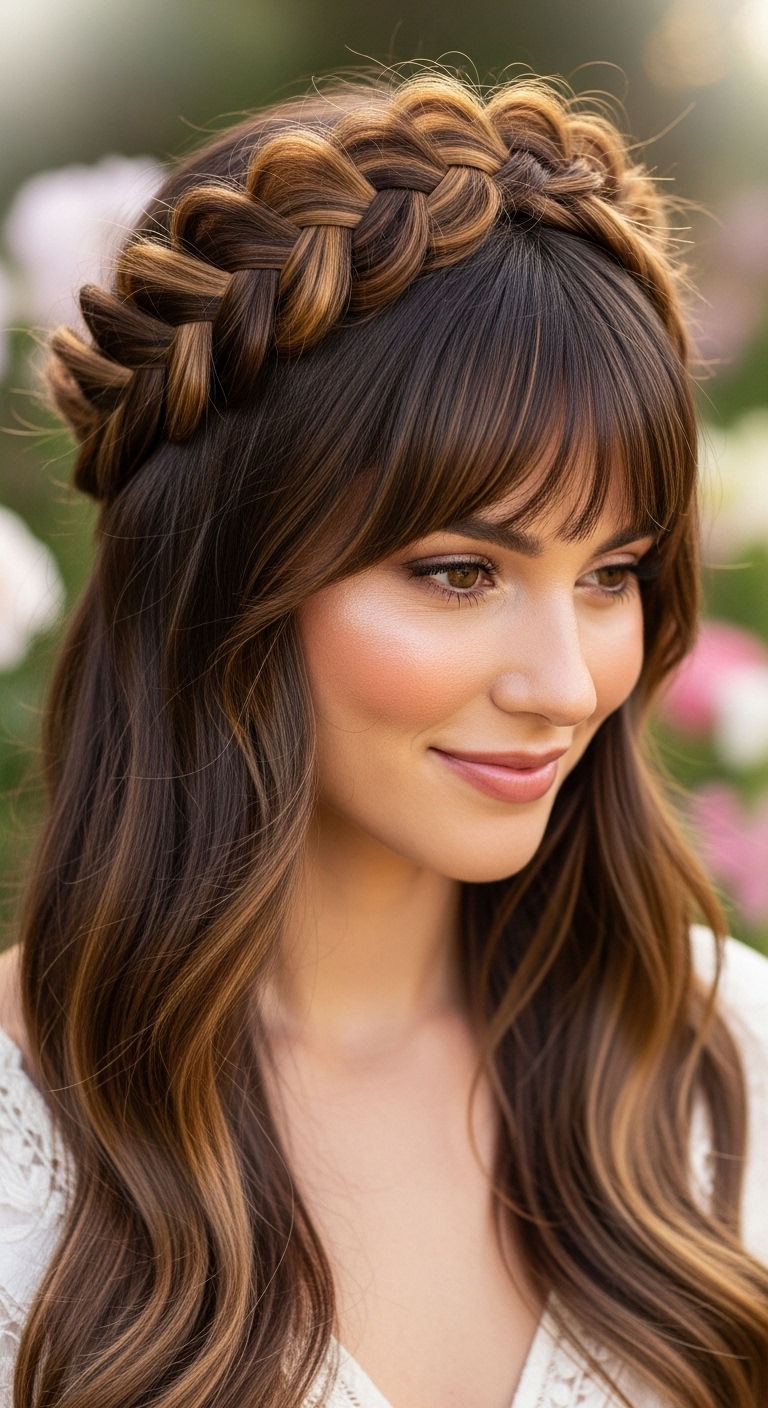
This is definitely one of the prettiest ways to wear a crown braid without putting all your hair up. The contrast of the warm caramel ribbons woven into the thick Dutch braid gives it so much depth, and keeping soft bangs in front frames your face perfectly for outdoor weddings or garden parties.
How to do this
1. Prep clean, damp hair by applying a smoothing heat protectant blowout cream listed below, then blow-dry smooth with a round ceramic brush to build soft body.
2. Separate your front bangs and short face-framing pieces, lightly blowing them under so they graze right at the brow line.
3. Section out a horizontal band of hair behind the ears, or start just behind one ear to weave a voluminous Dutch braid across the top of your head like a tiara or headband.
4. As you braid across the crown, keep the tension consistent, tucking the outer strands under the middle strand so the braid pops outward.
5. Secure the end behind the opposite ear with clear elastic bands and bobby pins listed below, gently tucking the tail underneath your loose hair.
6. Carefully pancake the Dutch braid by gently tugging on outer loops to make it appear wide, thick, and plush.
7. Use a 1.25-inch curling iron to add loose, flowing waves through the remaining lengths of your hair, then mist with a flexible hold luminous hairspray listed below for all-day hold.
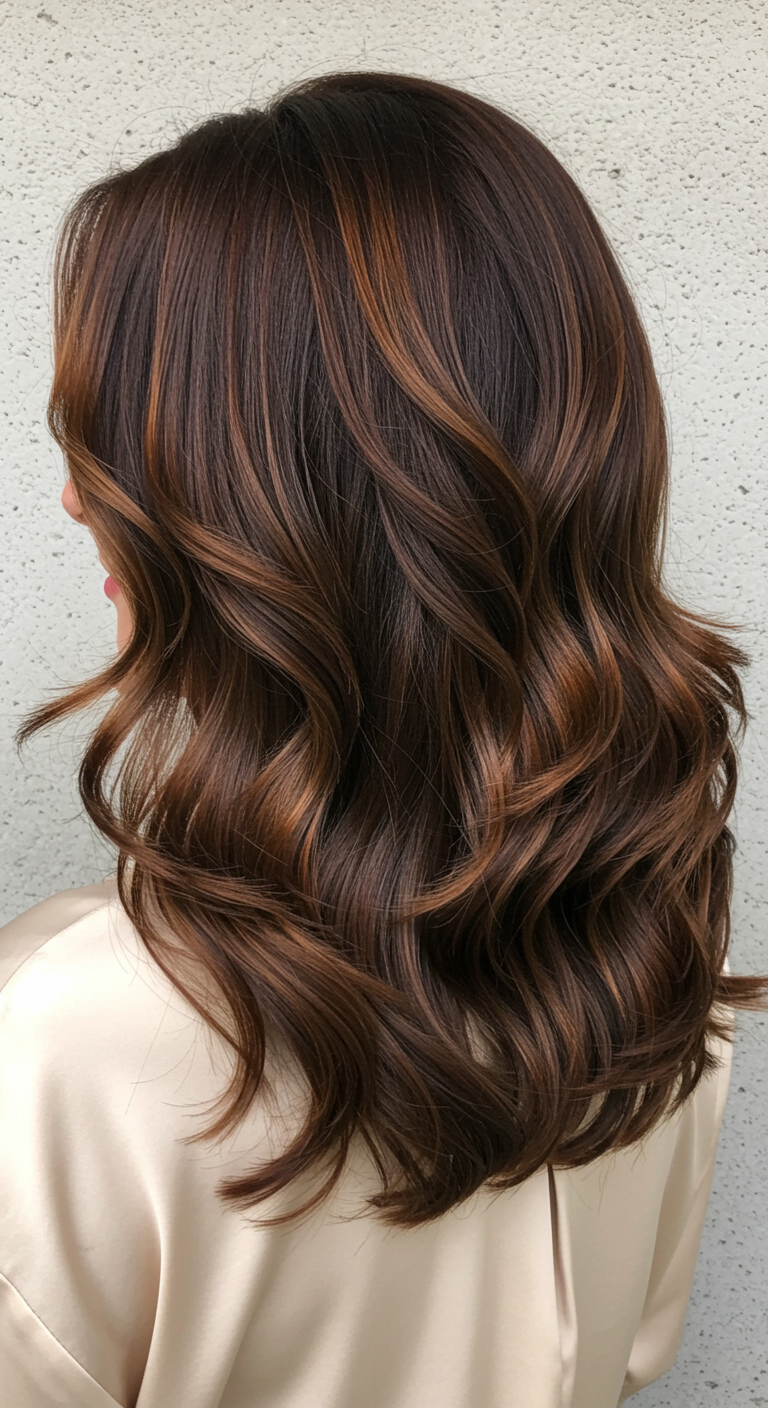
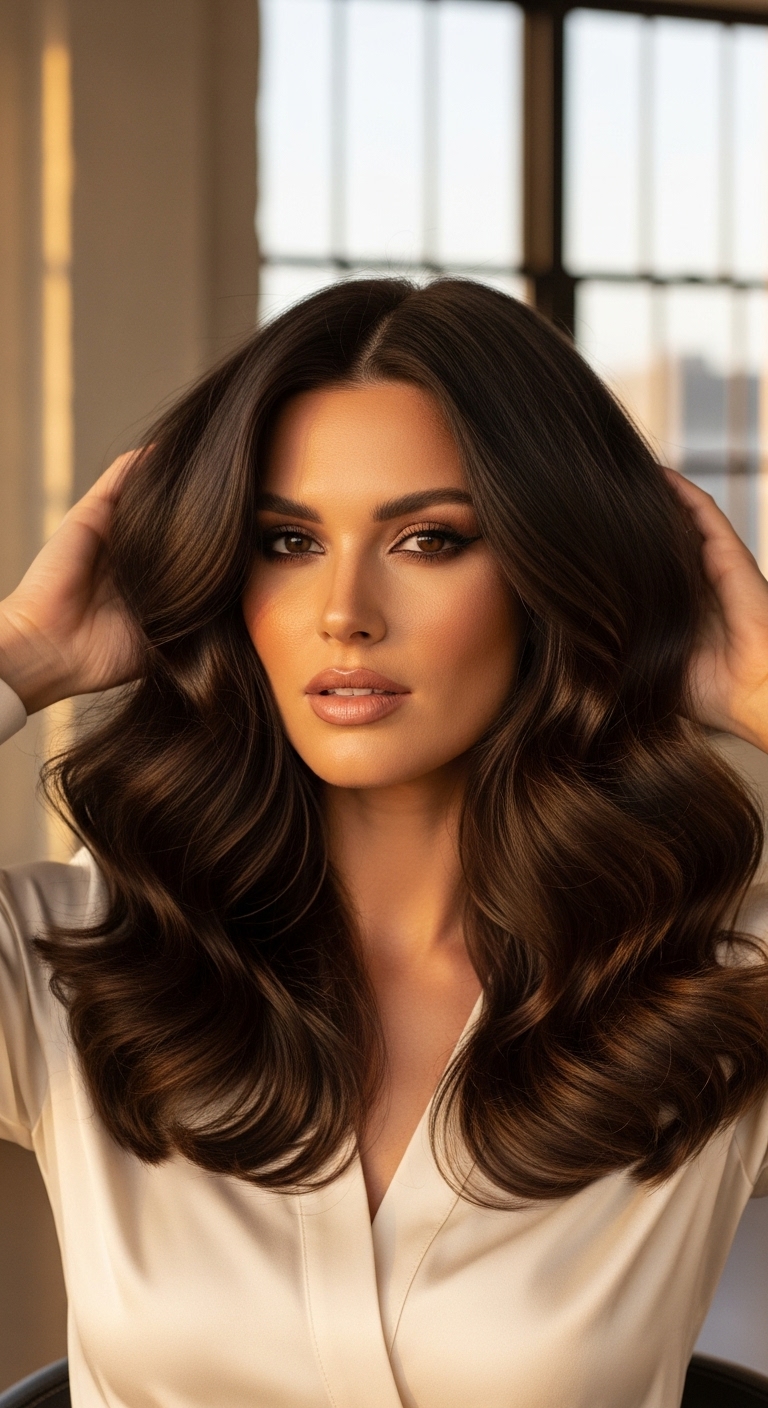
Are you completely obsessed with rich, glossy brunette tones like I am? I just had to include this stunning chocolate brown blowout because the dimension in these warm caramel ribbons is everything, don’t you think?! It gives your locks such an effortless, expensive-brunette look while letting the loose layered waves catch all the light. Whether you're heading into the office, meeting up for a dinner date, or dressing up for a special event, this polished wavy style is universally gorgeous and never goes out of style!
How to do this
1. Start by washing and towel-drying your hair, then prep with a heat protectant spray using the thermal styling protectant mist listed below to shield your strands and boost shine.
2. Blow dry using a large ceramic round brush to smooth out the roots and build soft, voluminous body through the mid-lengths.
3. Once completely dry, divide the hair into manageable horizontal sections starting at the nape of the neck.
4. Take 1.5 to 2-inch vertical sections and wrap them loosely around a large barrel curling iron (around 1.25 to 1.5 inches), keeping the iron vertical and leaving the very ends soft.
5. Continue curling around the head, directing curls away from the face to showcase the dimension of the warm caramel ribbon highlights.
6. Allow all curls to cool completely so they set properly, then mist lightly with a flexible hold styling spray.
7. Gently rake through the waves with a wide-tooth detangling comb to blend them into soft, cascading ribbons, and finish with a drop of lightweight hair shine serum worked through the ends.
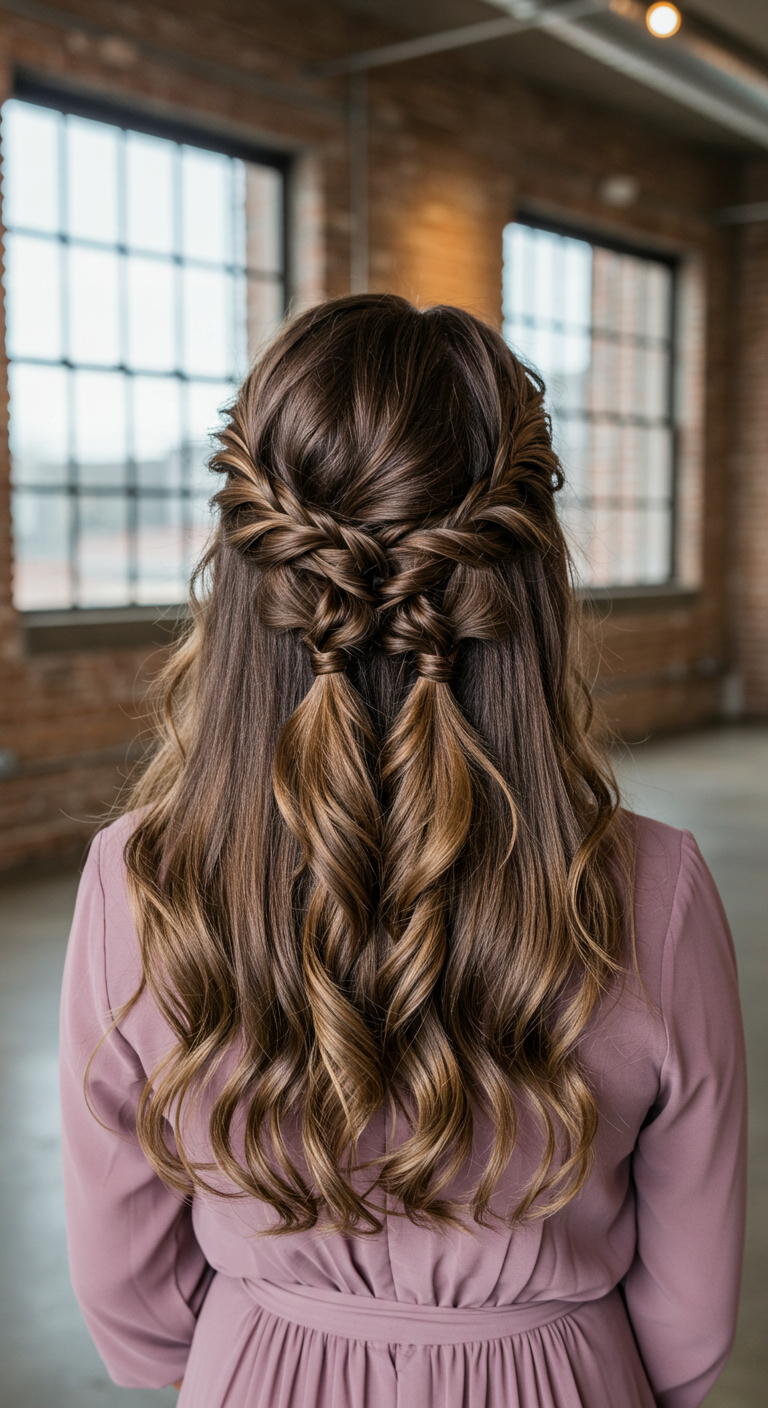
Are you completely obsessed with intricate half-up hairstyles like I am?! I added this romantic woven double-twist style because it feels straight out of a fairytale, don’t you think?! The way the braided details gather into two wrapped tails while letting the soft, warm caramel waves cascade down the back is just breathtaking. It keeps the hair comfortably out of your face while still showing off all your gorgeous length and dimension. Pick this gorgeous half-up style for your next wedding or formal date night and prepare for endless compliments!
How to do this
1. Start by prepping clean, dry hair with a generous mist of the heat protectant spray listed below to shield strands and boost shine.
2. Using a 1.25-inch curling iron, curl the entire head in alternating directions, then lightly brush through with a wide-tooth comb for soft, romantic waves.
3. Lightly spritz the crown area with the dry texturizing spray listed below and gently backcomb for subtle, touchable lift.
4. Take a two-inch section of hair from the right temple and loosely twist or lace-braid it backward toward the center back, then secure temporarily.
5. Repeat this exact twist-braid technique on the left side, bringing both sections together at the nape of the crown.
6. Split the pulled-back sections into two symmetrical tails, weaving a loose crossover knot, and secure each tail with small clear elastic hair ties.
7. Take a slender strand from each tail, wrap it cleanly around the elastic bands to conceal them, and secure underneath using the mini bobby pins listed below.
8. Gently pinch and pull (pancake) the braided sections to create an effortless, dimensional effect, finishing with the flexible hold hairspray listed below.
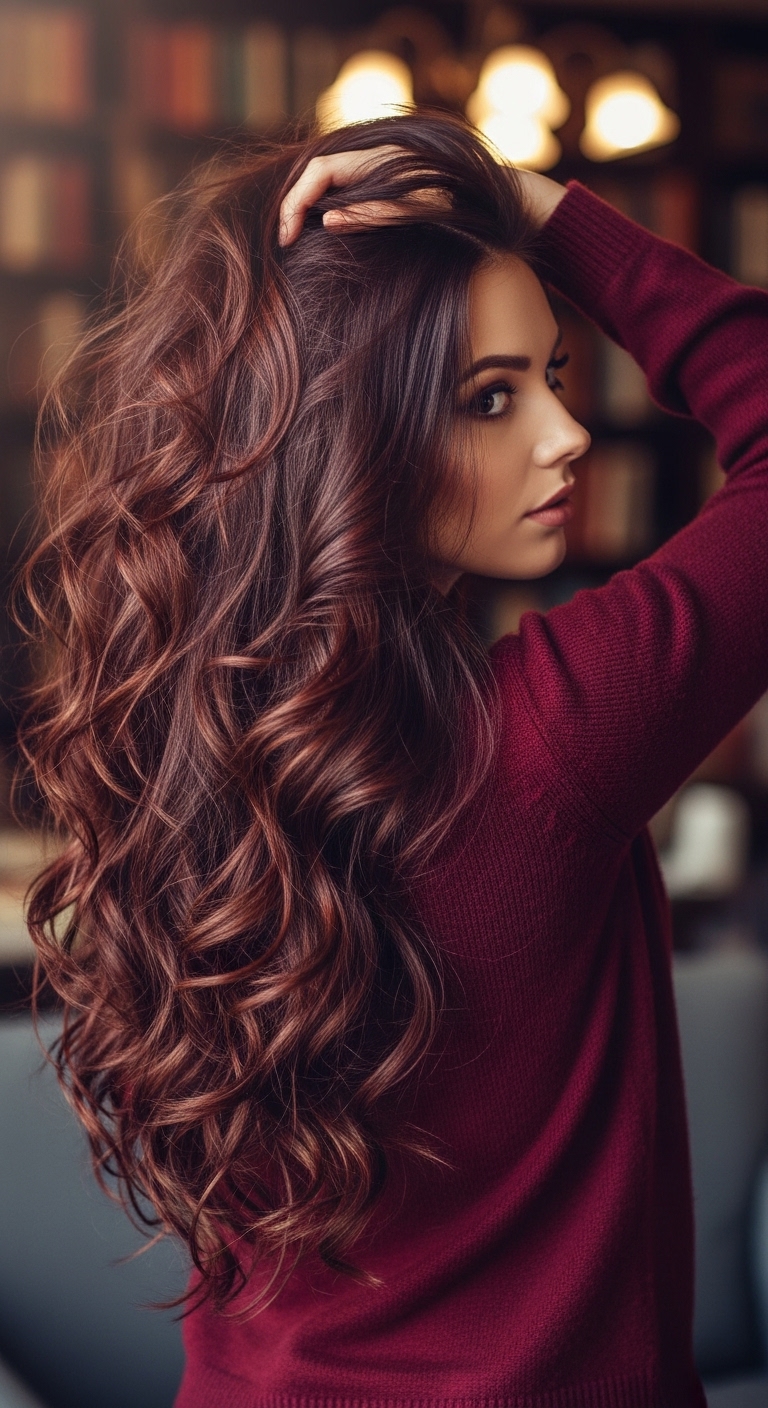
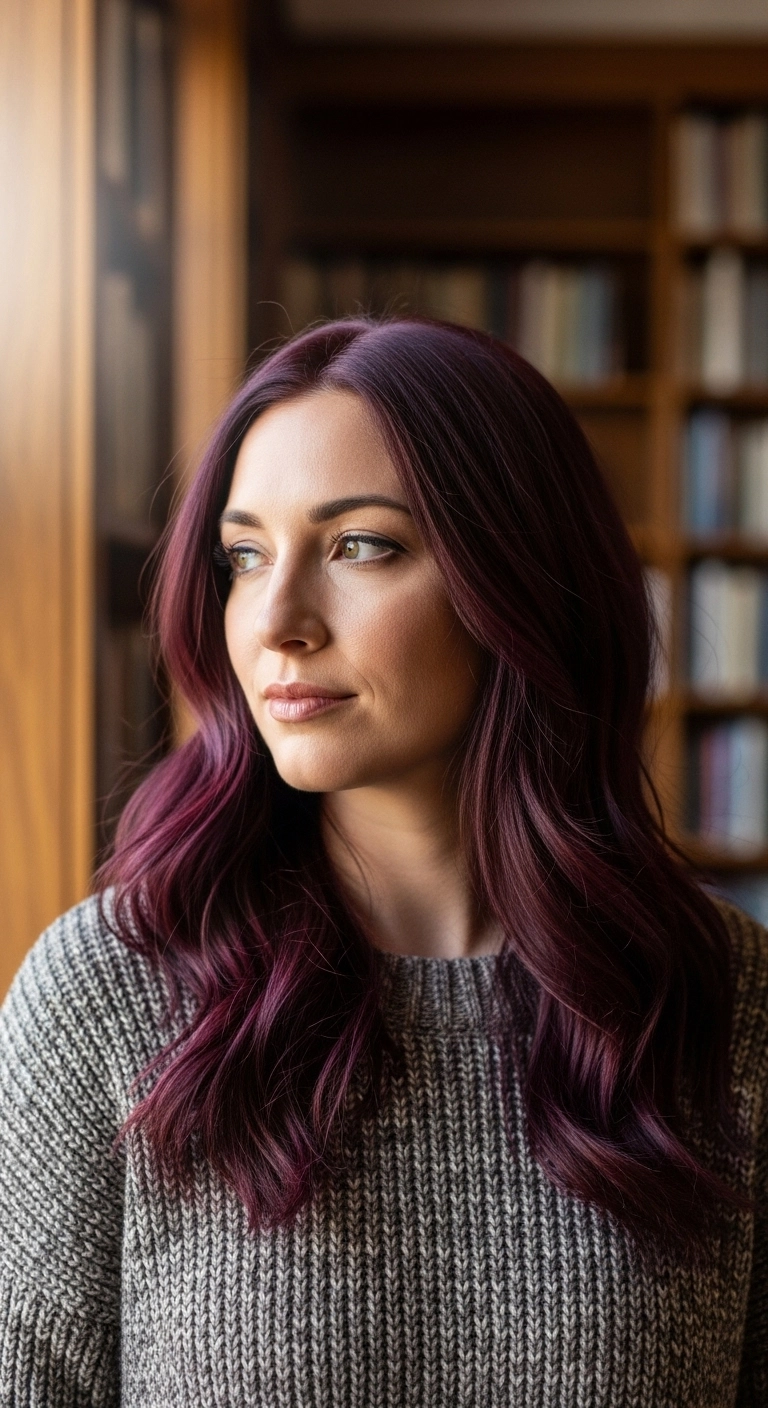
Can we just take a second to obsess over this rich, warm mahogany dimension?! The voluminous, bouncy cascading waves paired with those auburn ribbons are absolute hair goals. It feels so luxurious and glam—would you rock this gorgeous color for fall?
How to do this
1. Start by prepping freshly washed, damp hair with a volumizing blow-dry mousse using the root lifting foam listed below.
2. Blow dry hair using a large ceramic round brush to achieve maximum root volume and smooth cuticle shine.
3. Mist sections lightly with heat protection using the thermal protectant spray listed below.
4. Divide your hair into 1.5-inch sections and curl vertically away from the face using the 1.25 inch curling iron listed below.
5. Clip each warm curl in place for 5-10 minutes to allow the wave pattern to fully set with lasting bounce.
6. Gently release the pins and run your fingers or a wide-tooth comb through the curls to loosen them into soft, cascading ribbons.
7. Apply a tiny drop of the lightweight hair shine serum listed below through the lengths and ends to tame flyaways and enhance gloss.
8. Mist lightly all over using the flexible hold hairspray listed below to lock in the romantic shape without stiffness.
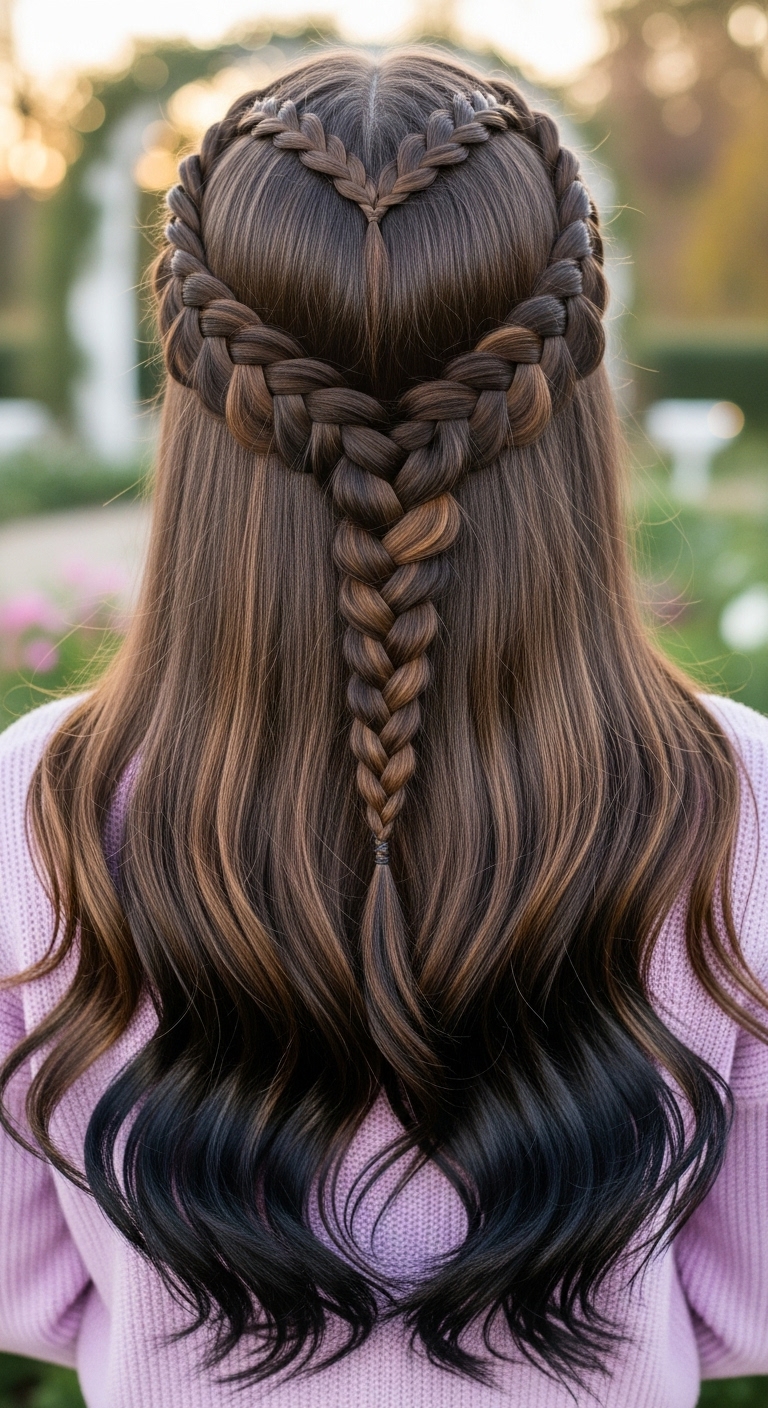
I've been obsessed with themed half-up braided styles lately, and this double heart braid is honestly so stunning for date night or Valentine's Day! It looks super intricate, but once you map out your curved sections, it comes together like magic. Paired with soft, brushed-out waves, it creates the dreamiest romantic vibe ever!
How to do this
1. Start by prepping clean, dry hair with a generous mist of the heat protectant spray listed below, then create soft, voluminous waves throughout using a 1.25-inch curling iron.
2. Create a clean center part down the crown using the rat tail comb listed below, stopping at the vertex to isolate your braiding zones.
3. On each side of the central parting, carve out two small sections near the crown and weave two miniature Dutch braids angled downwards towards each other to form the inner heart dip, securing them together temporarily with a mini clear elastic.
4. Next, create two larger Dutch lace braids starting from the hairline above each ear, curving them upward and around to frame the outer perimeter of the heart shape.
5. Bring the outer curved braids together at the center back of the head, gently incorporate the inner heart strands, and continue weaving downward into a standard three-strand braid.
6. Secure the end of the braid with a mini elastic from the clear hair elastics pack listed below.
7. Gently pinch and pancake the edges of all braids to add fullness and definition, then set the entire romantic half-up look in place with the flexible hold hairspray listed below.
If you want that iconic 90s supermodel bounce, this look is pure perfection. Those rich chocolate brown tones paired with big, cascading Hollywood waves give so much life and dimension to thick hair. Just brush through your curls after letting them set, and you’re instantly ready for the red carpet!
How to do this
1. Start with freshly washed damp hair and prep from roots to ends with the volumizing root lift spray and heat protectant listed below.
2. Blow-dry the hair in sections using a large round ceramic brush, lifting at the roots to maximize volume and rolling the ends under.
3. Divide hair into horizontal sections and use the 1.5-inch curling iron listed below to curl large horizontal sections away from the face, holding each curl for a few seconds.
4. Pin each warm curl up with the setting clips listed below to let them cool completely; this step is essential for holding that sculpted, bouncy shape.
5. Release the clips, gently brush through with a wide-tooth comb or soft bristle brush to merge the waves into a unified, flowing ribbon pattern.
6. Mist lightly with the flexible hold hairspray and shine mist listed below to lock in the glossy, frizz-free finish.
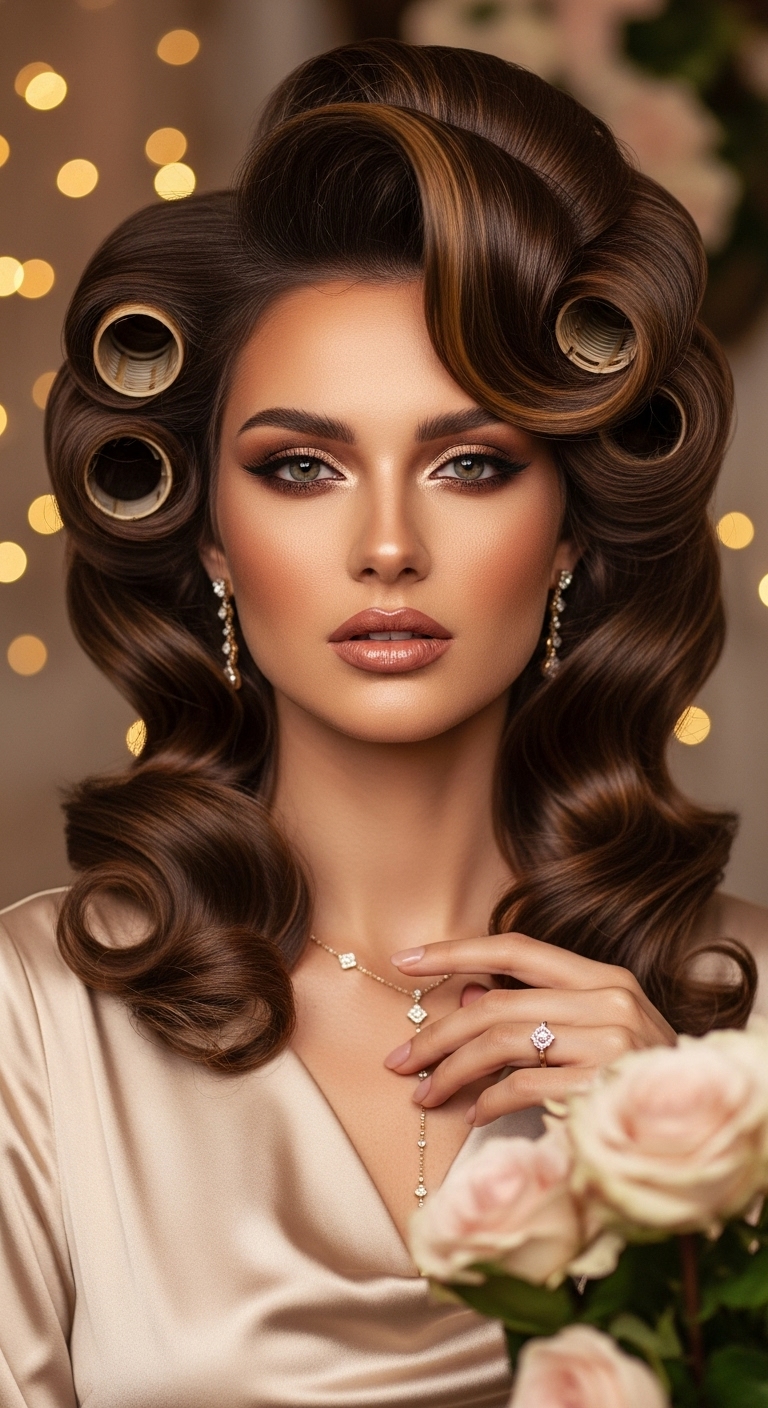
There is honestly nothing that feels quite as luxurious as a classic roller blowout set. Leaving the jumbo rollers in while the front wave sets just screams vintage bridal prep or red-carpet backstage energy. The rich chocolate base with warm golden ribbons catches the light so beautifully, it’s practically glowing.
How to do this
1. Prep damp, freshly washed hair by applying a generous amount of the volumizing mousse listed below from roots to ends for long-lasting body.
2. Mist hair with the heat protectant spray listed below, then blow-dry using a large round ceramic brush, lifting at the roots to maximize crown height.
3. Take 1.5 to 2-inch wide horizontal sections around the crown and sides while still hot, rolling the hair around the jumbo self-grip velcro rollers listed below and securing them at the base.
4. For the loose lower sections, wrap strands around a 1.25-inch curling iron barrel to create defined S-shaped Hollywood ripples, letting them cool completely.
5. Sweep the front fringe over to one side, molding the wave into a high-volume contour using the styling creaming pomade listed below to tame flyaways.
6. Finish the entire style with a generous veil of the flexible hold luminous hairspray listed below to lock in the glossy, red-carpet bounce.
This sleek blowout with a deep side sweep is giving pure timeless elegance. I love how the delicate face-framing layers softly contour the jawline while keeping the overall shape super clean and polished. It's the perfect chic look when you want something structured, sophisticated, and effortlessly glossy!
How to do this
1. Start by washing hair with a smoothing, frizz-control shampoo and conditioner to prep for a sleek blow-dry.
2. On towel-dried damp hair, apply a dime-sized amount of smoothing blowout cream and heat protectant spray listed below from mid-lengths to ends.
3. Create a clean, deep side part over your preferred eye using a fine-tooth tail comb.
4. Section hair into horizontal layers and blow-dry using a large ceramic round brush, pulling hair down smooth and rolling the ends gently inward toward the chest.
5. For the dramatic side-swept fringe, roll the front section over the round brush away and downward, then clip in place with a crease-free styling clip while it cools.
6. Once cooled, release the fringe and let it sweep smoothly across the eye and cheekbone.
7. Finish off with a few drops of lightweight hair gloss serum listed below along the mid-shaft and ends, followed by a light mist of flexible hold hairspray to lock the swooped bangs in place.
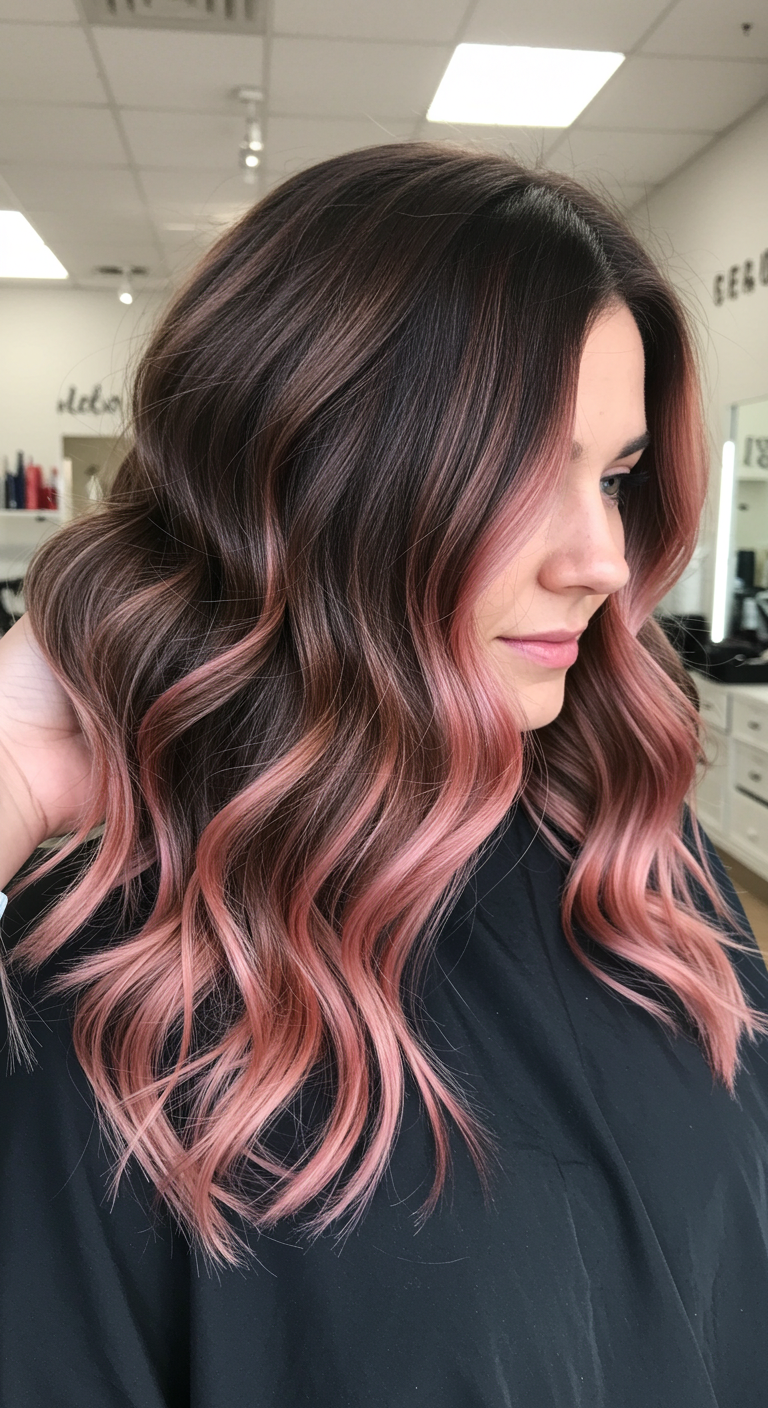
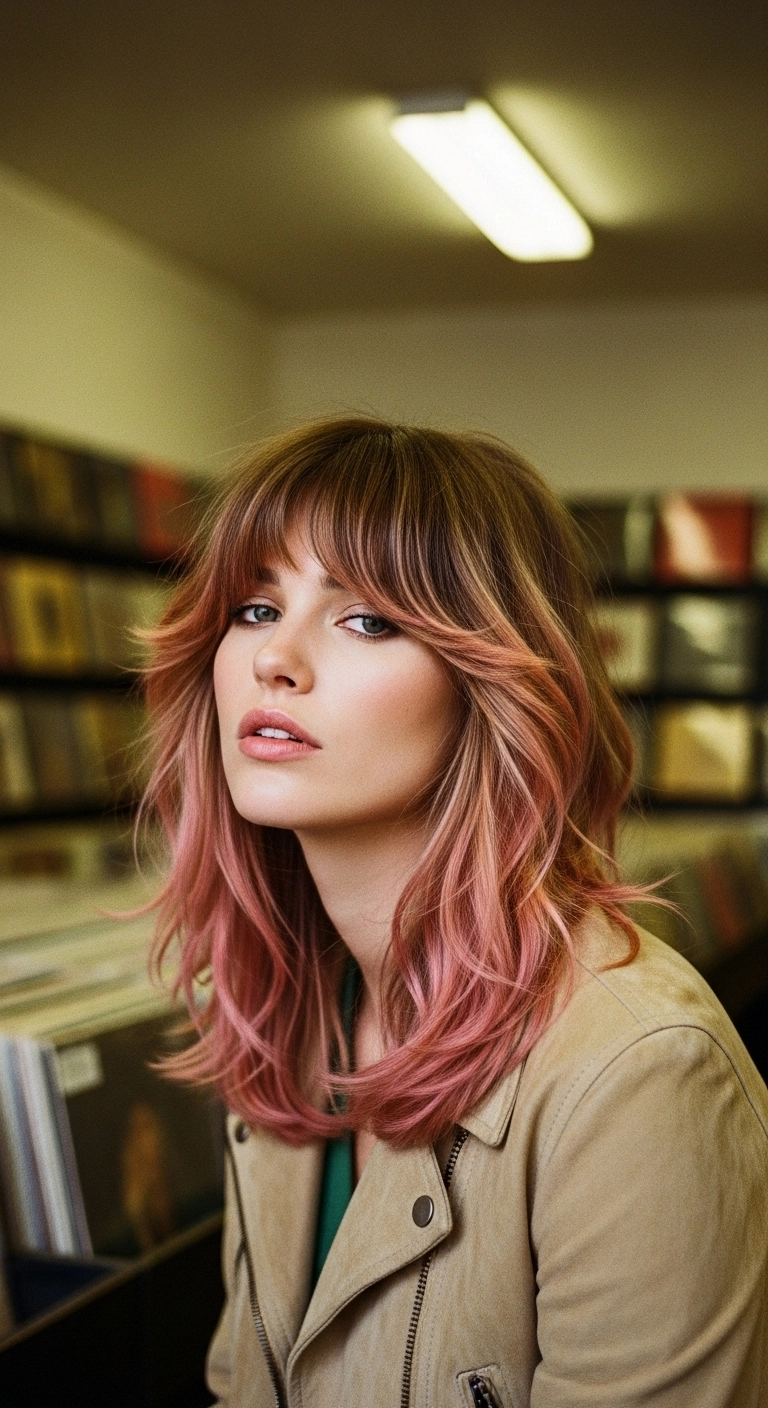
Isn’t this chocolate and rose gold combo just absolute perfection?? Pairing a rich, dark brunette base with soft pastel pink ends gives you such a fun pop of color without committing to an all-over bleach job. What I love most is that bright money piece framing the cheekbones—it instantly brightens up your whole complexion! Add some loose wand curls, and you have the dreamiest, lived-in glam look ever.
How to do this
1. Start by lightening the face-framing sections and painting a seamless balayage through the mid-lengths and ends using the hair lightening powder and developer listed below.
2. Once lifted to a pale level 9 or 10, tone the highlighted areas with the semi-permanent pastel rose gold hair dye listed below to get that soft blush hue while keeping the chocolate brown base rich.
3. Prep damp, washed hair by applying a dime-sized amount of the heat protectant blowout cream listed below throughout the lengths.
4. Blow dry smooth using a large ceramic round brush to build volume at the root and create a sleek foundation.
5. Section the hair and use the 1.25-inch ceramic curling wand listed below to wrap 1-to-2-inch vertical sections away from the face, leaving about an inch of the ends out for a modern wave.
6. Allow curls to cool completely, then gently rake through them with your fingers to break up the pattern into soft, ribboned S-waves.
7. Finish the style by misting lightly with the shine-enhancing flexible hairspray listed below to tame flyaways and lock in the gloss.