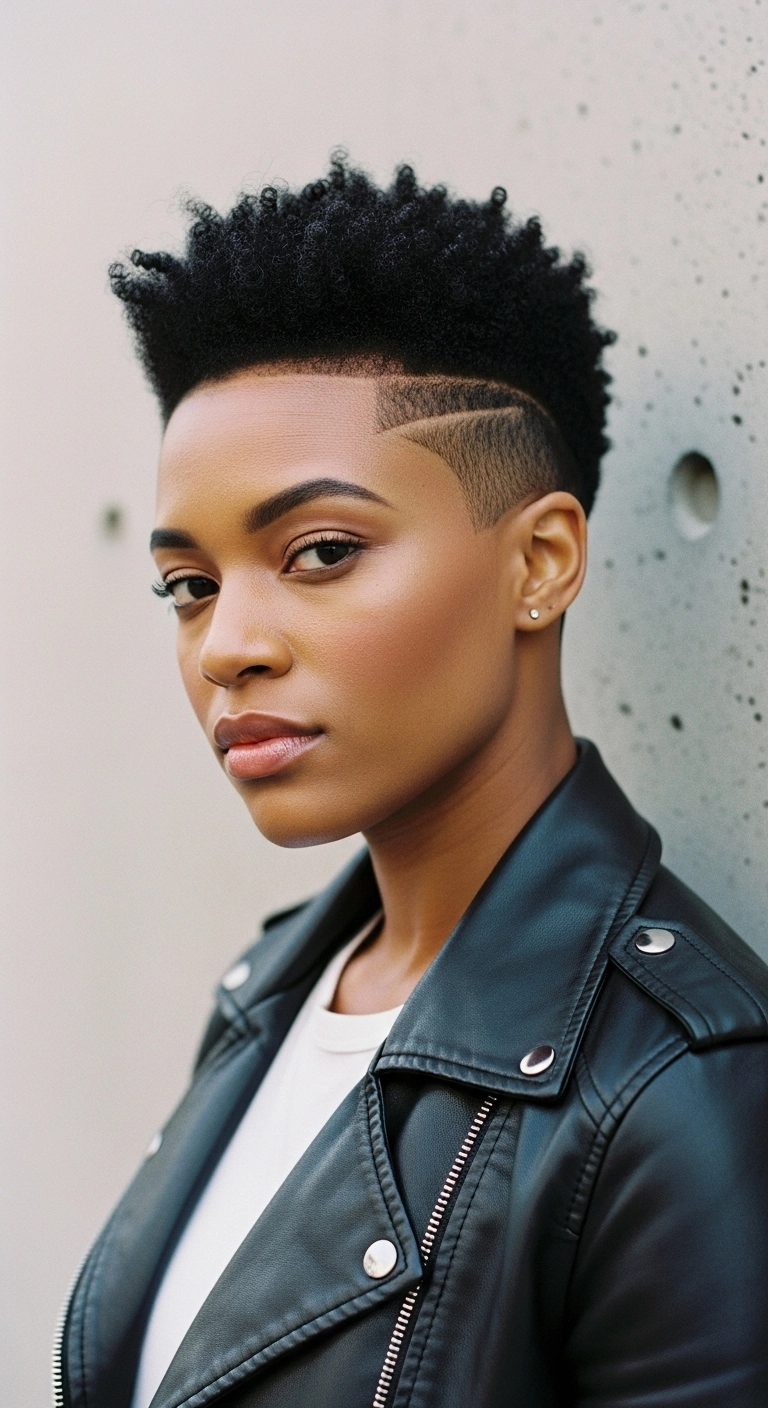
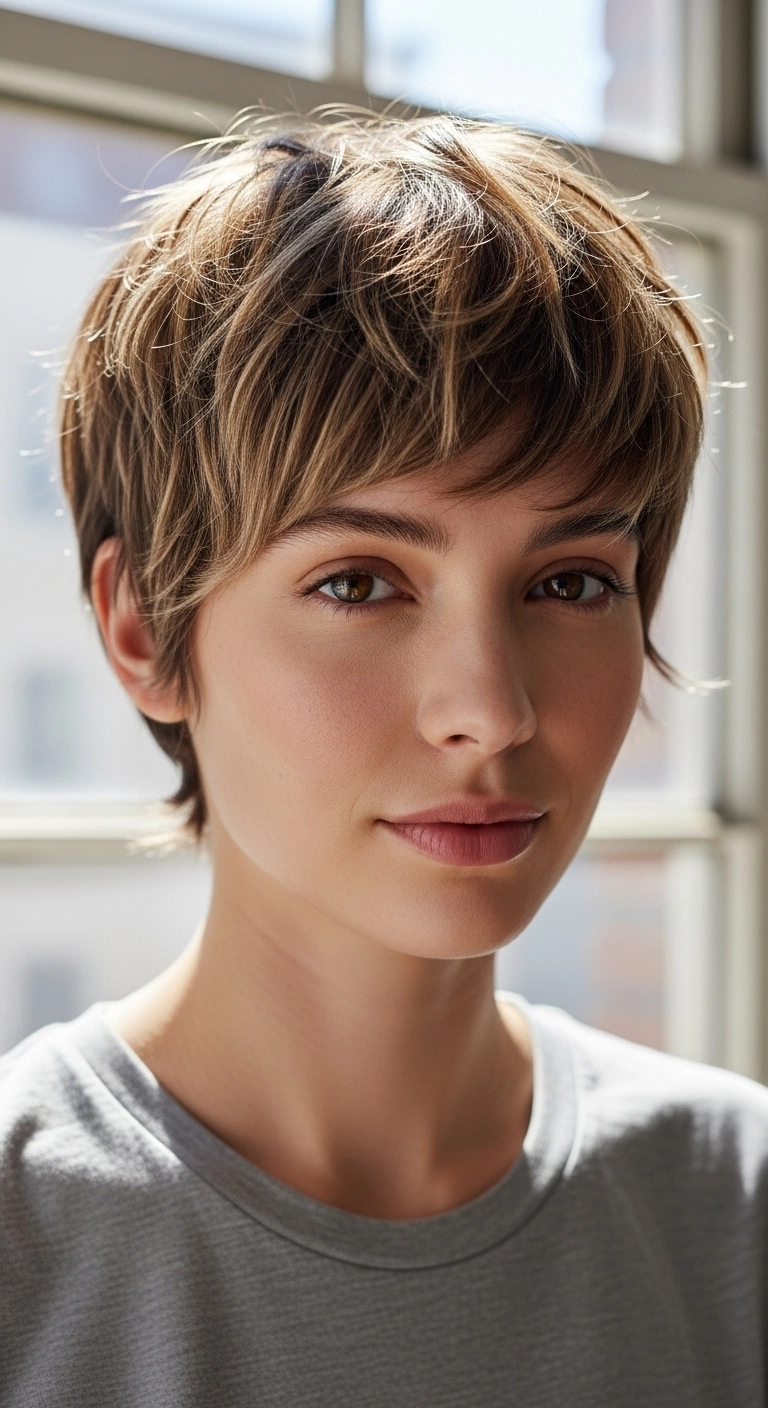
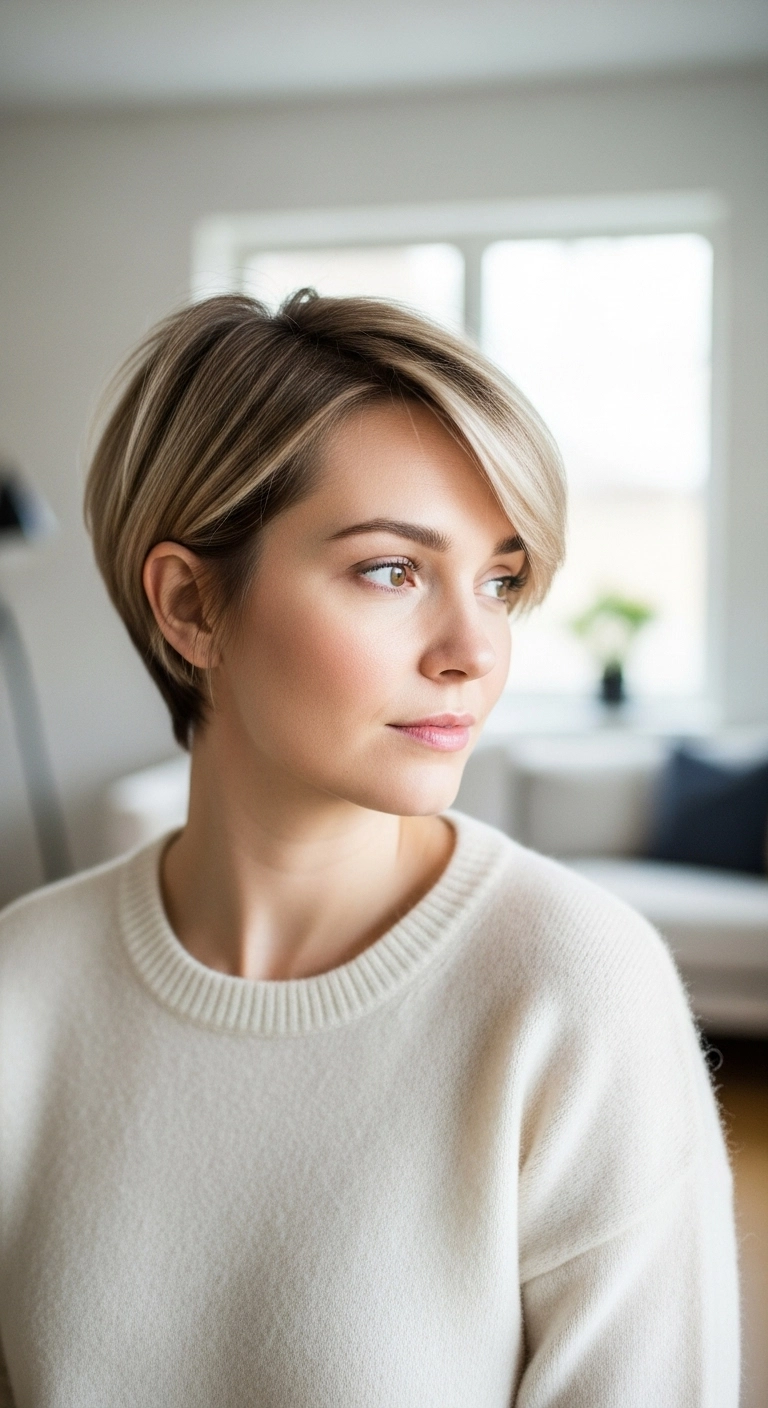
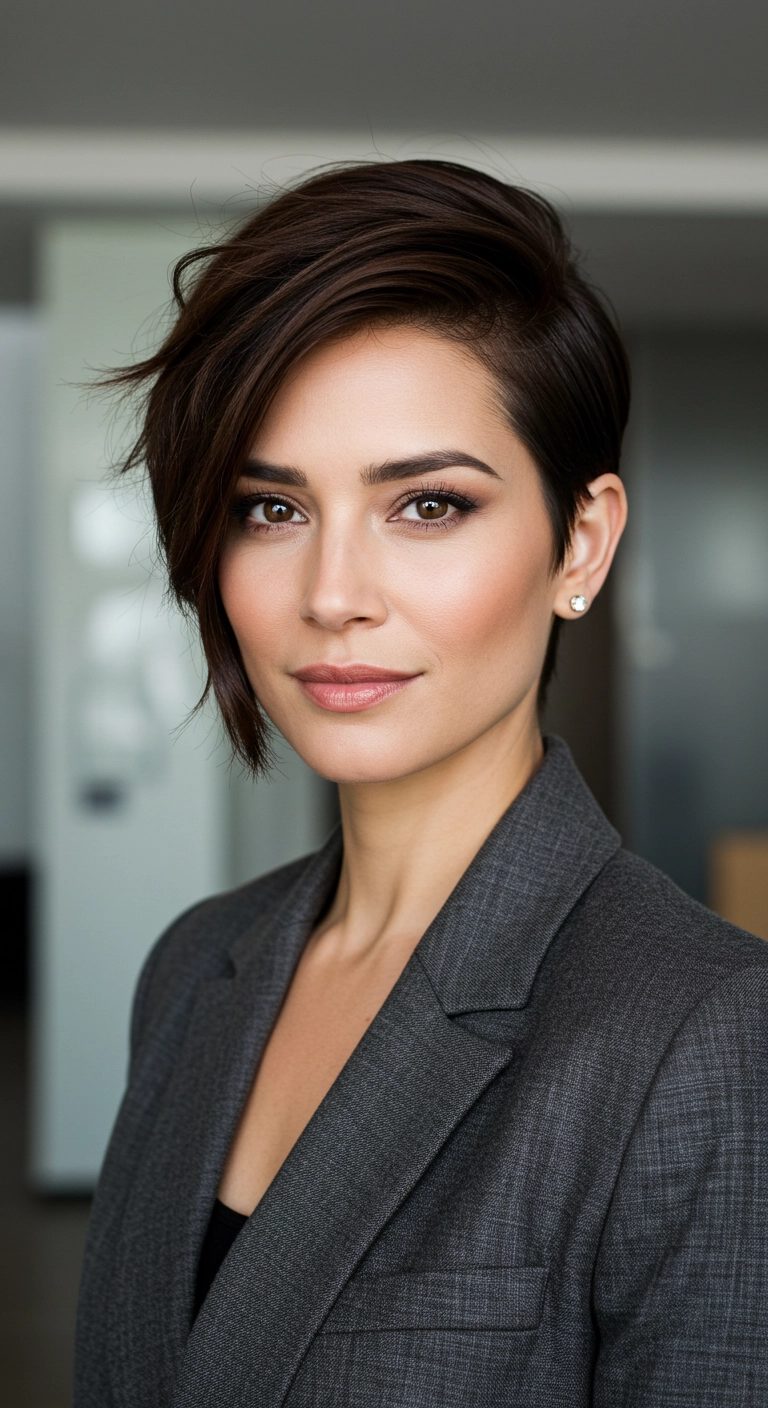
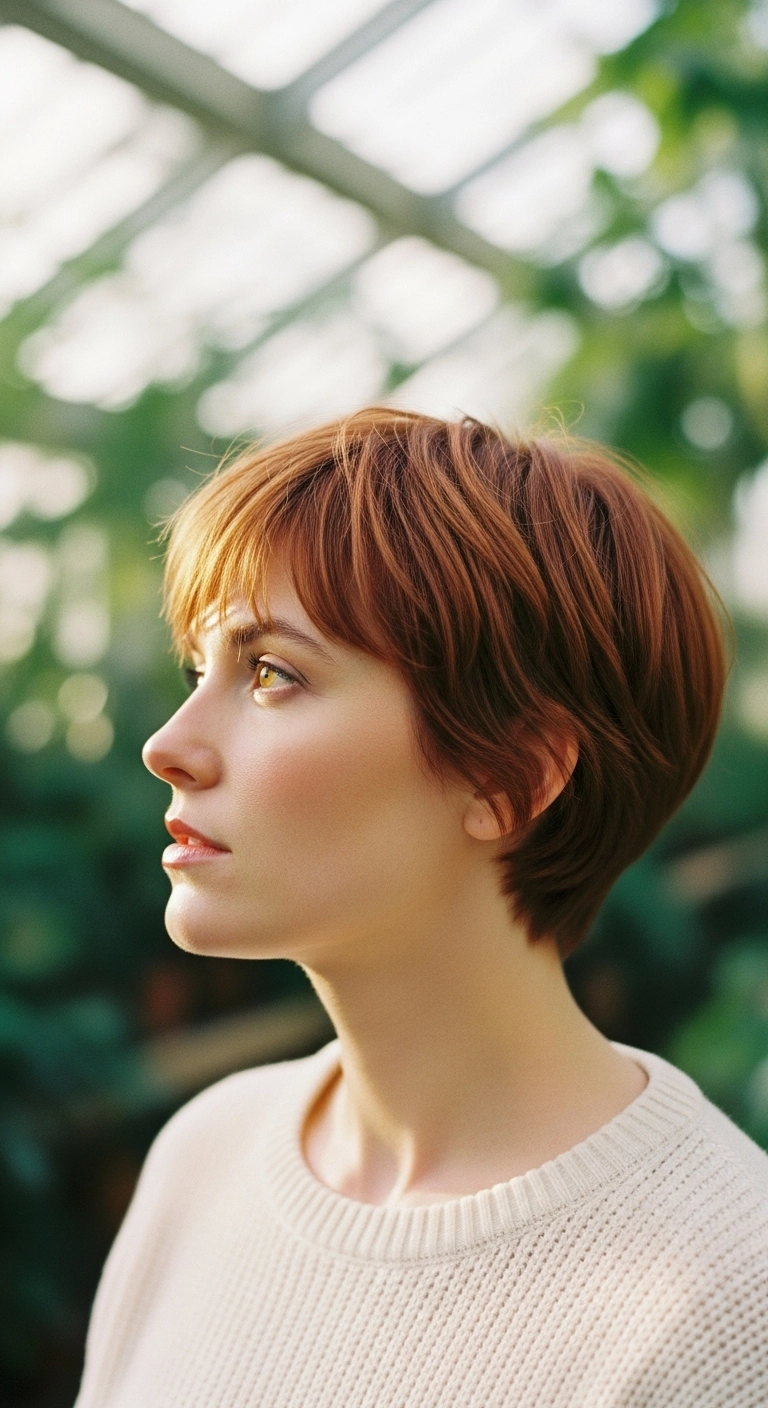
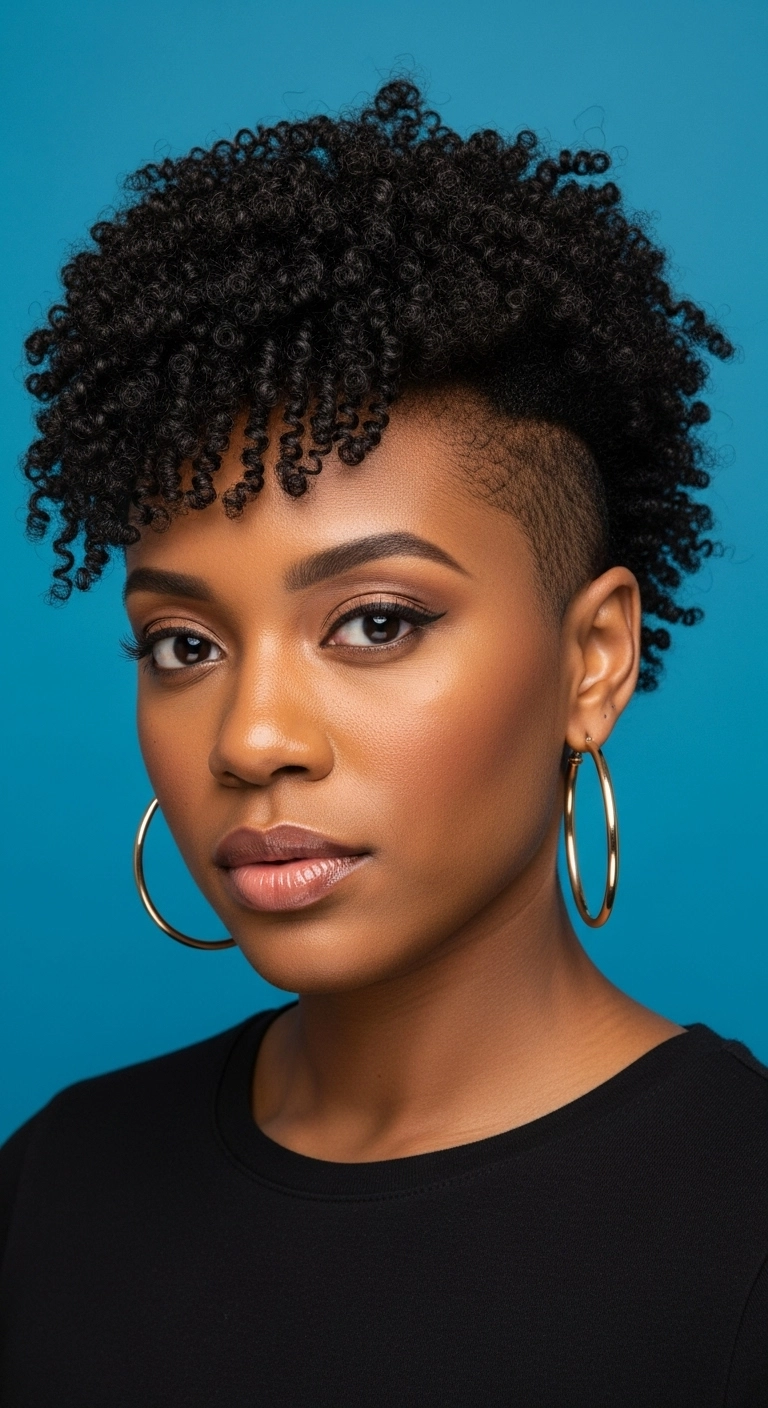
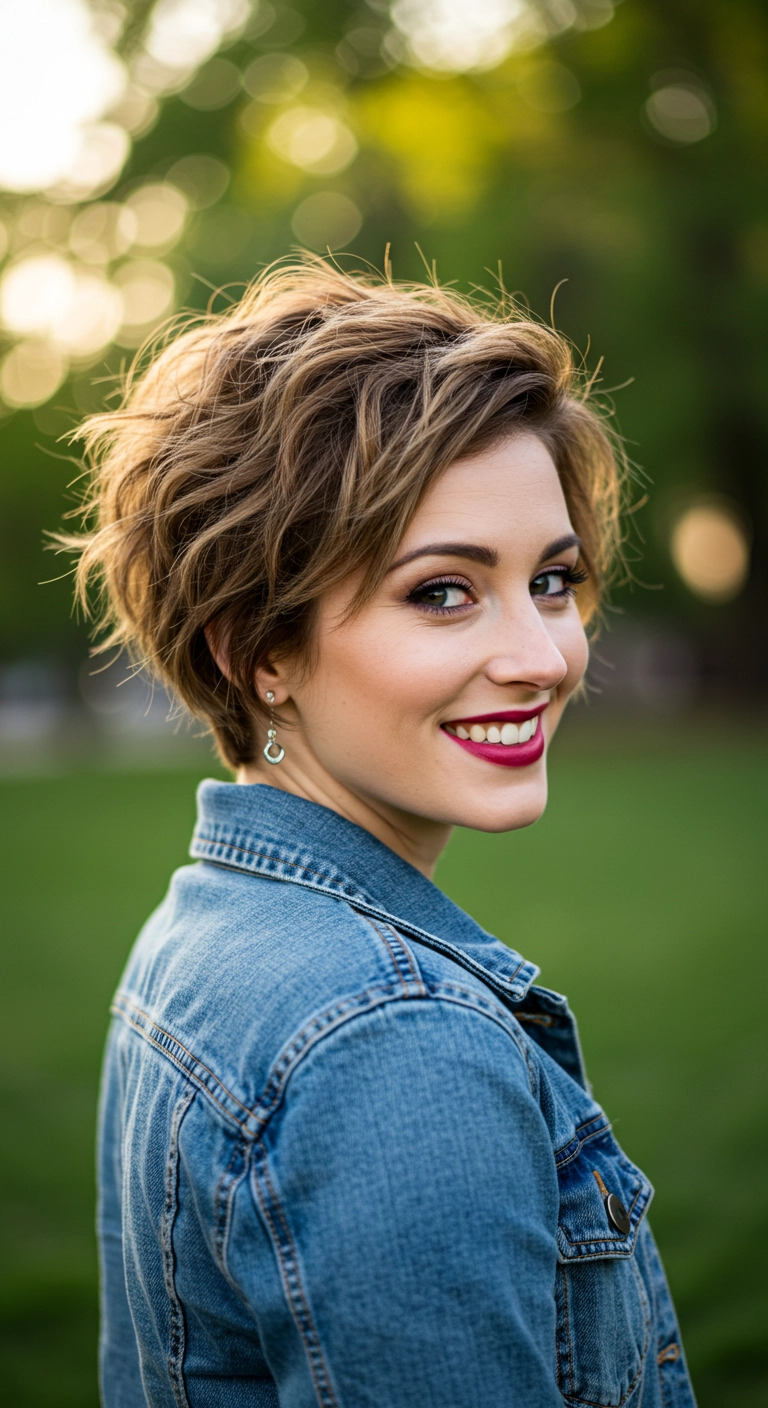
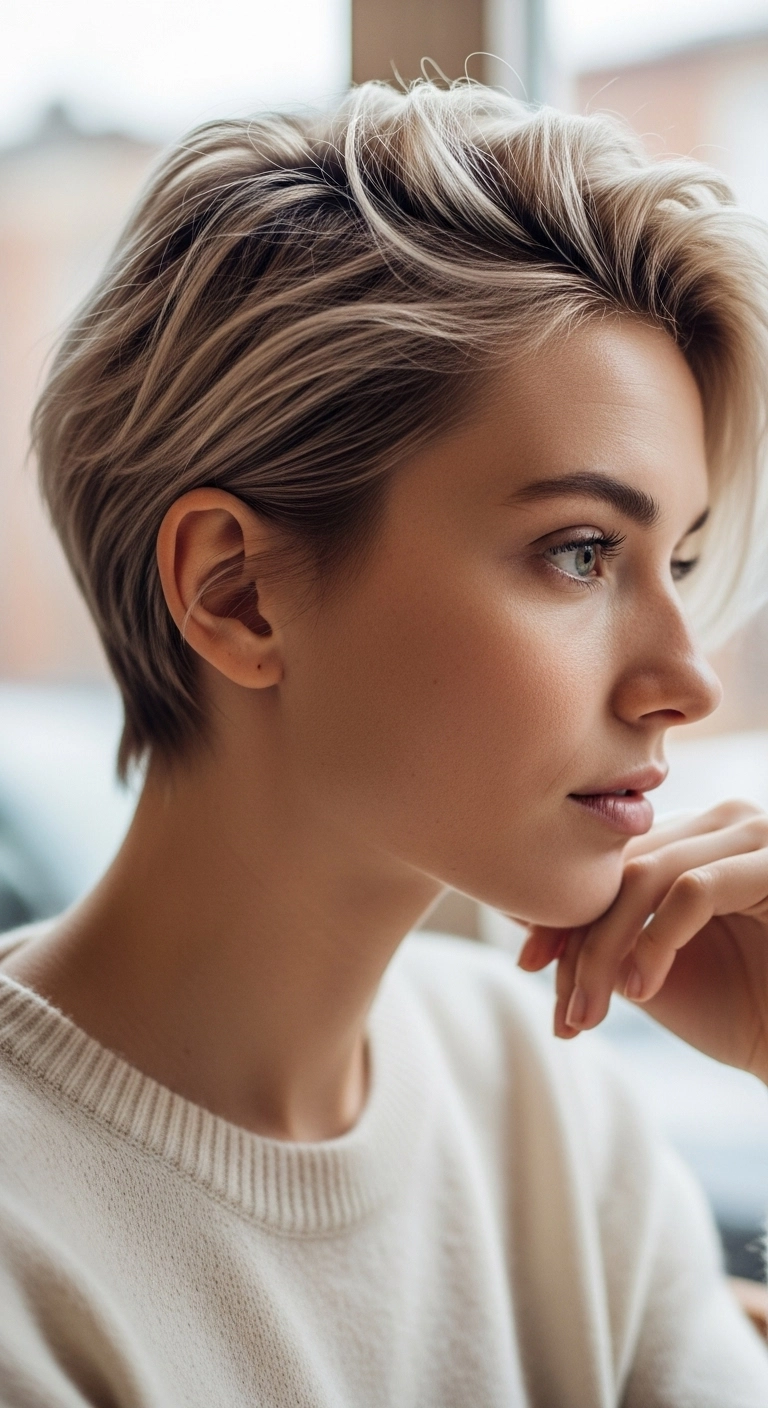
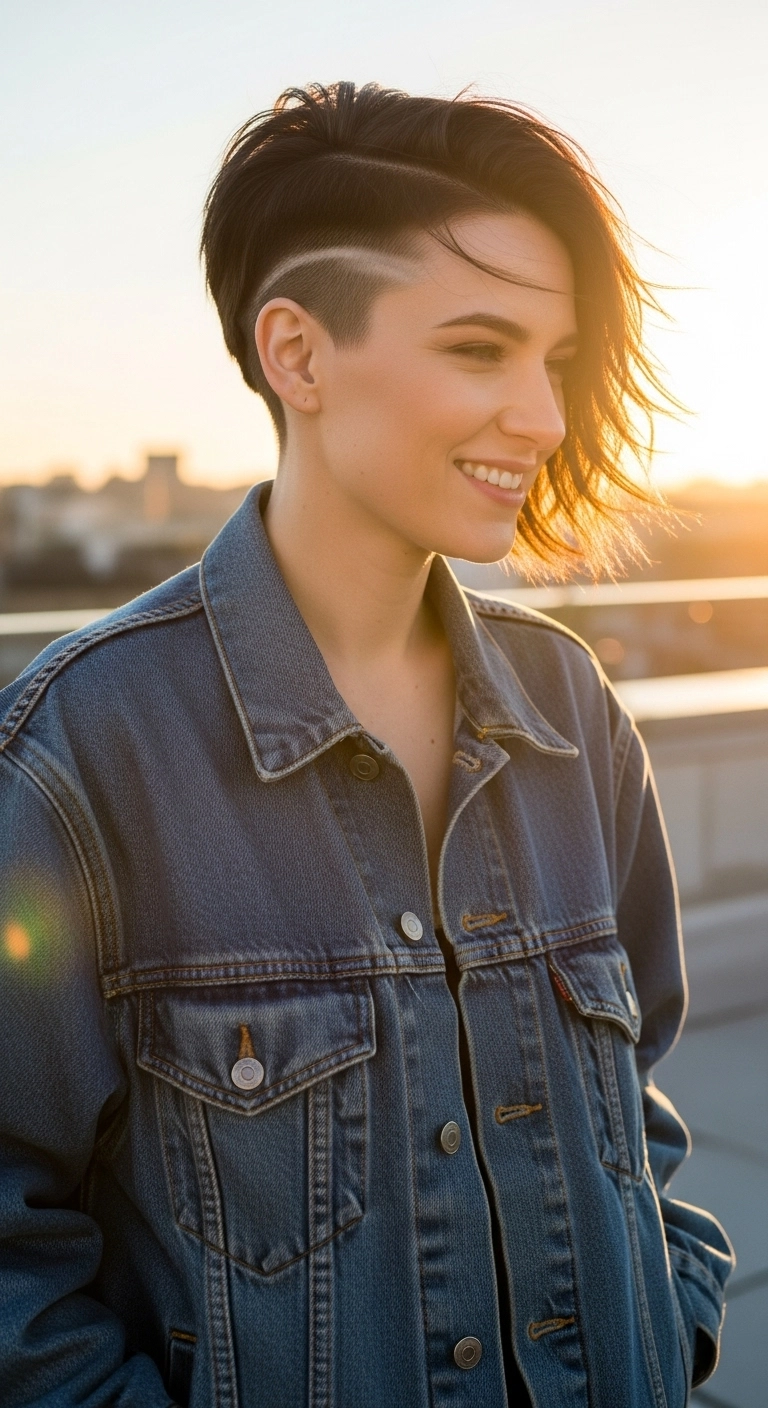
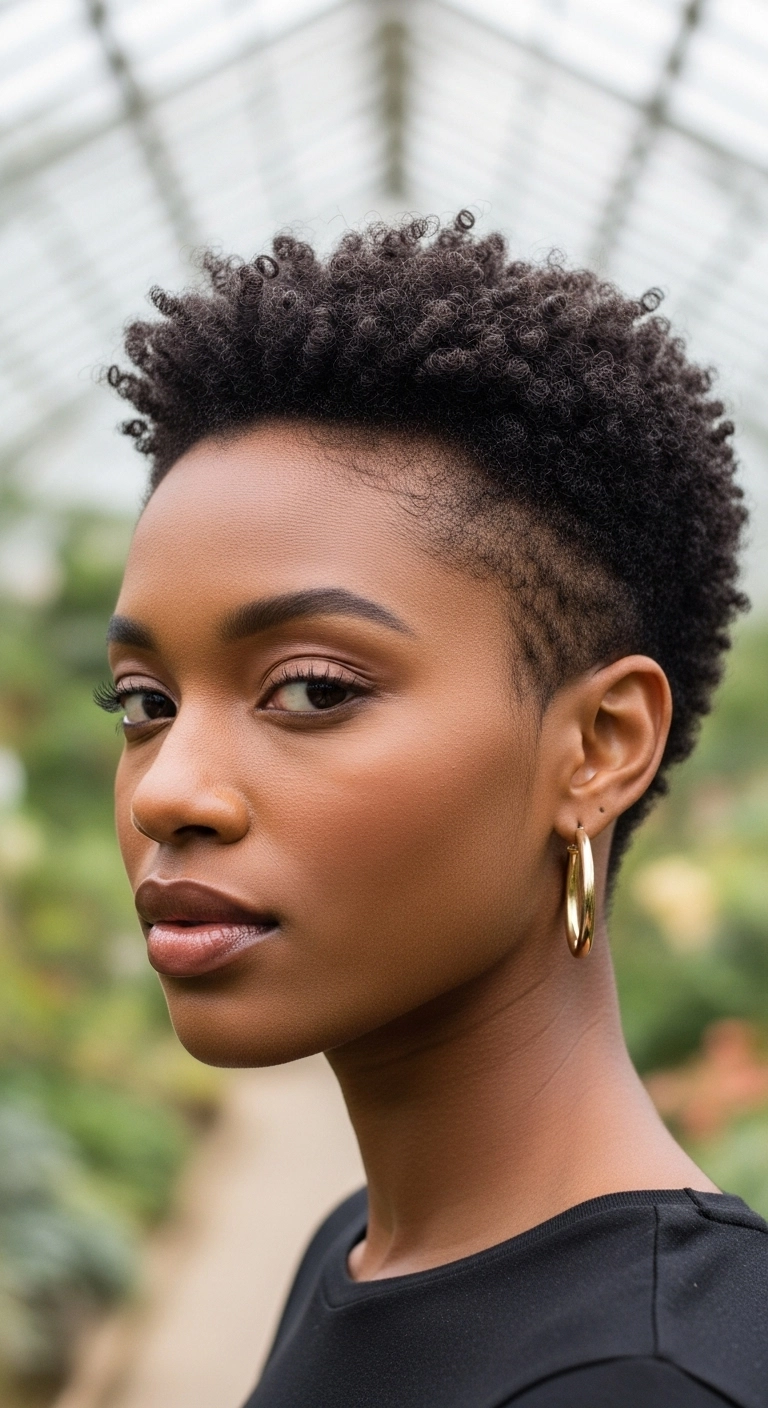
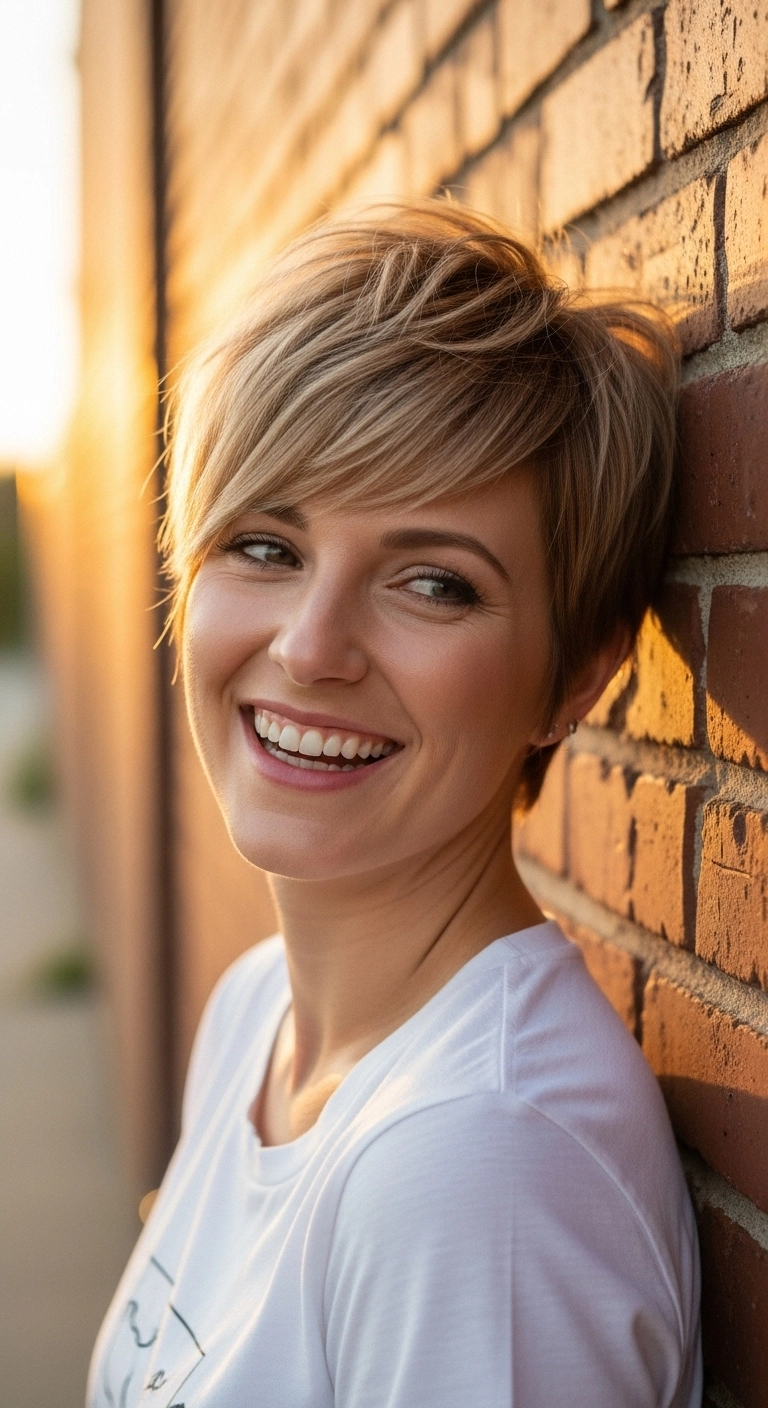
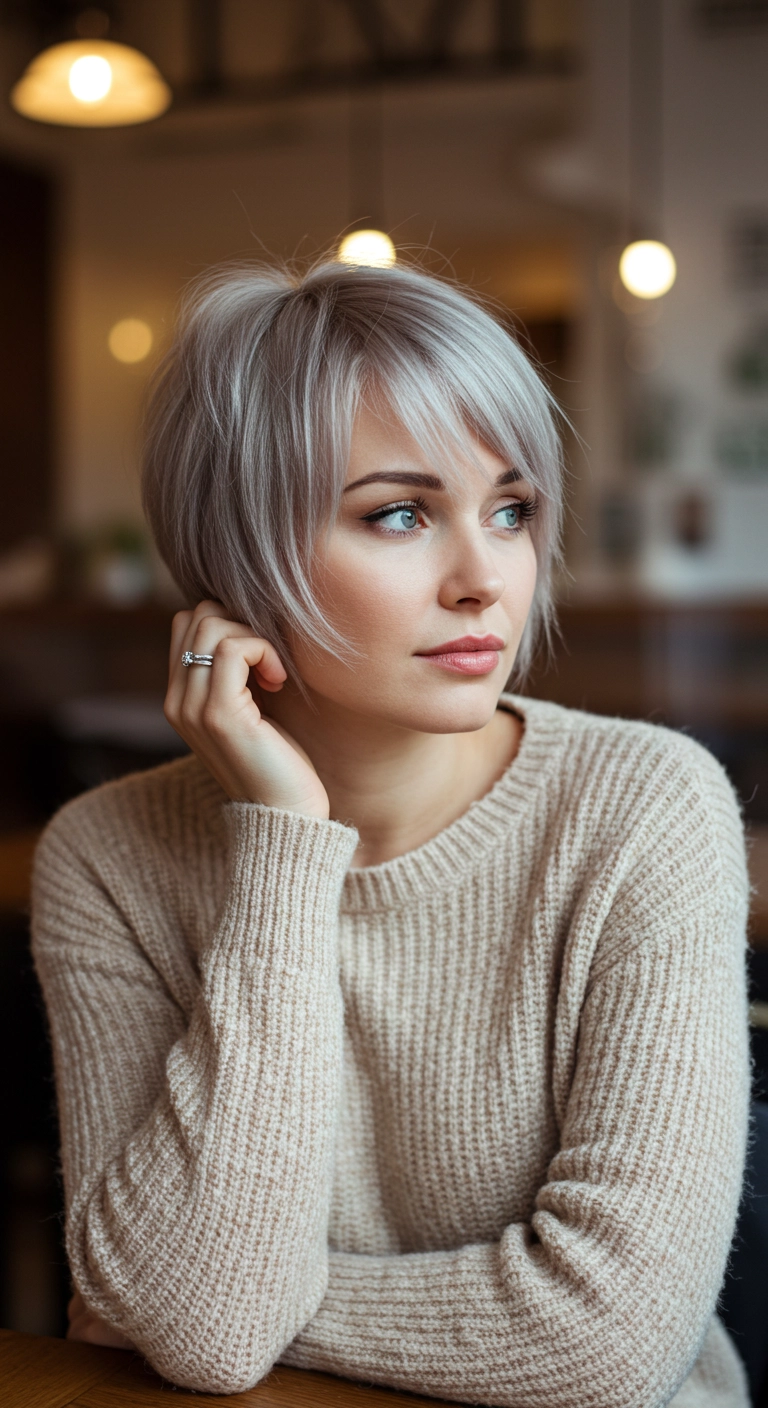
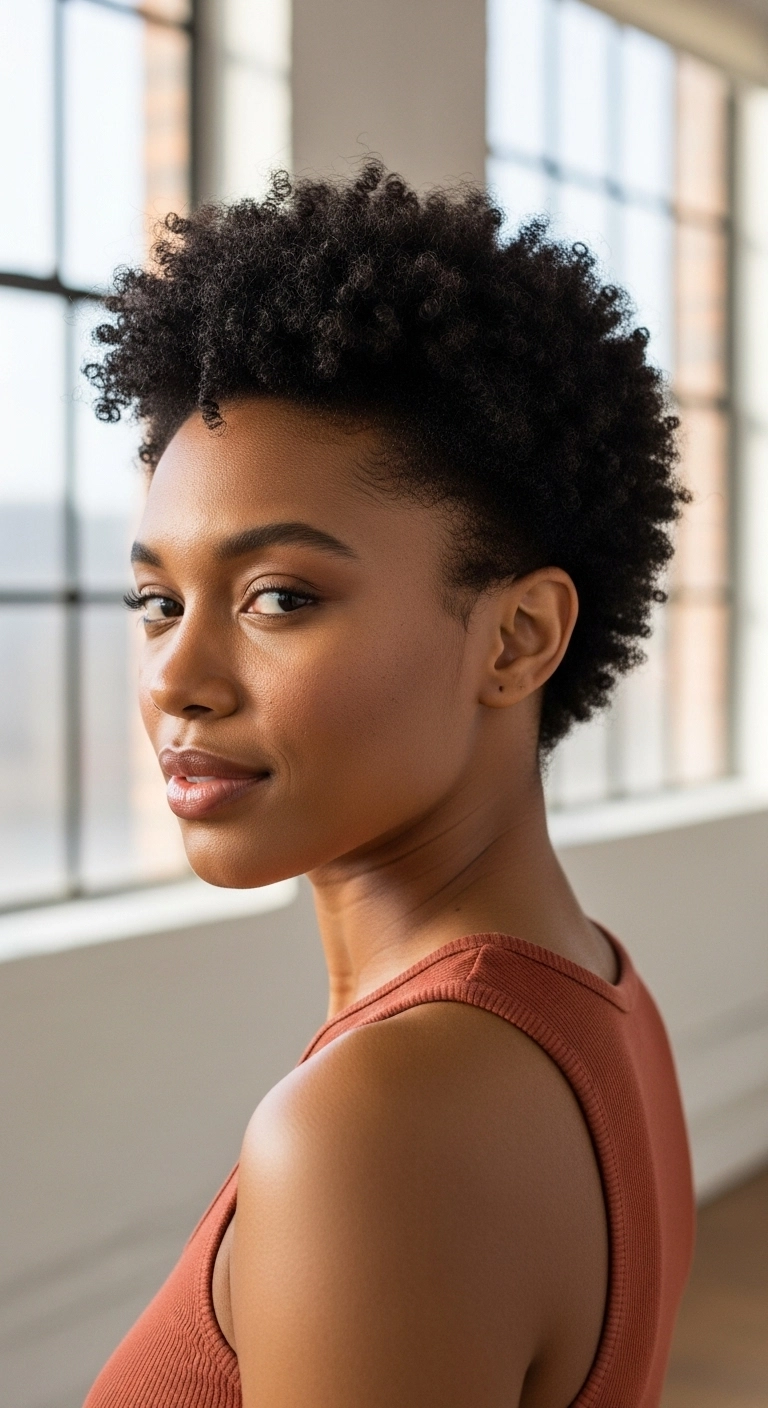
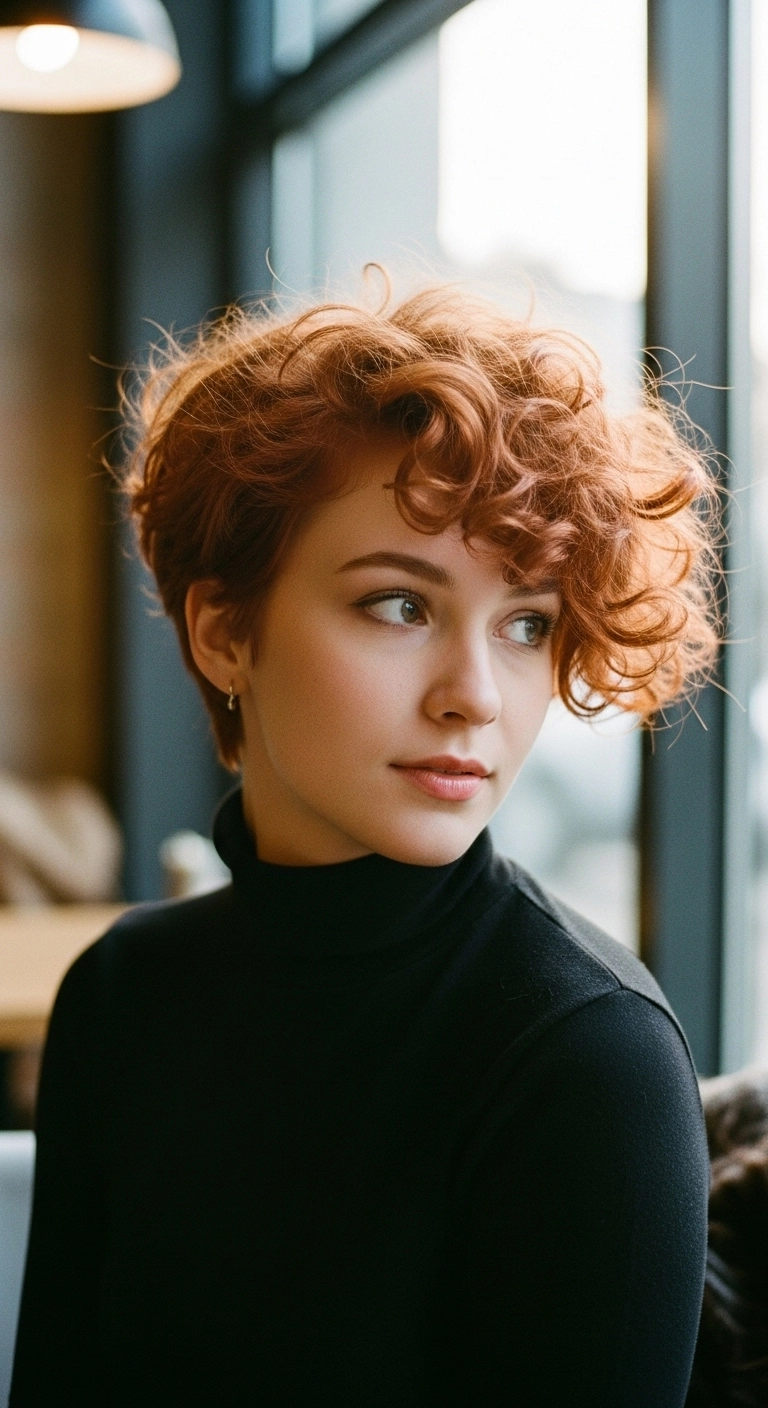
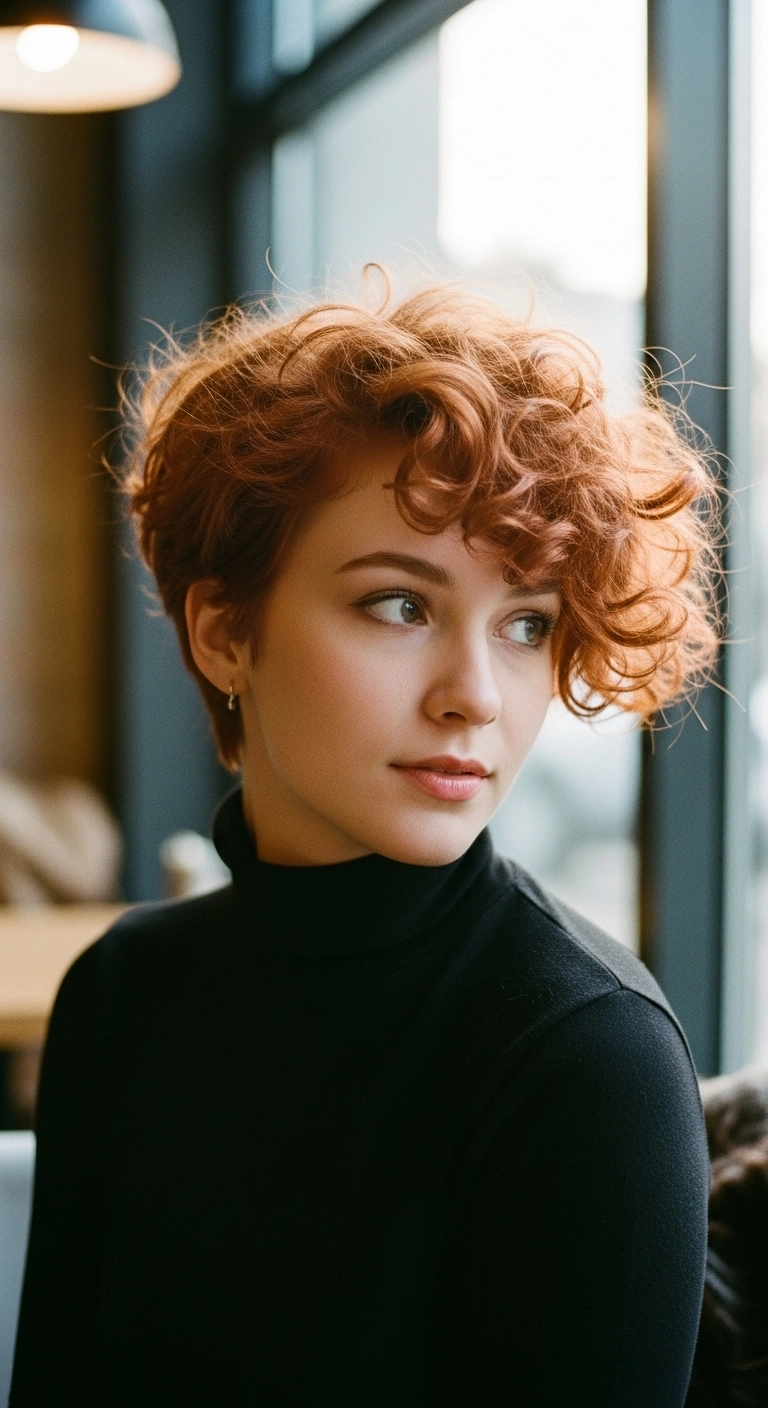
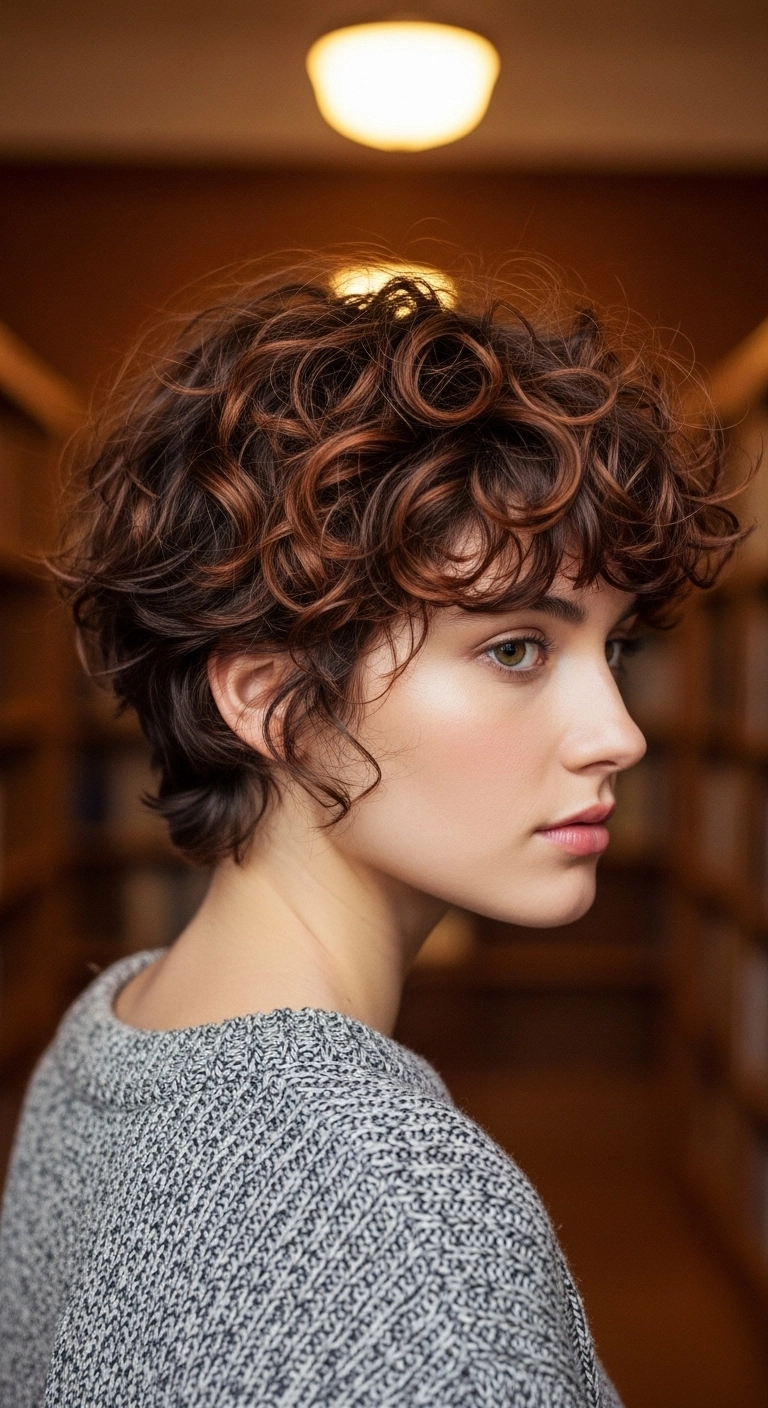
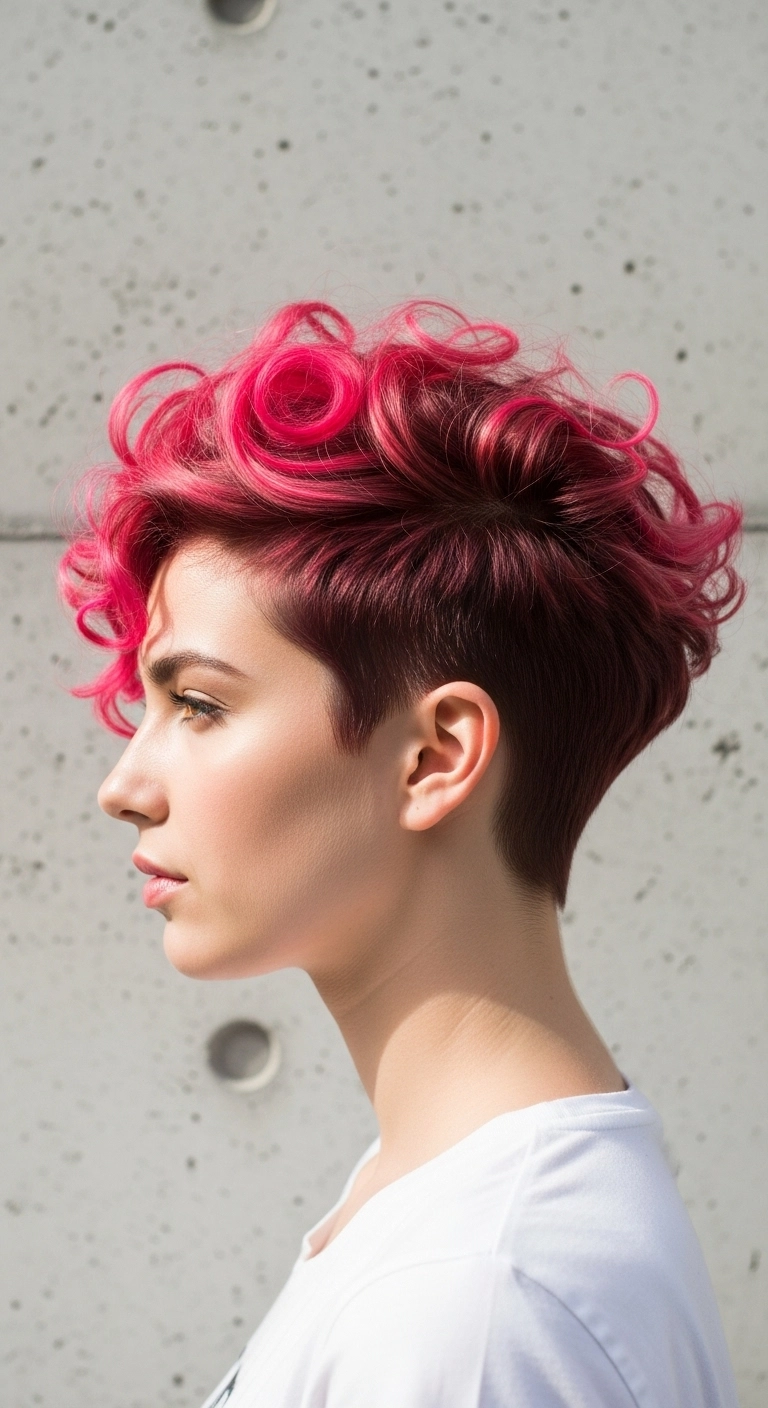
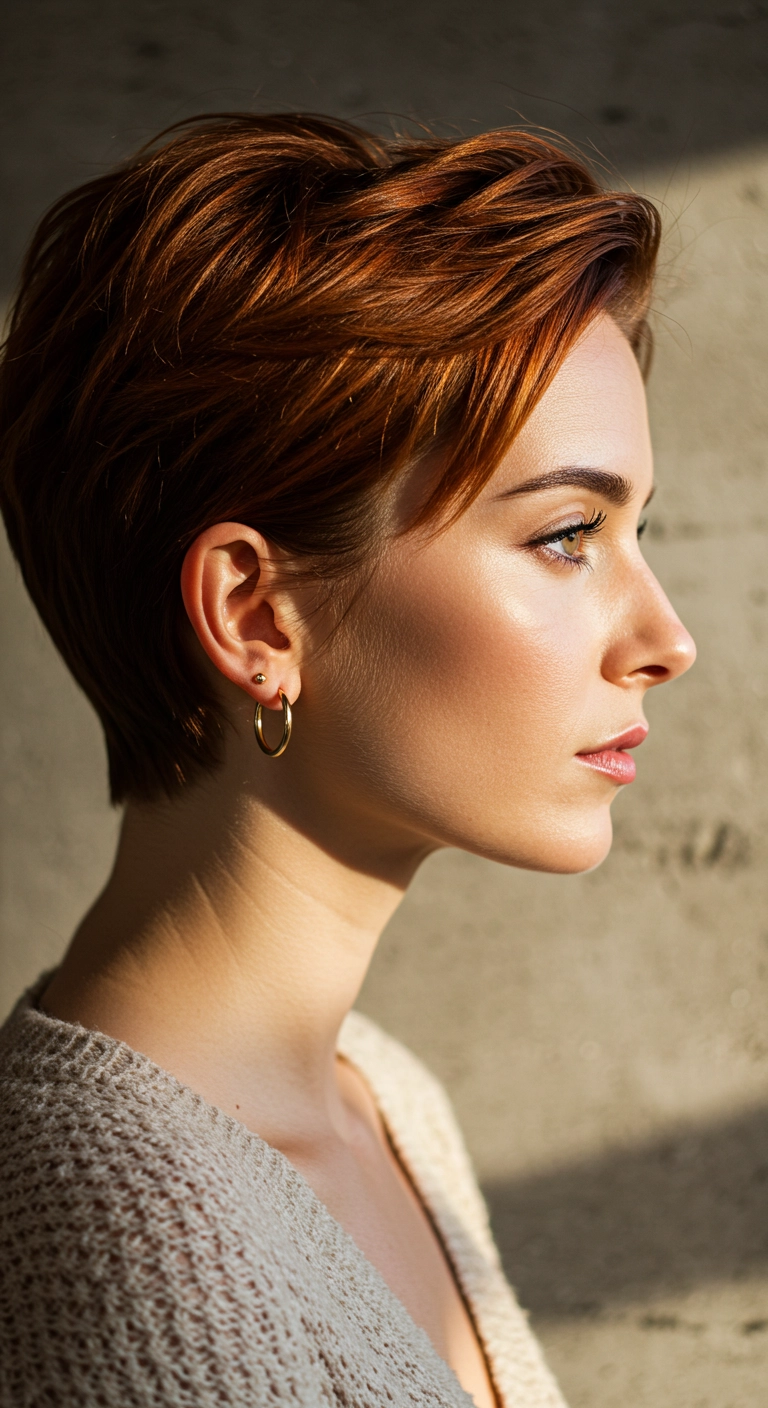
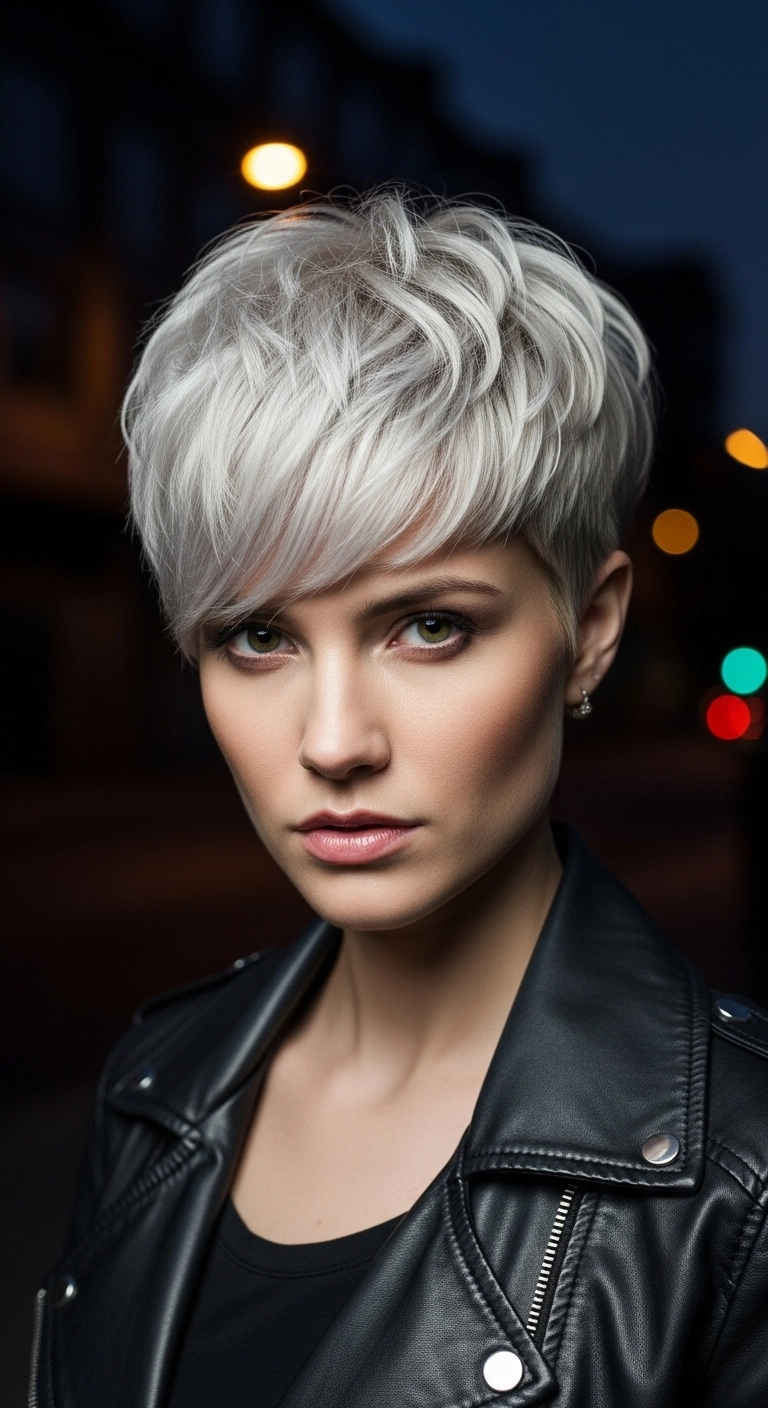
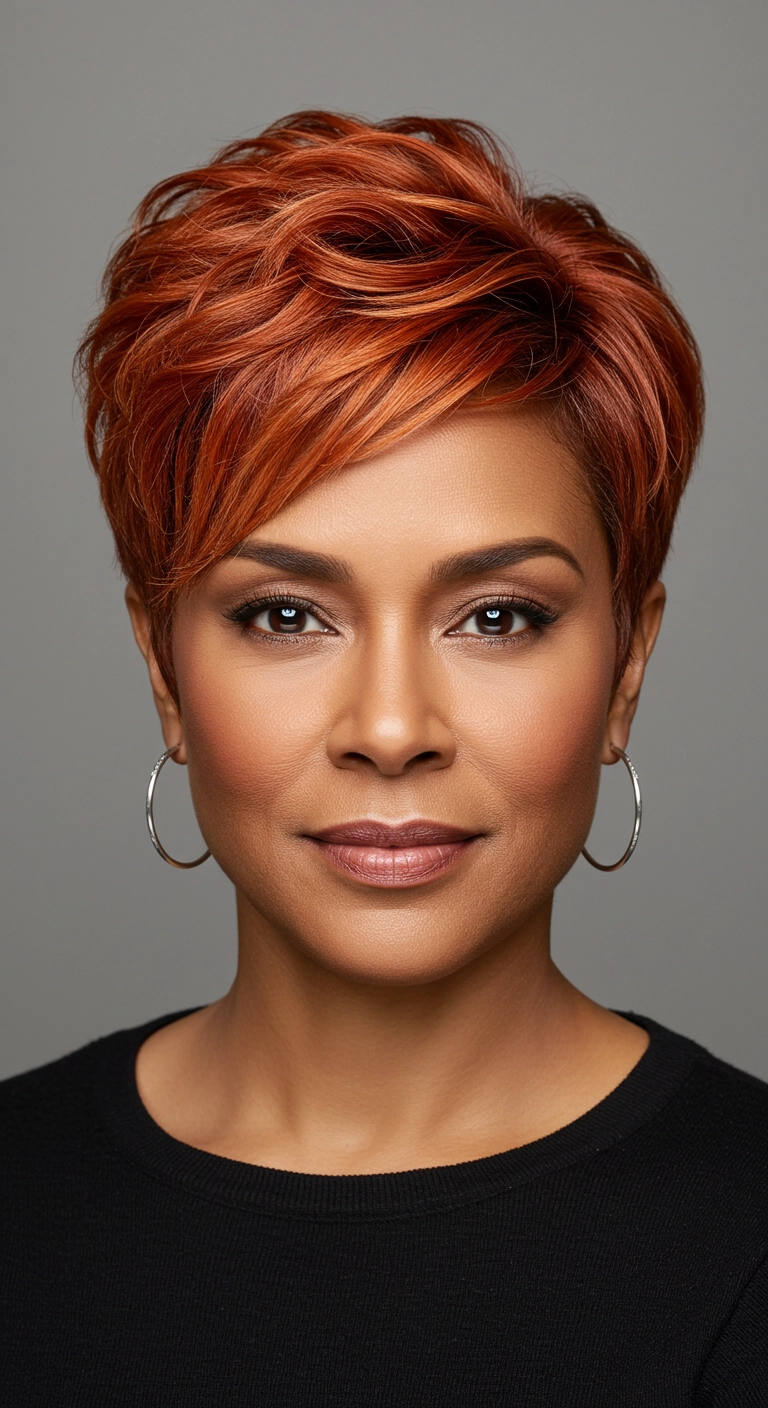
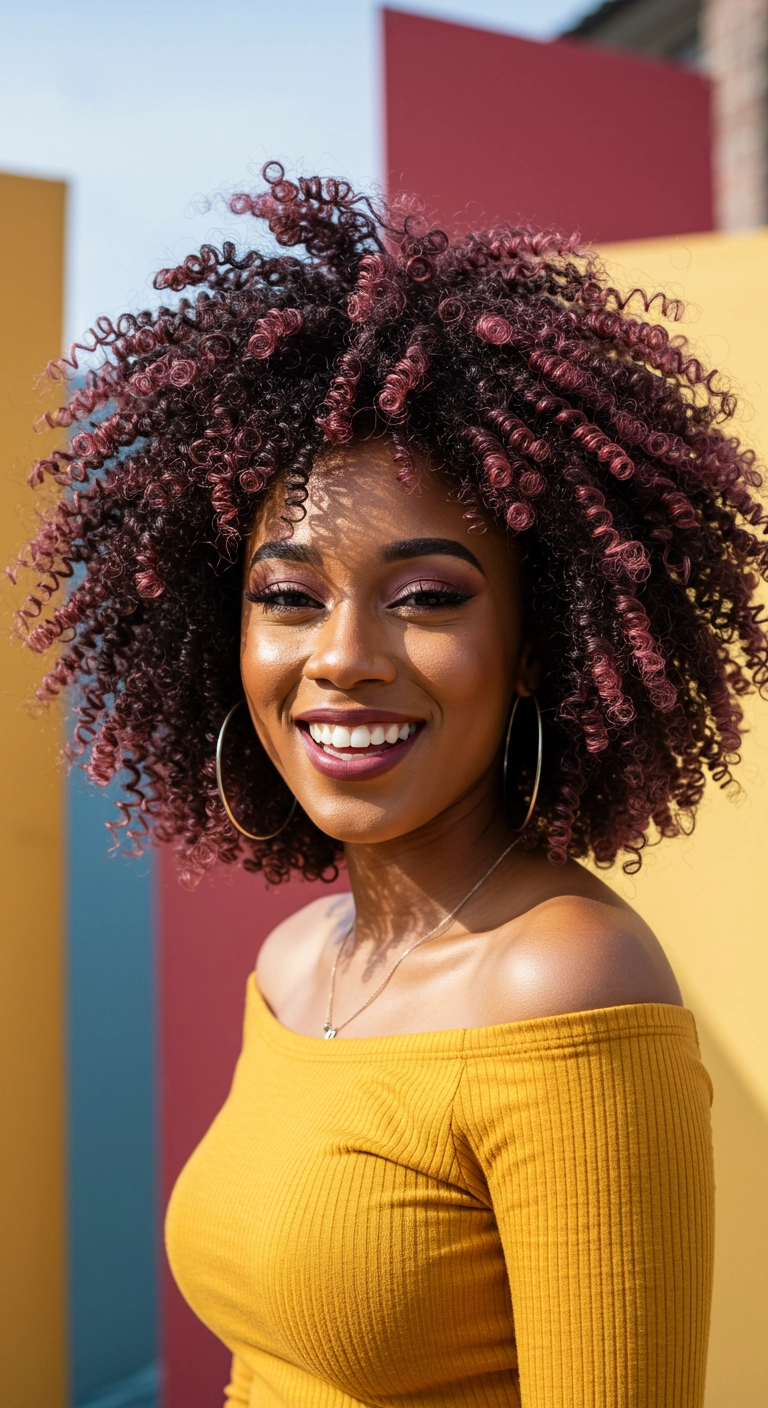
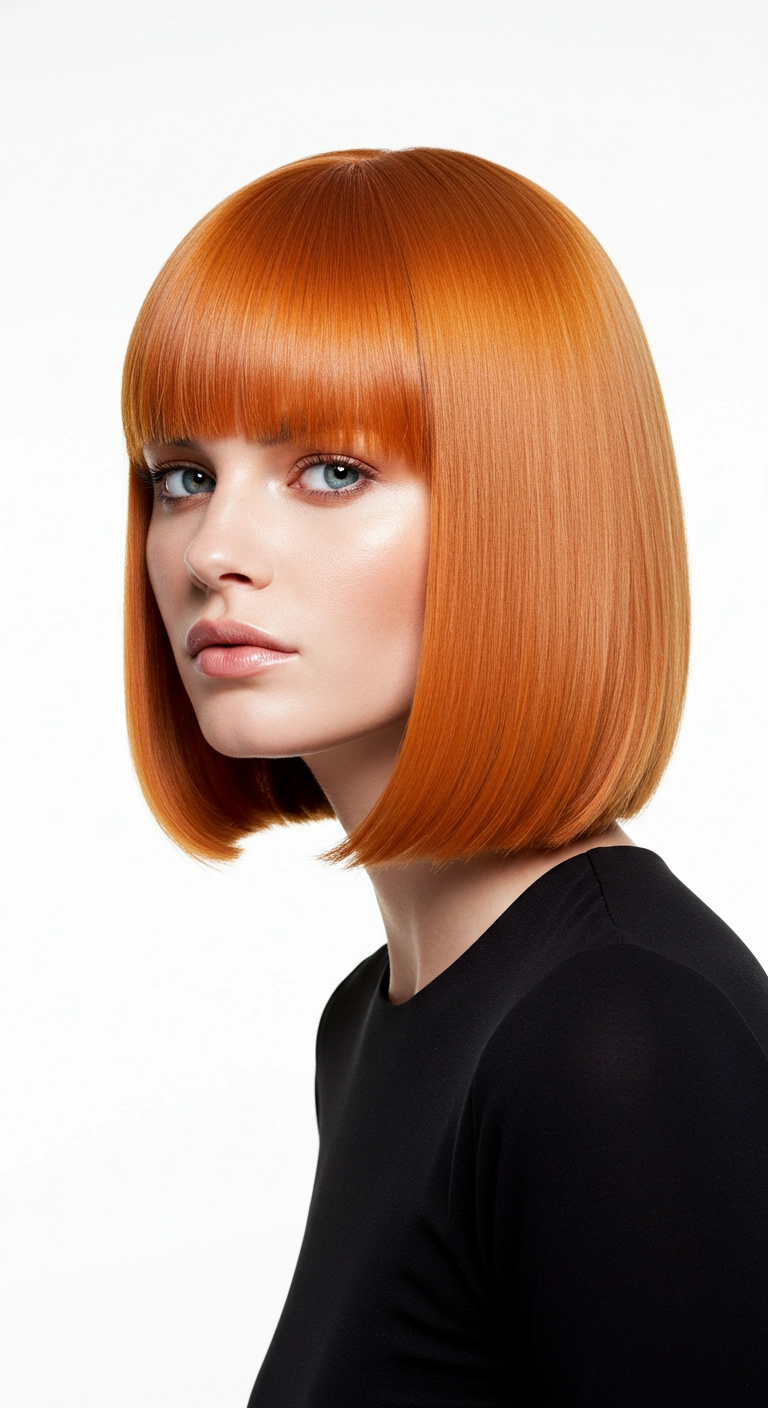
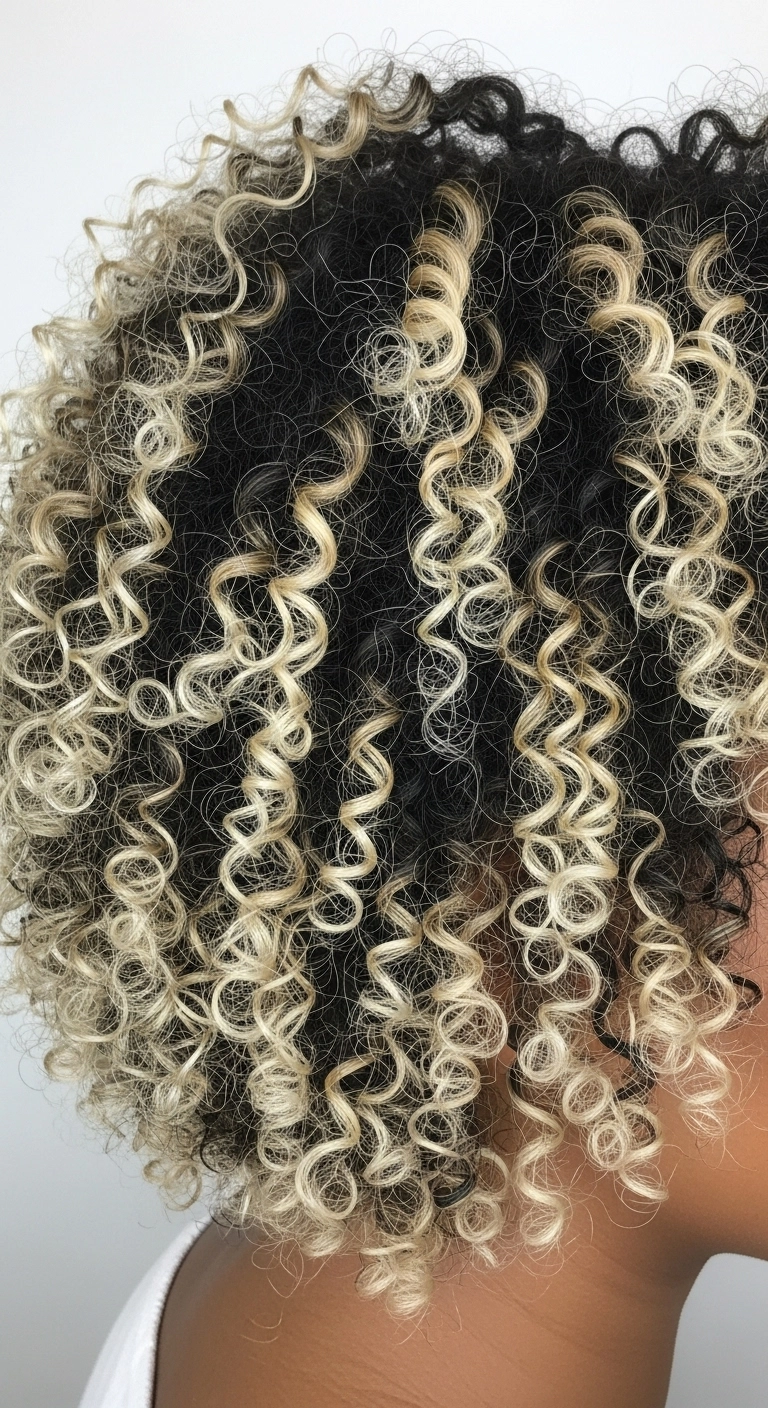
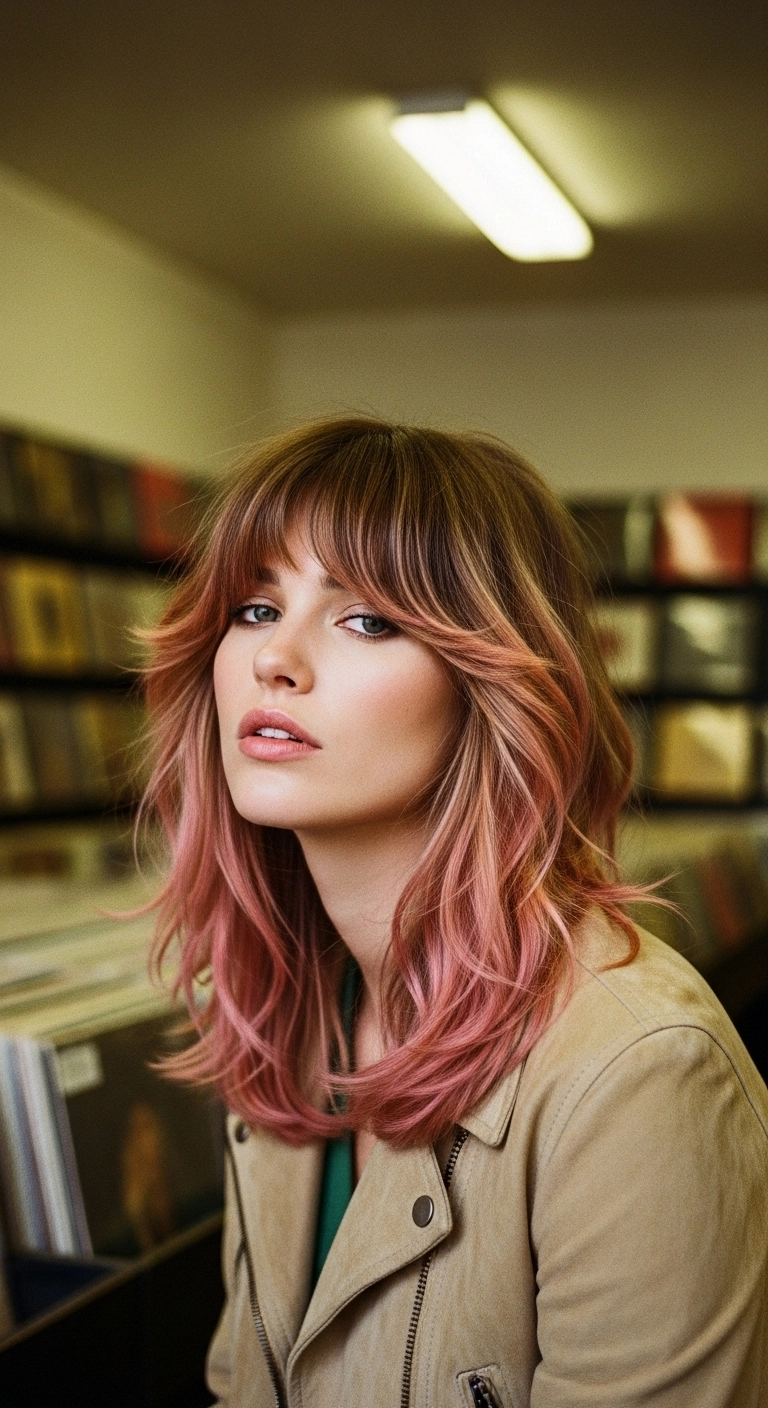
If you're ready to make a bold statement, this look is pure perfection. I love how the razor-sharp etched line brings such an intentional, fierce vibe to natural, bouncy coils! It's super modern, keeps the focus completely on your facial features, and looks incredibly cool with a classic leather jacket.
How to do this
1. Start with clean, damp hair and begin by sectioning off the top coiled crown from the sides and back.
2. Using precision hair clippers listed below, create a smooth low-to-mid fade along the sides and back, tapering down around the ears and nape.
3. Carve a crisp diagonal etched line design into the temple area using detailing trimmers listed below to establish that bold geometric edge.
4. Shape and trim the top coiled hair using barber shears to maintain a balanced, rounded silhouette with enough height for definition.
5. Define the top coils using a curl defining styling gel and a textured curl sponge listed below, working in circular motions across the crown.
6. Clean up the hairline with edge control gel using a dual edge styling brush listed below to lock in the ultra-sharp front border.
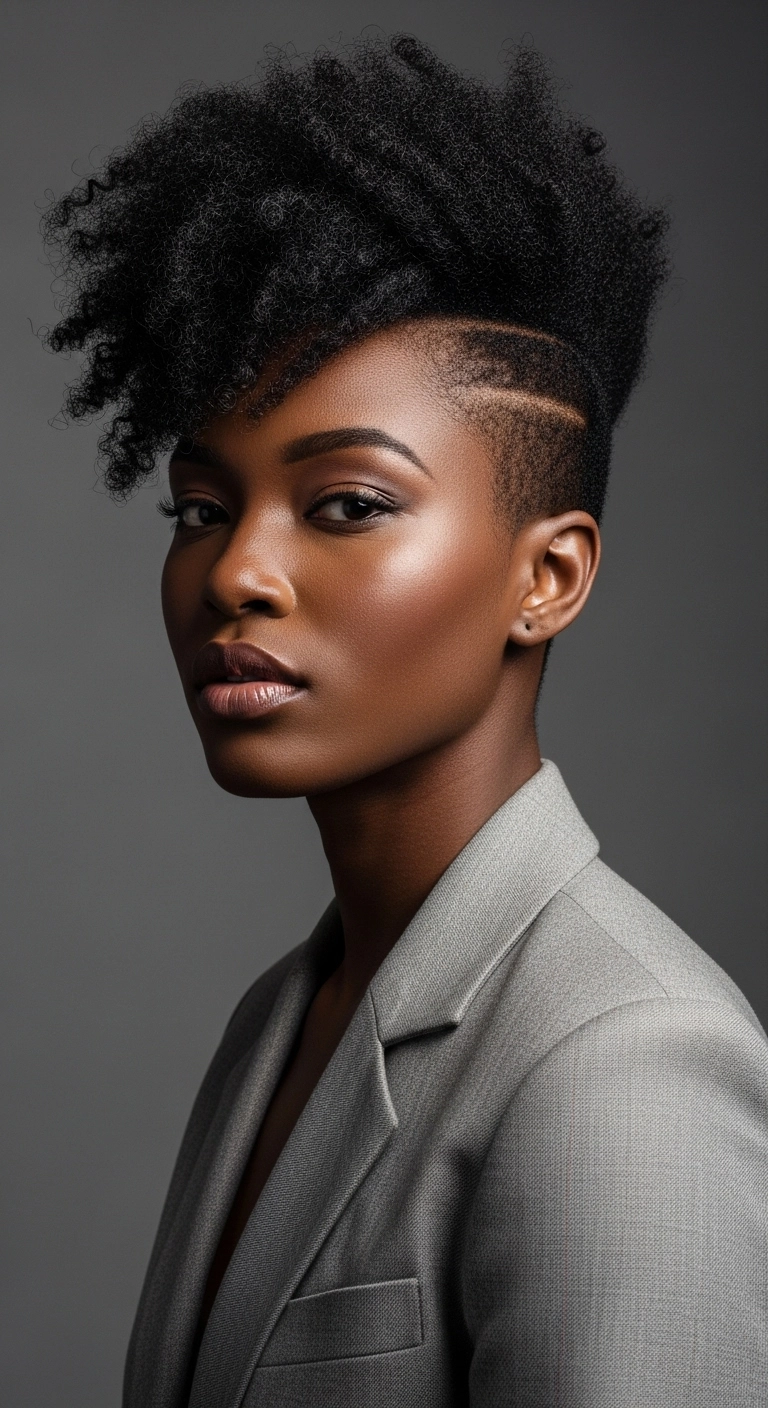
Are you ready to make a bold statement with your natural curls? I absolutely had to share this fierce coily faux hawk because it balances sharp edge and effortless elegance so perfectly! The closely buzzed sides with that crisp etched razor line keep everything looking polished and clean, while the lush, cascading coils in front give you all the dramatic volume and attitude. It's chic enough for the boardroom with a tailored blazer, but cool enough for any night out. If you've been thinking about trying an undercut, this is definitely your sign to go for it!
How to do this
1. Start by clipping the top section of your hair out of the way to cleanly establish your disconnection line along the temples and parietal ridge.
2. Using professional hair clippers with a short guard, buzz down the sides and back to create a close, neat fade, then carve a sharp geometric side line using the detailing trimmers listed below.
3. On damp hair in the top crown section, apply a generous amount of the curl defining cream listed below to lock in maximum moisture and curl definition.
4. Shingle or finger-coil small sections of the coils toward the front and side to create that dramatic, sweeping asymmetrical volume over the forehead.
5. Use a blow dryer fitted with a diffuser attachment on low heat to dry the coils without disturbing their natural pattern or creating unwanted frizz.
6. Finish off by smoothing down the buzzed edges with the edge control gel listed below and misting the top with a lightweight shine spray for a healthy, radiant sheen.
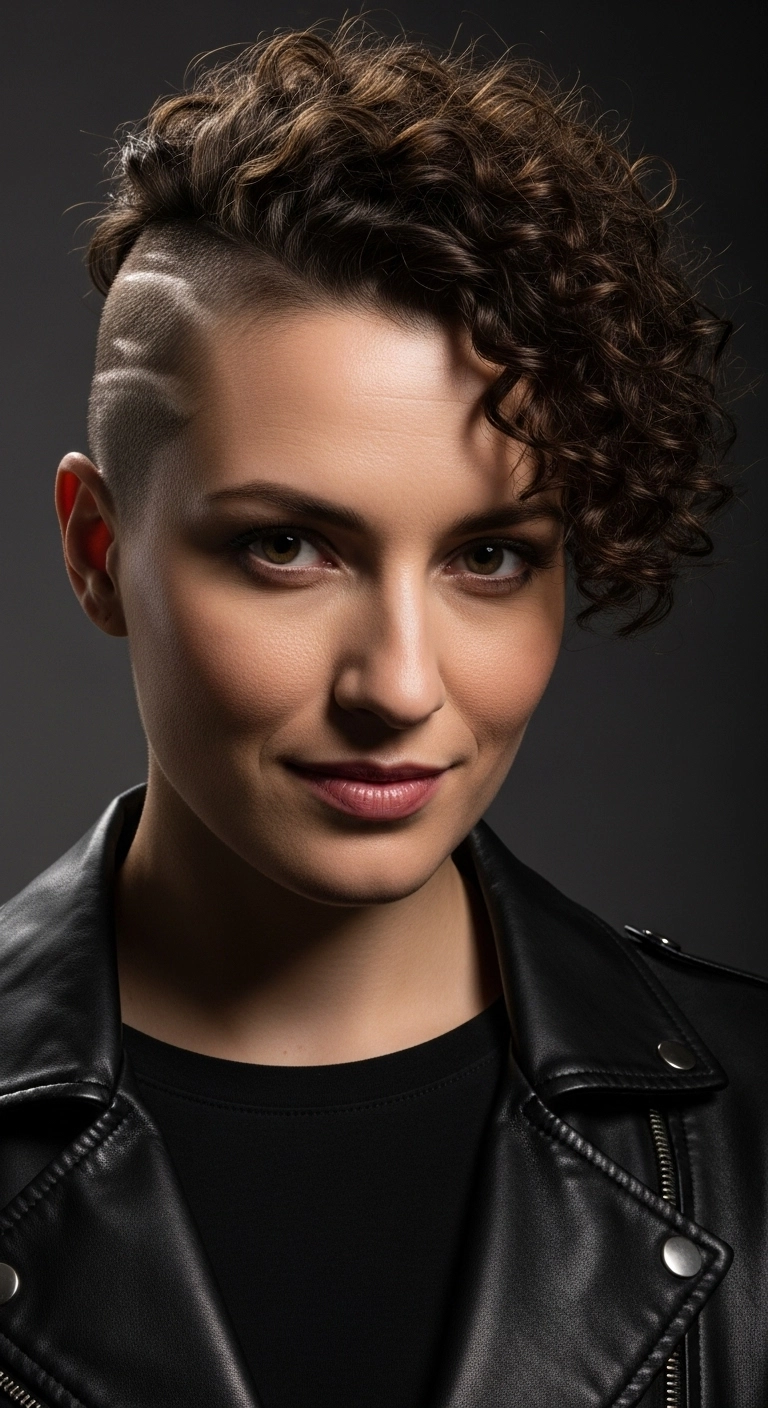
Oh, the curly undercut with shaved lines, how effortlessly cool is this?! The contrast between those soft bouncy ringlets and that razor-sharp fade is seriously everything. I am totally obsessed with this bold look! Would you ever be brave enough to shave the side like this?
How to do this
1. Start by sectioning off the hair with a precise deep side part, clipping the long curly top securely out of the way.
2. Using the professional cordless hair clippers listed below, buzz down the exposed side down to a clean close fade, then carve two curved accent lines using the edge of the blade.
3. On the longer curly section, apply a generous quarter-sized amount of the curl defining cream listed below while the strands are still damp to encourage maximum spring and eliminate frizz.
4. Dry the curls gently using a blow dryer fitted with the universal curl diffuser attachment listed below on low speed and medium heat, gently scrunching upward toward the scalp.
5. Once fully dry, mist the entire style with the lightweight texturizing spray listed below to separate and pump up the volume.
6. Finish by locking the side-swept swoop in place using the flexible hold hairspray listed below so the defined curls stay dramatic all day.
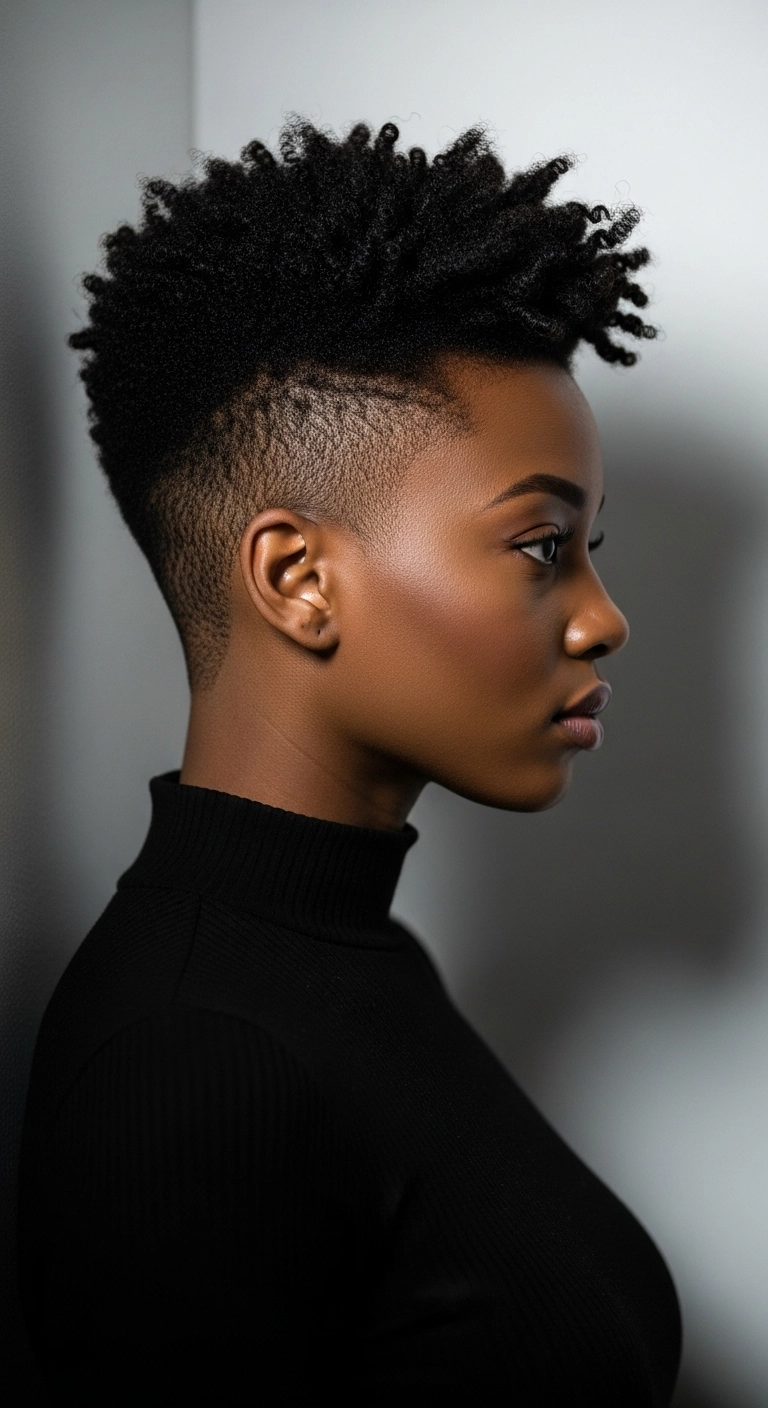
The tapered fade with defined natural coils. So striking and clean! I love how effortlessly this cut highlights your cheekbones and jawline while keeping styling in the morning super quick and minimal. Perfect if you want something bold, sleek, and timeless.
How to do this
1. Start with freshly washed, clean hair and ask your barber or stylist for a sharp high skin fade or taper along the sides and back, leaving about 2-3 inches of natural length on top.
2. On damp hair, mist thoroughly with the leave-in conditioning spray listed below to infuse moisture and prime the coils.
3. Apply a generous quarter-sized amount of curl defining cream listed below from roots to ends to enhance your natural coil pattern.
4. Use the dual-sided curl sponge brush listed below in small circular motions across the top of your head in a single direction to bunch and define your tight spiral coils.
5. Use hair clippers with edge detailer listed below to clean up around the hairline and nape for ultra-crisp perimeter lines.
6. Finish by misting with the lightweight shine and moisture spray listed below to lock in hydration and give a natural, healthy sheen.
Products Used
Moisturizing Leave-In Conditioning Spray for Natural Hair
moisturizing leave in conditioning spray natural hair
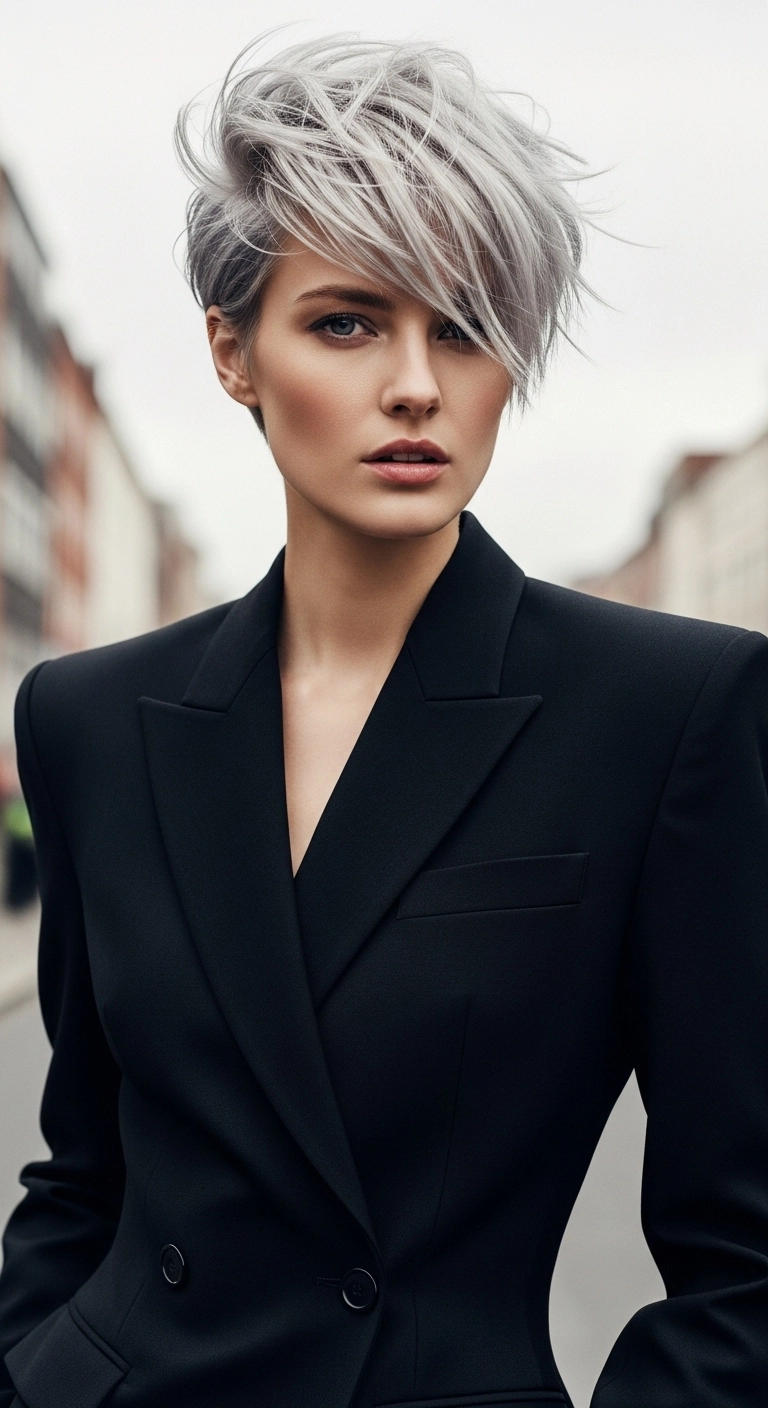
Now, this one is pure cool-girl confidence and will definitely turn heads wherever you go. Taking the plunge with a pixie can feel scary, but trust me when I say this cut does all the heavy lifting for you! The elongated, piecey fringe and icy silver shade give it that effortless, modern edge that pairs insanely well with tailored suits or just a casual tee.
How to do this
1. Start by prepping freshly washed, damp hair with a lightweight volumizing mousse to create lift and structure at the roots.
2. Apply a dime-sized amount of thermal protectant using the heat protectant spray listed below to shield the lightened strands before blow drying.
3. Using a small round boar bristle brush or a vent brush, blow-dry the short tapered sides and nape flat against the head, directing the airflow downward.
4. For the longer top sections, blow-dry the hair up and over to one side, lifting at the roots to maximize volume and create that sweeping, swooped front silhouette.
5. Warm a pea-sized amount of the matte styling paste listed below between your palms and work it through the mid-lengths and ends to define choppy, piecey separation.
6. Dust a pinch of the volumizing texturizing powder listed below right into the crown and roots for instant, reworkable grit and hold.
7. Finish with a light mist of the flexible hold finishing hairspray listed below to lock the windswept shape in place without making it stiff.
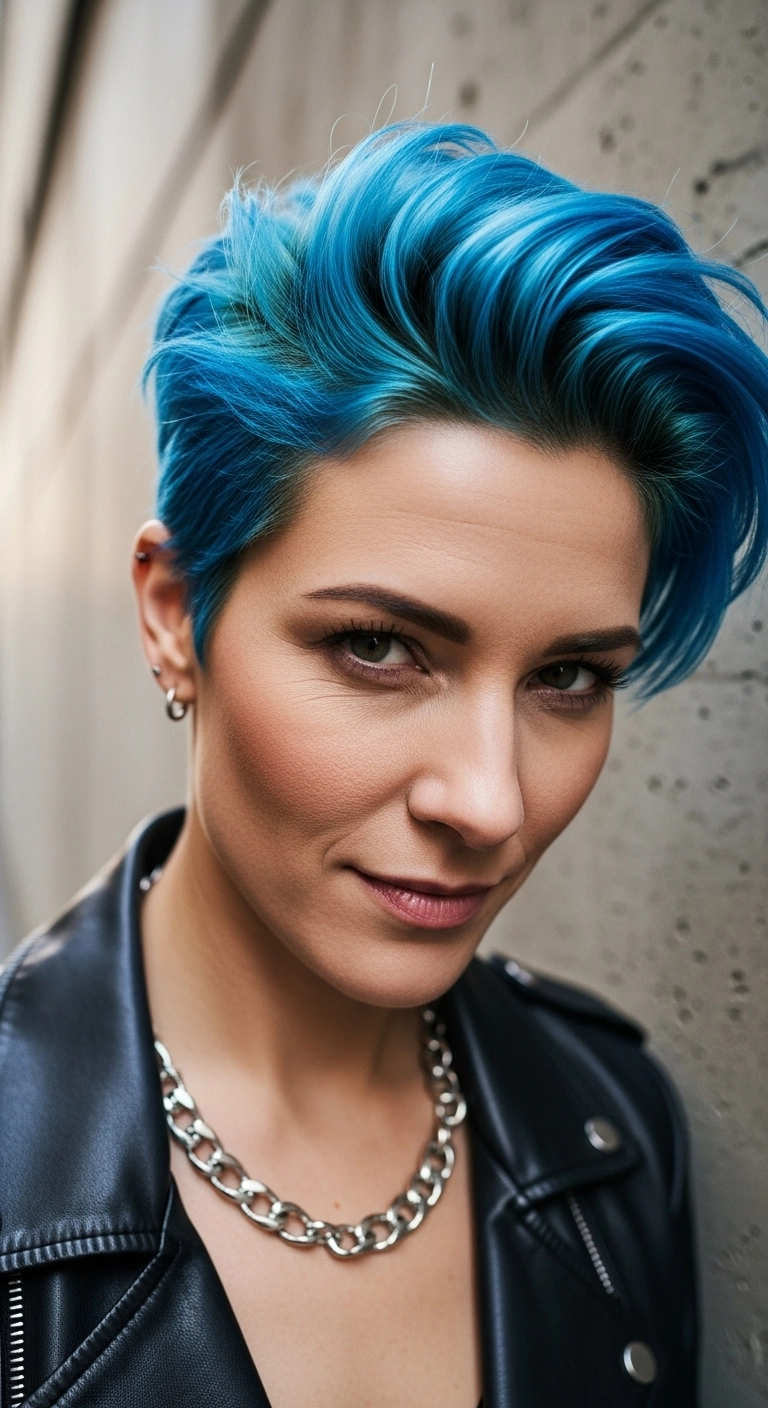
This vivid blue pixie cut is pure edgy perfection! I am so obsessed with how much volume and movement you get across the top while keeping the sides cleanly tapered. If you're craving a bold fantasy color and love that effortlessly cool, rocker vibe, this statement cut is seriously made for you!
How to do this
1. Start by pre-lightening your hair to a clean, pale level 10 blonde using the cream bleach and 20 volume developer listed below.
2. Deposit your vibrant electric blue shade evenly through damp, freshly washed hair using the direct dye semi-permanent blue hair color listed below, allowing it to process for 35 to 45 minutes for maximum vibrancy.
3. On damp hair, distribute a dime-sized amount of the volumizing styling foam listed below directly to the root area.
4. Blow dry using a mini round brush or vented styling brush, directing the front and top crown sections up and back away from the face to create height and root lift.
5. Warm a nickel-sized dab of the matte hair styling paste listed below between your palms and work it through the mid-lengths and ends to define individual piecey strands and sweep the top over to the side.
6. Lock in the edgy, swooped volume with a mist of the flexible hold hairspray listed below so it moves naturally without falling flat throughout the day.
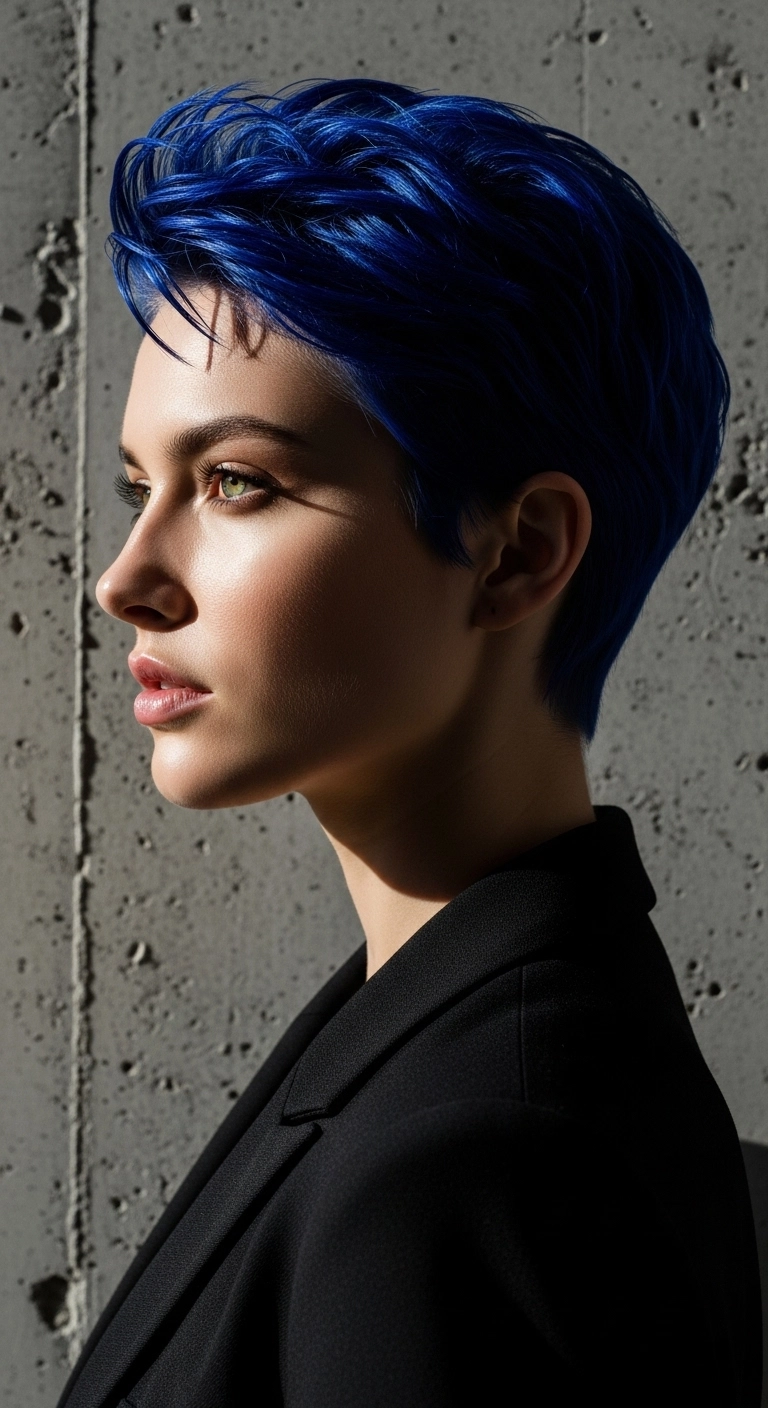
If you want something bold, sleek, and seriously stylish, this vibrant blue pixie is it!! The textured volume on top gives it so much lift and movement, and the vivid color stands out in the coolest way possible without needing hours of styling.
How to do this
1. Start on freshly washed, damp hair and prep with the heat protectant spray listed below to shield your hair before styling.
2. Apply a dime-sized amount of the volumizing styling foam listed below to your roots and mid-lengths to give the pixie lift and body.
3. Using a blow dryer with a concentrator nozzle and the small round ceramic brush listed below, blow-dry the top sections upward and slightly back away from your face to establish maximum height and curve.
4. Once completely dry, warm a nickel-sized amount of the matte styling paste listed below between your palms and work it through the crown and front to create defined, piecey separation.
5. Use your fingers to pull a couple of delicate, wispy strands slightly forward onto the forehead for an effortless, sharp aesthetic.
6. Lock the whole look in place all day with a generous mist of the flexible hold finishing hairspray listed below.
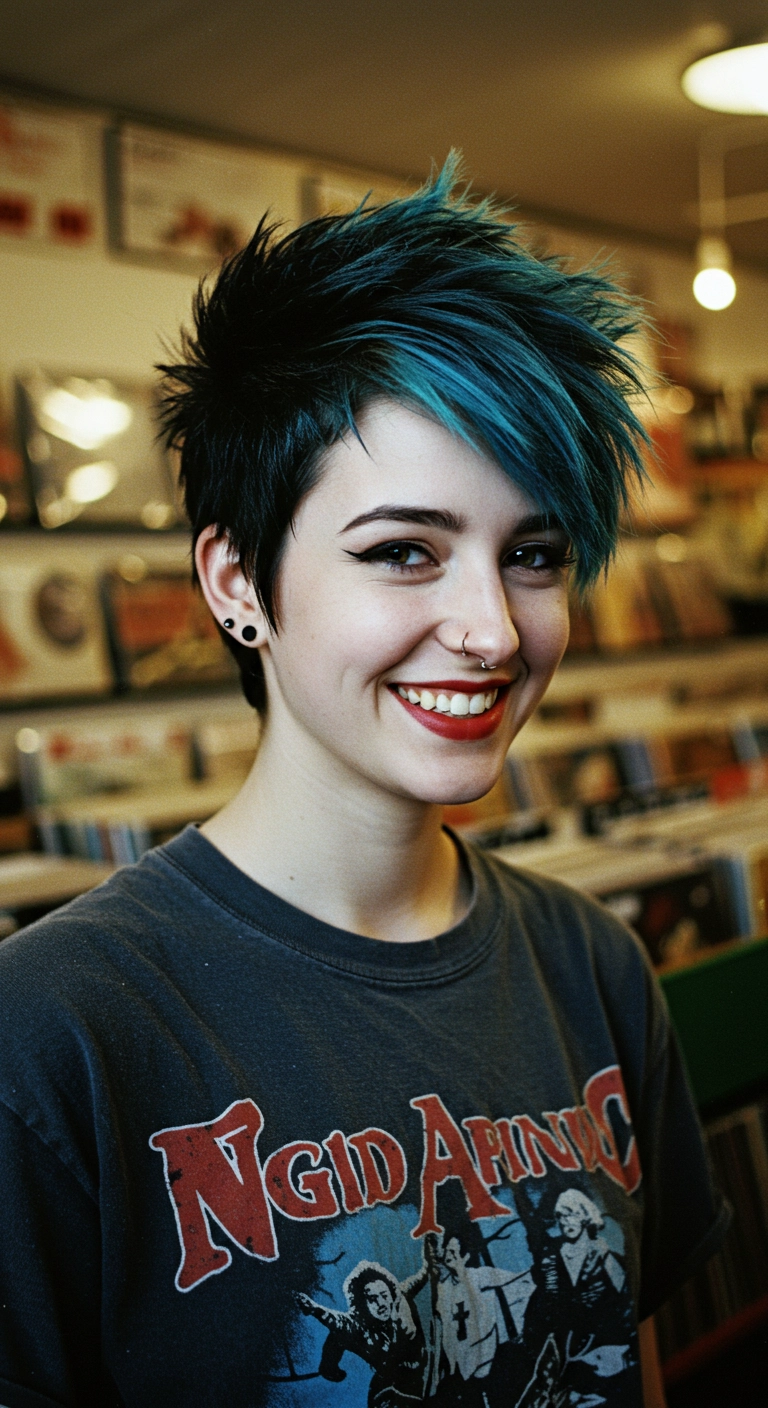
I love how bold and effortless this look is! The contrast between the deep jet black base and that electric teal fringe makes such a statement. Styling the crown super piecey and swept forward is honestly so fun and adds the best grunge energy to an everyday pixie.
How to do this
1. Start with clean, damp hair and apply a small dollop of the lightweight styling mousse listed below throughout the crown to build lift and volume.
2. Blow-dry using a small vent brush, directing the back and sides flat while lifting the crown sections straight up and forward to create maximum height.
3. Sweep the longer front fringe diagonally across your forehead towards one side, smoothing it with low heat for a tapered, face-framing sweep.
4. Take a dime-sized amount of the matte texture pomade listed below, emulsify it between your palms, and rake it through the top layers to define the spiky, jagged texture.
5. Use your fingertips with the styling paste listed below to pinch individual strands in the fringe and crown into piecey, defined points.
6. Finish with a firm mist of the strong hold hairspray listed below to lock the spiky structure and side sweep in place all day.
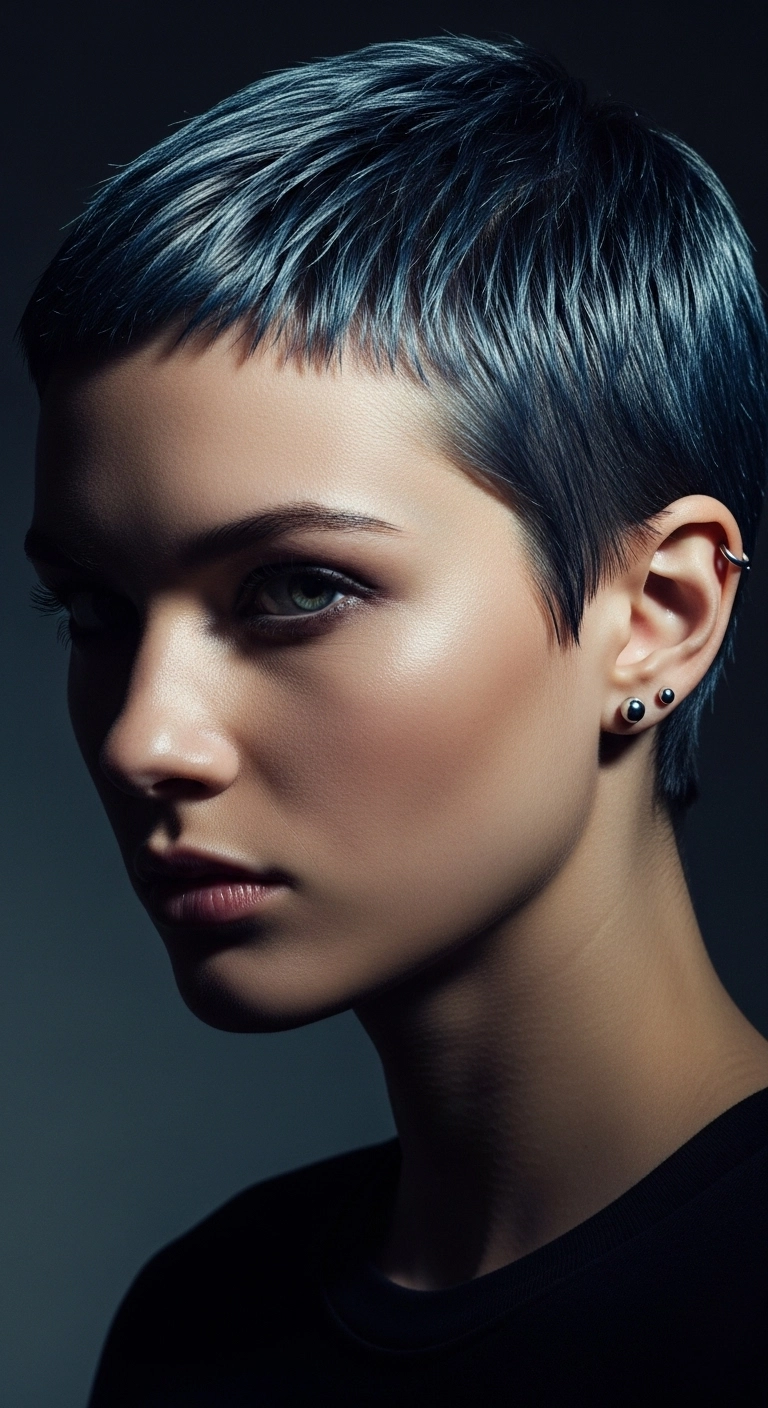
I am totally obsessed with this bold, minimalist crop. Going this short can feel intimidating, but the softly feathered layers and that cool steel-blue tint bring so much effortless edge. If your hair is feeling heavy and you're craving an ultra-chic, high-fashion reset, this sculpted pixie is the ultimate move!
How to do this
1. Start by prepping freshly washed damp hair using a lightweight leave-in conditioning spray listed below to keep fine hair moisturized without flattening it.
2. Work a dime-sized amount of the styling matte cream listed below evenly through your palms and massage it through damp strands from roots to ends.
3. Use a blow dryer with a directional concentrator nozzle, aiming the airflow forward and downward while gently guiding the hair with your fingers to lay flat against the head.
4. For the micro fringe, use a fine-tooth styling comb to pull the bangs straight down, then pinch small clusters with your fingertips to create separation and a choppy, piecey effect.
5. Warm a pea-sized amount of the matte texturizing hair paste listed below between your fingertips and define individual pieces along the crown, hairline, and sideburns.
6. Finish off the whole look with a light mist of the flexible hold hairspray listed below to lock in the edgy, sculpted texture all day long.
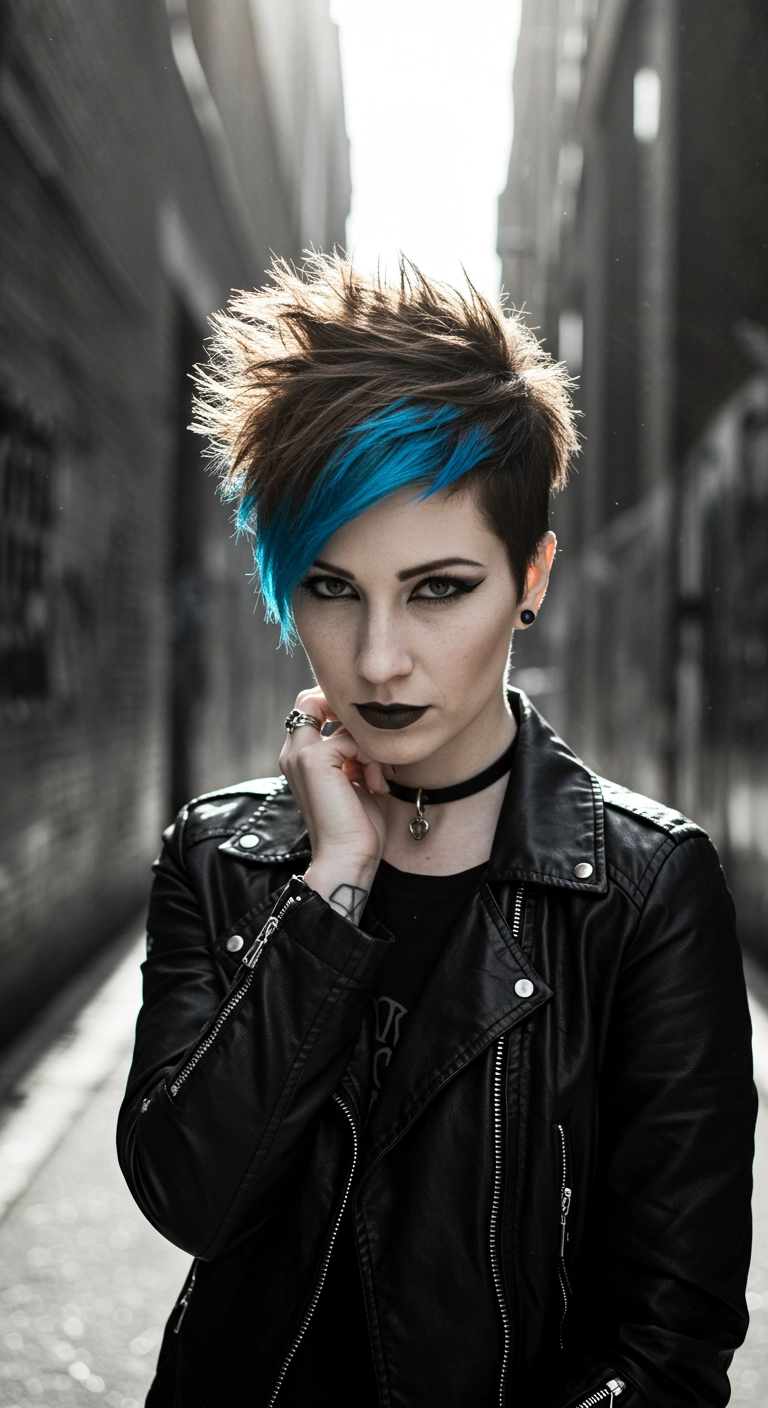
If you want to turn heads and channel total rockstar energy, this cut is everything! The undercut keeps things super crisp while that bold electric blue fringe gives the ultimate punch of color. Just a dab of matte paste and some quick finger-styling, and you're good to hit the streets with instant attitude!
How to do this
1. Start by sectioning off the top crown and front fringe, clipping it up securely while shaving or tapering the sides and back using hair clippers with a short guard.
2. Isolate a diagonal panel across the front fringe where you want the pop of color, and bleach this section to a pale yellow level 10 using the gentle hair bleaching kit listed below.
3. Apply a vibrant semi-permanent dye using the electric blue hair dye listed below directly onto the pre-lightened section, letting it process for 30 minutes before rinsing thoroughly in cold water.
4. Point-cut into the top section to create sharp, choppy, disconnected layers with maximum movement and texture.
5. Work a coin-sized amount of the matte texturizing styling paste listed below through damp or dry hair, directing the crown upward and outward into spiky texture while sweeping the blue fringe across the brow.
6. Finish with a generous mist of the strong hold hairspray listed below to lock the spikes and side-swept bangs in place all day long.
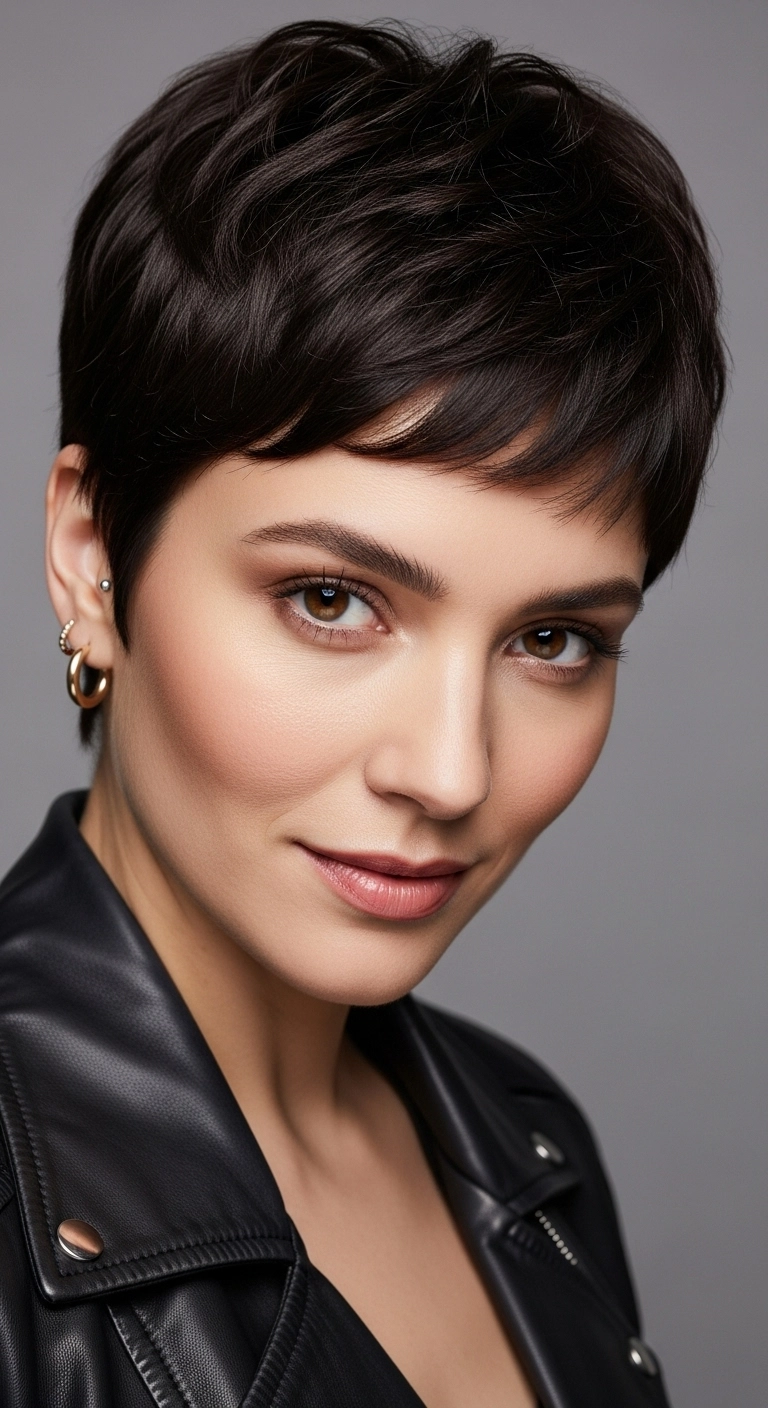
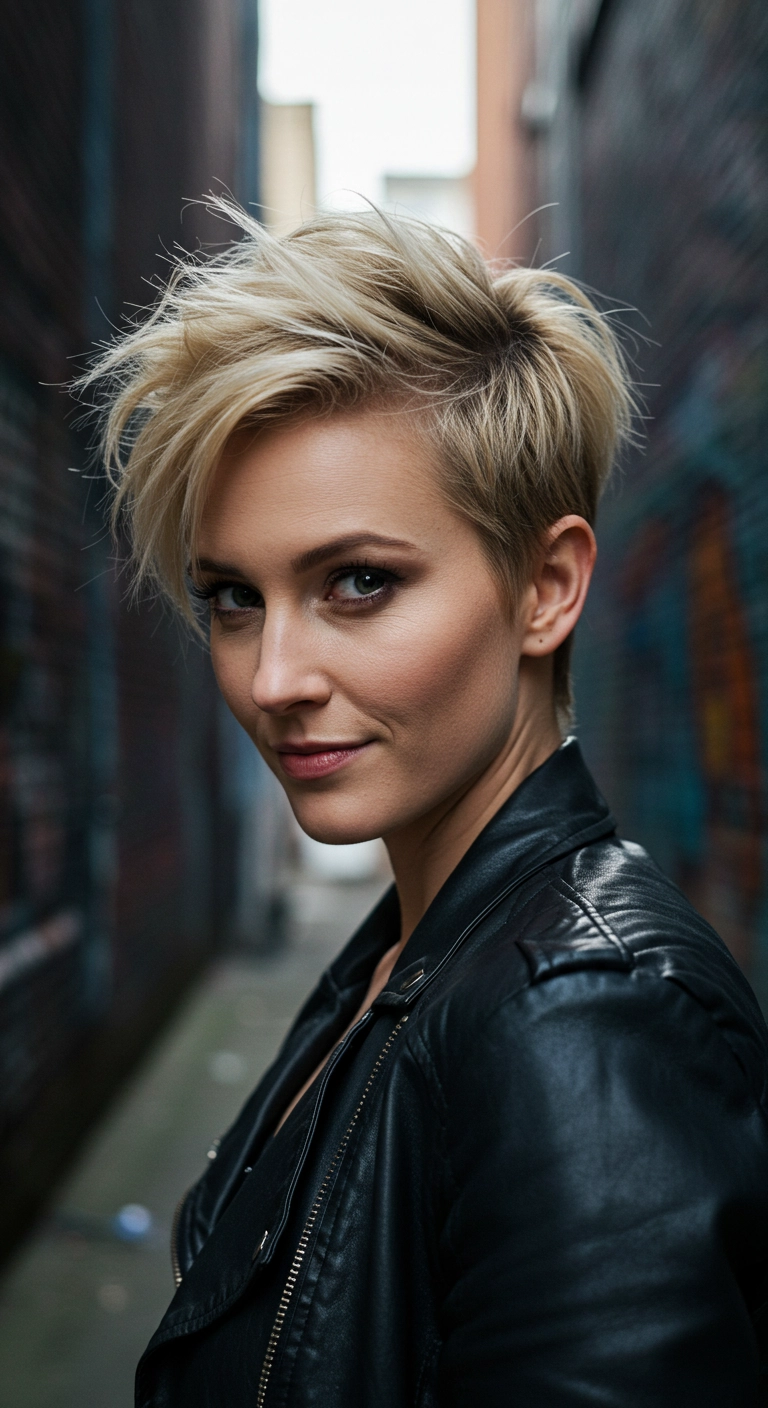
I love how effortless and sharp a textured pixie looks, especially paired with a leather jacket! My favorite way to style it is by raking a little matte paste through the crown to make those layers pop and sweeping the fringe slightly to the side. It frames cheekbones so beautifully and takes barely any time to do in the morning!
How to do this
1. Start by washing your hair with a lightweight volumizing cleanser and towel-dry gently until damp.
2. Work a pea-sized amount of the lightweight styling cream listed below through your damp strands from roots to ends to prep for shaping.
3. Blow-dry using a small round styling brush or your fingers, directing the top and crown forward while brushing the sides down flat against your head.
4. Take a tiny dime-sized amount of the matte texturizing paste listed below, warm it between your palms, and rake your fingers through the crown to separate the layers and create that piecey definition.
5. Sweep your fringe softly across your forehead to the side, lightly pinching individual points with your fingertips for a soft, feathered finish.
6. Mist lightly with the flexible hold hairspray listed below to lock in the texture without making your hair feel stiff.
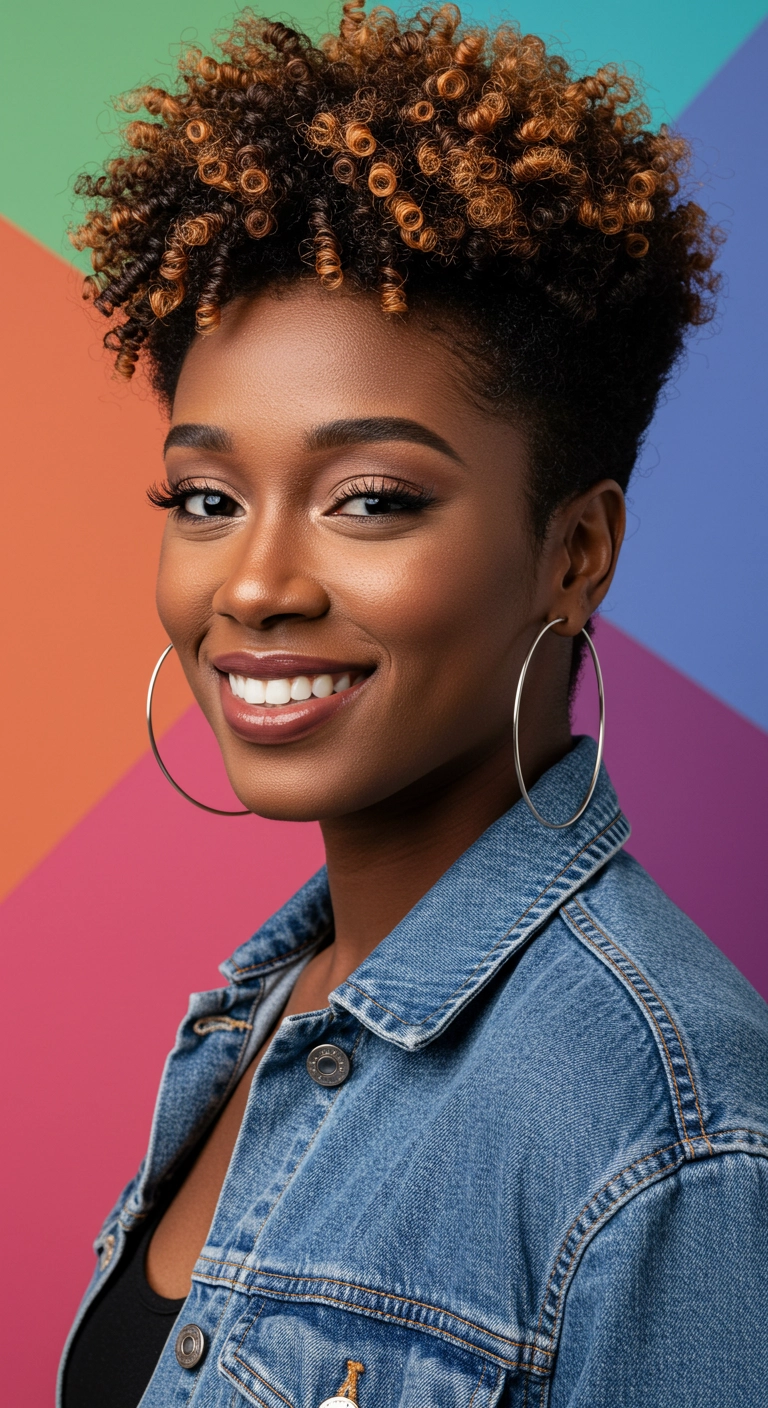
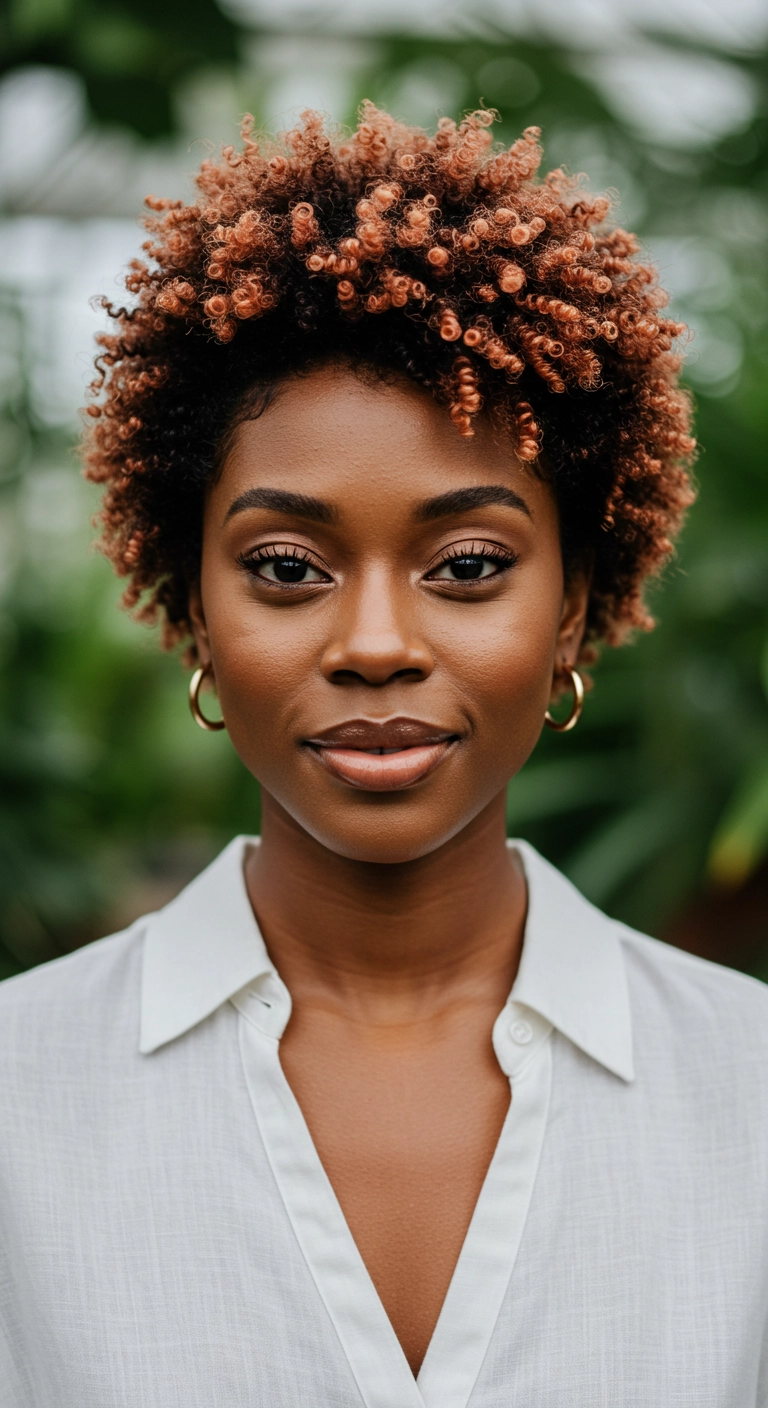
I love this tapered coil cut so much!! The way the honey caramel tips pop against the rich dark base gives the curls so much life and dimension. It's chic, super flattering on the face, and gives all the playful volume while keeping the sides clean and easy to maintain!
How to do this
1. Start on freshly cleansed, damp hair that has been conditioned thoroughly to ensure maximum hydration for defined coily curls.
2. Apply a generous amount of curl defining leave-in conditioner using the leave-in moisturizing curl cream listed below to lock in slip and moisture.
3. Work in small sections across the top and crown, applying a firm-hold curling gel using the flaxseed styling gel listed below.
4. Twirl and spin each small segment around your finger into tight, perfect ringlets to create defined finger coils throughout the longer top section.
5. Smooth down and taper the shorter side and back sections neatly using the edge control styling pomade listed below.
6. Dry hair completely using a hooded dryer or using the ionic hair dryer with diffuser attachment listed below to set the coils firmly in place without disturbing the curl pattern.
7. Finish by gently smoothing a drop of shine serum using the lightweight argan hair oil listed below across the coils to add radiant gloss and break any crunchy cast.
This tousled pixie cut is super chic and effortless, which makes it an amazing go-to cut if you want maximum style with minimal morning fuss – I wore a cut like this all summer and it was seriously so easy to style!
How to do this
1. Start on freshly washed, damp hair and prep with a lightweight styling mousse using the volumizing foam listed below.
2. Blow-dry using your fingers and the directional ionic blow dryer listed below, pushing the hair forward from the crown towards your forehead to build that soft, piecey fringe.
3. Use a small round brush or flat brush to gently bevel the ends around the crown and temples for soft movement.
4. Warm a pea-sized amount of the matte styling paste listed below between your palms and work it through the mid-lengths and ends to define individual layers.
5. Gently piece out your bangs and sideburns to create an airy, face-framing effect.
6. Finish with a quick spritz of the dry texturizing spray listed below to keep the tousled volume locked in all day.
I fell in love with this style when looking for something cropped yet soft and versatile. The longer crown layers and swept fringe give you all the styling options of a bob, but with the crisp, effortless ease of a pixie! It looks amazing tucked behind one ear or styled with a bit of messy texture when you're running out the door. If you’ve been nervous about going short, this chic bixie is the perfect middle ground to try!
How to do this
1. Start by prepping damp, freshly washed hair with a lightweight styling lotion and heat shield using the volumizing root lift spray listed below to give the crown plenty of natural bounce.
2. Blow-dry the nape and sides flat against the curve of the head using a small paddle brush or wrap-drying technique with a nozzle attachment.
3. Move to the crown and front sections using a small ceramic round brush listed below, lifting upwards at the roots and rolling outward to create smooth volume and a sweeping curve across the forehead.
4. For extra sleekness along the side-swept fringe, lightly pass over the ends using the mini flat iron listed below, curving the edge gently away from the eye.
5. Warm a pea-sized dab of hair pomade between your fingertips using the matte texture paste listed below and work it through the top layers to define the piecy ends and tuck behind the ear.
6. Finish off with a light mist using the flexible hold hairspray listed below to keep the sweep in place all day without feeling stiff.
If you want a short cut that feels powerful yet totally feminine, this asymmetrical pixie is everything. It gives you plenty of face-framing length on one side so you never feel like you chopped all your hair off, plus it's super easy to blow dry in under ten minutes before heading to work.
How to do this
1. Start with clean, damp hair and apply a quarter-sized amount of the lightweight volumizing mousse listed below through the roots and mid-lengths to give lift and hold.
2. Create a deep side part aligned with the arch of your eyebrow, sectioning away the heavy side of the hair.
3. Using a small round ceramic brush and a blow dryer, blow dry the shorter side flat against the head, tucking any edges smoothly behind the ear.
4. For the longer top and side sections, blow dry up and away from the scalp to build maximum volume at the root, rolling the ends gently inward toward the face.
5. Warm a pea-sized amount of the matte styling paste listed below between your palms and work it through the ends to create piecey definition, separation, and all-day control.
6. Finish with a fine mist of the flexible hold hairspray listed below across the top to keep your swept bangs in place without feeling stiff.
Oh, this warm copper pixie cut is giving me all the effortless chic vibes! The soft wispy fringe and tapered layers frame the profile so beautifully. Would you ever be bold enough to chop your hair this short?
How to do this
1. Start by prepping damp, freshly washed hair with a lightweight leave-in conditioner and a touch of the volumizing styling mousse listed below to give light body and texture.
2. Blow-dry using your fingers and the compact ionic hair dryer listed below, pushing the hair forward toward the face and sweeping the fringe gently across the forehead to create that soft, pieced-out shape.
3. Use a small round brush or flat brush to smooth down the crown and nape area, maintaining a soft, natural curve around the contours of the head.
4. Warm a pea-sized amount of the matte styling paste listed below between your palms and gently rake it through the mid-lengths and ends to define the short layers.
5. Use your fingertips to separate the bangs into light, wispy sections, and finish with a light mist of the flexible hold hairspray listed below to lock the effortless shape in place all day.
A chic, textured pixie cut is forever my absolute favorite! The contrast between the cool ash blonde tips and the deeper root gives it so much depth and edge. Would you ever be brave enough to go this short?
How to do this
1. Start with towel-dried, clean hair and apply a dollop of lightweight volumizing mousse using the volumizing root mousse listed below to prep the crown for lift.
2. Blow-dry the sides and nape flat against the head shape using a flat paddle brush or your fingers, directing the airflow downward to keep the edges sleek and close-fitting.
3. Use a small ceramic round brush or vent brush to direct the longer crown layers up and forward, creating height and airy volume on the top.
4. Once completely dry, warm a dime-sized amount of matte styling paste using the matte texture pomade listed below between your fingertips.
5. Work the product through the top lengths, gently twisting and piecing out sections to define the layers and sweep the fringe across the forehead.
6. Finish with a spritz of flexible hold spray using the light-hold texturizing hairspray listed below to lock in texture and height all day without feeling stiff.
I’m completely obsessed with this look because it combines high-impact edge with pure, effortless natural texture! The close buzz on the sides keeps everything so cool and lightweight, while the juicy, defined coils on top give it dramatic volume and flair. It easily takes you from a busy day straight into a night out with zero fuss. If you’re ready for a fresh, bold chop, this is definitely your sign to try it!
How to do this
1. Start on freshly cleansed and conditioned damp hair to ensure your natural coils are fully hydrated and pliable.
2. Apply a generous amount of the curl defining cream listed below from roots to ends, raking it through with your fingers for even distribution.
3. Section the longer top mohawk area and use the small sectioning clips listed below to keep hair organized while you work.
4. Take small half-inch sections and finger-coil each strand using the strong-hold styling gel listed below to achieve tight, uniform ringlets.
5. Direct the front coiled sections forward so they softly fall over the forehead to create a gorgeous curly fringe.
6. Use a blow dryer with the diffuser attachment listed below on low heat, or let air dry completely without disturbing the curl formation.
7. Clean up and detail the faded sides, maintaining crisp perimeter edges by applying a tiny dab of the edge control smoothing pomade listed below.
Short cuts like this bixie have been my absolute favorite trend lately! Finding a short style that still feels feminine, soft, and full of effortless body can be tricky, but these piecey, windswept layers give you instant volume without feeling stiff. It’s super low fuss in the morning and always looks intentionally undone in the best way possible.
How to do this
1. Start with clean, towel-dried hair and apply a quarter-sized amount of the lightweight volumizing mousse listed below evenly through your roots and mid-lengths.
2. Rough blow-dry using your fingers to lift the roots at the crown for maximum natural texture and lift.
3. Once dry, take a 1-inch mini curling wand or flat iron and add random, alternating subtle bends throughout the top layers to create that effortless piecey movement.
4. Emulsify a dime-sized amount of the matte styling paste listed below between your fingertips and rake it through the ends, gently flicking strands outward around the ear and nape.
5. Finish with a generous spritz of the dry texturizing spray listed below at the crown and shake it out lightly for all-day airy separation.
If you've been craving a chic chop, this effortlessly tousled bixie cut is your sign! It blends the ease of a pixie with the versatile length of a short bob, swept back to show off those gorgeous cheekbones. The cool-toned ash blonde babylights give it that dreamy, dimensional lift without feeling overdone.
How to do this
1. Start by prepping damp hair with a lightweight volumizing mousse to create lift at the roots.
2. Blow dry using a small ceramic round brush, lifting hair up and away from the face to build sweeping, airy volume across the crown.
3. Use a flat iron or small curling wand on low heat to add subtle bends and curves to the top longer layers, directing strands backward.
4. Mist a dry texturizing spray through the crown and mid-lengths to separate strands and create that tousled, dimensional effect.
5. Warm a pea-sized amount of matte styling pomade between your fingertips and gently pinch the ends around the ears and nape to define the feathered silhouette.
6. Finish with a flexible hold hairspray to keep the shape soft, touchable, and effortlessly in place all day.
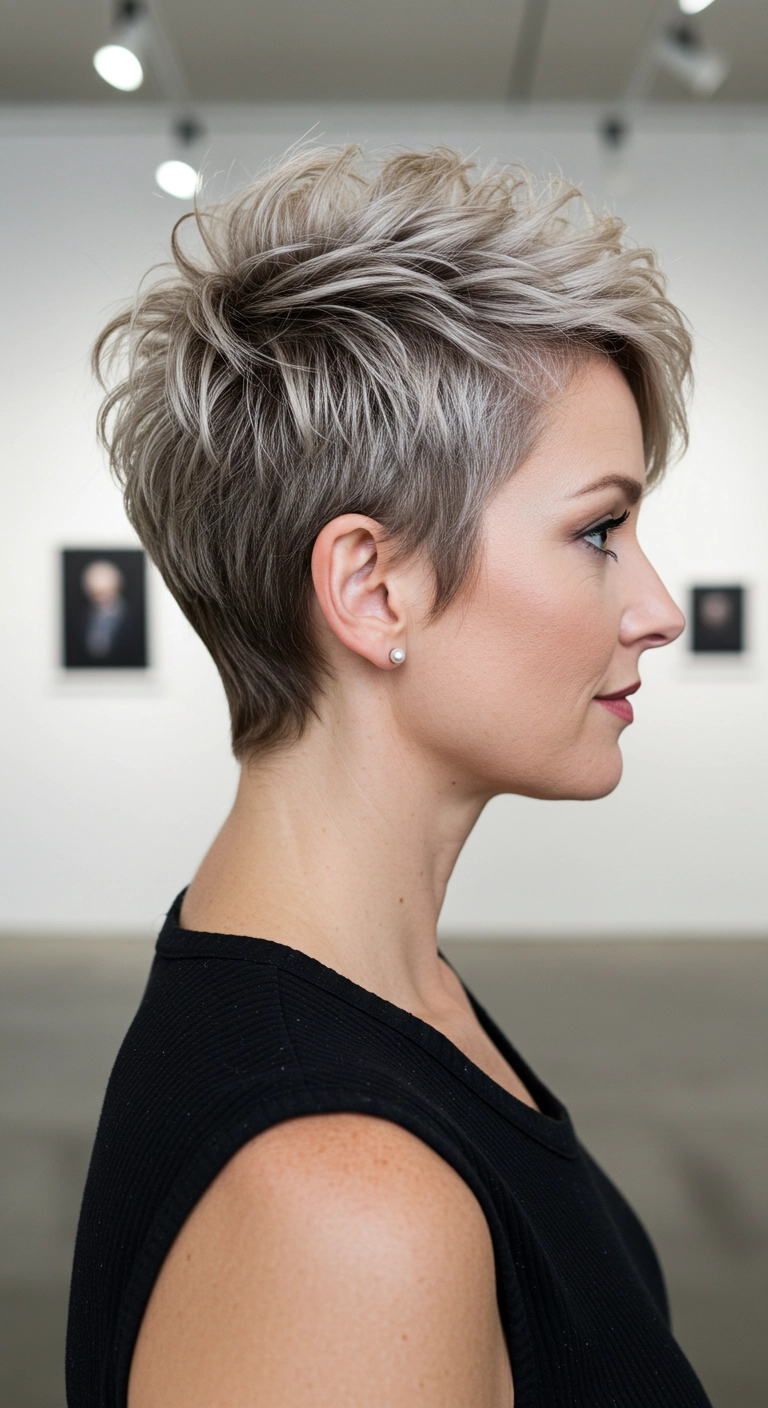
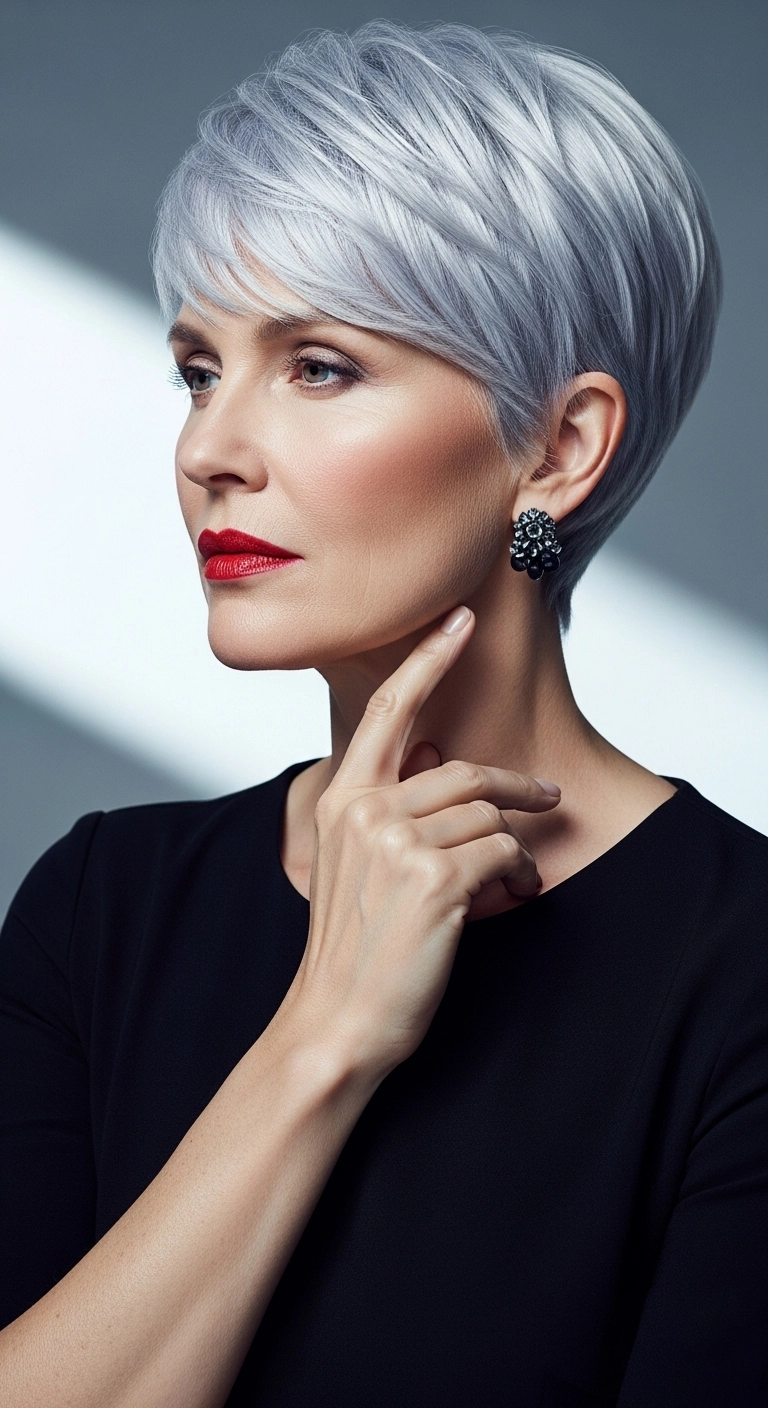
There is truly nothing cooler or more sophisticated than embracing vibrant silver locks with an ultra-chic pixie cut! I styled this cut with smooth, sweeping fringe across the forehead and kept the sides tailored clean around the ears for a sleek, sculpted silhouette. A swipe of bold red lipstick ties the whole glamorous look together—it proves that short, icy hair can feel completely effortless, timeless, and powerfully stylish all at once!
How to do this
1. Start with clean, damp hair and prep with a lightweight styling mousse to build soft body and flexible control.
2. Mist hair evenly with the heat protectant spray listed below before blow-drying.
3. Using a small round ceramic brush and a concentrator nozzle on your blow dryer, dry the hair forward and slightly to the side to create sleek volume and smooth side-swept bangs.
4. Blow-dry the sides and nape flat against the head shape to maintain a snug, neat contour around the ears.
5. Warm a pea-sized amount of the lightweight styling paste listed below between your fingertips and gently piece through the top layers to define the texture and fringe.
6. Finish with a spritz of the flexible hold hairspray listed below to ensure the sleek shape holds all day without stiffness.
Thinking about making the big chop? This textured, piecey pixie is the ultimate blend of effortless and chic. With closely tapered sides and just the right amount of tousled volume on top, it frames your facial features beautifully while cutting your styling routine down to minutes.
How to do this
1. Start with towel-dried, damp hair and prep the crown using the lightweight volumizing mousse listed below to give the roots lift and hold.
2. Blow-dry the sides and back downwards flat against your head using a small paddle brush or your fingertips.
3. Use a small round brush or your fingers while blow-drying the top upwards and slightly to the side to create directional lift and separation.
4. Take a dime-sized amount of the matte styling paste listed below and emulsify it thoroughly between your palms and fingertips.
5. Work the paste through the crown and front pieces, pinching individual sections to create textured, piecey definition.
6. Finish with a spritz of the flexible hold texturizing hairspray listed below to lock the effortless shape in place all day.
If you want something bold, effortless, and full of attitude, this textured pixie is calling your name! The contrast between the closely cropped sides and the piecey, wind-swept volume on top gives it that perfect rock-and-roll vibe that takes barely five minutes to style in the morning.
How to do this
1. Start on freshly washed towel-dried hair and apply a dollop of lightweight volumizing mousse to the roots for lift and grip.
2. Blow-dry the sides down flat against the head using a small styling brush or your fingers, directing the airflow downward.
3. Use a small round brush or your fingers to lift the crown and top sections up and over to one side to create that swept, airy volume.
4. Once completely dry, warm up a nickel-sized amount of the matte styling paste listed below between your palms.
5. Work the paste through the ends of the top section, pinching individual pieces together to emphasize the choppy, disconnected layers.
6. Mist a light layer of flexible hold hairspray over the entire style to keep the lift and texture locked in all day.
A classic pixie cut never goes out of style. It brings so much effortless elegance and frames facial features beautifully without demanding hours of styling. If you ever feel like your pixie falls a little flat, try working a tiny bit of texturizing paste through the crown to give it that perfectly lived-in, tailored volume.
How to do this
1. Start on freshly washed, towel-dried hair and apply a dollop of lightweight volumizing mousse to the roots for lift.
2. Mist your strands lightly with a thermal protection spray before introducing any blow dryer heat.
3. Use a small round brush or flat brush while blow-drying, directing the top and front sections across your forehead from a deep side part.
4. Smooth down the shorter sides and nape flat against your head using the airflow of your blow dryer directed downwards.
5. Warm a pea-sized amount of flexible matte styling pomade between your palms and gently piece out the ends across your fringe to add texture.
6. Finish with a spritz of light-hold hairspray to keep the side-swept shape looking effortlessly in place all day.
I am completely obsessed with this asymmetrical undercut pixie! The contrast between the soft, sweeping textured fringe on one side and the sharp, clean shaved line on the other is just so cool. It brings such a fresh, confident vibe that effortlessly frames the face while keeping maintenance super manageable.
How to do this
1. Start by sectioning off the top long hair from the undercut using a clean, deep side part with the styling sectioning clips listed below.
2. Use the cordless hair clipper listed below to buzz the side and nape down to a #1 or #2 guard, keeping a sharp outline around the ear.
3. Etch in the sleek curved line accent into the undercut using the precision detail trimmer listed below for that sharp, custom shaved design.
4. Release the longer top section, cut it into a steep asymmetrical angle towards the chin, and point-cut layers throughout to build lightweight texture.
5. Apply a dime-sized amount of the lightweight heat protectant smoothing cream listed below to damp hair and blow-dry using a small round brush, directing hair across the forehead.
6. Work a nickel-sized amount of the matte styling texture paste listed below through the dry ends to give separation, piecey definition, and all-day hold.
This is a go-to cut if you want an effortless, chic look that lets your natural facial features shine. The tapered sides keep everything super low-maintenance while leaving just enough length on top to show off your tight, bouncy curl pattern.
How to do this
1. Start on freshly cleansed, damp hair that has been gently detangled with a wide-tooth comb.
2. Mist your strands generously with a hydrating leave-in conditioning spray listed below to retain maximum moisture.
3. Work a dime-to-nickel sized amount of the curl defining cream listed below evenly throughout the top section, raking it through from roots to ends.
4. Use a curl twisting sponge listed below in small, gentle circular motions over the crown to clump and pop your natural coil definition.
5. Use clippers with a low guard to keep the sides and back neatly tapered and faded around the ears and nape.
6. Clean up the edges and sideburns softly using a tiny dab of the edge control gel listed below and a soft bristle edge brush.
7. Allow your coils to air dry completely or use a diffuser on low heat, then finish with a couple drops of nourishing hair oil listed below for a subtle, healthy sheen.
Thinking about taking the plunge and going short? This textured pixie with a sweeping side fringe is the absolute sweet spot between playful and sophisticated. With soft golden highlights that catch the light effortlessly, it frames your cheekbones and brings instant energy to your everyday look. Who says short hair can't be ultra-versatile?
How to do this
1. Start by washing hair with a lightweight volumizing shampoo and conditioner to ensure soft movement without weighing fine-to-medium strands down.
2. On towel-dried damp hair, apply a dime-sized amount of the lightweight styling mousse listed below evenly throughout the crown and roots for light lift.
3. Blow-dry the hair using a small round ceramic brush, directing the front top layers and bangs forward and across to the side to create that swooping side-swept fringe.
4. Smooth down the nape and sides close to the head with the blow dryer airflow facing downwards.
5. Warm a pea-sized amount of the matte styling paste listed below between your fingertips and lightly piece out the crown layers and fringe tips to create separation and touchable texture.
6. Finish with a gentle mist of the flexible hold hairspray listed below to keep the sweep in place all day.
This icy bixie cut is seriously so chic and effortless! It's that perfect sweet spot between a pixie and a bob, with gorgeous sweeping fringe that accentuates cheekbones beautifully. If you love short hair with tons of movement and a striking cool blonde tone, this cut will look incredible on you!
How to do this
1. Start on freshly cleansed, towel-dried hair after prepping with the purple toning leave-in treatment listed below to neutralize any brassiness and lock in moisture.
2. Apply a dime-sized amount of the lightweight volumizing mousse listed below through the roots and mid-lengths to give the fine-to-medium strands airy lift and separation.
3. Mist the strands evenly with the thermal heat protectant spray listed below before applying any heat styling tools.
4. Using a small round ceramic brush and blow dryer with a directional concentrator nozzle, blow-dry the bangs swept across the forehead to the side, lifting slightly at the root.
5. Smooth down the back and sides following the natural curvature of the head, beveling the ends softly forward toward the cheeks.
6. Warm a tiny pinch of the matte texture styling paste listed below between your fingertips and lightly piece out the wispy ends, bangs, and face-framing sections.
7. Set the whole style with a quick, flexible spritz of the light hold finishing hairspray listed below for all-day movement that never feels stiff.
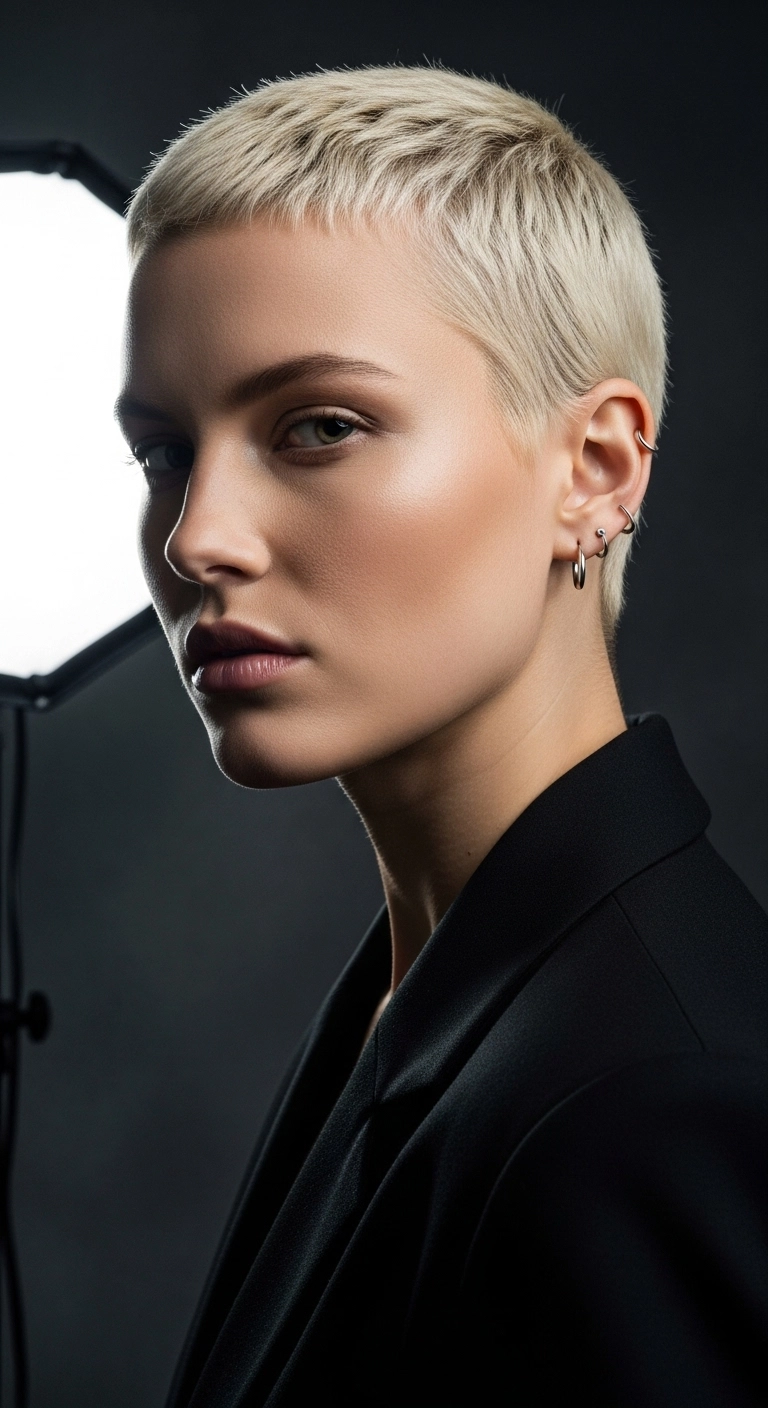
I think there's nothing more striking or empowering than a super clean, platinum buzz crop! It puts all the focus right on your facial features and cheekbones. You can wear this textured and slightly messy for a casual daytime vibe, or slick it completely down with a little pomade for an ultra-chic, high-fashion evening look.
How to do this
1. Start by having your stylist cut your hair into a short, tight crop or extended buzz cut, keeping the sides neatly tapered and leaving just enough length on top to create subtle texture with scissors or point-cutting.
2. Lighten the hair to a clean, pale level 10 blonde using the hair lightening powder and developer listed below, making sure to apply evenly throughout.
3. Tone the blonde to remove any brassiness and achieve a cool, icy platinum finish using the violet toner listed below.
4. On clean, towel-dried hair, apply a pea-sized amount of the lightweight leave-in conditioner listed below to keep the bleached strands soft and hydrated.
5. Blow-dry forward using low heat and your fingers to push the hair naturally towards your forehead.
6. Warm a small dab of the matte styling paste listed below between your palms and work it through the top section, pinching tiny pieces around the fringe to create that separated, piecey texture.
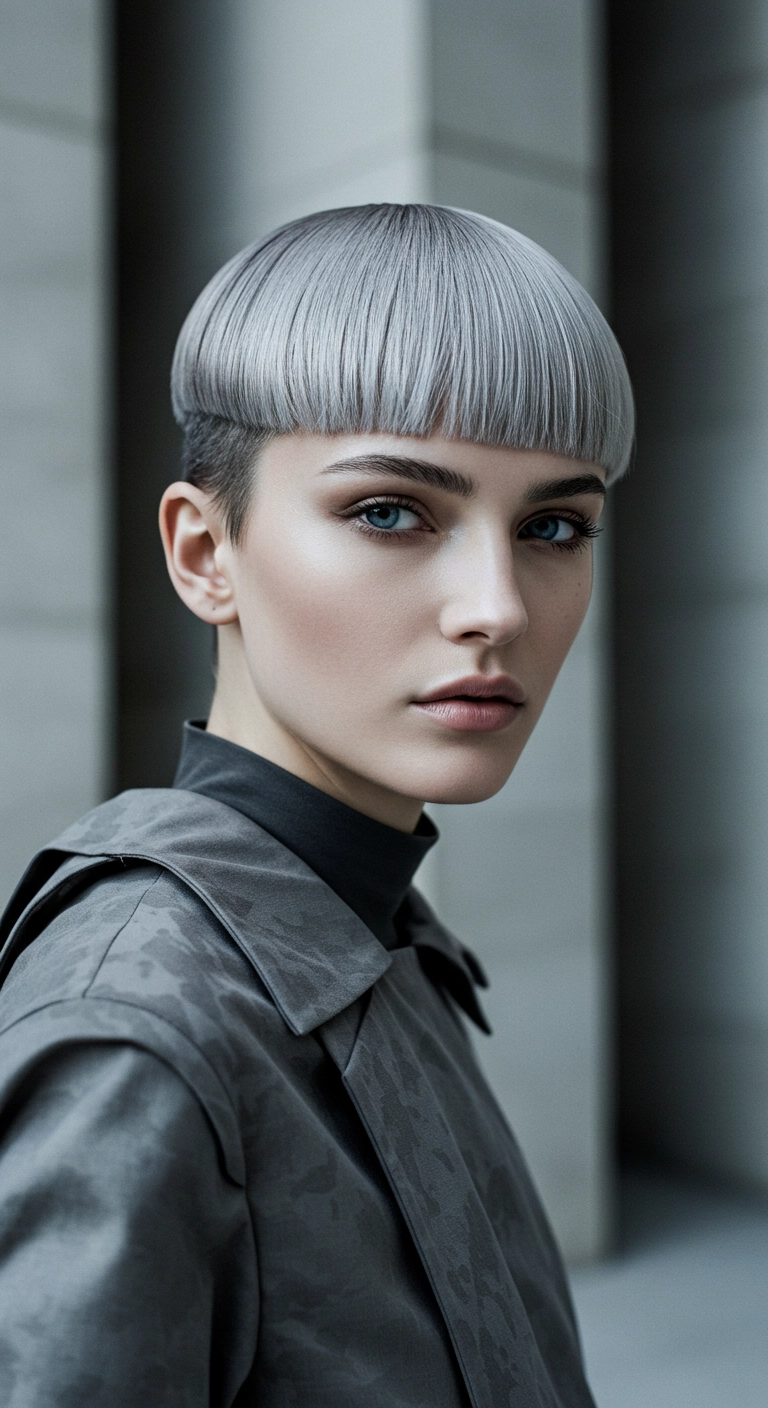
Are you ready to make a seriously bold, editorial statement? I am completely obsessed with this sharp metallic silver bowl cut with a high-contrast undercut! It gives off major high-fashion, cyberpunk vibes that feel impossibly sleek and intentional. The blunt, glassy fringe frames the eyes like nothing else, while the buzzed sides keep it crisp and ultra-modern. If you’ve been looking for an edgy, high-impact short chop to reinvent your whole look, this is definitely the one to try!
How to do this
1. Start by sectioning off the top mushroom crown from the lower perimeter, clipping the top hair cleanly out of the way.
2. Using hair clippers with a low guard, create a tight, even undercut around the sides and nape to establish strong contrast.
3. Release the top canopy and precision-cut a sharp, blunt perimeter line horizontally across the forehead just above the eyebrows and continuing straight around the parietal ridge.
4. For the color, pre-lighten the canopy to a clean Level 10 platinum using the hair lightening kit listed below, then tone using the silver-grey toner listed below to achieve that metallic finish.
5. Prep damp hair with the lightweight smoothing serum listed below and blow-dry straight downward with a flat paddle brush.
6. Run a precision mini flat iron through small vertical sections to ensure bone-straight alignment.
7. Finish by misting with the high-shine finishing spray listed below to lock in that liquid metallic sheen.
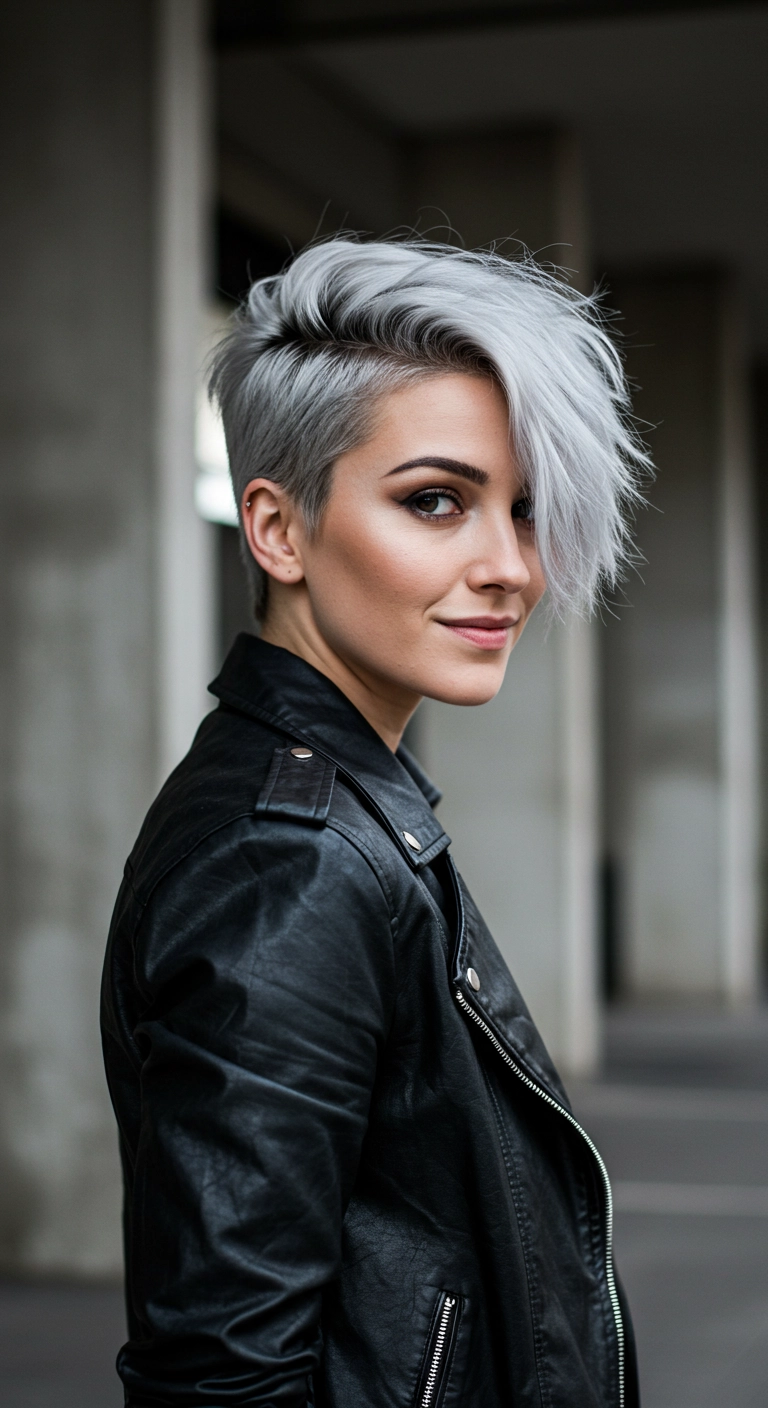
Thinking about making a serious statement with your short hair? If you want an edgy cut with tons of dimension and attitude, this sweeping asymmetrical silver pixie is calling your name. It pairs fierce shaved details with soft, textured length that beautifully frames your cheekbones. Who wouldn't love a rock-and-roll vibe that looks this effortlessly cool?
How to do this
1. Start by prepping towel-dried hair with a lightweight volumizing mousse to provide lift at the roots.
2. Blow-dry the hair using a vented round brush or fingers, directing the longer top crown section dramatically up and over from a deep side part to create instant volume.
3. Keep the shaved or closely-tapered side smooth and neat using a styling comb.
4. Warm a dime-sized amount of the matte styling paste listed below between your palms and work it through the mid-lengths and ends of the long fringe to define choppy, piecey separation.
5. Spritz with the texturizing sea salt spray listed below to add a gritty, effortless hold that stays swept across the forehead all day.
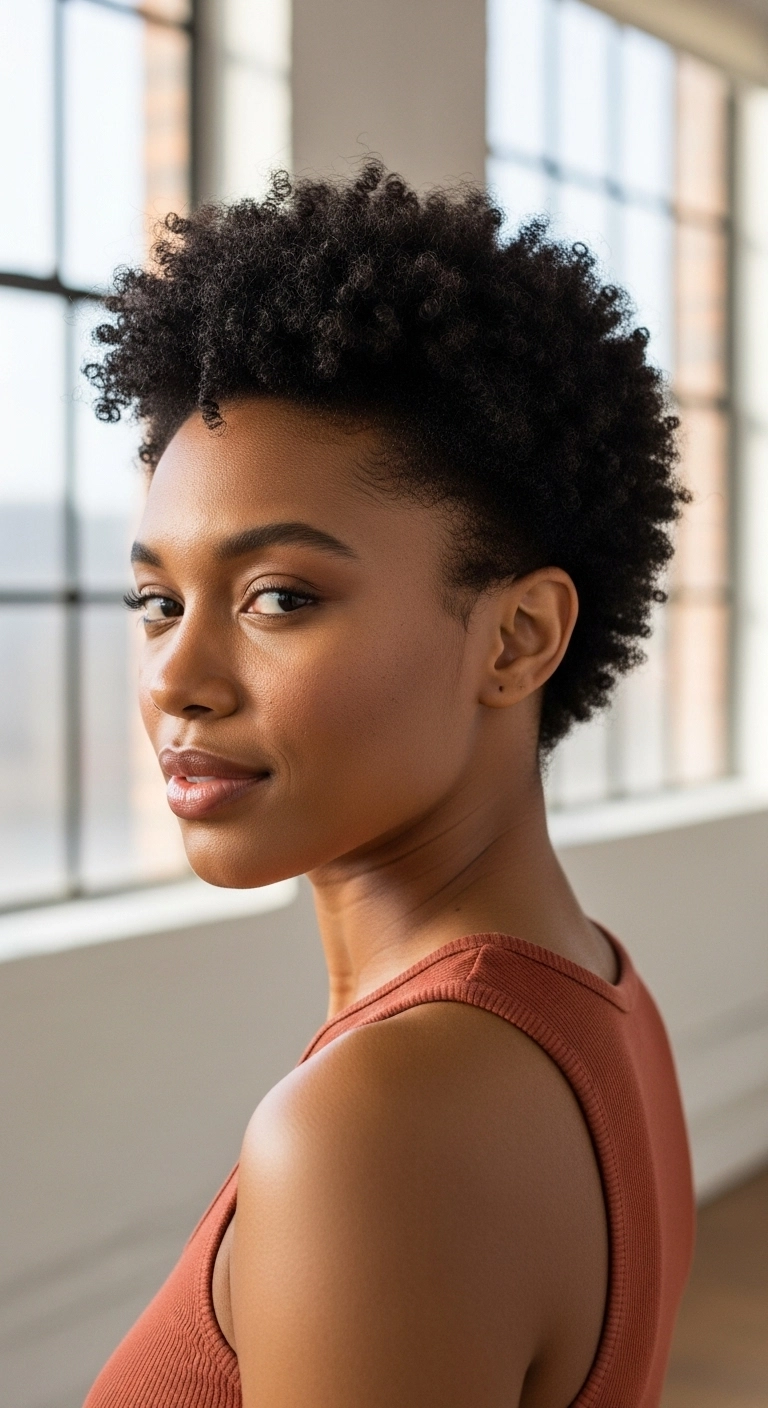
Thinking about embracing the big chop or looking for an easy, fresh way to showcase your natural coils? This cropped, tapered afro cut is your absolute dream look. It highlights your bone structure effortlessly while keeping styling time down to minutes. Who doesn't want chic, low-stress hair every single morning?
How to do this
1. Start on freshly cleansed, damp hair using a moisturizing sulfate-free shampoo and deep conditioning treatment.
2. Apply a generous amount of leave-in conditioner using the leave-in conditioning cream listed below to lock in moisture and protect delicate coils.
3. Section by section, rake through a curl defining styling cream or jelly using the curl defining styling custard listed below to enhance coil definition and reduce frizz.
4. Gently shape and finger-coil smaller sections along the hairline and top to create beautiful, touchable texture and definition.
5. Use a lightweight natural hair oil using the lightweight argan hair oil listed below to seal in hydration and impart a healthy, natural sheen.
6. Allow hair to air-dry completely or use a hooded dryer or diffuser on low heat to lock in coil memory without disturbing the natural pattern.
7. Once dry, smooth edges gently with a soft boar bristle edge brush and a dab of styling edge control gel listed below for a clean, effortless finish.
This is your ultimate wash-and-go look if you love embracing your natural coils without spending hours styling. A soft taper around the sides and nape keeps everything clean and effortless while letting the volume on top take center stage. Just lock in your moisture while it's damp, let it dry naturally, and you’re ready to take on the day.
How to do this
1. Start on freshly cleansed, damp hair after washing with the sulfate-free moisturizing shampoo listed below.
2. Generously rake through sections using the curl defining leave-in conditioning cream listed below to lock in hydration and define the natural coil shape.
3. Apply a small amount of the curl defining gel with flaxseed listed below over the top and sides, smoothing along the edges and gently scrunching the crown to enhance coil clumping.
4. Use a micro-mist continuous water spray bottle if any sections start to dry out before you finish defining them.
5. Either air dry completely or gently use a hooded dryer or diffuser attachment on low heat to set the coils without causing frizz.
6. Finish by lightly patting a few drops of the nourishing hair and scalp oil listed below to seal in moisture and add a clean, healthy shine.
There’s really nothing better than a bold copper pixie with tons of natural curl bounce! I love how the longer curls sweep across the forehead to frame the eyes while keeping the sides super clean and easy to manage.
How to do this
1. Start on freshly washed, damp hair and apply a quarter-sized amount of curl defining cream listed below to lock in moisture and prevent frizz.
2. Mist lightly with the heat protectant spray listed below to shield your curls before drying.
3. Use a wide-tooth comb or your fingers to sweep the front layers forward and slightly off to one side to establish that asymmetrical swoop.
4. Attach the diffuser attachment listed below to your blow dryer, setting it to low heat and low speed, then gently cup the curls on top until about 85% dry.
5. Once fully air-dried, work a tiny drop of the lightweight hair oil listed below between your palms and gently scrunch the curls to break any gel cast and add shine.
6. Finish by spraying a light mist of the flexible hold texturizing spray listed below at the roots and through the crown to keep that effortless volume all day.
Short curly cuts have been having such a huge moment, and honestly, this copper pixie is pure magic. If you’ve got wavy or naturally curly hair and are scared of going short, having extra length on top is the absolute best way to keep that gorgeous texture without losing versatility. It’s effortless, full of bounce, and looks insanely chic paired with a cozy turtleneck.
How to do this
1. Start on freshly washed, damp hair and apply a generous quarter-sized amount of the lightweight curl defining cream listed below from roots to ends.
2. Gently rake through with your fingers or a wide-tooth comb to distribute product evenly without disrupting your natural wave pattern.
3. Work a dollop of the curl mousse listed below into the top and front sections to encourage bouncy curl formation and provide flexible hold.
4. Create a deep side part using your fingers, directing the longer top curls forward and swept over one eye for that dramatic, effortless asymmetrical drape.
5. Attach a diffuser to your blow dryer on low heat and medium speed, gently cupping the curls upward toward the scalp until the hair is about 85% dry.
6. Allow the remaining dampness to air-dry completely, then spritz lightly with the dry texturizing spray listed below to add airy separation and volume.
7. Finish by rubbing a drop of the nourishing hair serum listed below between your palms and gently scrunching the ends to eliminate any remaining crunch and add glossy shine.
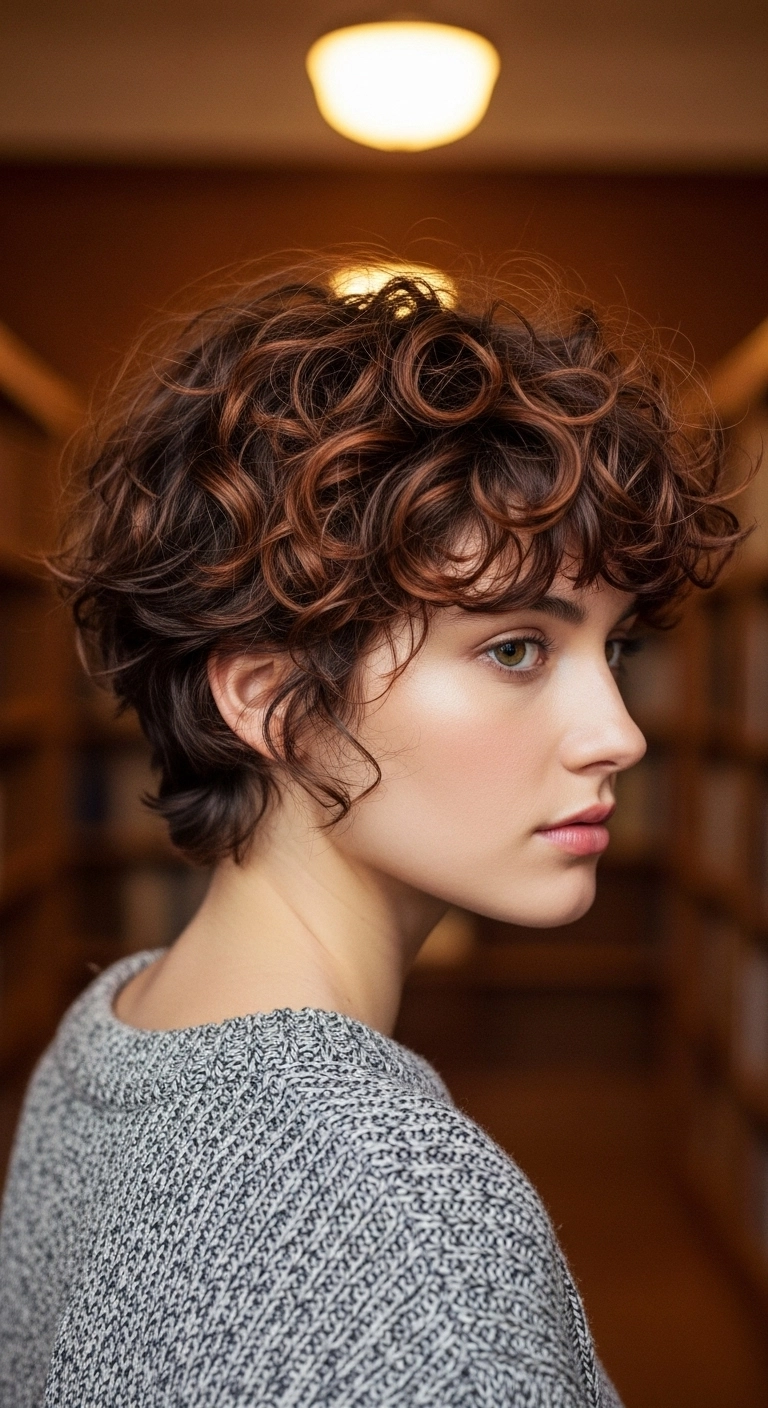
I’m seriously obsessed with this haircut. It’s this super chic, effortless curly bixie with warm auburn ribbons woven through a rich dark brown base. I think this look would be so gorgeous for college classes, coffee dates, or casual days at work, but it also has that dark academia, artsy vibe that makes it stand out anywhere. It’s low-fuss, embraces your natural curl pattern, and frames the face in the most flattering way.
How to do this
1. Start on freshly washed, damp hair and gently detangle using the wide-tooth detangling comb listed below.
2. Rake a nickel-sized amount of the curl defining styling cream listed below through the lengths to lock in moisture and encourage natural bounce.
3. Apply a light pump of the lightweight curl mousse listed below through the roots and mid-lengths to build volume without any crunch.
4. Attach a bowl diffuser to your hair dryer and dry on low speed with medium heat, gently cupping small sections of curls upwards toward your scalp until 85% dry.
5. Once fully air-dried the rest of the way, warm two drops of the nourishing hair and curl oil listed below between your palms and gently scrunch through the curls to break any light cast and add gorgeous shine.
6. Finish by misting with the flexible hold hairspray listed below to keep your tousled texture and fringe bouncy all day.
Short curly cuts are having a major moment, and this curly pixie bob proves just how versatile and effortless they can be. Soft, layered ringlets give natural volume without feeling heavy, while the subtle auburn and chestnut ribbons catch the light beautifully. If you want a chic, low-stress haircut that shows off your natural curl pattern and frames your eyes, this style is definitely worth taking to your next salon visit.
How to do this
1. Start on freshly cleansed, soaking wet hair after washing with a hydrating curl shampoo and conditioner.
2. Gently rake a quarter-sized amount of the lightweight curl defining cream listed below from roots to ends to lock in hydration without weighing down short layers.
3. Apply a small amount of the curl defining styling gel listed below using the praying hands method, then scrunch upward toward the scalp to encourage natural 2C-3A ringlet formation.
4. Attach a bowl diffuser to your hair dryer using the universal diffuser attachment listed below, and gently cup sections around the crown and nape on low heat and low air speed until hair is about 85% dry.
5. Use your fingers to shape the bangs and soft face-framing tendrils over the brow line.
6. Once fully dry, dispense two drops of the lightweight hair styling oil listed below between your palms and gently scrunch out the gel cast to leave curls soft, bouncy, and touchable.
7. Finish by lifting at the roots and misting with the flexible hold hairspray listed below for all-day volume and subtle hold.
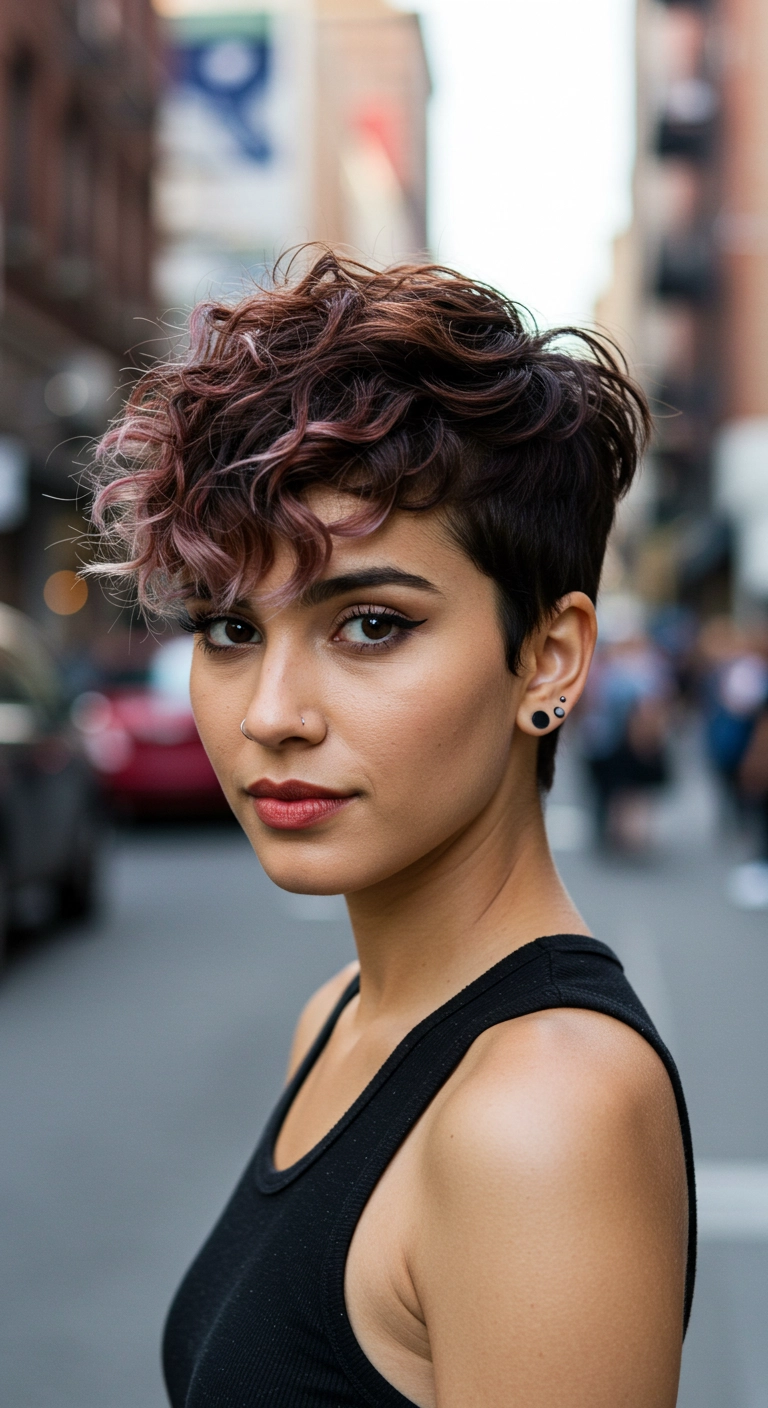
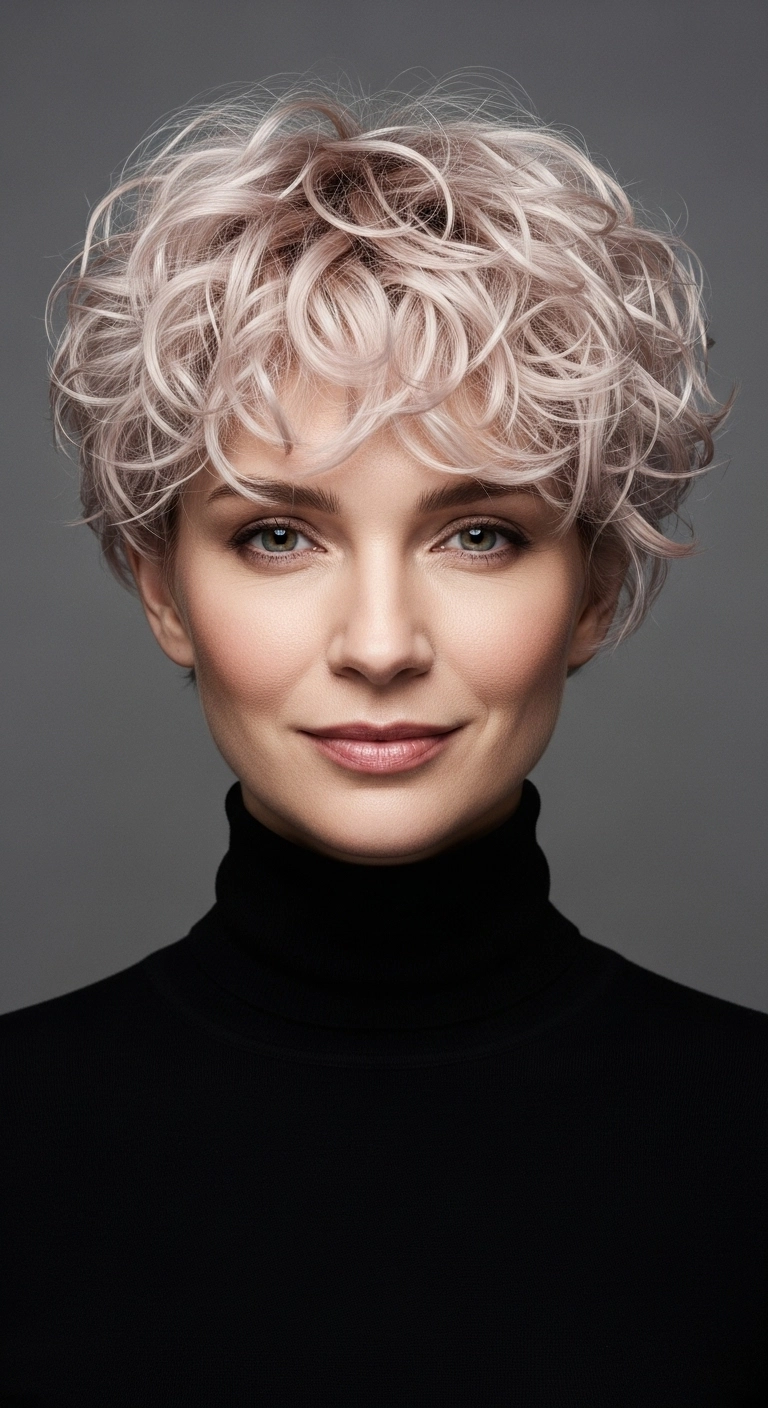
Oh, a curly pixie cut with a clean undercut, how I love thee! And throwing in that dusty rose mauve tint on the curls? I am totally obsessed. This look is so effortlessly cool and chic! Would you ever go this bold and short?
How to do this
1. Start by getting a tapered undercut pixie cut at the salon, keeping significant length and layering through the top and crown while clipping the back and sides short.
2. Have your colorist lighten the tips and mid-lengths of the top crown section using a balayage technique, then tone with a dusty mauve or rose gold semi-permanent gloss.
3. On damp hair after washing, apply a dollop of curl defining cream listed below from roots to tips to encourage your natural texture.
4. Attach a bowl diffuser to your hair dryer using the curl diffuser attachment listed below and gently dry your curls on low heat and low speed, scrunching upward toward the scalp.
5. Once fully dry, work a nickel-sized amount of matte styling paste listed below between your palms and piece out the curls forward over the forehead for that effortless, tousled fringe.
6. Finish with a spritz of flexible hold texturizing spray listed below to lock in volume and separation without crunchiness.
Who says short hair means giving up your curls? This tapered pixie cut lets your natural texture take center stage with voluminous, messy curls swept forward. Adding those subtle dusty rose highlights over the dark base gives it the coolest lived-in edge without being high maintenance!
How to do this
1. Start by asking your stylist for a tapered undercut pixie cut, keeping the sides neatly trimmed around the ears and nape while preserving substantial length on top for natural curls to form.
2. Have your colorist hand-paint soft balayage highlights onto the tips and mid-lengths of the top fringe area, then tone using a dusty rose or smoky pastel mauve toner listed below.
3. On damp, freshly washed hair, work a quarter-sized amount of curl defining styling cream listed below thoroughly through the top sections to enhance the curl definition and fight frizz.
4. Attach a bowl diffuser to your hair dryer and gently cup the curls on the top of your head, drying on medium heat until roughly 80% dry without disturbing the natural curl pattern.
5. Once fully dry, warm a pea-sized dab of matte styling paste listed below between your palms and piece through the ends, gently pushing the curls forward and across your forehead for an effortless, tousled finish.
6. Lock in the volume and texture with a light mist of flexible hold texturizing hairspray listed below.
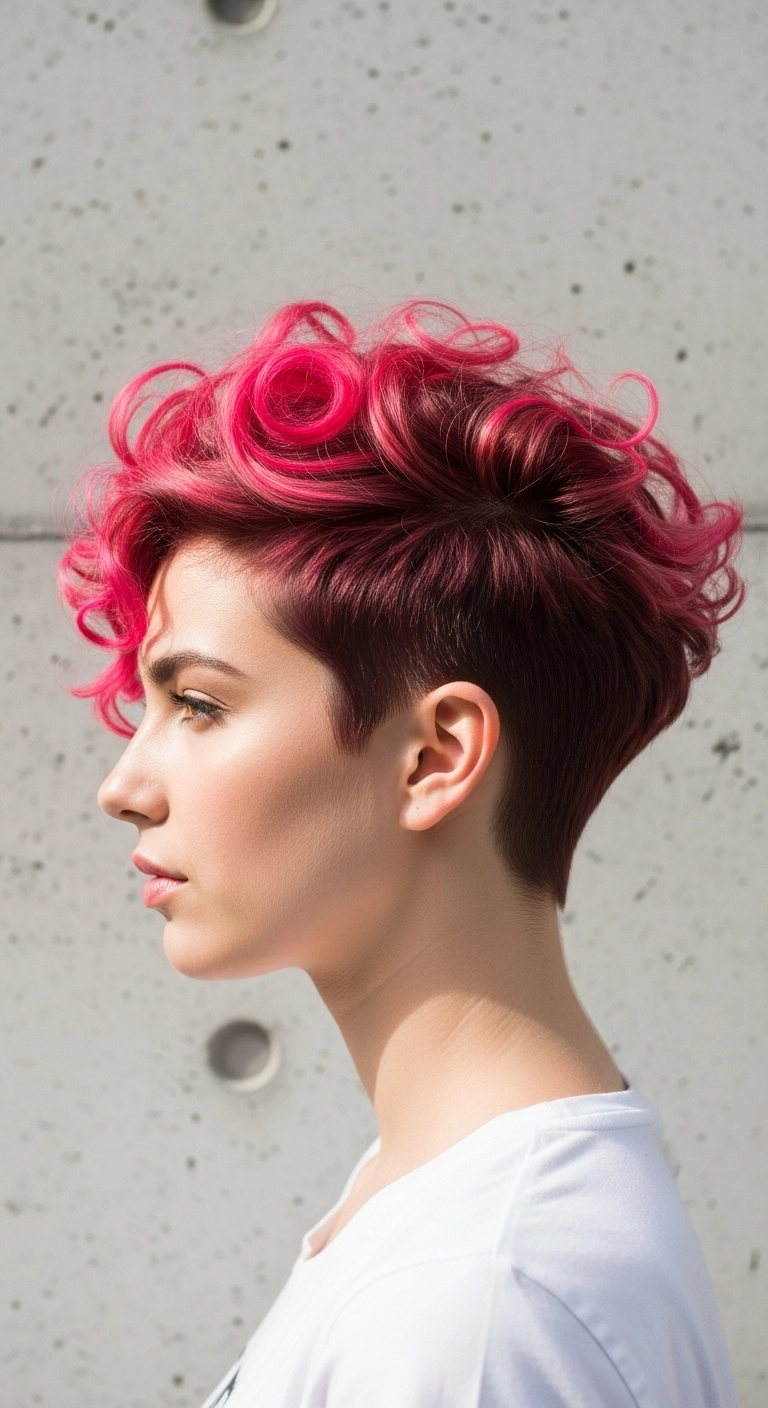
The bold magenta curly pixie undercut. What a showstopper! I love how the super clean tapered sides contrast with the voluminous, playful curls spilling over the forehead. It gives all the edgy rock-and-roll vibes while still being incredibly flattering and easy to style on the go.
How to do this
1. Start by getting a clean disconnected undercut, tapering the nape and clipper-cutting the sides close to the scalp while leaving substantial length through the crown and front.
2. Pre-lighten the longer top sections using the hair lightening kit listed below to achieve a pale blonde base for vivid color deposition.
3. Apply a deep plum or burgundy semi-permanent shade at the roots and blend down into a bright neon magenta on the mid-lengths and ends using the vibrant pink semi-permanent hair dye listed below.
4. On clean, damp hair, apply a curl-defining cream using the curl defining cream listed below and gently scrunch upward to encourage natural ringlets.
5. Diffuse the top on low heat and speed until fully dry, or use a small-barrel curling iron to redefine any loose swirls.
6. Finish by emulsifying a small dab of the matte styling paste listed below between your palms and piecing out the curls to add separation and edgy texture along the top and hairline.
Thinking about making a bold hair move that turns heads everywhere you walk? This fiery magenta curly pixie cut gives you the best of both worlds: clean, low-maintenance tapered sides paired with a playful explosion of bouncy pink curls on top. It is edgy, fearless, and effortlessly stylish—what more could you ask for?
How to do this
1. Start by getting a tailored undercut pixie cut, keeping the sides and nape tapered closely while leaving ample length on top and towards the front to support curls.
2. Lighten the longer top sections using a hair lightening kit and tone or dye with a vibrant semi-permanent magenta pink hair dye, keeping the roots and cropped sides a deeper burgundy or dark brown shadow root.
3. On freshly washed, damp hair, work a coin-sized amount of the curl defining cream listed below through the longer top lengths to enhance curl definition and lock in moisture.
4. Blow dry the top using a hairdryer with a diffuser attachment on low heat, gently cupping the curls upward toward the scalp to build maximum volume and spring.
5. For any curls that need extra shape or direction around the face, define them with a 0.75-inch ceramic curling wand listed below.
6. Warm a small dab of the matte styling paste listed below between your fingertips and lightly piece out the curls, directing the volume forward over the forehead.
7. Finish by misting with the flexible hold hairspray listed below to hold the bold shape in place all day without feeling crunchy.
I’m absolutely in love with this pixie cut because it gives you that effortlessly chic, cool-girl vibe without needing an hour in front of the mirror every morning. It’s light, breezy, and the gorgeous copper tones catch the sunlight so beautifully whether you're running errands or dressing up for a dinner date. Plus, styling it takes literally five minutes with just a dab of texture paste. Definitely give this cut a try if you're ready for a fresh, confidence-boosting chop!
How to do this
1. Start with clean, damp hair and apply a quarter-sized amount of the lightweight volumizing mousse listed below through the roots and mid-lengths.
2. Mist lightly with the heat protectant spray listed below to shield strands and add a healthy sheen.
3. Using a small round boar bristle brush and the ionic blow dryer listed below, blow-dry the top sections forward and to the side, lifting at the roots to build soft volume.
4. Smooth down the nape and sides flat against the head using your fingers or a flat styling brush as you dry.
5. Warm a pea-sized amount of the pliable matte styling paste listed below between your fingertips and lightly rake it through the crown and side-swept fringe to define piecey texture and hold the shape.
6. Finish with a gentle mist of the flexible hold hairspray listed below for a soft, touchable finish that lasts all day.
I love this ultra-chic platinum pixie cut!! The choppy top layers give it so much effortless texture and body, and the icy silver hue pairs amazingly well with a leather jacket. It's bold, super flattering on defined cheekbones, and surprisingly easy to style day-to-day.
How to do this
1. Start by washing hair with the purple toning shampoo listed below to keep that icy, bright silver-platinum tone completely free of any brassiness.
2. Towel-dry gently and apply a small dollop of the lightweight styling mousse listed below throughout the roots and mid-lengths to build volume and body.
3. Blow-dry the hair forward and slightly to the side using the small ceramic round brush listed below, lifting at the crown to get full, soft volume.
4. Once completely dry, work a nickel-sized amount of the matte texture pomade listed below between your palms and warm it up.
5. Rake your fingers forward through the crown, twisting and separating small sections along the front fringe to create that piecey, swept texture.
6. Finish off by lightly misting the flexible hold hairspray listed below to lock the shape in place while keeping natural movement.
Looking for a chic, sophisticated short style that still feels totally vibrant and full of movement? This warm copper pixie cut is packed with feathery layers on top that give you incredible volume, while the tapered neckline and sides keep everything clean and tailored. You can sweep the textured fringe across your forehead for an ultra-flattering, face-framing touch, or spike it up a bit for a bolder, modern edge. It's the perfect statement crop for bringing warm dimension and confidence into your everyday routine!
How to do this
1. Start on freshly washed, damp hair and prep with a lightweight heat protectant spray listed below to shield your strands while blow drying.
2. Apply a nickel-sized amount of styling cream or volumizing mousse throughout the roots and crown to build touchable lift.
3. Using a small ceramic round brush and a blow dryer fitted with a concentrator nozzle, direct the top and crown layers forward and to the side, curving the ends gently to create soft sweeping bends.
4. Smooth the tapered sides and neckline flat against the head with a fine-tooth comb while blow drying with downward airflow.
5. Warm a pea-sized amount of texturizing paste or styling pomade between your fingertips and lightly pinch and separate the fringe and crown pieces to define the layers.
6. Finish with a light mist of flexible hold finishing hairspray to lock the shape in place while preserving natural movement and shine.
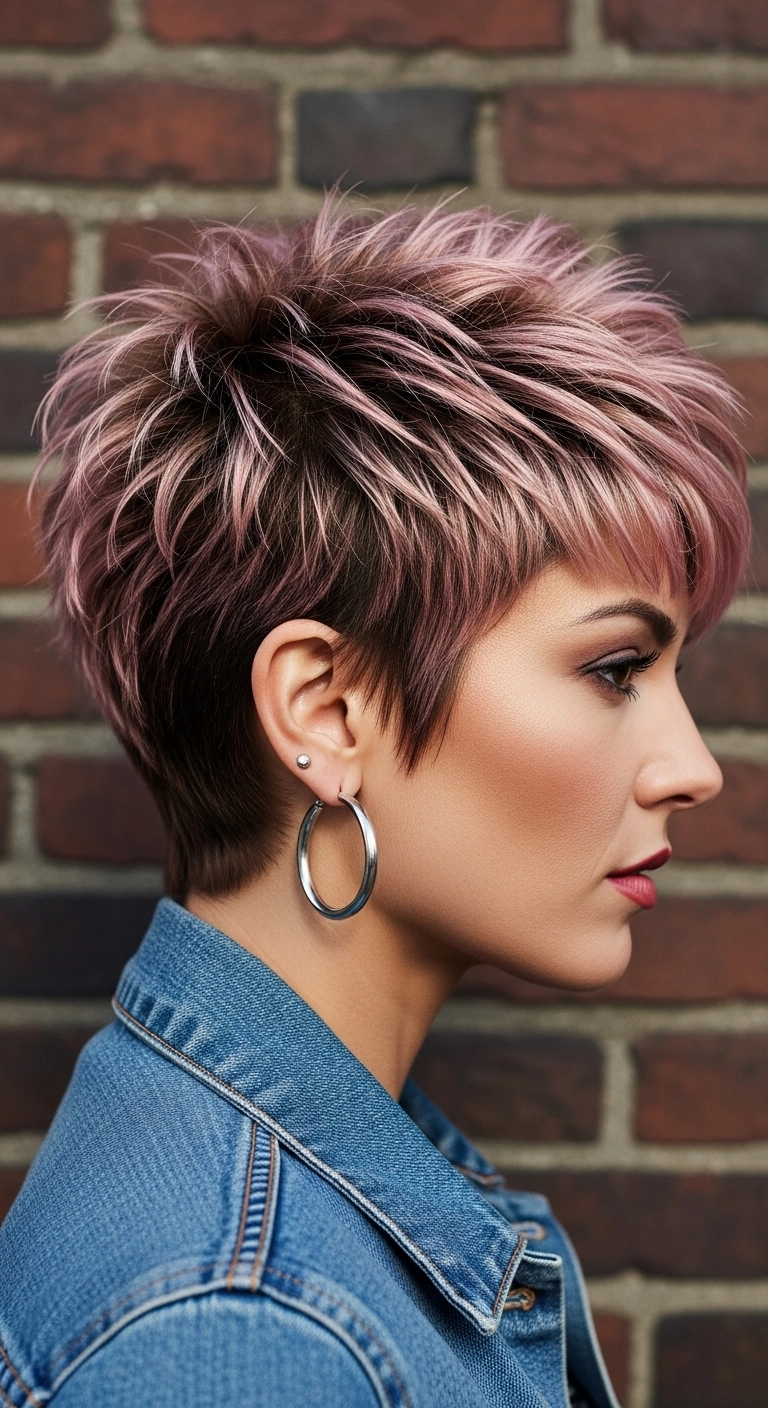
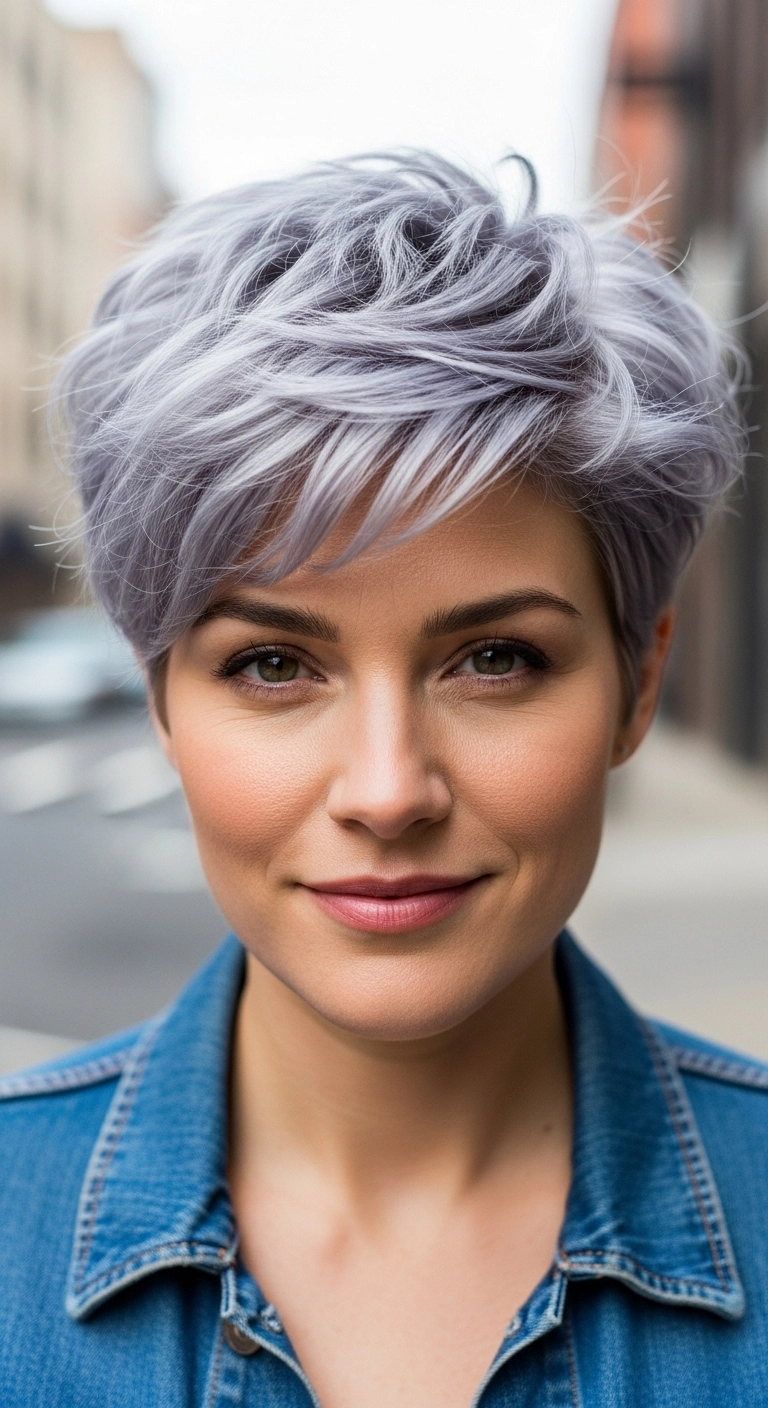
I've always loved how a bold haircut can instantly change your entire vibe, and this metallic rose gold pixie is total proof! The contrast between the deep dark roots at the nape and the dusty pink feathered pieces on top gives it so much grit and dimension. It feels super edgy paired with a denim jacket and hoops, but honestly, it’s still sleek enough to feel really elevated. If you've been on the fence about chopping your hair short, a textured, layered cut like this gives you so much room to play with styling!
How to do this
1. Start by washing your hair with a color-safe, sulfate-free shampoo to preserve the metallic rose gold hue, then towel-dry until damp.
2. Apply a dime-sized amount of the lightweight volumizing mousse listed below evenly through your roots and crown to build foundation and lift.
3. Blow dry using a small round brush or vent brush, directing the top sections upward and forward toward your brow for that piecey fringe.
4. Once completely dry, warm up a pea-sized amount of the matte styling paste listed below between your palms and fingers.
5. Work the paste through the crown and tips, pinching individual ends to create defined, spiky separation and show off the dark underlayer.
6. Finish the look by misting with the flexible hold finishing spray listed below to lock your texture in place without making it stiff.
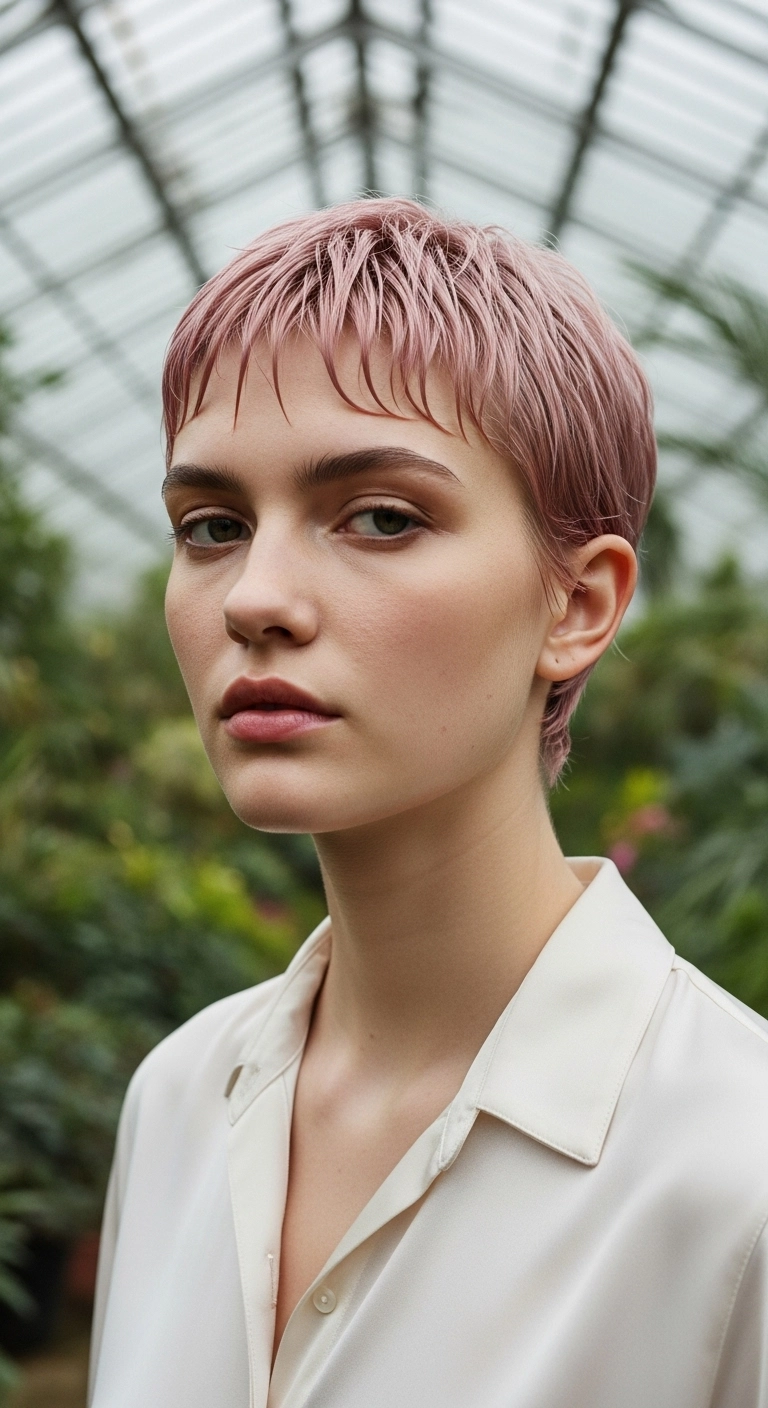
This hairstyle is what I like to call the edgy fairy cut. You start with a cropped pixie dyed in a gorgeous muted pastel pink and style it while damp. Use a light pomade or styling gel to comb the sides sleek and piece out separated, spiky little micro bangs across your forehead.
How to do this
1. Start on freshly washed, towel-damp hair after maintaining your pastel tone with a color-depositing pink mask.
2. Apply a dime-sized amount of the lightweight hair styling gel listed below evenly through your damp strands from roots to ends.
3. Use a fine-tooth comb to direct the sides backward behind the ears and push the crown hair forward toward your forehead.
4. Take a small dab of the flexible high-shine hair pomade listed below between your fingertips and piece out individual sections of the micro bangs to create that separated, spiky fringe.
5. Allow the hair to air dry completely without disturbing the defined pieces, or gently diffuse on low heat and low speed.
6. Mist lightly with the flexible hold hairspray listed below to lock in the editorial, wet-look texture all day.
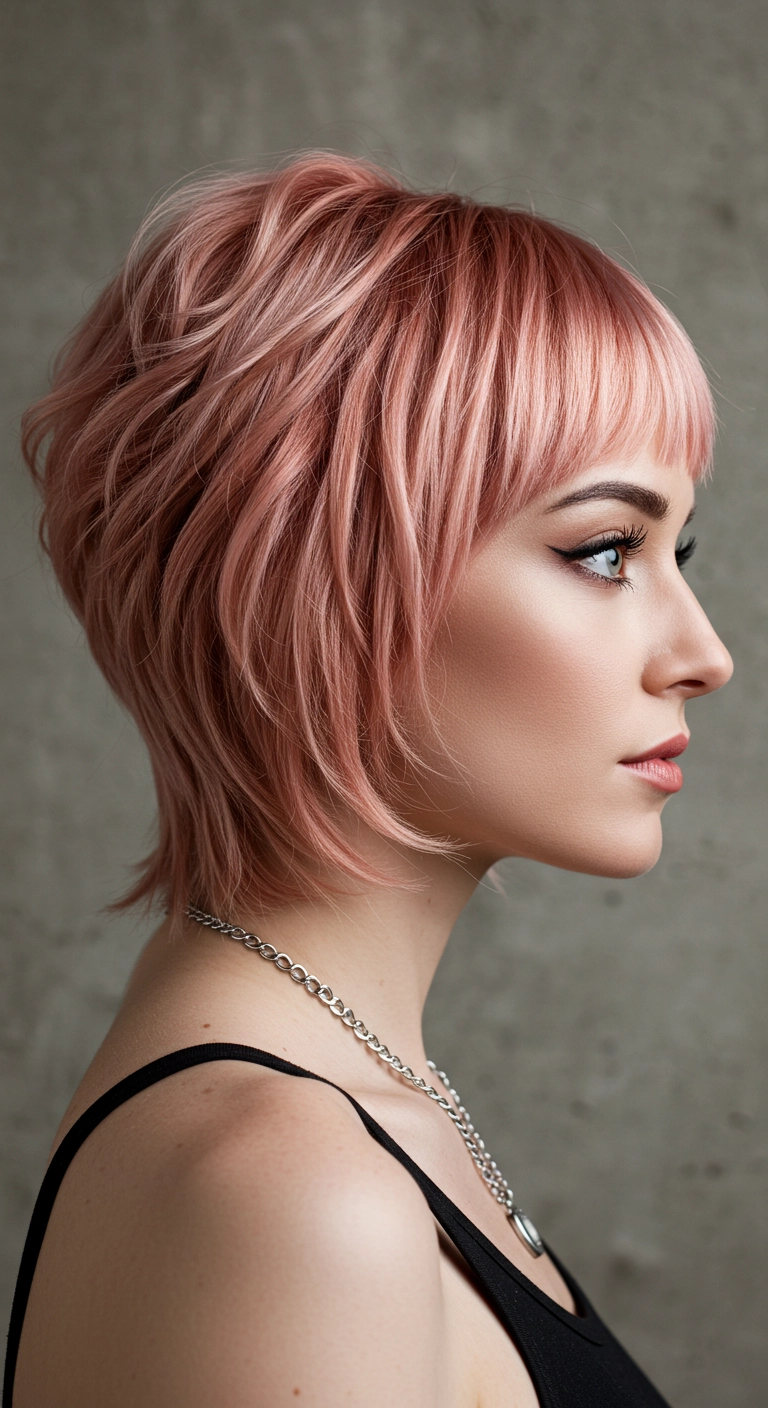
Oh, this metallic rose bixie is everything! The feathered layers and choppy baby bangs give such a cool, effortless edge. I am completely obsessed with this color—would you ever try rocking a pastel crop like this?
How to do this
1. Start by prepping clean, damp hair with a small pump of the lightweight leave-in conditioning spray listed below to keep bleached strands soft and detangled.
2. Apply a dime-sized amount of the volumizing styling foam listed below through the roots and mid-lengths to build lift throughout the crown.
3. Using a small round ceramic brush and a blow dryer with a nozzle attachment, blow dry the bangs straight forward and down with light tension.
4. Dry the crown and back layers by lifting upward and directing airflow at the roots to maximize volume and establish the rounded, feathered shape.
5. Once fully dry, take a mini flat iron and gently bevel the ends of the cheek-framing layers inward toward the face, and flip the lower nape strands out ever so slightly.
6. Emulsify a pea-sized amount of the matte texturizing hair paste listed below between your fingertips and pinch individual ends around the face and nape to create defined, piecey separation.
7. Finish the look with a light mist of the flexible hold texturizing finishing spray listed below to lock in the airy volume and airy fringe all day.
Products Used
Lightweight Leave-In Conditioning Spray
lightweight leave in conditioner spray for bleached hair
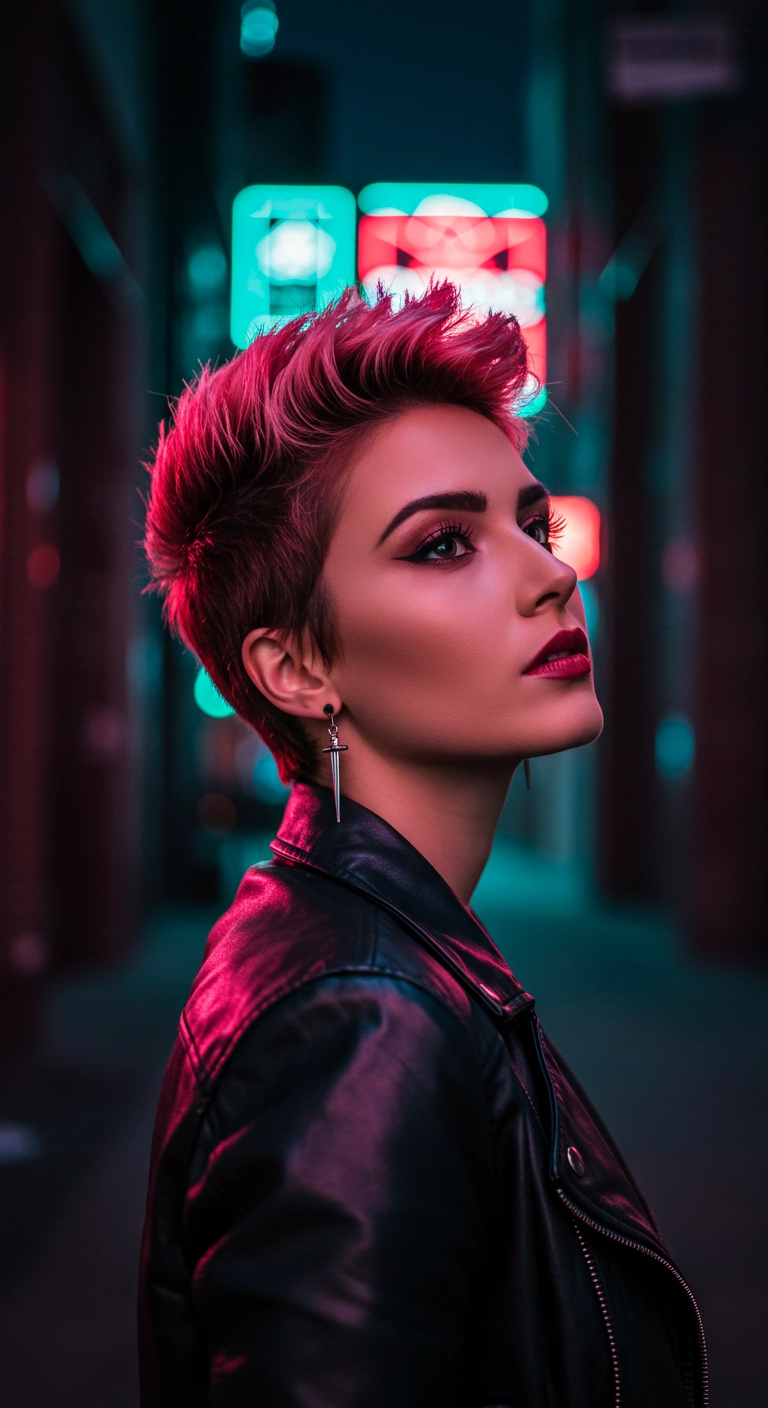
Are you ready to make a bold, unapologetic statement? I am totally obsessed with this vibrant magenta textured pixie cut, don’t you think it has the ultimate cyberpunk edge?! The cropped, tapered sides keep it sleek and low maintenance, while the voluminous, piecey quiff up top gives you plenty of attitude and room to play. Whether you're heading out to a concert or just want a striking everyday signature look, this style turns heads effortlessly!
How to do this
1. Start with a precision tapered pixie cut, maintaining about 2 to 3 inches of textured length through the top and crown while keeping the sides and back closely tapered.
2. On damp, freshly washed hair, apply a nickel-sized amount of the volumizing styling foam listed below to the roots and lengths to create lift and hold.
3. Blow-dry using a small round styling brush or your fingers, directing the top hair upward and slightly back away from the forehead to establish dramatic volume.
4. Once completely dry, warm a dime-sized amount of the matte texture pomade listed below between your palms and work it through the top section, pinching individual ends to create piecey separation and definition.
5. Use the mini hair wax stick listed below along the sides and hairline to keep the tapered edges flat, neat, and impeccably smooth.
6. Lock in your edgy quiff and defend against humidity by misting all over with the strong hold finishing hairspray listed below.
A super chic, undone curly pixie crop that feels fresh and cool. I'm obsessed with pairing soft, bouncy curls with a sharp, icy blonde tone and a subtle shadowed root. It gives off that effortlessly French, tailored vibe without feeling stiff. Honestly, if you've got natural waves or ringlets and want to chop it all off, this is the ultimate low-stress, maximum-style cut.
How to do this
1. Start with clean, damp hair after washing with a color-safe purple toning shampoo to keep the icy blonde bright and brass-free.
2. Work a quarter-sized dollop of the curl-defining mousse listed below through your damp strands from roots to ends, making sure it's evenly distributed for hold and shape.
3. Attach a diffuser to your blow dryer, flip your head slightly forward, and cup sections of curls using medium heat to build natural volume and define those 2C/3A spirals without creating frizz.
4. Once completely dry, warm a dime-sized amount of the matte styling paste listed below between your fingertips and gently piece out the curls on top, shaping them forward onto your forehead for that effortless fringe look.
5. Use a lightweight texturizing spray underneath the crown to inject a little extra root lift and airy separation.
6. Finish with a quick mist of the flexible hold hairspray listed below so your textured curls stay playful and in place all day.
If you are looking to embrace your natural texture with a bold pop of warmth, this look is pure perfection. I love how the copper highlights kiss just the top coils, giving the entire haircut dimension and movement without losing that gorgeous natural shape. It feels so fresh, chic, and effortlessly confident!
How to do this
1. Start on freshly cleansed, thoroughly conditioned hair that is still soaking wet to lock in maximum hydration.
2. Section the hair into manageable quadrants and apply a generous amount of the leave-in conditioner curl cream listed below from roots to ends.
3. Apply a dollop of the defining curl styling gel listed below to each small section, using the finger-coiling technique or shingling method to get those ringlets ultra-defined.
4. For the warm copper highlights, if hair is pre-lightened, use the warm copper color depositing mask listed below to maintain vibrant, dimensional tones on the ends.
5. Gently dry using a blow dryer with the large bowl diffuser attachment listed below on low heat and low speed, avoiding touching the curls until they are completely dry to prevent frizz.
6. Finish by misting with the lightweight shine and moisture oil mist listed below to add radiant luster and keep the coils soft to the touch.