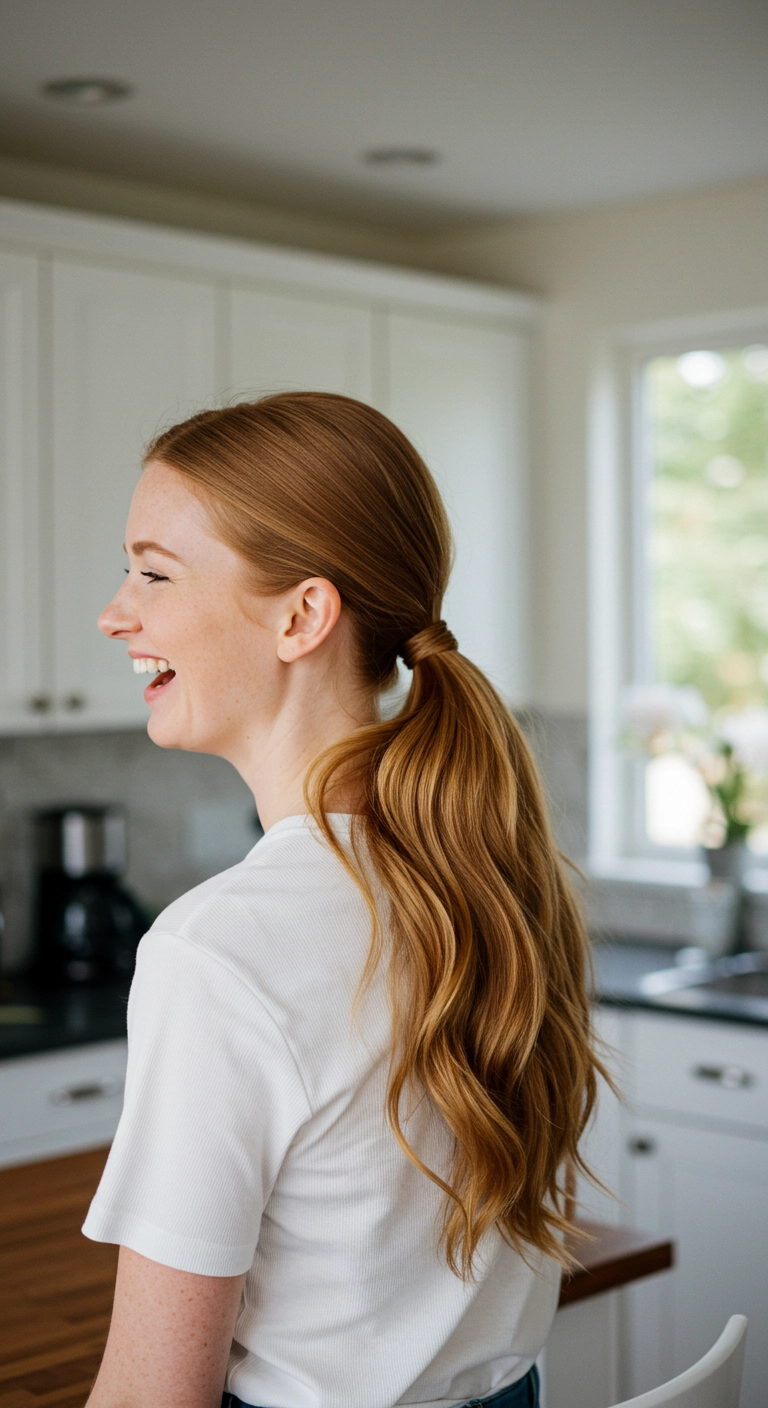
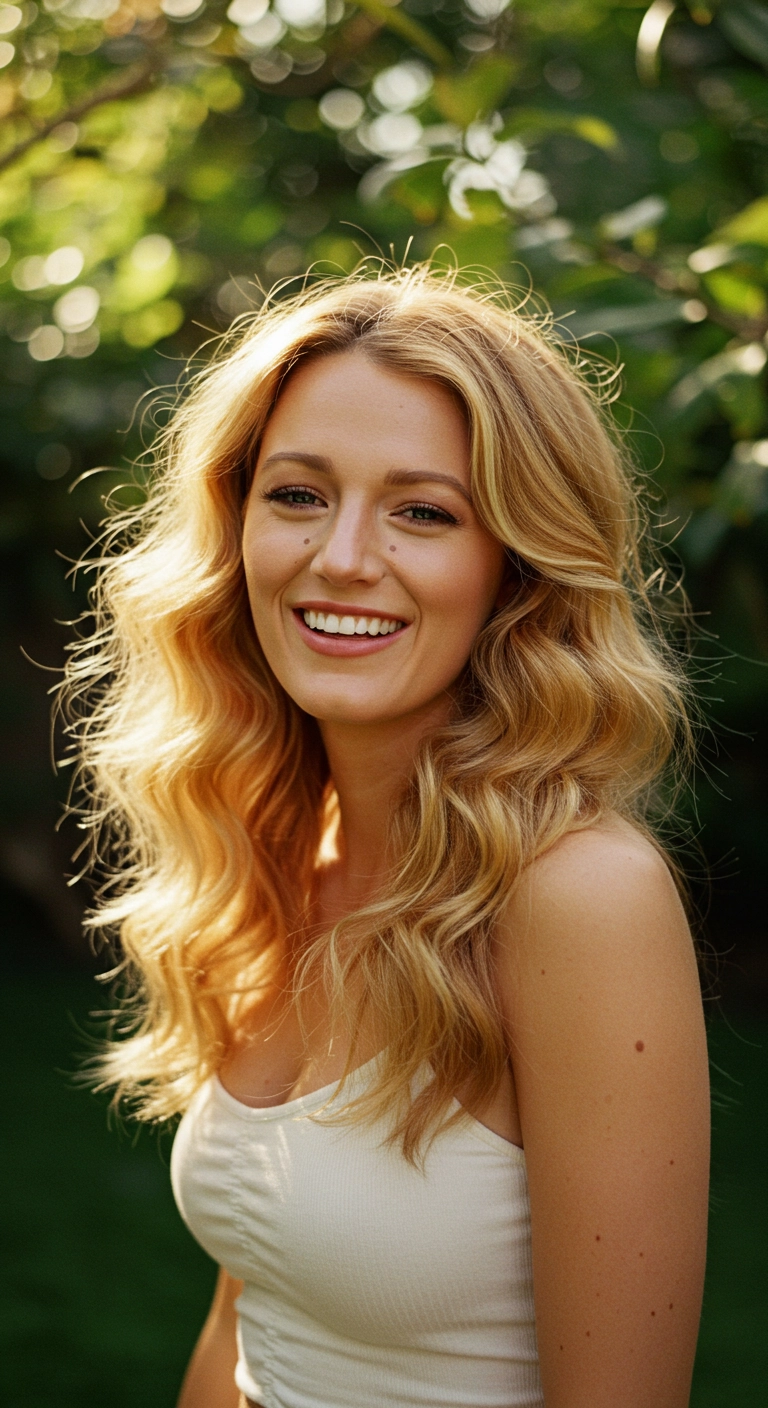
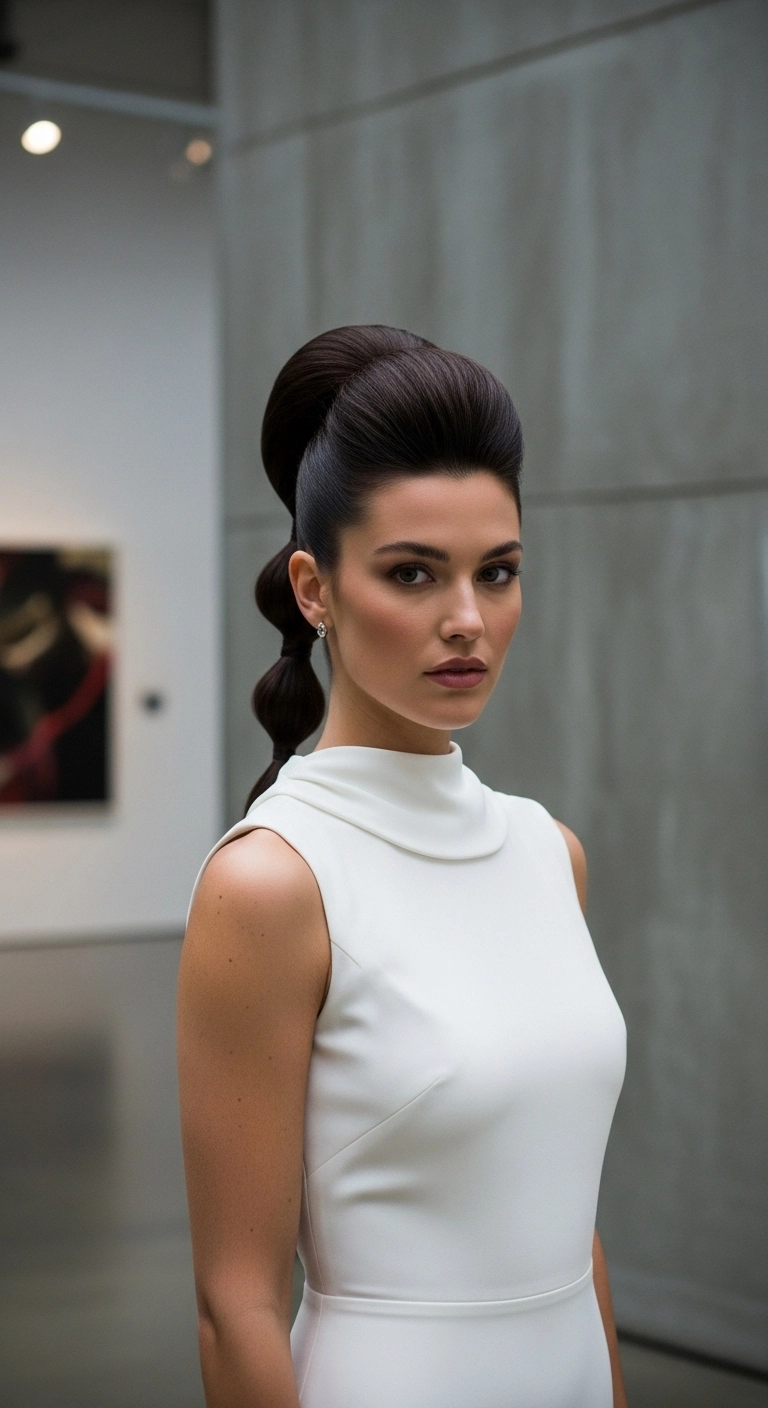
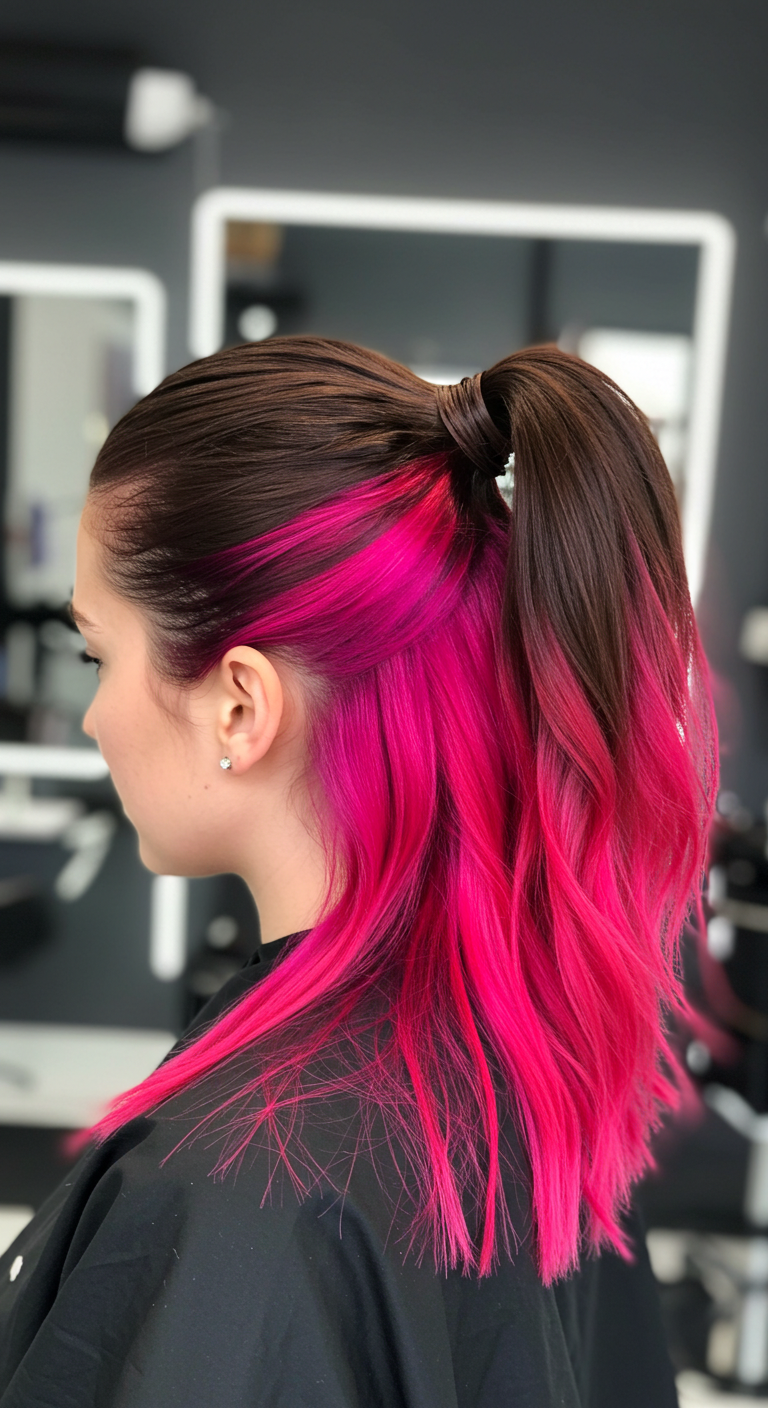
A classic wrapped ponytail is honestly the holy grail for busy mornings when you want to look effortlessly put-together without spending an hour styling. The smooth crown keeps things super chic and professional, while the loose, brushed-out waves in the tail give it just the right amount of movement and bounce.
How to do this
1. Start by prepping clean, dry hair with the smoothing heat protectant spray listed below to tame flyaways and add slip.
2. Use a 1.25-inch curling iron on the mid-lengths and ends to create soft, relaxed loose bends throughout your hair.
3. Brush through the lengths using the boar bristle paddle brush listed below to relax the curls into uniform, cascading soft waves.
4. Comb hair smoothly back towards the nape of your neck, keeping the crown sleek and tight, then secure with one of the clear elastic hair ties listed below.
5. Take a small half-inch strand of hair from underneath the ponytail and wrap it tightly around the hair tie until it's completely covered.
6. Pin the tail of that wrapped section underneath the ponytail base with the mini bobby pins listed below, then mist lightly with the flexible hold finishing hairspray listed below to lock in the clean finish.
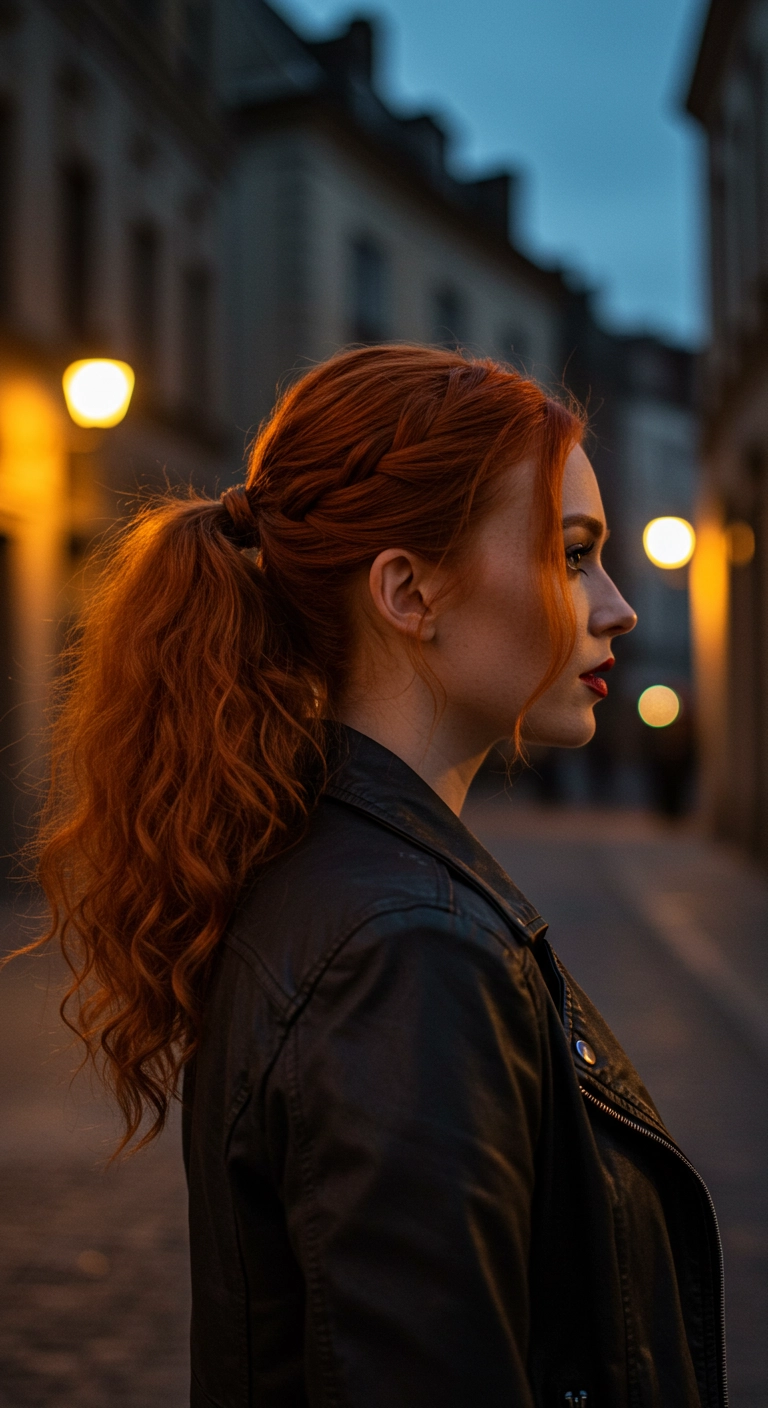
If you want to take a basic ponytail and make it look straight out of a movie, this is the one! It looks intricate, but trust me when I say, “You can totally pull this off!”. A simple side braid woven right into a textured, wavy pony with a wrapped base creates that effortlessly cool, edgy-romantic vibe.
How to do this
1. Start by prepping clean, dry hair with a generous mist of the heat protectant spray listed below to shield strands before heat styling.
2. Add lived-in wave and dimension throughout the lengths using the 1-inch curling wand listed below, alternating wave directions for a natural texture.
3. Leave out a soft, wispy tendril right in front of the ear to softly frame your face.
4. Starting near the front hairline, create a three-strand Dutch or French braid along the side of the crown, directing it back toward the center-back of the head, and gently pancake the stitches for extra fullness.
5. Gather the braid along with the rest of your hair into a mid-height ponytail and secure tightly using the seamless hair elastics listed below.
6. Take a small 1/2-inch strand from underneath the ponytail, wrap it neatly around the elastic band to hide it completely, and secure the end with the matte finish bobby pins listed below.
7. Fluff the ponytail for volume and mist everything with the flexible hold hairspray listed below to keep flyaways tame while maintaining soft movement.
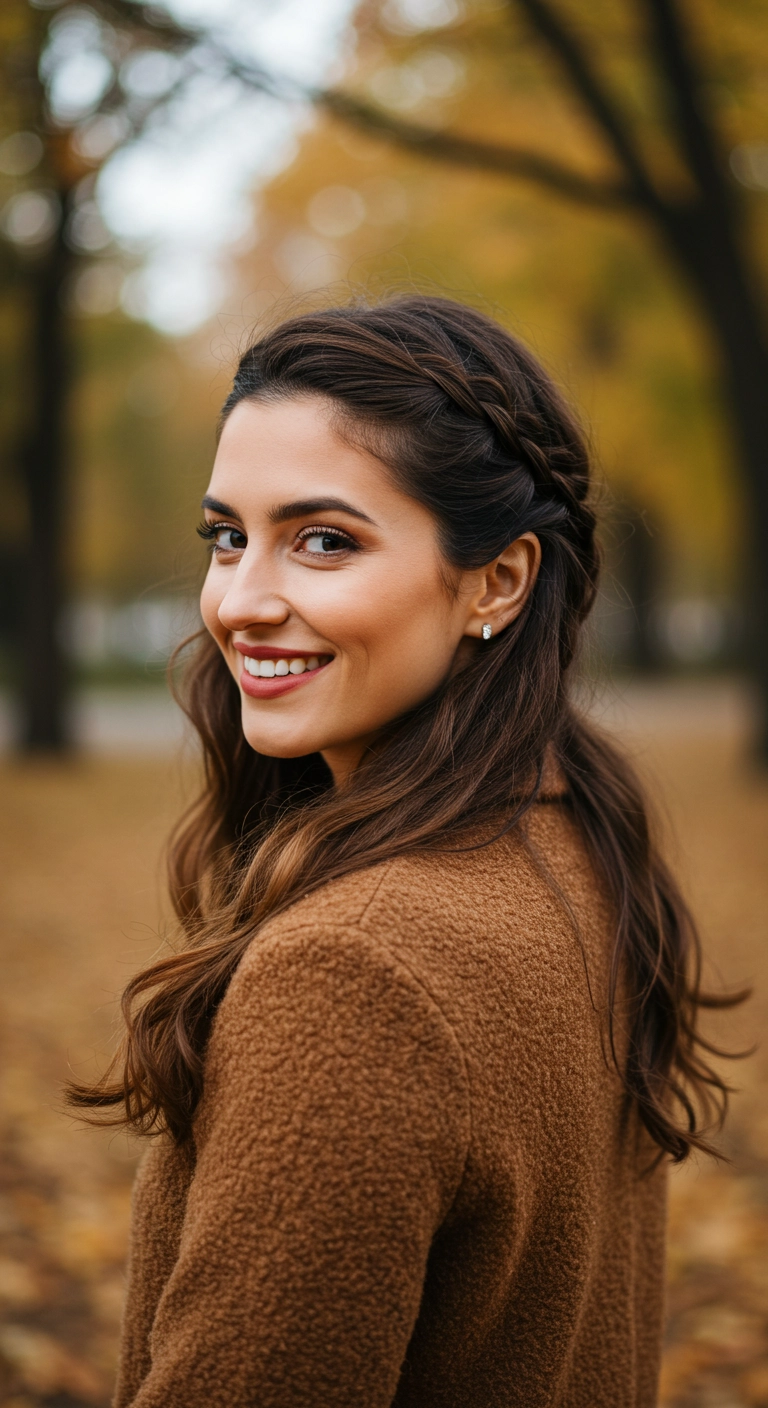
Are you searching for that effortlessly romantic autumn look that keeps hair out of your face without sacrificing length? This side-swept crown braid pinned into soft, flowing waves is absolute perfection! It feels so cozy and sweet paired with an oversized coat or knit sweater, don't you think?! You can leave the waves super loose or tighten the curls for a dressier wedding guest vibe. It's such an easy way to elevate everyday waves with just a single braid!
How to do this
1. Start with clean, detangled hair and prep the lengths using the thermal protection spray listed below before blow-drying smooth.
2. Add loose, romantic waves throughout your hair using the 1.25-inch ceramic curling wand listed below, curling away from the face and leaving the ends slightly undone.
3. Create a deep side part or slight off-center part, and section out a three-inch section of hair along the hairline on one side.
4. Begin a soft French lace braid along your crown, incorporating hair from above the ear and braiding backward toward the back of the head.
5. Secure the braid at the back of the head using the mini bobby pins listed below, tucking the ends discreetly beneath your cascading waves.
6. Gently pinch and pull the stitches of the braid to give it a relaxed, fuller look.
7. Mist lightly all over with the flexible hold finishing hairspray listed below to keep flyaways smoothed while retaining natural movement.
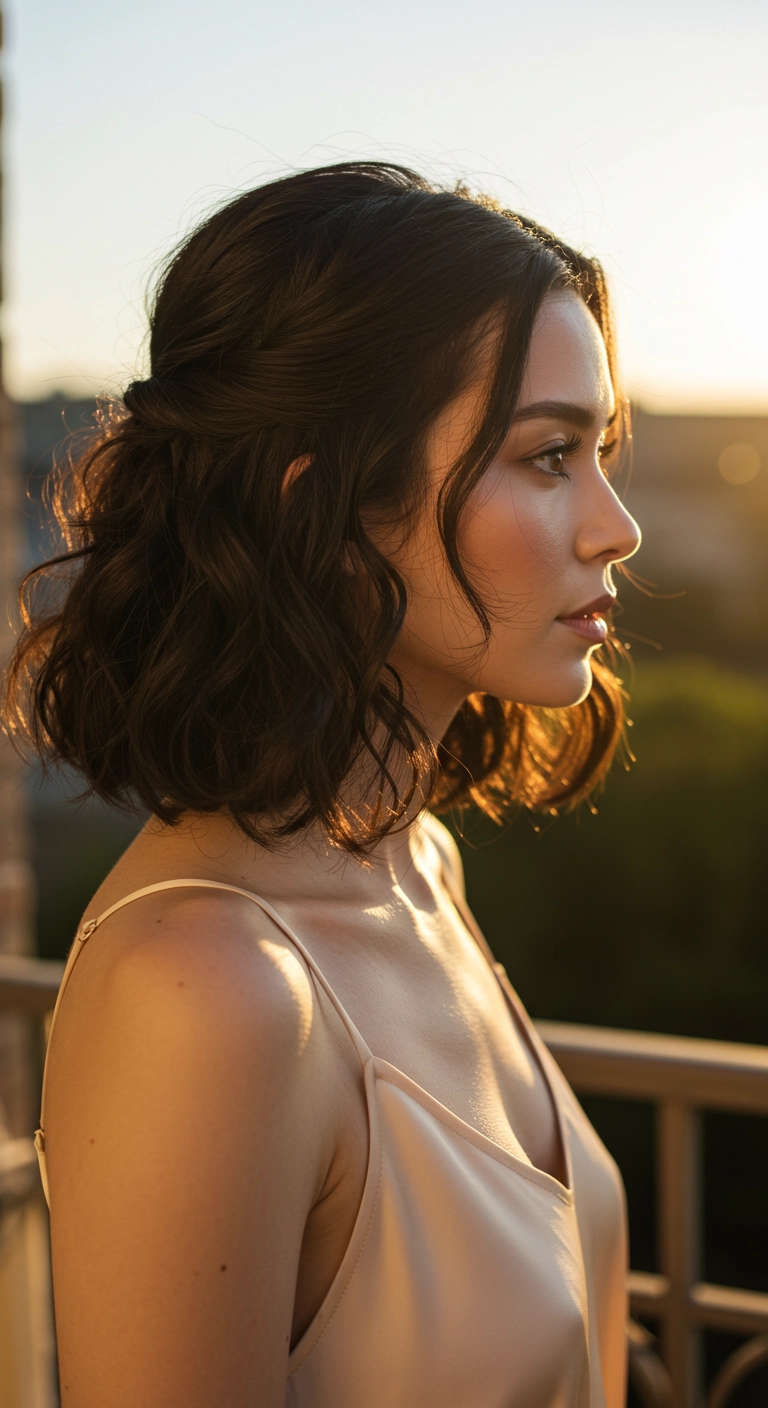
Honestly, if you have a shoulder-grazing lob and want something ultra-romantic without spending hours styling, this half-up twist is your best friend! It pulls the hair back just enough to show off your collarbones and neckline while keeping those effortless, lived-in waves front and center. Plus, those soft tendrils in front give it the dreamiest, golden-hour vibe ever!
How to do this
1. Start by prepping damp hair with the lightweight volumizing mousse listed below, working it from roots through mid-lengths for weightless body and lift.
2. Blow dry using a round ceramic brush, lifting at the roots to maximize crown volume, then lightly mist with the heat protectant spray listed below.
3. Using a 1.25-inch curling wand, wrap alternating sections away from and toward the face, leaving the very ends slightly straight to maintain that effortless lived-in lob vibe.
4. Leave out two soft, wispy tendrils right around the temples to frame the face gently.
5. Gather the top crown sections from both sides, loosely twist them backward, and secure them together at the back of your head using small bobby pins.
6. Gently pinch and pull up small pieces at the crown to give soft texture, then finish by spritzing the dry texturizing spray listed below for all-day hold and dimension.
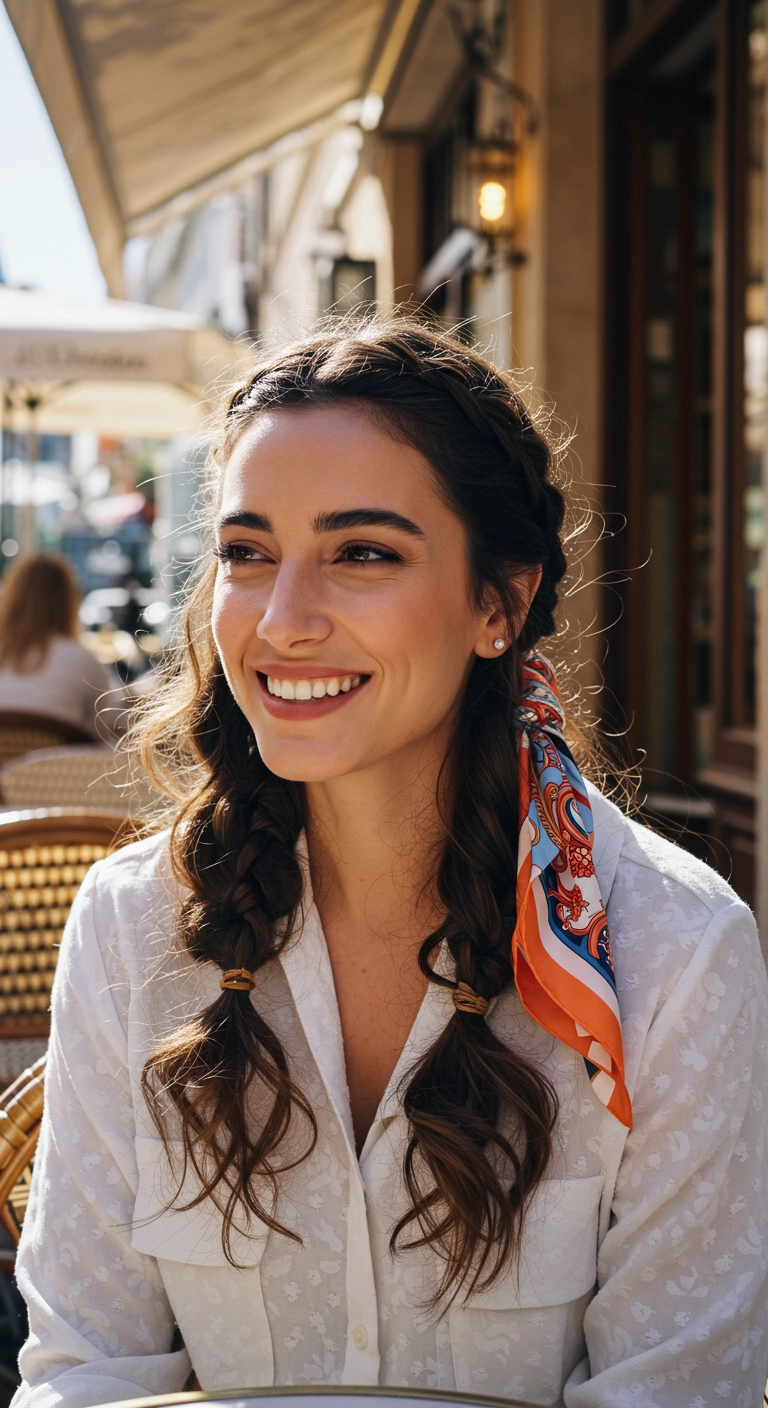
I adore this effortless vacation braid style!! Adding a bright printed scarf into soft twin Dutch braids makes such a simple look instantly chic and Parisian. Leaving the wavy ends loose gives it that romantic, carefree vibe that's just perfect for café hopping or breezy summer strolls.
How to do this
1. Start by parting your hair cleanly down the center using the tail comb listed below, dividing your hair into two equal left and right sections.
2. Prep your strands with a small amount of the smoothing styling cream listed below to tame frizz and make braiding clean and manageable.
3. On one side, begin a Dutch or French braid right along your hairline at the top front, working your way backward and down behind the ear.
4. Braid downward past your jawline until you reach around collarbone level, then secure the braid loosely using the small elastic hair bands listed below, leaving the ends loose and wavy.
5. Repeat the exact same braiding steps on the opposite side to create symmetrical twin front braids.
6. Gently pancake or tug at the edges of the braided stitches with your fingers to soften them and create a fuller, lived-in romantic look.
7. Fold your favorite silk hair scarf listed below diagonally, slide it beneath the base of one braid (or thread it gently into the upper weave), and knot it securely around the braid for an effortless European travel accent.
8. Mist the free-flowing wavy tails with the lightweight texturizing spray listed below to add soft bounce and subtle separation.
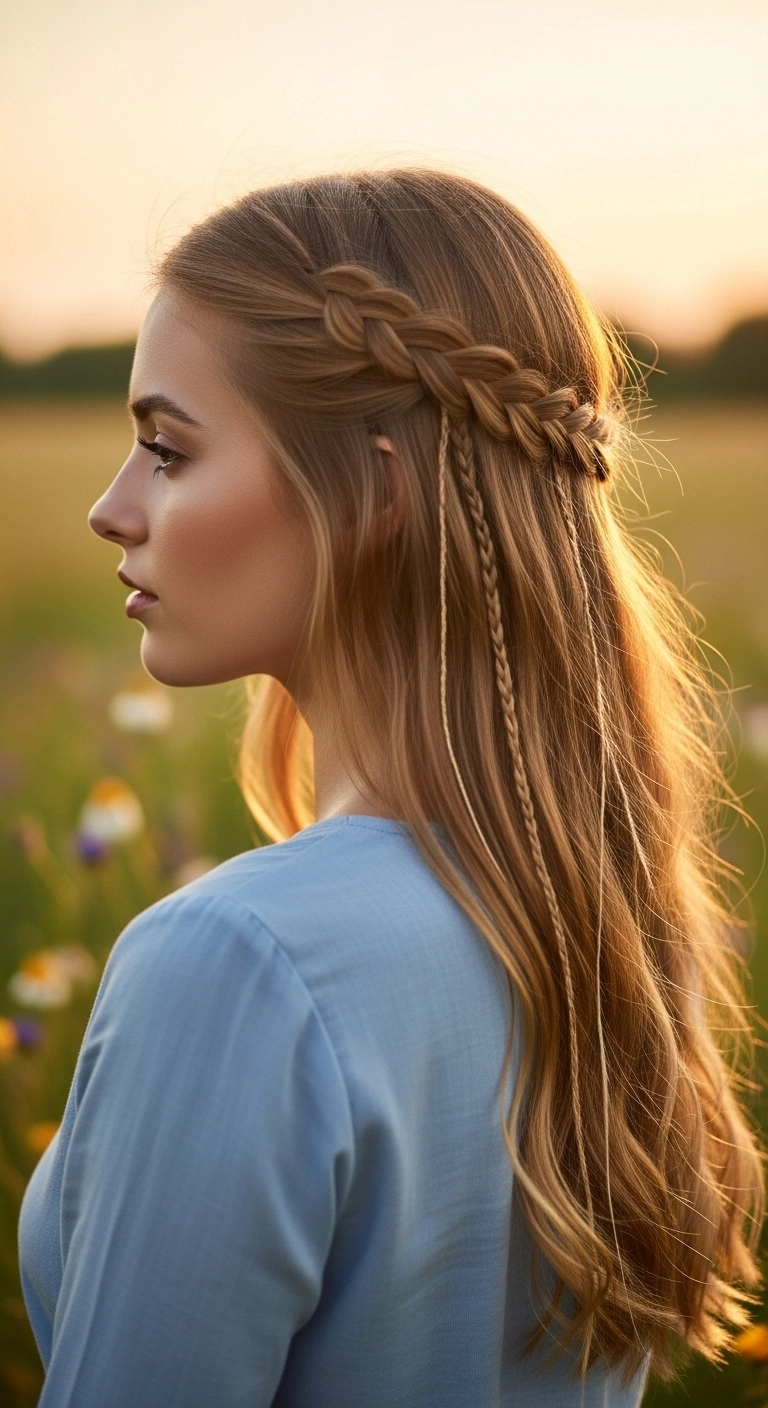
If you're looking for that effortless fairytale vibe, this is absolutely it! Combining a relaxed Dutch crown braid with whimsical micro accent plaits gives you the dreamiest festival or cottagecore look without spending hours in front of the mirror. It's simple, romantic, and works beautifully with natural golden highlights.
How to do this
1. Start with clean, dry hair and spray a light mist of the heat protectant spray with argan oil listed below before adding a soft, natural bend with a wide curling wand.
2. Create a clean side or middle part using the rat tail comb listed below, separating a three-inch section of hair along the front hairline.
3. Begin a Dutch braid along the side of the head, crossing the outer strands underneath the center strand while incorporating hair along the crown line as you move toward the back.
4. Secure the crown braid loosely at the back using one of the clear mini elastic hair ties listed below and gently pancake the stitches with your fingertips for fuller, effortless volume.
5. Beneath the main crown braid, take two small micro sections of hair and plait them into tiny three-strand accent braids, securing the ends with clear elastics.
6. Finish the look by applying a drop of the nourishing smoothing hair oil listed below to the lengths to tame flyaways, and mist all over with the flexible hold hairspray listed below to keep everything locked in place.
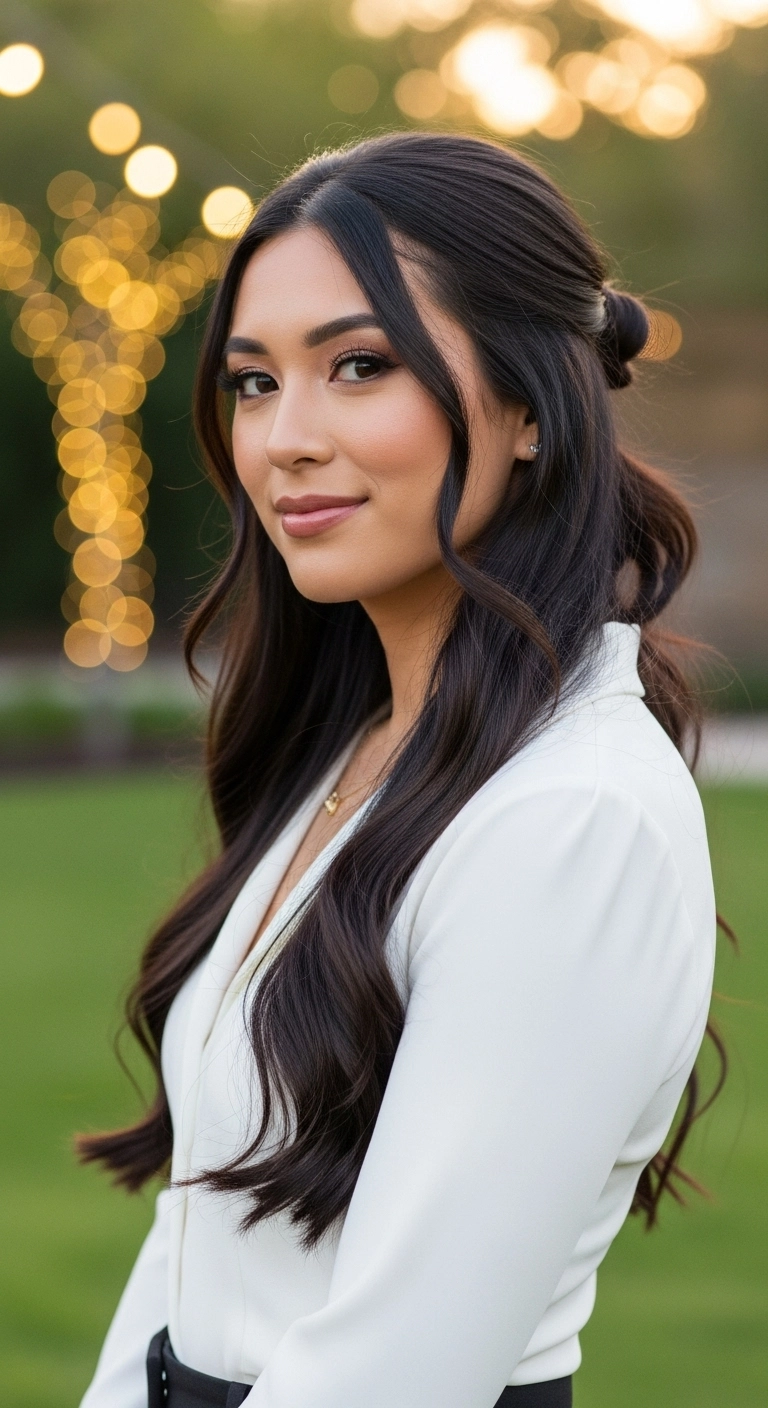
Isn’t this half-up style with soft flowing waves just so romantic and dreamy?? It’s the perfect blend of polished elegance and effortless charm, making it a go-to for weddings or formal dinner dates. What I love most is how the face-framing pieces soften the whole look and accent your cheekbones so nicely. Plus, it works wonders whether you just curled your hair or are rocking second-day waves!
How to do this
1. Start by prepping clean, dry hair with a generous mist of the heat protectant spray listed below to shield strands from hot styling tools.
2. Using a 1.25-inch curling iron listed below, wrap medium sections of hair away from your face to create soft, cascading waves through the mid-lengths and ends.
3. Define a clean middle part extending about two inches back from your forehead, leaving two front sections loose to beautifully frame your face.
4. Gather the top crown section of hair smooth and back toward the occipital bone, securing it into a mini bun or looped twist using the clear elastic hair ties listed below.
5. Secure the half-up bun in place with a few bobby pins listed below, gently loosening sections at the crown with your fingers for a soft, lifted effect.
6. Smooth over any stray flyaways on the face-framing tendrils with a drop of the lightweight hair serum listed below and mist all over with flexible-hold hairspray.
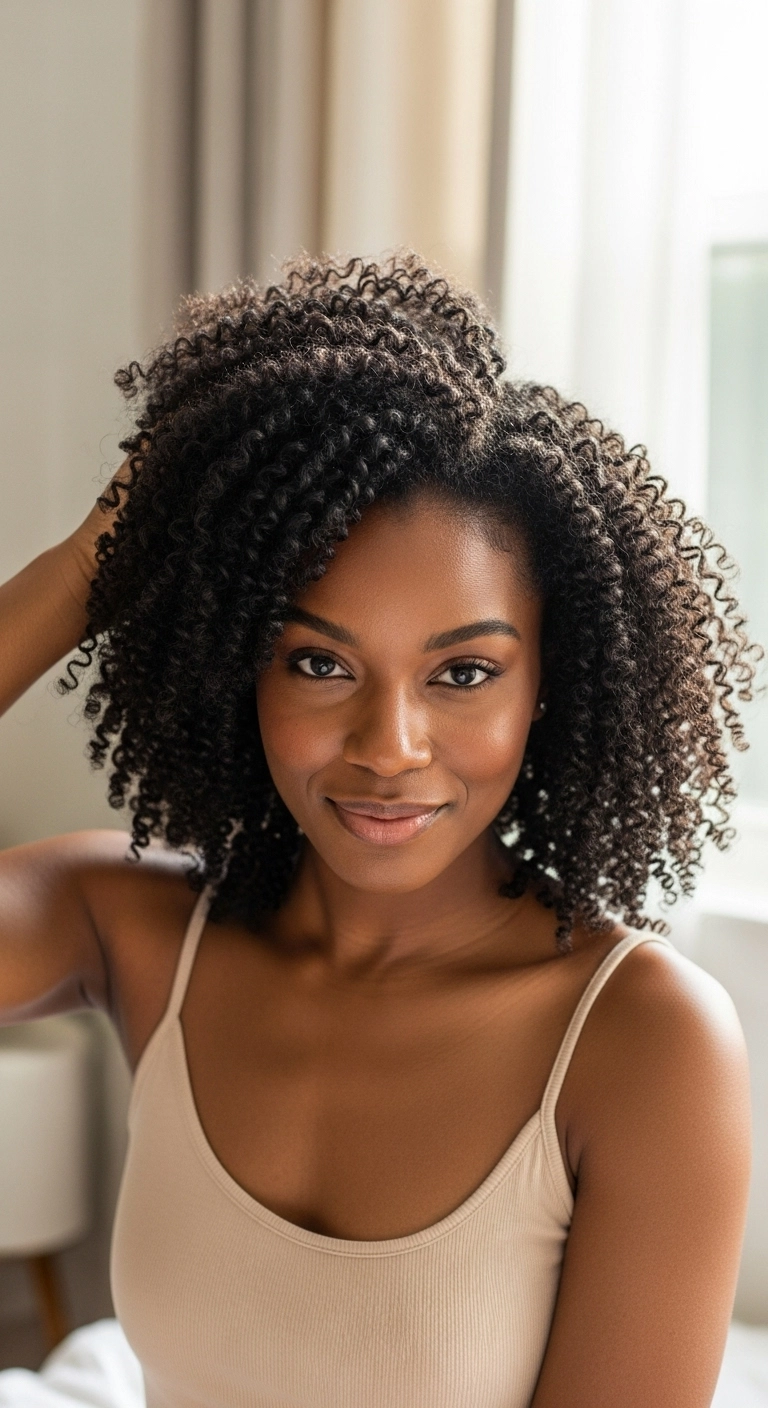
I fell in love with this shoulder-grazing curly cut because it strikes the ultimate balance between effortless everyday beauty and show-stopping bounce. Layering tight coils like this completely transforms the silhouette, letting natural volume bloom around your face without feeling heavy. It's incredibly versatile—you can rock it effortlessly for casual daytime outings or pair it with subtle glam for an evening date. If you're looking to celebrate your natural texture with major shape and definition, this cut is absolutely worth trying!
How to do this
1. Start by washing and deeply conditioning your hair on freshly cleansed curls, making sure your hair remains soaking wet for the styling process.
2. Section your curls into workable quadrants and generously work in a leave-in conditioner using the moisturizing curl leave-in cream listed below to lock in hydration.
3. Coat each section thoroughly with the curl defining styling gel listed below, smoothing the product from roots to ends with your fingers.
4. Use the flexible defining brush listed below to comb through each ribbon of hair, then gently shake each section at the root to allow your natural 3C/4A coils to spring up and clump together.
5. Gently cup and dry your coils on low heat and low air speed using the hair dryer with diffuser attachment listed below to boost volume without causing frizz.
6. Once fully dry, massage a few drops of the lightweight nourishing hair oil listed below between your palms and gently fluff your roots from underneath with your fingertips to add gorgeous fullness.
Products Used
Moisturizing Curl Leave-In Cream
moisturizing curl leave-in conditioner cream for curly hair
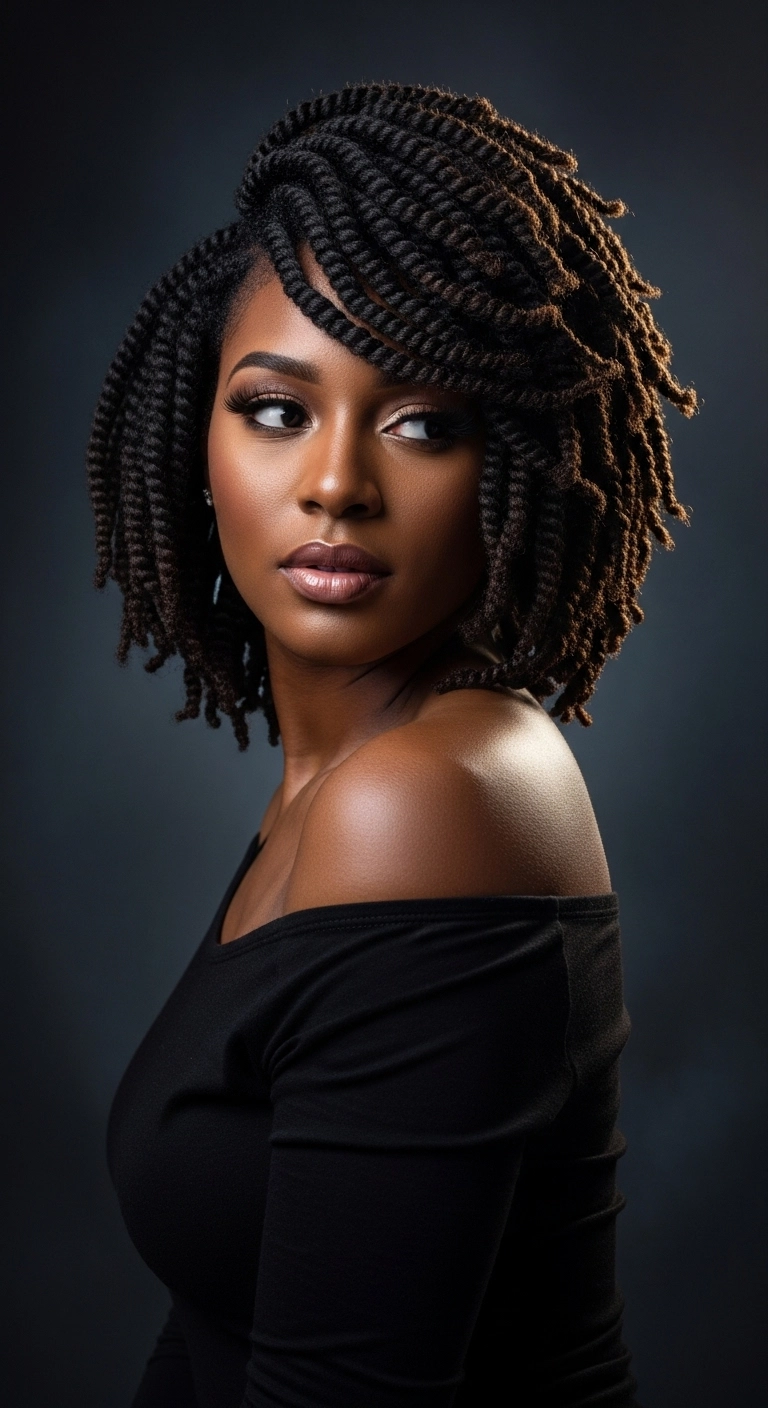
This look is all about giving classic protective twists a chic, modern silhouette. You install medium-to-thick Marley twists cut to chin and neck length to create a voluminous bob shape. Then, part it deeply to the side and drape the front twists gently across your forehead for an effortless, glamorous sweep.
How to do this
1. Start by washing and deeply conditioning your natural hair, then blow dry or stretch it using a leave-in conditioner to prep for braiding.
2. Section the hair cleanly into a dramatic deep side part using the rat tail comb listed below.
3. Working in neat grid sections, begin twisting your hair with textured synthetic hair using the marley braiding hair extensions listed below, utilizing the two-strand twist technique.
4. Keep the twists relatively chunky and uniform, ensuring the perimeter lengths are cut and sealed around chin-to-collarbone level to form a rounded, stacked bob silhouette.
5. Sweep the front top section across the forehead in an arched shape, securing subtly with the bobby pins listed below if needed to create that dramatic side-swept bang.
6. Apply a generous amount of the braid and twist setting mousse listed below all over the head, then tie down with a silk scarf to lay flyaways smooth.
7. Finish the entire style with a mist of the hydrating scalp and braid oil spray listed below to add a rich, healthy sheen.
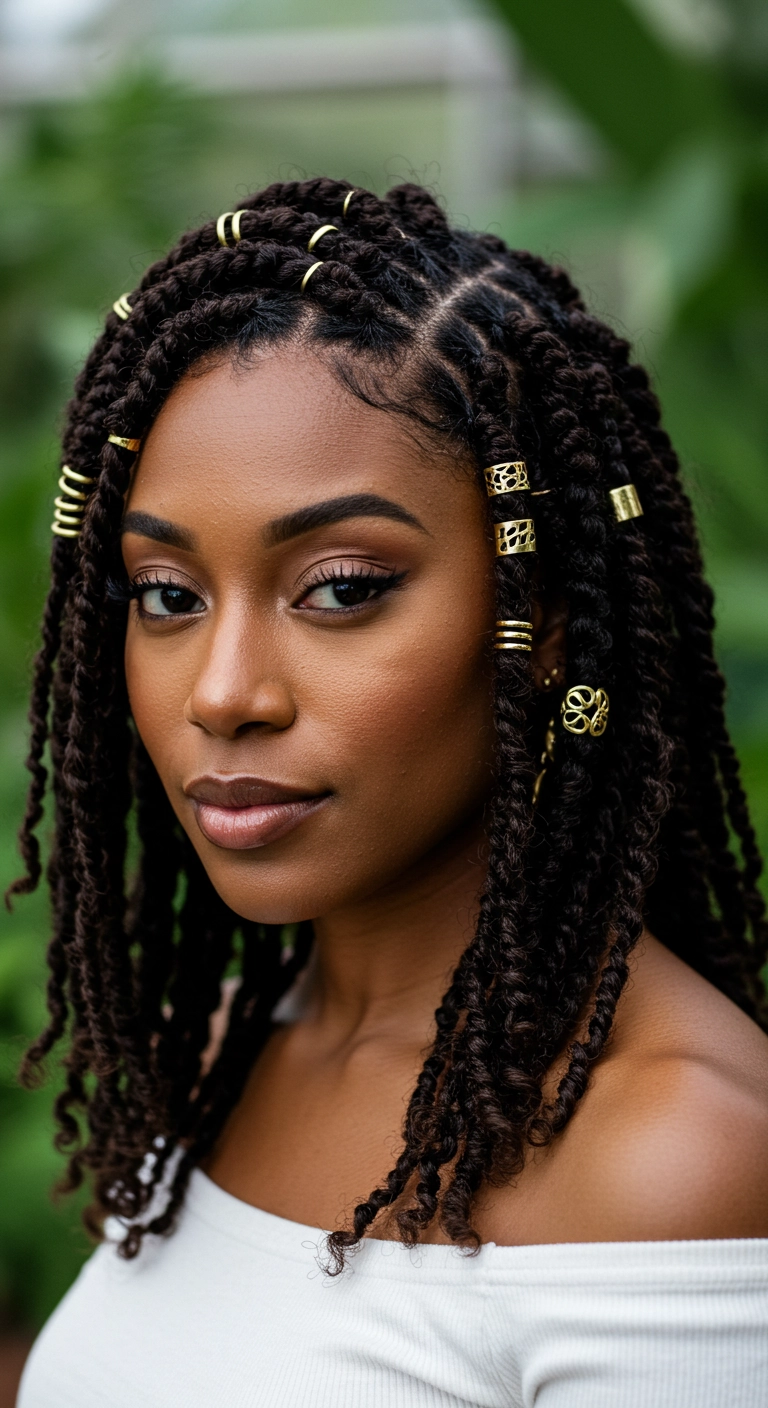
There’s really nothing better than fresh passion twists adorned with gleaming gold cuffs! I love how effortlessly this shoulder-length cut frames the face while keeping your natural hair completely protected and looking stunning.
How to do this
1. Start on clean, conditioned, and thoroughly moisturized natural hair, applying a leave-in conditioning cream to ensure your natural curls stay hydrated underneath.
2. Section your hair cleanly with a rat tail comb into neat square or rectangular boxes, applying the conditioning styling gel listed below along your parts to keep lines crisp and sleek.
3. Take your textured extension hair and begin installing two-strand twists or passion twists from root to tip, maintaining firm but gentle tension to protect your scalp.
4. Allow the ends to taper naturally or leave them slightly curled for a soft, bohemian shoulder-length silhouette.
5. Lay down your baby hairs along the hairline smoothly using an edge control brush and the maximum hold edge tamer listed below.
6. Elevate the look by gently opening and clamping the adjustable gold braid cuffs and rings listed below onto random twists framing your face for an ornate finish.
7. Finish the entire style by misting with the braid sheen and scalp hydration spray listed below to add long-lasting luster and keep your scalp feeling refreshed.
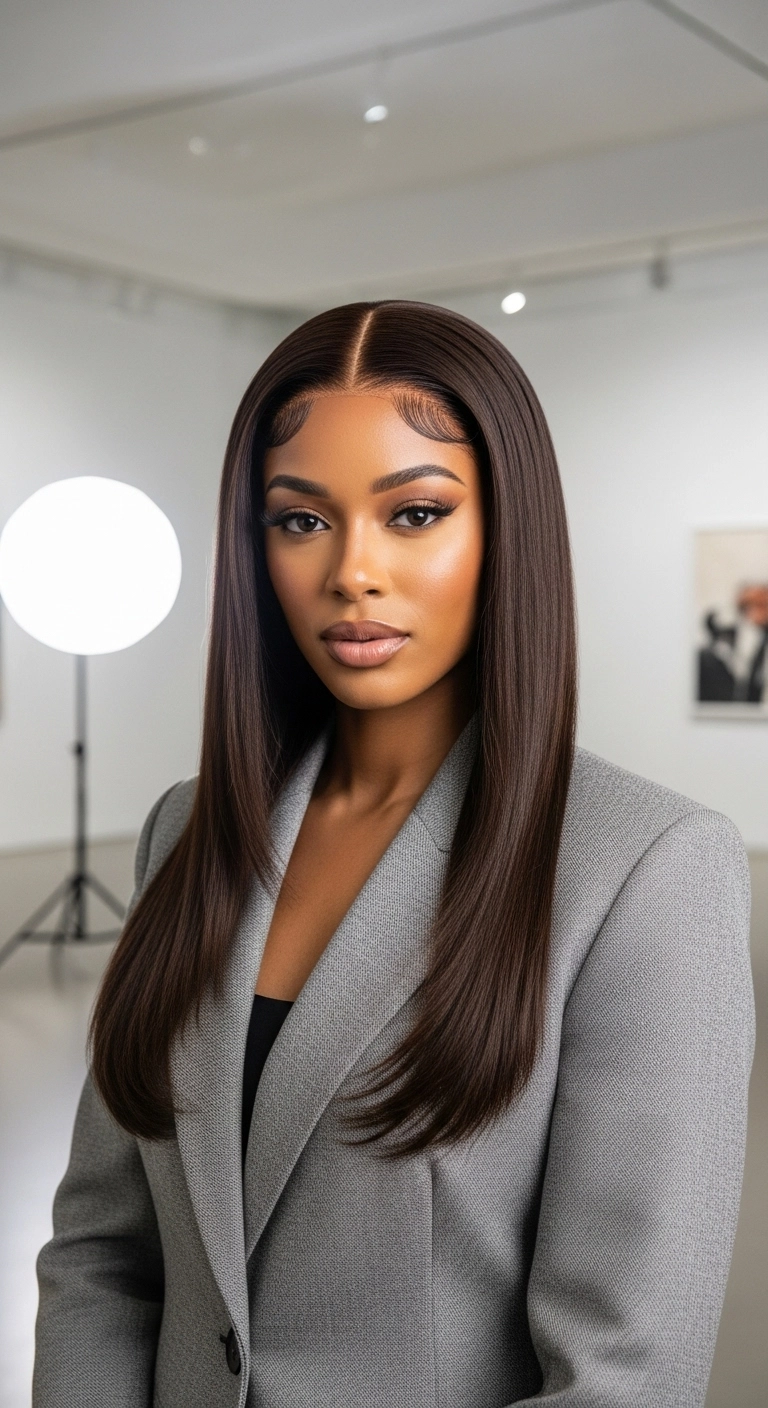
This is the ultimate powerhouse hairstyle when you want to look polished, sharp, and totally put-together. A razor-sharp center part paired with glass-smooth lengths and delicately sculpted baby hairs turns a classic straight look into pure luxury.
How to do this
1. Prep dry, clean hair or a high-quality human hair lace wig with a generous mist of the heat protectant spray listed below to shield strands from high heat.
2. Use the rat tail comb listed below to carve out an ultra-precise, razor-sharp center part straight back from the forehead.
3. Section the hair into 1-inch horizontal rows and smoothly pass the titanium flat iron listed below down each section using the chase method with a fine comb for that glassy, pin-straight finish.
4. Apply a small amount of the edge control gel listed below along the hairline, then use the double-sided edge styling brush listed below to swirl and sculpt the baby hairs into sleek, curved swoops against the forehead.
5. Finish the entire look with a light mist of the shine spray listed below to tame any stray flyaways and add an incredible mirror-like gloss.
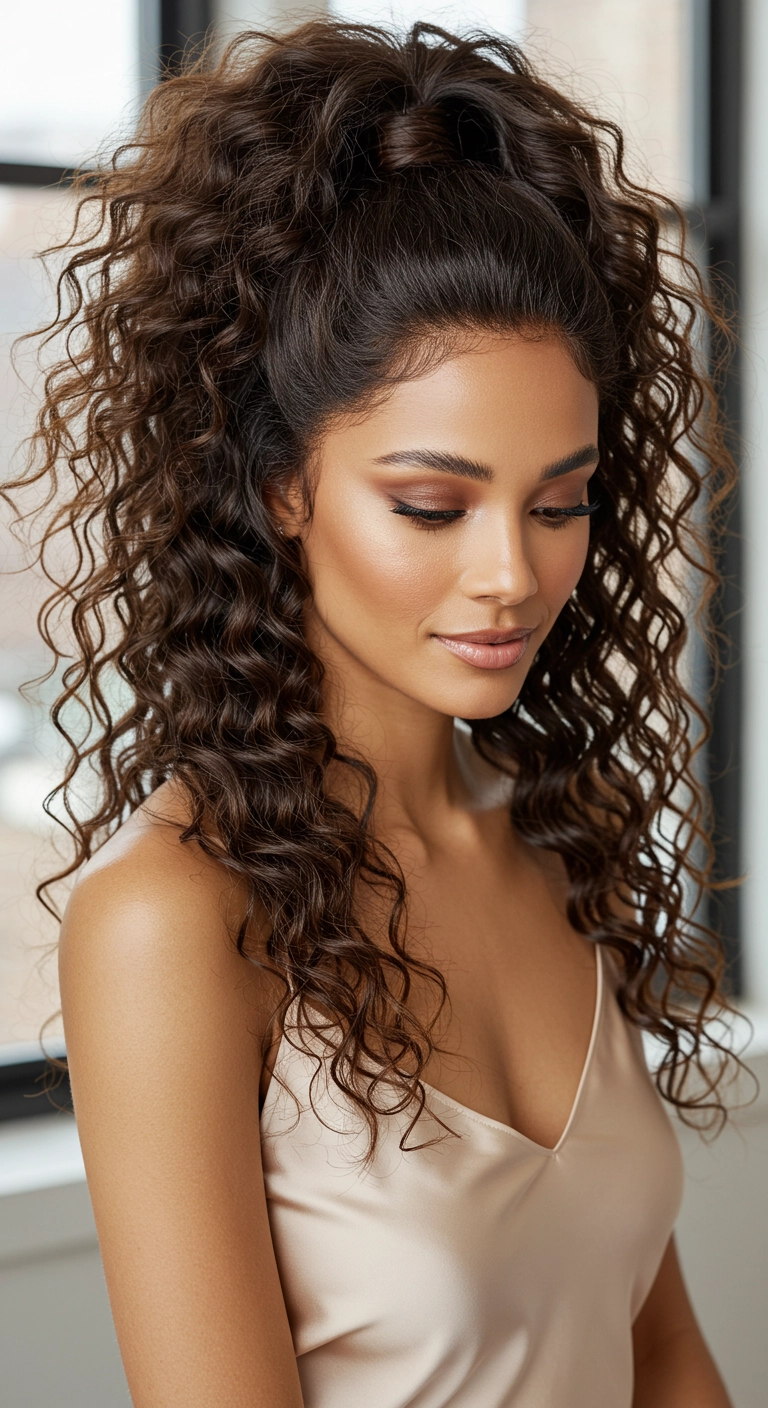
Can we just talk about how much fun a super snatched high half-up ponytail is on gorgeous curly hair?! I am completely obsessed with this look because it gives you the best of both worlds: that sleek, lifted face-framing effect on top while letting your natural, bouncy spirals cascade freely down your shoulders. It feels so glamorous yet effortlessly playful, don't you think? Whether you're heading to a party, a chic dinner date, or just want to feel extra cute on a regular day, this hairstyle brings instant drama and confidence.
How to do this
1. Start by prepping freshly washed, damp curls with a curl-defining leave-in cream and curl mousse to lock in hydration and bounce.
2. Diffuse upside down using a blow dryer with a diffuser attachment, or let curls air dry completely to avoid unwanted frizz.
3. Section off the top crown and front perimeter of your hair from just above the ears up, keeping the bottom curls untouched.
4. Smooth the top section cleanly upward towards the crown using an edge control styling brush and a touch of hair gel to achieve that sleek, snatch effect.
5. Secure this high ponytail tightly with a snag-free hair elastic.
6. Take a small, pencil-thin strand of hair from underneath the ponytail, wrap it cleanly around the elastic band to hide it, and pin it securely underneath with a bobby pin.
7. Touch up any looser ringlets using a 1/2-inch to 3/4-inch curling wand, wrapping strands alternating directions for natural volume.
8. Mist all over with a lightweight curl shine spray and a touch of flexible hold hairspray to keep flyaways at bay all day long.
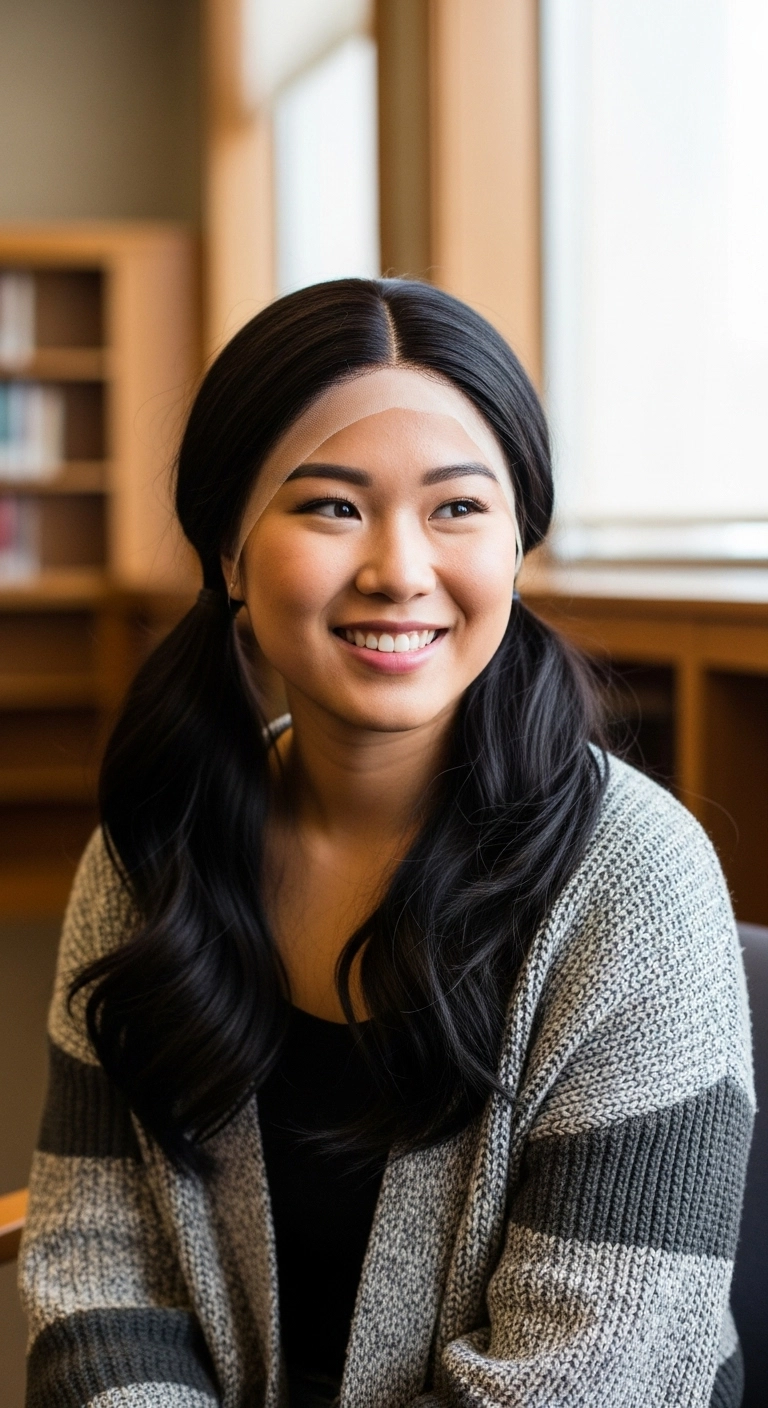
I think low pigtails like this are just the sweetest everyday look, especially with loose waves! They keep your hair out of your face while still showing off your length and texture. It feels super youthful, playful, and totally effortless to throw together in five minutes!
How to do this
1. Prep the hair or wig by applying a heat protectant spray listed below evenly across all strands before heat styling.
2. Use a large barrel curling iron to create soft, relaxed waves through the mid-lengths and ends, making sure to curl away from the face.
3. Create a clean, straight center part down the middle of the scalp using a fine-tooth rat tail comb listed below.
4. Smooth down the crown and front sides with a lightweight styling wax stick listed below to tame any flyaways and keep the root area sleek.
5. Divide the hair into two even sections at the nape of the neck behind each ear.
6. Gather each side into a low pigtail just below the earlobes and secure firmly with clear elastic hair ties listed below.
7. Gently brush through the ponytail lengths with a paddle brush to soften the curls into bouncy waves, finishing with a mist of light hold flexible hairspray listed below.
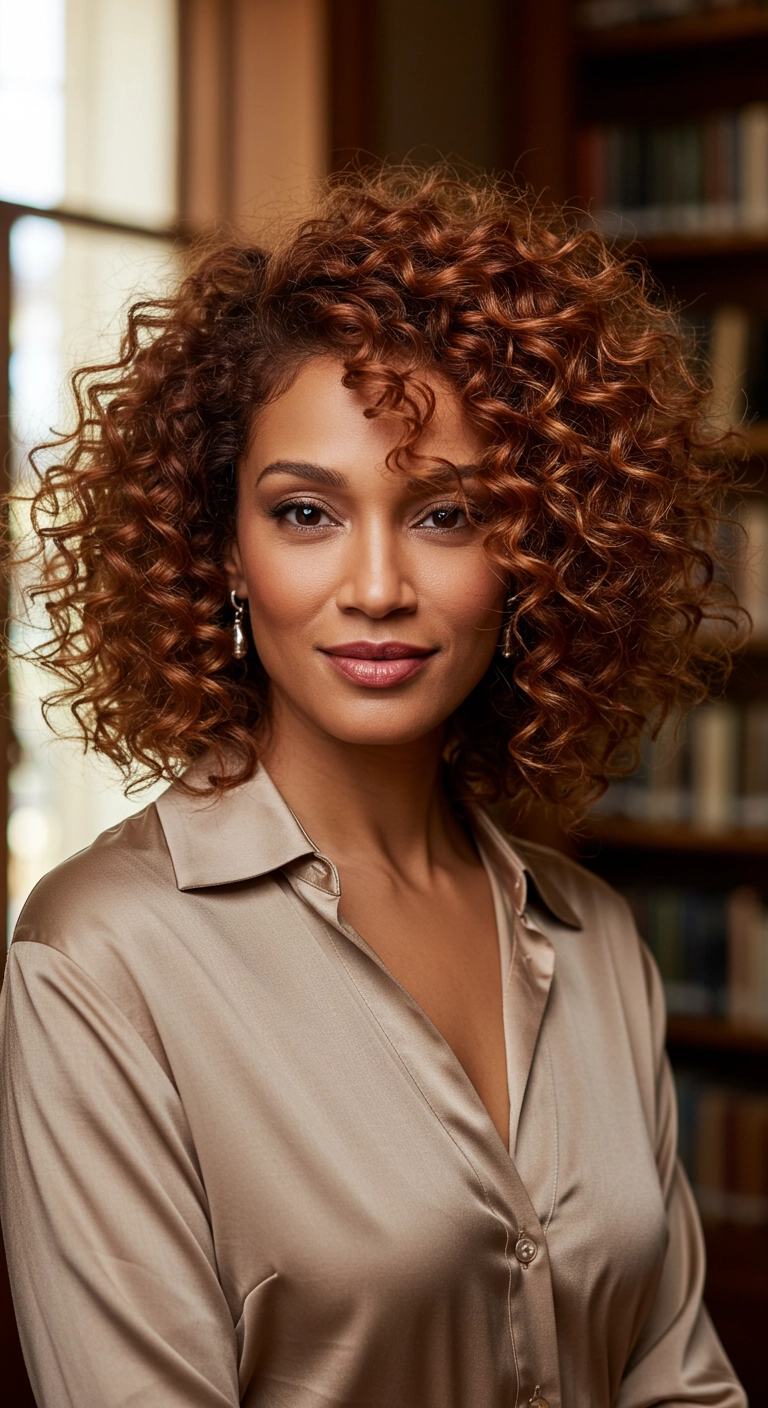
Thinking about giving your natural curls a gorgeous, spicy makeover? This rich copper-auburn layered bob delivers unbelievable bounce, dimension, and volume all at once. Plus, flipping it over to a deep side part adds instant glam that works effortlessly from the boardroom to date night. Who doesn’t love head-turning curls with this much life?
How to do this
1. Start on freshly cleansed and wet hair, applying a generous amount of the hydrating curl leave-in conditioner listed below to lock in base moisture.
2. Rake through sections with the curl defining cream listed below to provide soft hold, clumps, and springy curl definition.
3. Use the micro-fiber hair towel listed below to gently scrunch out excess water without causing surface friction or frizz.
4. Attach the universal hair diffuser attachment listed below to your blow dryer, tipping your head side to side to dry curls on low speed and medium heat until about 90% dry.
5. Flip your hair over to one side to create that dramatic, voluminous side sweep, and pick lightly at the roots using the wide-tooth styling pick listed below to amplify body.
6. Break any remaining crunchy cast and seal in incredible gloss by scrunching a few drops of the nourishing lightweight hair oil listed below through the ends.
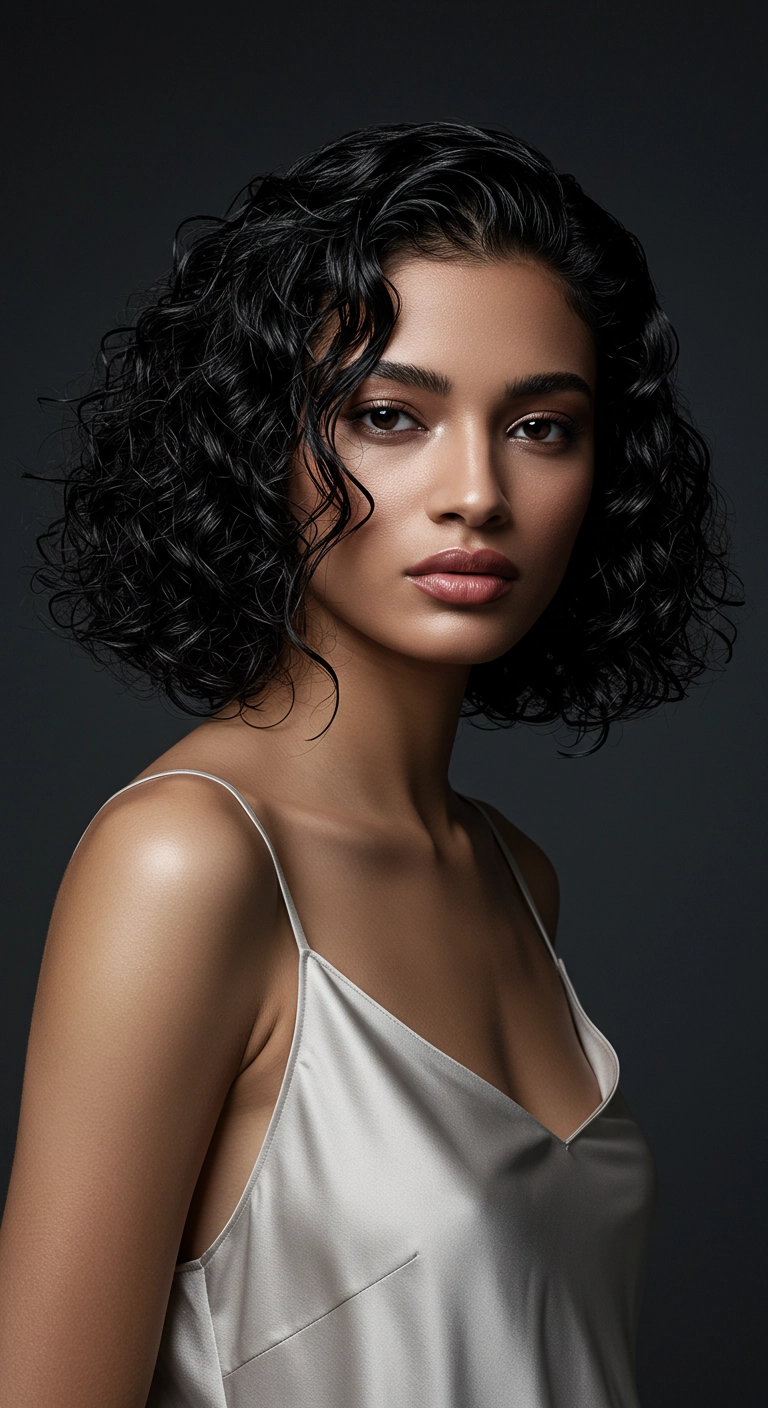
If you want a haircut that feels effortless yet completely elevated, this glossy curly bob is literally everything! It gives your natural curls so much bounce and shape without feeling heavy, and those little loose tendrils in the front frame the cheekbones so nicely.
How to do this
1. Start on freshly cleansed, damp hair and detangle gently from ends to roots using the wide-tooth comb listed below.
2. Rake a generous amount of the curl defining cream listed below evenly through mid-lengths and ends to lock in hydration and reduce frizz.
3. Apply the lightweight curl defining styling gel listed below using praying-hands motions, then gently scrunch upwards to encourage bounce and natural curl formation.
4. Create an effortless side part, releasing a few face-framing tendrils along the front to soften the jawline.
5. Attach the universal hair diffuser listed below to your hair dryer and dry curls on low heat, cupping sections without touching them to maintain definition.
6. Once fully dry, scrunch out any gel cast with a few drops of the high-shine lightweight hair oil listed below for glossy, touchable texture.
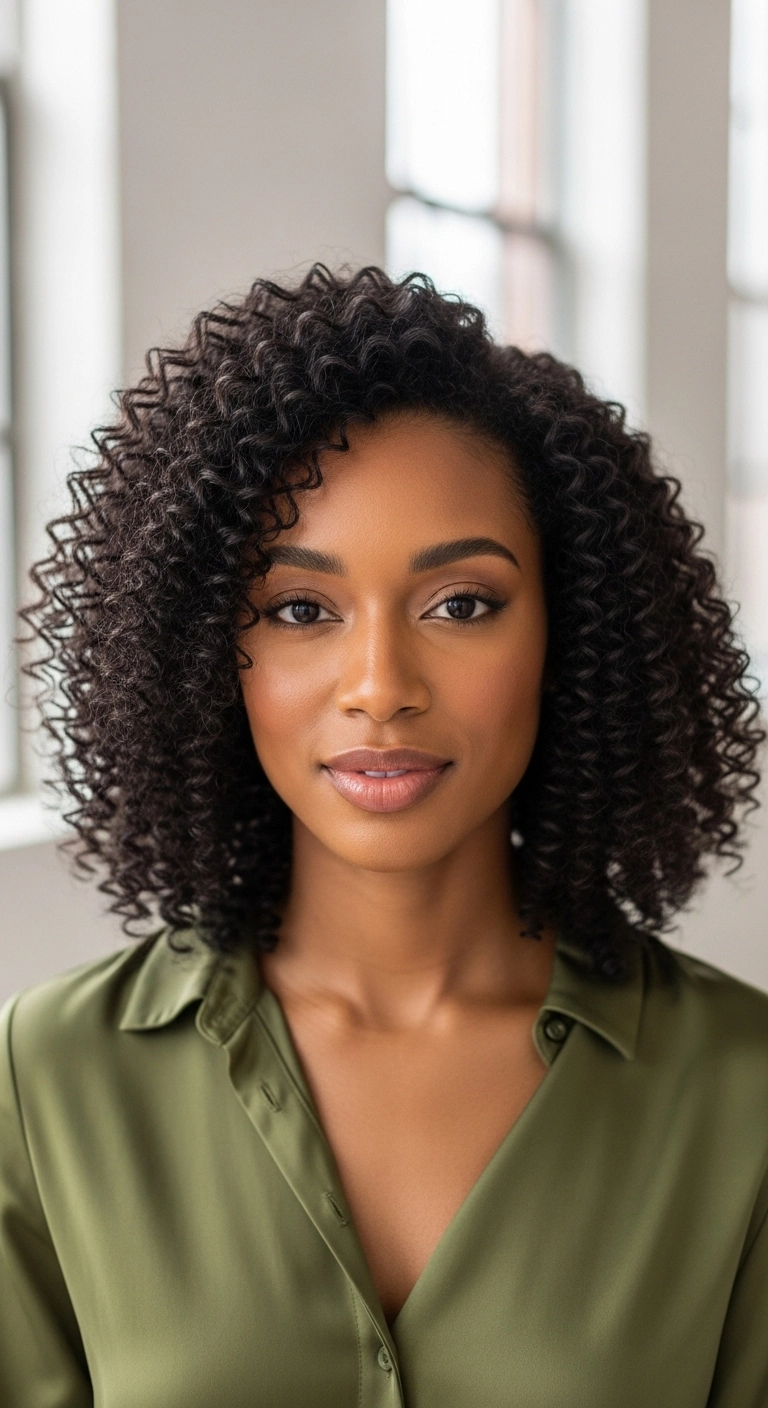
I love this voluminous curly lob so much! The springy, well-defined coils give it such incredible shape and bounce, and the subtle off-center part frames the face so gracefully. It's the perfect chic, polished style for anyone rocking natural texture at collarbone length.
How to do this
1. Start on freshly cleansed, thoroughly conditioned wet hair to ensure optimal moisture for defined ringlets.
2. Section your hair into manageable quadrants and work in a generous amount of the curl defining cream listed below from roots to ends.
3. Use the wide-tooth detangling comb listed below to thoroughly distribute the product and detangle each section smoothly.
4. For ultra-defined coils, apply a small amount of the light-hold styling gel listed below and use a finger-coiling technique or shingling method on small sub-sections.
5. Flip your head forward gently and attach the hair diffuser attachment for blow dryer listed below on low heat and low speed to dry without disrupting the curl pattern.
6. Once 100% dry, add a few drops of the nourishing jojoba hair oil listed below to your palms and gently scrunch your curls to break the gel cast and add brilliant shine.
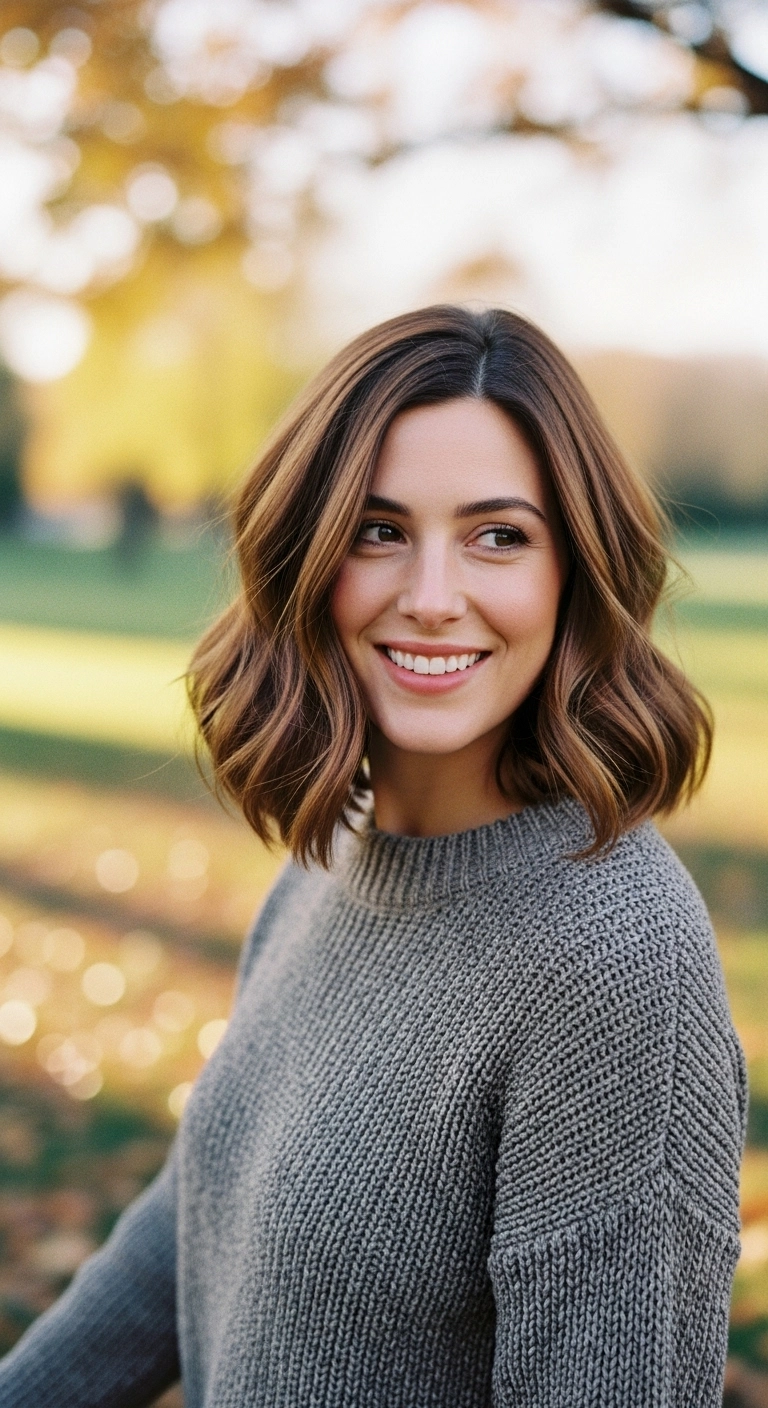
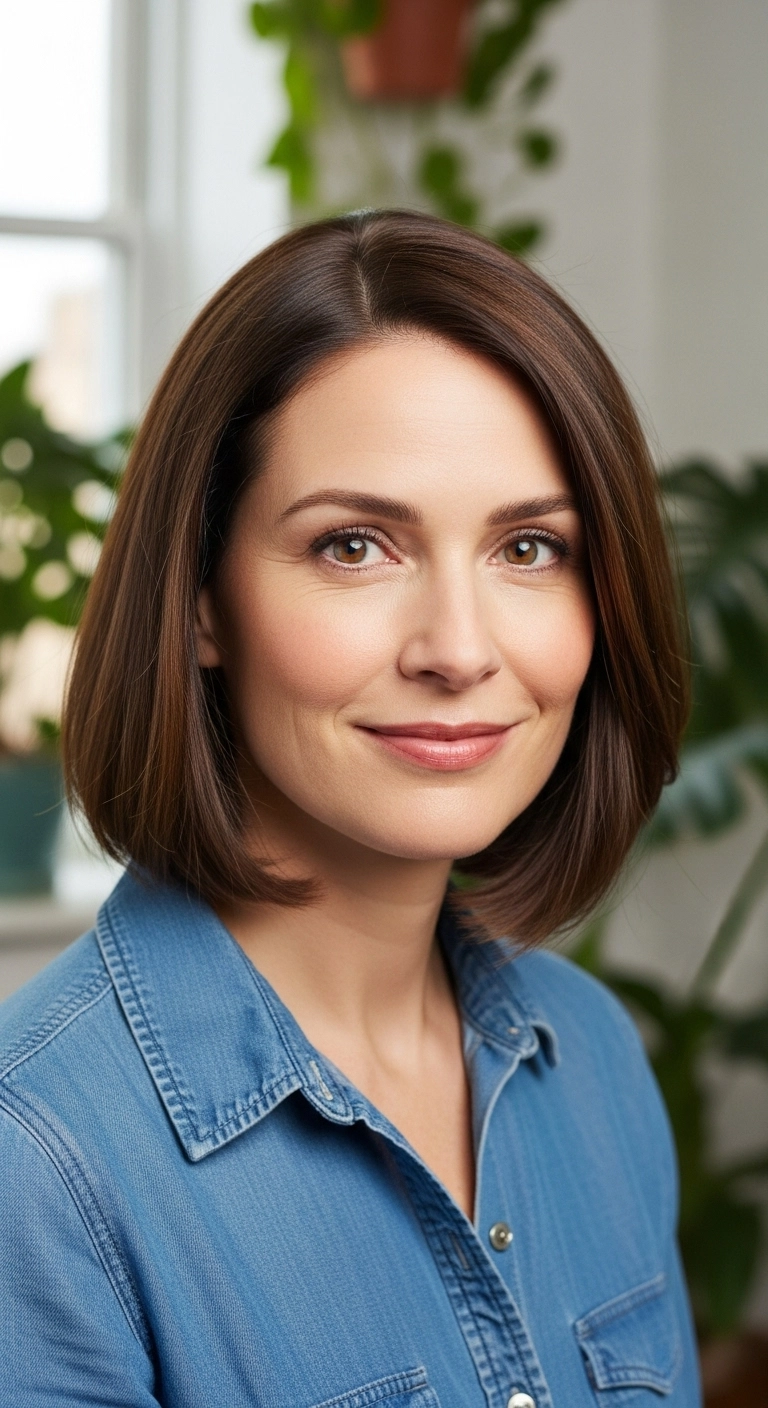
This hairstyle is what I like to call the perfect everyday autumn lob. You start with a collarbone-grazing blunt cut layered subtly for effortless movement, paired with soft caramel highlights melted over a rich brunette base. Add a few loose bends with a curling wand away from your face and shake it out with your fingers for an effortlessly polished look.
How to do this
1. Start by prepping freshly washed, damp hair with the heat protectant spray listed below to shield strands and add a lightweight foundation.
2. Apply a dollop of the volumizing styling mousse listed below right at the roots and mid-lengths to ensure your lob maintains bounce and body throughout the day.
3. Blow-dry using a round ceramic brush, lifting at the roots to create natural volume, and smooth down the cuticle toward the ends.
4. Section off your hair and use the 1.25-inch ceramic curling iron listed below to add soft, loose bends. Wrap vertical 1-to-2 inch sections away from your face, leaving the very bottom inch out for a modern, relaxed finish.
5. Allow curls to cool completely, then mist generously with the dry texturizing spray listed below to break up the shape and provide airy separation.
6. Gently rake your fingers through the waves to blend them together into smooth S-bends.
7. Finish the look by smoothing a couple of drops of the lightweight shine hair oil listed below through the tips for a glossy, healthy autumn glow.
I think the absolute best way to bring out the life in spiral curls is cutting rounded, soft layers so your hair never gets that dreaded heavy pyramid look. Adding warm honey balayage ribbons gives every ringlet dimension, especially when the light hits. You can rock this deep side part for extra root volume or sweep it half-up when you want an effortless, everyday look!
How to do this
1. Start on freshly cleansed, dripping-wet curls after washing with a hydrating curl shampoo and conditioner.
2. Rake a generous amount of the leave-in curl cream listed below through your mid-lengths and ends to lock in hydration and prevent frizz.
3. Section the hair and use the defining curl gel listed below, applying it with the praying-hands method to coat every section evenly.
4. Gently scrunch your curls upward toward the scalp using a microfiber towel to encourage natural ringlet formation and remove excess water.
5. Flip your head upside down and use a hair dryer with the diffuser attachment listed below on low speed and medium heat, gently cupping sections without touching them too much.
6. Once the curls are 100% dry and a slight cast has formed, smooth 2-3 drops of the lightweight hair oil listed below between your palms and gently scrunch out the crunch to reveal soft, bouncy, defined volume.
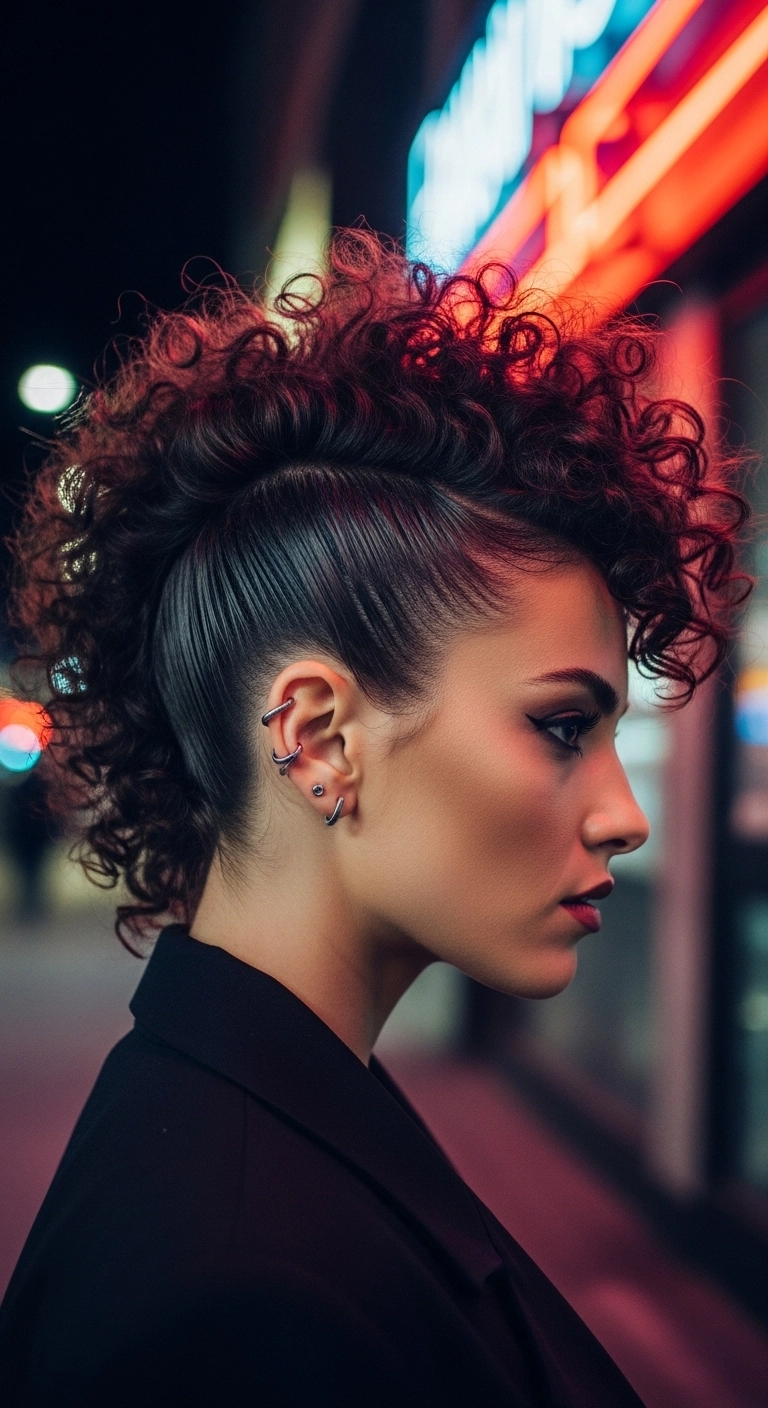
Whenever I want to show off my curls but also crave a bold, rockstar vibe, this faux hawk is my absolute go-to!! It gives you that ultra-sleek, snatched contrast on the sides while letting your natural curl texture explode along the top and drape forward like effortless bangs.
How to do this
1. Start on freshly washed, damp curls and apply a generous amount of curl defining styling cream to enhance spiral definition and lock in moisture.
2. Use a diffuser attachment on low heat to dry your curls completely without creating unwanted frizz, keeping that bounciness intact.
3. Section off the top center crest of hair from the forehead down to the nape, clipping it out of the way for now.
4. Apply strong-hold edge styling pomade to the sides and use a boar bristle smoothing brush to slick each side tightly upward toward the center.
5. Secure the slicked side sections firmly along the center crest using bobby pins that match your natural hair color, crisscrossing them for maximum grip.
6. Unclip the top section, shake out the curls, and gently arrange a few spiraled pieces to tumble over your forehead as face-framing curly bangs.
7. Mist everything with a flexible hold hairspray and a touch of hair shine mist for that sleek, glossy contrast against the bouncy curls.
Looking for the ultimate fun festival hairstyle that embraces your natural curls? These messy curly space buns paired with soft face-framing fringe are effortless, bouncy, and totally carefree. It keeps your hair up and cool while looking incredibly cute from every single angle.
How to do this
1. Start on freshly washed, damp curls and apply a curl defining cream listed below from roots to ends to enhance definition and minimize frizz.
2. Gently scrunch your hair and diffuse using the curl diffuser attachment listed below on low heat until your curls are completely dry and bouncy.
3. Separate out your front bangs and a few tendrils around your ears and temples to softly frame your face.
4. Part your hair down the center into two equal sections, gathering each half high up on the crown with hair ties.
5. Twist and loosely wrap each ponytail around its base into a fluffy, textured space bun, pinning each in place with bobby pins.
6. Define your curly bangs and tendrils using a drop of hair oil listed below, then lightly mist all over with flexible hold hairspray to keep the buns secure through festival fun.
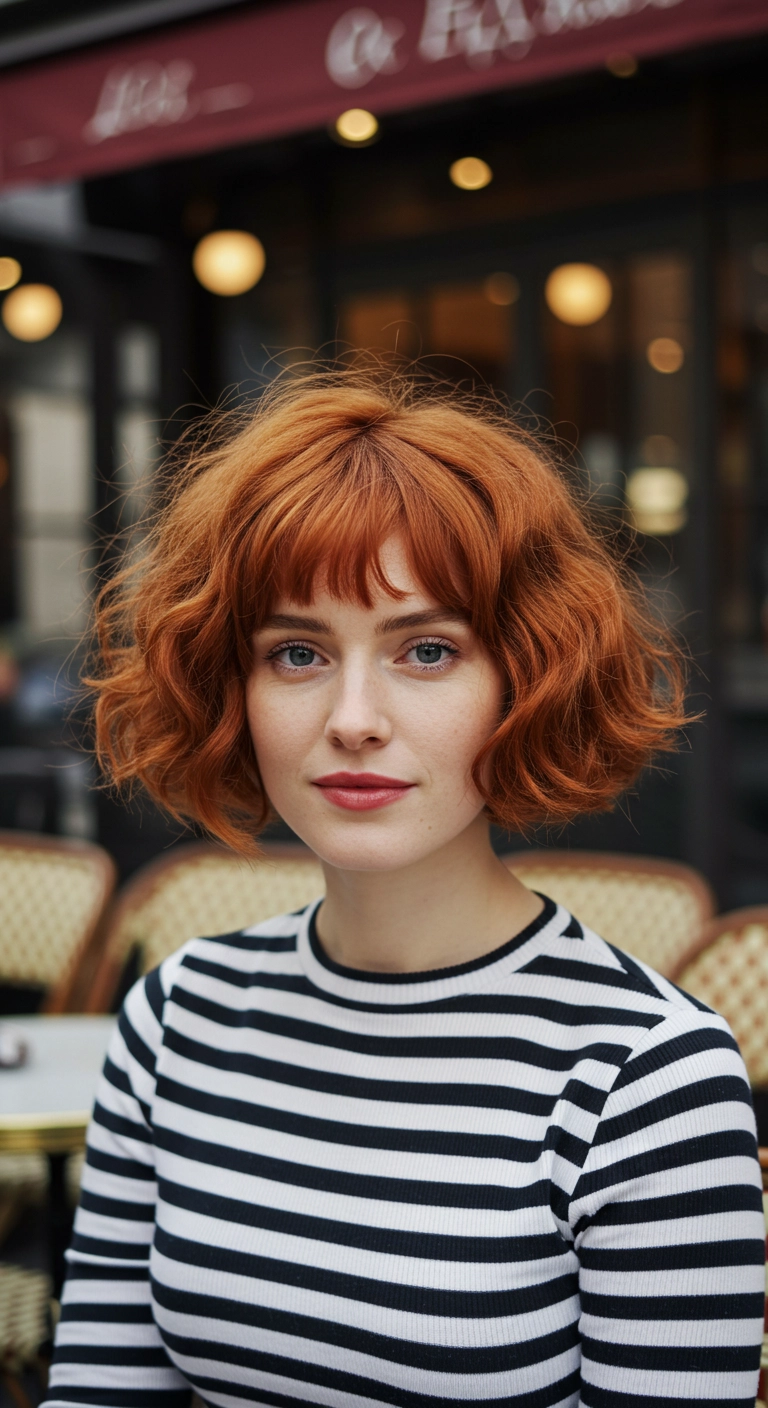
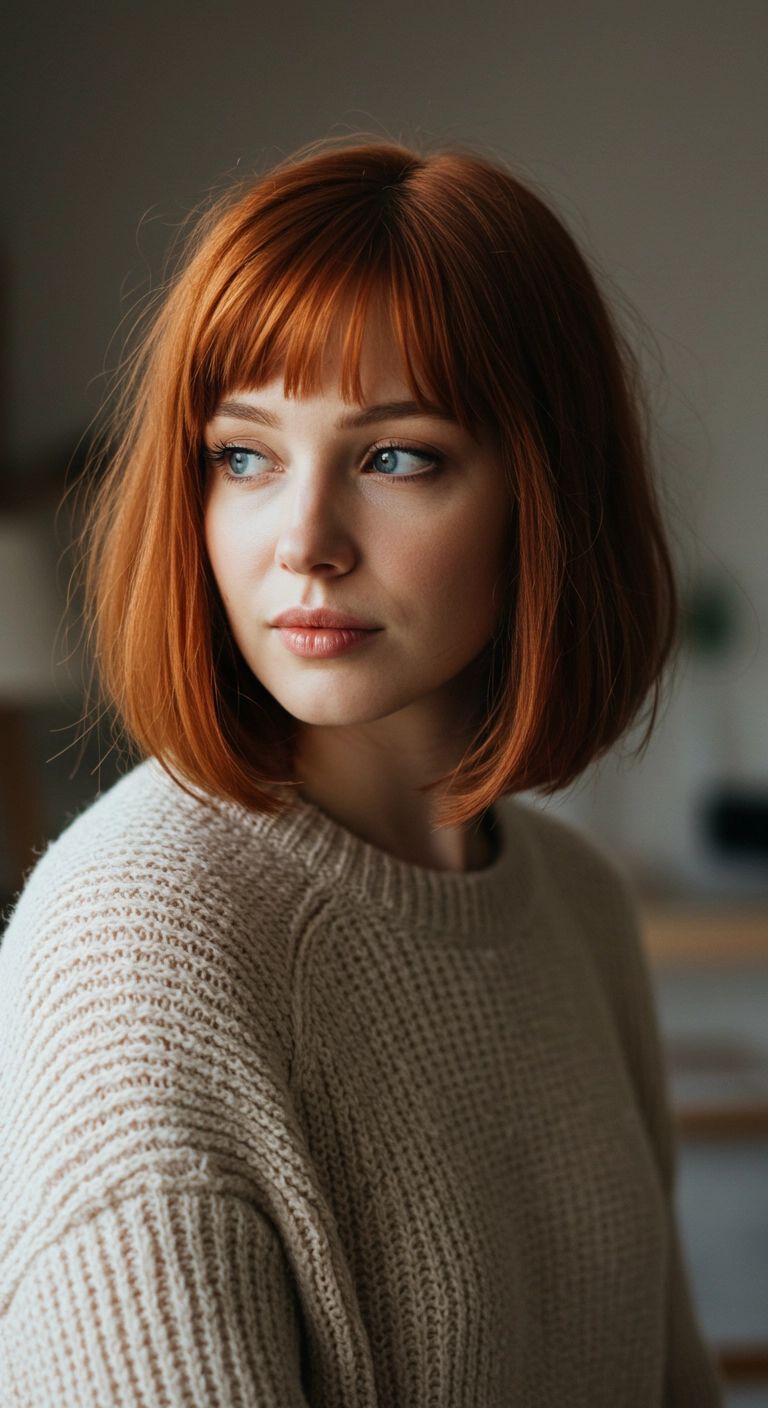
This look is the definition of effortless Parisian charm. It pairs a chin-grazing bob with tousled, textured waves and a soft fringe that frames the brows beautifully. The vibrant copper shade brings tons of warmth and personality, making it a dream cut if you want something playful, classic, and easy to style.
How to do this
1. Start by prepping freshly washed, towel-dried hair with a lightweight volumizing mousse to create body and hold for your waves.
2. Blow-dry the bangs forward with a small round brush, curving them slightly under to give that soft French fringe shape.
3. Rough-dry the rest of the hair with a diffuser or gently rough-dry using your fingers to preserve your natural texture.
4. Protect your strands by lightly misting with the thermal heat protectant spray listed below before adding heat.
5. Use a 1-inch curling wand or iron, wrapping random 1-to-2-inch sections away from and toward the face to create loose, undulating S-waves, leaving the bottom ends slightly uncurled for a modern finish.
6. Once the hair has completely cooled, break up the wave patterns using your fingers and spritz with the dry texturizing spray listed below to add fullness and that lived-in texture.
7. Finish by touching a tiny drop of nourishing hair oil through the ends for shine and separation.
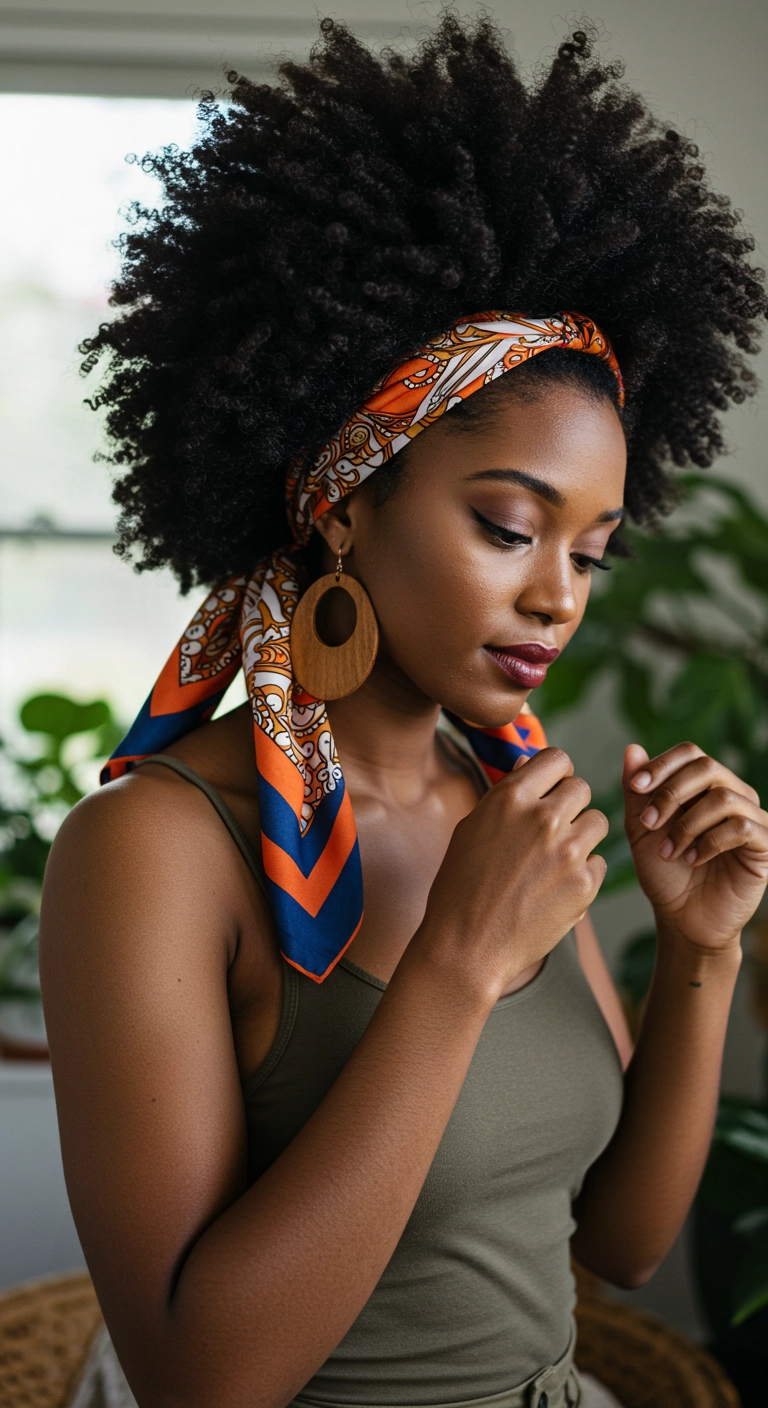
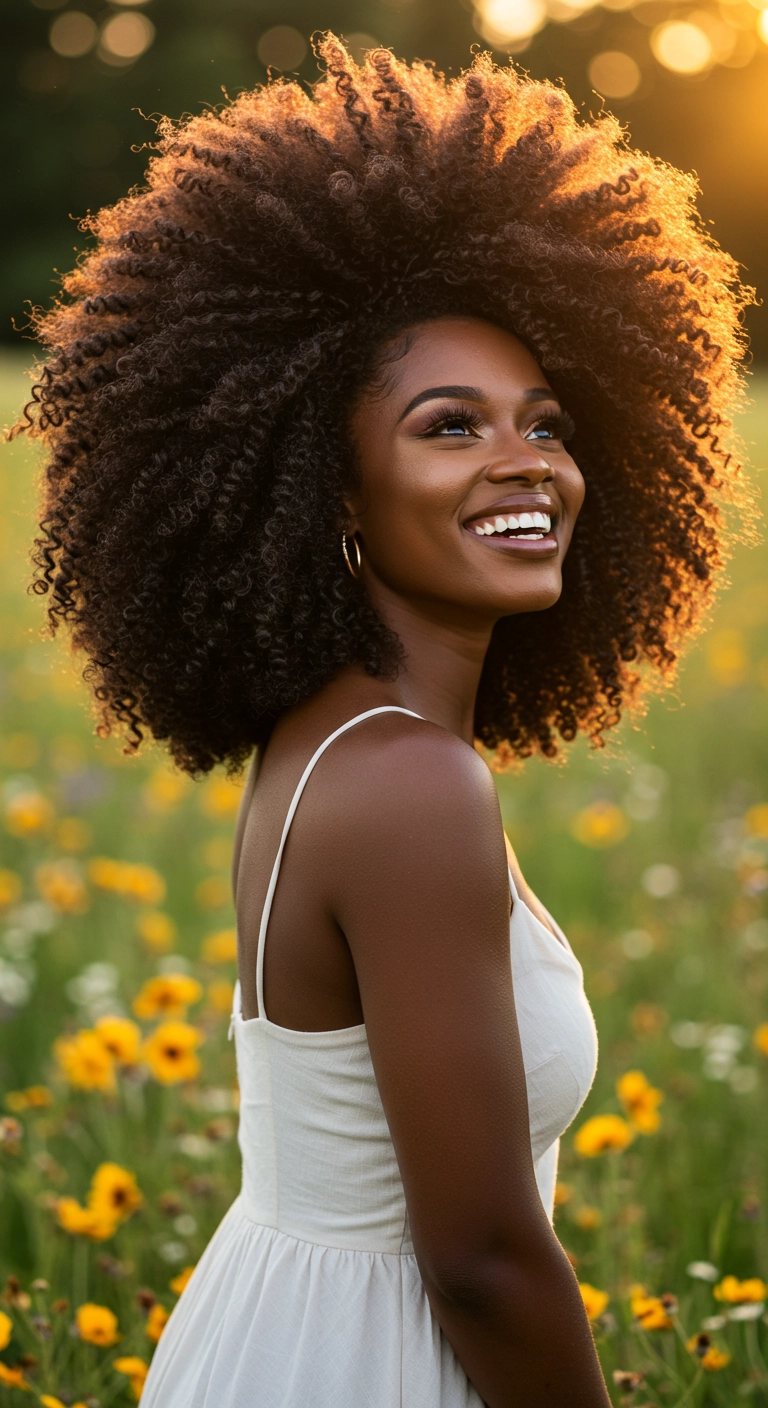
I fell in love with wearing headscarves on days when my curls had all the volume in the world but I needed them pulled off my face in seconds! It's effortlessly chic, protects your hairline, and instantly dresses up everyday natural coils. Plus, adding a colorful patterned silk scarf brings a warm, artistic flair to any simple outfit. If you've been looking for an easy, stylish way to rock your halo afro—you definitely have to try this one!
How to do this
1. Start on freshly cleansed and conditioned curls or stretched natural coils by applying a rich leave-in cream using the moisturizing curl defining cream listed below to lock in maximum hydration.
2. Section the hair into manageable quadrants and define individual coils using the curl styling custard listed below, smoothing the product from roots to ends with your fingers or a Denman brush.
3. Allow curls to air dry completely or gently diffuse with a blow dryer on low heat until fully dry, avoiding touching the curls too much to minimize unwanted frizz.
4. Once completely dry, mist with a lightweight sheen using the nourishing hair and scalp oil mist listed below and gently fluff at the roots with an afro pick to build spherical volume and height.
5. Fold a square printed silk or satin scarf diagonally into a band of about two inches wide using the satin patterned head scarf listed below.
6. Place the center of the scarf at the nape of the neck beneath the hairline, pull both ends forward over the crown behind your ears, and push the hair back slightly to open up the face.
7. Secure the scarf by tying a soft knot or bow at the top or side, letting the tails drape effortlessly down the shoulders, and set flyaways with edge control if desired.
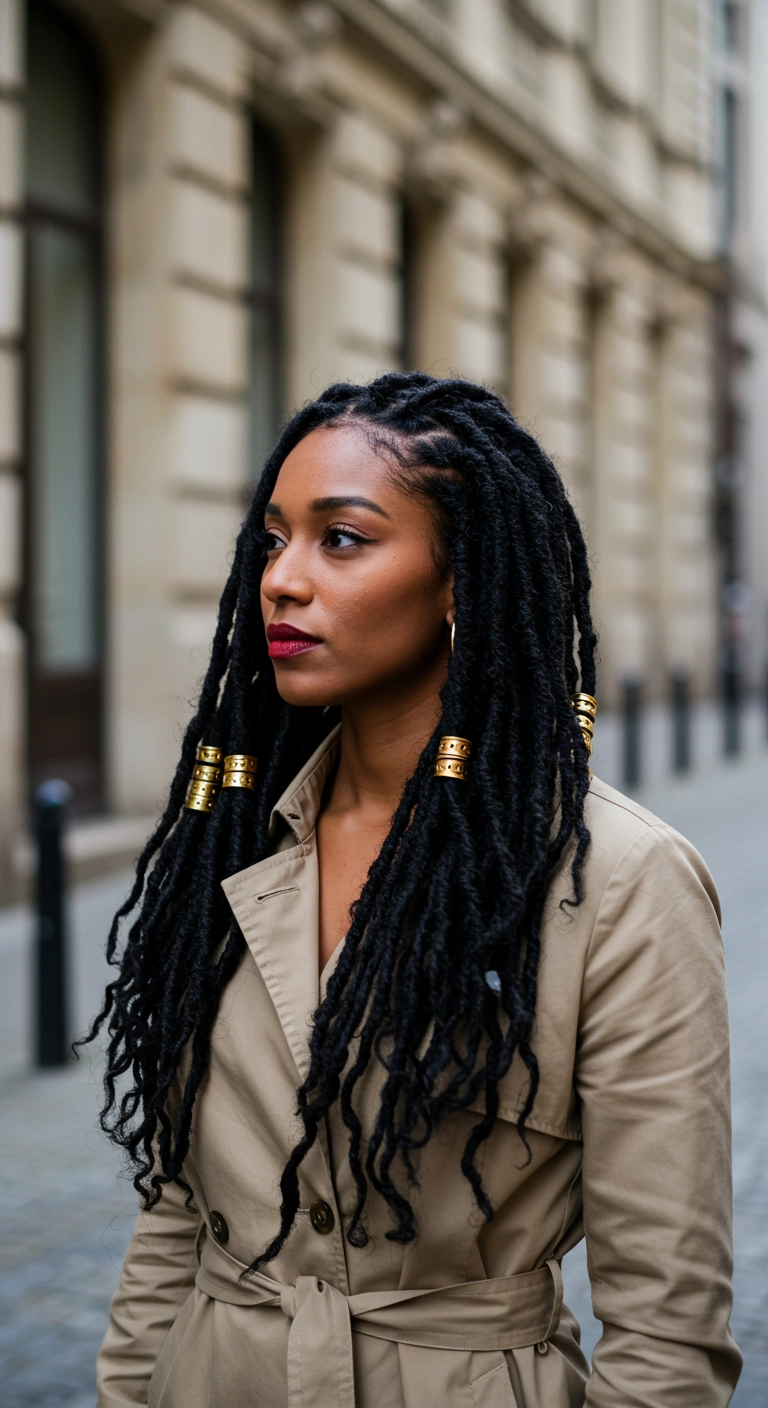
This is a go-to protective style if you want something effortlessly chic that requires virtually zero daily restyling. The textured wrapping gives it an authentic, lived-in feel, while sliding in a few bold gold cuffs instantly dresses up the look whether you're heading to the office or out for the evening.
How to do this
1. Start by sectioning clean, moisturized natural hair into neat square or triangular parts, prepping the scalp with the soothing scalp oil listed below.
2. Braid your natural hair into individual three-strand plaits to serve as the sturdy anchor base for each loc.
3. Using synthetic marley or textured water wave hair, wrap around each individual plait tightly from root to mid-lengths using the hair extensions listed below to achieve that textured faux loc appearance.
4. Allow the ends to taper naturally or leave the wavy tips loose for a soft bohemian finish.
5. Lay down and smooth the perimeter baby hairs gently using the edge control gel listed below and a small edge brush.
6. Finish off the styling by clipping wide decorative metallic accents throughout mid-lengths using the gold hair cuff jewelry set listed below for an elevated chic vibe.
7. Mist the entire head lightly with the braid and loc sheen spray listed below to add long-lasting luster and keep the style fresh.
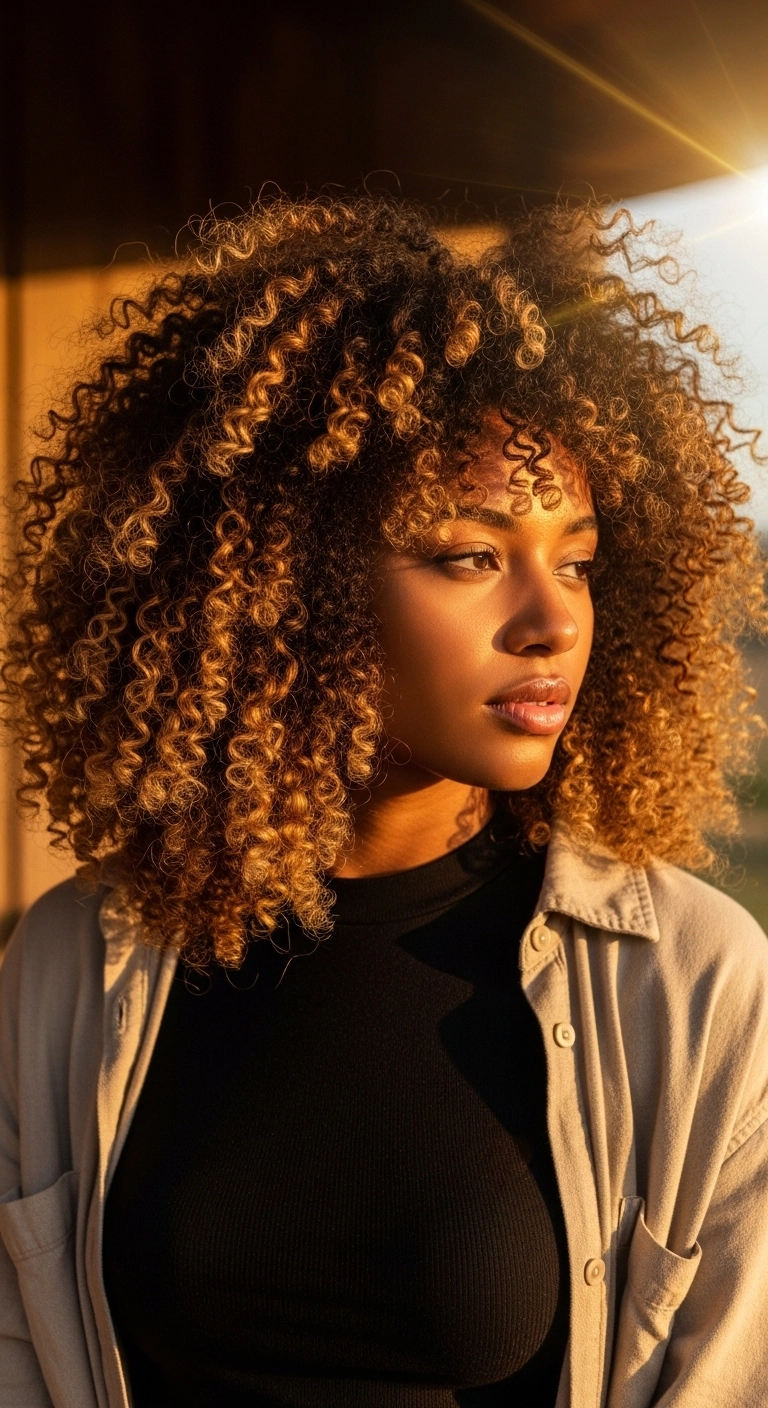
Can we talk about curl goals for a second? The shape, the bounce, and that warm golden hour glow on these curls is everything. A rounded layered cut lets naturally dense coils fluff out without feeling heavy, and adding a subtle honey balayage gives each individual curl so much pop and dimension!
How to do this
1. Start on freshly washed, soaking wet curls after cleansing with a moisturizing sulfate-free shampoo.
2. Rake a generous amount of curl defining leave-in conditioner through your hair from roots to tips using your fingers to ensure every curl is hydrated.
3. Apply the curl defining styling cream listed below in small sections, using a praying hands motion and then gently finger-coiling any looser ringlets around the crown and face.
4. Layer with a lightweight hair oil or serum using the argan hair oil listed below to seal in moisture and provide luminous shine.
5. Flip your head upside down and gently cup curls with a diffuser attachment using the hair dryer with diffuser listed below on low heat and medium speed until about 85% dry.
6. Allow to completely air dry the rest of the way, then gently shake out the roots and pick out the crown using the wide tooth afro pick listed below to maximize that gorgeous, airy volume!
This look is all about celebrating full, glorious volume and springy definition. You start on damp hair, raking through your favorite leave-in and curl cream to really clump those coils. After letting it dry completely, you unravel and gently fluff from the roots with a pick to build that gorgeous, rounded halo of hair, finishing off by laying down your edges.
How to do this
1. Start on freshly cleansed and conditioned damp hair, applying a generous amount of moisturizing leave-in conditioner using the leave-in conditioner listed below to ensure your coils stay hydrated and supple.
2. Section hair into manageable quadrants and work in a curl-defining cream or custard using the curl defining cream listed below, smoothing and shingling through small sections to encourage tight coil formation.
3. Set your coils using either a two-strand twist-out technique or finger coils to lock in defined corkscrew patterns.
4. Allow the hair to air dry completely or dry under a hooded dryer/diffuser to minimize frizz and preserve definition.
5. Once fully dry, coat your fingertips with a lightweight hair oil using the nourishing hair oil listed below and gently unravel the twists, separating coils carefully.
6. Use an afro pick using the wide-tooth afro pick listed below at the roots only to fluff and lift upwards, creating maximum volume and a round, dramatic shape without disturbing curl ends.
7. Finish by laying your baby hairs delicately along the temples using an edge control gel and a small brush using the edge styling brush and gel listed below.
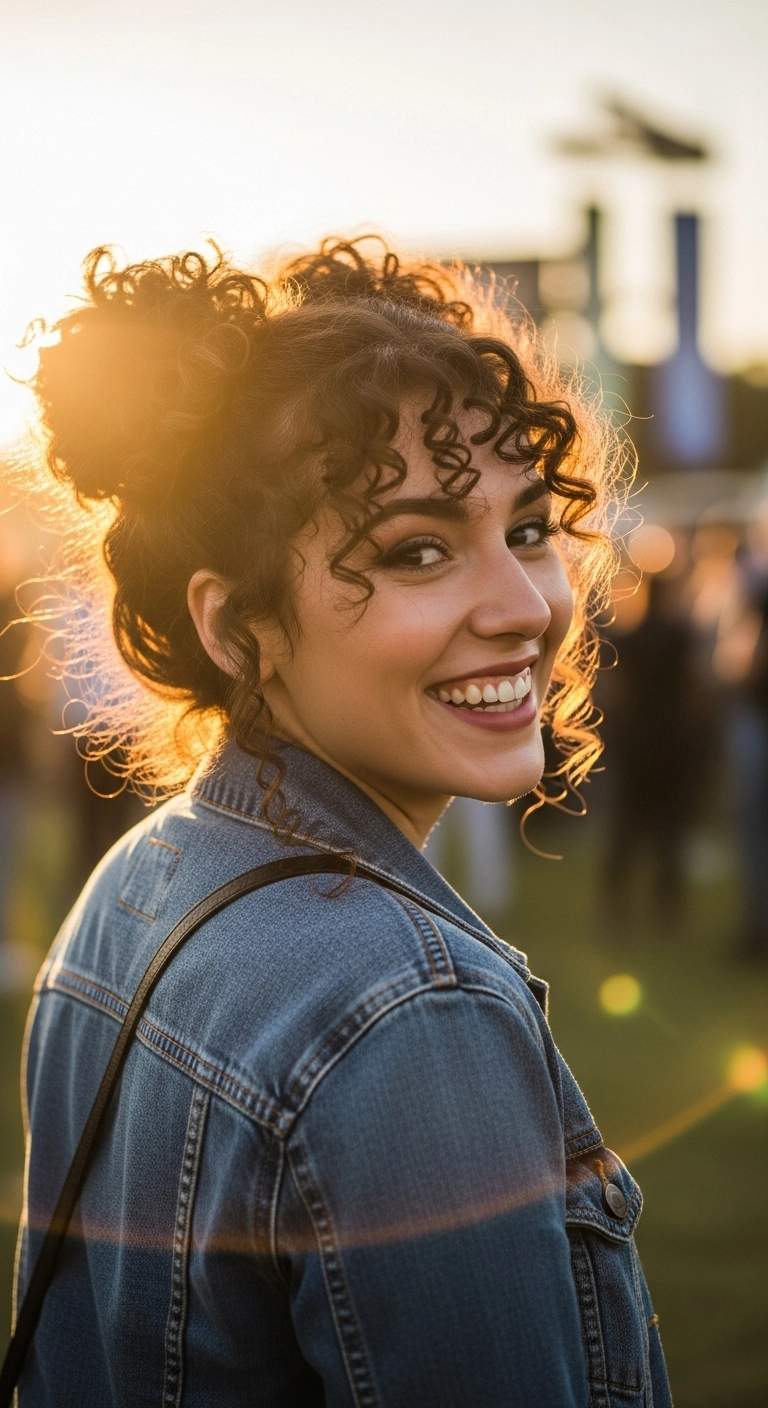
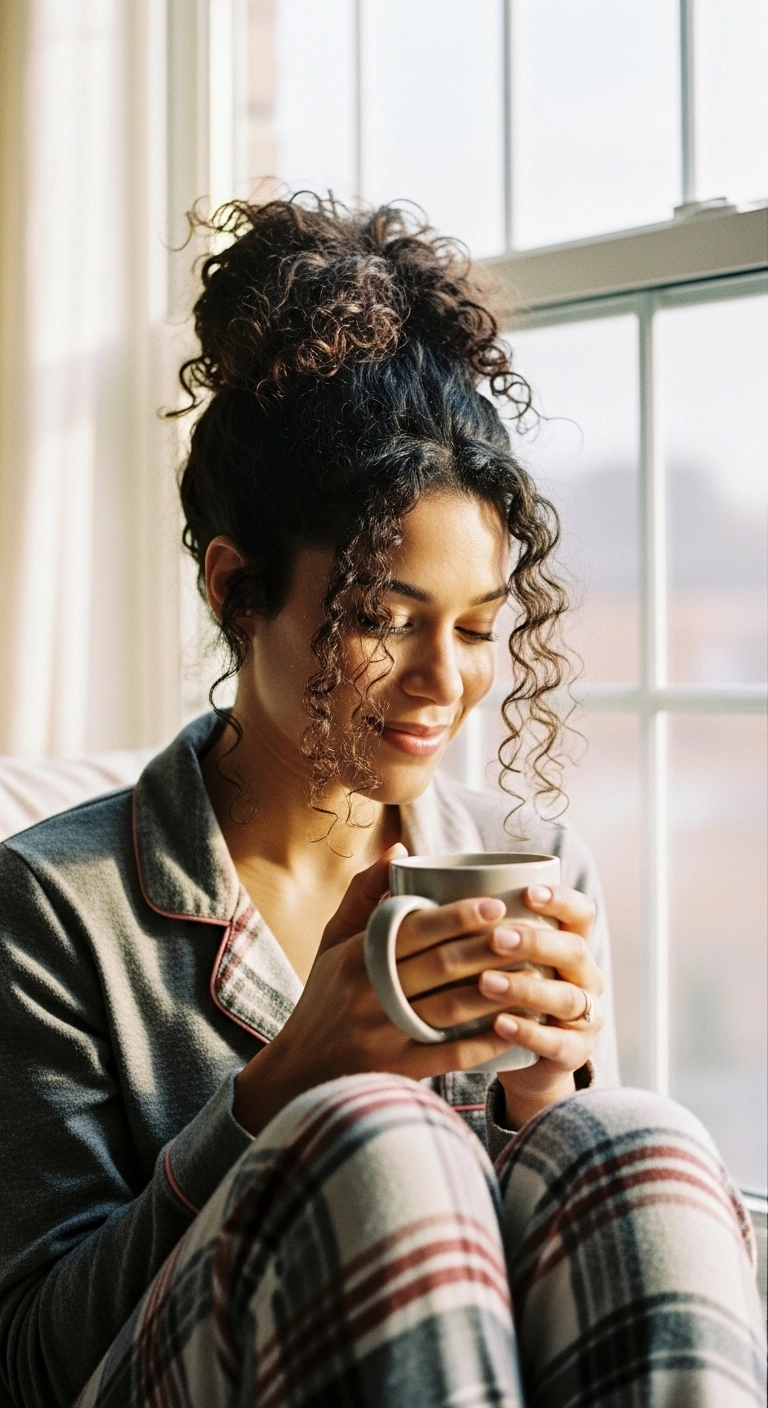
This hairstyle is my go-to cozy morning look for naturally curly hair. You simply sweep your curls up into a loose top knot right at the crown, making sure not to pull too tightly so your texture stays intact. Leave a few bouncy spirals free around the front to frame your face, and secure the bun with a soft scrunchie for an effortless, lived-in feel.
How to do this
1. Start with second-day natural curls refreshed by misting them lightly with water and applying a dime-sized amount of the curl defining cream listed below.
2. Gently section out a few curly strands around your temples and hairline to act as soft, face-framing tendrils.
3. Gather the remaining bulk of your curls loosely up toward the crown of your head, being careful not to stretch out the curl pattern with too much tension.
4. Secure the base loosely using the silk scrunchie listed below, looping it twice to hold the hair securely without snapping curls.
5. On the final loop, pull the hair through halfway into a voluminous pineapple or loose bun, letting the curly ends spill over slightly.
6. Use a couple of the bobby pins listed below to lightly tack down any overly unruly ends while keeping the silhouette rounded and soft.
7. Define the face-framing tendrils by twirling them around your finger with a tiny drop of the lightweight hair oil listed below to lock in shine and banish morning frizz.
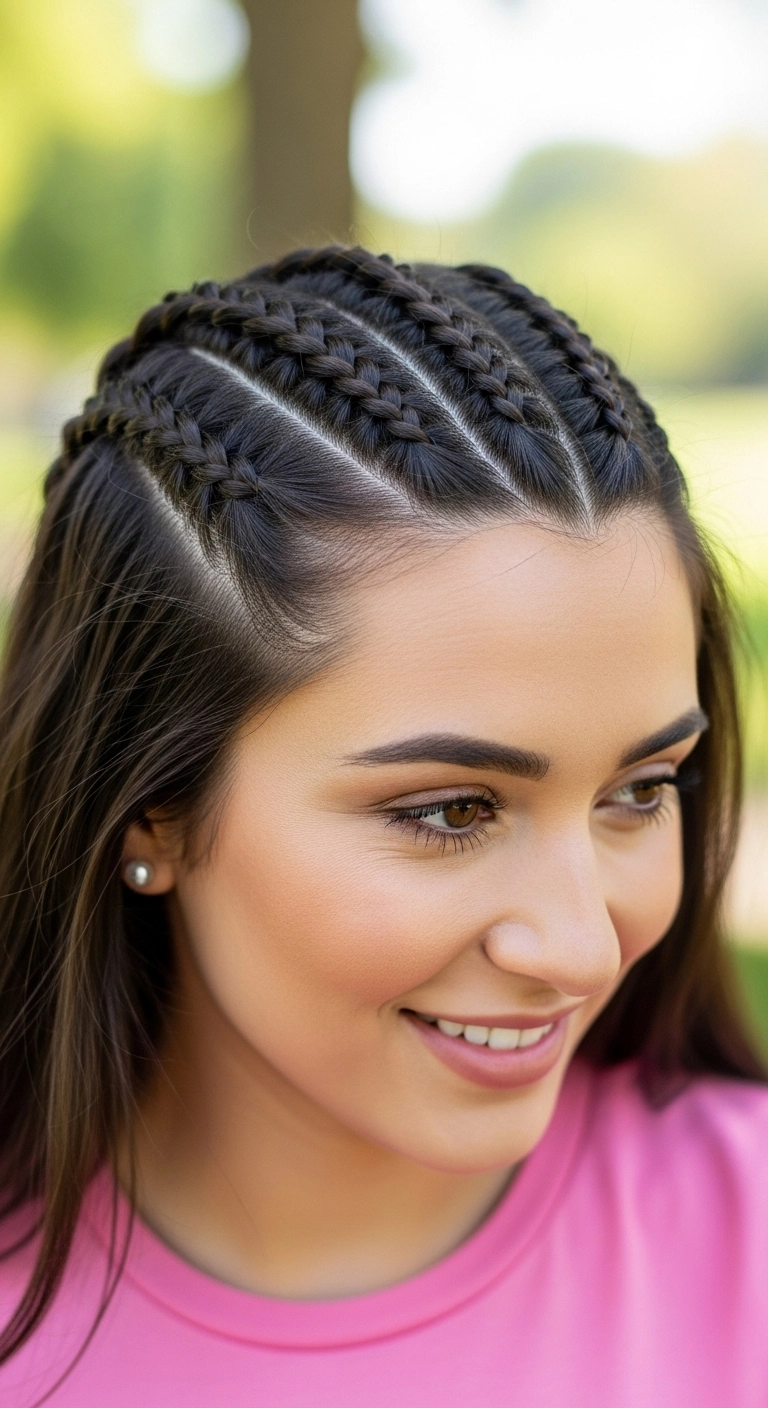
Clean parted Dutch braids on top are hands-down one of my favorite looks when I want my hair completely out of my face but still want to wear it down. The key to nailing this is taking your time with those straight razor-sharp sections at the front! It looks super sporty, stays locked in through workouts or festivals, and keeps everything looking completely effortless.
How to do this
1. Start by detangling clean, dry hair thoroughly with the rat tail comb listed below to ensure razor-sharp partings.
2. Section out the top crown into four to six precise vertical rows running directly back from the hairline toward the crown.
3. Apply a small dab of the edge control and styling gel listed below along the clean parts to lay down flyaways and keep each track super sleek.
4. Begin each row at the forehead as an inverted Dutch braid or cornrow, crossing the side strands under the middle strand while gradually incorporating neat sections of hair as you work straight back.
5. Continue braiding until you hit the crown, then secure each braid neatly with the clear elastic bands listed below, allowing the tail to blend seamlessly into the loose hair underneath.
6. Brush out the remaining lengths and finish by misting the strong hold hairspray listed below over the braided top to lock the design in place all day.
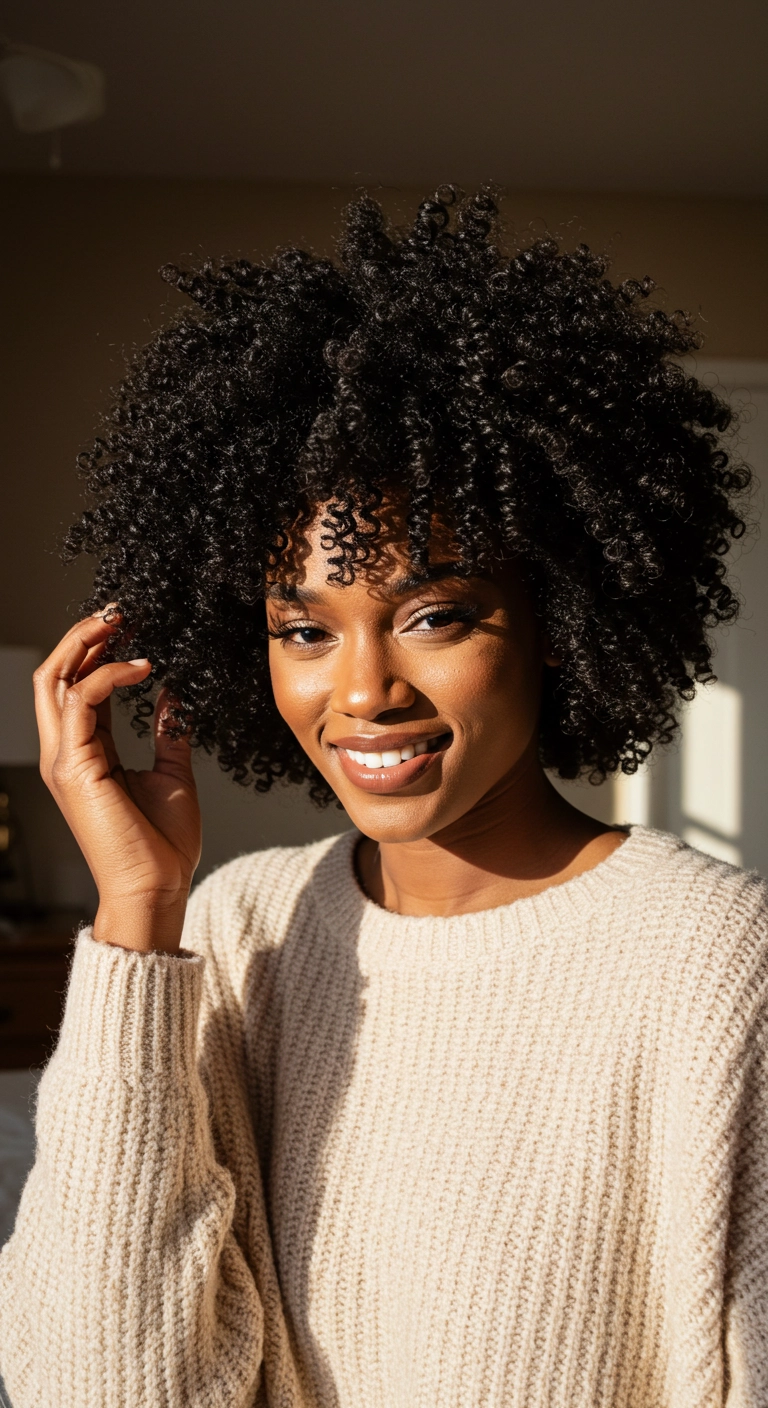
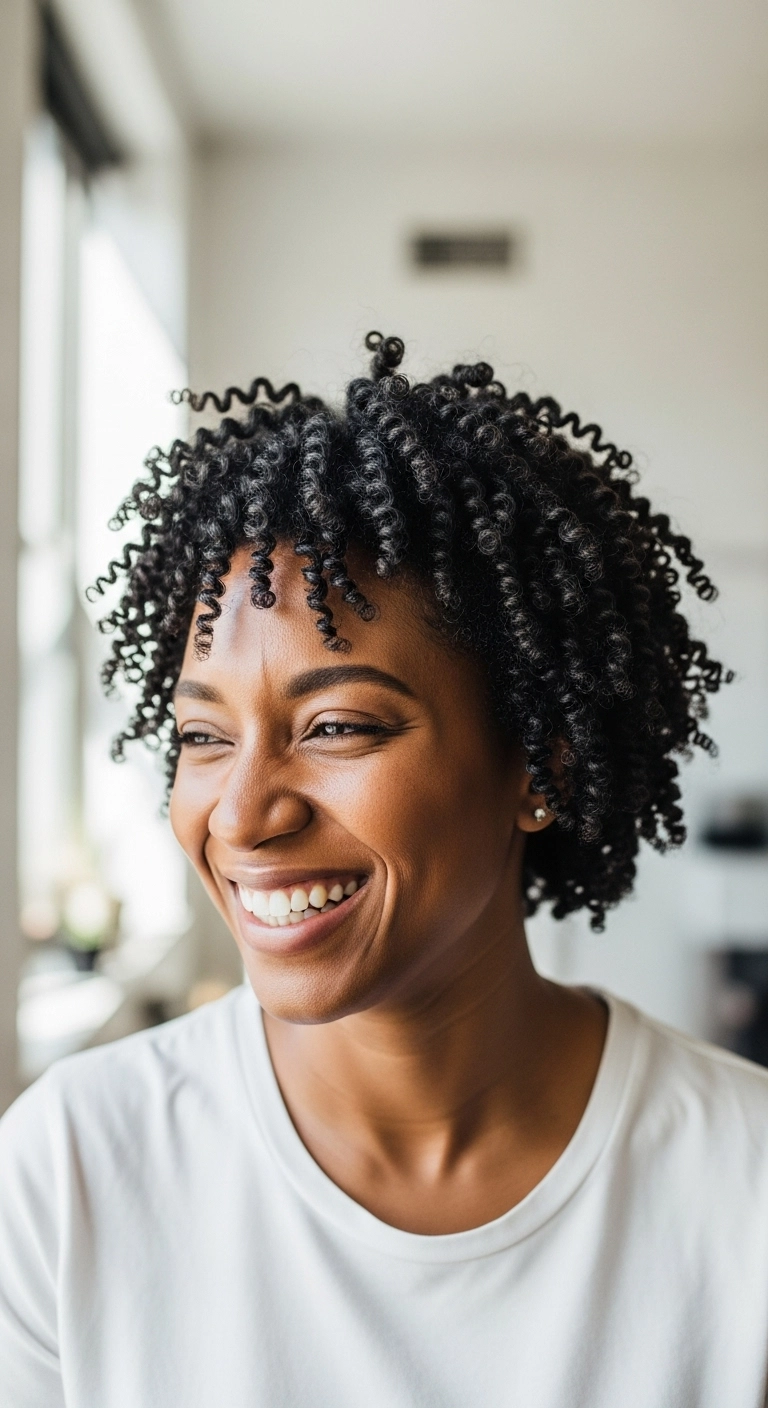
Embracing your natural curls is always a win, and a rounded layered cut like this makes styling so effortless. The shorter face-framing tendrils softly break up the forehead and bring all the focus to your eyes and smile. If you want maximum definition without losing bounce, finger-coiling a few pieces at the crown before diffusing makes the biggest difference.
How to do this
1. Start on freshly cleansed and thoroughly conditioned wet hair to ensure curls hold moisture.
2. Section the hair into manageable quadrants and apply a generous amount of the hydrating leave-in conditioner listed below from roots to ends.
3. Work through each section using the curl defining styling cream listed below, smoothing the product evenly with fingers or a defining brush to clump curls.
4. For extra definition around the crown and forehead, take small pieces and finger-coil each curl strand.
5. Attach a diffuser head to your blow dryer, listed below, and gently hover around the curls on medium heat and low speed without touching them until roughly 80% dry.
6. Once fully dry, dispense a few drops of the lightweight nourishing hair oil listed below onto your palms and gently scrunch curls upward to break any gel cast and add shine.
7. Use the wide-tooth afro hair pick listed below at the roots underneath to lift and fluff for that gorgeous, rounded halo volume.
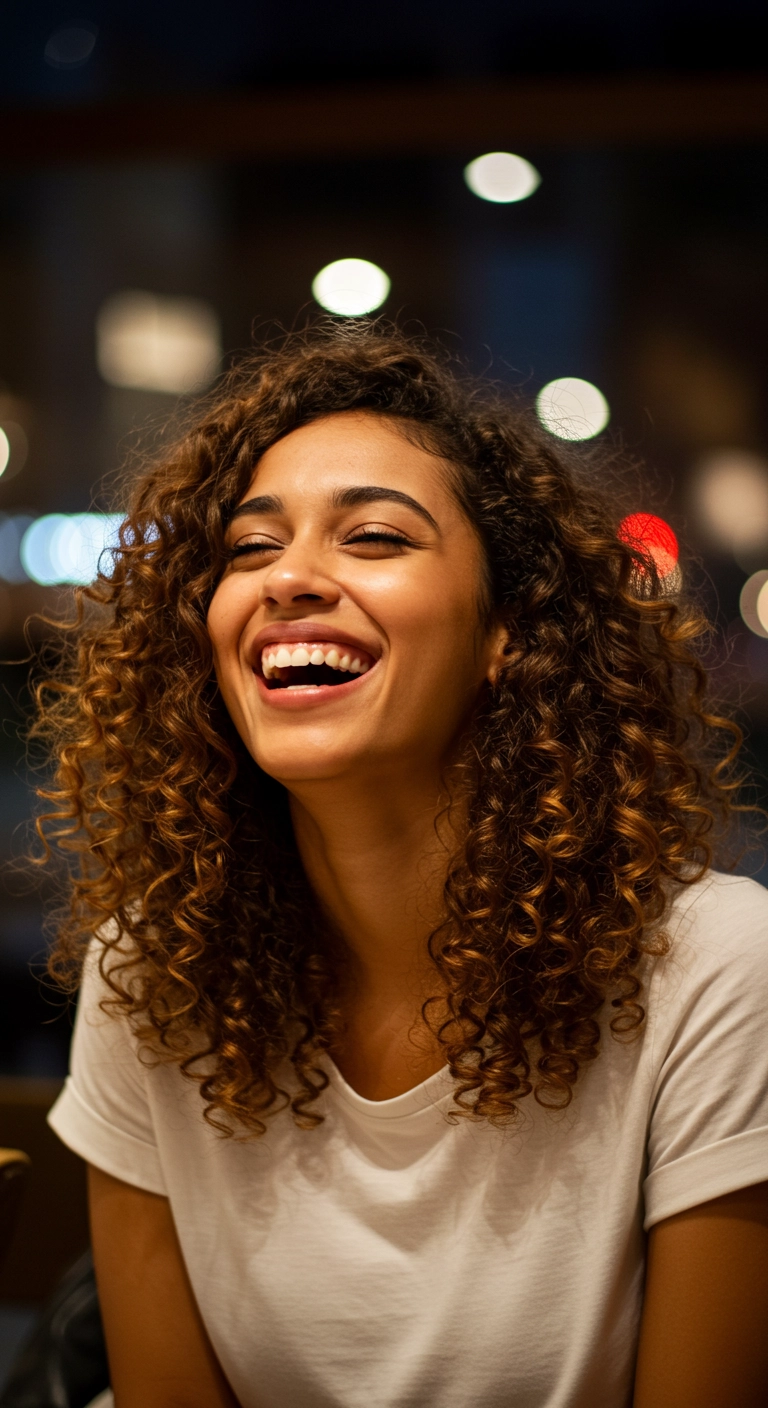
Are you ready to embrace your gorgeous natural coils in the most effortless way possible? A rounded curly bob with bouncy, forehead-skimming ringlets gives you instant shape, incredible volume, and plenty of personality. Plus, it highlights your cheekbones like nothing else. Who wouldn't love a style this vibrant and full of life?
How to do this
1. Start on freshly cleansed, thoroughly conditioned hair that is soaking wet to maximize natural curl definition.
2. Section the hair into manageable quadrants and apply a generous amount of the hydrating leave-in conditioner listed below to lock in base moisture.
3. Work through each section using the curl defining styling cream listed below, raking and smoothing from roots to ends.
4. For ultra-defined ringlets like these, use a finger-coiling or two-strand twist technique throughout, ensuring front coils fall naturally toward the forehead as wispy curly bangs.
5. Gently diffuse with a blow dryer on low heat and low speed, or allow to air dry completely without disturbing the curl clumps.
6. Once fully dry, coat your fingertips with a few drops of the lightweight nourishing hair oil listed below and gently separate the coils to build touchable volume without causing frizz.
7. Use the afro volume pick listed below at the roots only to gently lift and shape the rounded silhouette.
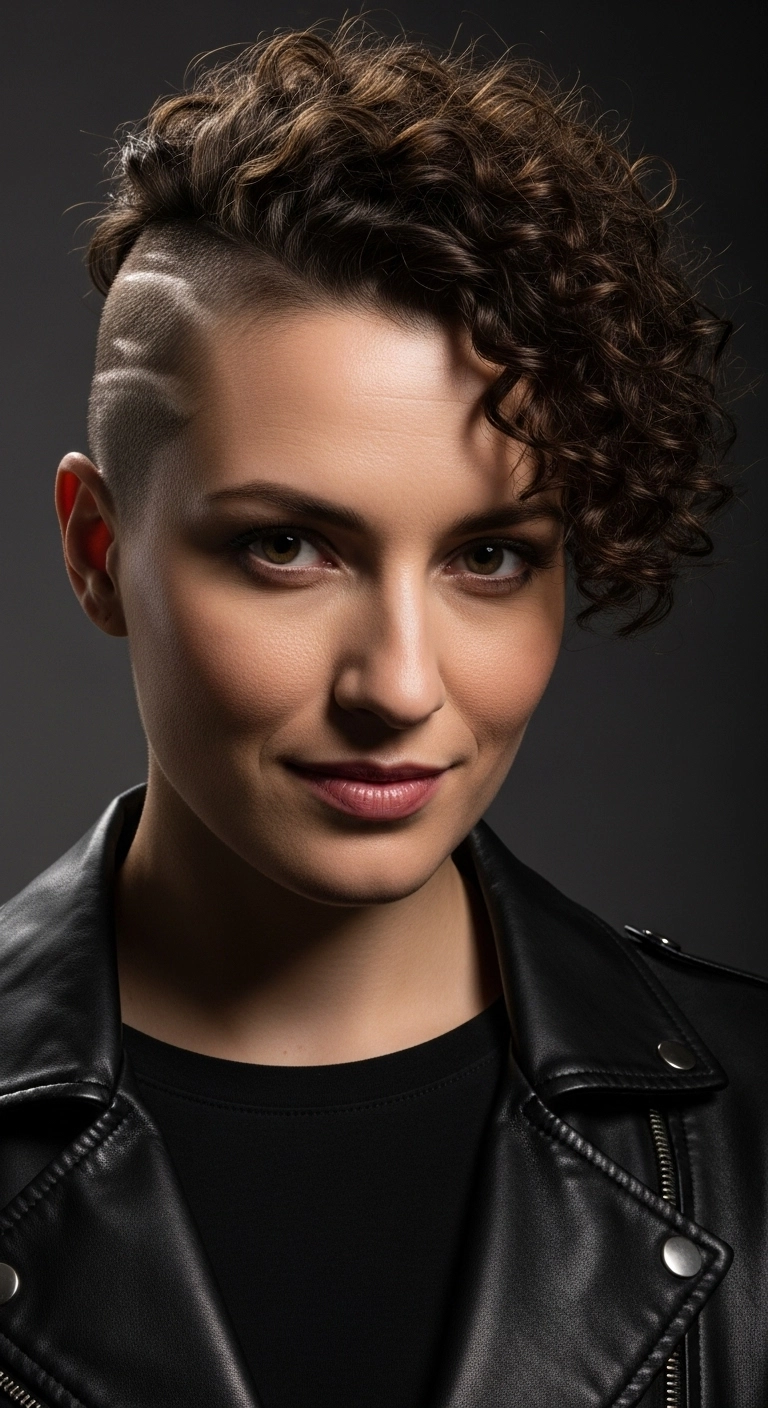
Oh, the curly undercut with shaved lines, how effortlessly cool is this?! The contrast between those soft bouncy ringlets and that razor-sharp fade is seriously everything. I am totally obsessed with this bold look! Would you ever be brave enough to shave the side like this?
How to do this
1. Start by sectioning off the hair with a precise deep side part, clipping the long curly top securely out of the way.
2. Using the professional cordless hair clippers listed below, buzz down the exposed side down to a clean close fade, then carve two curved accent lines using the edge of the blade.
3. On the longer curly section, apply a generous quarter-sized amount of the curl defining cream listed below while the strands are still damp to encourage maximum spring and eliminate frizz.
4. Dry the curls gently using a blow dryer fitted with the universal curl diffuser attachment listed below on low speed and medium heat, gently scrunching upward toward the scalp.
5. Once fully dry, mist the entire style with the lightweight texturizing spray listed below to separate and pump up the volume.
6. Finish by locking the side-swept swoop in place using the flexible hold hairspray listed below so the defined curls stay dramatic all day.
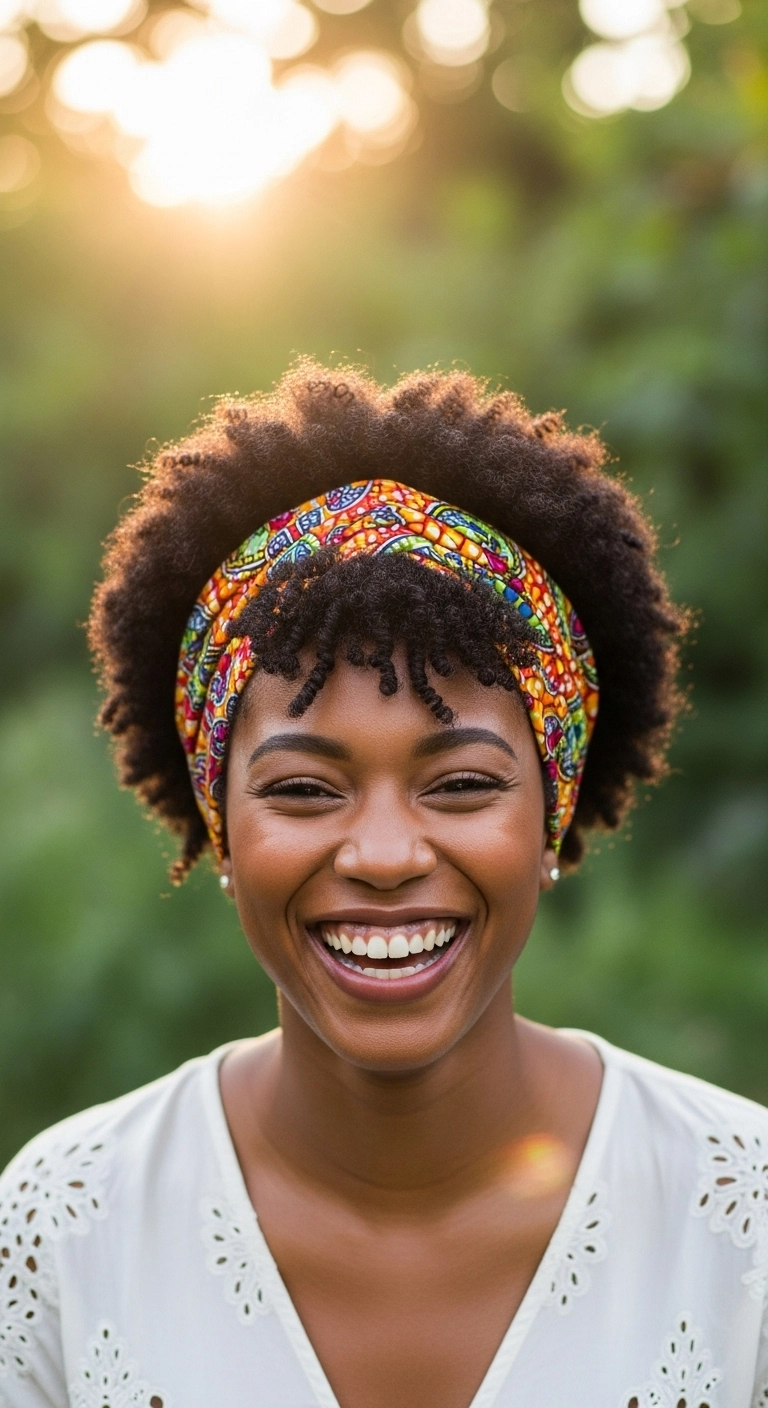
This look is vibrant, effortless, and full of natural joy! Throwing on a colorful patterned headband completely elevates a classic shaped afro, while letting a few bouncy, finger-coiled tendrils peek out in front keeps it youthful and fresh. It's the ultimate low-stress, gorgeous daily style for tight textures!
How to do this
1. Start on freshly washed, damp hair and apply a generous amount of the hydrating leave-in conditioner listed below to lock in essential moisture.
2. Section off a small triangle at the front hairline to create your textured bangs, then apply the curl defining styling cream listed below to these front coils and gently finger-coil each small piece for distinct ringlet definition.
3. Work a light layer of the nourishing curl butter listed below through the rest of your afro, fluffing gently with an afro pick from the roots outward to build rounded, airy volume without disrupting the curl pattern.
4. Allow your hair to air-dry completely or use a blow dryer with the large bowl diffuser listed below on low heat and low speed to preserve curl integrity.
5. Position the vibrant patterned fabric headband listed below just behind your coiled front fringe, securing it comfortably at the nape of your neck and letting the forehead coils frame your brow.
6. Finish off with a light mist of the shine-enhancing scalp and hair mist listed below across the entire halo for healthy, glowing hydration all day long.
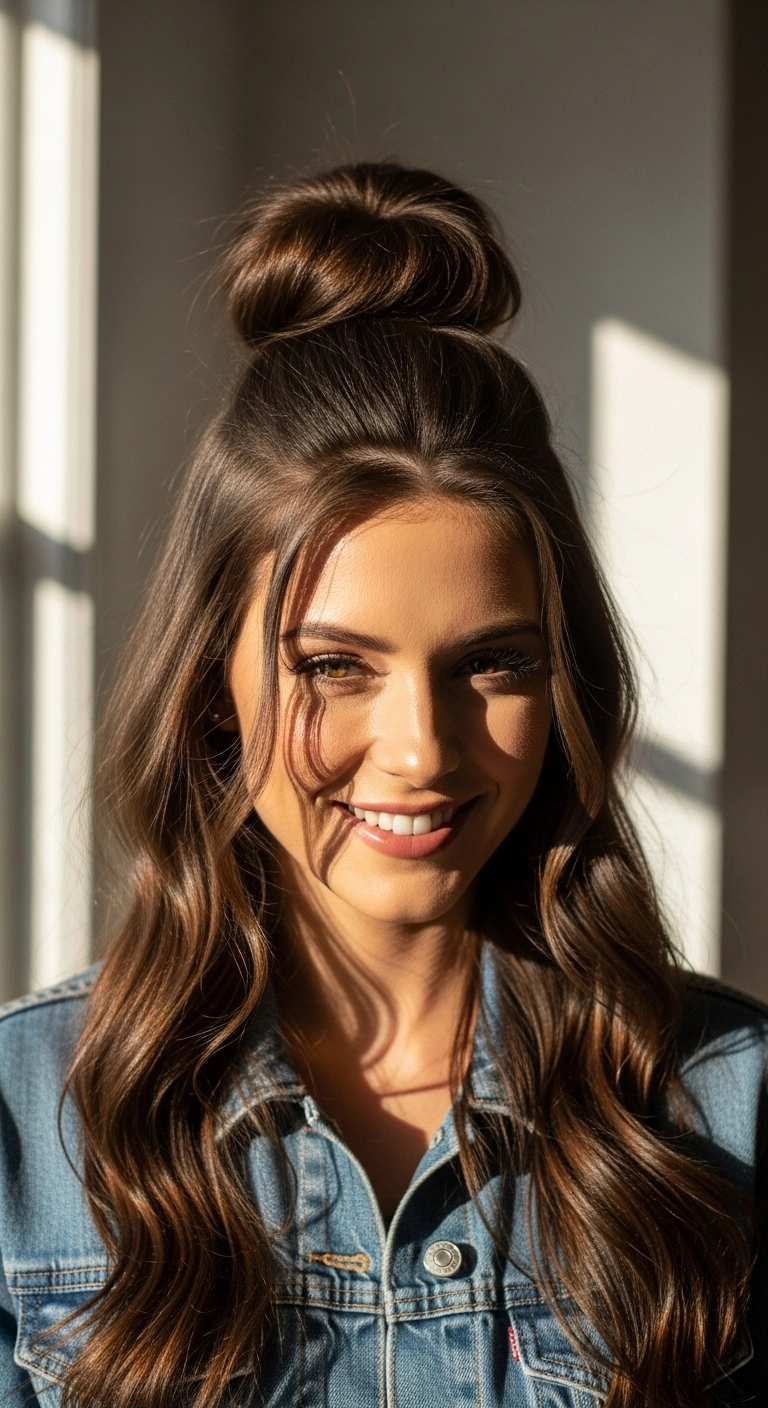
I think the half-up top knot is hands down one of the easiest and most versatile hairstyles for second-day hair. It pulls the weight away from your face while still showing off your length and soft, bouncy waves! You can make the top bun super sleek or pull it apart for a messier, more casual daytime vibe.
How to do this
1. Start by prepping clean, dry hair with a lightweight heat protectant spray using the heat protectant spray listed below to shield strands from hot tools.
2. Add loose, flowing waves throughout the entire head by wrapping 1.5-inch sections around a wide-barrel curling wand, leaving the very ends slightly straight for a natural vibe.
3. Section off the top crown portion of your hair from the temples upward, leaving two soft, thin face-framing strands loose in the front.
4. Gather this top section high on the crown and secure it into a ponytail using a snag-free hair elastic.
5. Twist the ponytail loosely around its base to create a relaxed, rounded top knot bun, securing it underneath with bobby pins.
6. Gently pull on the edges of the bun to fan it out and give it that effortless, full volume look.
7. Finish the look by misting a flexible hold texturizing spray across the lengths and bun using the dry texturizing spray listed below to hold the waves and texture all day.
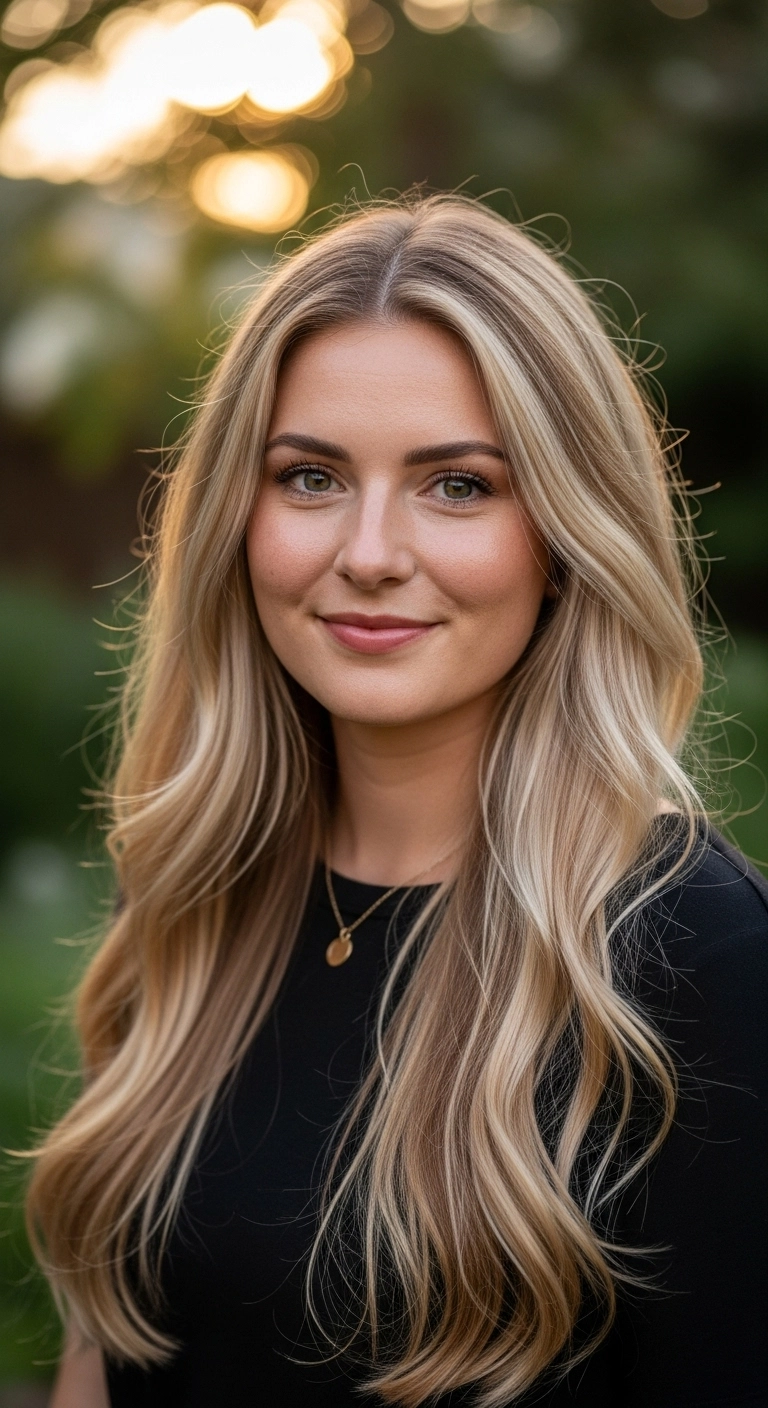
Craving that effortless, expensive-looking blonde that looks just as good at Sunday brunch as it does in the office? This golden honey balayage paired with cascading blowout layers is total perfection. It softens your features, adds tons of dimension, and keeps your look fresh and radiant all year long!
How to do this
1. Start with clean, damp hair and prep from roots to ends with a lightweight blowout cream using the smoothing blowout cream listed below.
2. Mist all over to safeguard your blonde ribbons against thermal damage using the heat protectant spray listed below.
3. Section the hair into manageable horizontal tiers and blow dry using a large ceramic round brush to create maximum root lift and smooth the cuticle down.
4. When drying the front pieces, wrap them around the brush directing backwards and away from the face to create those signature flowing face-framing wings.
5. For extra movement at the ends, take large 2-inch vertical sections and quickly pass a wide-barrel curling wand using the 1.5-inch curling iron listed below, curling away from your cheeks and leaving the tips slightly relaxed.
6. Let each section cool completely to lock in the bounce, then gently rake through your waves using the wide-tooth detangling comb listed below.
7. Finish with a featherlight mist to banish flyaways and enhance shine using the luminous shine spray listed below.
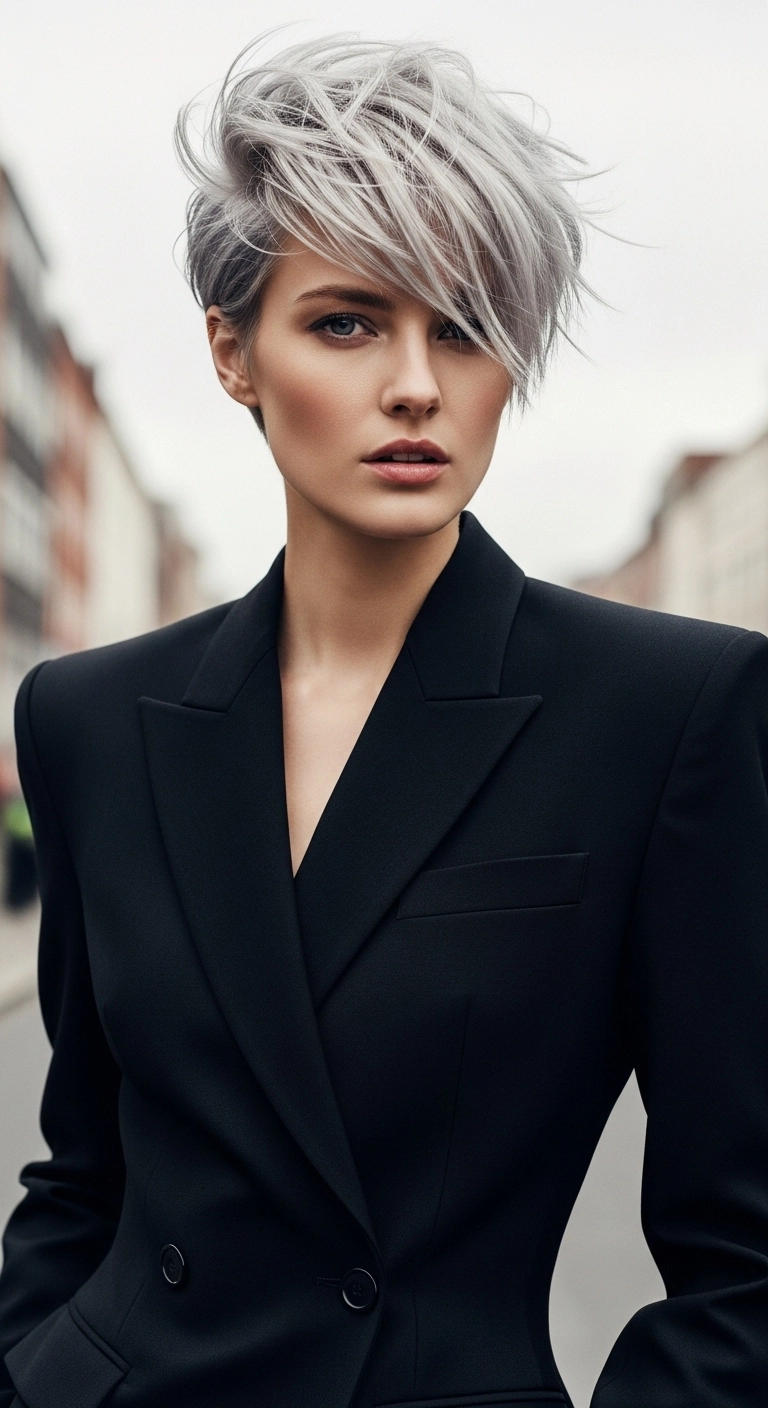
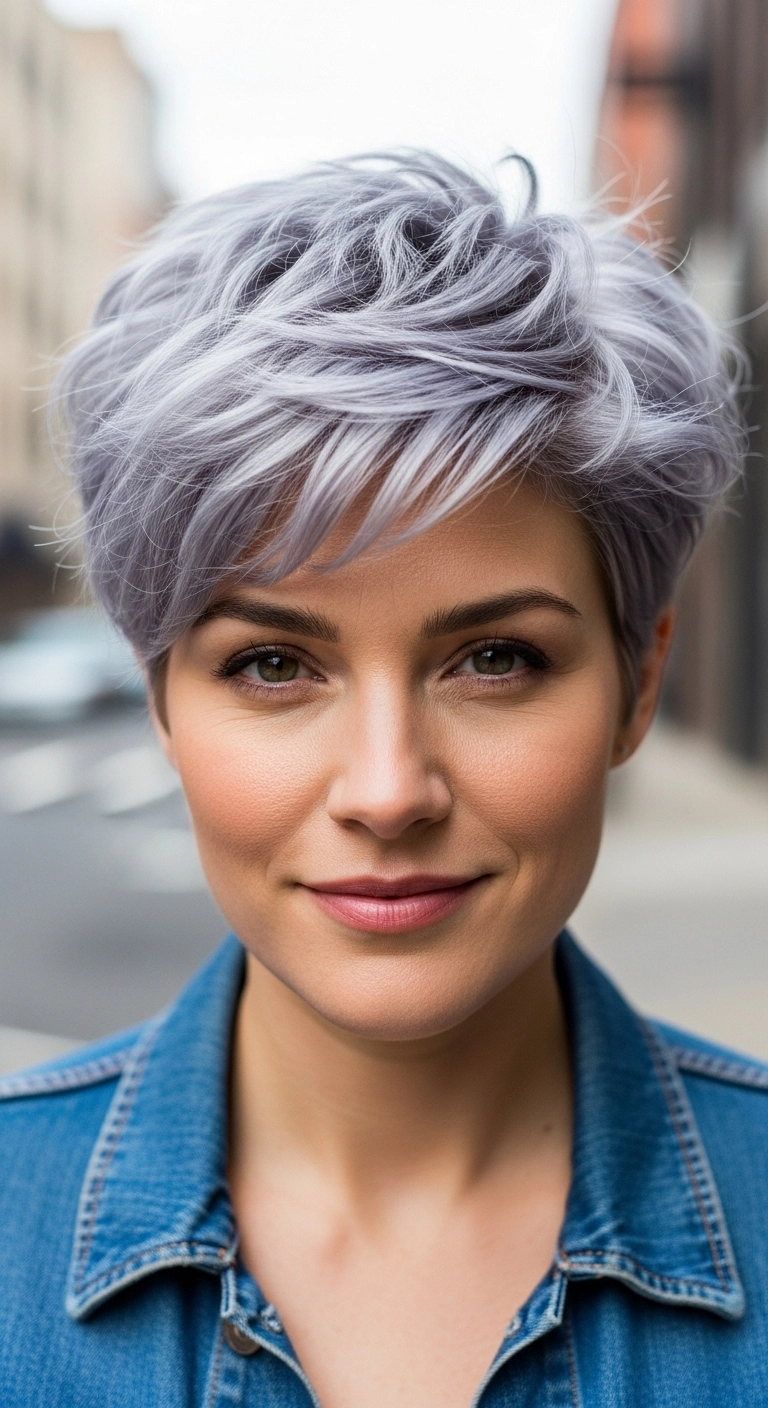
Now, this one is pure cool-girl confidence and will definitely turn heads wherever you go. Taking the plunge with a pixie can feel scary, but trust me when I say this cut does all the heavy lifting for you! The elongated, piecey fringe and icy silver shade give it that effortless, modern edge that pairs insanely well with tailored suits or just a casual tee.
How to do this
1. Start by prepping freshly washed, damp hair with a lightweight volumizing mousse to create lift and structure at the roots.
2. Apply a dime-sized amount of thermal protectant using the heat protectant spray listed below to shield the lightened strands before blow drying.
3. Using a small round boar bristle brush or a vent brush, blow-dry the short tapered sides and nape flat against the head, directing the airflow downward.
4. For the longer top sections, blow-dry the hair up and over to one side, lifting at the roots to maximize volume and create that sweeping, swooped front silhouette.
5. Warm a pea-sized amount of the matte styling paste listed below between your palms and work it through the mid-lengths and ends to define choppy, piecey separation.
6. Dust a pinch of the volumizing texturizing powder listed below right into the crown and roots for instant, reworkable grit and hold.
7. Finish with a light mist of the flexible hold finishing hairspray listed below to lock the windswept shape in place without making it stiff.
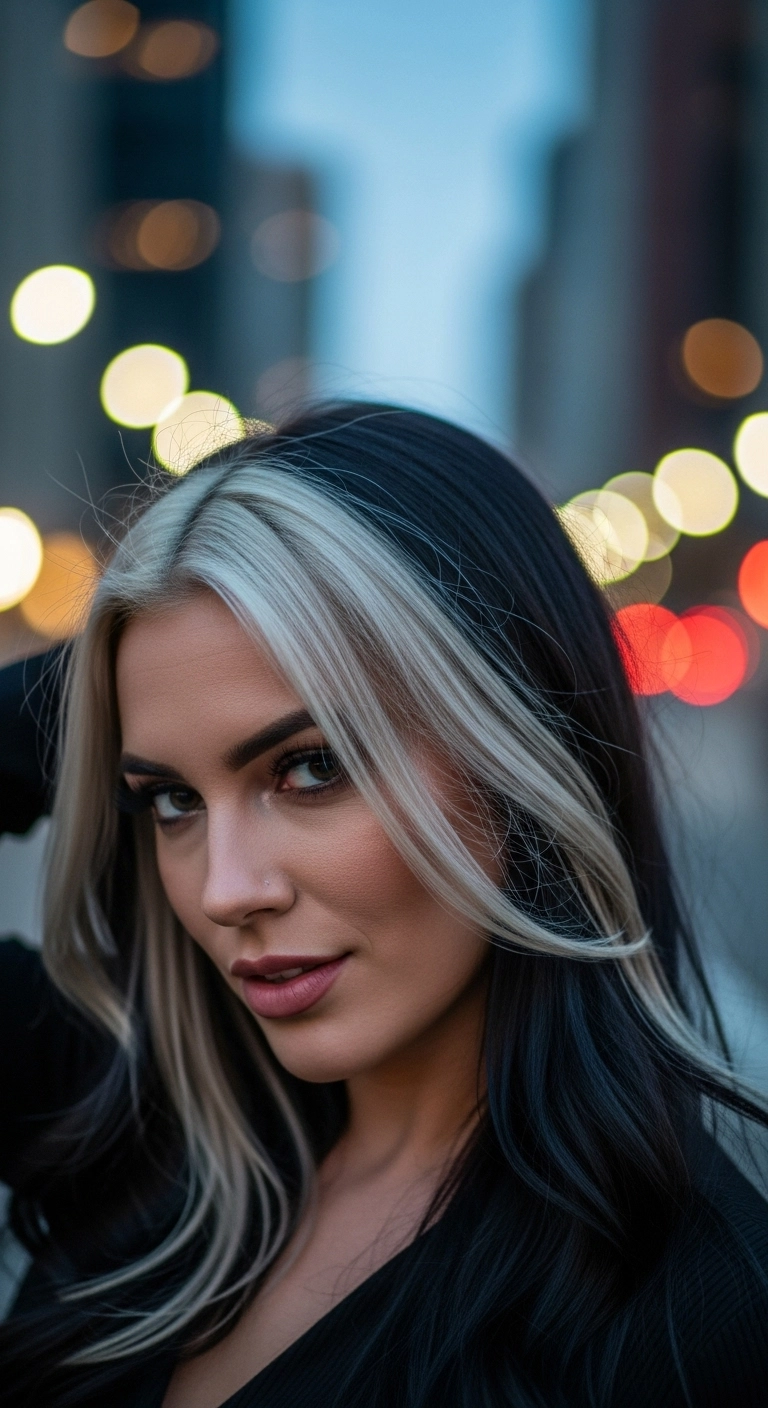
I fell in love with this bold contrast look the first time I saw it blow up on social media, and honestly, it never gets old. It gives you all the fun, brightening perks of being a blonde right around your face without having to bleach your entire head! You can wear it blown out sleek and swoopy like this, or throw your hair in a high pony and let the two blonde pieces hang down. If you've been craving an edgy transformation that still feels elevated, this is 100% your sign to go for it!
How to do this
1. Start by sectioning off a clean triangular or rectangular section right at the front hairline to create your bold face-framing panel, clipping the rest of your dark hair securely back.
2. Lighten this front section up to a pale level 10 using the powder lightener and developer listed below, ensuring even saturation from root to tip.
3. Once lifted, tone the blonde using the ash toner listed below to neutralize any unwanted yellow tones and get that crisp, icy platinum finish.
4. Apply the dark charcoal/black gloss listed below to the remaining hair to refresh depth, shine, and maximum contrast.
5. After rinsing and blow-drying, prep your hair with the heat protectant spray listed below to shield both lightened and dark strands from thermal damage.
6. Use a large ceramic round brush or a large barrel curling iron to smooth the mid-lengths and flick the face-framing platinum curtain bangs gently away from your cheekbones.
7. Finish the look with a light mist of the flexible hold hairspray listed below to keep the face-framing strands perfectly sweeping around your face all day.
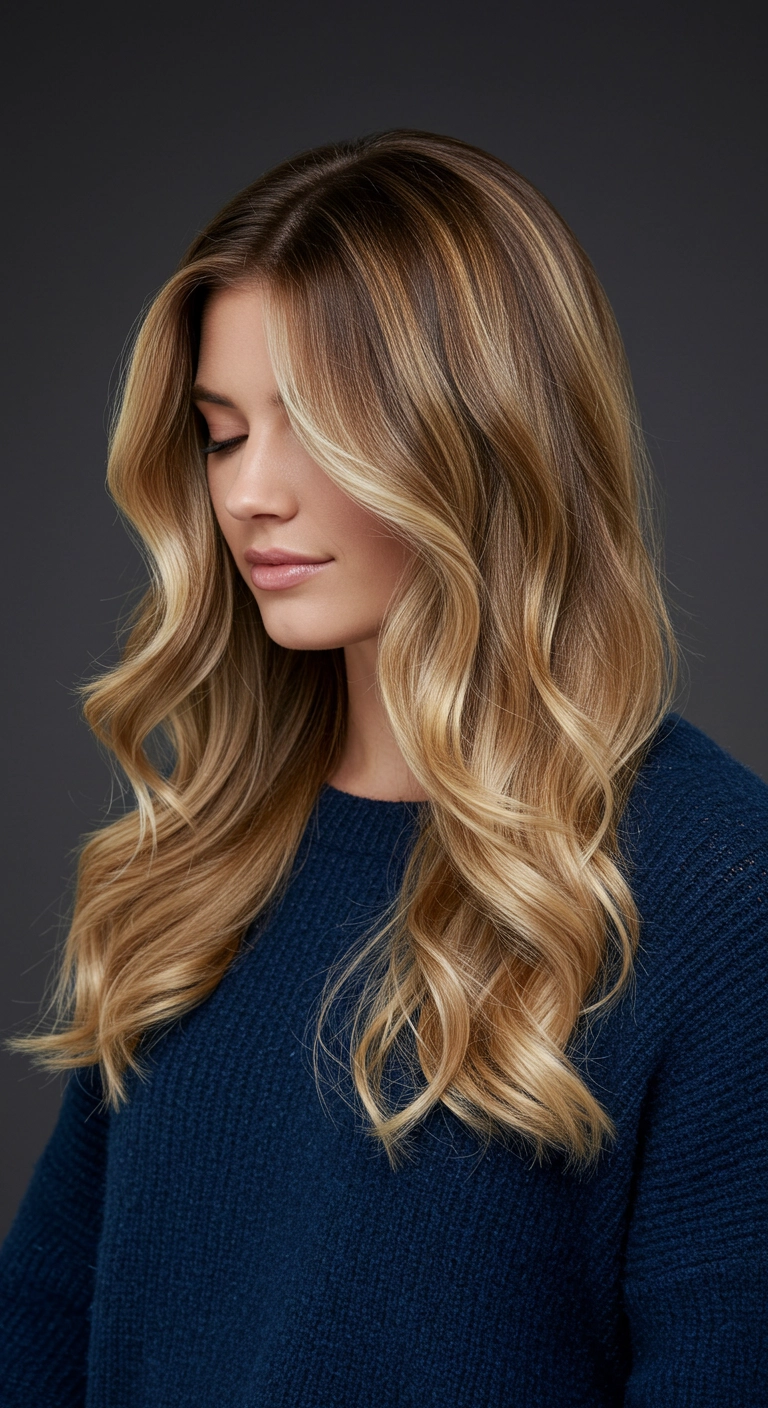
Sun-kissed hair is always a vibe, especially when the light hits it just right. If you want a style that feels completely effortless and full of natural movement, long layers paired with warm honey ribbons are the way to go. To get that perfectly undone texture, just leave the ends out when you curl your hair and shake it all out with a good texturizing spray!
How to do this
1. Start by prepping clean, towel-dried hair with a lightweight leave-in conditioner using the leave-in conditioning spray listed below to keep strands hydrated.
2. Mist hair generously with heat protection using the thermal protection heat spray listed below before blow-drying with a large round brush to give body at the roots.
3. Once hair is completely dry, divide it into horizontal sections starting from the nape upwards.
4. Take 1- to 2-inch vertical sections and wrap them loosely around a 1.25-inch curling iron using the ceramic curling iron listed below, leaving the last inch of the ends uncurled for a modern, relaxed finish.
5. Alternate curling directions away from and toward the face, ensuring the pieces closest to your hairline are curled outward to frame your features.
6. Allow curls to cool completely, then run your fingers through your hair to break up the pattern into soft, natural waves.
7. Spritz mid-lengths and ends using the dry texturizing spray listed below to build volume and lived-in definition.
8. Finish the look by applying a tiny drop of lightweight hair oil using the argan smoothing hair serum listed below through the ends for a glossy, sun-kissed shine.
Whenever I want that effortless, expensive-brunette-meets-golden-blonde look, this is my absolute go-to! The bright money piece frames your face so nicely, and pairing a soft root melt with bouncy barrel waves makes your hair look super thick and luminous without having to touch up roots every four weeks.
How to do this
1. Prep clean, towel-dried hair with a quarter-sized amount of the smoothing blowout cream listed below to protect against heat and tame any flyaways.
2. Blow dry the hair using the ceramic round brush listed below, lifting at the roots for natural volume and directing the airflow downwards to smooth the cuticle.
3. Once hair is completely dry, divide it into horizontal sections starting at the nape of the neck. Mist each section lightly with the heat protectant spray listed below.
4. Take 1.5-inch to 2-inch sections and wrap them around the 1.25-inch curling iron listed below, curling away from the face. Leave the last half-inch of ends out slightly for a modern, relaxed finish.
5. For the face-framing money piece layers, curl outward and downward around cheekbone height to create that signature sweep framing the cheek and jawline.
6. Let the curls cool completely for 5 to 10 minutes, then gently rake through them using the wide-tooth comb listed below to transform tight curls into soft, cascading waves.
7. Finish by rubbing two drops of the nourishing shine hair oil listed below between your palms and smoothing over the mid-lengths and ends for a mirror-like golden gloss.
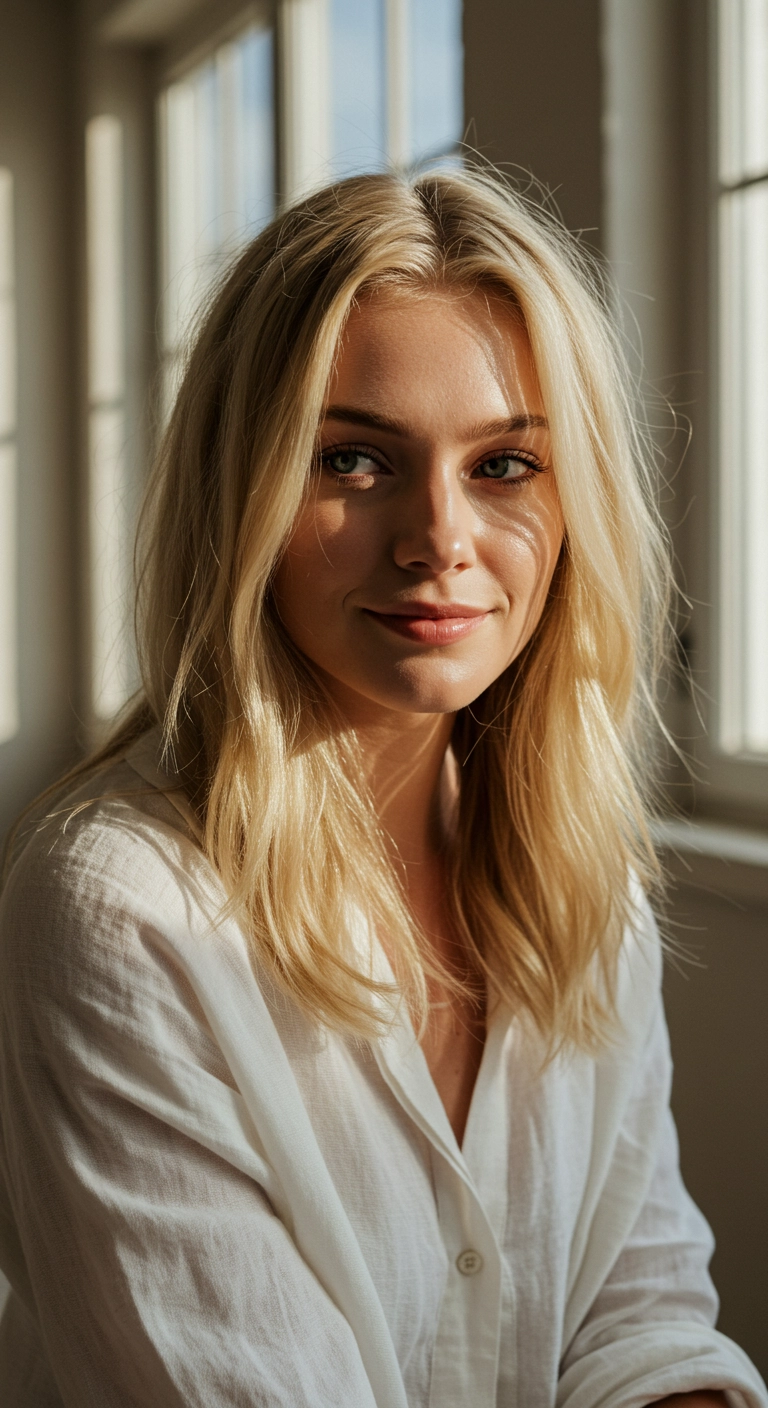
Effortless, beachy golden blonde hair that looks like you literally spent the whole weekend outside. I love how these soft, swept-away layers frame the cheekbones without feeling like you spent an hour with a round brush. It's that ultimate 'clean girl' woke-up-like-this vibe that works whether you're running errands in a linen button-down or heading out for drinks.
How to do this
1. Start on freshly washed, damp hair and prep from roots to ends using the volumizing root lift spray listed below to give your hair natural body without weight.
2. Apply a dime-sized amount of the lightweight heat protectant cream listed below through the mid-lengths and ends to keep your strands smooth and hydrated.
3. Rough-dry your hair with a blow dryer until it is about 80% dry, flipping your head upside down occasionally to boost root lift.
4. Section off your hair and use the large ceramic round brush listed below to blow-dry sections smooth, rolling the brush outward away from your face at the front to create those soft, sweeping face-framing layers.
5. For a bit of relaxed texture, take random vertical sections around the crown and gently wrap them around the 1.5-inch curling iron listed below for just 3–4 seconds, leaving the ends straight.
6. Rake through your waves with your fingers to break them up, then mist all over with the airy dry texturizing spray listed below for that effortless, lived-in finish.
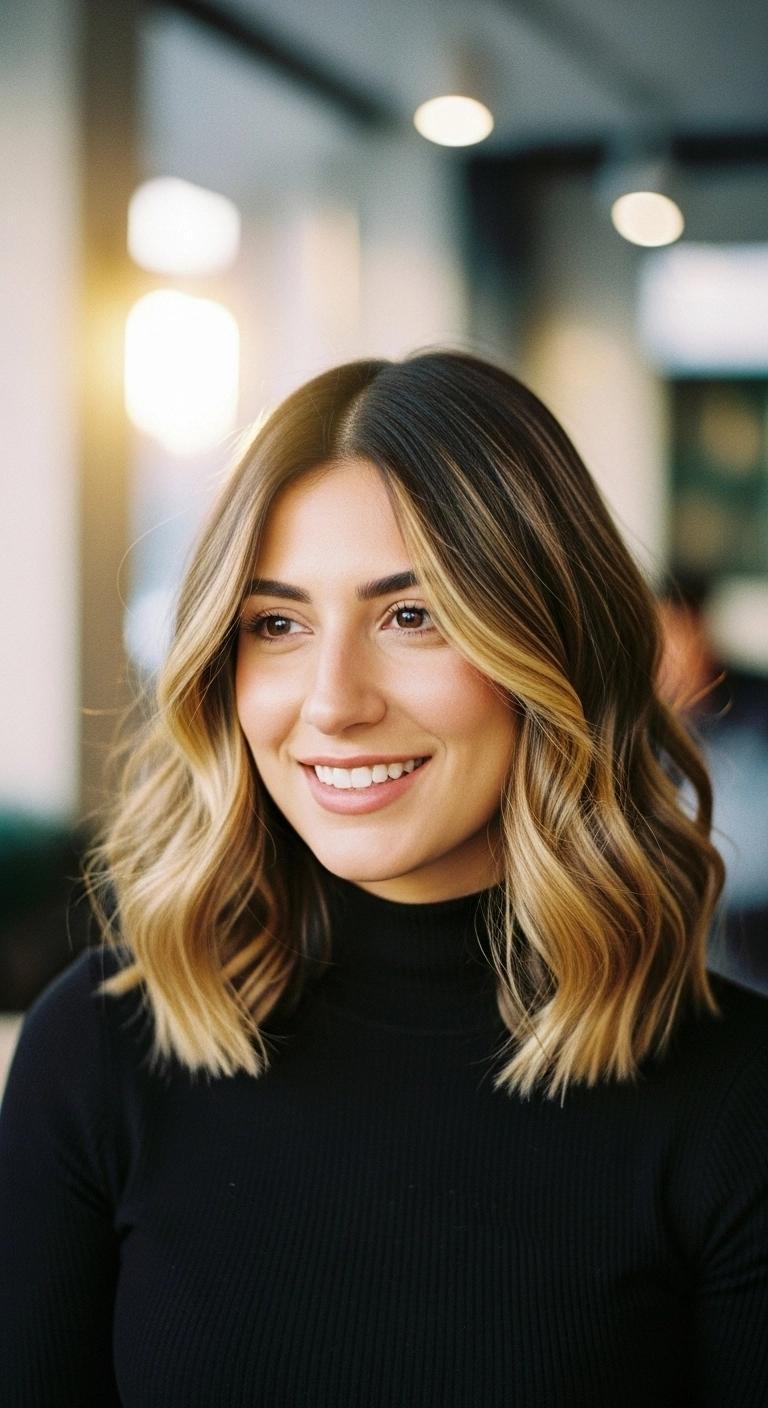
Oh, this warm honey money piece on a shoulder-grazing lob is pure perfection! That contrast between the dark espresso roots and the bright framing blonde gives the prettiest glow. Would you try this lived-in wavy style for your next salon trip?
How to do this
1. Start by prepping freshly washed, damp hair with a thermal shielding cream using the heat protectant spray listed below to keep your blonde bright and healthy.
2. Blow dry hair completely smooth using a round ceramic brush to build volume at the root and create a sleek foundation.
3. Establish a precise center part and separate the hair into workable horizontal tiers.
4. Take 1.5-inch vertical sections and wrap them loosely around a 1.25-inch curling wand, always directing the barrel away from the face, and leave the bottom inch of ends completely uncurled for a modern, relaxed finish.
5. Make sure the prominent blonde money-piece sections in front are curled gently outward right around the cheekbones to accentuate your facial structure.
6. Once cooled, rake your fingers through the waves to break them up, then mist throughout using the dry texturizing spray listed below for airy fullness and soft definition.
7. Finish by rubbing a dime-sized amount of the lightweight hair serum listed below through the ends to add shine and seal away flyaways.
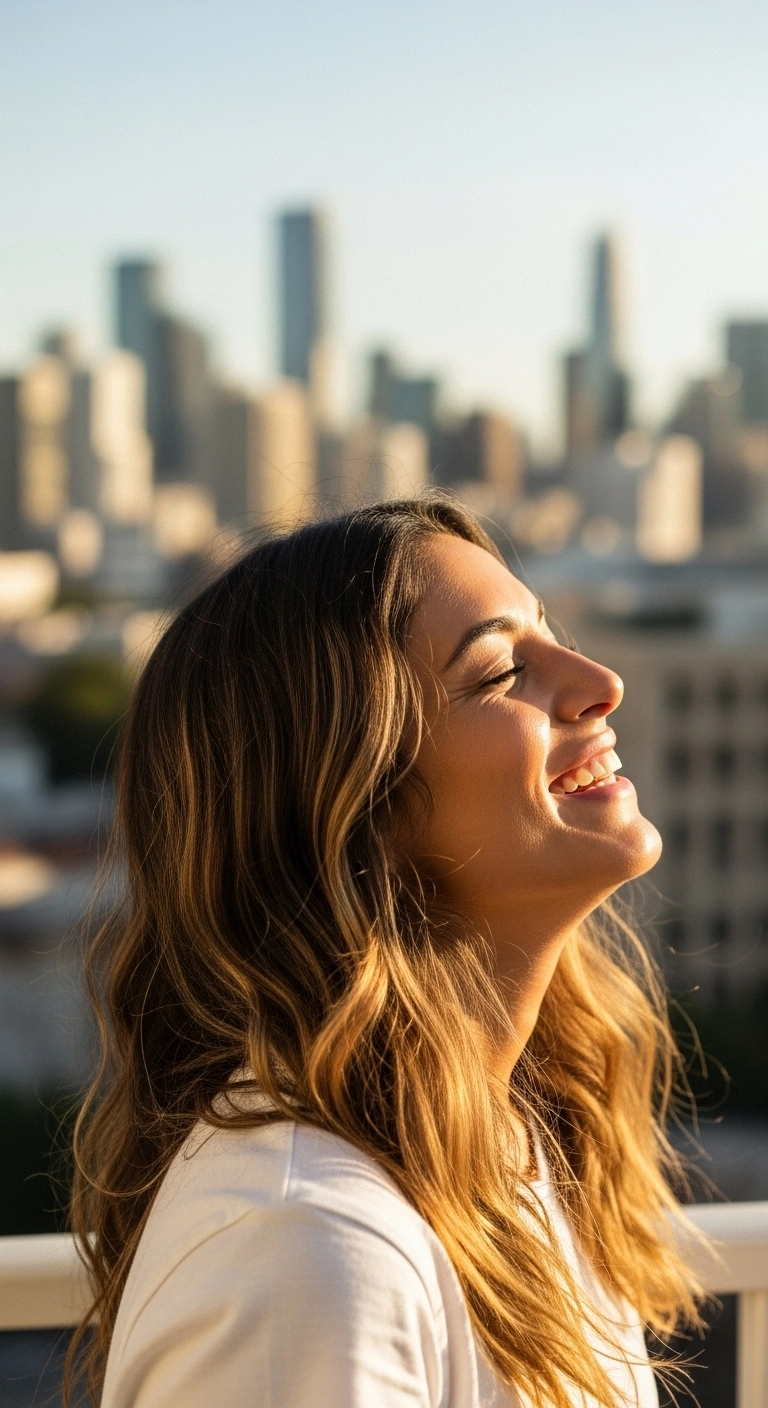
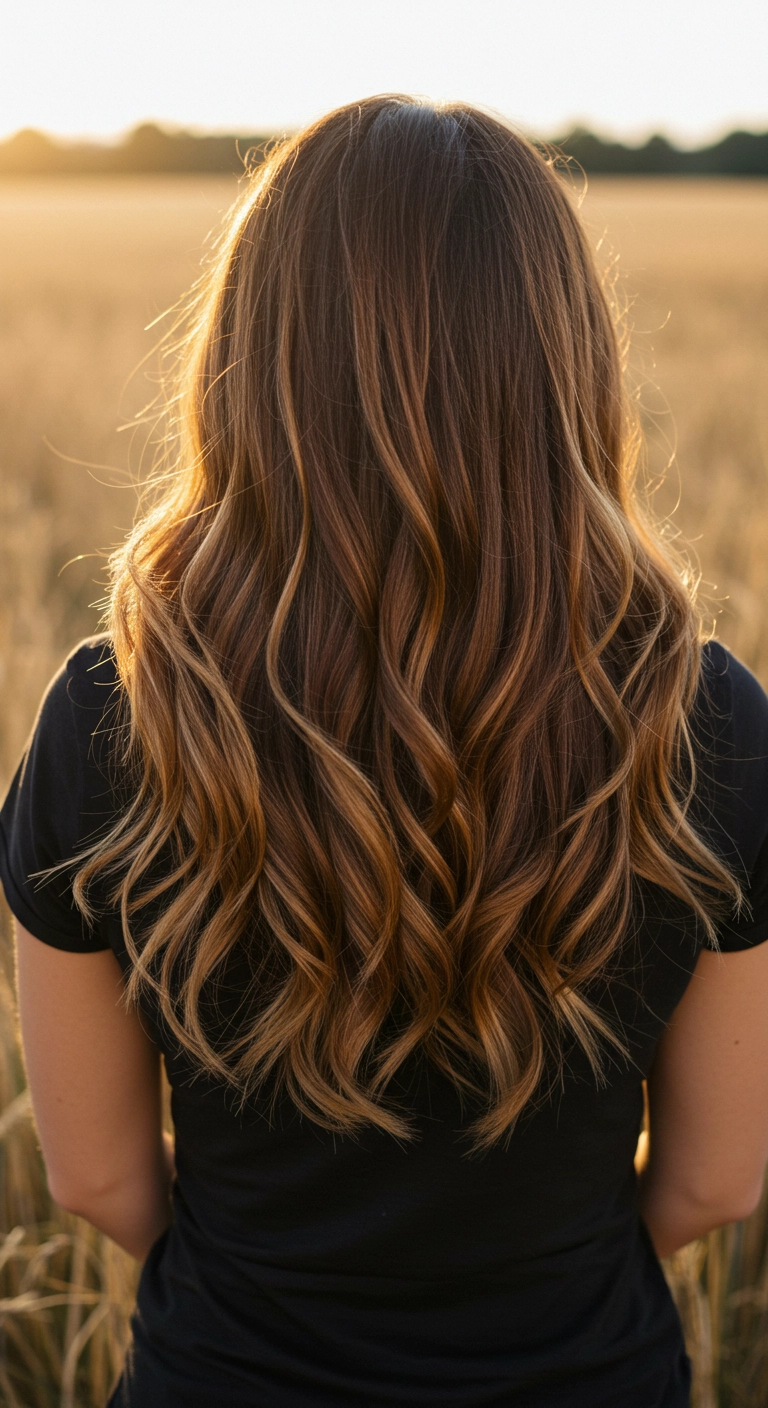
There's nothing quite like sun-kissed honey balayage paired with loose, tumbling waves! I love how the dimensional ribbons catch the golden hour light, giving you that lived-in, effortlessly gorgeous flow without looking overdone.
How to do this
1. Start with clean, damp hair and apply a generous mist of the heat protectant spray listed below to prep and shield your strands from heat styling.
2. Blow dry completely using a round brush to smooth out the roots and build soft, natural volume through the mid-lengths.
3. Section your hair from bottom to top, leaving about two-inch wide sections out at a time.
4. Take a large-barrel curling wand or iron and wrap each section vertically away from the center of the head, leaving the very ends slightly loose for a relaxed finish.
5. Once all sections are curled and fully cooled, gently rake through the curls with a wide-tooth detangling comb listed below to transform tight ringlets into soft, cascading ribbon waves.
6. Work a couple drops of nourishing hair oil listed below between your palms and smooth over the ends to add shine and tame flyaways.
7. Finish by misting the flexible hold hairspray listed below all over so your effortless waves hold their bounce all day long.
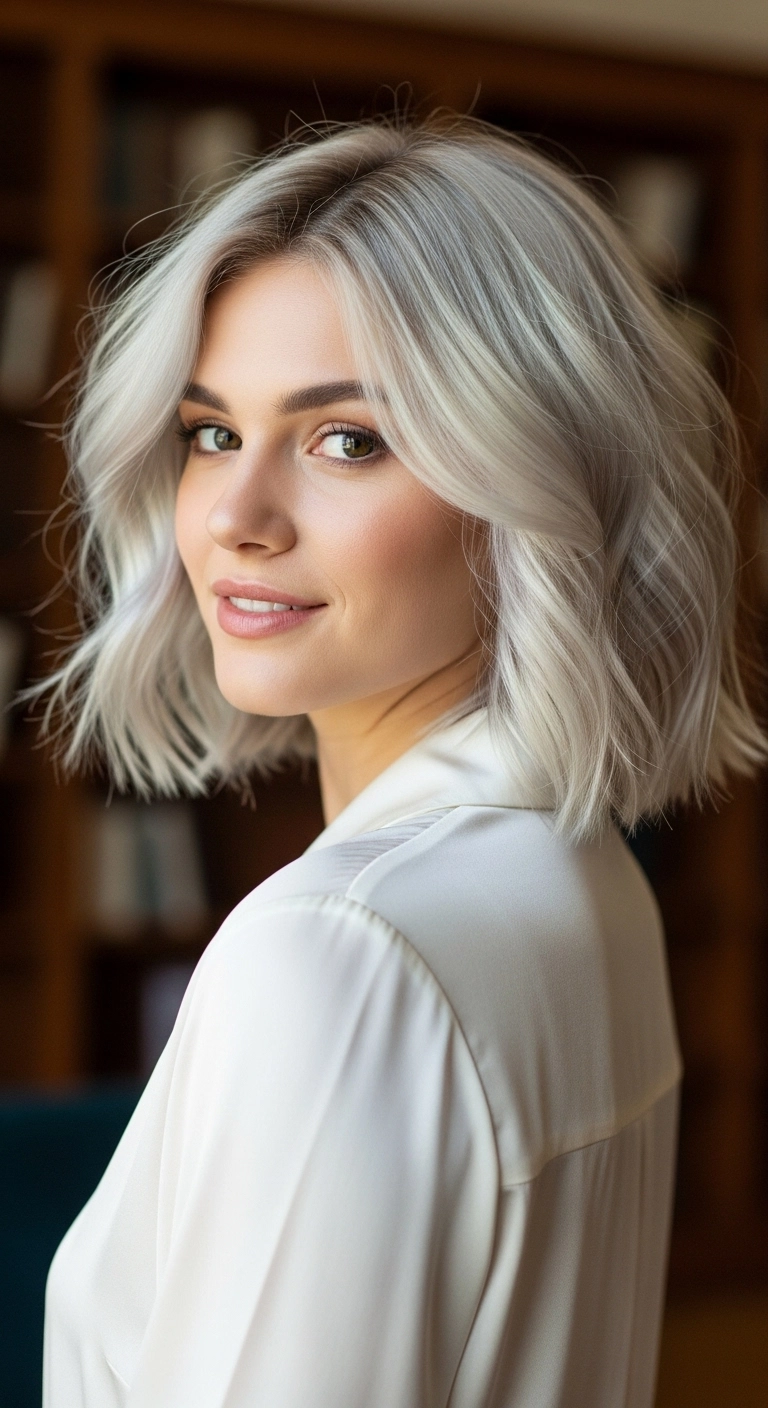
This icy platinum lob is seriously chic and so effortless! I love how the soft bends frame the face while keeping the ends blunt and modern. It gives off the coolest modern vibe and looks incredible whether you dress it up for an event or rock it everyday!
How to do this
1. Start by prepping freshly washed, damp hair with the lightweight blowout heat protectant spray listed below to shield your lightened strands.
2. Blow-dry the hair smooth using a medium ceramic round brush, lifting at the roots around the crown and parting to create natural, soft volume.
3. Once dry, take 1.5-inch vertical sections and use the 1.25-inch curling iron listed below to add a gentle bend, wrapping mid-lengths away from your face while leaving the last inch of your ends straight.
4. For the front face-framing curtain layers, curl back and away from the face to create an open, breezy wave effect.
5. Allow curls to cool completely, then gently rake through with your fingers or the wide-tooth detangling comb listed below to break them into effortless bends.
6. Mist with the dry texturizing volume spray listed below at the roots and mid-lengths to add grip and dimension.
7. Finish by smoothing a tiny drop of the lightweight hair styling oil listed below through the ends to eliminate flyaways and add a high-gloss icy shine.
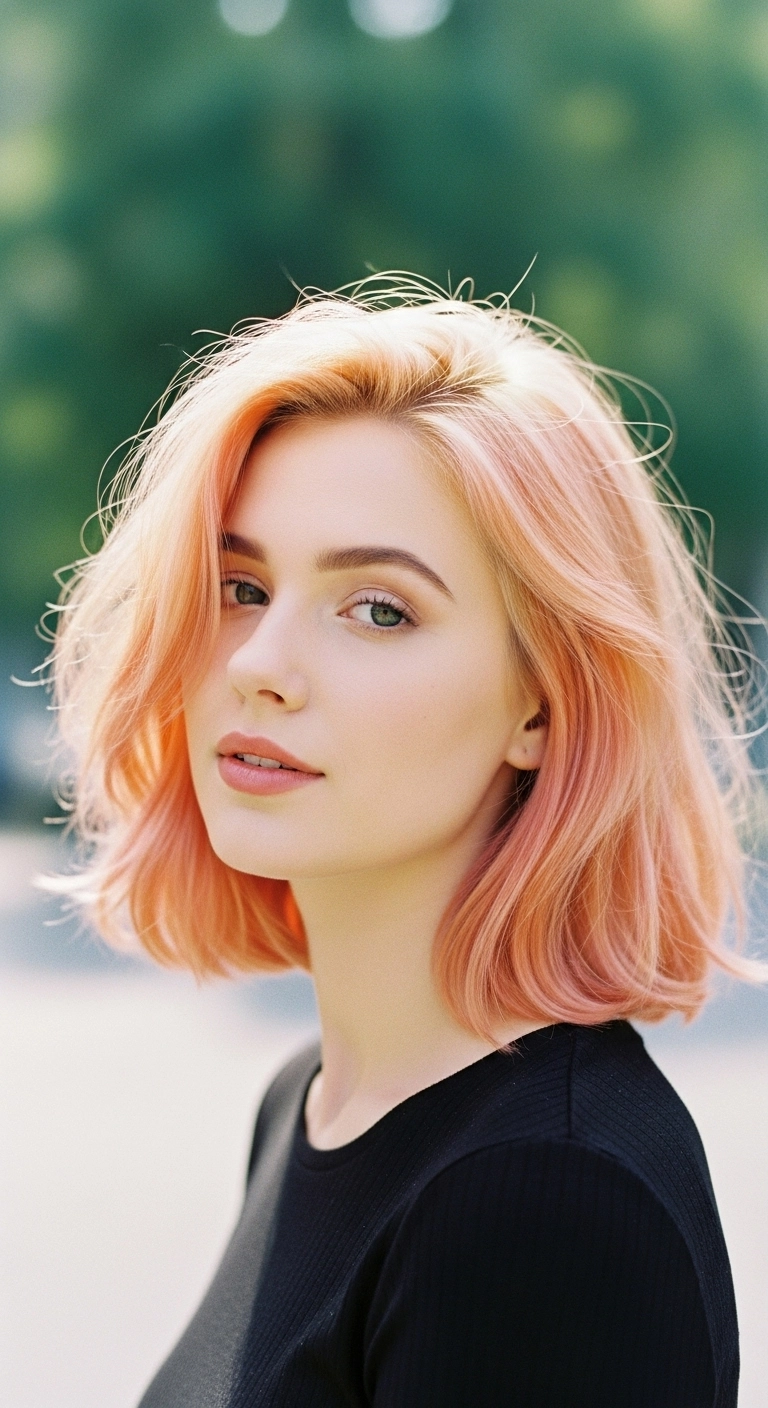
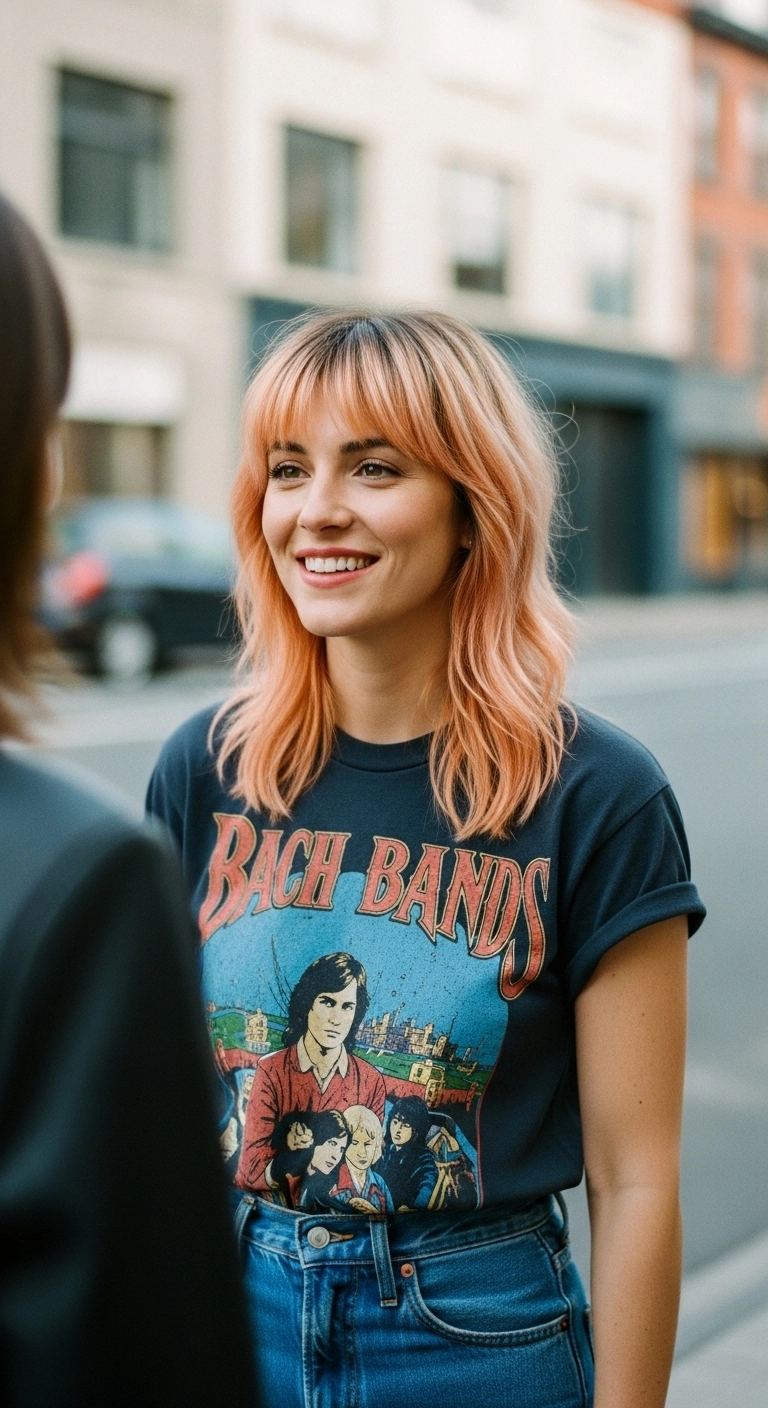
I fell in love with this dreamy peach-pink shade the second I saw it! It brings so much warmth to the face and feels both modern and romantic. The textured, shoulder-grazing lob is super easy to style with just a round brush and some texture spray, making it the ultimate cool-girl summer haircut. If you've been wanting to experiment with fun pastel tones without going too neon, this muted blush peach is definitely the shade to try!
How to do this
1. Start by lightening the hair to an even level 9 or 10 pale blonde canvas using the gentle lightening powder kit listed below.
2. Deposit an all-over custom mix of soft peach and pastel rose semi-permanent hair color using the pastel peach hair glaze listed below, letting it process until you achieve a dreamy, blush-apricot finish.
3. Rinse with cool water and lock in moisture with the color-protecting deep conditioning hair mask listed below.
4. Apply a pump of the lightweight volumizing root lifting mousse listed below through the roots and mid-lengths on towel-dried hair.
5. Blow dry with a large ceramic round brush, flipping the front section to a deep side part to create that effortless swooping volume across the face.
6. Finish with a few quick bends using a large curling wand, then mist with the dry texturizing and finishing spray listed below to add piecey, lived-in separation.
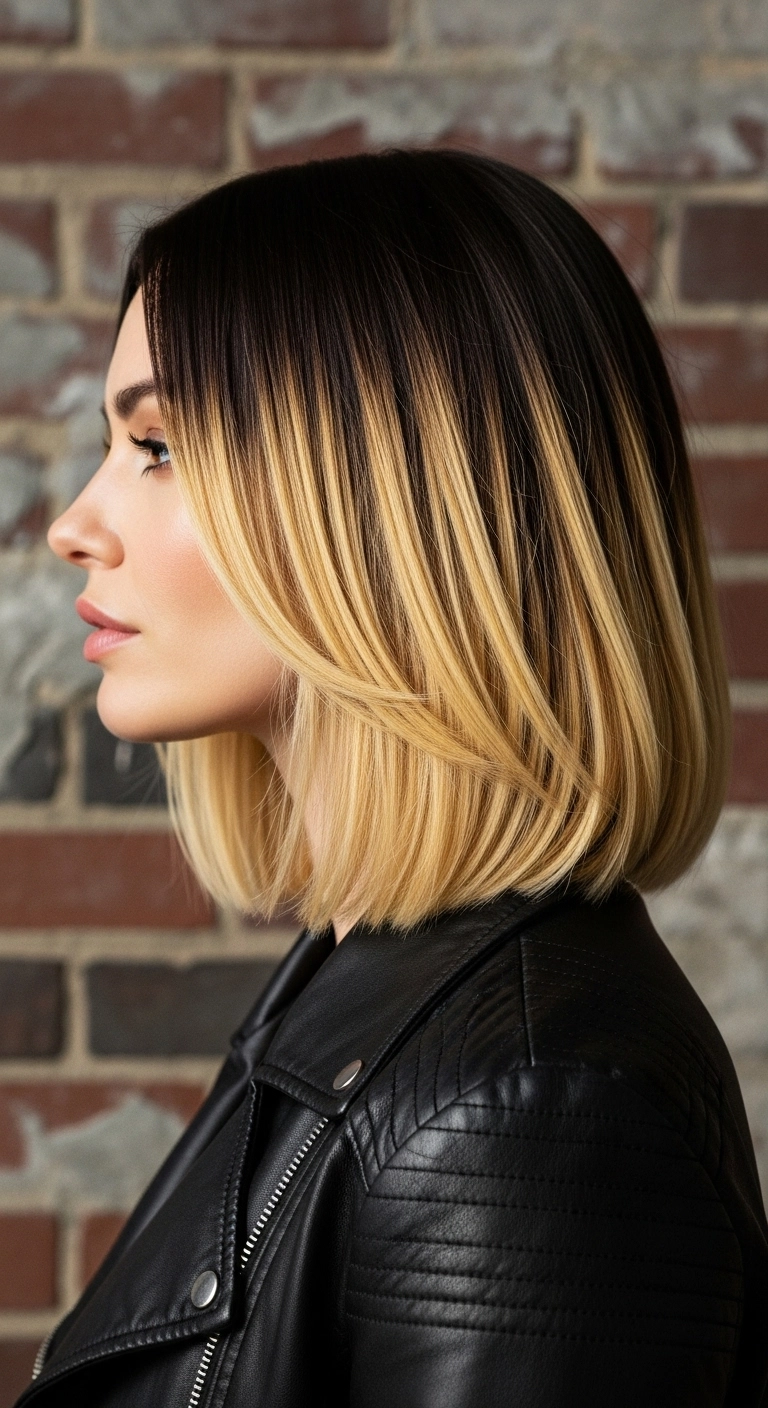
Thinking about going lighter without the constant root touch-ups? A rich shadow root melting into warm golden blonde ends on a blunt collarbone lob is the ultimate cool-girl statement. It delivers all the brightness around your collarbones with none of the high-maintenance upkeep. Who wouldn't want that effortless, edgy chic look?
How to do this
1. Start by prepping freshly washed, damp hair using the heat protectant spray listed below to shield your lightened ends from thermal damage.
2. Apply a dime-sized amount of smoothing blowout serum through the mid-lengths and ends using the smoothing hair serum listed below to keep the blonde looking glossy and frizz-free.
3. Section off your hair into manageable tiers, starting at the nape. Take a large ceramic round brush, like the ceramic round blow dry brush listed below, and blow dry each section downwards, beveling gently inward at the ends.
4. For the face-framing layers around the cheeks, roll the brush backward away from the face to create that sweeping, layered curtain effect.
5. Smooth over any flyaways on top with a light pass of a flat iron on low heat if needed, and mist lightly with the flexible hold hairspray listed below for a sleek, all-day hold.
6. Finish off by applying a drop of lightweight hair oil to the ends using the argan nourishing hair oil listed below to enhance separation and shine.
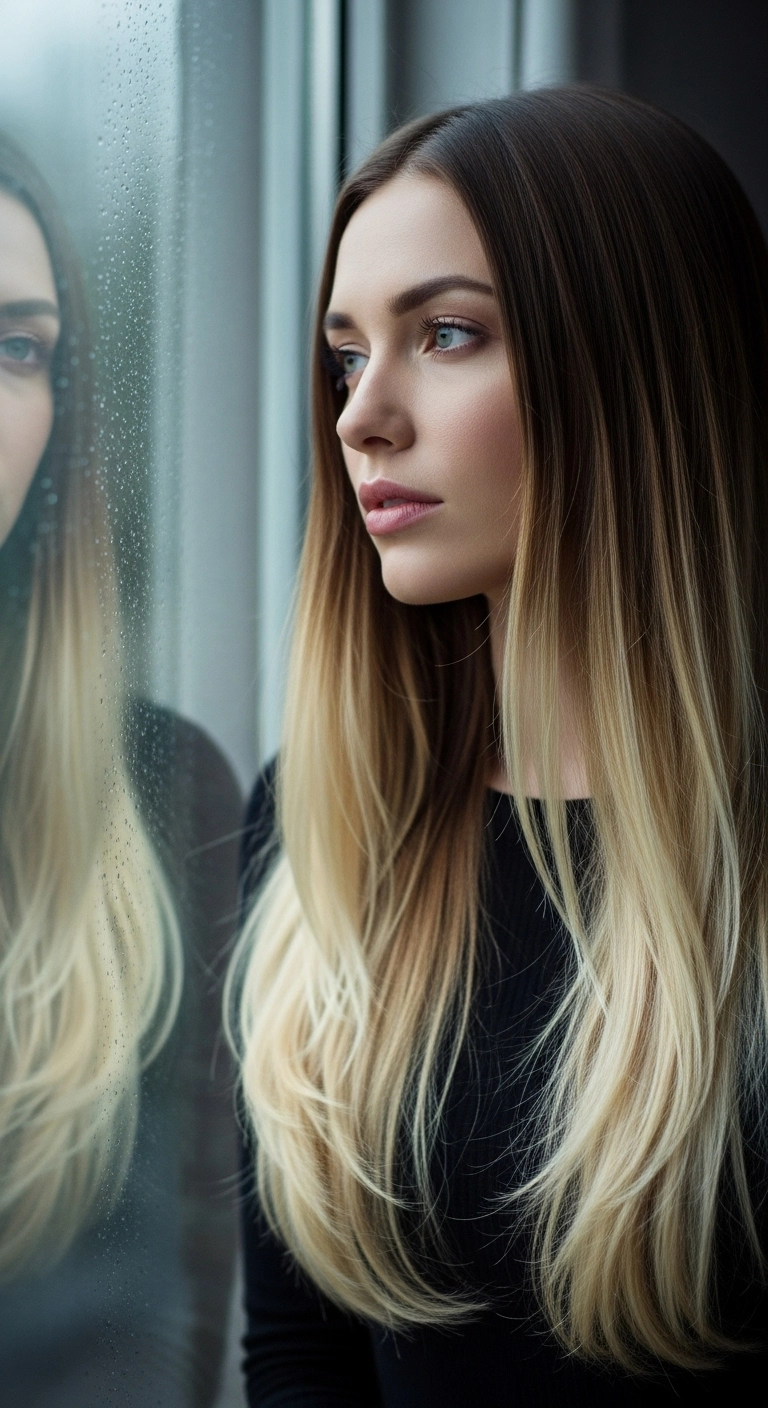
There is honestly nothing cleaner than a seamless shadow root transition into bright icy blonde. If you want that gorgeous blonde brightness without having to worry about constant salon touch-ups on your roots every four weeks, this lived-in ombre melt is the absolute sweet spot. The smooth blowout with soft curved ends just makes the entire blend look like pure silk!
How to do this
1. Start by prepping damp hair with a smoothing heat protectant serum using the heat protectant spray listed below to shield strands and seal the cuticles.
2. Section the hair into manageable horizontal layers, starting at the nape of the neck.
3. Blow dry each section using a large ceramic round brush listed below, directing the airflow down the shaft to keep it ultra-smooth and silky.
4. When reaching the mid-lengths and blonde ends, roll the round brush inwards to give the layered ends that gentle, polished bevel.
5. Use a paddle brush to establish a clean center part and let the front face-framing layers fall softly beside the cheekbones.
6. Finish the look by smoothing a pea-sized amount of nourishing hair oil listed below through the blonde ends for radiant shine and to keep split ends tame.
Are you ready to channel ultimate sun-drenched golden hour vibes? These effortless honey blonde waves give you that classic California glow with gorgeous volume and bounce. It’s lived-in, breezy, and effortlessly glamorous—honestly, who doesn't want that carefree summer look all year round?
How to do this
1. Start on freshly washed, damp hair and prep from roots to ends with a lightweight volumizing mousse to create foundation and lift.
2. Mist hair with the heat protectant spray listed below, making sure all strands are shielded before using hot tools.
3. Blow dry using a large ceramic round brush, lifting at the roots to maximize volume and gently curving the ends outward.
4. Divide your hair into 1.5 to 2-inch horizontal sections and wrap them loosely around the 1.25-inch curling iron listed below, leaving about an inch of the ends out for an effortless finish.
5. Alternate curl directions away from the face to create natural, dimensional movement.
6. Once the curls have completely cooled, rake through them gently using the wide-tooth detangling comb listed below to soften them into loose S-waves.
7. Spray the dry texturizing spray listed below through the mid-lengths and underneath sections to add body and airy separation.
8. Finish off with a light mist of the flexible hold hairspray listed below to keep your golden waves bouncy all day long.
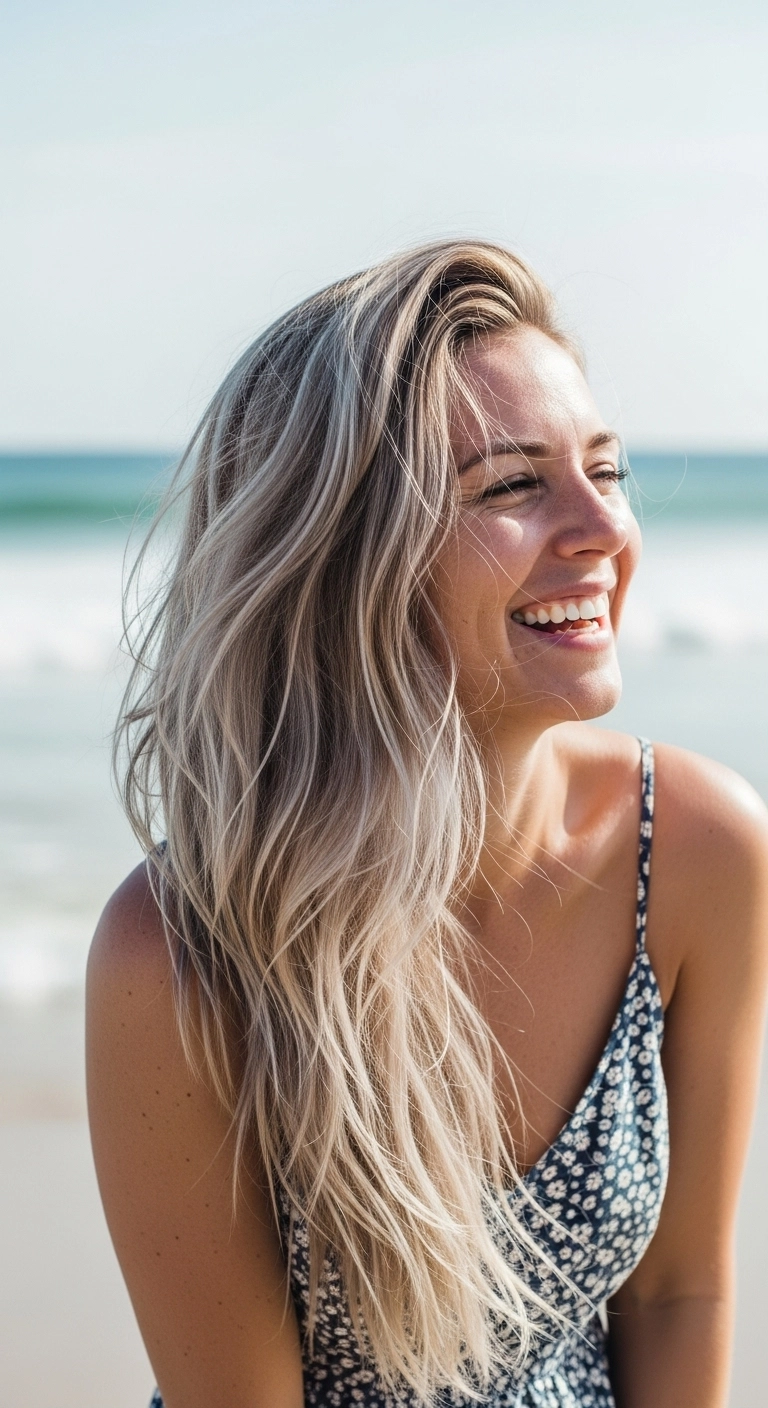
This beachy blonde style is ridiculously effortless and it has that gorgeous, wind-swept texture that looks like you just stepped off the coast! I love how full and airy it feels without looking overdone at all. If you have thicker hair and love a bright, low-maintenance dimensional blonde, you are definitely going to want to try this look!
How to do this
1. Prep towel-dried hair by misting the leave-in conditioning spray listed below all over your mid-lengths and ends to detangle and protect against dryness.
2. Apply a golf ball-sized amount of the volumizing hair mousse listed below right at your roots and work through for that breezy, lightweight lift.
3. Rough-dry your hair with a blow dryer until it is about 80% dry, then use a large ceramic round brush to smooth out the crown and bend the ends softly.
4. Take a wide-barrel curling wand or iron and wrap large, vertical two-inch sections away from your face, making sure to leave the last inch of the ends uncurled for that relaxed, modern beach shape.
5. Flip your head upside down and generously spray the sea salt texturizing spray listed below through the lengths to break up the curls.
6. Finish by raking a couple of drops of the lightweight hair styling oil listed below through the very ends to tame flyaways while keeping that gorgeous, wind-blown matte shine.
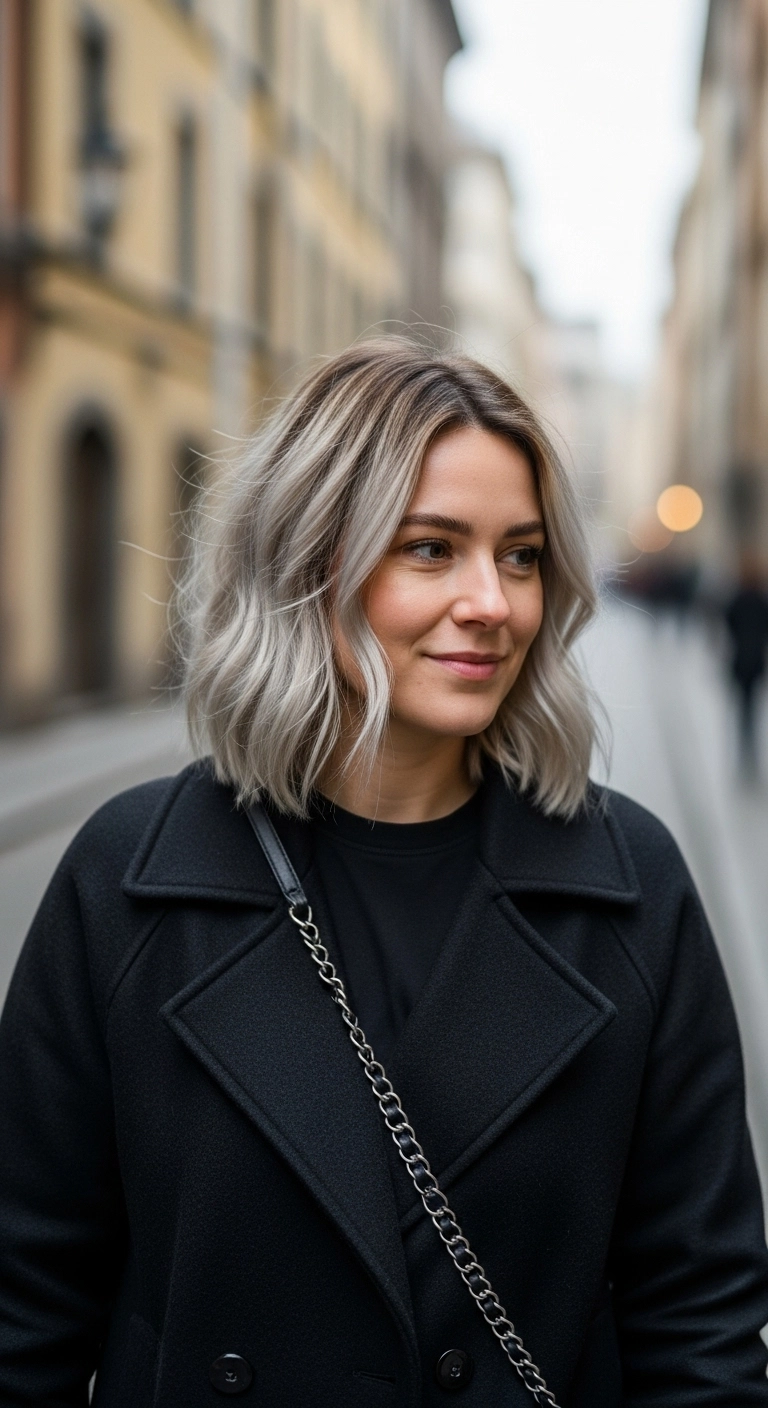
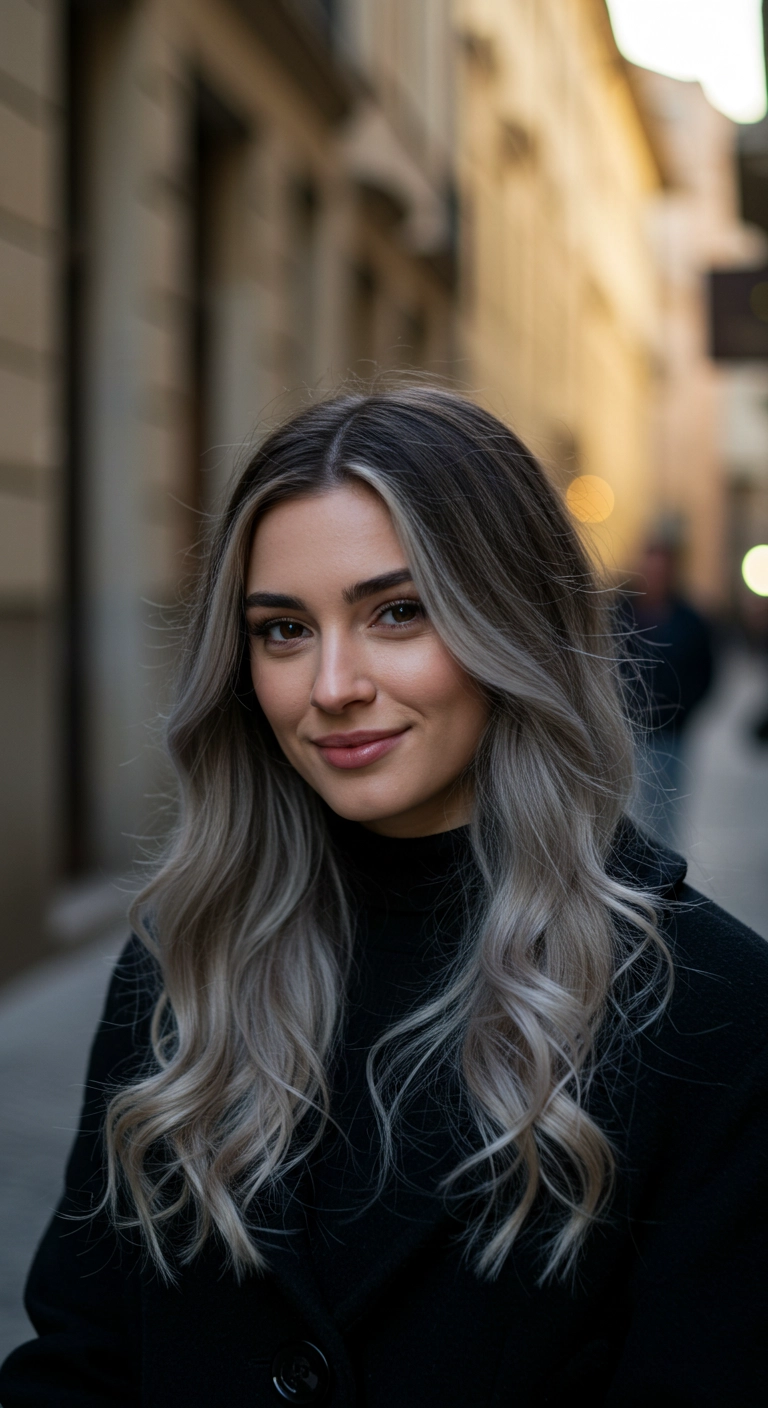
I'm absolutely obsessed with this effortless lob because it gives off that cool, chic city vibe without trying too hard. The shadow root means you don't have to stress about immediate touch-ups, and the icy platinum color pops so beautifully against everyday neutrals like a classic black coat. It takes barely fifteen minutes to wand a few quick bends into your hair, shake it out, and head out the door looking completely put together!
How to do this
1. Start by prepping towel-dried hair with the heat protectant spray listed below to shield your blonde strands from thermal styling damage.
2. Blow dry hair completely using a large ceramic round brush to smooth out the roots while keeping natural body throughout the length.
3. Divide hair into horizontal sections starting from the nape, leaving out the root area to maintain that natural lived-in shadow effect.
4. Take 1- to 1.5-inch vertical sub-sections and wrap them around a 1.25-inch curling iron listed below, alternating wave directions and leaving the very ends straight for a relaxed, modern silhouette.
5. For the front strands, gently curl away from the face to create soft, face-framing contour curves around the cheekbones.
6. Once the curls have completely cooled, lightly mist your roots and lengths with the dry texturizing spray listed below.
7. Rake through the curls gently with a wide-tooth comb or your fingers to break up the pattern into effortless, tousled waves.
8. Finish the look by applying a tiny drop of the lightweight hair serum listed below to your ends to add shine and maintain coolness.
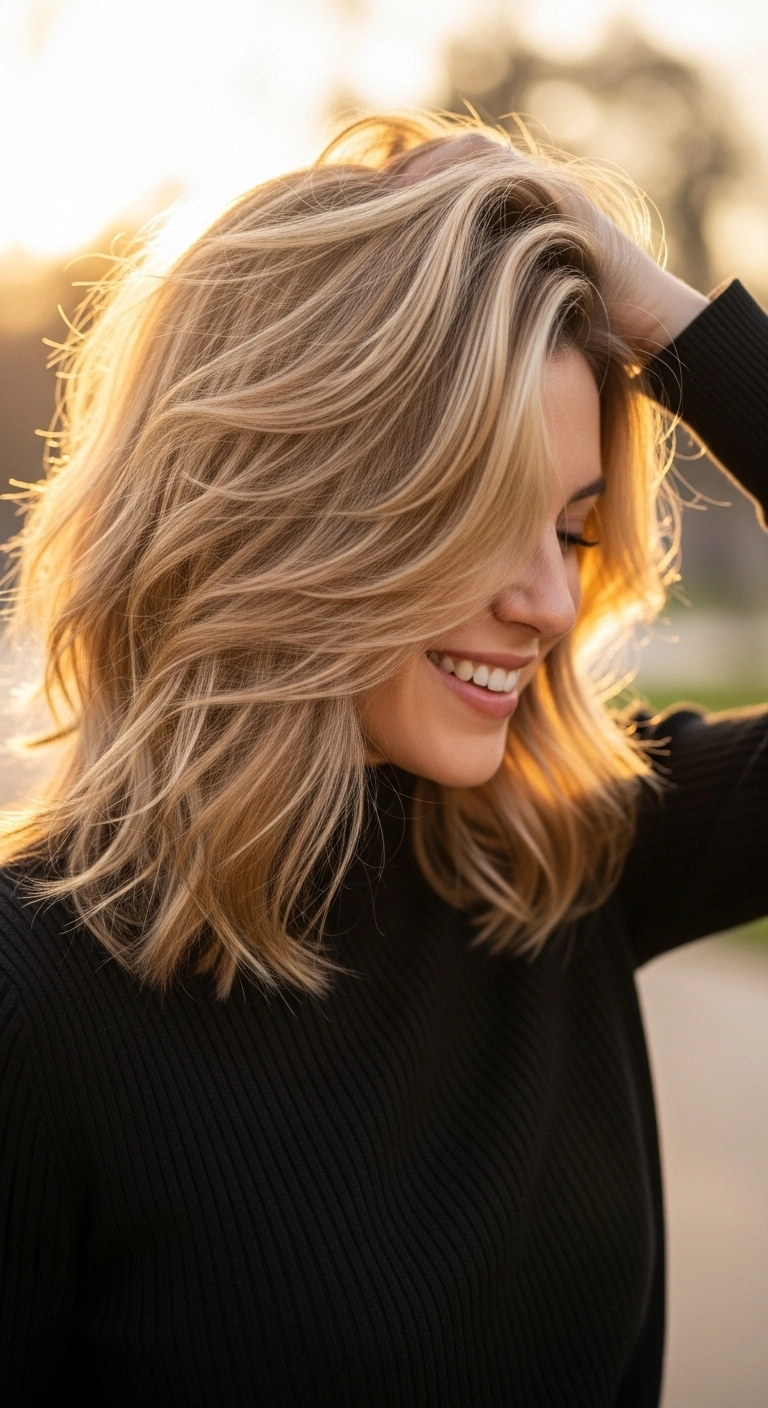
The effortless layered lob with sweeping curtain layers. Such a stunning go-to! I love how full and airy this cut feels with just a quick blowout, and that warm golden dimension gives it the ultimate sun-lit glow. Perfect if you want something chic that looks put together with zero fuss.
How to do this
1. Start by washing hair with a color-safe, volumizing shampoo and conditioner, then gently towel-dry.
2. Apply a dime-sized amount of the lightweight volumizing mousse listed below to your damp roots and lengths, followed by a misting of the heat protectant spray listed below.
3. Using a large ceramic round blow dry brush and a blow dryer, dry the hair in medium sections, rolling the brush outward away from the face to create soft swooping bends and root lift.
4. For extra flow through the front layers, take a 1.25-inch curling iron listed below and wrap face-framing pieces backward for just a few seconds to set the curtain shape.
5. Flip your head upside down and thoroughly spritz the dry texturizing spray listed below through the roots and mid-lengths.
6. Shake hair out, rake fingers through to break up any structured curls into relaxed waves, and finish with a light mist of the flexible hold hairspray listed below.
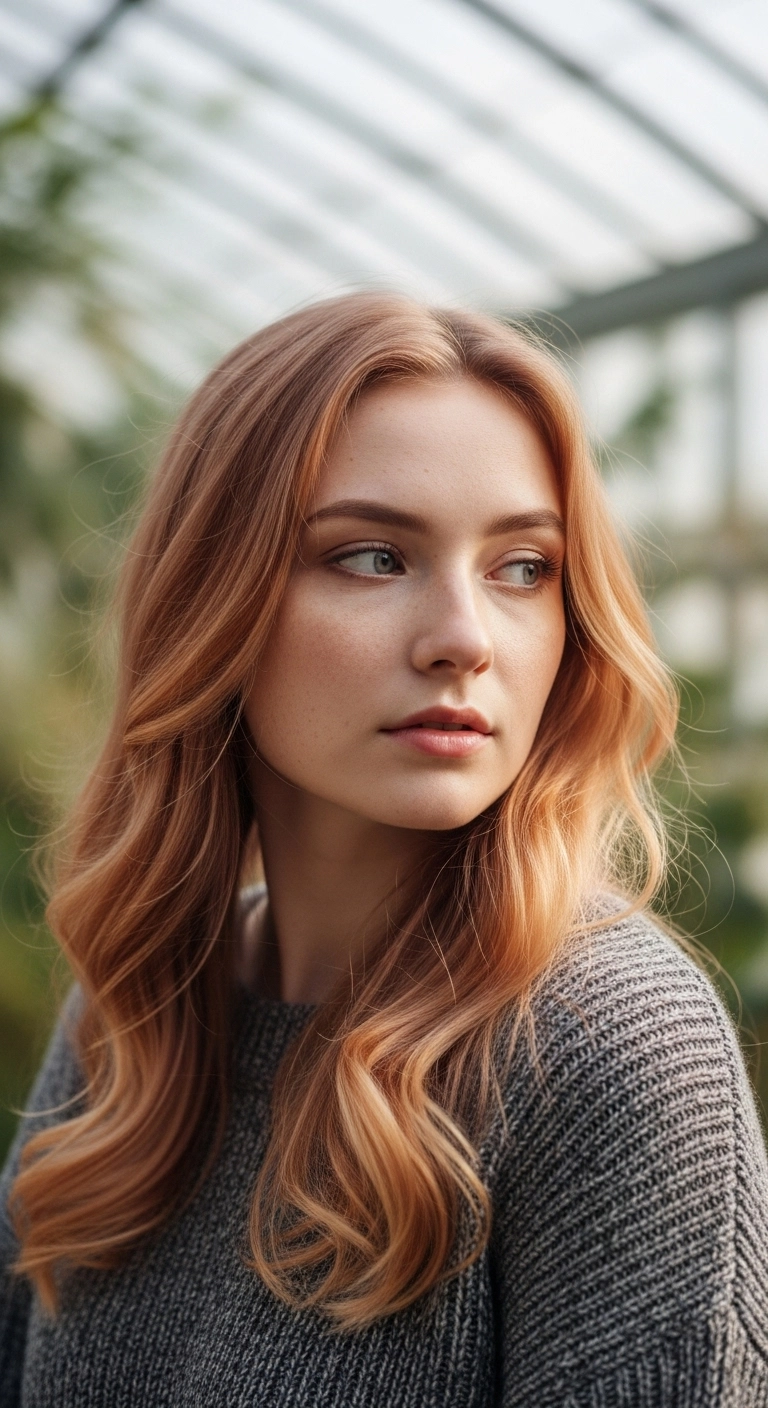
If you've been dreaming of going a little warmer, this strawberry blonde wave look is pure perfection. The soft copper-honey undertones catch the light so beautifully, and those effortless, swept-away bends give you instant salon blowout energy without looking stiff. It’s dreamy, cozy, and super wearable every single day!
How to do this
1. Start on freshly washed, damp hair and prep with a heat-protectant blowout cream listed below to smooth strands and enhance shine.
2. Blow dry using a round ceramic styling brush listed below, lifting at the roots around the crown for natural volume while smoothing the lengths outward.
3. Once hair is completely dry, divide it into horizontal tiers and use a large-barrel curling wand listed below, wrapping wide vertical sections away from your face.
4. Let the curls cool fully so the shape locks in, then gently rake through your waves using a wide-tooth comb listed below.
5. Mist a light dry texturizing spray listed below through the mid-lengths to create that airy, touchable separation.
6. Finish with a drop of lightweight hair bonding oil listed below focused strictly on the ends to catch the light and add that radiant golden glow.
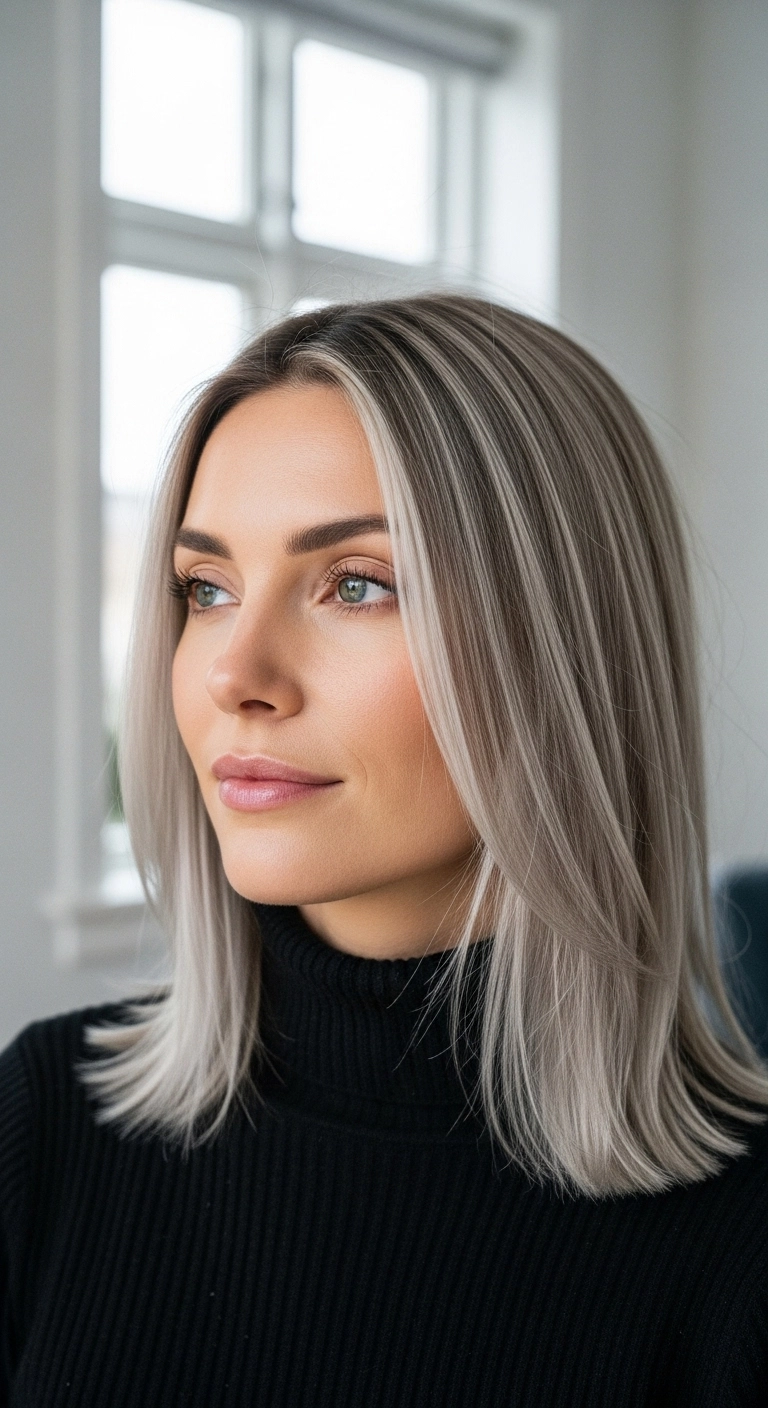
I am completely obsessed with this ash blonde lob!! The seamless shadow root melts so effortlessly into those icy, silvery lengths, and that bold bright money piece gives the prettiest pop around the face. It's such a sleek, high-end look that feels timeless whether you wear it straight like this or toss in some loose waves!
How to do this
1. Start by prepping clean, damp hair with a thermal protectant using the heat protectant spray listed below to shield your blonde strands from heat damage.
2. Apply a dime-sized amount of smoothing blowout serum evenly through the mid-lengths and ends to add slip and cut down on frizz.
3. Section the hair horizontally into manageable tiers, beginning at the nape of the neck.
4. Blow dry each section smooth using the round ceramic brush listed below, directing the airflow downward to flatten the cuticle and create mirror-like shine.
5. When you reach the front face-framing pieces and money piece, roll the brush backward away from the face to give that open, sweeping contour around your cheekbones.
6. Run a flat iron on medium heat lightly over the ends, giving a very slight inward bevel to mimic that effortlessly polished collarbone swing.
7. Finish by misting a small amount of the luminous lightweight hair oil listed below onto your palms and smoothing over flyaways for an ultra-glossy, platinum finish.