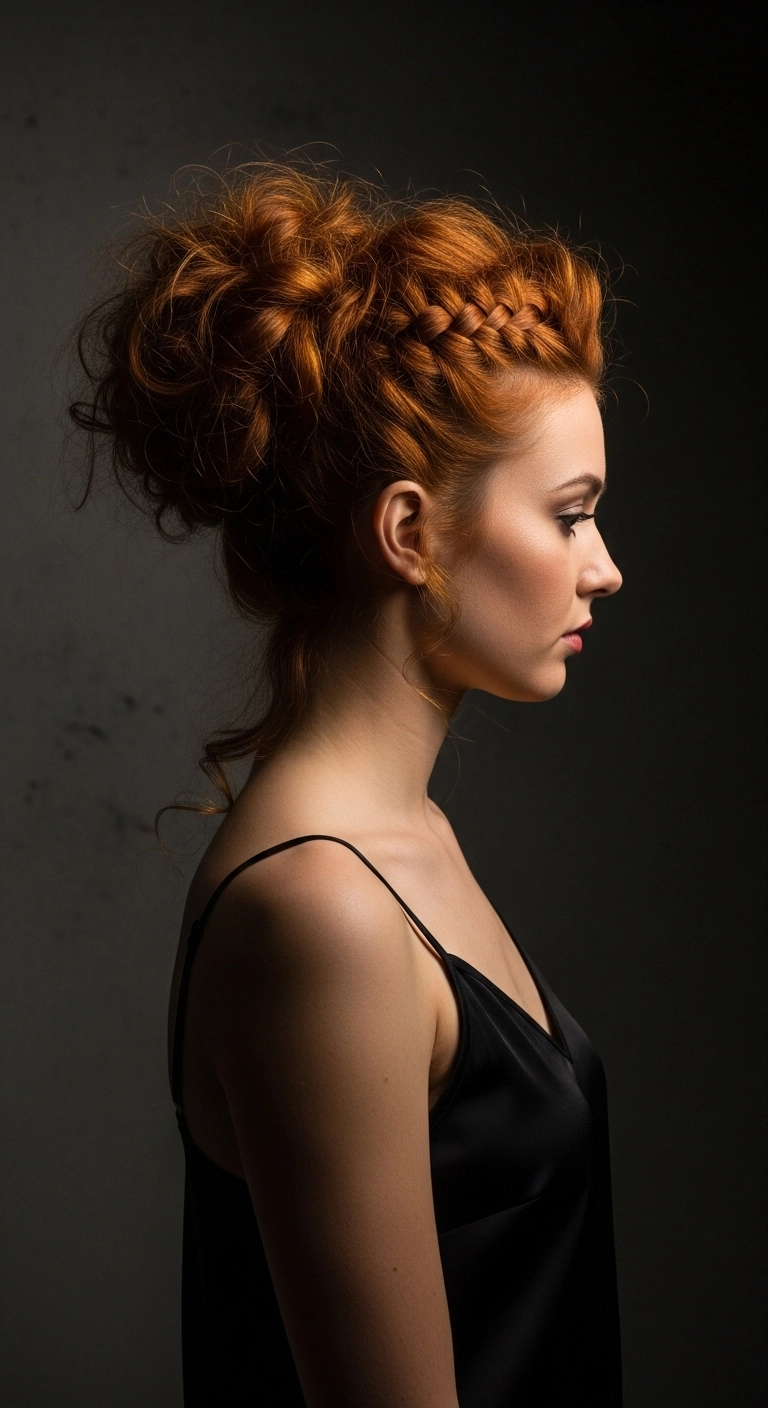
Honestly, there is nothing quite as breathtaking as fiery copper hair swept into an effortless romantic updo! The Dutch side braid creates gorgeous structure along the profile while leaving that voluminous, tousled bun to steal the show. It’s got that fairy-tale, Renaissance-meets-modern aesthetic that feels special without ever trying too hard.
How to do this
1. Start by prepping your dry hair with a generous mist of the texturizing volume spray listed below to add grip and fullness before styling.
2. Add loose curls and waves throughout your entire head using the ceramic curling wand listed below, alternating directions to build plenty of dimension.
3. Section off a 2- to 3-inch section of hair along the front hairline starting near your part or temple to create the accent braid.
4. Begin a Dutch lace braid along the side of your hairline, crossing strands underneath and adding small sections primarily from the top so it pops outward cleanly.
5. Continue braiding toward the crown, then gently pancake the braid loops with your fingers to make it look chunky, soft, and textured.
6. Gather the remaining lengths into a high, loose ponytail at the upper crown using a snag-free elastic band.
7. Twist and loop sections of the ponytail into a full, voluminous messy bun, securing pieces organically with the matte bobby pins listed below.
8. Pin the end of your side braid directly into the base of the bun to blend it seamlessly into the shape.
9. Pull a delicate tendril free near the nape of the neck or ear, and finish the entire look with a cloud of the flexible hold hairspray listed below.
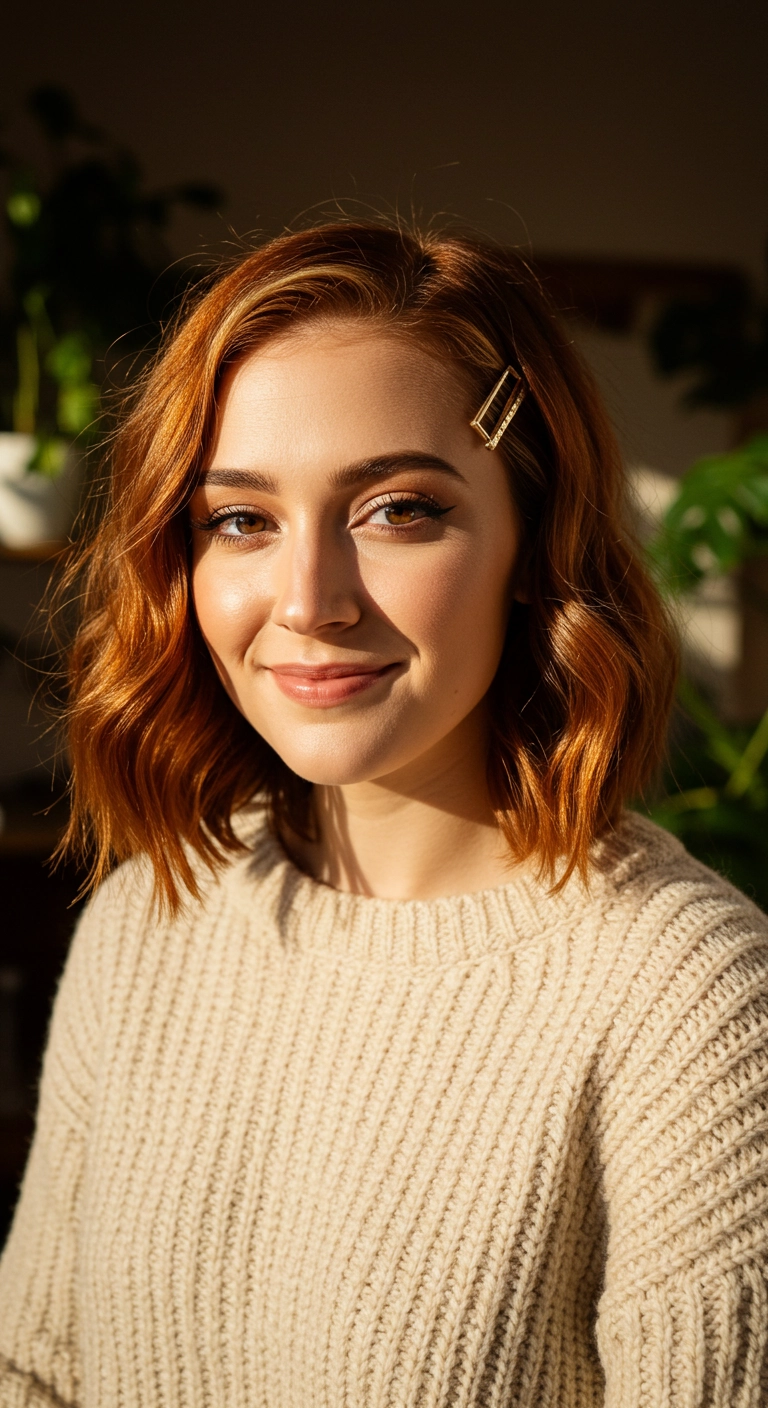
This wavy copper lob is ridiculously cute and so easy to style on busy mornings! I love the rich warm ginger tones in the sunlight and that little gold clip adds the perfect chic touch. If you have medium-length hair and want an effortless everyday look, you definitely need to try this!
How to do this
1. Start by prepping damp hair with a lightweight heat protectant spray using the heat protectant spray with argan oil listed below, combing it through evenly.
2. Blow-dry your hair using a round brush or paddle brush to smooth the roots while maintaining natural body.
3. Create a deep or soft side part on your preferred side, smoothing the crown.
4. Take medium 1 to 1.5-inch vertical sections and wrap them loosely around the 1.25-inch ceramic curling iron listed below, leaving about an inch of the ends straight for that chic, modern wavy lob look.
5. Alternate curl directions away from and toward your face to create natural, effortless movement.
6. Once the curls have completely cooled, lightly mist with the dry texturizing spray listed below and rake through with your fingers or a wide-tooth comb to break them into soft S-waves.
7. On the shallower side of your part, tuck the hair neatly behind your ear or flat against the head, and slide in the decorative gold hair barrette listed below just above the temple.
8. Lock everything in with a light mist of the flexible hold hairspray listed below for all-day style and shine.
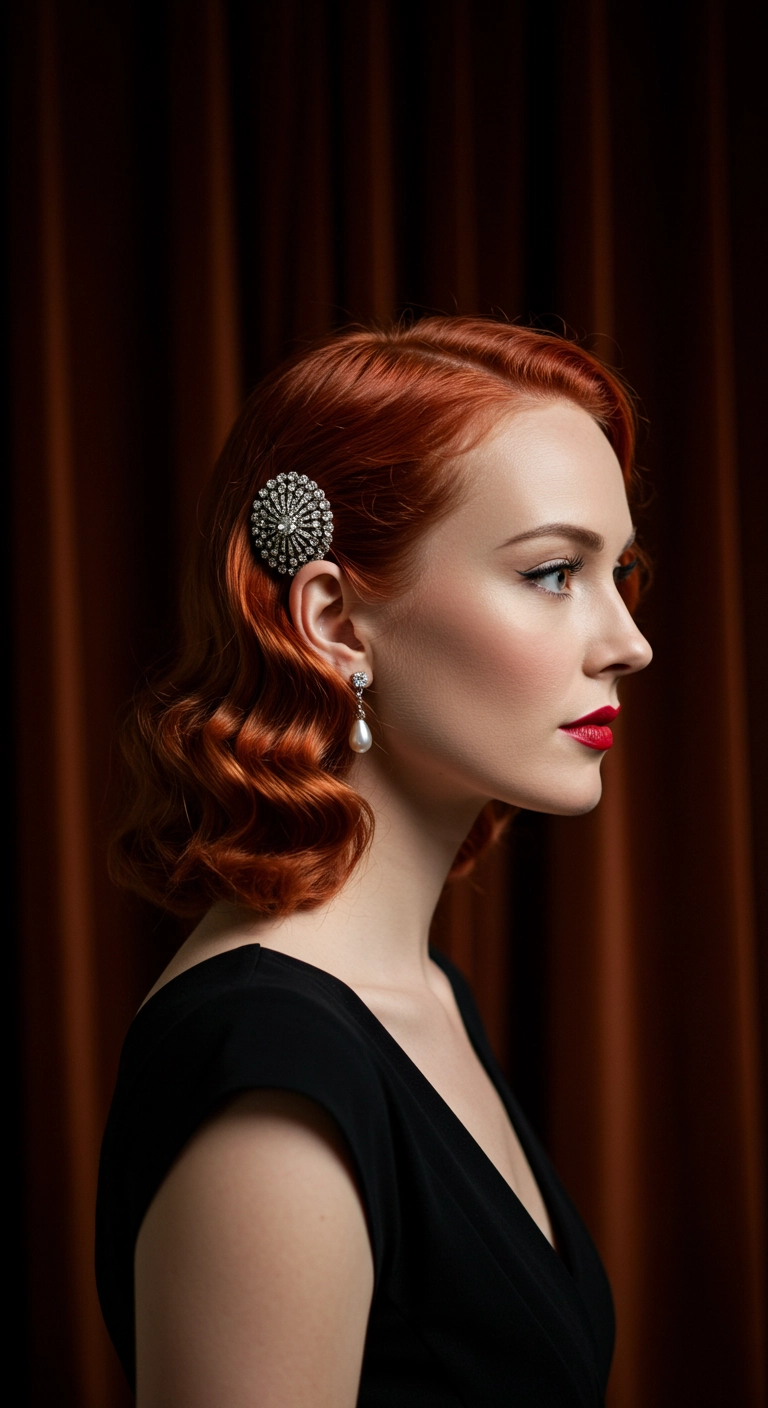
This hairstyle is pure Old Hollywood glamour with a rich copper twist. You curl all your sections in the exact same direction, let them cool, and brush them out into uniform, silky S-waves. Finish by tucking one side behind your ear and popping in a sparkling vintage brooch or clip for instant red-carpet elegance.
How to do this
1. Start by prepping freshly washed, damp hair with a golf ball-sized amount of the volumizing styling mousse listed below from roots to ends.
2. Blow dry hair smoothly in sections using a round boar bristle brush, creating a deep side part aligned with the arch of your eyebrow.
3. Mist a light coat of the thermal heat protectant spray listed below over all sections to shield from heat and lock in shape.
4. Using a 1-inch curling iron, curl horizontal sections all in the exact same downward direction toward the face to ensure the waves align seamlessly.
5. Secure each warm curl against your scalp using the metal setting clips listed below and allow them to cool down completely for at least 15 minutes.
6. Remove the clips and gently brush through the curls using the cushion paddle brush listed below until the individual curls merge into one sculpted, uniform S-wave pattern.
7. Smooth the shallow side neatly behind the ear, secure it firmly with bobby pins, and slide the vintage rhinestone hair comb listed below just above the ear.
8. Finish the entire style with a generous veil of the high-shine flexible hairspray listed below to control flyaways and seal in maximum gloss.
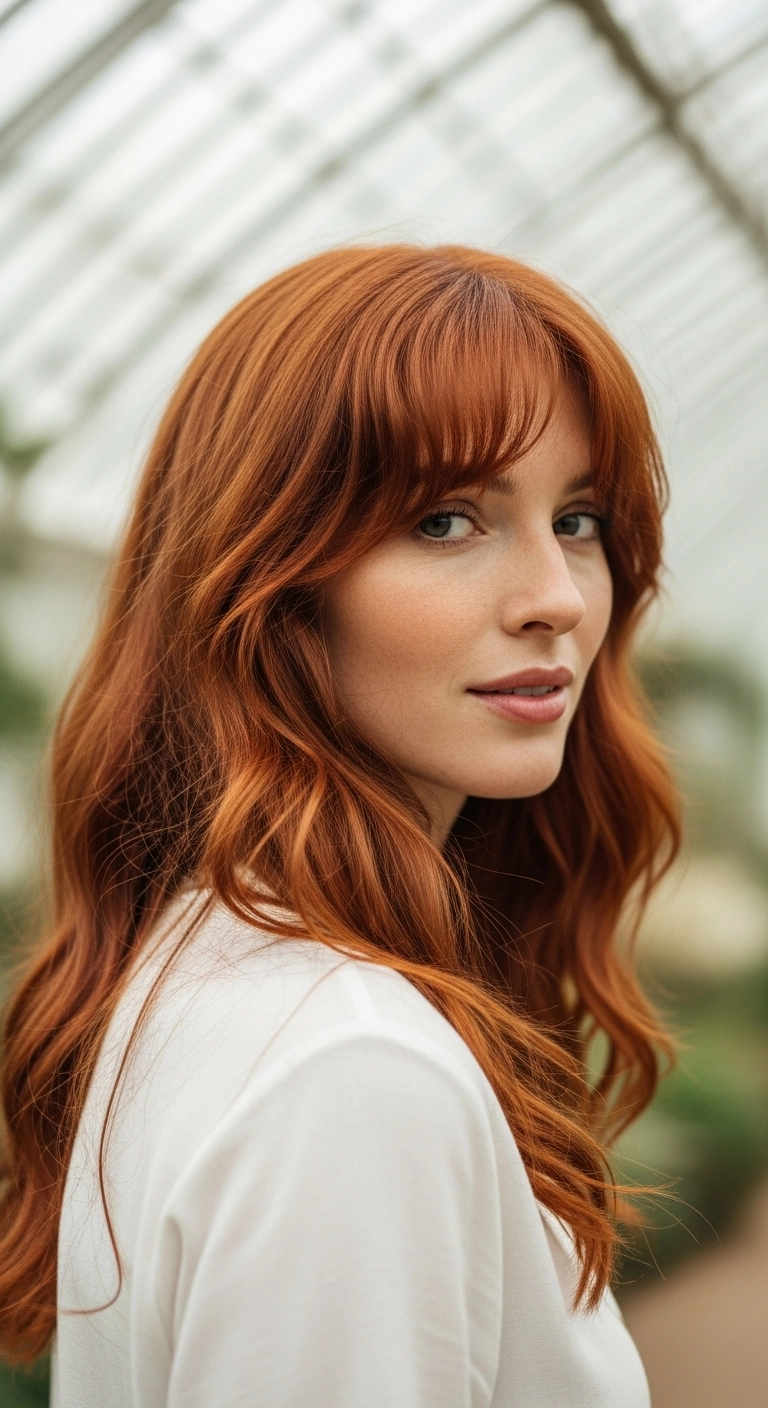
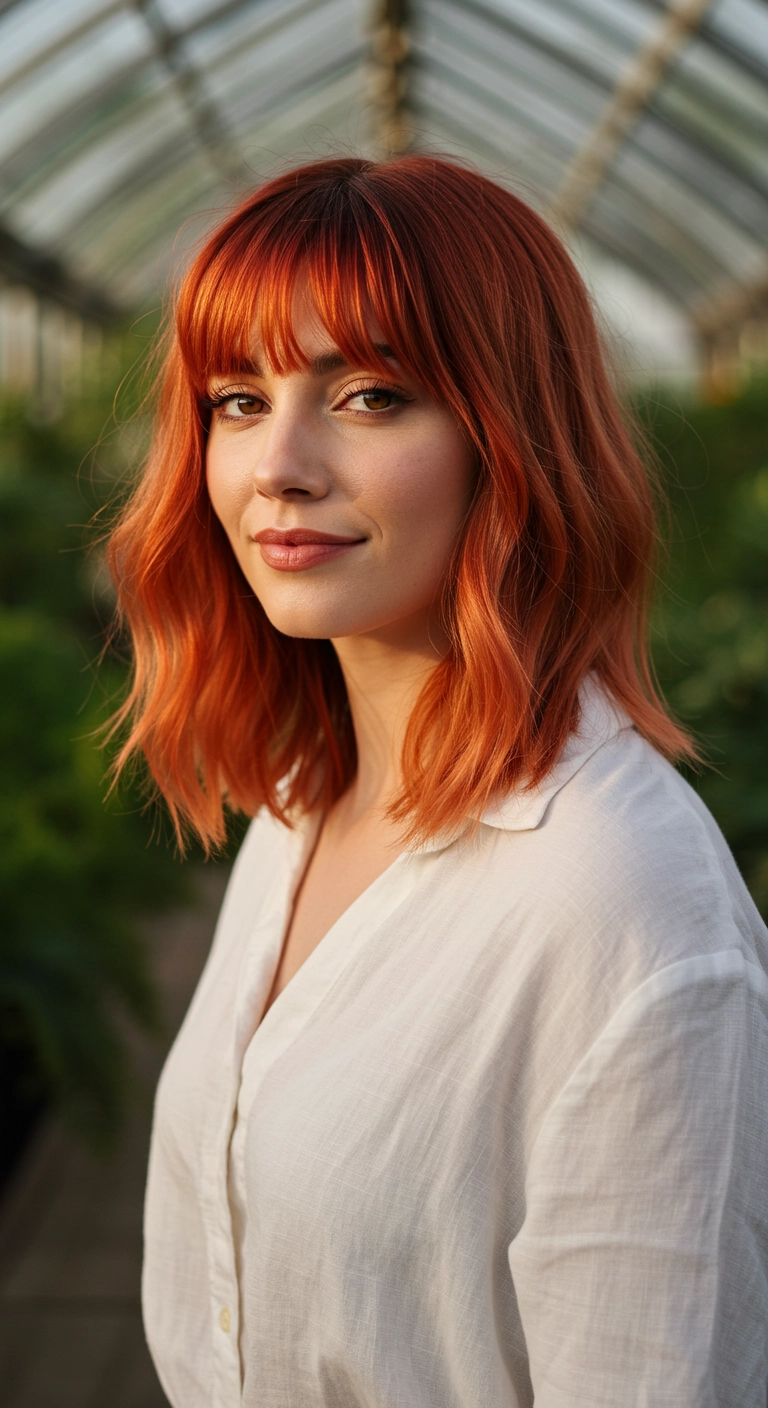
Copper hair is easily one of the most stunning, head-turning looks you can go for. Pairing rich reddish-ginger tones with soft, face-framing curtain bangs gives off the ultimate effortless French-girl vibe. If you ever feel like your waves fall flat or look too stiff, just mist in a good texturizing spray and gently finger-comb them out. It instantly adds that airy, lived-in bounce that makes natural hair look so full of life.
How to do this
1. Prep freshly washed, damp hair with a lightweight smoothing heat protectant spray listed below to shield strands from hot styling tools.
2. Apply a dollop of volumizing styling mousse listed below throughout the roots and mid-lengths to ensure all-day body and airy lift.
3. Rough-dry your hair until it is about 80% dry, then clip away the top section and use a round ceramic blowout brush listed below to smooth and shape the lower sections.
4. Blow-dry the bangs forward around a smaller round brush, rolling them back slightly at the temples to create that effortless curtain sweep across the forehead.
5. Use a 1.25-inch curling iron listed below to wrap vertical mid-shaft sections away from the face, leaving the last inch of the ends straight for a modern, relaxed wave.
6. Once the curls have completely cooled, rake through them with your fingers to break up the shape and mist with a dry texturizing finishing spray listed below to lock in lived-in movement.
Talk about an absolute head-turner! This rich, vibrant copper shade paired with cascading classic Hollywood waves gives off the ultimate old-school glam vibes. The way the deep side sweep drapes softly across the cheekbone is just chef's kiss—it's surprisingly simple to recreate with a large barrel iron and a good brush-out!
How to do this
1. Prep damp, clean hair by distributing a golf ball-sized amount of the volumizing mousse listed below from roots to ends for body and hold.
2. Mist your strands thoroughly with the heat protectant spray listed below, then blow-dry with a large round ceramic brush, directing the front section up and over to establish a dramatic, voluminous side part.
3. Divide your hair into horizontal sections and wrap large 2-inch chunks around the 1.5-inch curling iron listed below, curling all sections in the same direction towards your face to create uniform waves.
4. Pin each curl up to cool with setting clips for about 10 minutes to lock in that gorgeous Hollywood bounce.
5. Release the clips and gently brush through the curls using the wide paddle brush listed below until they merge into smooth, flowing s-waves.
6. Warm two drops of the nourishing hair shine serum listed below between your palms and smooth over the surface to tame flyaways and enhance that luminous copper reflection.
7. Finish with a flexible mist of the medium hold finishing hairspray listed below to ensure the waves hold their shape without feeling stiff.
I'm usually someone who sticks to super safe shades, so stepping into this fiery copper lob honestly felt like channeling my inner rockstar! The piecey, feathered layers give the collarbone-grazing cut so much effortless movement, and sweeping the wispy fringe across the brow keeps it looking soft and lived-in rather than stiff. If you've been craving a bold color transformation that pairs perfectly with a leather jacket and messy texture, this vibrant cut might just be your next favorite look!
How to do this
1. Start by prepping damp, freshly washed hair with a lightweight blow-dry primer using the heat protectant spray listed below to shield your strands from heat damage.
2. Apply a dollop of volumizing mousse through the mid-lengths and roots using the styling foam mousse listed below to create airy, lived-in body.
3. Rough-dry your hair upside down until it is about 80% dry to encourage natural root lift.
4. Switch to a medium ceramic round brush using the ceramic ionic round brush listed below, gently blow-drying the face-framing layers and fringe swept softly across the forehead and down around the eyes.
5. Use a flat iron quickly on random pieces to add a subtle bend or keep the ends slightly piecey rather than pin-straight.
6. Shake out the layers and mist thoroughly with a texturizing spray using the dry texturizing finishing spray listed below to build that effortless, rocker-chic separation.
7. Finish by rubbing a tiny dab of styling paste between your fingertips using the matte texture pomade listed below and piece out the ends of your fringe and collarbone layers.
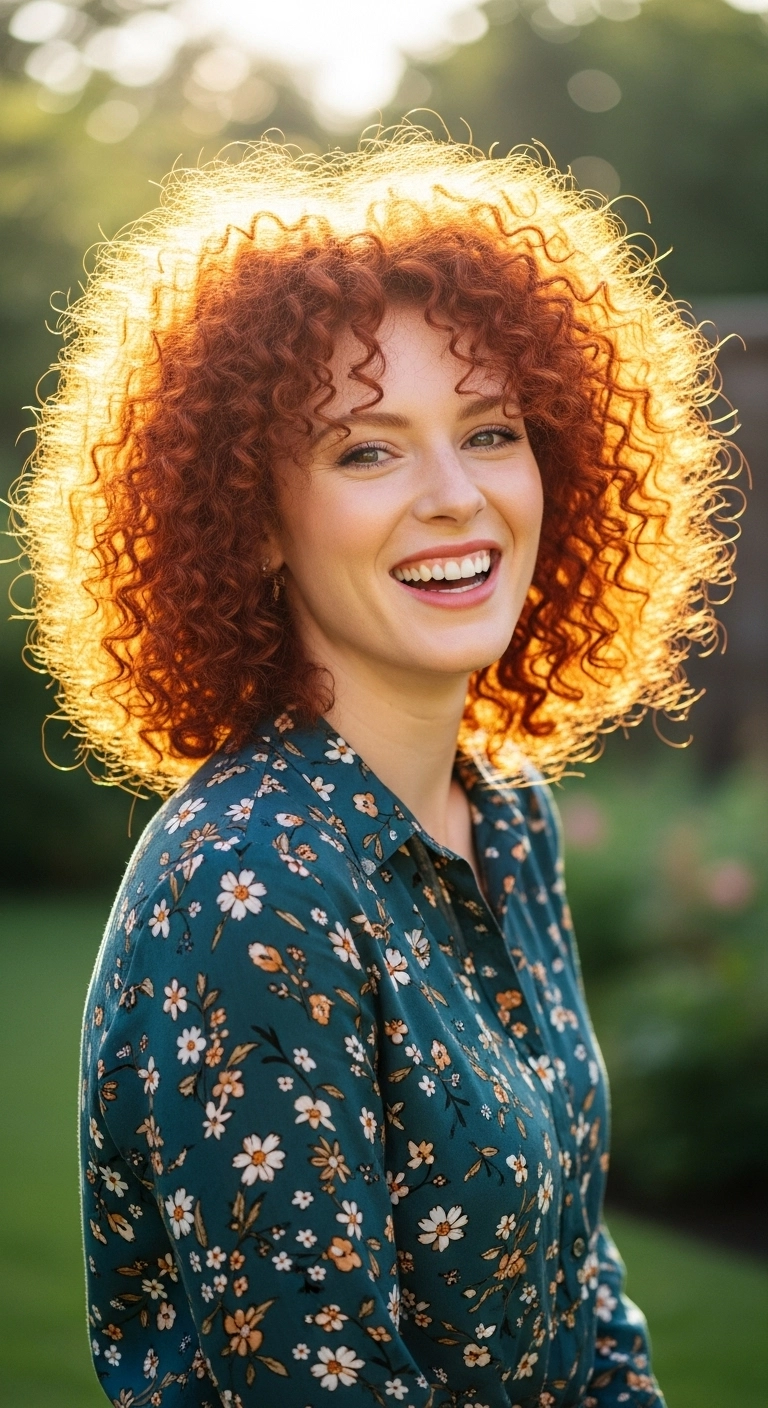
Isn’t this halo of copper curls absolutely breathtaking to look at?? The combination of bouncy 3B ringlets and curly bangs gives this medium-length cut so much personality and fun. One thing I love about this hairstyle is how alive and vibrant the color feels, especially in natural sunlight! If you have natural ringlets and want a fresh, playful shape that frames your face, this layered curly lob is pure perfection.
How to do this
1. Start on freshly cleansed, soaking-wet hair after conditioning with a rich moisturizing conditioner.
2. Rake a generous amount of the curl defining cream listed below through your strands from roots to tips to lock in hydration.
3. Coat your curls with a layer of the strong-hold curl defining gel listed below using the praying hands method to create a cast and prevent frizz.
4. Gently scrunch your hair upwards toward the scalp with a microfiber towel to encourage natural ringlet formation and remove excess moisture.
5. Use a blow dryer attached to the collapsible hair diffuser listed below on low heat and low airflow, cupping curls toward your head until fully dry.
6. Once 100% dry, break the gel cast by gently scrunching in a few drops of the lightweight nourishing hair oil listed below for incredible shine and softness.
7. Fluff at the roots using the wide-tooth afro pick comb listed below to build maximum crown volume and show off those stunning curly bangs!
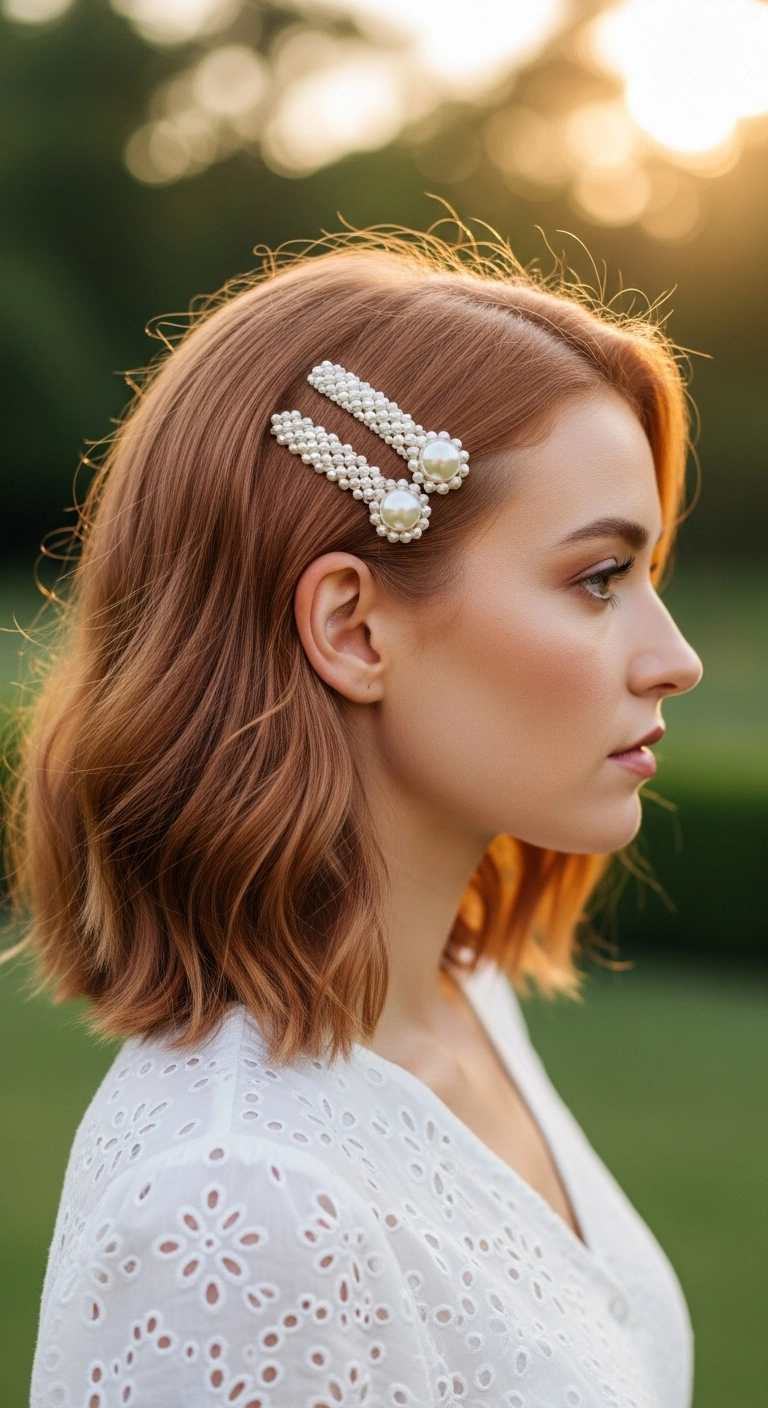
Oh, a dreamy copper lob with oversized pearl clips, how I love thee. Adding hair accessories to soft, effortless waves makes any everyday cut feel instantly romantic. This is sooo pretty!! Have you ever tried pearl barrettes with a side-parted bob?
How to do this
1. Start by prepping clean, damp hair with a lightweight smoothing blow dry cream using the styling cream listed below to add heat protection and smooth flyaways.
2. Blow dry hair with a medium round brush, lifting at the roots to maintain natural body and movement.
3. Create a deep, clean side part using the fine-tooth rat tail comb listed below, aligning the part with the arch of your eyebrow.
4. Take 1 to 2-inch vertical sections of hair and wrap them around a 1.25-inch curling iron using the curling wand listed below for just a few seconds to create soft, relaxed, lived-in S-waves, leaving the ends slightly undone.
5. Mist a light spray of texture spray all over and gently finger-comb through the waves to break them up for a soft finish.
6. Smooth down the hair on the parted side above the ear and secure two pearl-embellished barrettes parallel to each other using the pearl hair clip set listed below.
7. Finish with a gentle mist of flexible hold hairspray using the flexible hold hairspray listed below to lock everything in place without stiffness.
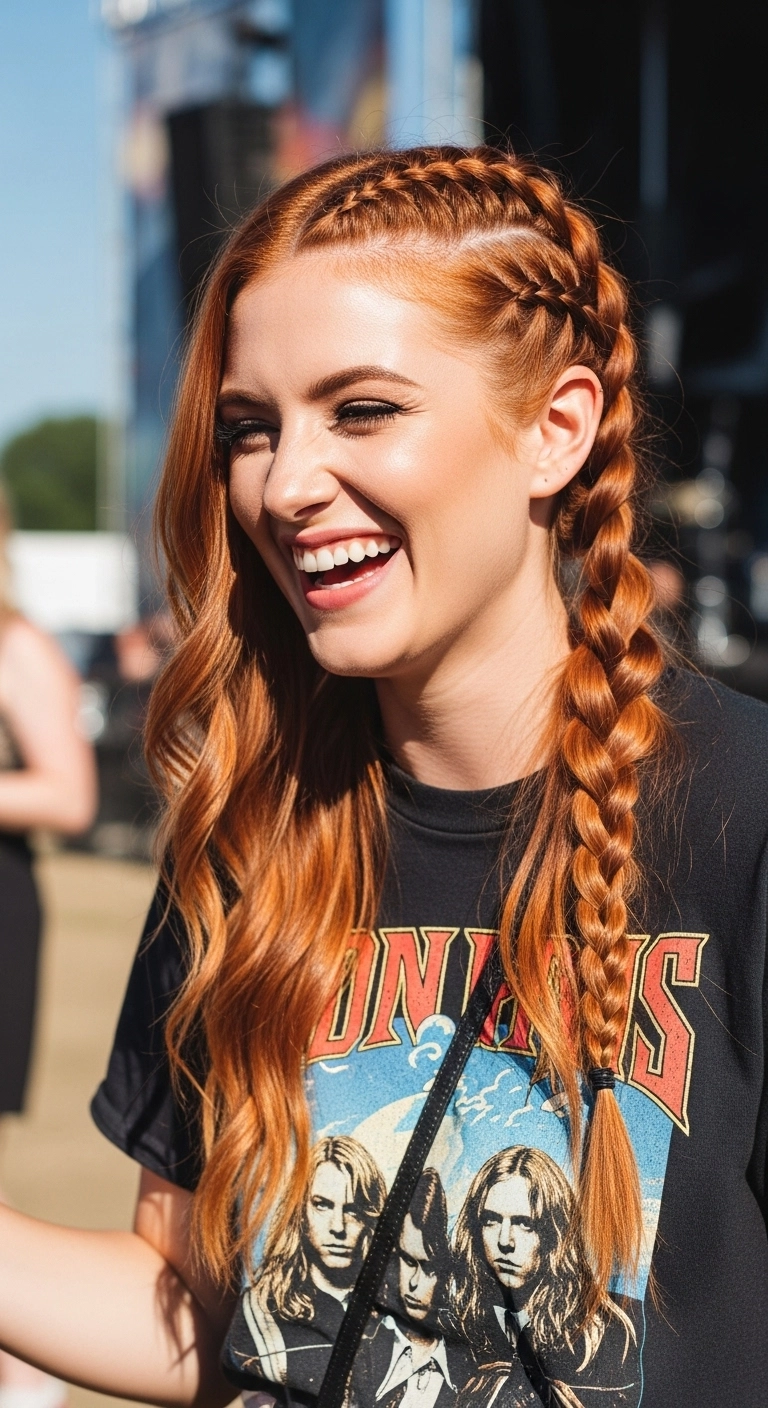
I think this half-braided festival look is one of the coolest ways to keep hair out of your face without committing to a full updo. By creating two sleek Dutch braids along one side of a deep part and merging them down into a single braid, you get all the edgy detail while letting the rest of your fiery copper waves flow free. It is the ultimate mix of functional and effortlessly cool for concerts or sunny outdoor days!
How to do this
1. Start on dry hair, applying a small amount of the lightweight hair styling oil listed below to smooth frizz and add shine throughout your lengths.
2. Create a clean deep side part using the tail comb listed below, sectioning off the smaller side of the part into two neat horizontal parallel tracks.
3. Begin a tight Dutch braid on the uppermost track, incorporating hair along the scalp until you reach just behind the ear.
4. Repeat with a second Dutch braid on the lower track right beside the temple.
5. Combine both braids just behind the ear with the rest of the hair on that side, then continue braiding down into a classic three-strand braid and secure with the mini elastic hair ties listed below.
6. On the opposite, loose side of your hair, use the 1.25 inch curling iron listed below to add soft, undone bends away from the face.
7. Finish off by lightly misting the entire style with the flexible hold hairspray listed below to keep the scalp braids sleek and the loose waves bouncy all day.
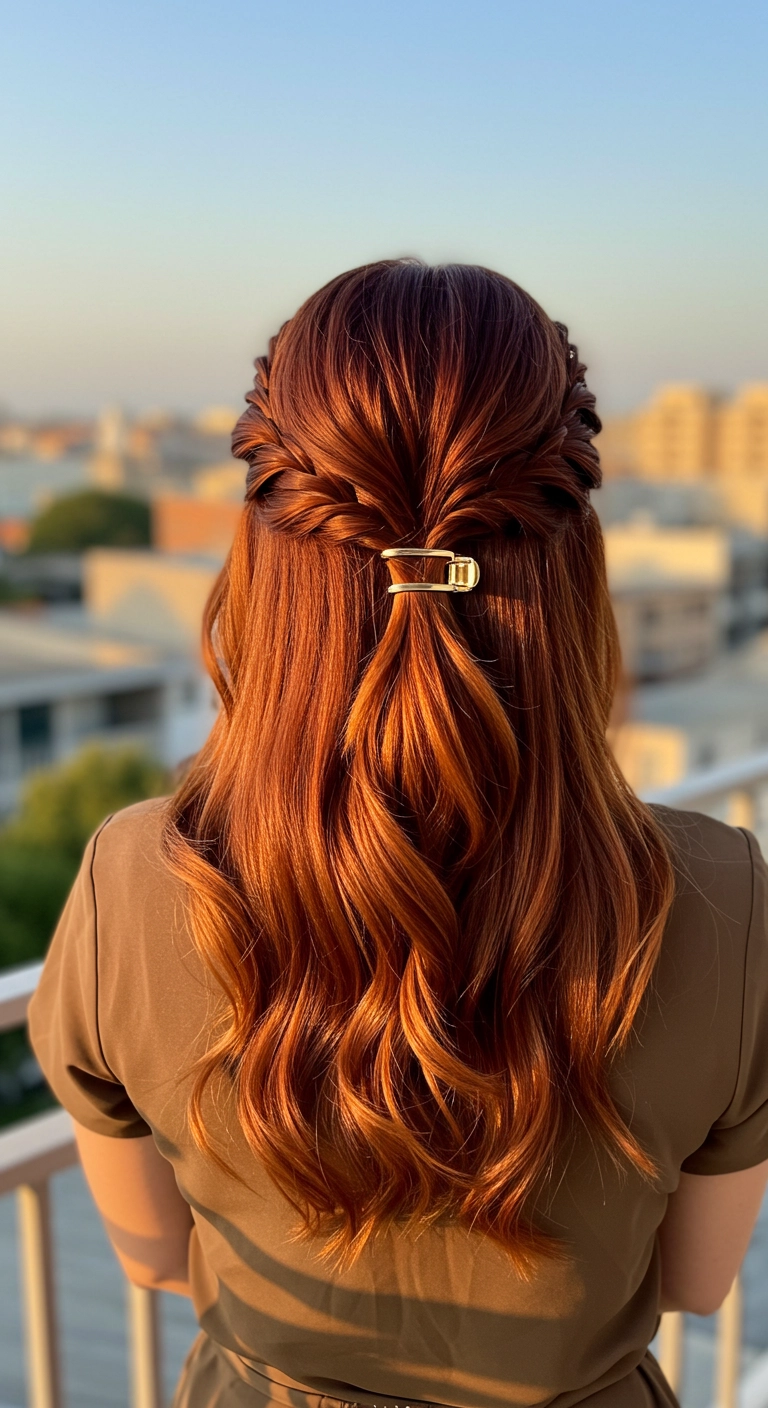
I am completely obsessed with this romantic half-up look! The rich, fiery copper color catches the sunlight so beautifully, and pulling the sides back into soft twists keeps everything out of your face while letting those gorgeous cascading waves shine. Plus, swapping a plain elastic for a chic gold claw clip instantly elevates the entire vibe with zero extra effort.
How to do this
1. Start by prepping clean, damp hair with the lightweight heat protectant spray listed below to shield your strands and enhance shine.
2. Blow dry using a large ceramic round brush to build volume at the roots and a smooth, polished finish along the lengths.
3. Take a 1.25-inch curling iron and curl large sections away from the face to create loose, flowing S-waves throughout the hair.
4. Starting above the left temple, gather a small section of hair and begin a loose French twist or waterfall twist, picking up hair along the hairline as you work backwards toward the center of your head.
5. Repeat the exact same twisting technique along the right side so both sides meet evenly at the center back.
6. Bring both twisted sections together at the back of your crown and secure them firmly using the mini gold metal claw clip listed below.
7. Gently pinch and pull at the twists to add dimension and fullness, then finish with a mist of the flexible hold hairspray listed below to keep everything locked in place.
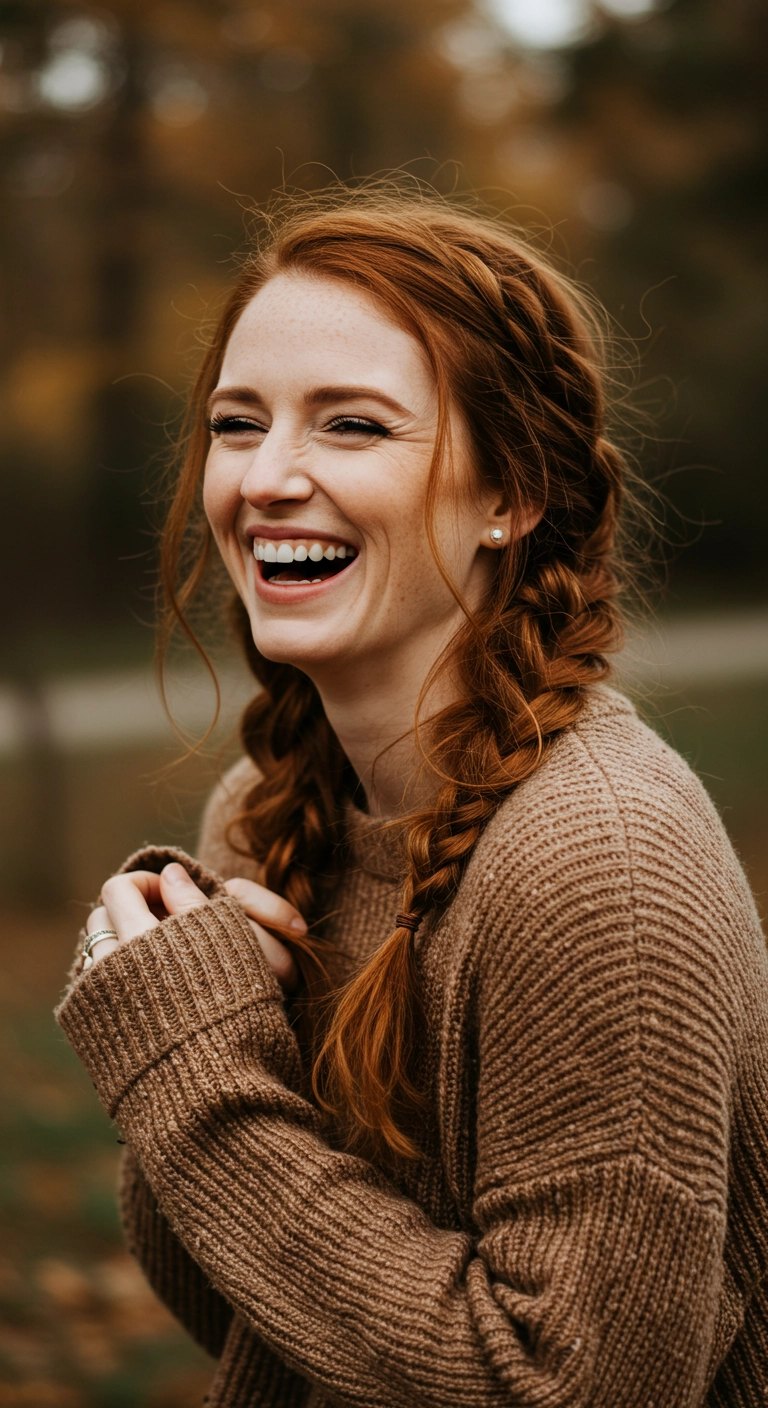
Pigtail braids are truly the coziest, easiest style to pull off whether you’re heading out for a brisk autumn walk or just hanging out at home. If you want your braids to look full and effortless instead of school-uniform tight, the secret is gently tugging the outer loops after you tie them off. A few loose wisps around your ears and temples instantly give that romantic, carefree vibe everyone loves.
How to do this
1. Start with clean or second-day hair, applying a small amount of the texturizing spray listed below to give your hair grip and separation.
2. Create a casual center part from your forehead straight down to the nape of your neck, dividing your hair into two equal sections.
3. Leave out a few soft, wispy tendrils around your hairline and temples to naturally frame your face.
4. Starting on one side near the hairline, begin a reverse Dutch braid by crossing the three strands under each other rather than over.
5. Continue braiding downward behind your ear, gradually incorporating sections of hair from the side until all the hair in that half is integrated.
6. Once you reach below the ear, continue with a classic three-strand braid down toward your chest.
7. Secure the end with a small hair-colored elastic band using the mini elastic bands listed below, leaving a couple of inches of tail unbraided.
8. Repeat the exact same braiding steps on the opposite side.
9. Gently tug and 'pancake' the edges of each braid outward with your fingertips to create that relaxed, full, lived-in aesthetic.
10. Finish with a light spritz of the flexible hold hairspray listed below to lock in the style while keeping it soft and touchable.
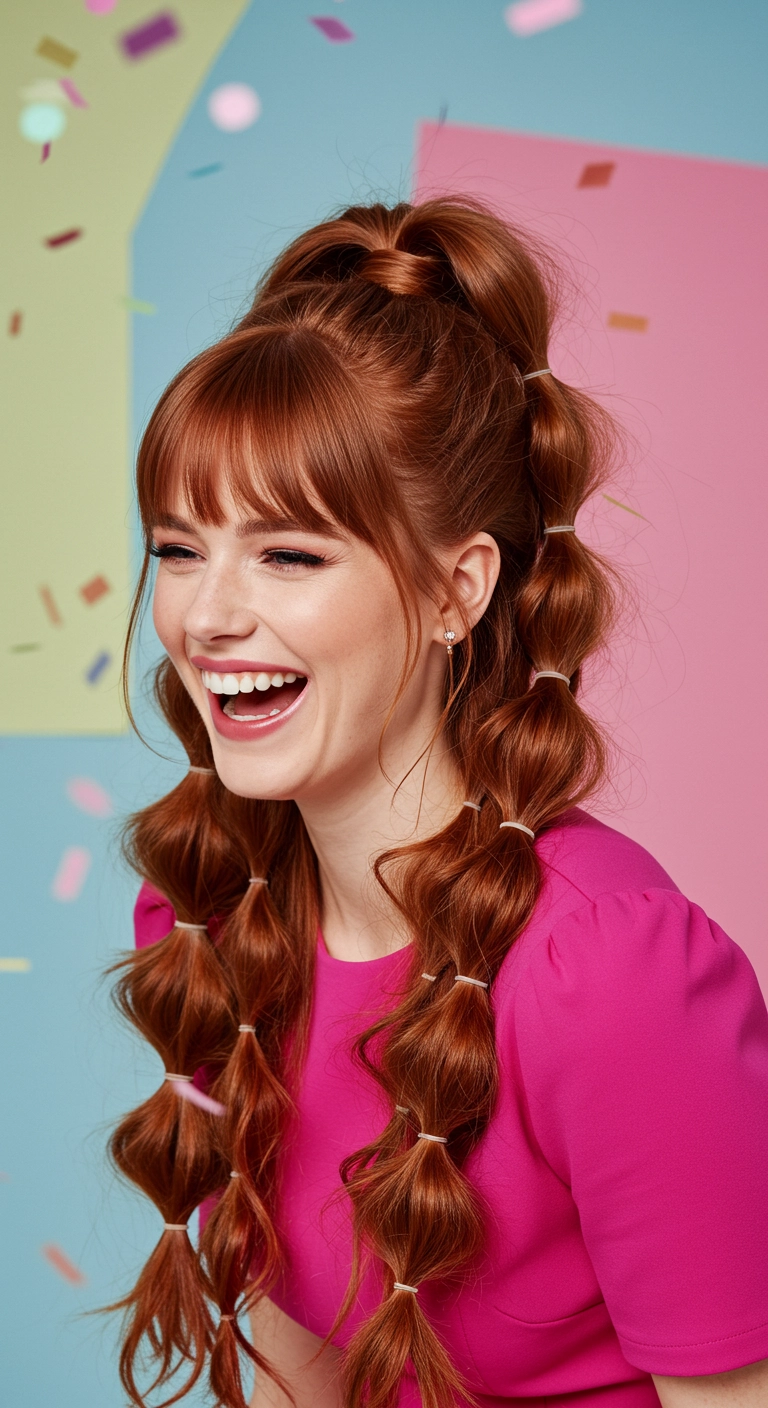
There’s nothing like rockin’ a playful bubble ponytail when you want maximum style with zero hassle! I love how the full bangs frame your face perfectly while the bouncy bubbles bring so much fun energy to rich copper hair.
How to do this
1. Start by blow-drying bangs and face-framing pieces smooth using a round ceramic brush and the heat protectant spray listed below.
2. Separate the top crown section and pull it into a high half-up ponytail, securing it tightly with an elastic band, then wrap a small strand of hair around the base to hide the hair tie.
3. Place small clear or light-colored elastics every two to three inches down the length of the ponytail.
4. Gently pinch and pull sideways on each section between the elastics to pancake and fluff them into rounded bubbles using the texturizing volume spray listed below.
5. Divide the remaining bottom hair into two matching sections brought forward over each shoulder, securing elastics down the lengths and repeating the gentle pulling technique for uniform bubbles.
6. Mist lightly all over using the flexible hold hairspray listed below to lock in the volume and tame any stray flyaways.
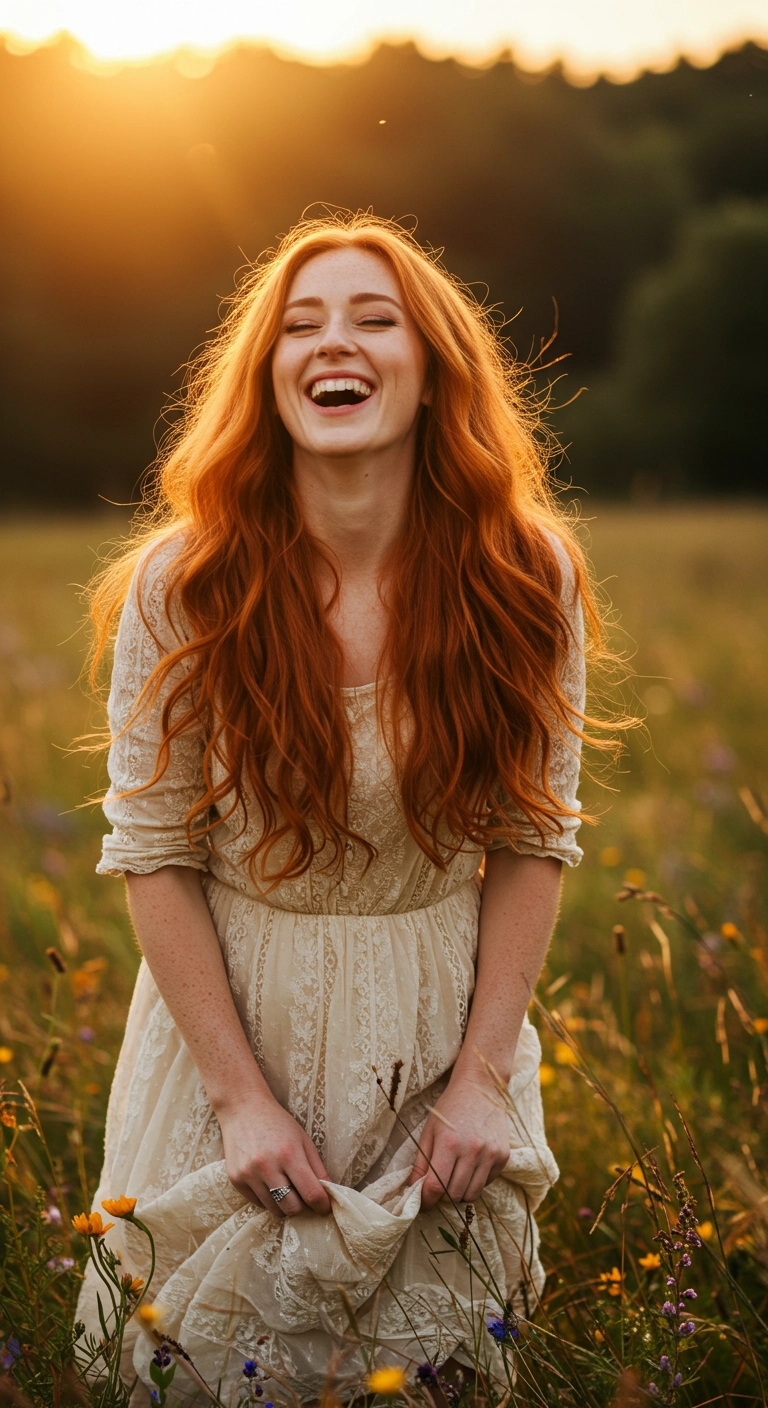
Pure cottagecore dream hair right here. I love leaving long wavy hair totally free and wind-tousled instead of overly curling it with hot tools. The rich warm copper tone catches the evening sun so beautifully, and these soft undone bends make you look like you just walked right out of a wildflower meadow. It's relaxed, effortless, and honestly so gorgeous.
How to do this
1. Prep clean, damp hair with a small amount of the leave-in conditioning cream listed below to add hydration and manage frizz.
2. Mist hair generously from mid-lengths to ends with the heat protectant spray listed below before blow-drying.
3. Rough-dry your hair upside down with a blow dryer until it is roughly 80% dry to create maximum lift and natural body at the roots.
4. Switch to a large ceramic round brush to smooth out sections while maintaining soft, rounded movement throughout the lengths.
5. Take random 1.5-inch to 2-inch vertical sections and wrap them loosely around a 1.25-inch curling wand, leaving the last two inches uncurled for an undone, lived-in wave.
6. Once all sections have cooled, gently shake out the curls with your fingers using the lightweight hair oil listed below to add separation and a gorgeous glossy sheen.
7. Finish by spraying the texturizing sea salt spray listed below throughout the mid-lengths for that airy, wind-blown, effortless cottagecore vibe.
Products Used
Nourishing Leave-In Conditioner
hydrating leave-in conditioning spray for long wavy hair
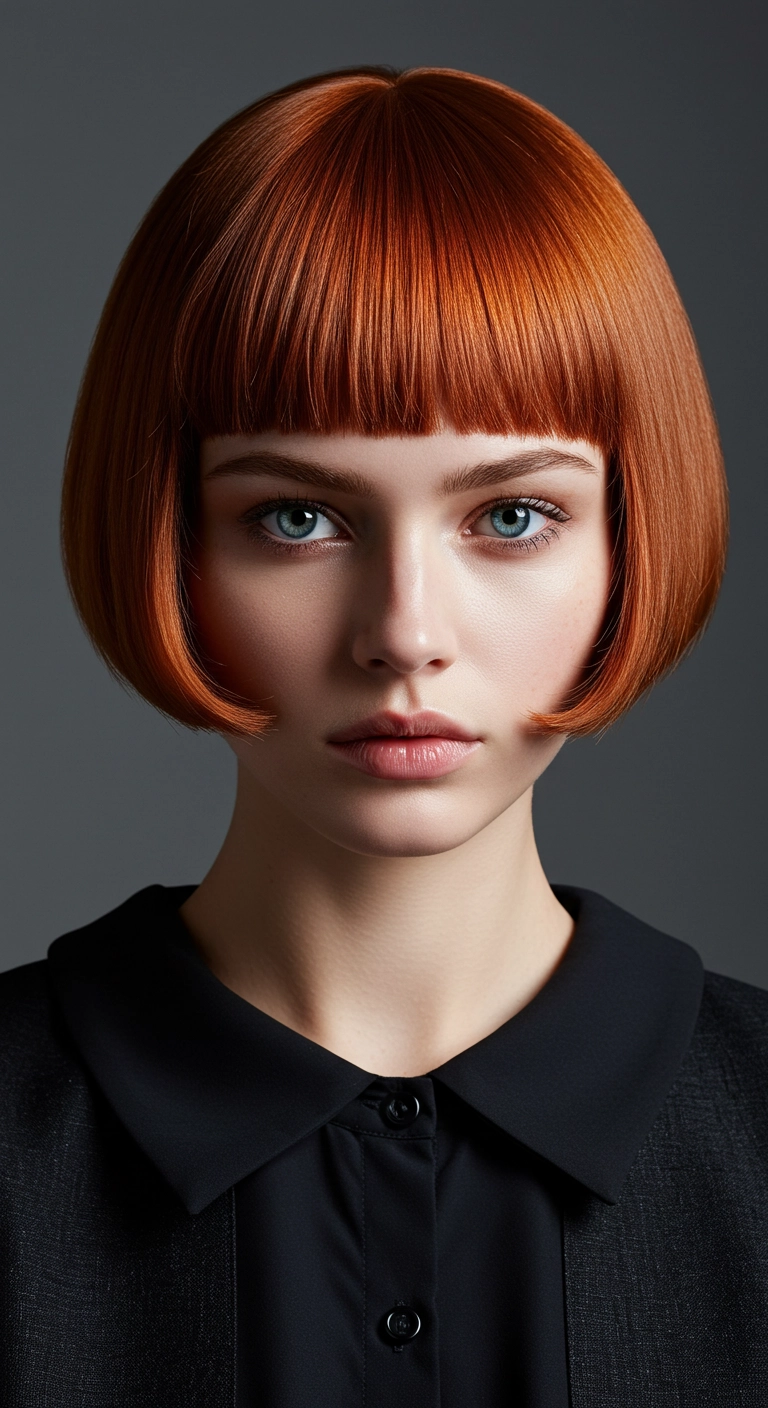
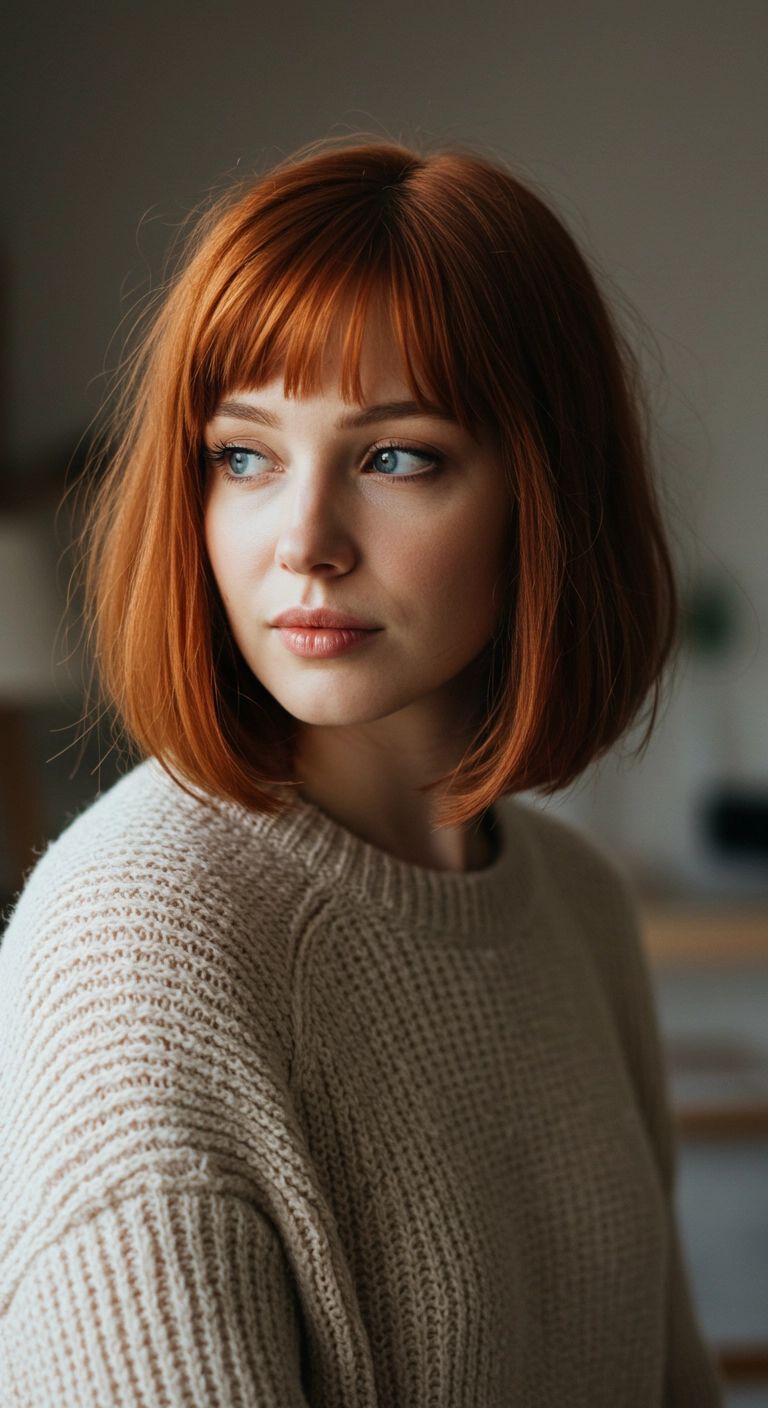
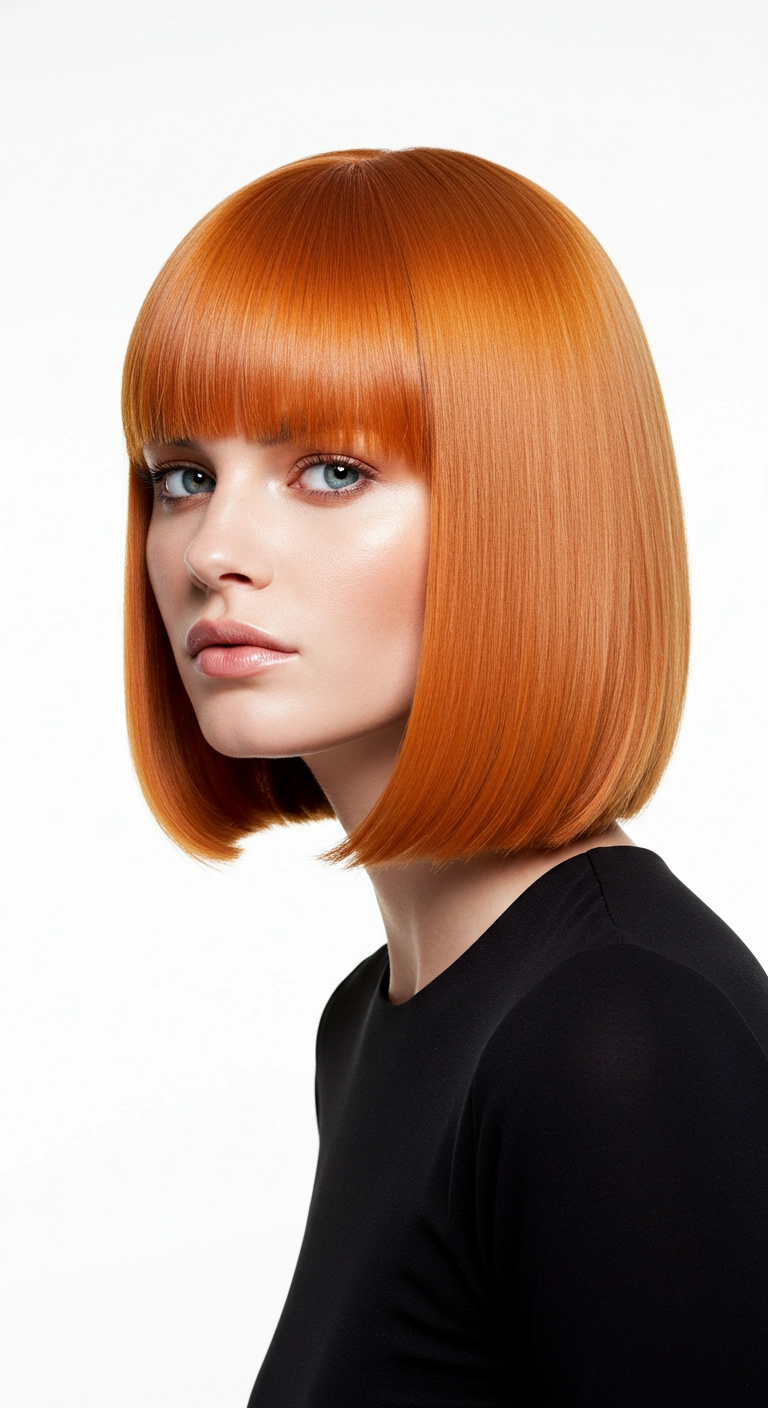
I’m seriously obsessed with this look. It’s this incredibly chic, razor-sharp French bob paired with bold micro-blunt bangs and the richest copper tone ever. I think this hairstyle is perfect if you want something super striking for everyday wear or a high-fashion evening out. It frames the cheekbones and eyes like nothing else, giving off total effortless elegance with a sharp vintage twist.
How to do this
1. Start by prepping damp, freshly washed hair with a lightweight smoothing cream and a thermal protectant spray listed below to ensure a glass-like finish.
2. Blow dry the hair straight down using a directional nozzle and a ceramic round brush listed below, turning the ends inward right at the jawline to create that signature beveled curve.
3. Section out the fringe and blow dry it flat against the forehead using back-and-forth paddle brush movements to keep the blunt bangs lying smooth and flat without unwanted roundness.
4. Glide a ceramic flat iron through small, horizontal sections from roots to ends, curling your wrist slightly inward at the very tips to hug the jaw contour.
5. Mist a high-gloss shine spray listed below across the entire surface to bring out the fiery copper tones and tame any lingering flyaways.
6. Finish with a spritz of flexible hold hairspray to keep the precise geometric shape structured throughout the day.
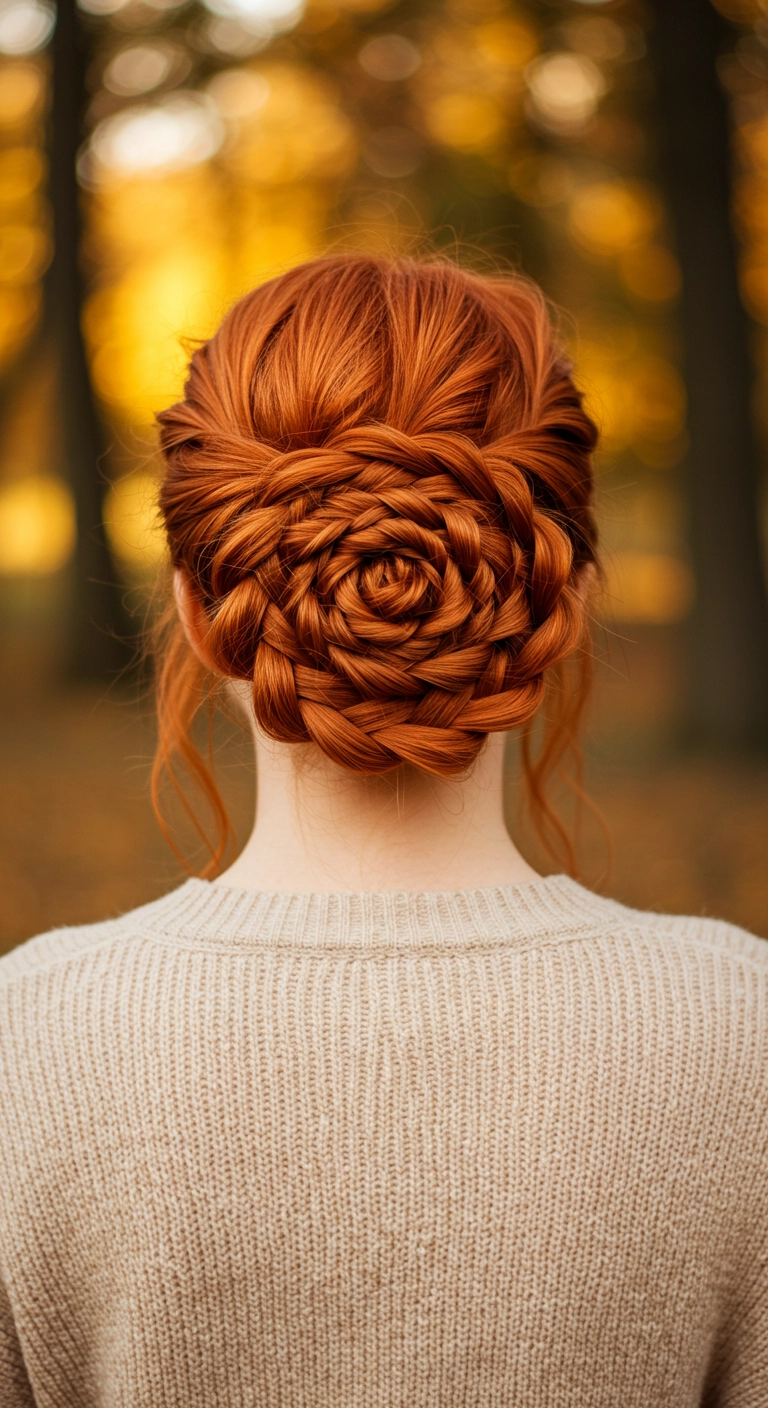
I fell in love with this style when looking for romantic updo inspiration for fall weddings! It looks so incredibly intricate and artistic, but once you break it down into pancaked braids coiled like flower petals, it is so much fun to recreate. It holds up amazingly well throughout an entire evening and looks like a wearable piece of art. If you have an event or just want to feel like a woodland fairy, this braided rose is definitely worth trying!
How to do this
1. Start with smooth, detangled hair by brushing through and applying a pump of the hair smoothing serum listed below to keep flyaways at bay.
2. Leave a few thin, soft tendrils out around both ears to frame the face and neck gently.
3. Gather the hair into a low ponytail at the nape of the neck or divide it into multiple sections depending on whether you want a single or multi-braid floral roll.
4. Braid the ponytail into a three-strand braid, then lightly pancake and pull on the outer loops of one side using your fingers to create petal-like curves.
5. Coil the braid tightly around its base in a circular motion, keeping the fanned-out 'petals' facing outwards to resemble a blooming rose.
6. Secure the rosette firmly against the scalp using the matte bobby pins listed below, tucking the end of the braid underneath.
7. Finish by misting all over with the flexible hold hairspray listed below to lock in the floral shape all day.
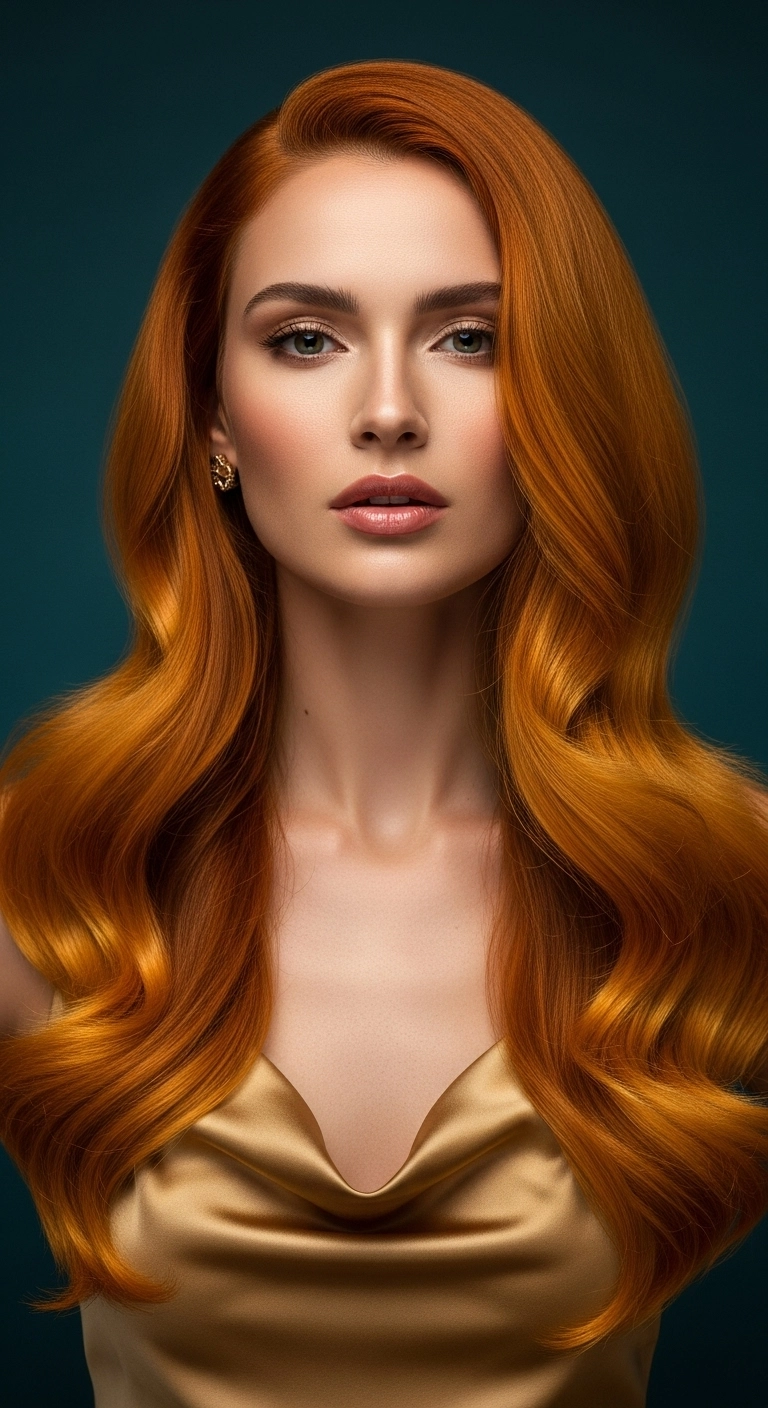
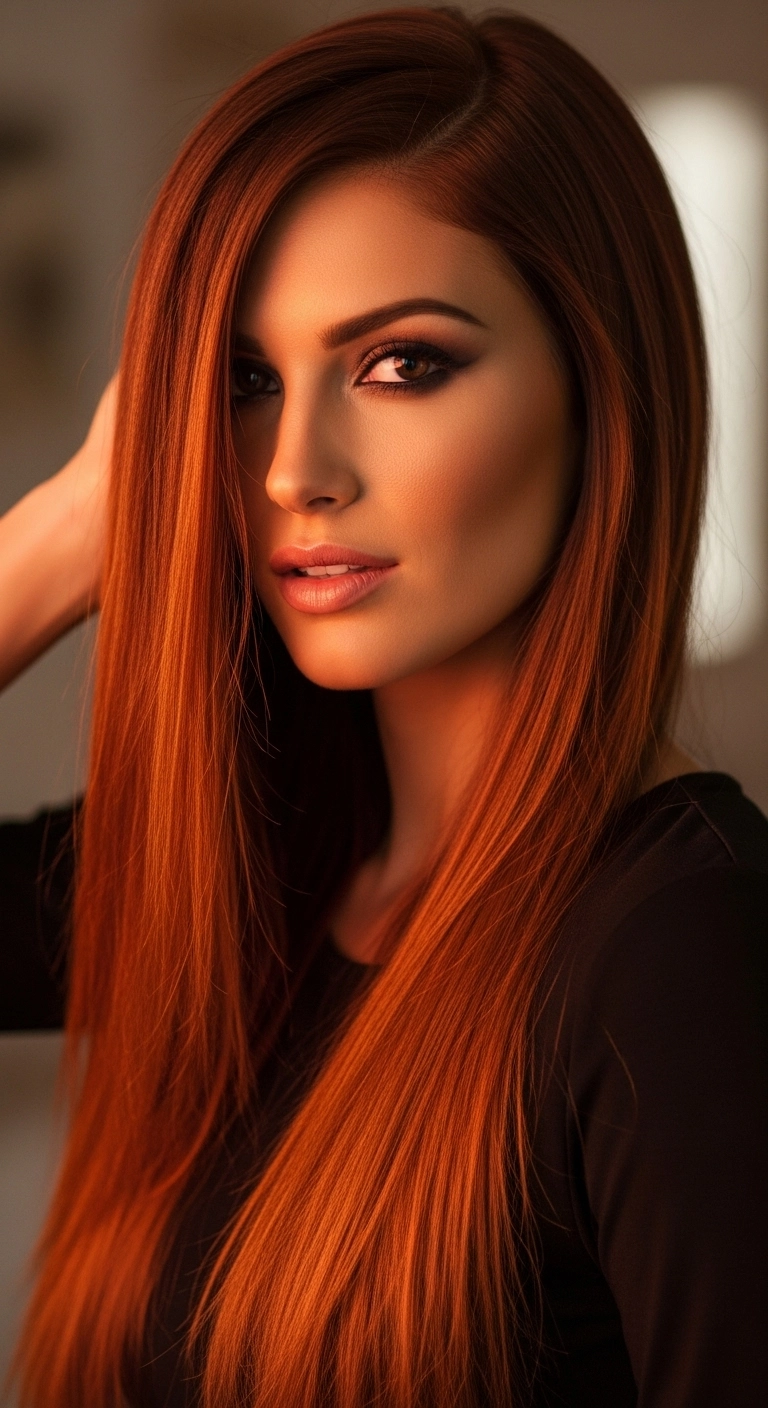
Ready to turn every single head the second you step into the room? This fiery copper straight style gives off pure, unadulterated confidence with a super sleek, high-shine finish. Paired with a dramatic side sweep, it frames your cheekbones perfectly while keeping that effortlessly glam red-carpet energy. Who doesn't want to rock that gorgeous Jessica Rabbit vibe with a modern twist?
How to do this
1. Start by washing hair with a color-depositing copper shampoo and moisturizing conditioner to keep your fiery tones looking rich and fresh.
2. On towel-dried hair, apply a dime-sized amount of smoothing blowout serum and mist with the heat protectant spray listed below from mid-lengths to ends.
3. Create a deep side part using the tail of a fine-tooth rat tail comb, sweeping the majority of hair across the forehead.
4. Blow-dry the hair in sections using a large ceramic round brush, directing the airflow downward to flatten the cuticle and create incredible shine.
5. Once bone dry, pass a professional flat iron over thin 1-inch sections at a moderate heat setting to get that glass-hair, pin-straight finish.
6. Smooth a drop of lightweight argan hair shine oil through your lengths to banish flyaways, and lightly mist with flexible hold hairspray to hold the sleek side sweep in place all night.
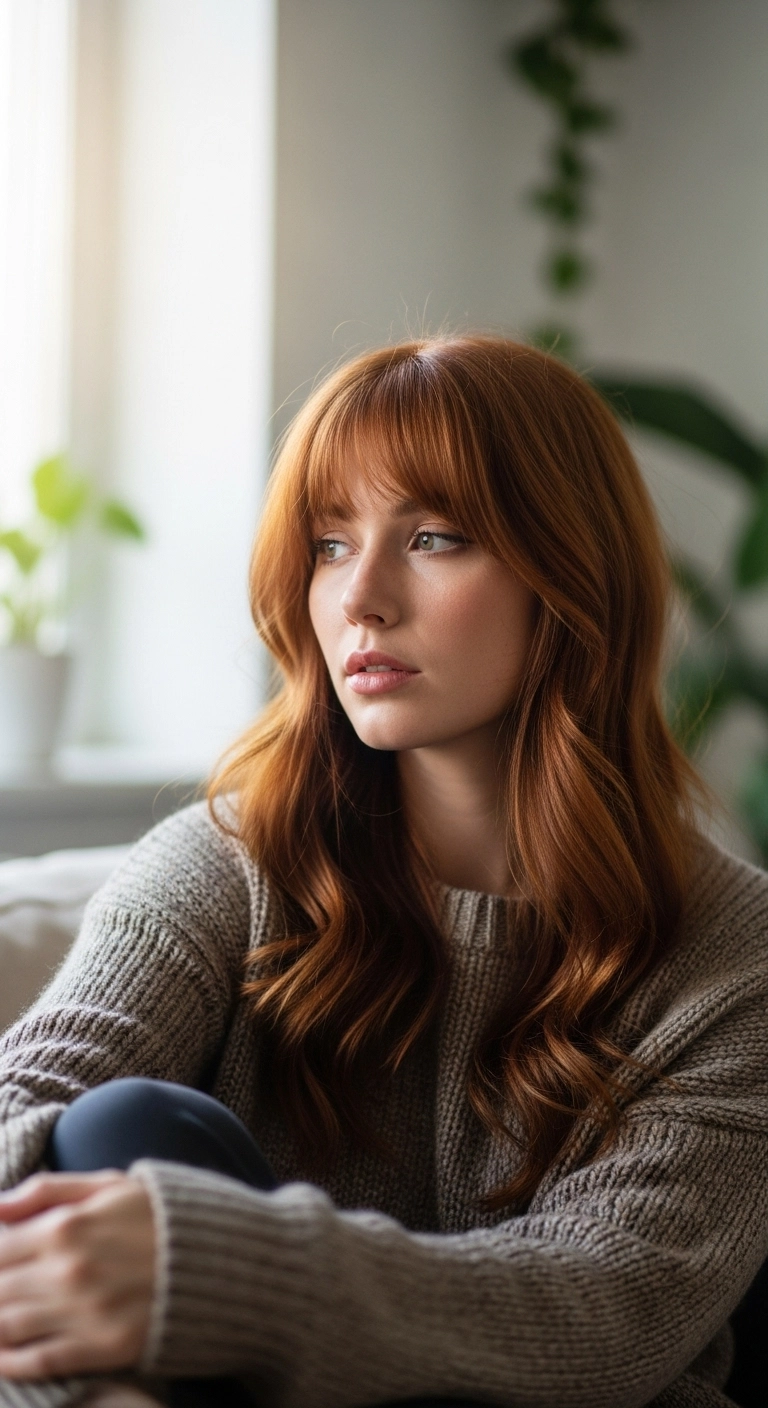
I've been totally obsessed with this rich copper tone lately! It brings so much warmth to the face and pairs insanely well with cozy knit sweaters. The soft Birkin bangs paired with long, effortless layers give that timeless, lived-in French girl vibe without looking like you tried too hard at all.
How to do this
1. Start on freshly washed, damp hair and prep from roots to ends using the lightweight volumizing mousse listed below.
2. Section out your bangs and blow-dry them first with a small round brush, rolling under and then sweeping the edges slightly outward using the ceramic round brush listed below.
3. Apply a generous mist of the heat protectant spray listed below throughout the mid-lengths and ends before rough drying until about 85% dry.
4. Divide hair into horizontal sections and blow-dry using a medium-to-large round brush, directing hair away from the face to create soft, rounded bends.
5. For extra movement, wrap large sections around the 1.5-inch curling iron listed below for just 3-5 seconds to form loose, undone S-waves.
6. Once cooled, rake your fingers through the waves and finish with a light mist of the flexible hold hairspray listed below to lock in body without stiffness.
Oh, this vibrant copper lob with soft piecey bangs is pure magic! That warm, glowing shade paired with easy undone waves is just so effortlessly chic. Have you ever been tempted to go full copper like this?
How to do this
1. Start by prepping damp hair with a lightweight styling mousse and a heat protection spray using the heat protectant spray listed below to shield your strands and keep that vibrant copper bright.
2. Blow-dry the bangs straight forward using a small round brush or flat brush, gently rolling the ends down so they sweep smoothly across your brow without puffing out too much.
3. Rough-dry the rest of your hair using a nozzle attachment, lifting at the roots for natural body until completely dry.
4. Take a 1.25-inch curling iron using the ceramic curling iron listed below and wrap vertical 1-to-2-inch sections away from the face, leaving about an inch of the ends out to create that relaxed, undone bend.
5. Alternate the direction of your curls through the back to give the lob plenty of movement and effortless separation.
6. Once the curls cool, mist with a dry texturizing spray using the dry texturizing spray listed below and shake through the waves with your fingers to break them up into soft, lived-in S-waves.
7. Finish the look by applying a tiny drop of lightweight hair oil using the lightweight shine serum listed below through the tips for gloss and definition, followed by a mist of flexible hold hairspray.
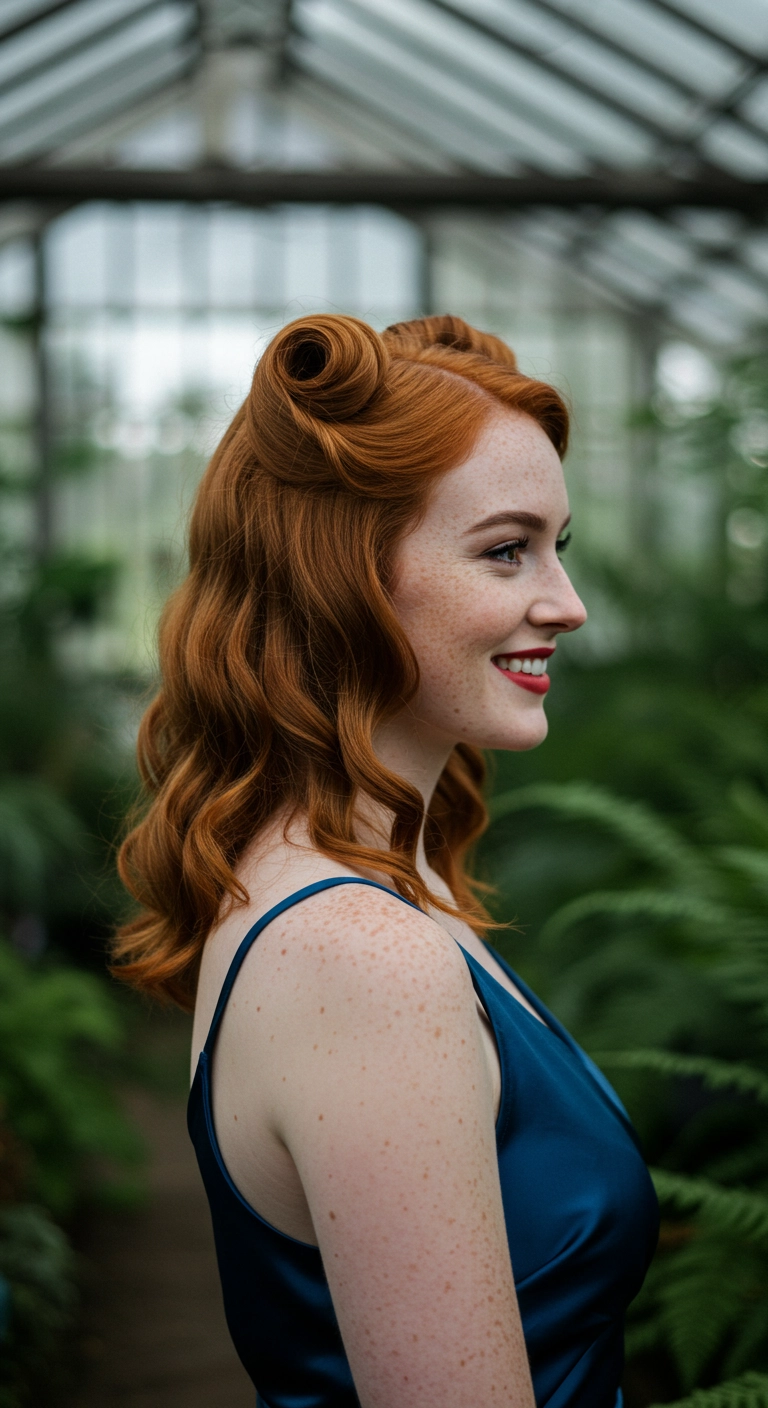
Obsessed with timeless 1940s glam? These beautifully sculpted copper victory rolls paired with soft, cascading waves give you that classic pin-up elegance with zero fuss. It’s the ultimate statement style when you want to feel utterly glamorous and stand out in any room!
How to do this
1. Start by prepping clean, dry hair with a generous mist of the heat protectant spray listed below to shield your strands and enhance shine.
2. Section out the top crown and front temple areas where you'll form your victory rolls, securing the back hair out of the way.
3. Using a 1-inch curling iron listed below, curl the lengths of the back hair in the same direction to set up vintage S-waves, then let them cool completely.
4. Gently backcomb the front sections at the roots using the fine-tooth rat tail comb listed below to create structural volume and hold.
5. Smooth the outside of the front section with a soft bristle brush, then roll the hair upward and inward around your fingers to create a hollow cylinder or roll right against the top of the head.
6. Pin the inside base of each victory roll discreetly against the scalp using the bobby pins listed below, ensuring the pins remain completely hidden.
7. Brush through the bottom curls with a boar bristle brush to form unified, glossy waves, and lock the entire vintage look into place with the strong-hold finishing hairspray listed below.
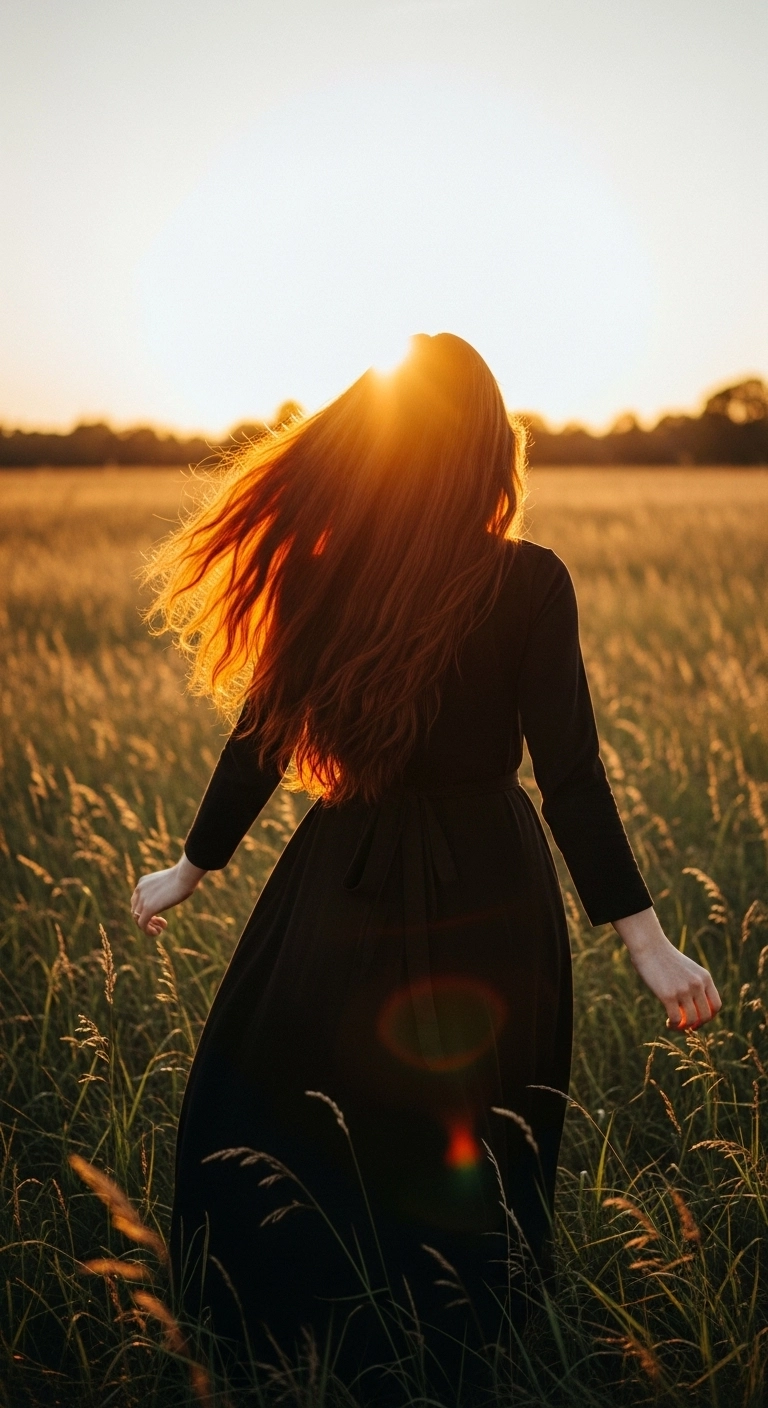
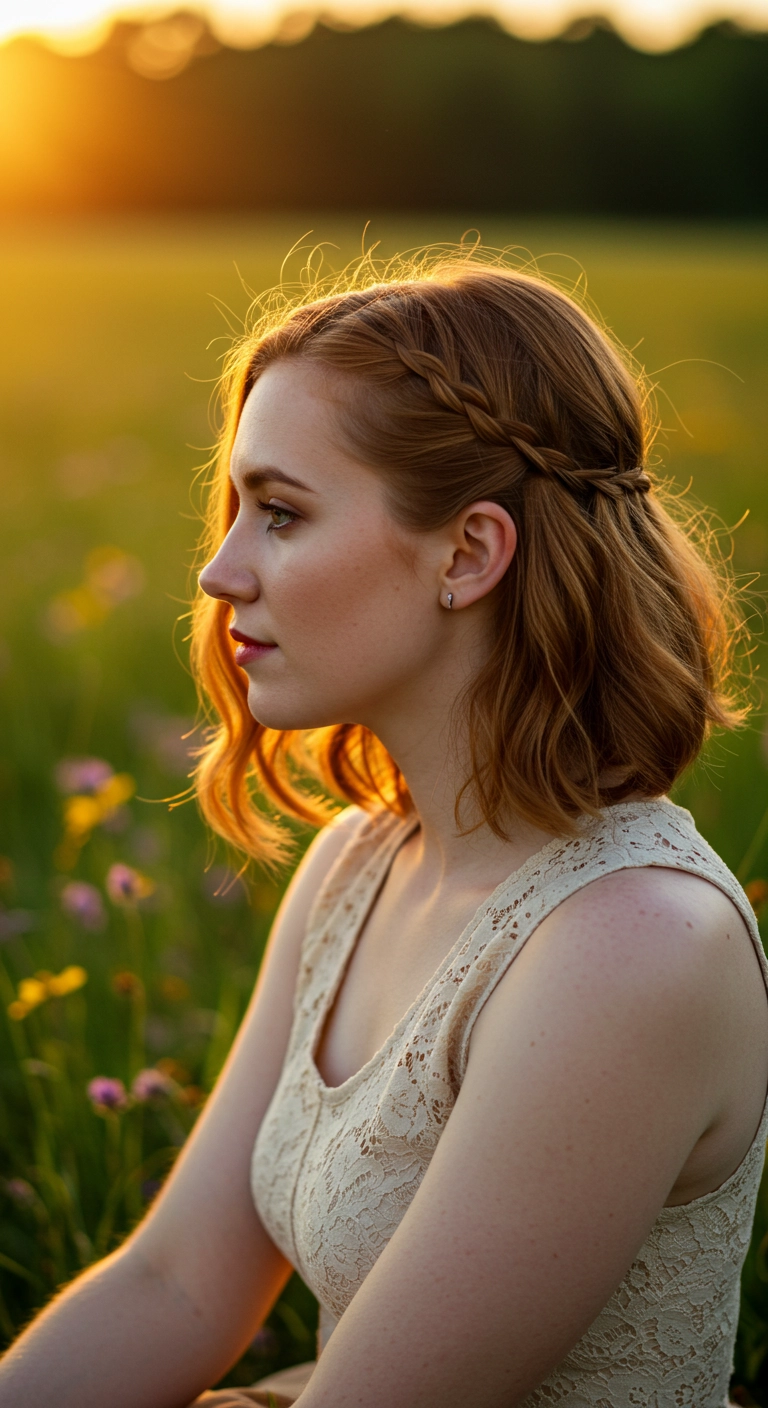
Natural red and copper hair will truly never go out of style, especially when it catches the golden hour light like this! The key here is keeping the length healthy and hydrated with subtle long layers so it moves freely without feeling heavy. It's that quintessential effortless, windswept cottagecore vibe that looks stunning in photos and even better in real life.
How to do this
1. Start by washing hair with a color-protecting, sulfate-free shampoo to maintain vibrant copper tones.
2. Apply a leave-in detangling and smoothing conditioner to damp strands, combing through with a wide-tooth comb listed below.
3. Mist mid-lengths and ends with the heat protectant spray listed below to shield hair from blow-drying.
4. Blow dry using a large round ceramic brush, lifting at the roots for natural volume and smoothing the hair shaft downward.
5. For effortless, airy movement, take large random sections and wrap them loosely around a wide-barrel curling wand for just 3 to 5 seconds.
6. Rake through the hair with your fingers to break up the shape and finish with a light spritz of the hair-nourishing shine oil listed below to enhance that fiery, reflective glow.
Products Used
Sulfate-Free Color Protecting Shampoo for Red and Copper Hair
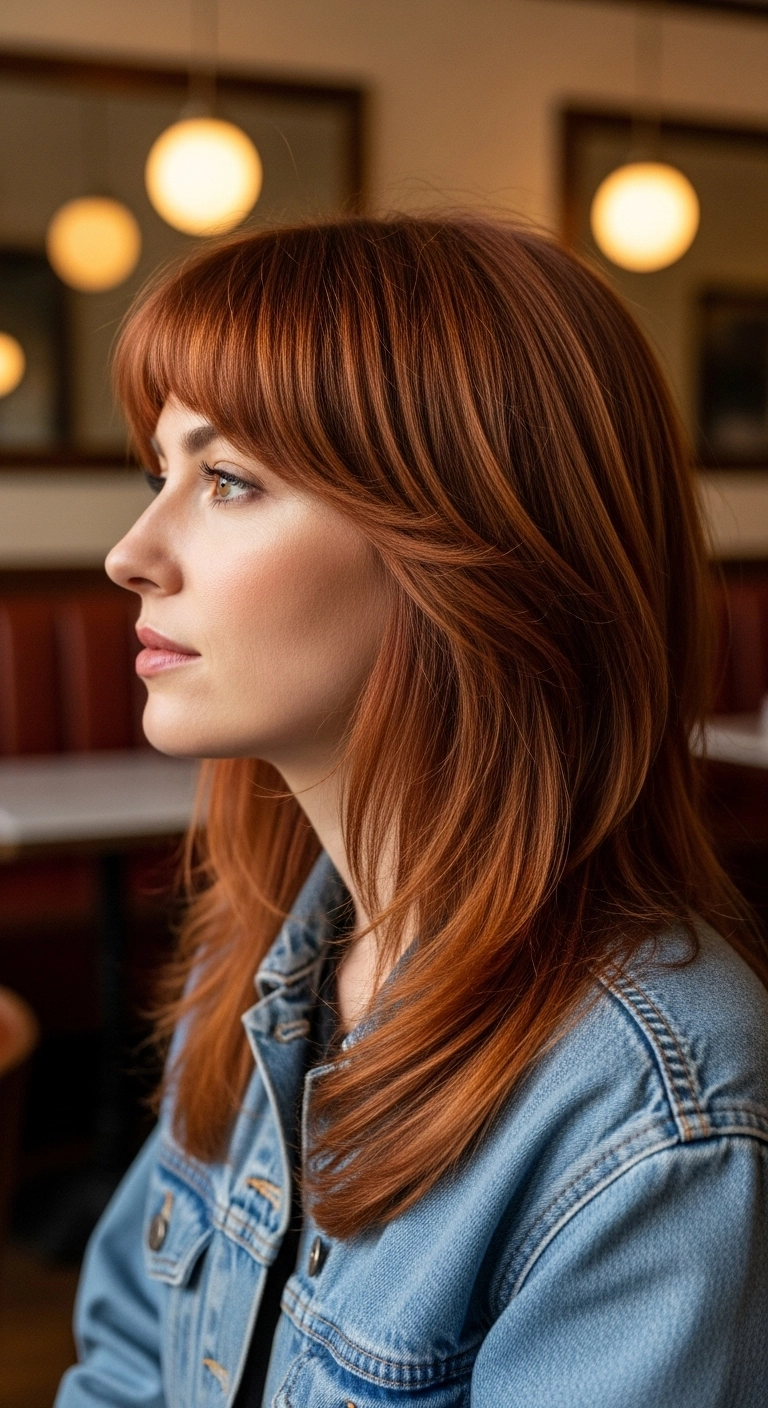
Are you ready to embrace that effortlessly cool, 70s rockstar energy? I fell completely in love with this modern copper shag cut because it gives off the ultimate effortless, lived-in vibe, don't you think?! The choppy micro fringe combined with heavy feathered layers frames the eyes so nicely while giving your hair tons of natural movement and body. Whether you're heading to a casual record store date or a weekend concert, this fiery copper wolf cut is guaranteed to turn heads and keep styling quick and fun!
How to do this
1. Prep freshly washed, damp hair by applying a generous amount of the volumizing hair foam listed below to your roots and mid-lengths to boost natural body.
2. Blow-dry the bangs forward with a small round brush or direct airflow downward using a comb, then rough dry the rest of the hair with a diffuser attachment to enhance natural wave and texture.
3. Once dry, take a 1-inch curling wand to add random, alternating loose bends throughout the crown and mid-lengths—leaving the ends straight for that undone, rock 'n' roll vibe.
4. Mist the roots and lengths with the dry texturizing spray listed below, thoroughly lifting and shaking sections with your fingers to build massive volume.
5. Warm a pea-sized dab of the matte finish styling paste listed below between your palms and pinch individual ends of your choppy fringe and crown layers to achieve distinct, piecey separation.
6. Finish the look with a flexible hold hairspray listed below to keep the tousled volume locked in place all day.
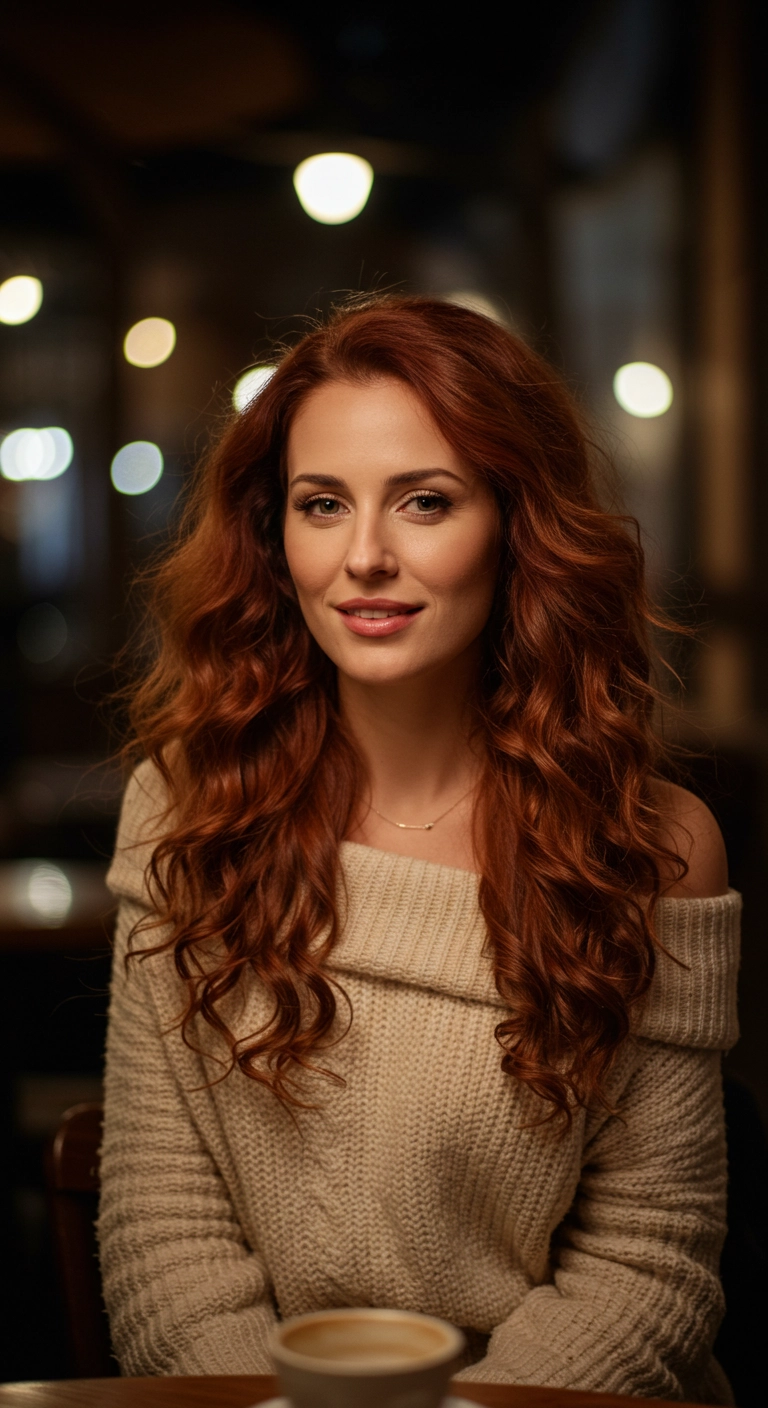
Big, romantic copper waves that look stunning with cozy knit sweaters. I gave this one soft layers around the face to frame everything nicely without losing any length. A good blowout combined with a wide curling iron gives you that bouncy, effortless vibe that holds up whether you're grabbing coffee or heading out for date night.
How to do this
1. Start by washing hair with a color-protecting shampoo and conditioner to preserve vibrancy.
2. On damp hair, mist evenly with the heat protectant spray listed below to shield strands from hot styling tools.
3. Apply a golf-ball-sized amount of the volumizing mousse listed below through the roots and mid-lengths to give lift and body.
4. Blow dry using a round ceramic brush, lifting at the roots and rolling outward around the face to create soft movement.
5. Once fully dry, wrap 1.5-inch sections around the 1.25 inch curling iron listed below, curling away from the face.
6. Allow all curls to cool completely, then gently rake through them using your fingers or a wide-tooth comb for soft, cascading waves.
7. Finish by spraying a light layer of the flexible hold hairspray listed below for all-day hold and natural bounce.
Isn’t this half-up braided lob just the sweetest look? It’s perfect for collarbone-length cuts that you want to keep out of your eyes without losing that pretty, flowing silhouette. One thing I love about this hairstyle is how effortlessly it pairs with loose, natural waves! It feels so whimsical and easygoing, making it an absolute go-to for outdoor dates, sunny afternoons, or casual weddings.
How to do this
1. Start with naturally dried or gently blow-dried hair, misting all over with a light heat protectant spray.
2. Use a medium-barrel curling wand to create soft, lived-in S-waves throughout the hair, leaving the ends slightly undone for an effortless vibe.
3. Create a clean side part, then separate a small one-to-two-inch section of hair along the hairline near the temple.
4. Plait this section into a neat three-strand braid, weaving back across the side of the head towards the crown.
5. Secure the braid at the back of the head using clear mini elastic bands and pin it discreetly under the top layers with bobby pins.
6. Lightly tug on the loops of the braid to pancake and soften it, pulling out a delicate face-framing tendril around the cheekbone.
7. Finish by spritzing a flexible-hold hairspray and texturizing sea salt spray through the lengths to lock in texture and gentle movement.
I am completely obsessed with this rich copper feathered cut! The way the face-framing layers curve effortlessly back around the cheekbones gives such an iconic, effortless 70s rock-chic vibe. It pairs so beautifully with those full, soft bangs that skim right across the eyebrows without overwhelming the face.
How to do this
1. Start with clean, damp hair and apply a generous mist of the heat protectant spray listed below from mid-lengths to ends.
2. Work a quarter-sized amount of the smoothing blowout cream listed below through your damp strands to ensure frizz-free shine and silky movement.
3. Section off your bangs and blow-dry them first using the round ceramic brush listed below, rolling forward and slightly under to give them a gentle rounded curve that hugs the brow.
4. Divide the rest of your hair into manageable horizontal layers. Using a medium barrel round brush and hair dryer, bevel the ends under and softly backwards to enhance the feathered face-framing layers.
5. Once fully dry, mist lightly with the dry texturizing spray listed below at the crown and layers, gently fluffing with your fingers to build lived-in volume.
6. Finish the look by applying a tiny drop of the lightweight hair serum listed below through the tips for high-gloss shine and smoothness.
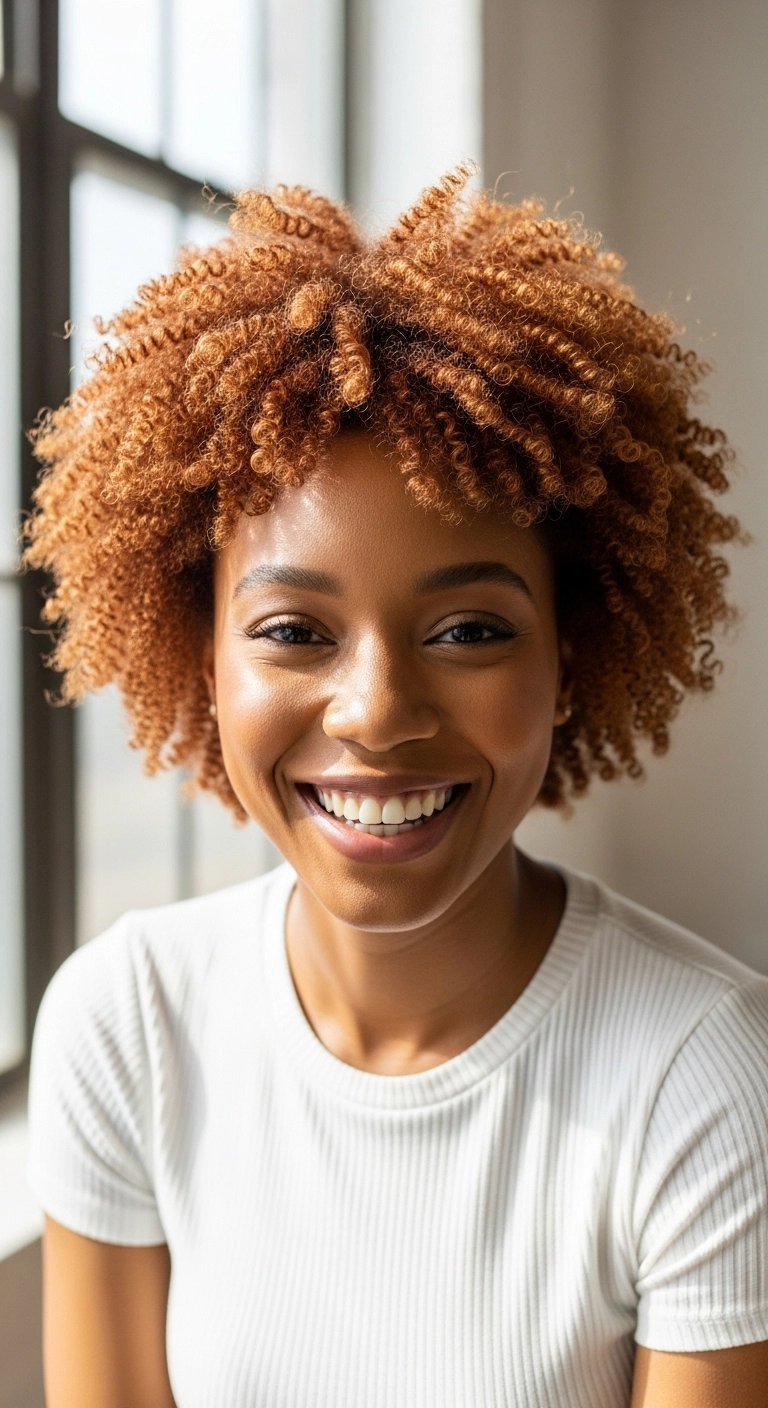
Warm copper tones on tight, juicy coils are literally a match made in heaven! A quick wash-and-go with a good defining gel and a little pick action at the roots, and BOOM—you get all the bounce, gorgeous shape, and vibrant color with minimal fuss.
How to do this
1. Start on freshly cleansed and thoroughly detangled wet hair using a moisturizing shampoo and deep conditioner.
2. Section your damp hair into four manageable quadrants and generously apply a leave-in conditioner using the curl defining leave-in cream listed below to lock in base hydration.
3. Working in small sub-sections from bottom to top, rake and smooth a nickel-sized amount of the curl activating gel listed below through each strand to encourage natural coil definition.
4. Use a finger-coiling technique or a specialized defining brush on the front and top crown pieces to create bouncy, uniform ringlets that frame the forehead and cheeks.
5. Gently scrunch excess water out with a microfiber towel, then dry your hair using the hair dryer with deep bowl diffuser attachment listed below on low heat and medium speed without touching it too much to prevent frizz.
6. Once 100% dry, apply a few drops of the lightweight nourishing hair oil listed below to your palms and gently scrunch the coils to break the gel cast.
7. Insert the wide metal hair afro pick listed below gently into the roots around the crown and sides, lifting slightly to create seamless volume and that gorgeous rounded afro shape.
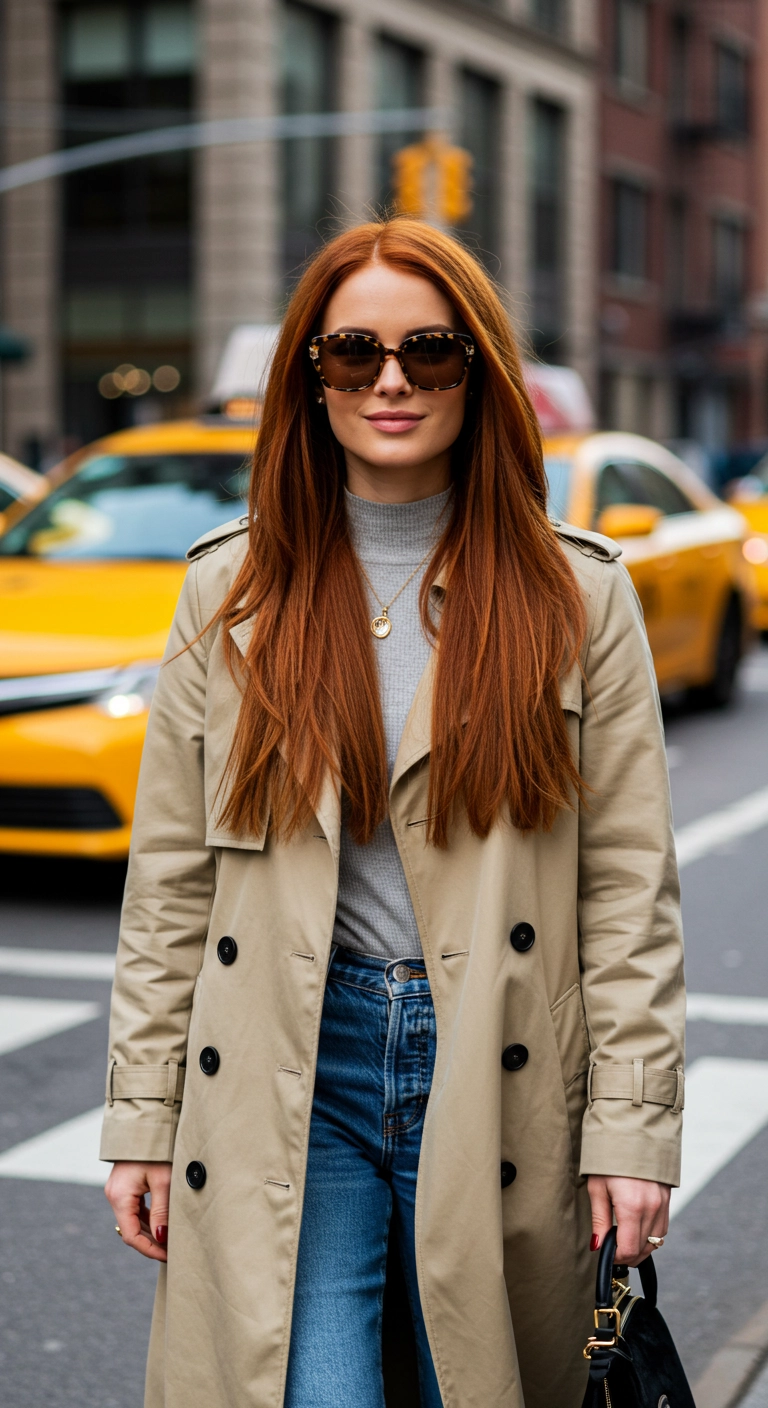
Can we just talk about this stunning rich copper hue? It has that effortless city-chic energy that instantly elevates a trench coat and casual denim look. If you're looking for a warm, radiant hair color that looks totally vibrant while maintaining a soft, natural blowout vibe, this is your sign! It frames the face so beautifully and brings so much life and warmth to your everyday style.
How to do this
1. Start on freshly washed, towel-dried hair and apply a smoothing blowout cream to help seal down the cuticle and protect against heat.
2. Mist your strands evenly from mid-lengths to ends using the heat protectant spray listed below to shield your rich copper color from heat styling.
3. Section your hair into manageable quadrants and blow dry with a large ceramic round brush, directing the airflow downward to build glossy smoothness with natural body at the roots.
4. For the front sections, roll the brush away from your face to create soft, face-framing bends that cascade gracefully past your collarbones.
5. Once fully dry, lightly pass a flat iron through any stubborn sections if needed, slightly beveling the ends inward for a polished finish.
6. Warm two to three drops of the lightweight hair serum listed below between your palms and smooth over the top and ends to control flyaways and enhance that luminous copper shine.
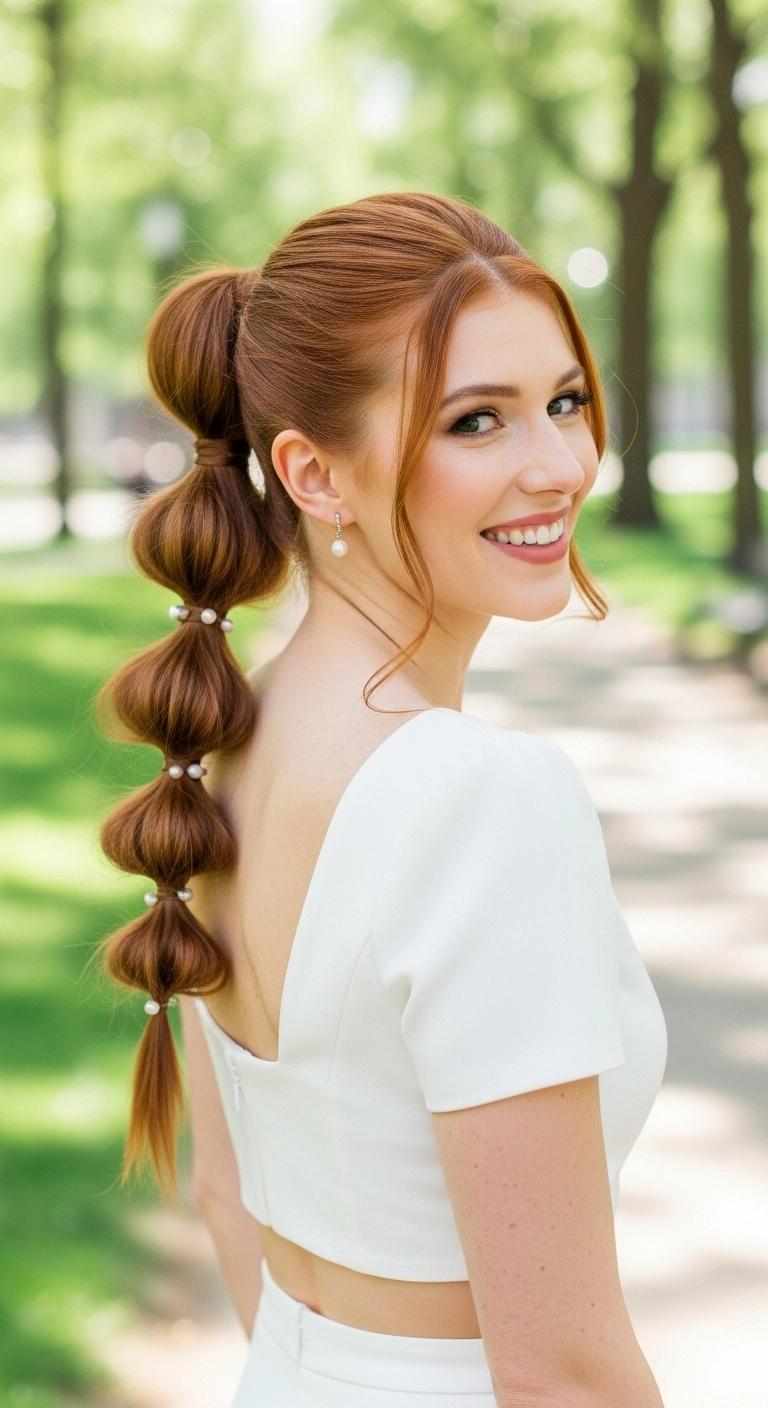
A glam twist on a classic high pony! I’m honestly obsessed with bubble braids right now, and adding delicate pearl pins just elevates the whole vibe instantly. Leaving a couple of soft tendrils around the face keeps it flirty instead of overly rigid. Perfect if you're attending a wedding, graduating, or just want to feel like a modern princess for the day.
How to do this
1. Start by parting out two delicate face-framing tendrils at the front to frame your face softly.
2. Brush the remaining hair smoothly back into a sleek, high ponytail at the crown and secure it firmly using a clear elastic band.
3. Take a small strand of hair from underneath the ponytail and wrap it around the base elastic to conceal it, pinning it underneath.
4. Place clear elastics down the length of the ponytail roughly two to three inches apart.
5. Gently pull and tease the hair between each elastic section outwards with your fingers to create round, voluminous bubbles.
6. Adorn each elastic junction by tucking in pearl hair pins using the pearl hairpin accessories listed below.
7. Finish the loose face-framing strands with a soft bend using a 1-inch curling iron and mist everything lightly with the flexible hold hairspray listed below to keep flyaways smoothed down.
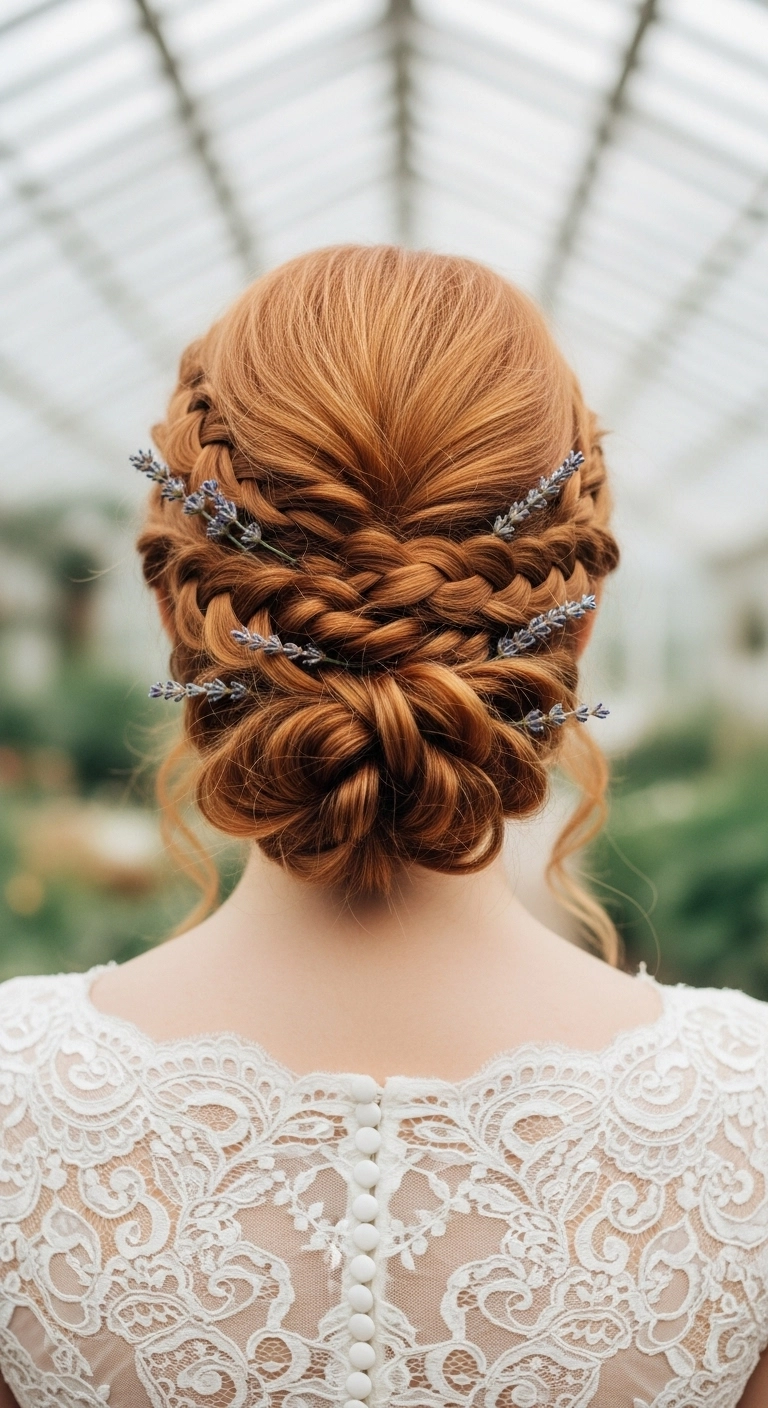
There is nothing quite like a dreamy braided low bun for a fairytale wedding! I love how the woven Dutch braids show off the gorgeous copper tones while the delicate lavender stems add that perfect touch of countryside romance.
How to do this
1. Prep dry, clean hair with a light spritz of the texturizing spray listed below to give your strands grip and hold.
2. Leave out a few soft, fine tendrils around both ears and the temples to softly frame the face later.
3. Section the hair into three main parts: two side sections running from behind the ears forward, and a central back section.
4. Gather the back section at the nape of your neck and create a loose, textured chignon or looped bun, securing firmly with the strong grip bobby pins listed below.
5. Moving to one side, create a soft Dutch or lace braid starting along the hairline and directing it backwards toward the crown of your bun. Gently pancake each stitch to make the braid look thick and full.
6. Repeat the exact braiding process on the opposite side so both braided strands meet at the back.
7. Cross the braids over each other above the low bun, tucking and pinning the ends neatly underneath the base using bobby pins.
8. Lightly curl the loose front tendrils using a curling wand, and tuck sprigs of dried lavender or fresh florals into the braid stitches.
9. Finish the entire style with a generous veil of the flexible hold hairspray listed below to lock every braid in place throughout your event.
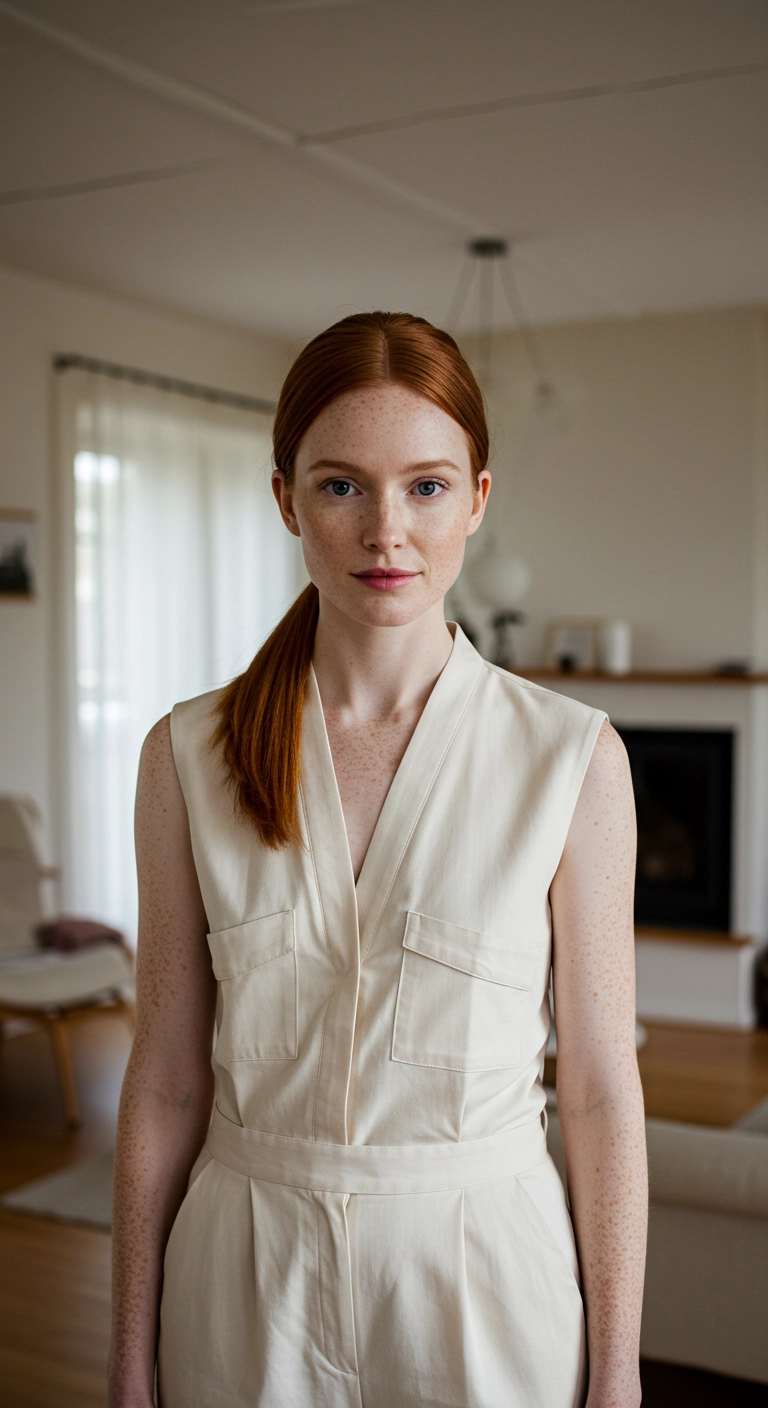
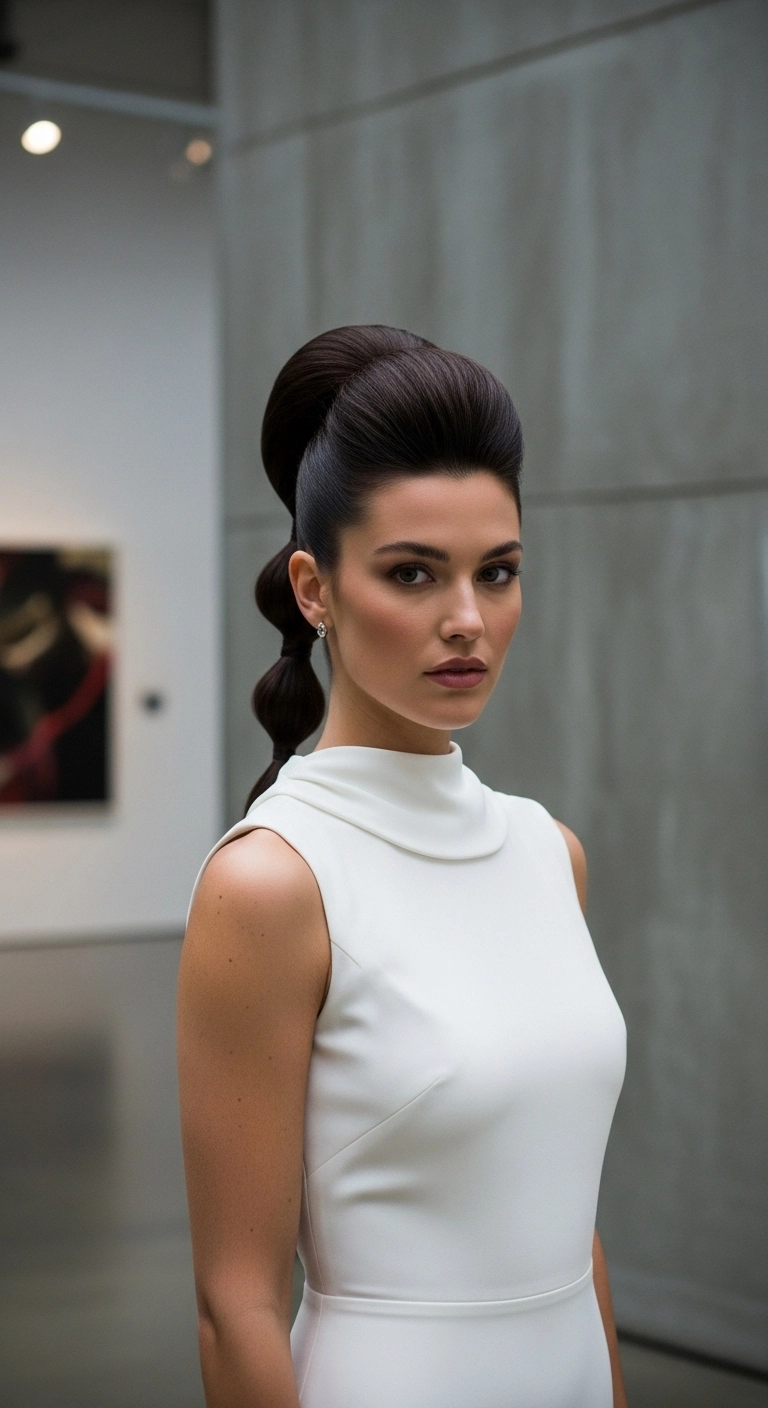
Whenever I want a clean, minimalist look that instantly pulls an outfit together, this sleek low ponytail is my absolute favorite. It’s so simple to do, shows off your bone structure and color gorgeously, and honestly looks so effortlessly chic with almost zero fuss!
How to do this
1. Start by prepping damp hair with a smoothing cream and blow-dry straight down with a paddle brush, or smooth dry hair with a flat iron using the heat protectant spray listed below.
2. Use a tail comb to carve out a clean, crisp center part straight back to the crown of your head.
3. Apply a small amount of the lightweight hair oil listed below to your mid-lengths and ends to tame any stray flyaways and add a glass-like shine.
4. Gather your hair smoothly at the nape of your neck, tucking cleanly behind both ears, and secure tightly with the snag-free clear elastics listed below.
5. Pull the tail forward over one shoulder and mist lightly with the flexible hold finishing hairspray listed below to lock down any rogue flyaways.
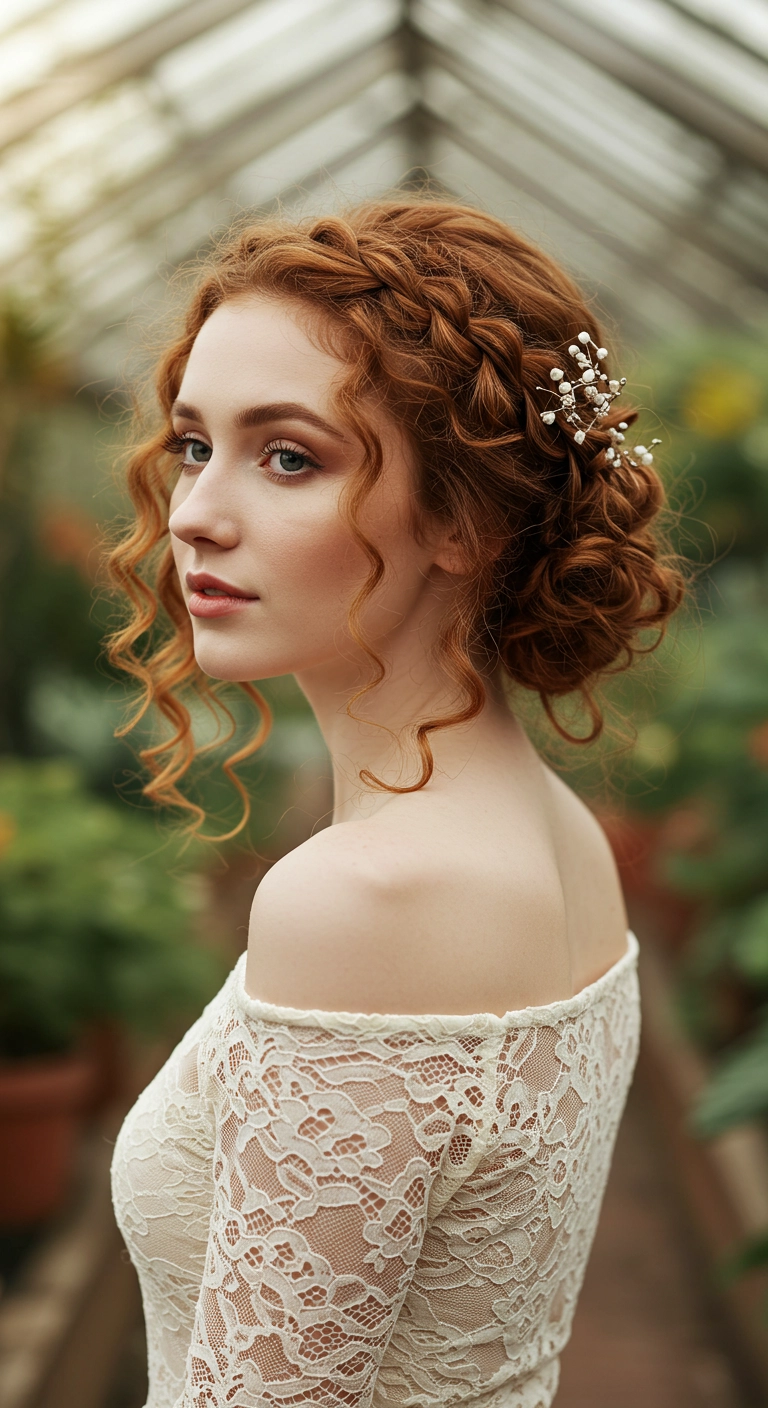
Are you completely in love with ethereal, storybook bridal hairstyles too? I had to include this braided copper chignon because it feels like something straight out of a fairytale, don’t you think?! The way the crown braid weaves softly into that textured low bun while delicate spiral tendrils frame the face is just so dreamy. You could easily swap the pearl pins for fresh baby's breath or wildflowers depending on your wedding theme. It's truly the ultimate romantic bridal updo for anyone wanting effortless elegance on their special day!
How to do this
1. Start by prepping clean, dry hair with a lightweight heat protectant spray to protect your strands before heat styling.
2. Using a 1-inch curling iron, curl small-to-medium vertical sections throughout the entire head, leaving out a few face-framing tendrils in the front.
3. Mist the curls with a texturizing volume spray to build grip and touchable texture before braiding.
4. Create a side part and begin a loose Dutch or French braid starting along the hairline across the crown towards the back, securing the end with a small clear elastic band.
5. Gather the remaining curled hair at the nape of the neck and loosely twist and pin it into a textured chignon using matte bobby pins, making sure to gently pancake the braid for extra fullness.
6. Tuck the tail of your braid into the bun, define the front curling tendrils with a drop of nourishing hair oil, and insert a delicate pearl or floral bridal hair accessory into the side.
7. Finish the entire look with a generous mist of flexible hold hairspray to ensure the romantic updo stays secure throughout the event.