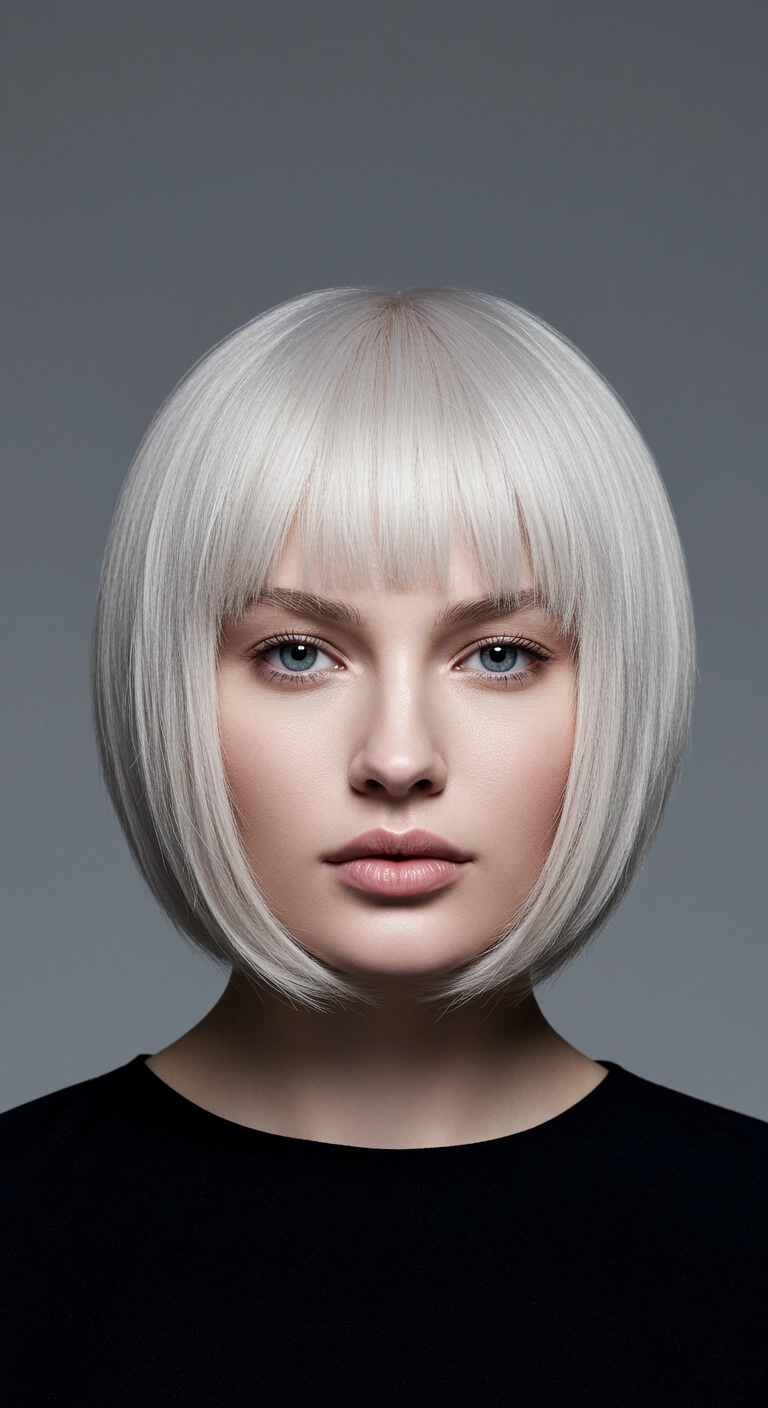
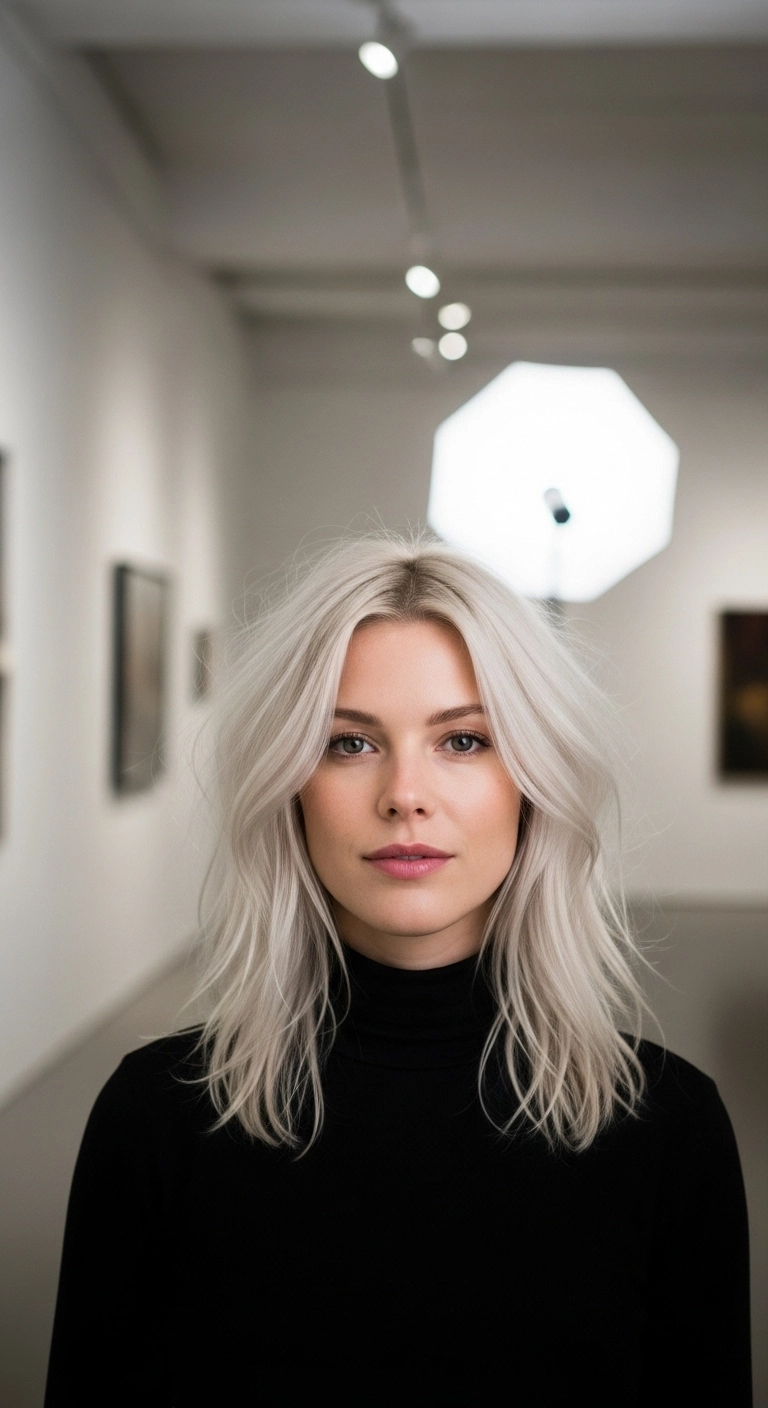
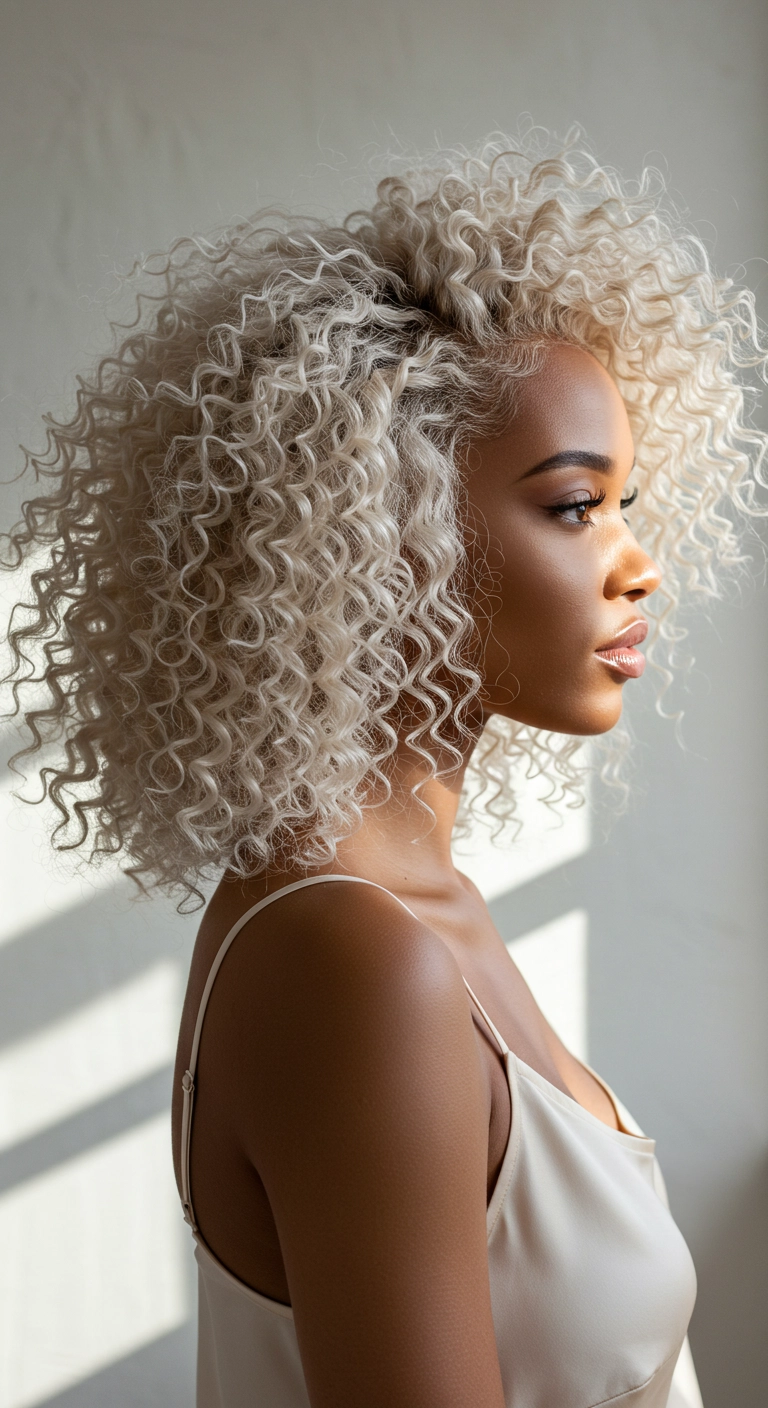
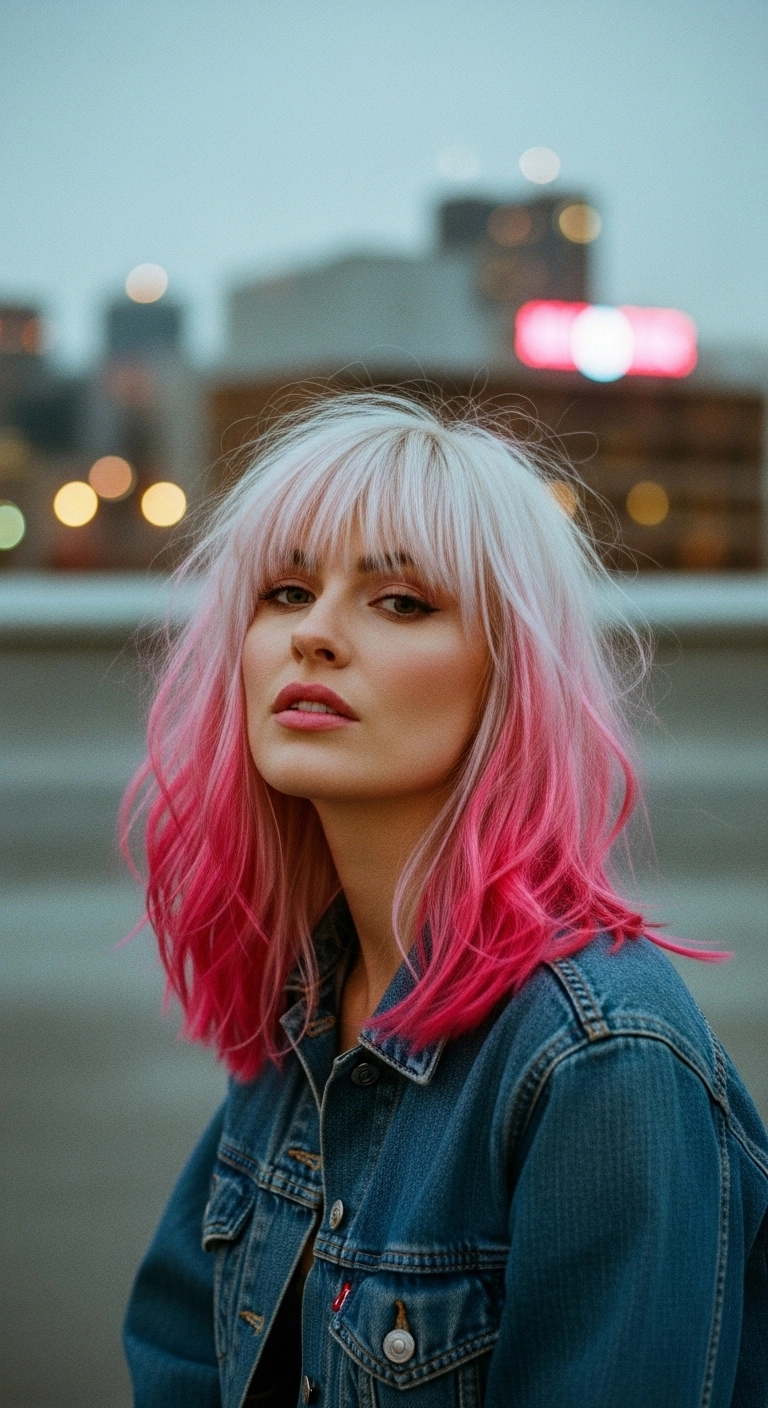
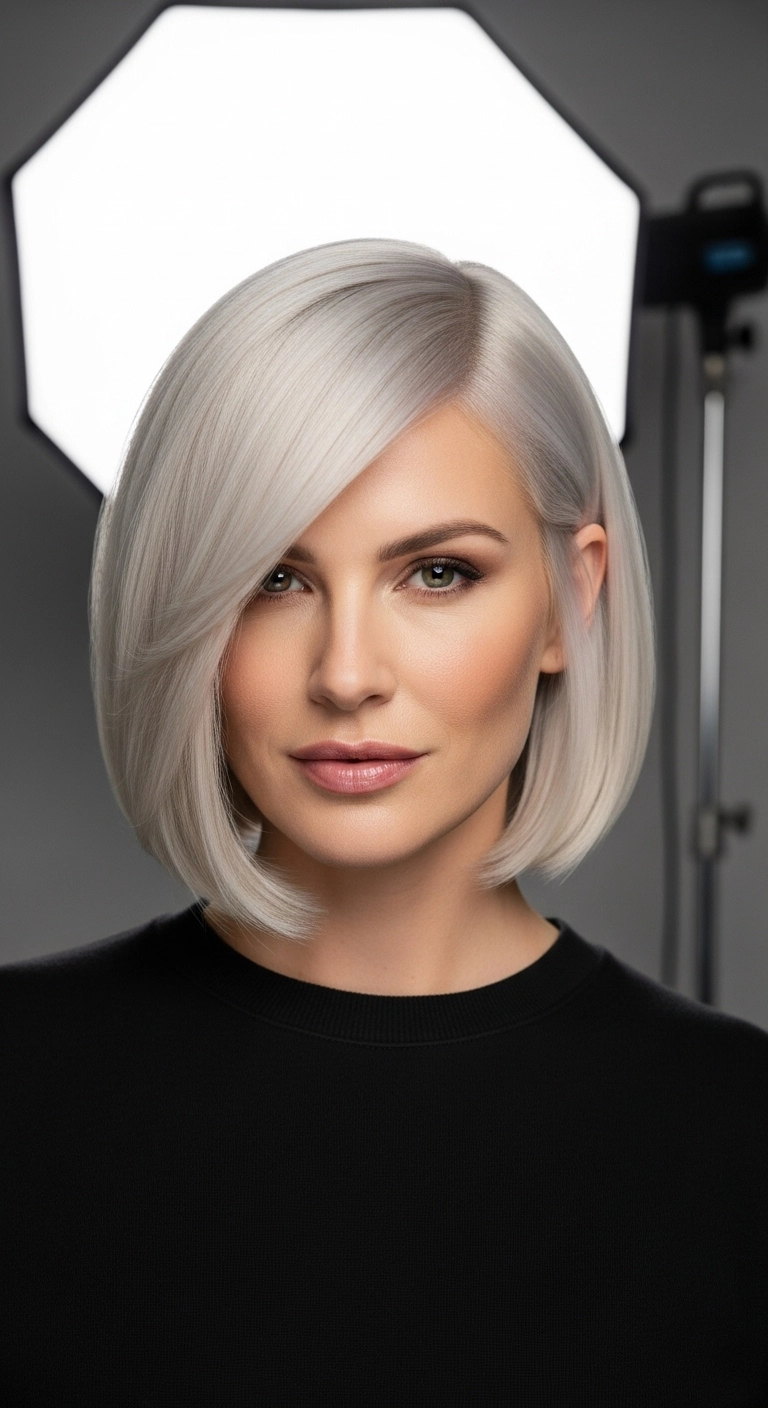
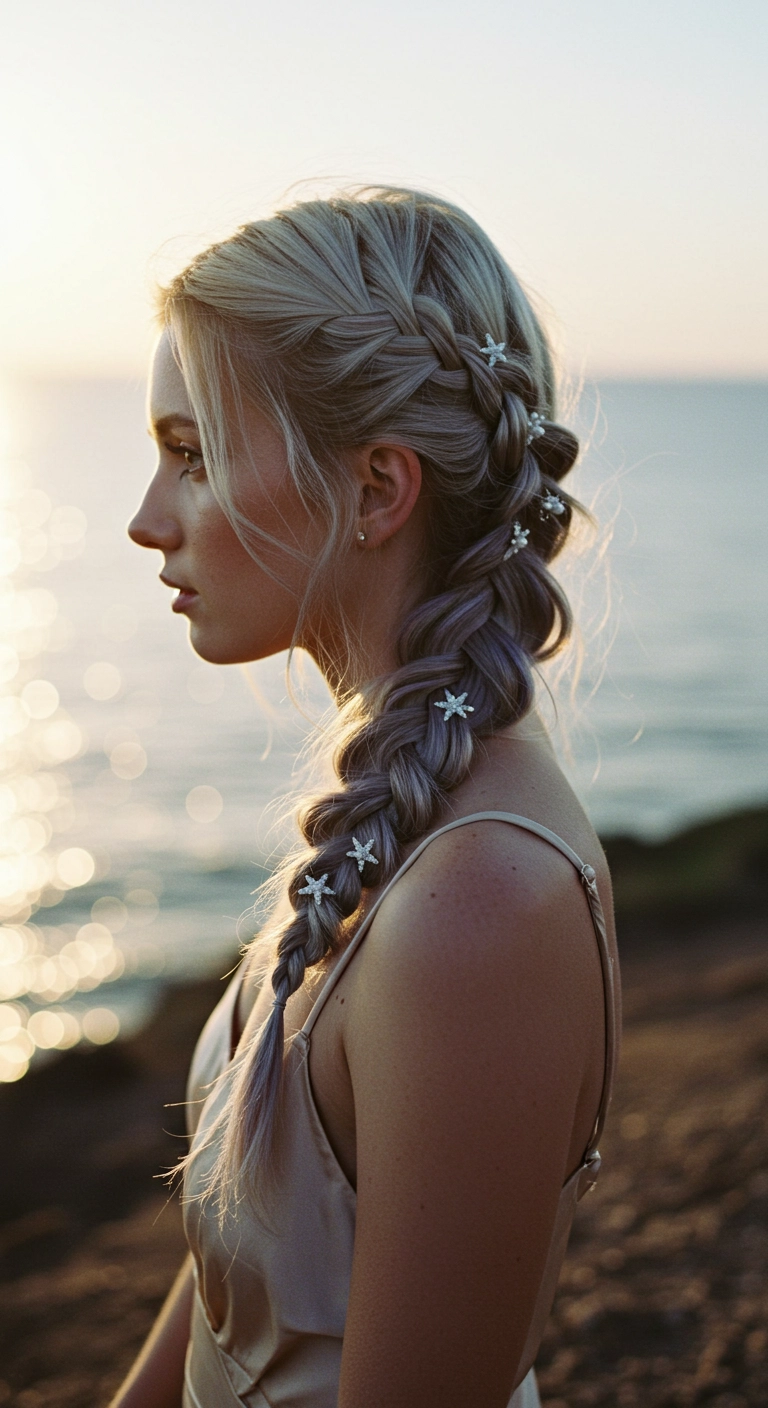
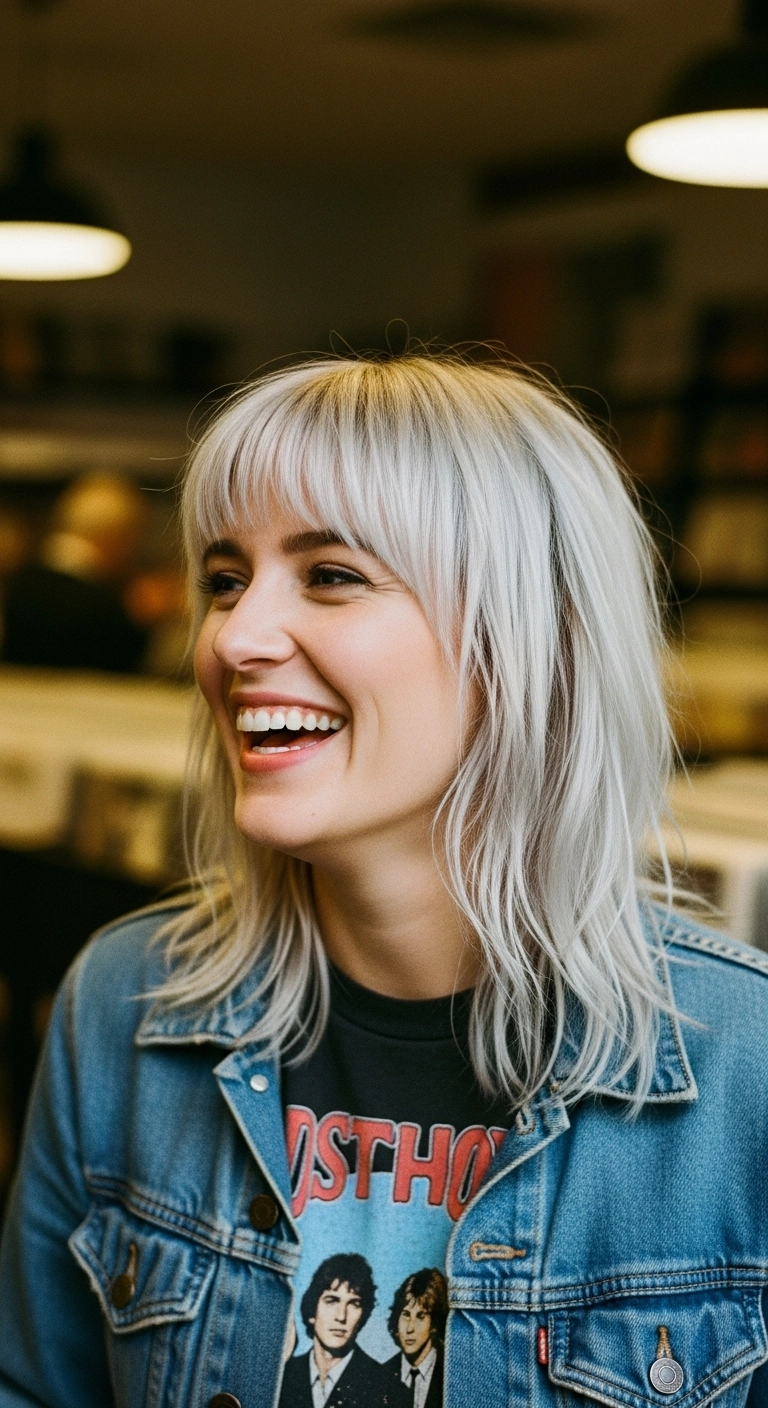
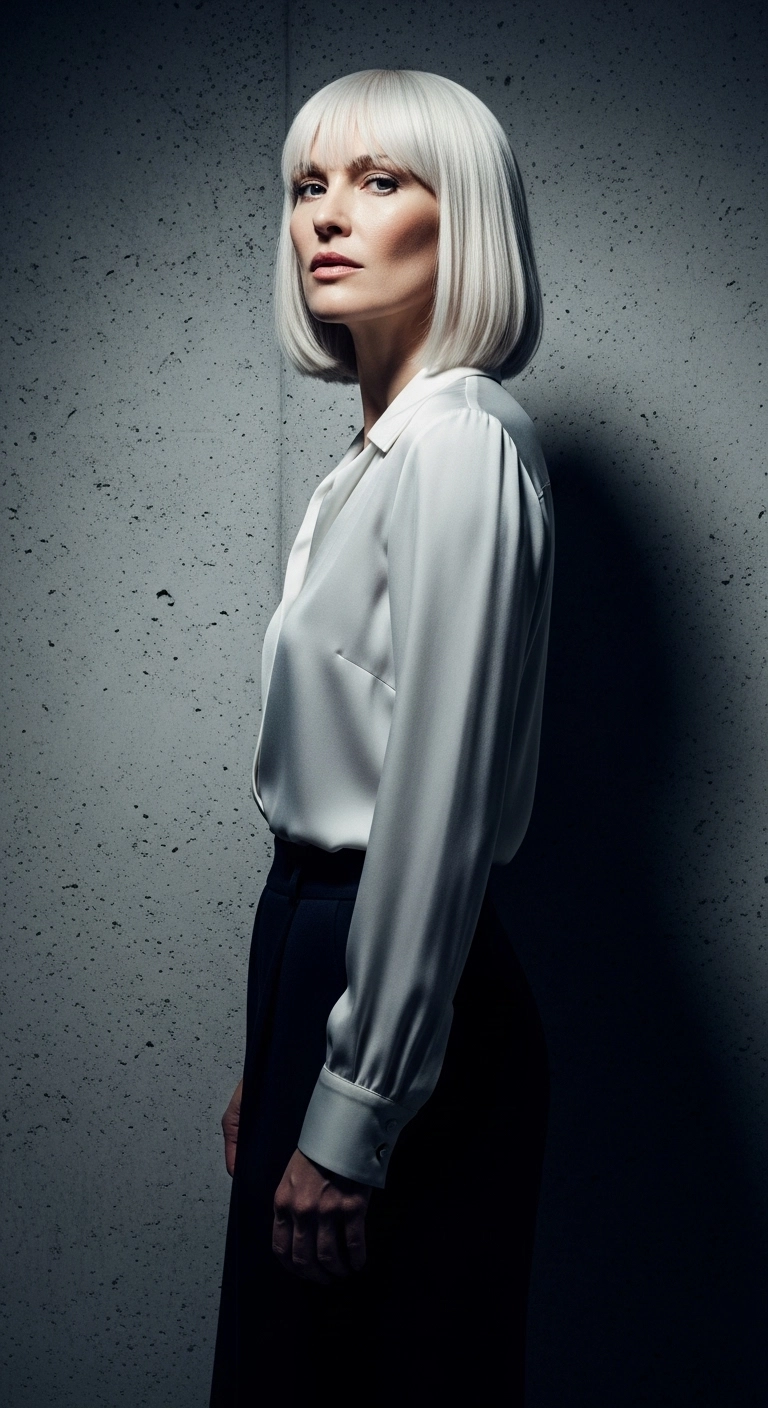
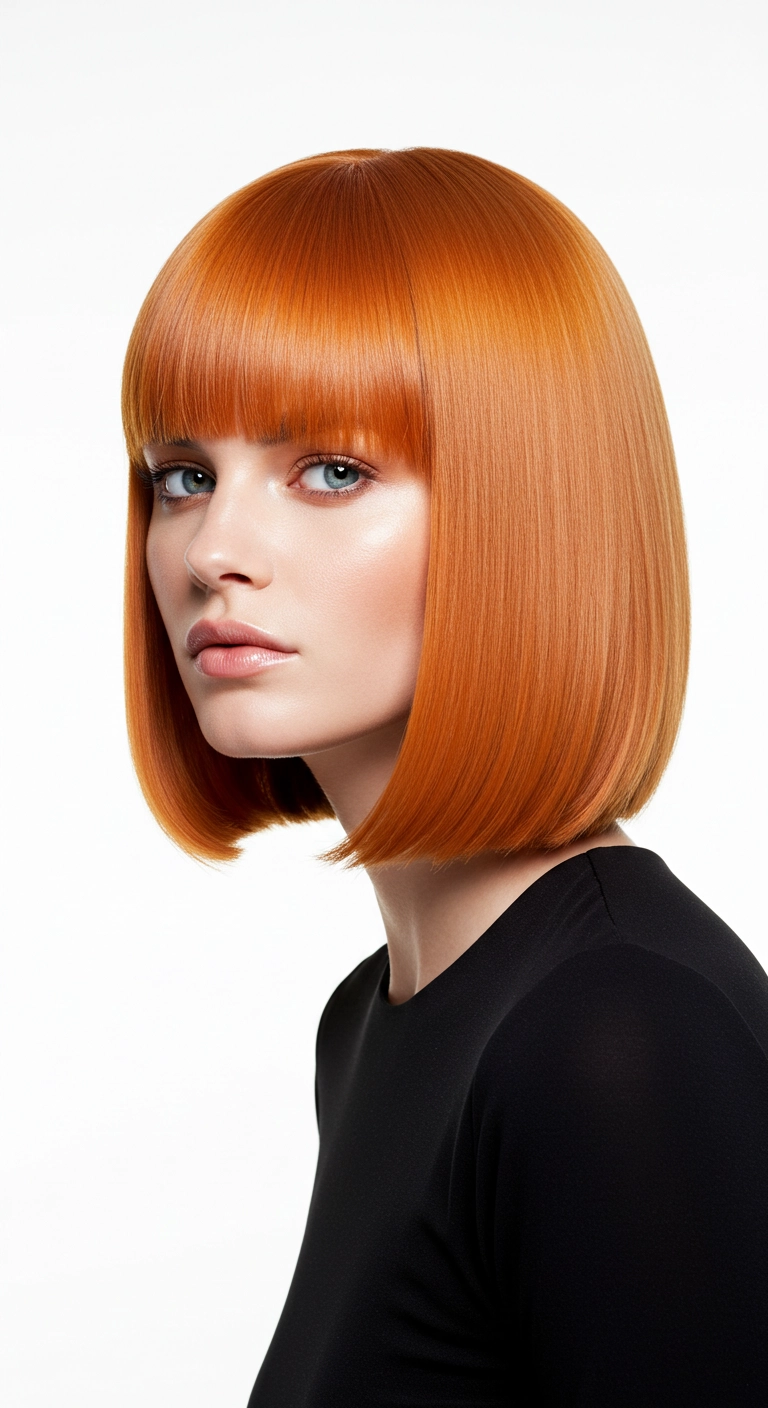
If you want a cut that screams high fashion and sharp elegance, this icy platinum bob is it!! The way it cups the jawline makes your cheekbones pop like crazy, and pairing it with a soft wispy fringe keeps the graphic shape looking wearable and effortless instead of too harsh.
How to do this
1. Prep freshly washed, damp hair with a generous mist of the heat protectant spray listed below to shield high-lift platinum strands from heat damage.
2. Apply a dime-sized amount of the smoothing blowout lotion listed below throughout the mid-lengths and ends to ensure a silky, frizz-free texture.
3. Section the hair horizontally, starting at the nape, and blow dry using a medium ceramic round brush listed below, turning the ends strictly inward toward the jawline.
4. Blow dry the fringe forward and flat using a paddle brush or small round brush with low tension to maintain a soft, wispy curtain across the brows.
5. For a super crisp, tucked finish, run a digital flat iron listed below at a low-to-medium heat setting through small sections, beveling sharply under at the chin line.
6. Finish with a drop of the lightweight shine serum listed below pressed over the surface to tame any flyaways and boost high-gloss silver brilliance.
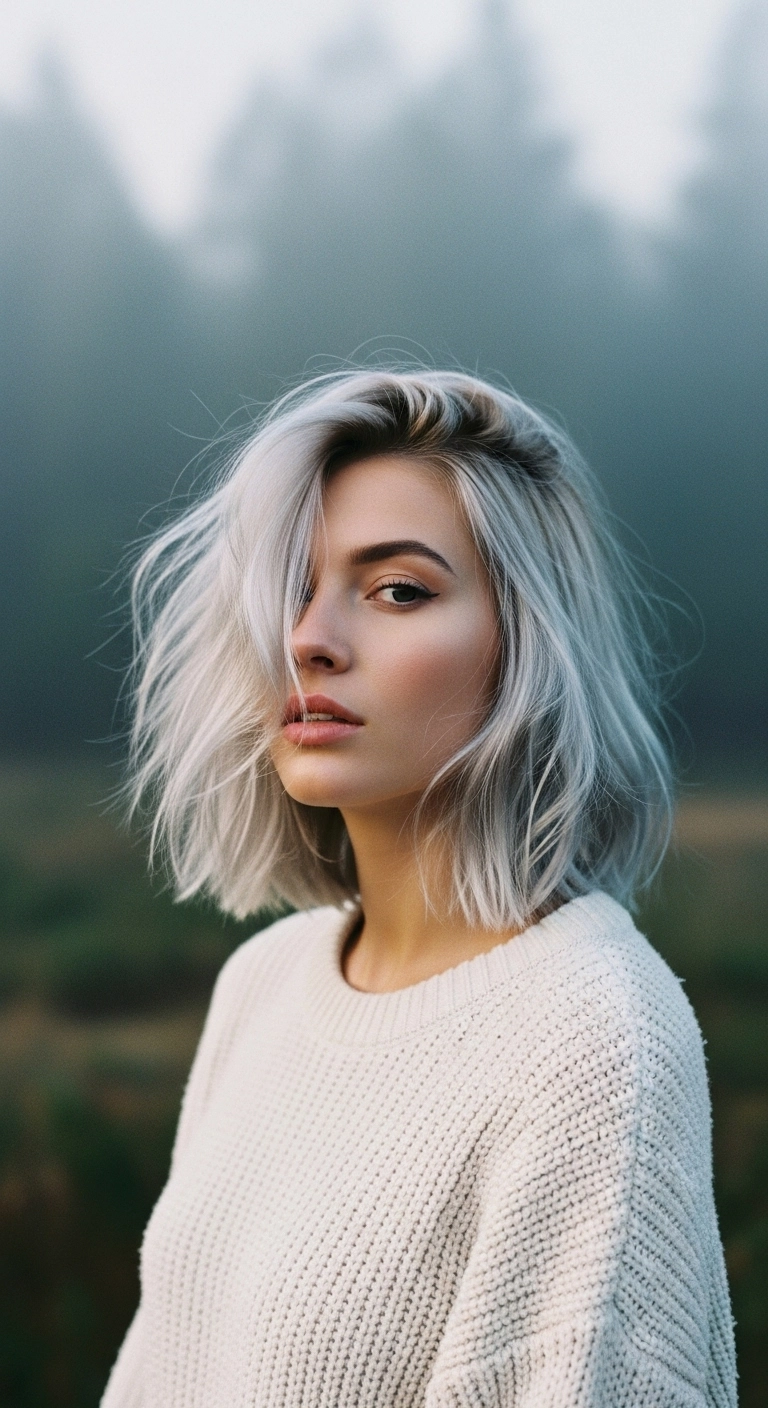
Nothing screams effortless cool like a lived-in icy lob! I'm completely obsessed with how these soft curtain bangs frame the cheekbones while the piecey blonde waves keep the whole vibe relaxed and chic.
How to do this
1. Start by washing hair with the purple toning shampoo listed below to keep that icy platinum tone looking crisp and bright without any yellow undertones.
2. On damp hair, mist throughout with the heat protectant spray listed below to shield your lightened strands from thermal damage.
3. Apply a golf-ball sized dollop of the volumizing mousse listed below through the roots and mid-lengths to give lift and airy body.
4. Blow dry using a large ceramic round brush, lifting up at the crown for volume and rolling the face-framing curtain bangs outward and away from the face.
5. Use a 1.25-inch curling iron or wand to add soft, loose bends to mid-lengths, making sure to leave the ends straight for that lived-in lob vibe.
6. Finish by misting the dry texturizing spray listed below generously from mid-shaft to ends and shaking it out with your fingers, sealing the tips with a drop of the lightweight hair oil listed below.
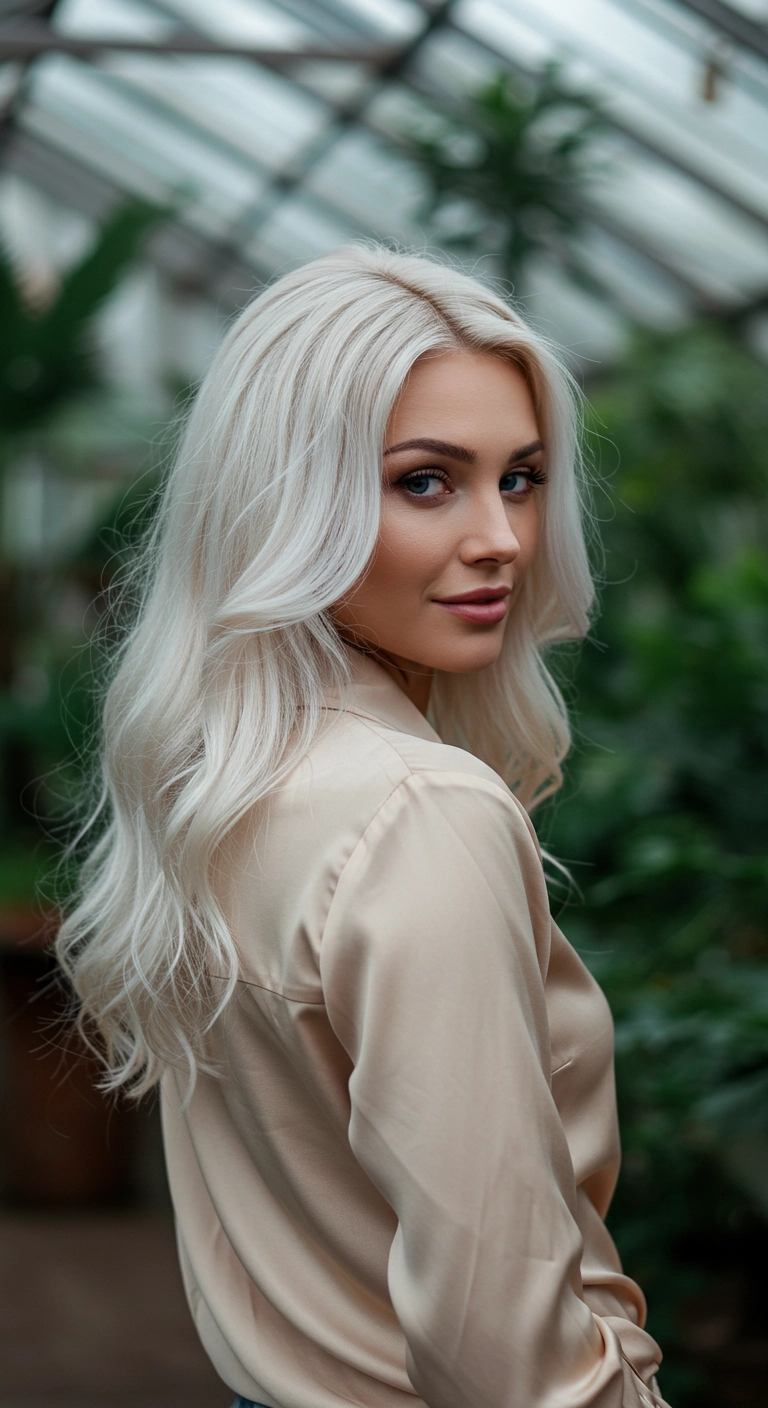
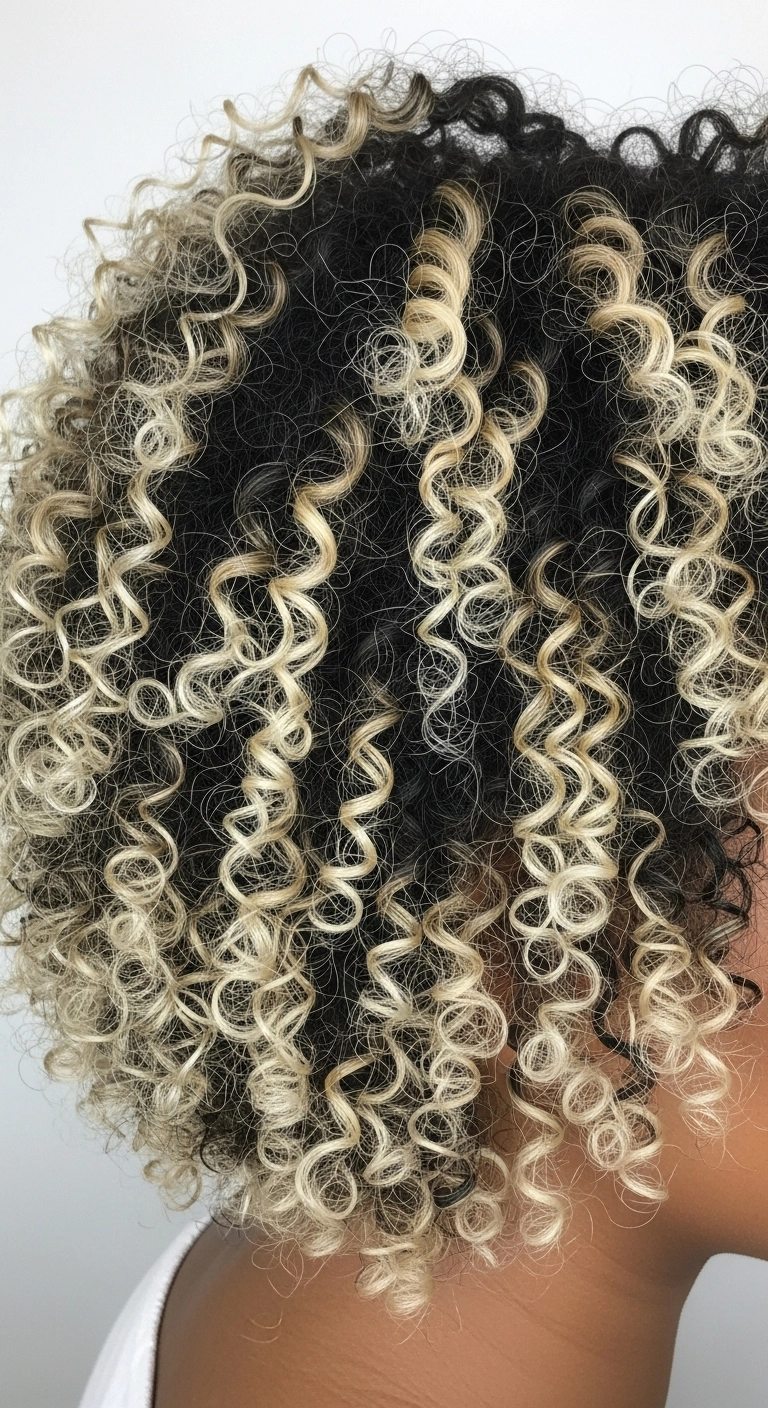
I have always loved the incredible drama of pairing a bright, icy platinum blonde with ultra-defined corkscrew curls! If you usually rock your natural dark shade, switching to a high-lift tone like this totally transforms your whole energy into high glam. I kept the shape super full and rounded with a deep side flip to give it that effortless, bouncy silhouette. You could definitely tone this a touch warmer or cooler depending on what matches your skin tone best, but this clean ice shade is just pure magic!
How to do this
1. Start on freshly cleansed, damp curls or prepare your platinum curly lace wig by laying down the hairline with the lace frontal adhesive listed below.
2. Section the damp hair into manageable quadrants and thoroughly rake through a generous amount of the curl defining cream listed below to clump each curl cluster.
3. Apply the lightweight curl defining mousse listed below over top of the cream to lock in springy definition and eliminate frizz without weighing the hair down.
4. Attach a bowl diffuser to your hair dryer on low speed and medium heat, gently cupping the curls upward toward the scalp until the hair is completely dry to maximize coil bounce and volume.
5. Flip the hair over and gently use the afro hair pick listed below at the roots to lift and build massive, cloud-like volume and shape.
6. Create a dramatic deep side part and sweep the heavy side upward and back, then use the edge control gel listed below along with a fine brush to softly sculpt the hairline baby hairs.
7. Finish the look by misting the platinum blonde toning shine spray listed below across the entire halo of curls for luminous, high-contrast radiance.
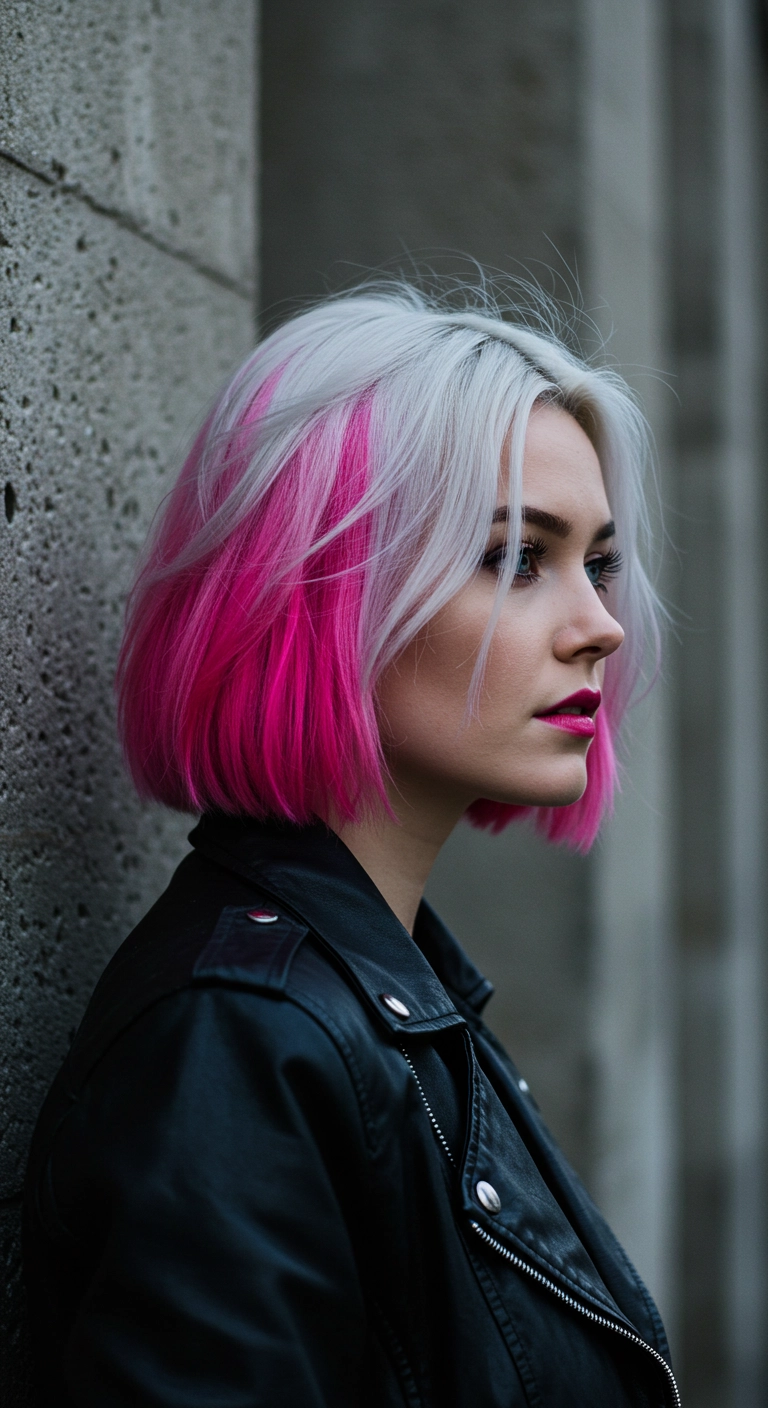
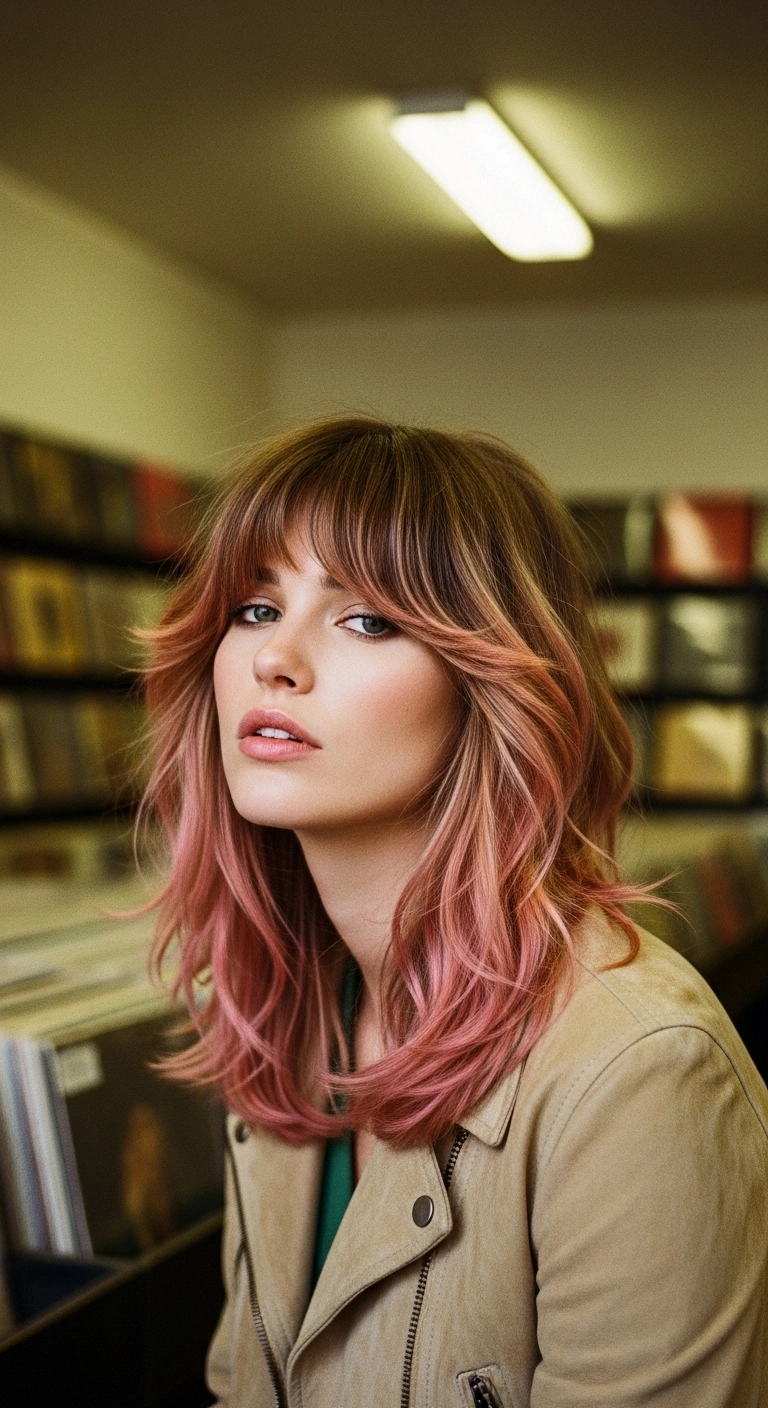
This look is all about that edgy, two-tone contrast. You take an ultra-cool platinum blonde base cut into a textured, collarbone-grazing lob with wispy bangs, and then melt a bold electric pink right through the lower ends. It gives serious rockstar energy while keeping the styling effortless and lived-in.
How to do this
1. Start by prepping pre-lightened platinum hair with the heat protectant spray listed below to shield strands from hot styling tools.
2. If you are applying the color at home, saturate the lower mid-lengths to ends with the vibrant pink semi-permanent hair dye listed below, gently feathering the color upward with a tint brush to create a smooth gradient instead of a harsh line.
3. Blow-dry the wispy bangs straight down using a small round brush, curving slightly inward at the tips so they skim the brow line effortlessly.
4. Take random 1- to 2-inch vertical sections of the rest of your hair and use the 1.25-inch ceramic curling wand listed below to add a quick, loose bend, leaving the ends slightly straight for an undone feel.
5. Spritz throughout with the dry texturizing spray listed below, raking your fingers through the waves to break them up and give that piecey, lived-in volume.
6. Finish off by smoothing a tiny drop of the lightweight hair serum listed below through the very tips to keep the bleached ends looking glossy and vibrant.
Obsessed is an absolute understatement! The contrast between this icy silver top layer and that electric pop of hidden hot pink underneath is giving pure punk rock chic. If you want a bold switch-up without committing all-over color, would you try this peekaboo bob?
How to do this
1. Section the hair horizontally from ear to ear, clipping the top crown and front perimeter up to separate your underlayer from the top veil.
2. Lighten both the top and bottom sections to a clean level 10 platinum blonde using the hair lightening kit listed below, making sure to lift evenly.
3. Apply an icy silver-violet toner to the top section to cancel out any lingering yellow tones and produce a crisp platinum hue using the cool tone balancing toner listed below.
4. On the lower underlayer, saturate the hair thoroughly with a vibrant semi-permanent dye using the hot magenta pink hair color listed below, ensuring full coverage from near the base to the tips.
5. Once processed and rinsed cold, cut the hair into a sharp, chin-length blunt bob, lightly point cutting the ends for modern movement.
6. Mist damp hair with the heat protectant styling spray listed below before blow-drying straight with a flat paddle brush.
7. Finish the look with a quick pass of a flat iron and apply a couple spritzes of the dry texturizing spray listed below to give the bob that effortless, lived-in edge.
Products Used
Dust-Free Hair Lightening Powder Kit with Developer
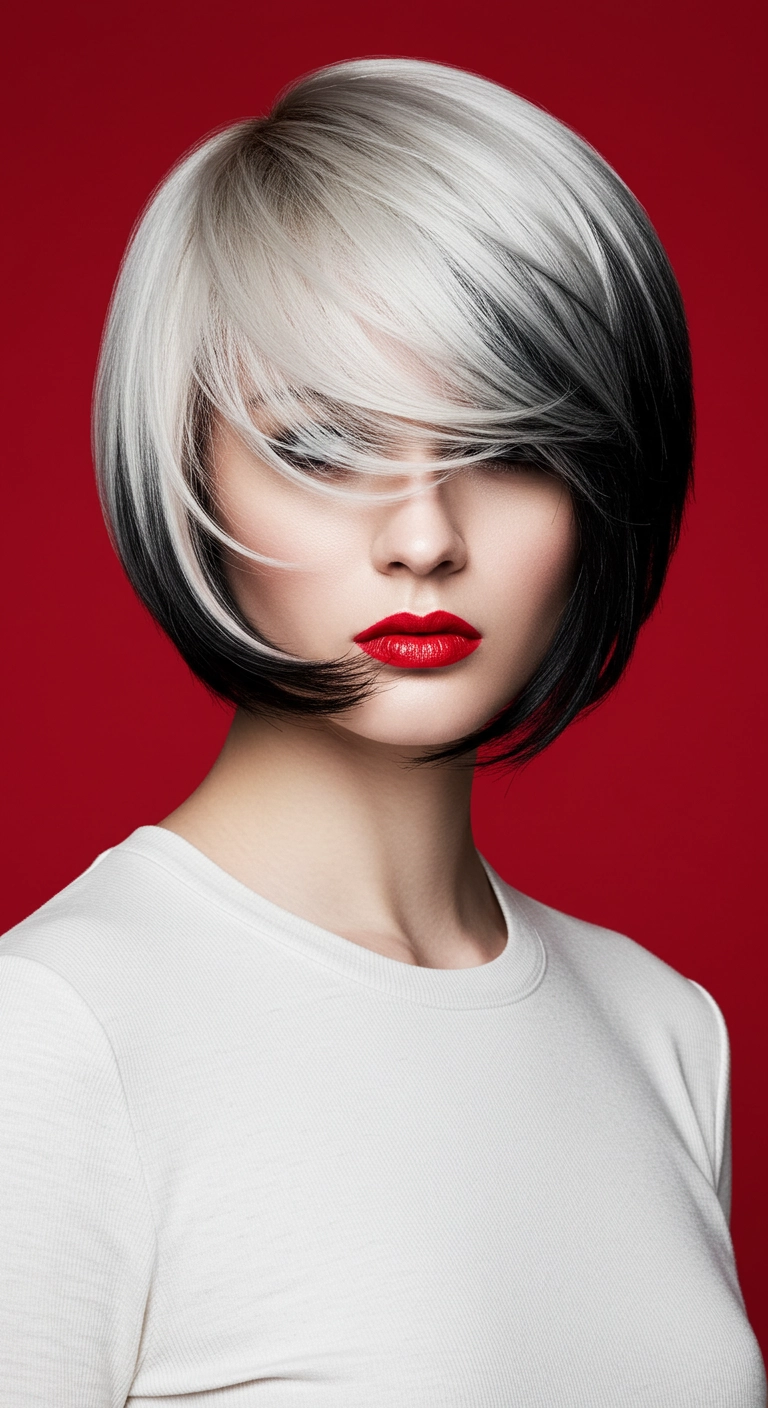
There's nothing quite like a high-contrast two-tone bob to make a fierce statement! I'm completely obsessed with how the icy platinum top sweeps across the face while revealing those bold, inky black layers underneath.
How to do this
1. Start by prepping clean, damp hair with a heat protectant spray to shield against thermal styling.
2. Apply a dollop of lightweight smoothing blowout cream from mid-lengths to ends using a detangling brush to evenly distribute the formula.
3. Section the hair horizontally, separating the dark underside from the platinum top layers.
4. Blow dry in small sections using a medium ceramic round brush, beveling the brush inward toward the jawline to create that signature spherical, rounded bob curve.
5. Direct the heavy front fringe forward and over to the side, rolling the brush under to achieve that smooth, dramatic eye-sweeping curve.
6. Polish the ends with a slim titanium flat iron, curving inward around the chin for ultimate sharpness and definition.
7. Finish by misting a lightweight high-shine finishing spray over the entire head, then set individual face-framing pieces with a flexible hold hairspray.
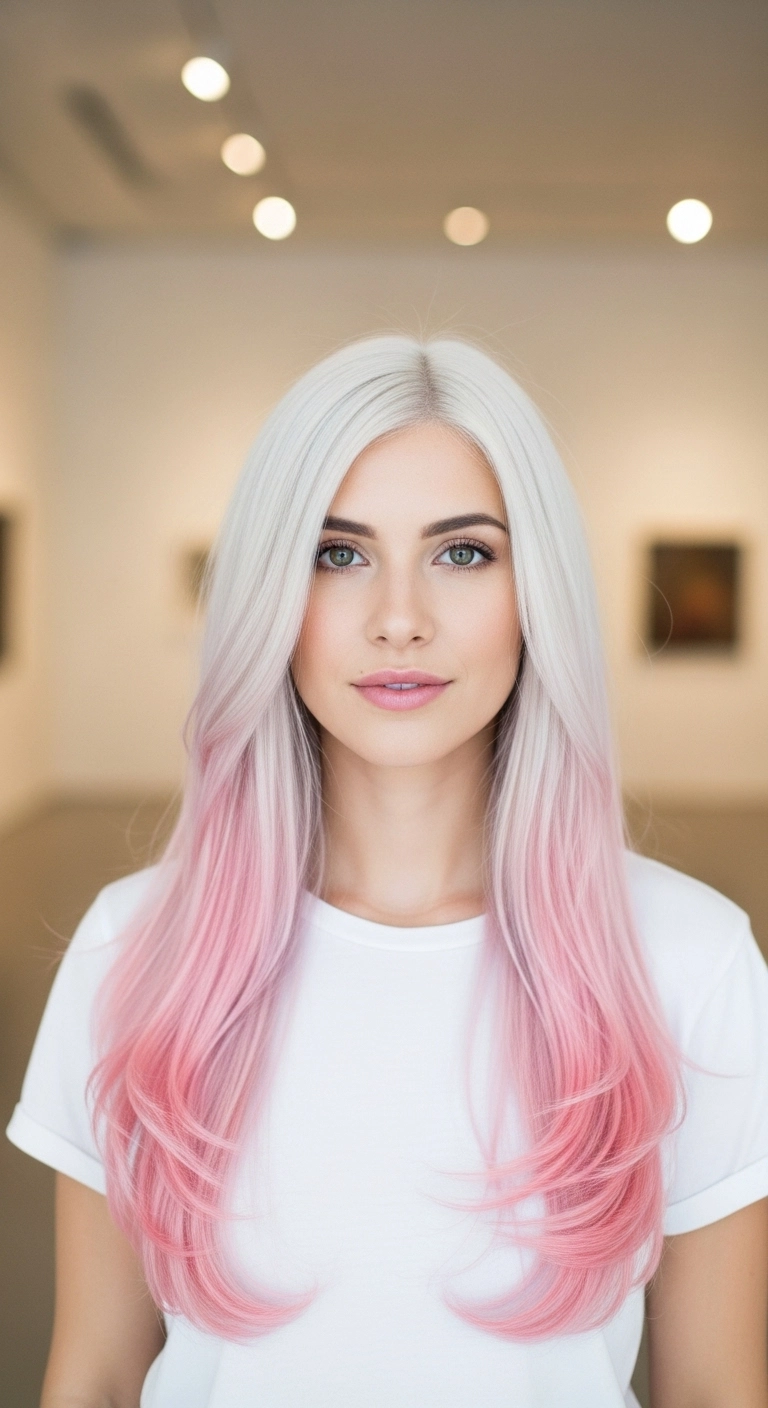
This hairstyle is what I like to call the fairy-floss dream. You start with an ultra-clean icy platinum base that smoothly melts into a candy pastel pink right around the collarbone. Blow dry it smooth with a large round brush to turn the ends under, giving you that soft, bouncy, picture-perfect finish.
How to do this
1. Start by prepping clean, damp hair with a generous mist of the heat protectant spray with argan oil listed below to safeguard delicate lightened strands.
2. Apply a dime-sized amount of the smoothing blowout cream listed below through the mid-lengths and ends to maintain a silky, frizz-free texture.
3. Section the hair into manageable horizontal layers and blow dry using the large ceramic round brush listed below, directing the airflow down the hair shaft for high shine.
4. As you reach the bottom third of each section, rotate the round brush inward toward your face and chest to create that soft, curved C-bend shape.
5. For the pastel pink gradient, maintain the color saturation weekly between salon appointments using the pastel pink semi-permanent color depositing conditioner listed below on the ends.
6. Finish the look by running a drop of the lightweight hair shine serum listed below through the ends to define the layers and enhance overall gloss.
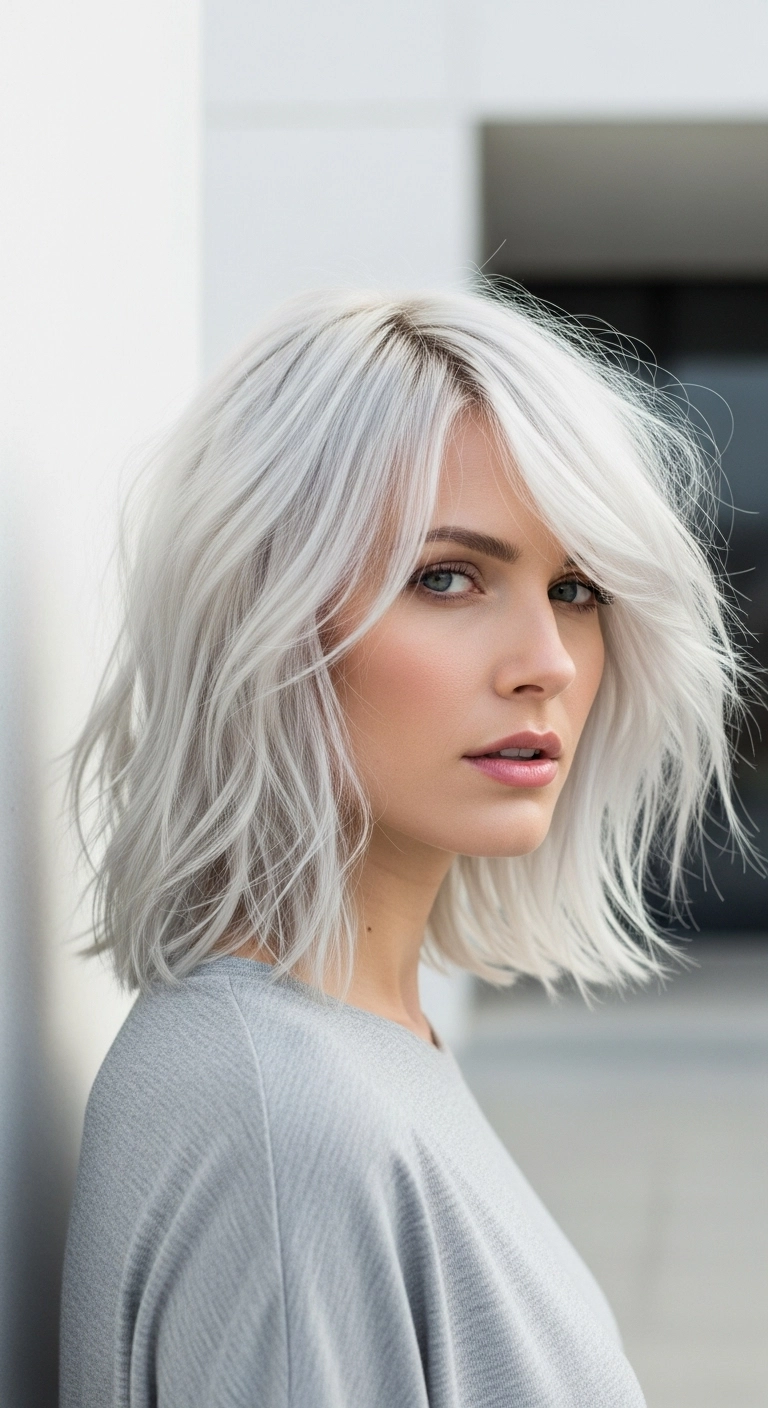
There’s nothing quite like a bright, icy lob to make you feel completely unstoppable! I love how the undone texture and that effortless swooping fringe keep this bleach-and-tone look cool and relaxed rather than stiff.
How to do this
1. Start by prepping damp, freshly washed hair with a lightweight heat-protectant spray to shield your bleached strands from high heat.
2. Apply a dollop of volumizing mousse through the roots and mid-lengths to give this lob maximum lift and body.
3. Blow-dry using a medium round ceramic brush, lifting at the crown to build airy height and smoothing out the ends.
4. Create a deep, casual side part, letting the front fringe sweep softly across the forehead and cheekbone.
5. Take a 1.25-inch curling iron or flat iron to add effortless, random bends throughout the mid-lengths, leaving the very ends straight for a modern, lived-in edge.
6. Shake out the waves with your fingers and mist generously with the dry texturizing spray listed below to separate layers and create that piecey, airy finish.
Are you totally obsessed with clean, ultra-chic bobs like I am? I just had to include this sleek icy platinum bob because it delivers that effortless modern sophistication! The curved inward ends gently hug the jawline, while that dramatic deep side swoop adds instant drama and frames the face in the most flattering way. Whether you're heading to the office or glamming it up for a night out, this sleek blonde style never fails to turn heads!
How to do this
1. Start by washing your hair with the purple toning shampoo listed below to keep that icy platinum blonde totally free of yellow brassiness.
2. On damp, towel-dried hair, mist evenly with the heat protectant blowout spray listed below to shield your hair and add a sleek foundation.
3. Create a deep side part using a tail comb, directing the heavier side across your forehead.
4. Section hair and blow-dry using a medium ceramic round brush listed below, rolling the ends gently inward toward the jawline for that clean, curved bob silhouette.
5. For the long sweeping fringe, wrap the hair around the round brush over-directed slightly backward and up to create lift, then swoop it smoothly across the eye line.
6. Run a flat iron on low-to-medium heat over the ends if needed to set that neat inward tuck.
7. Finish by dispensing a pea-sized drop of the lightweight hair serum listed below between your palms and smoothing down flyaways, followed by a mist of the flexible hold hairspray listed below.
Beach braids are always my absolute favorite for romantic summer vibes! The trick to getting that dreamy, effortless look is not braiding too tightly from the start, and then taking your time to softly pancake each section once it's tied off. Adding cute little coastal pins makes it feel straight out of a fairytale, especially paired with an icy silver-blonde tone!
How to do this
1. Start by prepping clean, dry hair with a spritz of the texturizing spray listed below to give your strands extra grip and volume before braiding.
2. Leave out a few soft, wispy tendrils around the face and ears to keep the finished look romantic and effortless.
3. Begin a Dutch or French braid near the crown on one side, working your way diagonally across the back of the head towards the opposite shoulder.
4. Gather the rest of your hair into the braid as you reach the nape of the neck, continuing down the length in a three-strand plait over your shoulder.
5. Secure the end with a small clear elastic band listed below, leaving a tiny tail of hair loose at the bottom.
6. Gently pancake the braid by lightly tugging at the outer edges of each stitch to create a thick, plush, and voluminous appearance.
7. Finish the look by carefully tucking the starfish and pearl hair pins listed below into various stitches along the braid, then lock everything in place with a flexible hold hairspray.
I fell in love with this style the second I decided I wanted something edgy yet effortless to wake up with. The feathered shag layers give your hair instant body without having to spend an hour with a curling iron, and the bright icy platinum gives it that quintessential rocker edge. Plus, the wispy fringe frames your eyes in the prettiest way even on days when you just want to throw the rest in a messy topknot!
How to do this
1. Start by prepping damp, freshly washed hair with a lightweight leave-in conditioner and the heat protectant spray listed below to shield bleached hair from heat styling.
2. Blow-dry the bangs first using a small paddle brush or round brush, sweeping them back and forth against the forehead to eliminate cowlicks and achieve that wispy, natural drape.
3. Rough-dry the rest of the lengths with a hair dryer and your fingers, lifting at the roots to encourage volume and natural texture.
4. Take random 1-to-2 inch vertical sections of the mid-lengths and quickly tap them with a flat iron or styling wand to create slight lived-in bends rather than uniform curls.
5. Shake your fingers through your hair to loosen up the waves and break up the separation.
6. Mist generously with the dry texturizing spray listed below through the mid-lengths and ends for that effortless, rock-and-roll fullness.
7. Finish by pinching a tiny amount of the matte styling wax listed below into the tips of your bangs and face-framing layers to give them that piecey, defined separation.
Whenever I want to make a super chic, high-fashion statement, this sleek platinum lob is everything! It looks so dramatic with the bright ice-white tone + the curved under ends give it that timeless, polished edge that completely elevates your entire look.
How to do this
1. Start by prepping clean, damp hair with a thermal protectant cream to shield delicate platinum strands from heat damage.
2. Apply a smoothing blowout serum using the smoothing blowout cream listed below from roots to ends to tame flyaways and add a mirror-like shine.
3. Section the hair into manageable quadrants, starting from the nape of the neck.
4. Blow dry using a medium ceramic round brush using the ceramic ionic round brush listed below, gently rolling the ends under to create that curved, beveled perimeter.
5. For the bangs, blow dry them forward using a small paddle brush or round brush, sweeping side to side to keep them airy and straight across the brow line.
6. Run a flat iron through stubborn sections on medium heat, curving inward slightly right at the ends.
7. Finish by misting a lightweight, high-gloss shine spray and a light touch of flexible hold hairspray using the flexible hold hairspray listed below to keep every strand flawlessly in place.
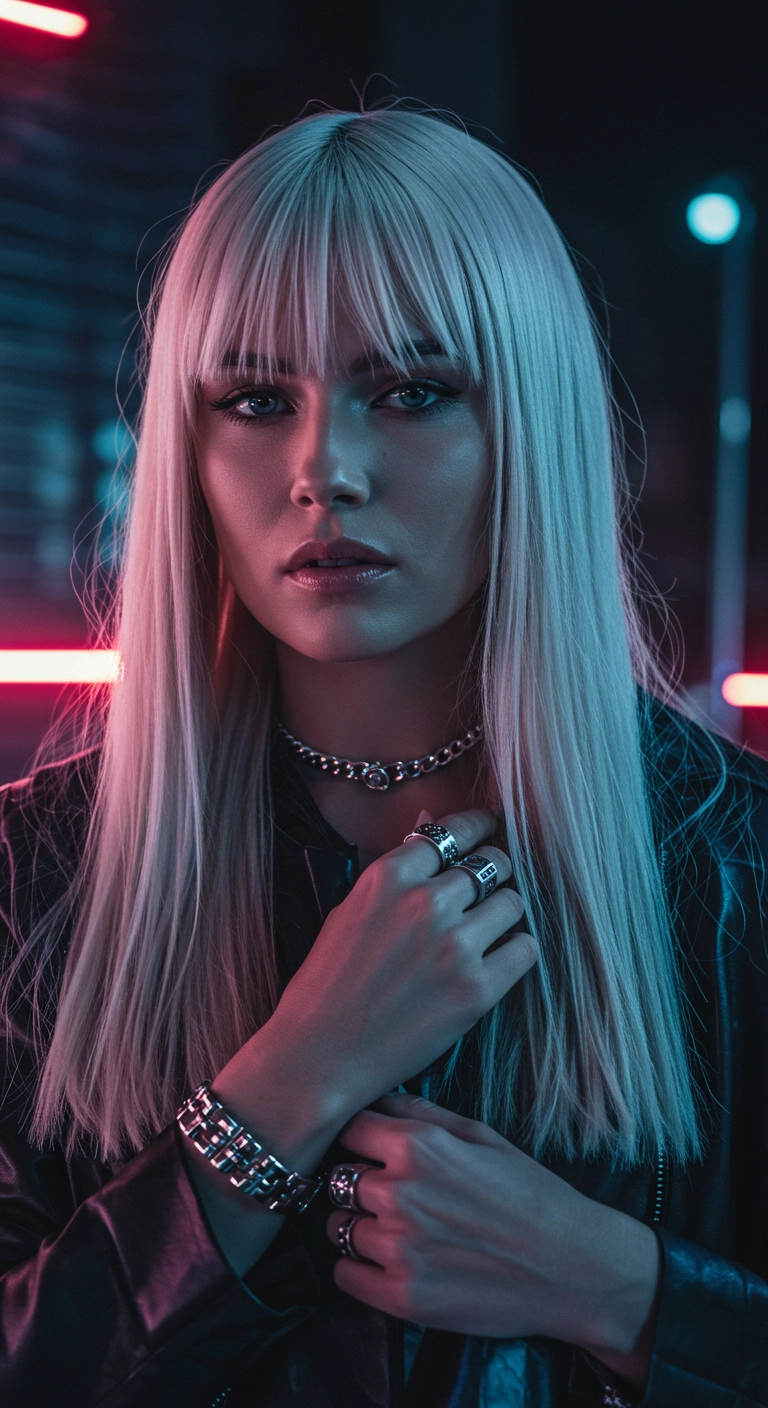
I'm absolutely obsessed with this icy platinum look because it instantly delivers high-fashion, cyberpunk cool-girl vibes with barely any effort once it's styled. The piecey fringe frames the eyes perfectly and gives it that moody, rock-and-roll edge. It's chic, sleek, and makes any outfit look ten times cooler. Definitely give this platinum straight style a try if you want to turn heads!
How to do this
1. Start by prepping clean, towel-dried hair with a leave-in treatment and heat shield using the thermal protection spray listed below to shield high-lift platinum strands from heat damage.
2. Blow-dry the fringe straight forward flat against the forehead using a flat wrap technique with a paddle brush, keeping the airflow pointed downwards to ensure it lies sleek and flat.
3. Blow-dry the rest of the hair in sections using a large ceramic round brush or paddle brush to smooth out any natural wave or frizz.
4. Take clean, one-inch horizontal subsections and glide a flat iron through from roots to ends using the ceramic flat iron listed below, keeping the pass smooth and steady for that ultra-sleek, pin-straight look.
5. Use a drop of the smoothing hair serum listed below between your palms and lightly smooth down flyaways along the lengths and fringe for mirror-like shine.
6. Finish with a light mist of the flexible hold hairspray listed below to keep the bangs separated yet locked in place all night.
I've been obsessed with this lived-in French bob cut lately! It gives such an effortless, cool-girl vibe especially with that striking icy platinum tone. It's so easy to style in the mornings—just a quick rough-dry with your fingers, a little texture spray, and you're ready to head out the door looking totally put together.
How to do this
1. Start by prepping towel-dried hair with a lightweight leave-in conditioner using the leave-in conditioning spray listed below to keep bleached strands hydrated and silky.
2. Blow-dry the bangs first using a fine-tooth comb or small round brush, sweeping them back and forth with low heat so they dry naturally soft, wispy, and straight without puffing up.
3. Apply a small amount of heat protectant through the mid-lengths and ends using the thermal styling spray listed below before blow-drying the rest of the hair with a medium ceramic round brush.
4. When drying the bob, roll the brush gently inward at the ends to give that subtle classic French bob tuck and rounded volume.
5. For that effortless lived-in movement, lift a few top sections and mist lightly with the dry texturizing spray listed below to break up the blunt perimeter and add airy separation.
6. Finish off the style by applying a drop of hair oil using the weightless shine oil listed below to the ends for a glossy, healthy finish without weighing down the platinum hair.
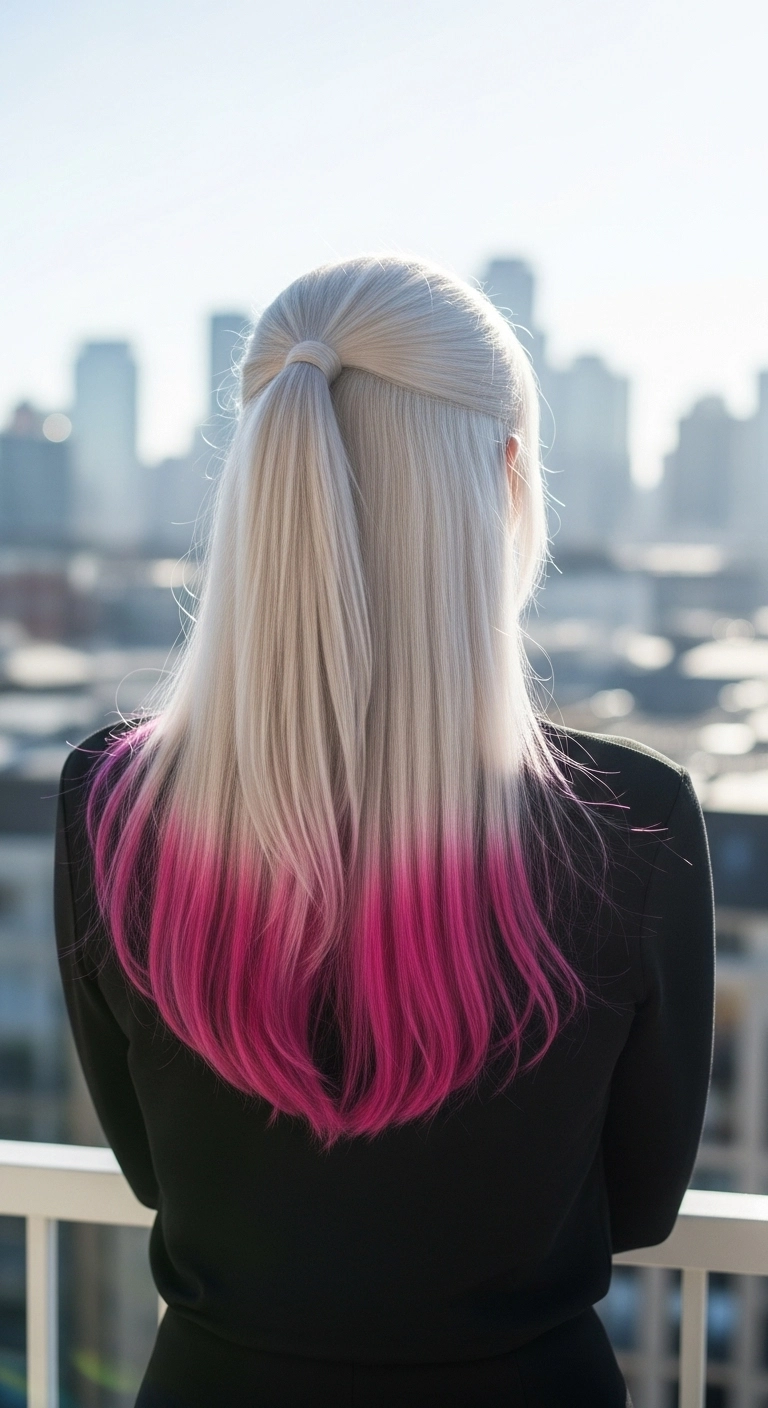
I love how the pop of vivid magenta looks against icy platinum blonde! Wrapping a strand around the hair tie makes this half-up pony look super sleek and intentional. It’s such a fun, edgy vibe that totally stands out whether you’re heading to a concert or just running around town.
How to do this
1. Start by prepping clean, dry hair with a lightweight heat protectant spray listed below to keep bleached strands protected from styling heat.
2. Smooth through lengths using a flat iron listed below in small sections until the hair is completely sleek and straight.
3. Separate the upper half of your hair starting right above the ears, pulling it smoothly back into a high half-ponytail at the crown using clear mini elastics listed below.
4. Take a small half-inch section of hair from underneath the ponytail and wrap it around the elastic band to fully conceal it, securing the tail underneath with a mini bobby pin.
5. Maintain that vivid magenta dip-dye vibrancy between salon visits by using the semi-permanent pink hair dye or color-depositing conditioner listed below.
6. Finish the look by misting a light layer of glossing shine spray listed below over the top and lengths for an ultra-reflective, silky finish.
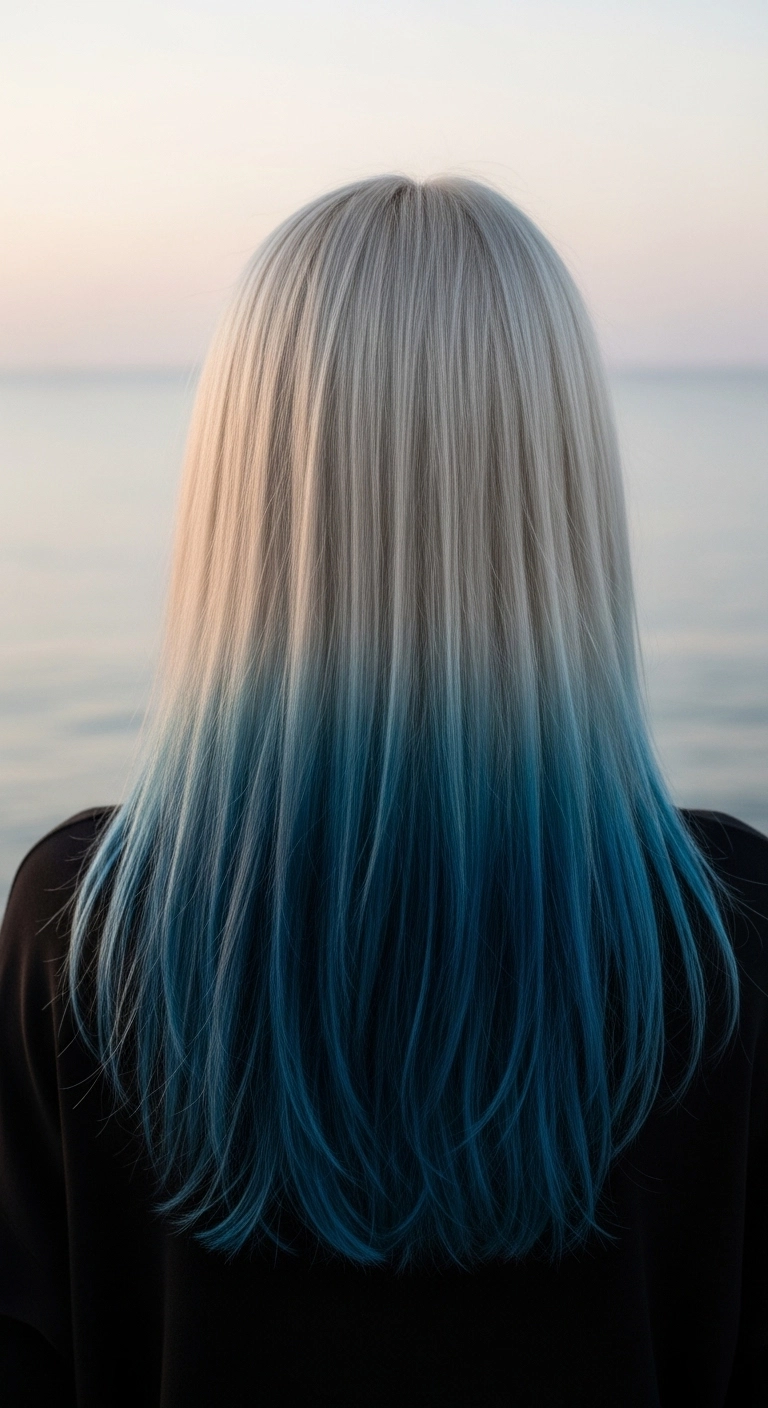
I think this two-tone dip dye is one of the coolest ways to make a statement if you already rock platinum blonde hair. The deep ocean blue looks like it was literally dipped in the sea, and keeping the blend soft avoids that blunt, blocky line. You can wear it sleek and stick-straight like this to really show off the crisp color contrast, or add loose mermaid waves for extra movement and depth!
How to do this
1. Start by bleaching the entire hair to a clean, pale level 10 blonde, followed by a toning session using the violet toner listed below to eliminate any residual yellow undertones and achieve this crisp platinum shade.
2. Section off the lower half of the hair starting roughly halfway down the back where you want the ocean blue dip-dye to begin.
3. Apply a vibrant semi-permanent cerulean or deep ocean blue direct dye to the mid-lengths and ends using the tint brush listed below, making sure to feather upwards into the platinum blonde with a comb to avoid any harsh horizontal line.
4. Allow the vibrant color to process according to instructions, then carefully rinse in ice-cold water to prevent bleeding into the platinum base.
5. Prep the damp strands with the thermal heat protectant spray listed below before blow-drying straight using a large ceramic round brush.
6. Run a flat iron down small sections to create this sleek, ultra-smooth glass-hair finish.
7. Finish by smoothing a tiny pump of the lightweight silicone hair serum listed below through the mid-lengths and ends for high-gloss shine and frizz control.
Isn’t this icy platinum lob cut just so effortlessly chic to look at?? A textured lob like this works beautifully on fine to thick hair because it gives you that blunt density at the bottom while keeping plenty of movement. One thing I love about this hairstyle is that subtle shadow root—it makes maintenance so much easier and gives the whole look an edgy, lived-in feel. Toss your hair to the side, spray a little texturizing mist, and you’re ready to walk out the door looking amazing!
How to do this
1. Start by bleaching the hair to a clean level 10 pale yellow base, blending a soft shadow root for seamless regrowth.
2. Tone all over to a pure icy silver shade using the purple toning mask listed below to eliminate any residual warmth.
3. Cut the hair into a textured collarbone-length blunt lob, chipping into the ends with shears to create a soft, piecey perimeter.
4. Apply a dime-sized amount of the lightweight heat protectant serum listed below to damp hair before blow-drying.
5. Blow-dry using a round ceramic brush to build maximum volume at the roots, directing the front pieces into a deep, sweeping side part.
6. Take random 1-inch sections and wrap them loosely around a wide curling wand for just a few seconds to introduce an undone, effortless bend.
7. Finish by misting the dry texturizing spray listed below through the mid-lengths and roots, then tousle with your fingers for an airy, lived-in look.
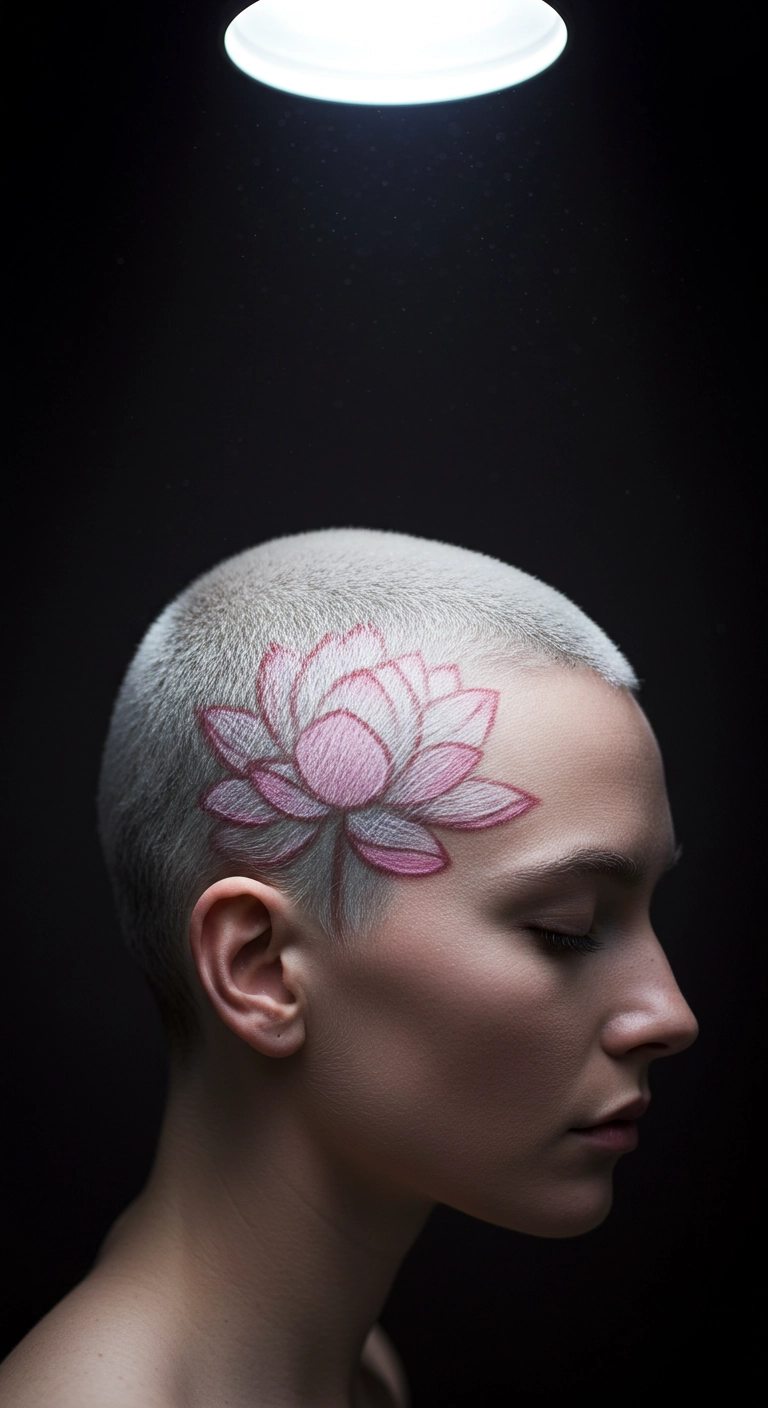
Can we talk about how breathtaking creative buzz cut art can be?! I had to showcase this platinum buzz cut with the painted pink lotus design because it's the ultimate blend of edgy and delicate, don't you think?! Shaving your head opens up a whole canvas for artistic expression, and adding soft floral details in pastel pink makes it look like wearable art. Whether you're heading to a festival or just want to turn heads everywhere you go, this bold style is pure magic!
How to do this
1. Start by clipping the entire head down to a uniform short length (around a #1 or #2 guard) using professional hair clippers.
2. Lighten the hair evenly all over using a high-lift bleach powder and low-volume developer to achieve a clean pale yellow canvas.
3. Tone the hair to an icy, pure platinum white using a purple or silver toner and rinse thoroughly.
4. Sketch out the lotus floral stencil or freehand outline over the side temple area with a fine-detail angled tint brush using a soft pink semi-permanent dye.
5. Fill in the petals with varying shades of pastel and vibrant pink dyes, blending carefully to create soft depth and dimension.
6. Allow the semi-permanent color to process fully before gently rinsing with cold water to avoid color bleeding.
7. Mist with a lightweight scalp oil or soothing serum to keep the scalp hydrated and the buzz cut looking clean and luminous.
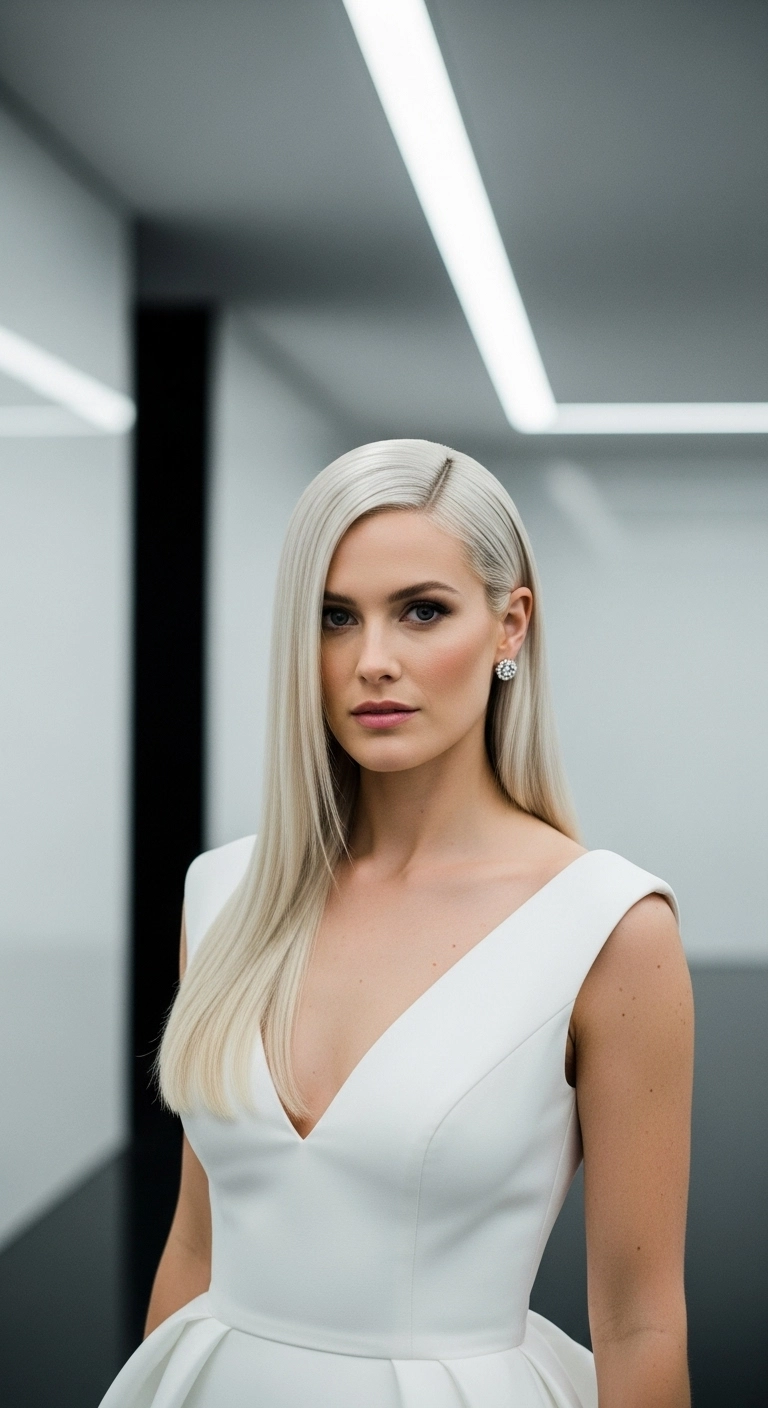
If you ever wanted to feel like a high-fashion modern ice queen, this is totally your moment! We went for that impeccably sleek, glass-hair finish with an ultra-clean deep side part that just screams elegance. It's bold, striking, and undeniably stunning for any black-tie affair or modern bridal look.
How to do this
1. Start by prepping freshly washed, damp hair with a nickel-sized amount of smoothing hair serum listed below to control frizz and add mirror-like shine.
2. Mist your strands evenly from mid-lengths to ends with the thermal heat protectant spray listed below to shield your blonde from any heat damage.
3. Use a tail comb to carve out a clean, precise deep side part, aligning it directly over the arch of your eyebrow.
4. Blow dry the hair straight down in sections using a high-powered blow dryer and a large ceramic round brush to achieve maximum smoothness and tension.
5. Divide the hair into thin 1-inch horizontal sections and glide through with a titanium flat iron listed below at a safe temperature (around 350°F for bleached blonde hair) from root to tip.
6. Tuck the shallow side neatly behind your ear, smoothing down flyaways using a dab of lightweight styling cream or a pomade stick listed below.
7. Finish the entire look with an ultra-fine mist of high-shine finishing hairspray listed below to lock this sleek, sculptural style in place all evening.
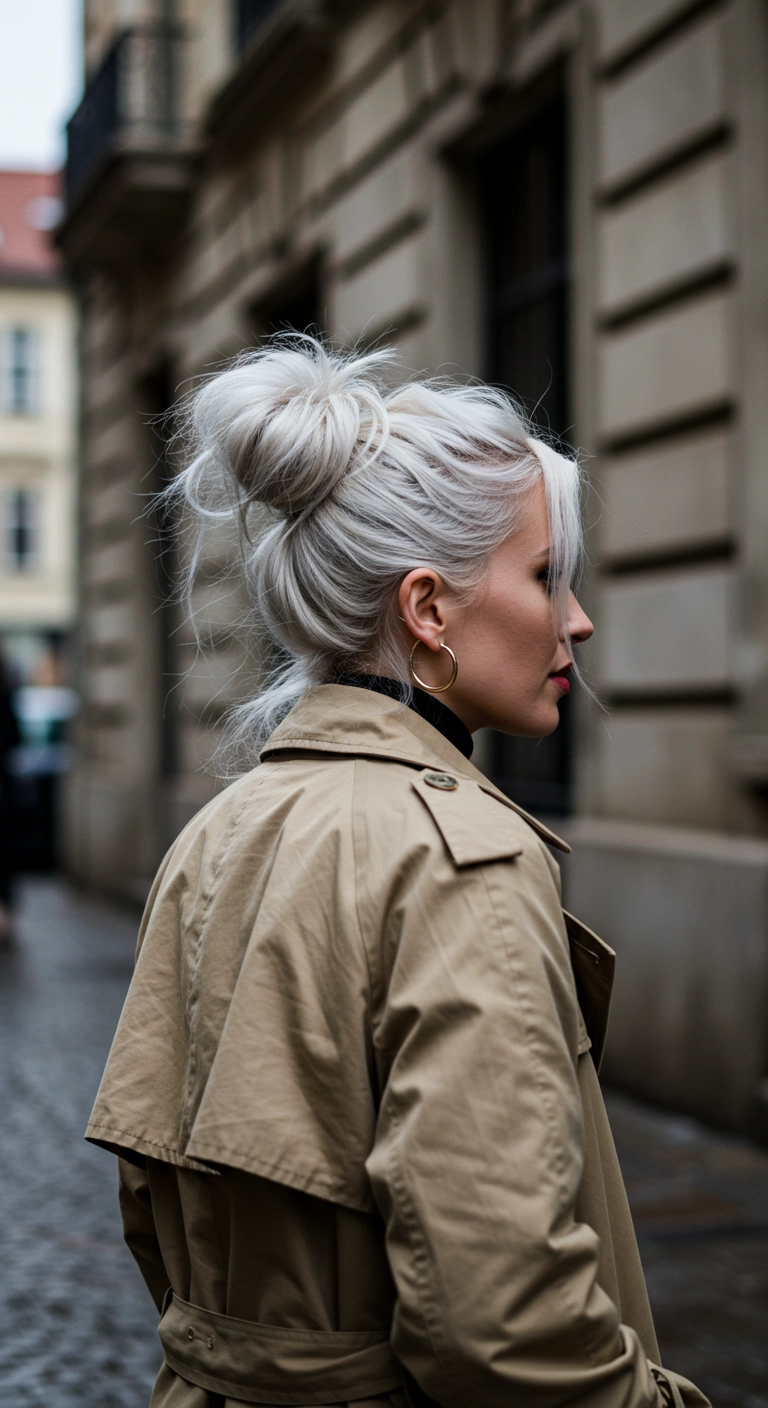
An effortless top knot is hands down my favorite way to show off a sharp jawline and crisp platinum color! The key to making it look chic instead of sloppy is leaving out those soft face-framing pieces and letting the nape stay slightly undone. It gives that gorgeous European street-style vibe without looking like you tried too hard at all.
How to do this
1. Start by prepping dry hair with a generous misting of the texturizing volume spray listed below to give your strands the perfect gritty grip for an effortless updo.
2. Section out the long face-framing pieces around the cheekbones and ears so they hang freely in front.
3. Gather the rest of your hair loosely up towards the crown of your head using your fingers instead of a brush to keep that soft, lived-in texture.
4. Twist the gathered ponytail around its base into a relaxed top knot, securing it in place with one of the seamless hair elastics listed below.
5. Gently pull and tease the edges of the bun outward to fluff up the volume, allowing a few wispy strands to fall naturally at the nape of the neck.
6. Smooth over your front fringe with a small dab of the lightweight hair styling oil listed below to add a glossy, healthy shine without weighing the icy blonde strands down.
7. Lock the effortless messy bun in place for all-day wear with a quick spritz of the flexible hold hairspray listed below.
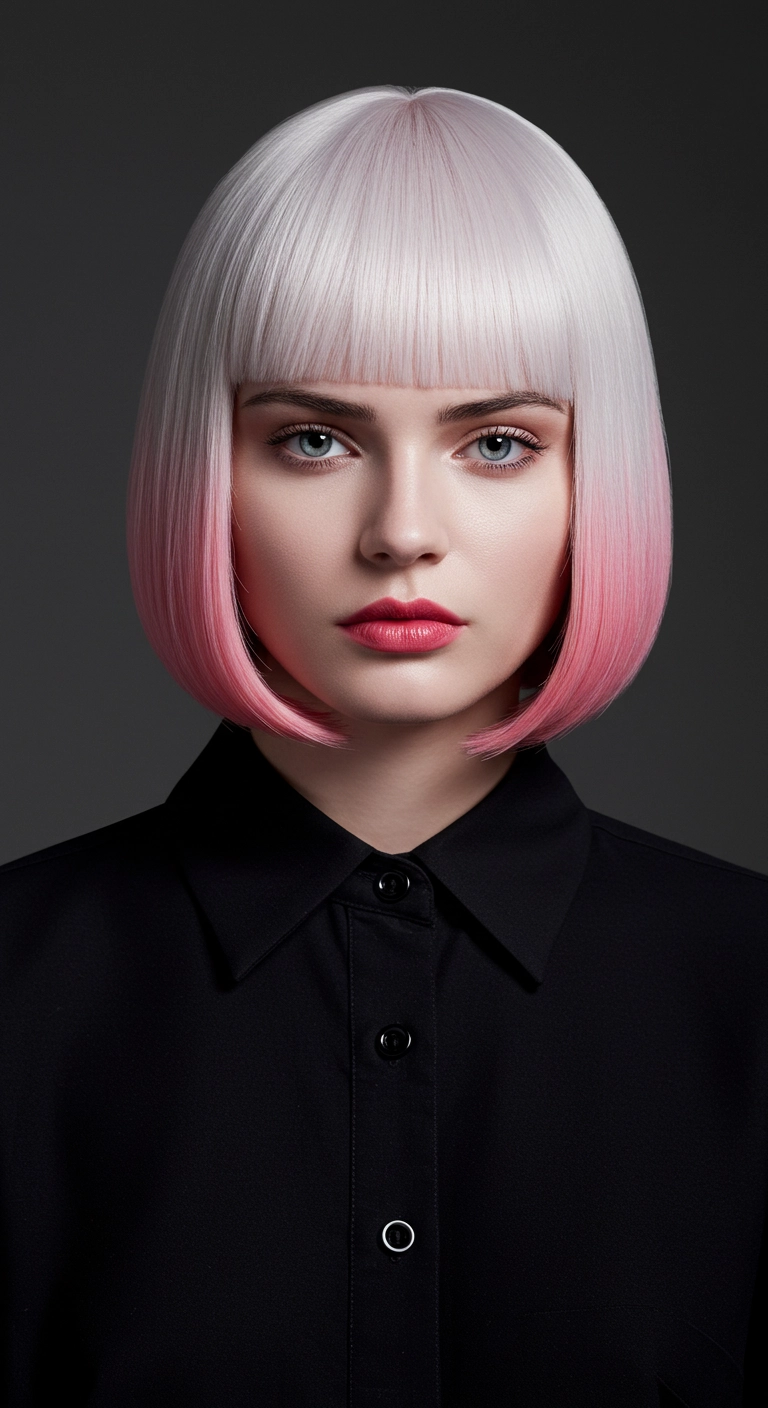
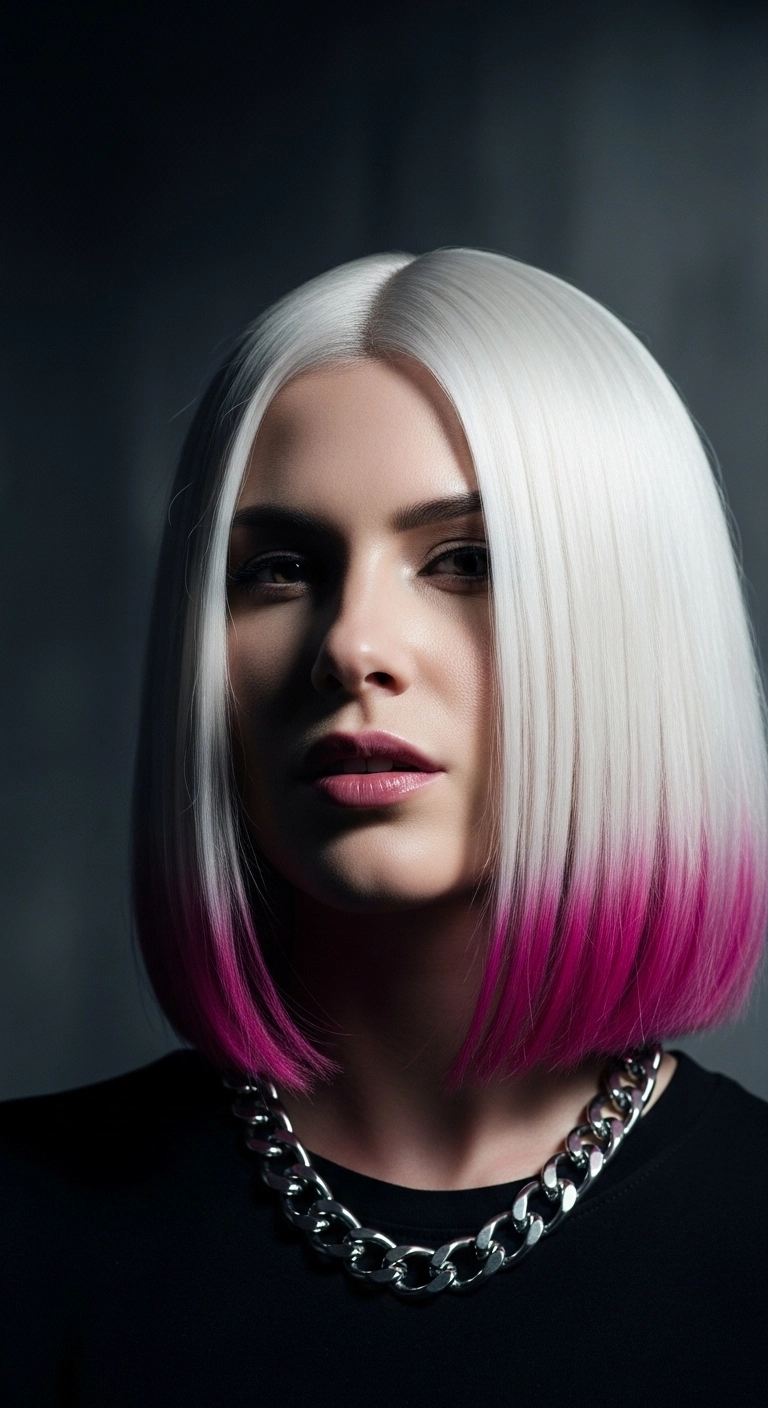
I'm totally obsessed with this futuristic anime-inspired blunt bob! The crisp contrast between the icy platinum blonde and the soft pastel pink dipped ends gives it such an edgy, chic vibe that instantly stands out. It feels so sleek and put together, especially with those sharp brow-grazing bangs. If you want a bold, statement-making color that turns heads everywhere, you've definitely got to try this look!
How to do this
1. Start by bleaching the hair to a clean, pale level 10 base, then tone to an ultra-cool icy white using the purple toning shampoo and mask listed below.
2. Section the lower 2 to 3 inches of the perimeter, and blend a pastel pink semi-permanent dye upwards into the platinum using the tint brush listed below to create a seamless gradient ombre.
3. Cut the hair into a sharp, chin-length blunt bob, making sure the perimeter slightly bevels inward, and cut a heavy, straight blunt fringe right at brow level using the professional hair cutting shears listed below.
4. Apply a smoothing serum and heat protectant throughout damp hair, then blow dry straight down using a directional nozzle and paddle brush.
5. Finish by smoothing small sections with a ceramic flat iron using the heat protectant spray listed below, slightly curving the ends under to hug the jawline, and mist with the high-shine finishing spray listed below for a glass hair finish.
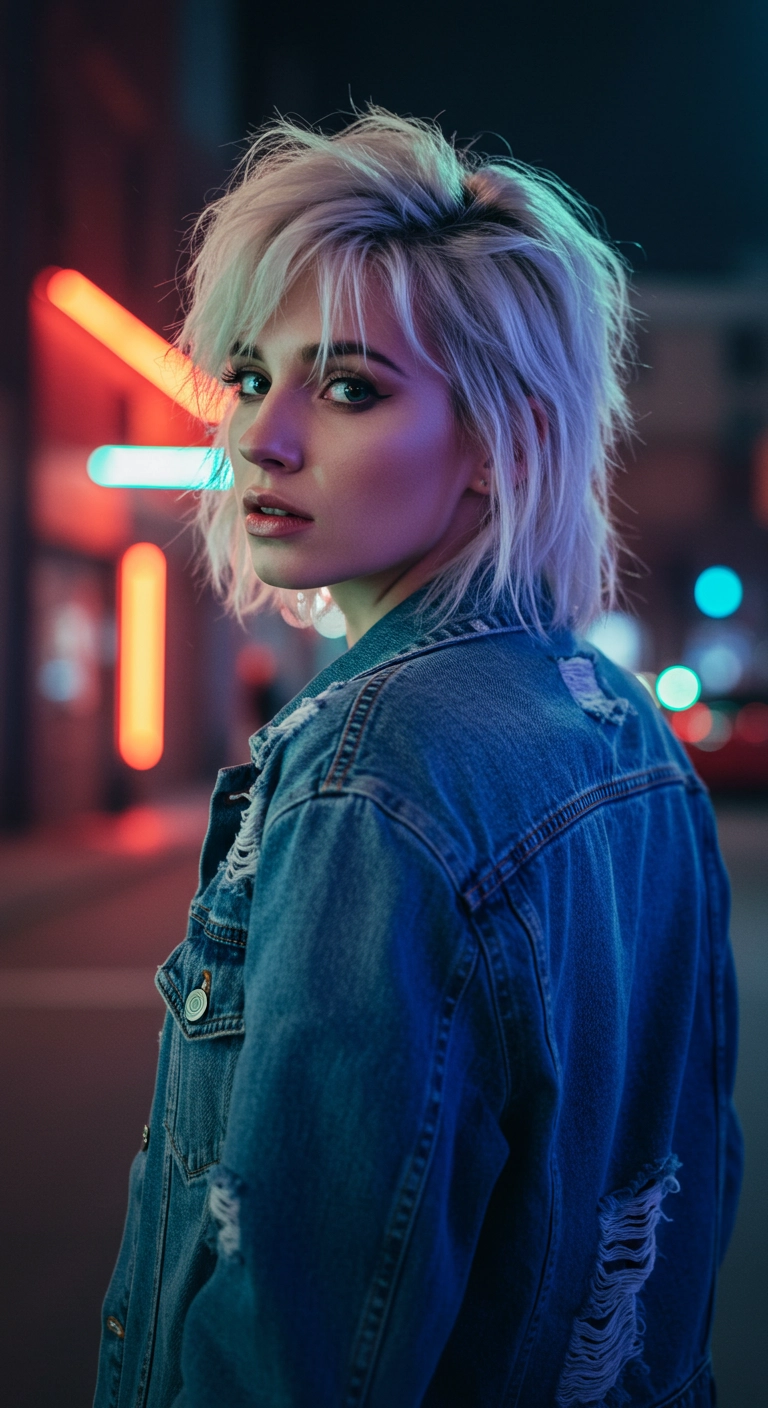
This icy platinum wolf cut is the ultimate cool-girl statement! It has so much choppy texture and lived-in volume, making it look super effortless while still having a sharp, edgy bite. If you love that 90s rockstar aesthetic and want a cut that screams attitude without being overly fussy, this style will look totally incredible on you!
How to do this
1. Start by getting your hair lightened to a crisp, pale level 10 canvas with a subtle shadow root, toned using the purple toning hair mask listed below to eliminate any brassiness.
2. Ask your stylist for a textured wolf cut or choppy shag lob featuring short razored layers on top and wispy, piecey bangs that hit past the eyebrows.
3. Prep damp hair by applying a quarter-sized amount of the lightweight volumizing mousse listed below through the roots and mid-lengths to build lift and grit.
4. Rough blow-dry using a paddle brush and directional airflow, lifting hair at the crown to maximize disheveled volume.
5. Use a flat iron to add slight, random bends and kicks to random sections for that effortless, undone vibe.
6. Mist generously with the dry texturizing spray listed below, scrunching with your hands to separate the layers and define the ends.
7. Finish by rubbing a dime-sized amount of the matte styling wax listed below between your fingertips and piecing out the fringe and outer edges.
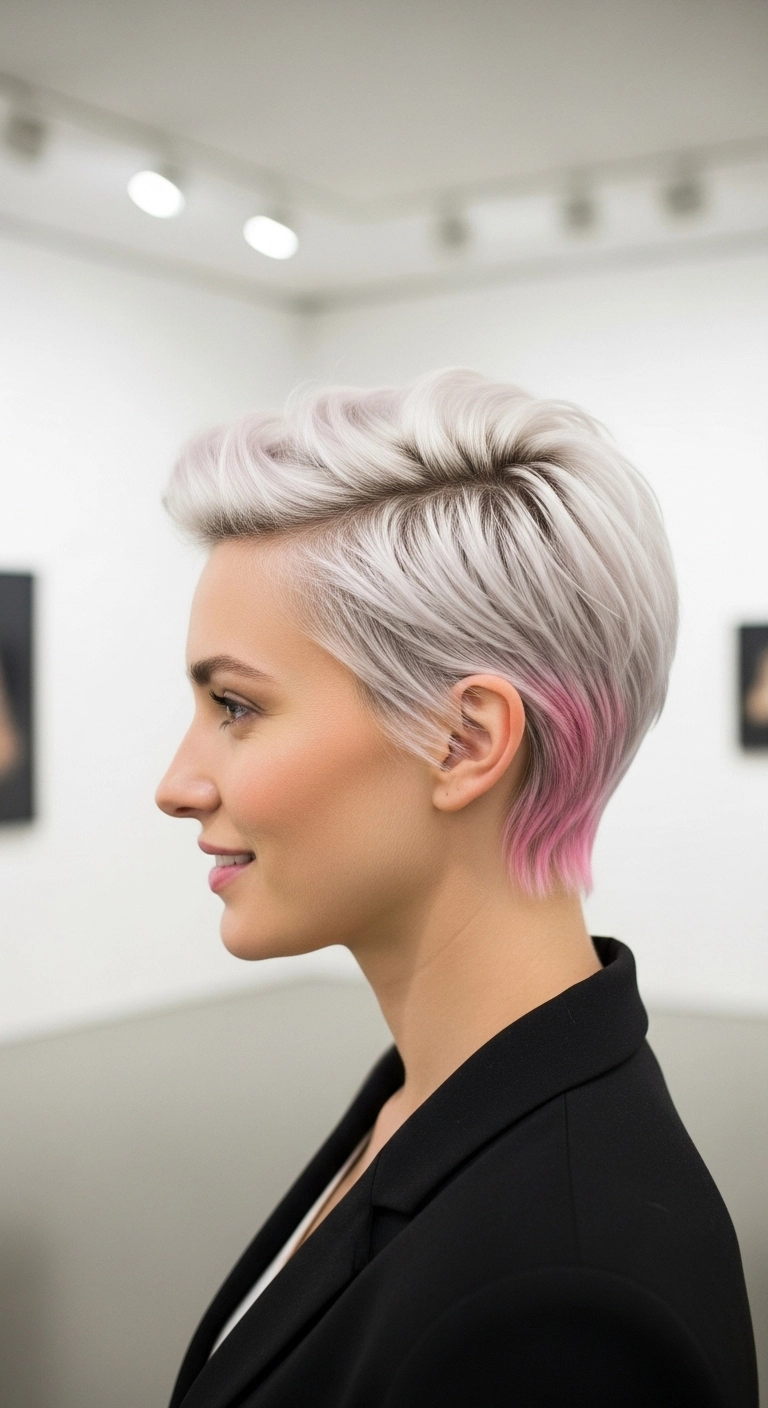
This pixie cut is so chic and has just the right amount of edge with that sneaky pop of pink at the nape! I love how full and airy it looks brushed back at the top, and it frames the cheekbones perfectly. If you've been thinking about going super short with platinum blonde, this is your sign to try it!
How to do this
1. Start on freshly washed, towel-dried hair and apply a dollop of volumizing mousse throughout the crown using the volumizing root mousse listed below.
2. Blow-dry the hair using a small round ceramic brush, directing the top and front sections upward and slightly back away from the hairline to create that airy, brushed-back quiff shape.
3. Use a small flat iron on the nape and side-burn area to keep the tapered layers lying neat and flat against the head.
4. Warm a dime-sized amount of matte styling pomade between your palms using the matte hair texturizing paste listed below, and rake your fingers through the top section to piece out the texture and define the layers.
5. Ensure the pink peekaboo tips at the nape are tucked softly behind the ear line and visible underneath the icy blonde canopy.
6. Mist with a flexible hold finishing hairspray using the flexible hold hairspray listed below to lock in the volume and shape all day long.
I fell in love with this ultra-icy blonde look the moment I saw it! The clean, platinum color combined with soft, sweeping face-framing layers makes it feel straight out of an old Hollywood modern dream. It definitely takes some TLC in the salon chair to keep this tone so bright and seamless, but the effortless bounce you get with a quick round brush and curling iron makes every single minute worth it. If you're ready to make a serious blonde statement, this style is definitely calling your name!
How to do this
1. Start by washing the hair with the purple toning shampoo listed below to keep the icy blonde bright and free of brassiness.
2. On damp hair, mist a generous amount of the heat protectant spray listed below from mid-lengths to ends.
3. Blow-dry using a large ceramic round brush to smooth down the cuticle and give substantial volume at the roots.
4. Divide your hair into 1.5-inch sections and use the large barrel curling wand listed below, wrapping hair away from the face to create loose, cascading waves.
5. When curling the face-framing curtain bangs, direct the iron outward and backward to produce that signature flared swoop.
6. Once cooled, brush gently through the curls with the wide tooth comb listed below for an effortless, soft-wave texture.
7. Finish by spraying a light layer of the flexible hold hairspray listed below and rubbing a couple drops of the smoothing hair oil listed below through the ends for shine.
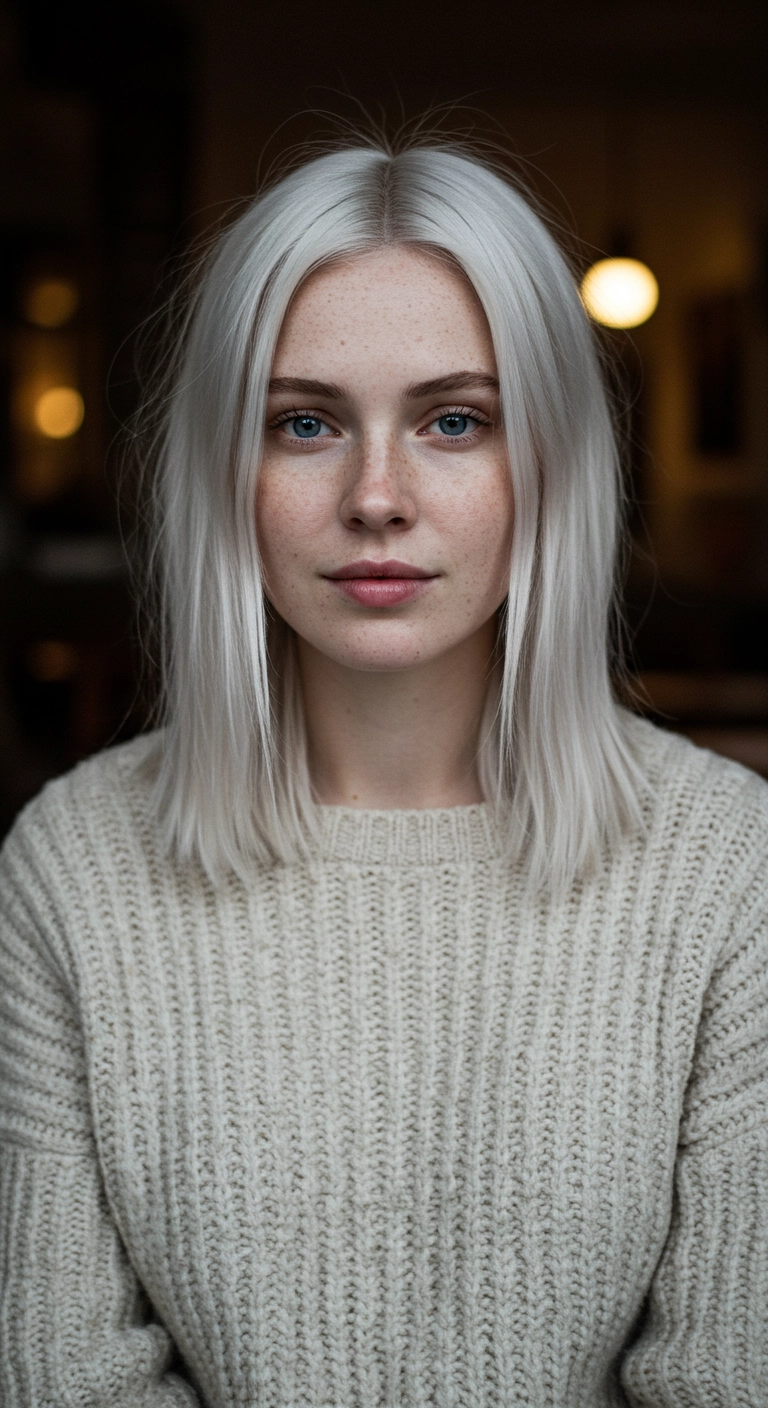
An icy platinum lob is the ultimate statement cut that never goes out of style. It strikes the perfect balance between edgy, high-fashion color and an effortlessly casual, lived-in texture. If you want to keep your blonde looking crisp and bright like this, make sure to keep a good toning shampoo in your routine and keep heat styling on the lower side to preserve your hair's health!
How to do this
1. Start by prepping damp, towel-dried hair with the heat protectant spray listed below to shield bleached strands from thermal damage.
2. Apply a dime-sized amount of smoothing blowout cream throughout the mid-lengths and ends using a wide-tooth comb to ensure even distribution.
3. Create a crisp, clean center part using the tail end of a fine-tooth comb.
4. Blow dry in downward-pointing sections using a medium ceramic round brush, keeping the tension smooth and directing the ends slightly inward or straight down for a soft blunt finish.
5. If needed, pass a flat iron lightly over any wavy or frizzy areas, leaving the ends soft and natural rather than pin-straight and stiff.
6. Mist a light spray of dry texturizing spray under the crown and through the lengths to build soft, airy separation.
7. Finish by rubbing a single drop of lightweight bonding hair oil between your palms and smoothing over the surface flyaways for high-gloss shine.
I've always loved the contrast of ultra-clean icy platinum blonde paired with a punchy pop of neon color, and this look totally nails that cool-girl energy! Keeping the cut super blunt and razor-straight makes the vibrant pink tips look so deliberate and graphic. If bright magenta isn't your vibe, you could totally swap the ends for pastel lilac, electric blue, or even mint green to match your personal style!
How to do this
1. Start by washing and conditioning your bleached locks with a purple toning shampoo to keep that base completely bright and brass-free.
2. Prep towel-dried hair with the heat protectant spray listed below, making sure you distribute it evenly from roots to ends before blow drying straight with a paddle brush.
3. Section the bottom 2 to 3 inches of the hair and saturate the tips with a semi-permanent vivid magenta dye using a tint brush, gently feathering the upper edge with your fingers for a soft dip-dyed blend, then rinse cool once processed.
4. Once completely dry, divide the hair into clean, manageable horizontal sections and press through using the ceramic flat iron listed below to get that ultra-sleek, glassy finish.
5. Smooth down any flyaways at your sharp center part with a tiny drop of the lightweight hair serum listed below for maximum shine and polish.
I'm completely obsessed with this half-up top knot look because it’s the ultimate cozy, effortless hairstyle that still looks put-together. It’s perfect for rainy sweater weather or when you're running late and need your hair off your face without sacrificing style. The soft wispy bangs frame the eyes so beautifully against that stunning icy platinum tone. Definitely give this cute half-up bun a try, it takes under two minutes to toss up!
How to do this
1. Start by washing and conditioning your hair using the purple toning shampoo and mask listed below to keep that icy silver hue bright and free of brass.
2. Apply a dime-sized amount of the lightweight heat protectant smoothing cream listed below to damp hair, then rough blow-dry using your fingers for natural volume.
3. Blow-dry the wispy bangs using a small round brush, rolling them slightly under and directing the airflow downward to get that soft, airy curve across the forehead.
4. Take random 1-inch sections throughout the rest of your hair and use the 1.25-inch curling iron listed below to add quick, loose bends, leaving the ends straight for a relaxed finish.
5. Mist all over with the dry texturizing spray listed below to add grit and separation.
6. Section off the top crown portion of your hair from temple to temple, leaving out your fringe and soft side tendrils.
7. Twist this top section into a casual mini top knot bun at the crown and secure it with the snag-free clear hair ties and bobby pins listed below.
8. Gently pull at sections of the bun and crown to loosen them up and achieve that effortless, cozy lived-in vibe.
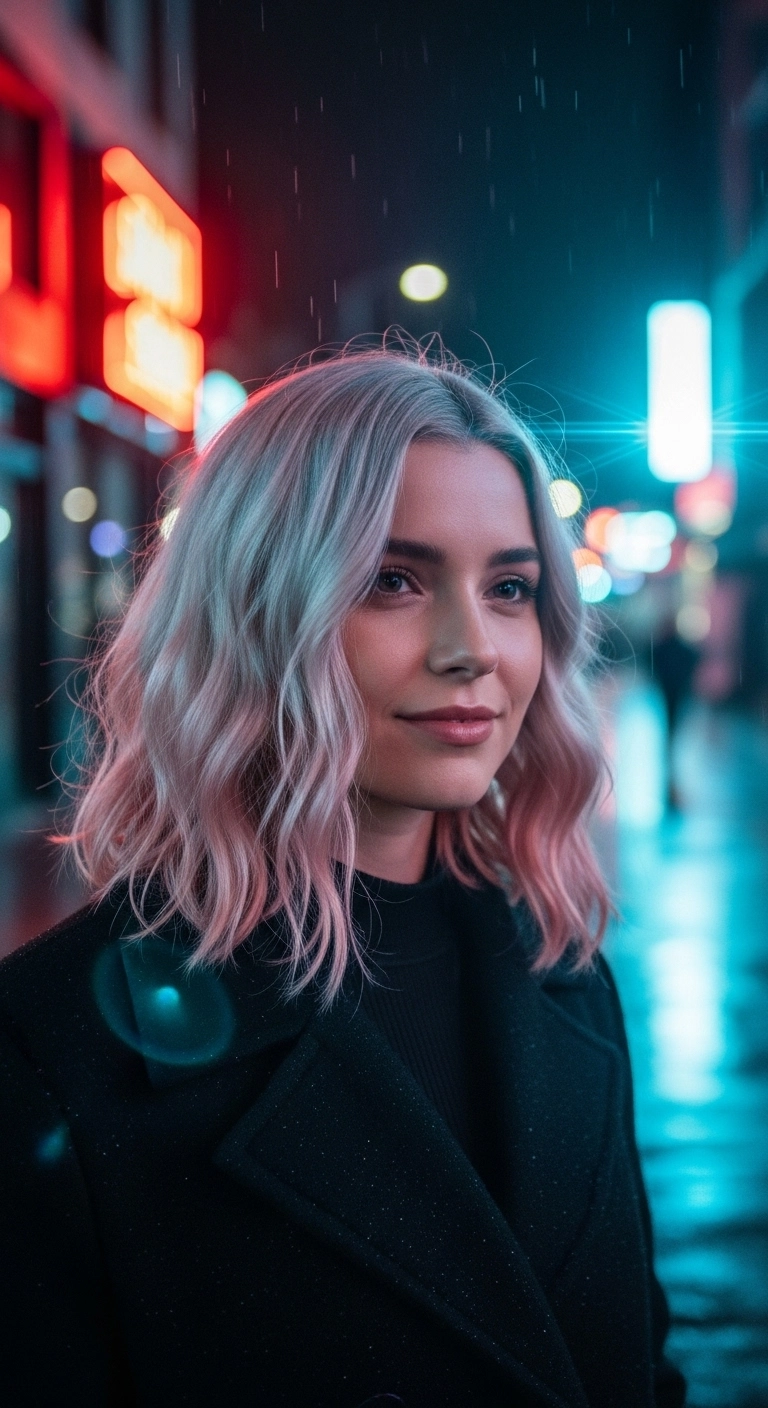
This icy lob cut is such a cool girl classic that instantly elevates your entire look! With loose bends and perfectly piecey ends, it gives off that effortlessly stylish street style energy without trying too hard. Plus, the contrast of the bright platinum tone against a chic dark coat is just stunning!
How to do this
1. Start by prepping clean, towel-dried hair with a lightweight leave-in conditioner and the heat protectant spray listed below to shield high-lift platinum strands from hot tools.
2. Blow-dry the hair using a medium round ceramic brush, lifting at the roots for natural volume and smoothing down the mid-lengths.
3. Divide hair into horizontal sections and create relaxed, modern waves using the 1.25-inch curling iron listed below. Alternate curling directions away from the face, leaving the last inch of the ends straight for that chic, effortless lob aesthetic.
4. Allow the curls to completely cool, then gently rake through them with your fingers or the wide-tooth comb listed below to break up the pattern into soft bends.
5. Mist the dry texturizing spray listed below generously from mid-lengths to ends, shaking your head gently to encourage piecey separation and lived-in body.
6. Finish with a drop of the lightweight hair oil listed below warmed between your palms, smoothing over any surface flyaways and adding a glossy finish to the icy platinum ends.
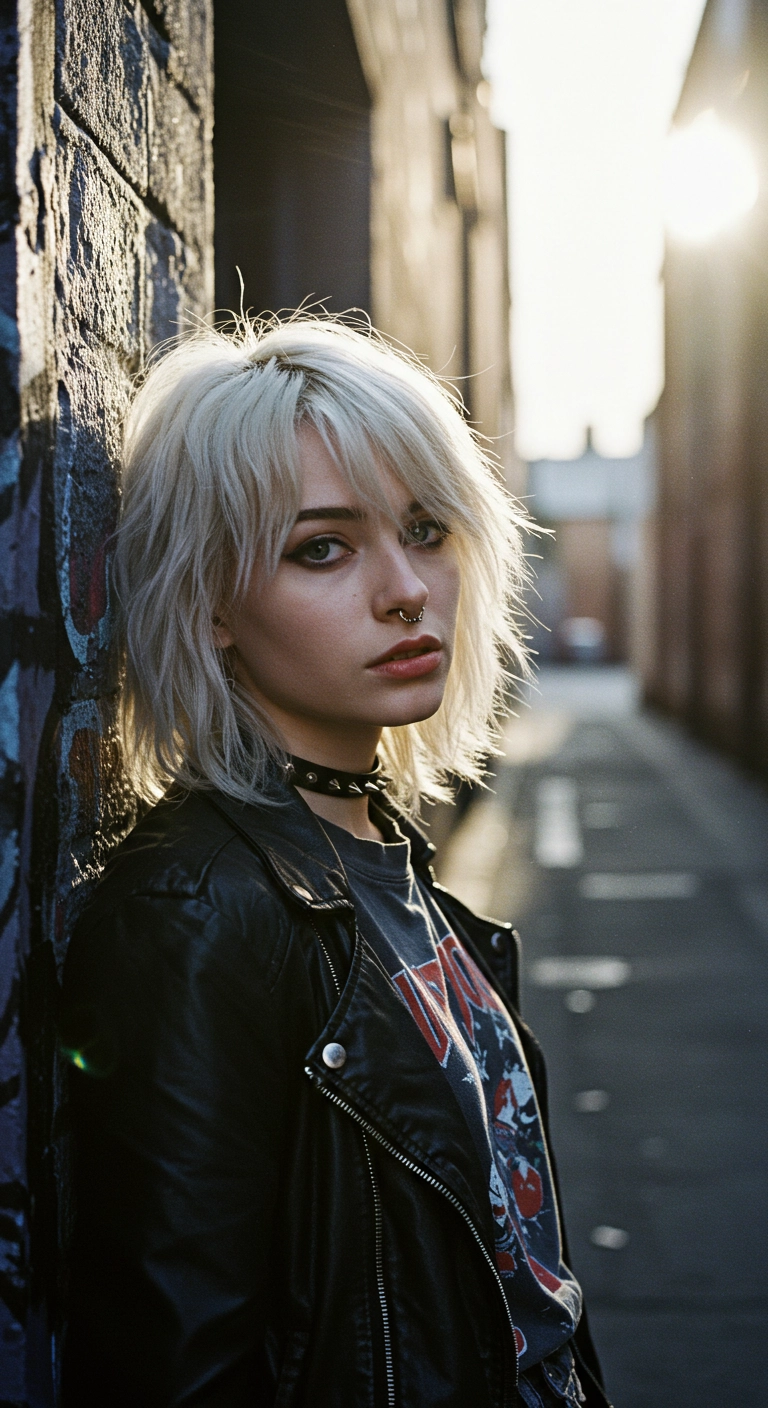
OK, I know platinum blonde can be a lot of maintenance, but when it looks this effortlessly cool, it is totally worth every salon visit! This piecey, lived-in shag cut brings out all the 90s grunge vibes in the best way possible. If you've been searching for a hairstyle that screams rock-and-roll without trying too hard, this is definitely your sign!
How to do this
1. Start by prepping damp hair with a lightweight leave-in conditioner and heat protectant spray to protect bleached strands.
2. Rough blow-dry hair upside down or using a paddle brush, lifting at the roots to maximize volume and natural separation.
3. Use a 1-inch flat iron or styling wand to add subtle, alternating bends and slight kinks throughout the mid-lengths, keeping the ends straight and piecey.
4. Style the wispy bangs forward and lightly sweep them toward the sides using your fingers and a touch of styling pomade.
5. Generously mist a dry texturizing spray through the crown and mid-lengths using the dry texturizing spray listed below, scrunching with your hands to get that effortless grunge texture.
6. Finish with a spritz of flexible hold hairspray to hold the piecey shape throughout the day.
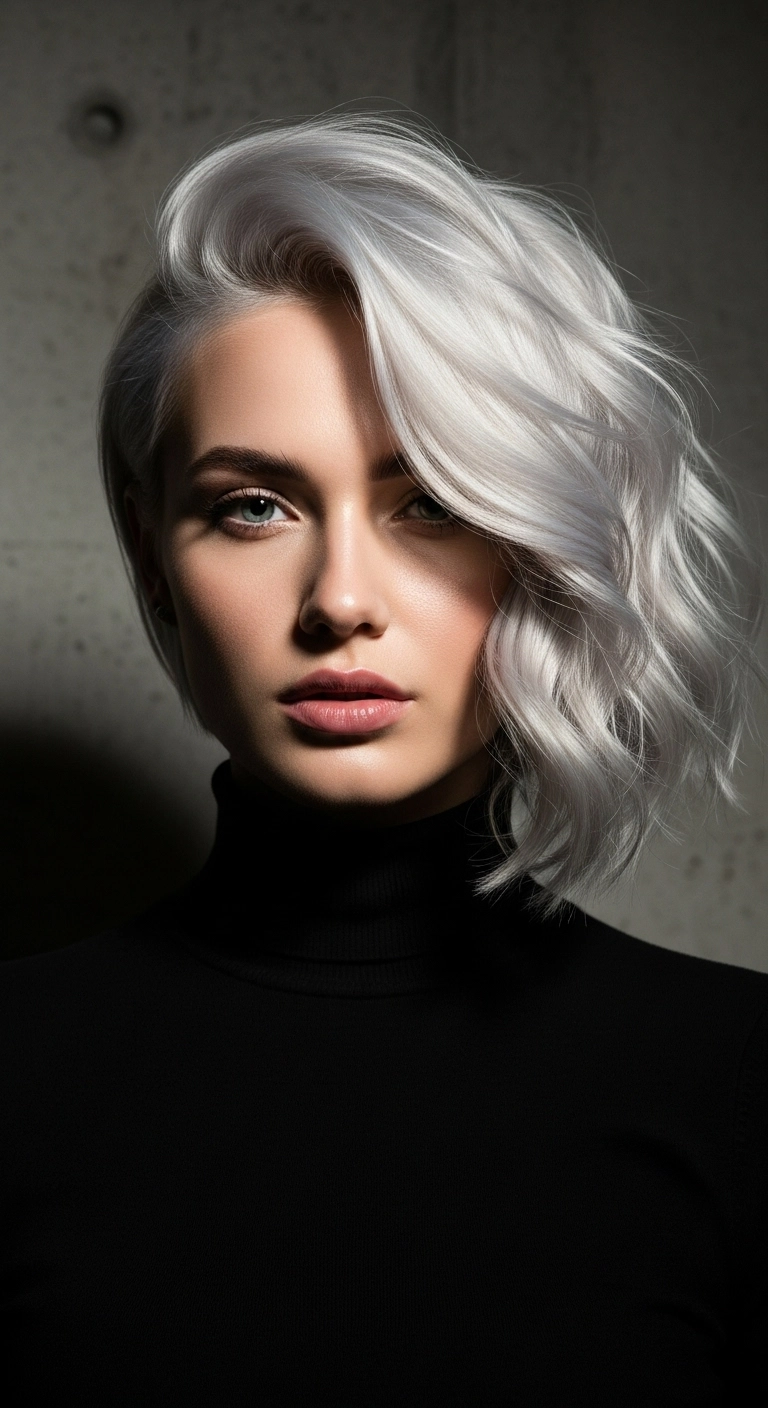
I have been totally obsessed with this cool-toned aesthetic lately! A deep side part like this instantly gives shorter bobs so much dramatic volume and edge without needing hours of styling. The swooping front piece frames the cheekbones perfectly, and paired with that icy platinum tint, it's easily one of my favorite chic transformations for anyone wanting to make a bold statement.
How to do this
1. Start by prepping damp hair with a volumizing root lifter and thermal protector using the heat protectant spray listed below to shield lightened strands.
2. Blow dry hair using a medium round ceramic brush, over-directing the roots on top to build that dramatic, sweeping root lift and volume.
3. Create a deep side part on your chosen side, smoothing the shallower side behind the ear.
4. Take vertical sections on the heavier side and create soft, cascading S-waves using the 1.25-inch curling iron listed below, curling away from the face.
5. Allow the curls to completely cool down before touching them to ensure the wave pattern sets firmly.
6. Gently rake through the waves using a wide-tooth comb or your fingers, then mist with the dry texturizing spray listed below for airy separation and grit.
7. Finish the swoop over the brow and lock in root height with a light spritz of the flexible hold hairspray listed below.