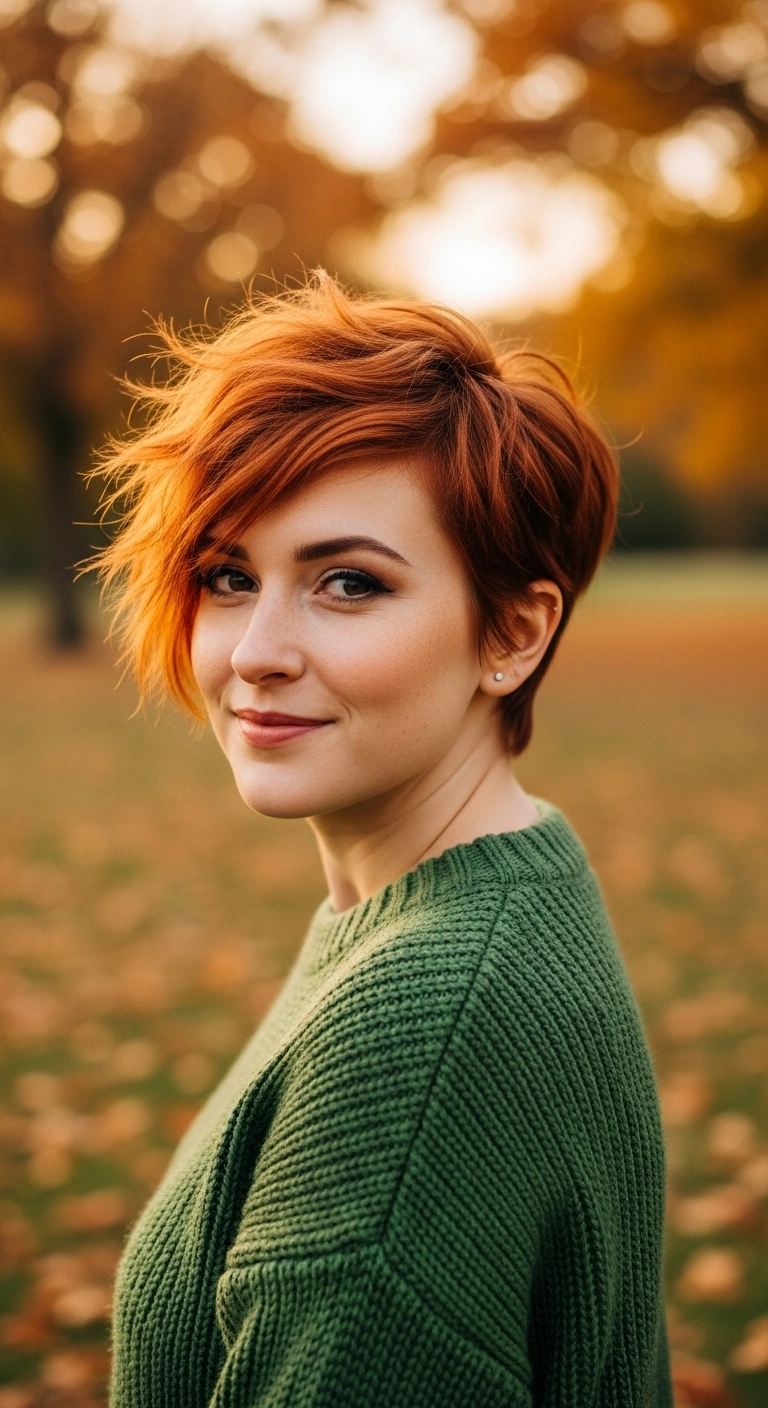
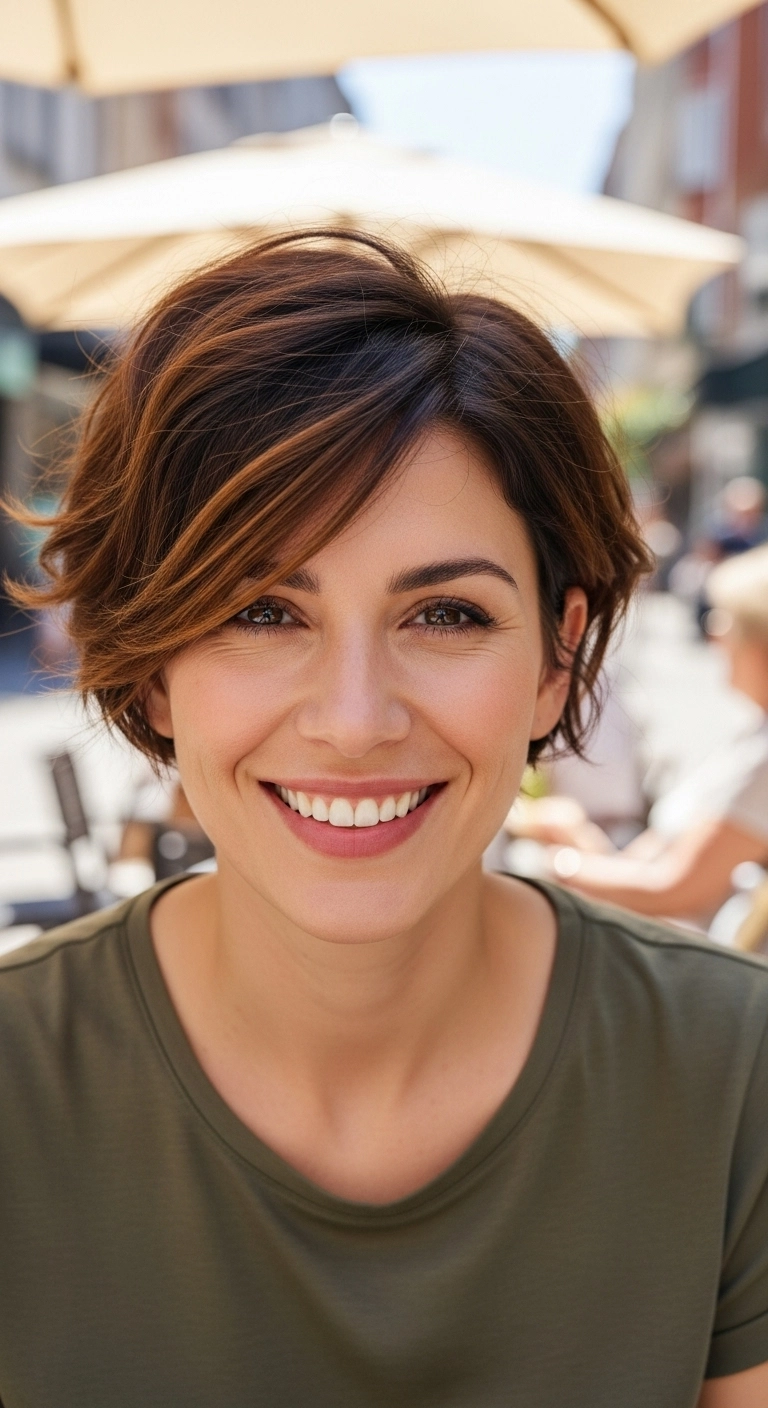
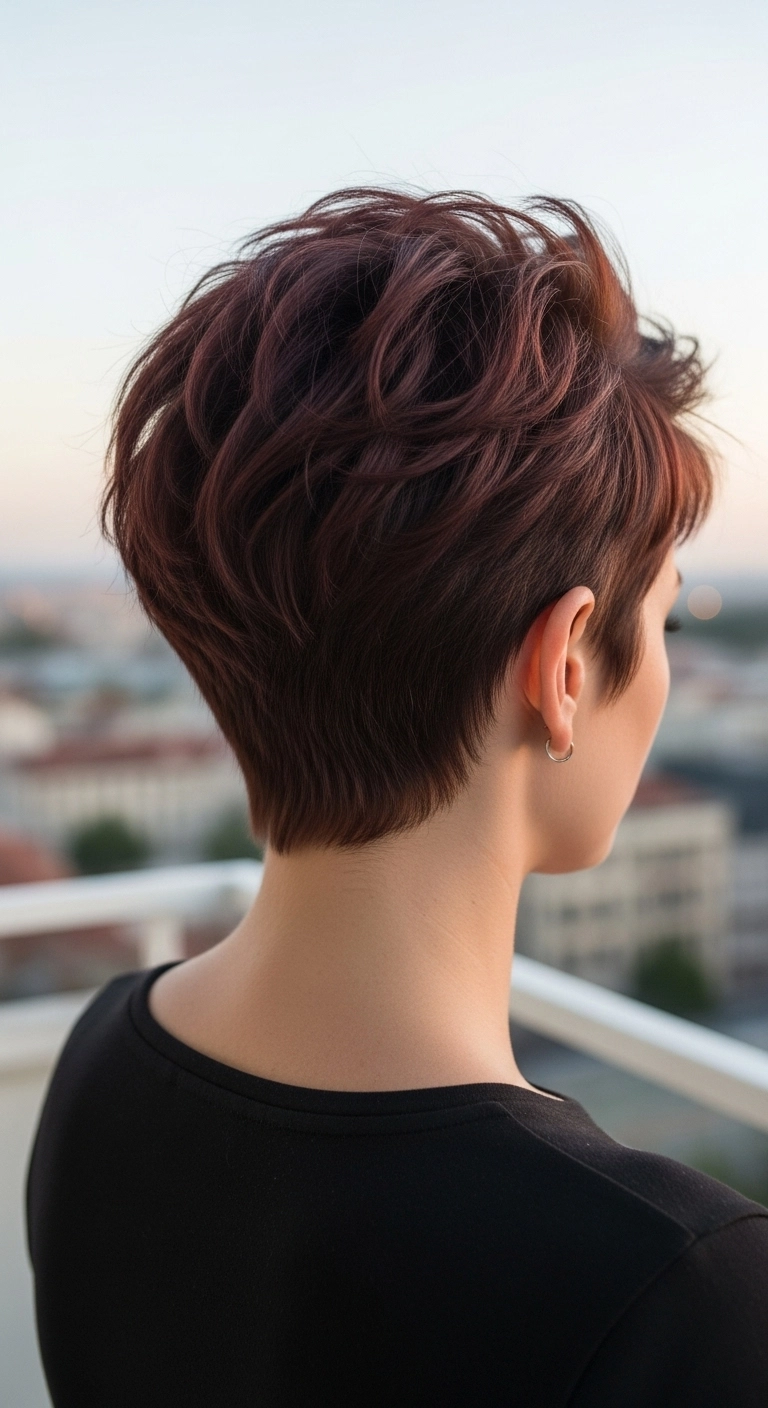
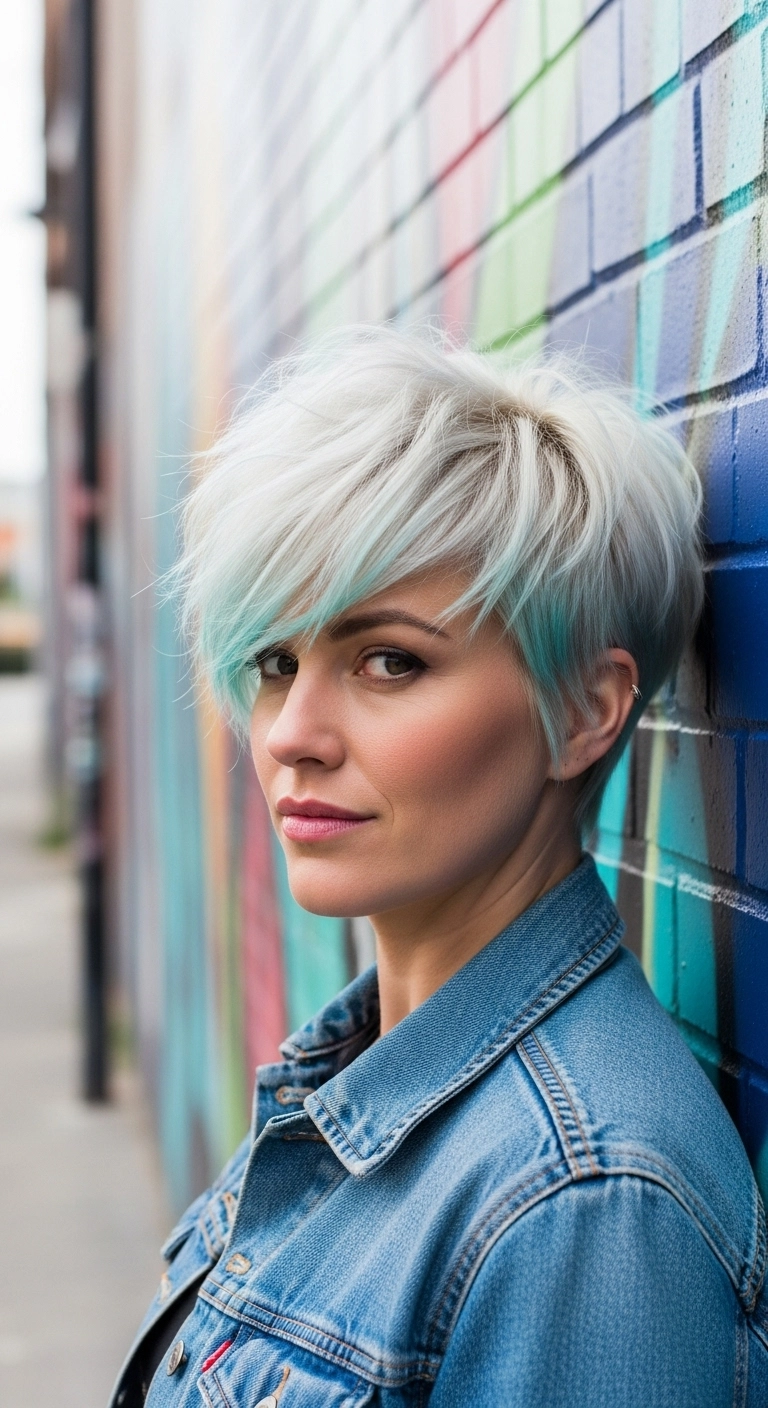
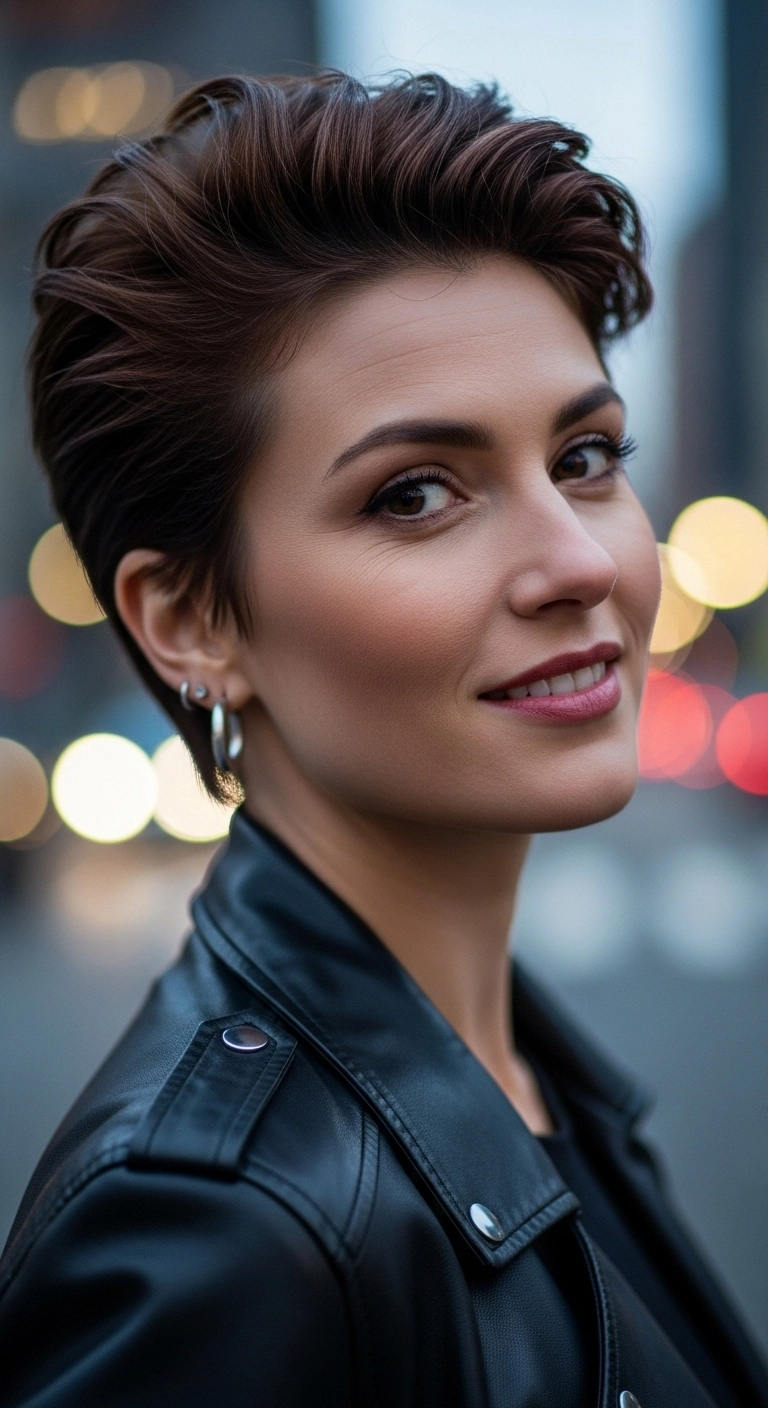
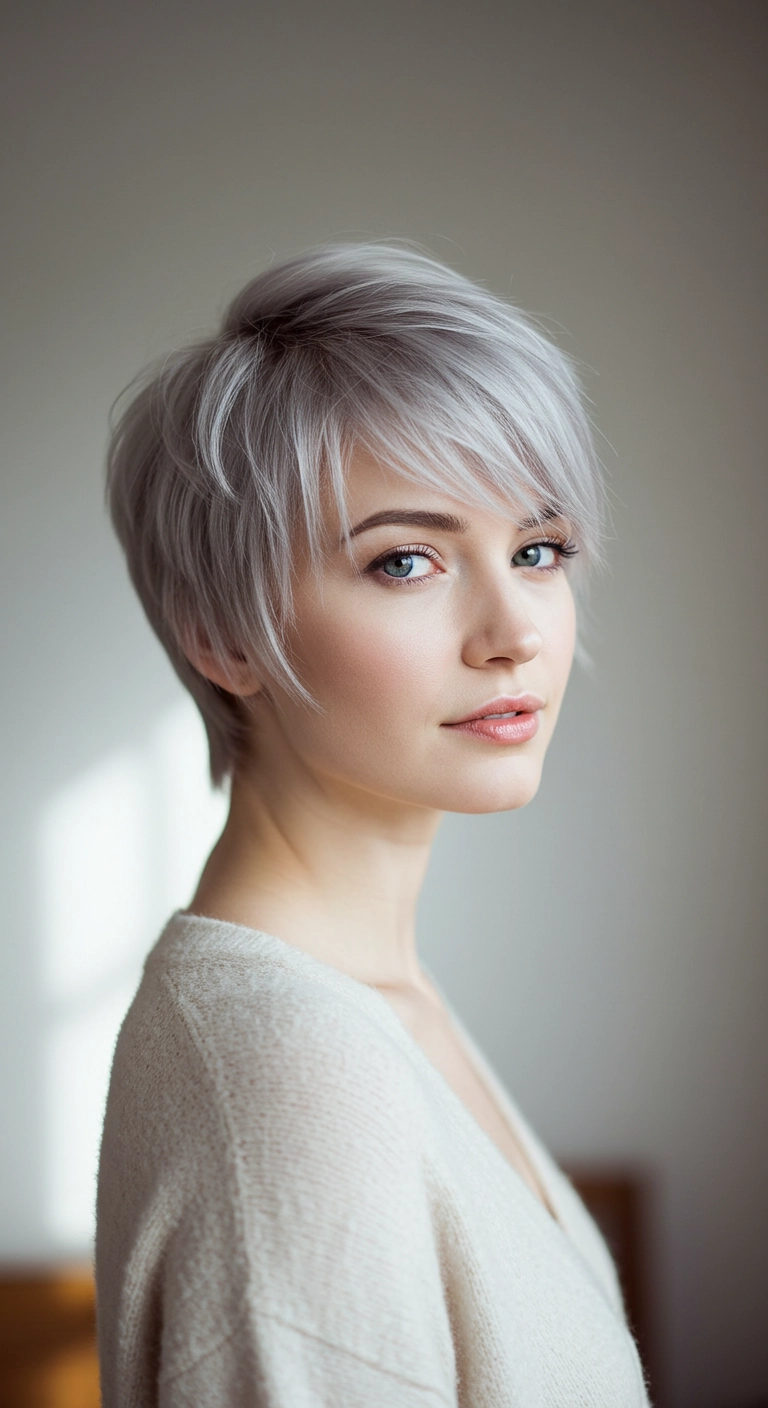
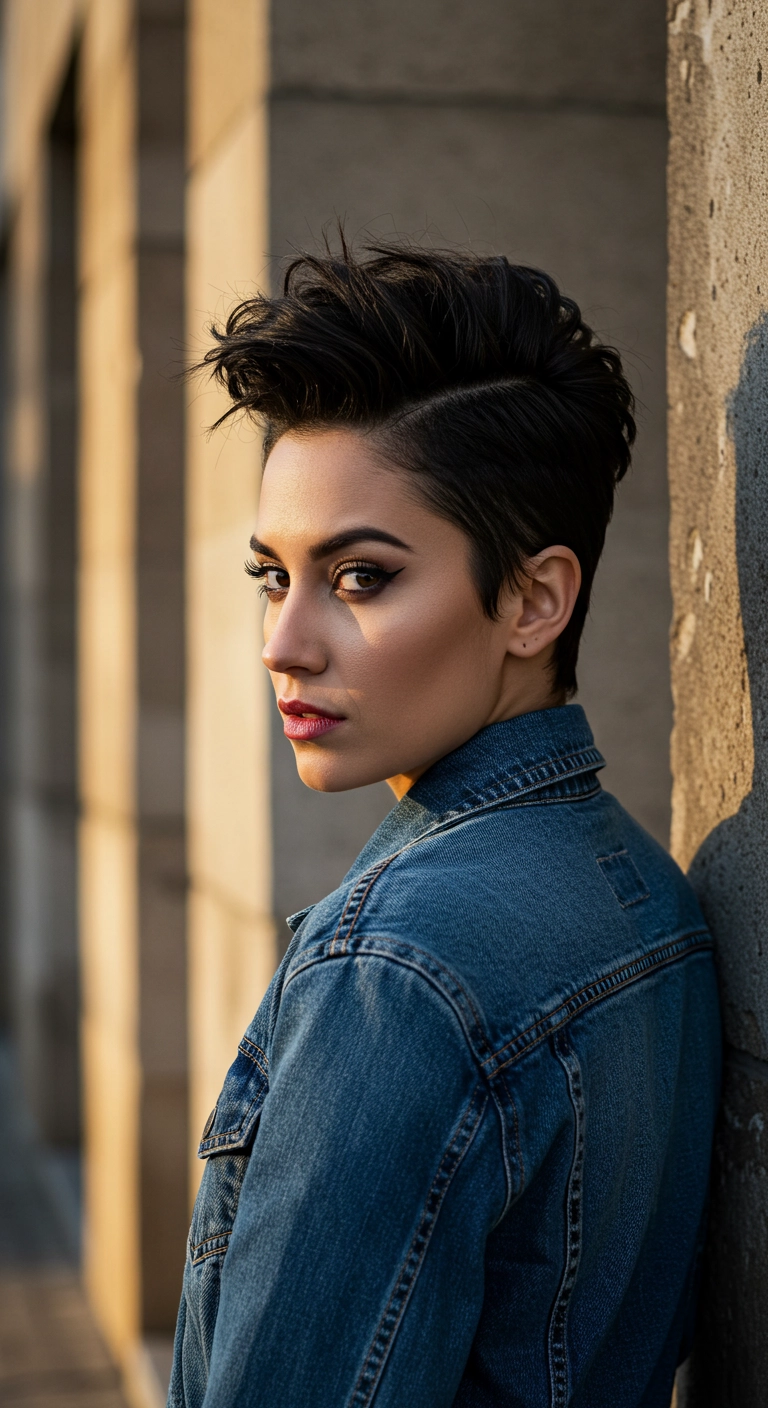
Are you thinking about taking the plunge and going short this season? I am completely obsessed with this rich copper asymmetrical pixie cut! The contrast between the closely cropped side and the long, sweeping textured layers on top gives it so much fun movement and edge. Plus, that vibrant pumpkin spice tone looks stunning against cozy knit sweaters. It’s effortless, chic, and surprisingly easy to style on busy mornings—what’s not to love?
How to do this
1. Start on freshly washed, damp hair and prep with a lightweight volumizing mousse to give the short layers lift and body.
2. Apply a dime-sized amount of thermal protector using the heat protectant spray listed below to shield strands from hot tools.
3. Blow-dry using a small round ceramic brush, directing the front fringe forward and sweeping it across to one side while smoothing the sides and back down flat.
4. For piecey separation and definition, warm a pea-sized amount of the matte styling paste listed below between your palms and gently twist the ends of the asymmetrical fringe.
5. Mist lightly with the flexible hold hairspray listed below to lock the textured volume in place with natural movement all day.
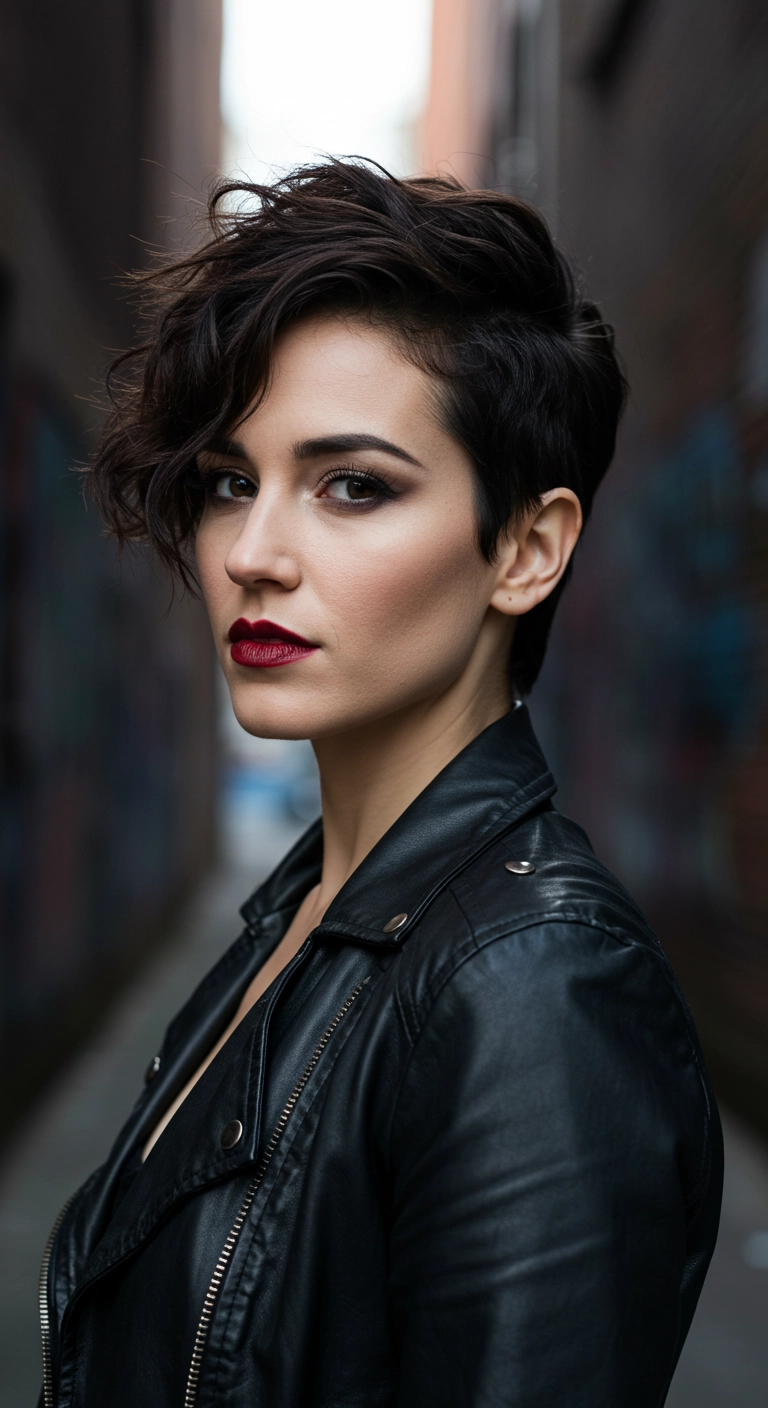
An asymmetrical pixie cut is honestly one of the best ways to get that effortless, rock-and-roll vibe without spending an hour in front of the mirror. Keeping the sides tapered short while leaving the top long and wavy gives you tons of room to play with volume and sweep. Pair it with a bold lip and a leather jacket, and you've got an instantly chic, moody look that never goes out of style!
How to do this
1. Start on freshly washed, damp hair and prep with the leave-in heat protectant spray listed below to shield your hair and add light slip.
2. Apply a golf ball-sized puff of the texturizing styling mousse listed below throughout the longer crown and top sections to build foundation and grit.
3. Use a blow dryer with a concentrator nozzle and a small round brush (or your fingers) to push the short side flat and direct the long top section over to one side for dramatic lift.
4. Take random small subsections from the top and fringe area and lightly bend them with the small barrel curling wand listed below to create effortless, natural-looking S-waves.
5. Warm a pea-sized amount of the matte styling paste listed below between your palms and piece out the ends, tucking the shorter side neatly behind or around the ear.
6. Finish the entire style with a light misting of the flexible hold texturizing hairspray listed below to lock in body without making it feel stiff.
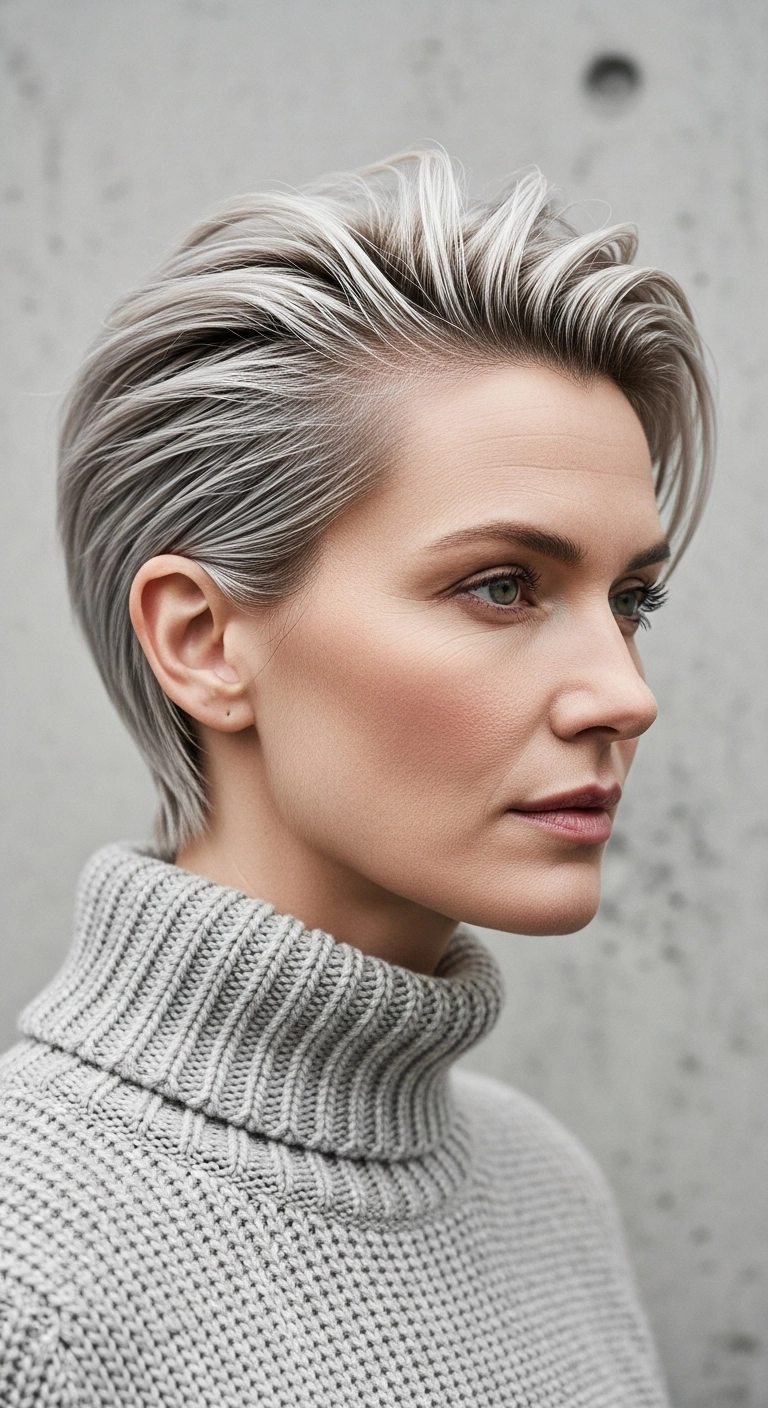
If you've been searching for that ultimate modern power cut, this one is pure perfection! The brushed-back top gives you so much incredible volume while keeping things totally clean around the ears and neck. Plus, that cool icy silver tone paired with a subtle shadow root makes the whole textured shape pop effortlessly!
How to do this
1. Start with clean, towel-dried hair and apply a quarter-sized amount of the volumizing styling foam listed below to the roots and lengths for lift and control.
2. Mist your hair with the lightweight thermal heat protectant spray listed below to guard your strands against high heat during blow drying.
3. Using a small round boar bristle brush and a blow dryer fitted with a concentrator nozzle, blow-dry the top sections up and away from your forehead to establish natural root lift.
4. Blow the sides and back flat and smooth against the scalp following the contours of your head.
5. Warm a pea-sized amount of the matte styling paste listed below between your palms and fingers, then rake your fingers backward through the crown to separate strands and create that piecey, swept-back texture.
6. Finish the style by giving it a light mist with the flexible hold finishing hairspray listed below to keep the volume locked in place without any crunch.
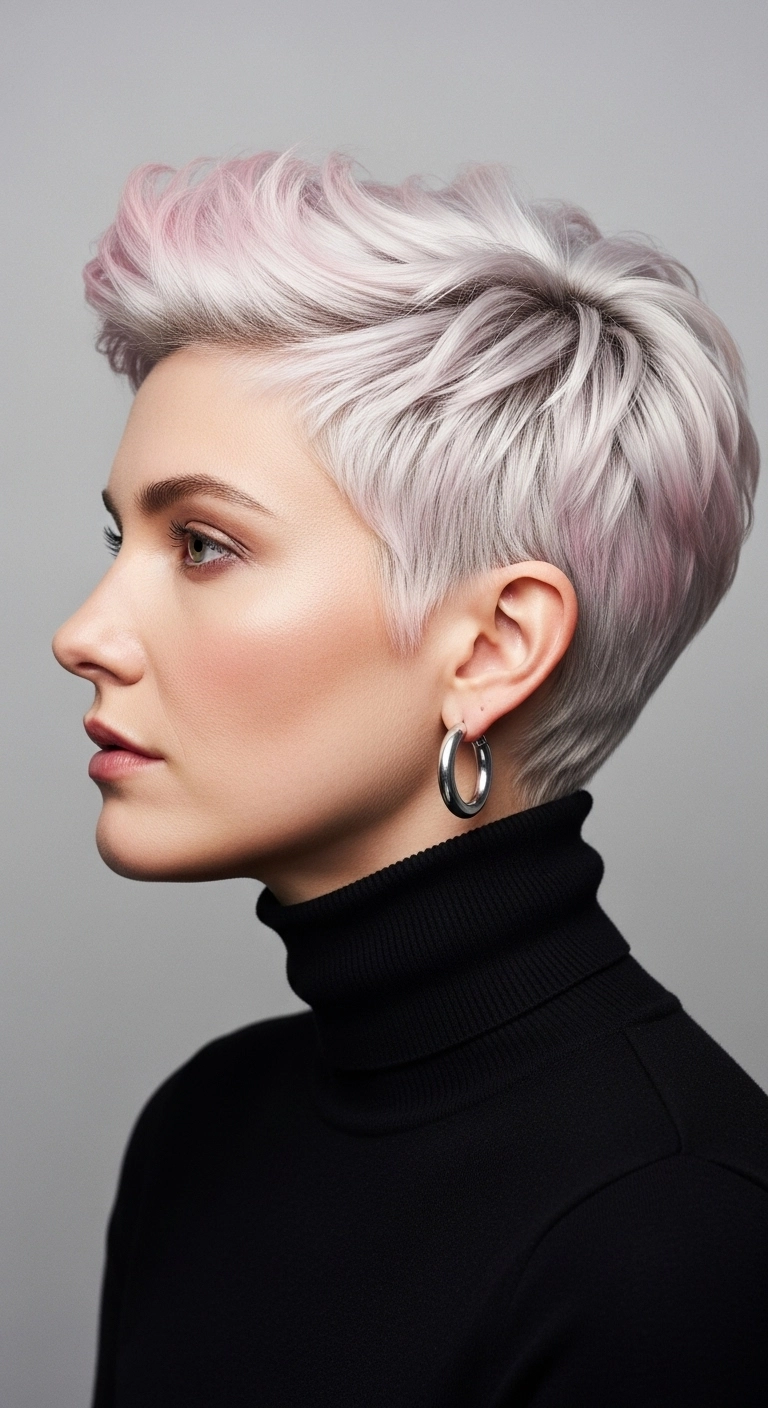
I love how a sharp, tailored pixie instantly brings out strong cheekbones and a clean neckline! Styling this look is all about building height in the front quiff while keeping the sides softly piecey and tapered. It gives such a sleek, high-fashion statement that works just as easily with a cozy turtleneck as it does dressed up for an evening out.
How to do this
1. Start by getting a tailored pixie cut that keeps nice soft length through the top while tapering closely into the nape and hugging the ears.
2. On pre-lightened level 10 platinum hair, apply a subtle violet-ash toner followed by a pastel rose pink glaze to the top lengths using the color toning gloss listed below.
3. Apply a golf-ball sized dollop of the volumizing styling mousse listed below onto damp hair, distributing it evenly from roots to ends.
4. Blow dry using a small round ceramic brush, directing the top sections up and backward away from the forehead to create maximum lift at the front hairline.
5. Warm a pea-sized amount of the matte styling paste listed below between your palms and rake your fingers through the top to separate the layers and define the piecey texture.
6. Finish with a quick mist of the flexible hold hairspray listed below to lock that airy, swept-back shape in place all day.
This piecey bixie cut is effortlessly chic and so incredibly flattering! I love the soft flicked texture around the ears and how the sweeping fringe effortlessly frames the cheekbones. If you want a short cut that still gives you plenty of versatile styling options and natural volume, this is the one to ask for!
How to do this
1. Start by washing hair with a lightweight volumizing shampoo and conditioner to prep the hair with body.
2. On towel-dried hair, apply a dime-sized amount of the volumizing styling foam listed below directly to the roots and lengths.
3. Mist all over with the heat protectant spray listed below to shield strands from hot styling tools.
4. Blow dry using the small round ionic brush listed below, lifting upward at the crown and directing the long front fringe to the side.
5. Use a mini flat iron or styling wand to create soft, flicked bends on the surface layers and around the face for dynamic texture.
6. Work a pea-sized amount of the matte texture styling paste listed below between your palms and gently piece out the ends and side fringe.
7. Finish the style with a quick mist of the flexible hold hairspray listed below for all-day movement and hold without stiffness.
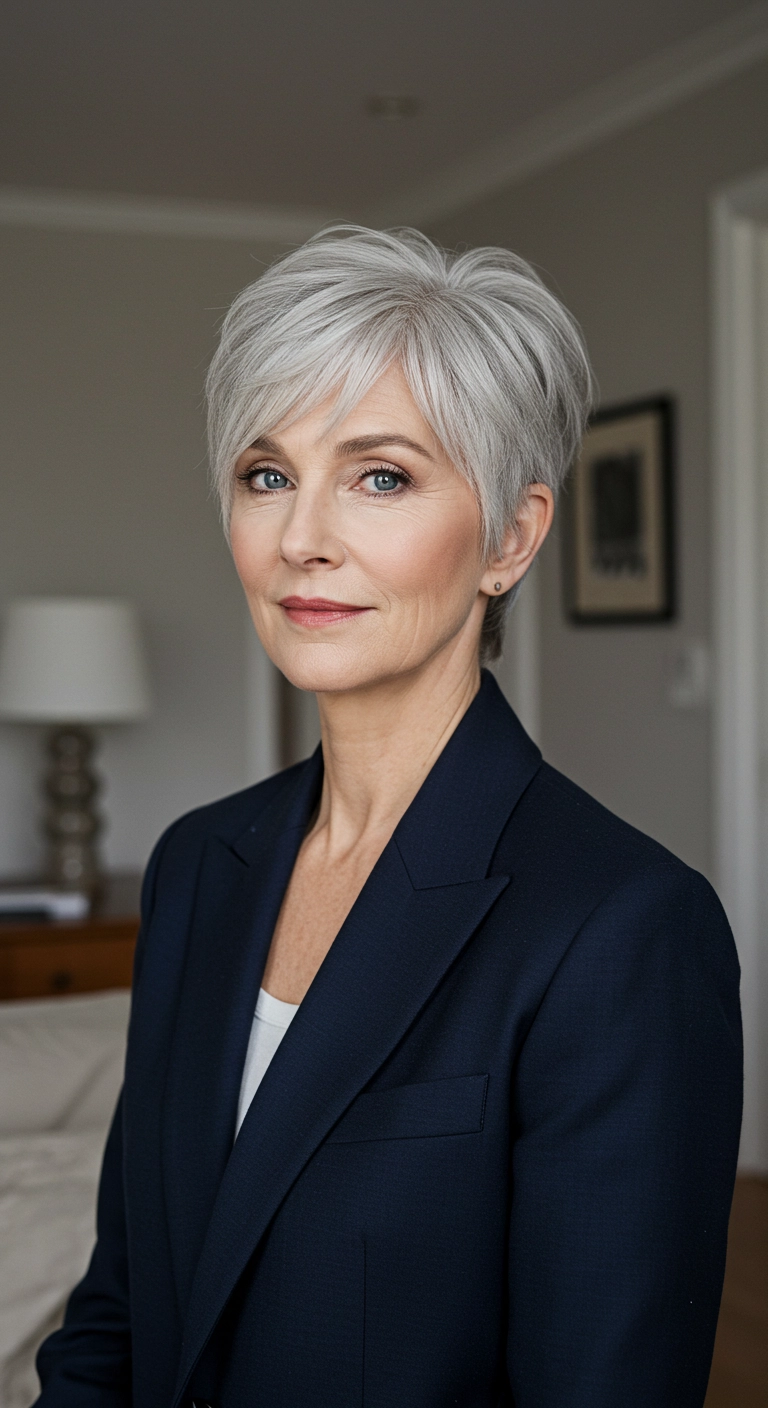
Embracing natural silver has never looked so effortless. A tailored pixie cut with piecey, face-framing fringe gives instant lift and structure without feeling fussy or stiff. Pair it with a classic blazer, and you've got a crisp, put-together look that takes about five minutes to style in the morning.
How to do this
1. Start by washing hair with a purple or silver enhancing shampoo to eliminate brassiness and keep the silver tones crisp and bright.
2. On damp hair, work in a dime-sized amount of the lightweight volumizing mousse listed below from roots to tips to create lift at the crown.
3. Blow dry using a small ceramic round brush or a vent brush, directing the top and front sections forward and slightly to the side to create the soft, swept fringe.
4. Smooth down the sides around the ears with the airflow pointed downwards to ensure a clean, tailored contour.
5. Warm a pea-sized amount of the matte styling paste listed below between your fingertips and lightly piece out the ends of the bangs and crown layers for separation.
6. Finish with a light mist of the flexible hold hairspray listed below to lock the volume and piecey texture in place all day.
Products Used
Sulfate-Free Purple Toning Shampoo for Silver Hair
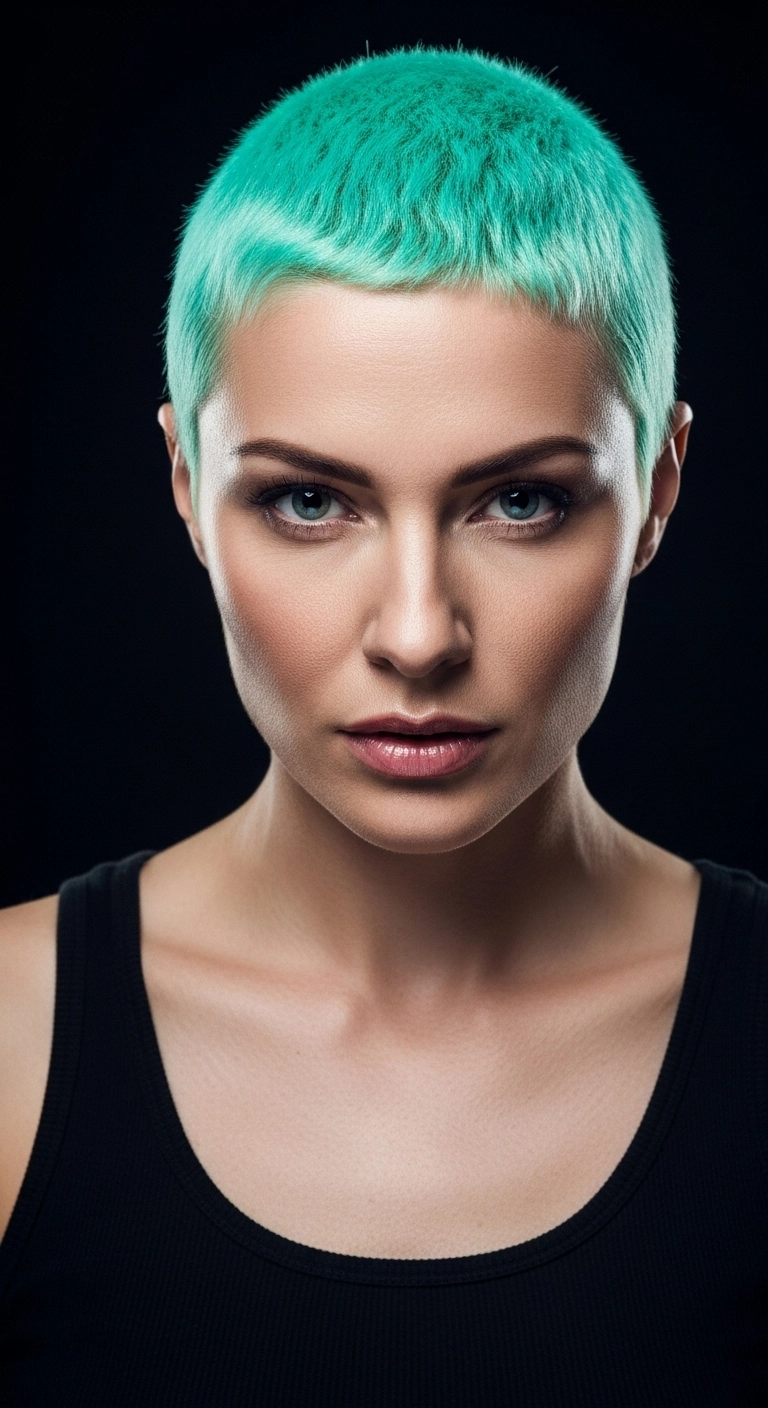
This vivid mint buzz cut is seriously so badass and makes the ultimate statement without needing any styling time in the morning! I love how clean and architectural it looks against bold facial features. If you're ready for a major chop and love bold fashion colors, this look is an absolute dream!
How to do this
1. Start by prepping the hair and pre-lightening it to a clean level 10 platinum blonde using the hair bleaching kit listed below.
2. Once lightened and rinsed thoroughly, apply a clarifying shampoo using the clarifying shampoo listed below to remove all bleach residue.
3. Apply your semi-permanent mint green or pastel seafoam color directly onto damp or towel-dried hair using the semi-permanent pastel green hair dye listed below, making sure every millimeter of the short hair is saturated evenly.
4. Let the dye process for about 30 to 45 minutes, then rinse gently with cool water to lock in the pigment.
5. Cut and refine the shape with clippers and shear-over-finger technique to achieve a soft, textured buzz crop with a subtle micro fringe along the forehead.
6. Finish off the style by working a pea-sized amount of the matte styling paste listed below between your palms and gently smoothing it over the surface for that soft, velvety texture.
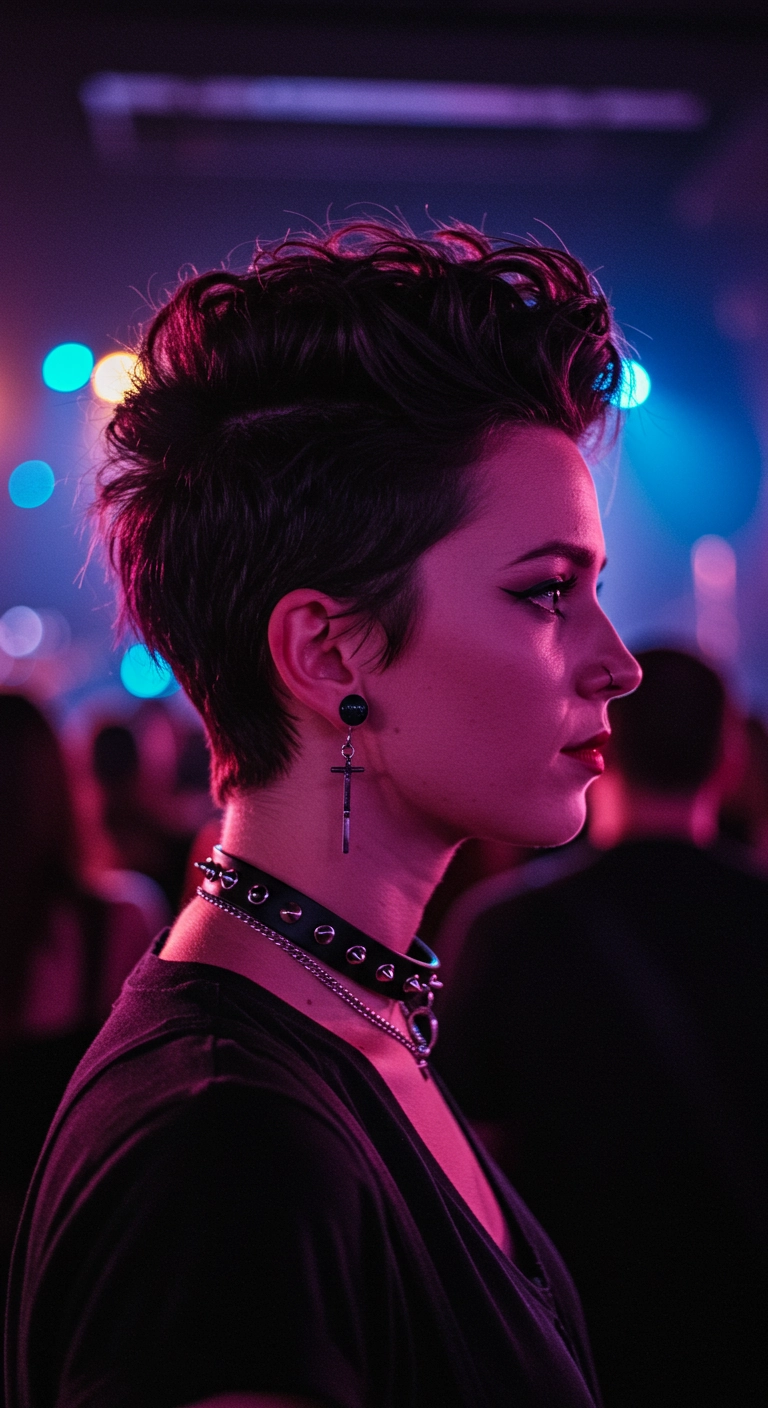
This edgy pixie cut is bold, playful, and so easy to style for late nights out – it gave me total rockstar energy and stayed perfectly in place through hours of dancing at a concert!
How to do this
1. Start on freshly washed, damp hair and apply a quarter-sized amount of the curl-enhancing styling mousse listed below throughout the longer top sections to build volume and define natural waves.
2. Use a blow dryer with a diffuser attachment on medium heat, scrunching the top upwards and backward toward the crown while keeping the short tapered sides flat against your head.
3. Once completely dry, warm a dime-sized amount of the matte styling clay listed below between your palms and fingers.
4. Work the clay directly through the top layers, lifting at the roots to form an effortless faux-hawk shape with textured separation.
5. Use your fingertips and a little extra pomade on the sideburns and nape to ensure the tapered perimeter stays neat and sleek.
6. Lock the height and messy texture in place all night using the flexible hold finishing hairspray listed below.
I fell in love with this tailored, sculpted pixie look when experimenting with formal styles for shorter hair. It is such an iconic, powerful, and effortlessly glamorous vibe that completely changes the game when you want to show off your collarbones and jewelry. Sleek on the sides with just the right amount of lifted drama on top—definitely give this one a shot for your next big night out!
How to do this
1. Start with clean, damp hair and prep with a lightweight styling mousse using the volumizing styling foam listed below to build foundational lift at the roots.
2. Blow-dry the hair using a small round barrel brush, directing the front top section up and back to create a structured pompadour quiff with smooth volume.
3. Use a fine-tooth comb to blow-dry the sides tightly back behind the ears, keeping them flat against the scalp.
4. Warm a nickel-sized amount of high-shine pomade between your palms using the water-based pomade listed below, then run your hands along the sides to smooth down any flyaways.
5. Gently rake the remaining pomade through the top lengths to define clean comb lines while preserving height at the front.
6. Lock the entire sculpted shape in place with a firm-hold hairspray using the high-shine setting mist listed below.
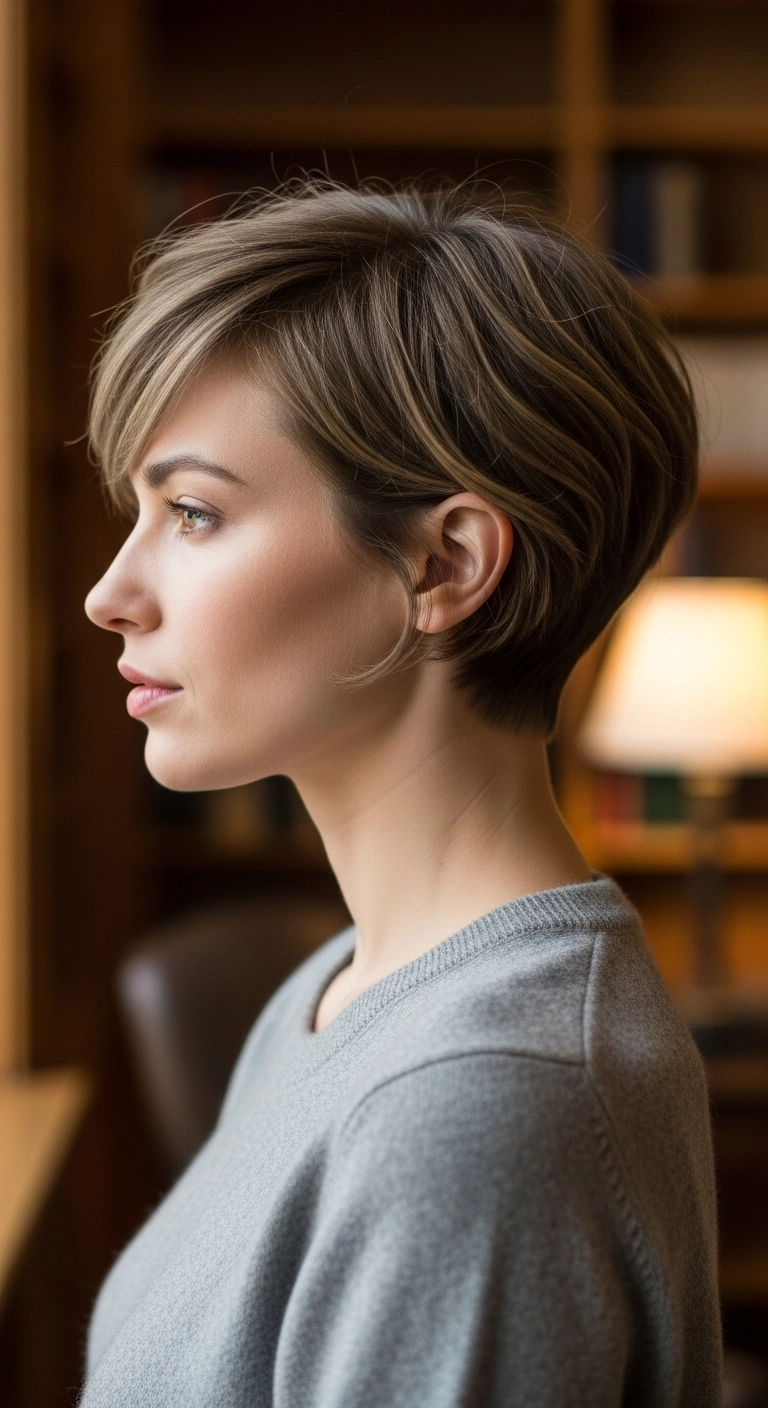
Are you thinking about going for the big chop? I am totally obsessed with this soft, layered bixie cut! It combines the effortless lightness of a pixie with the flattering, feminine face-framing length of a short bob. The gentle ash brown base paired with fine woven highlights gives it such stunning dimension and movement when the light hits. It feels so clean, chic, and low-fuss for everyday styling. If you want something sophisticated yet modern, this style is definitely worth trying out!
How to do this
1. Start on freshly washed, damp hair and prep with a lightweight styling mousse using the volumizing root lift mousse listed below to provide soft body without stiffness.
2. Comb through with a fine-tooth comb to establish a soft, deep side part directing the longer crown layers and bangs across the forehead.
3. Apply a heat defense shield using the heat protectant spray listed below evenly across the top and sides.
4. Blow dry using a small-to-medium ceramic round brush, focusing on lifting at the roots of the crown to create natural curve and volume while sweeping the bangs forward and to the side.
5. For the tapered nape and sideburn areas, use a flat paddle brush to dry the hair flat against the contour of the head.
6. Work a pea-sized amount of the matte styling paste listed below between your palms and gently piece out the ends around the ears and bangs for soft separation.
7. Finish the look with a light mist of the flexible hold hairspray listed below to keep the sweep in place all day.
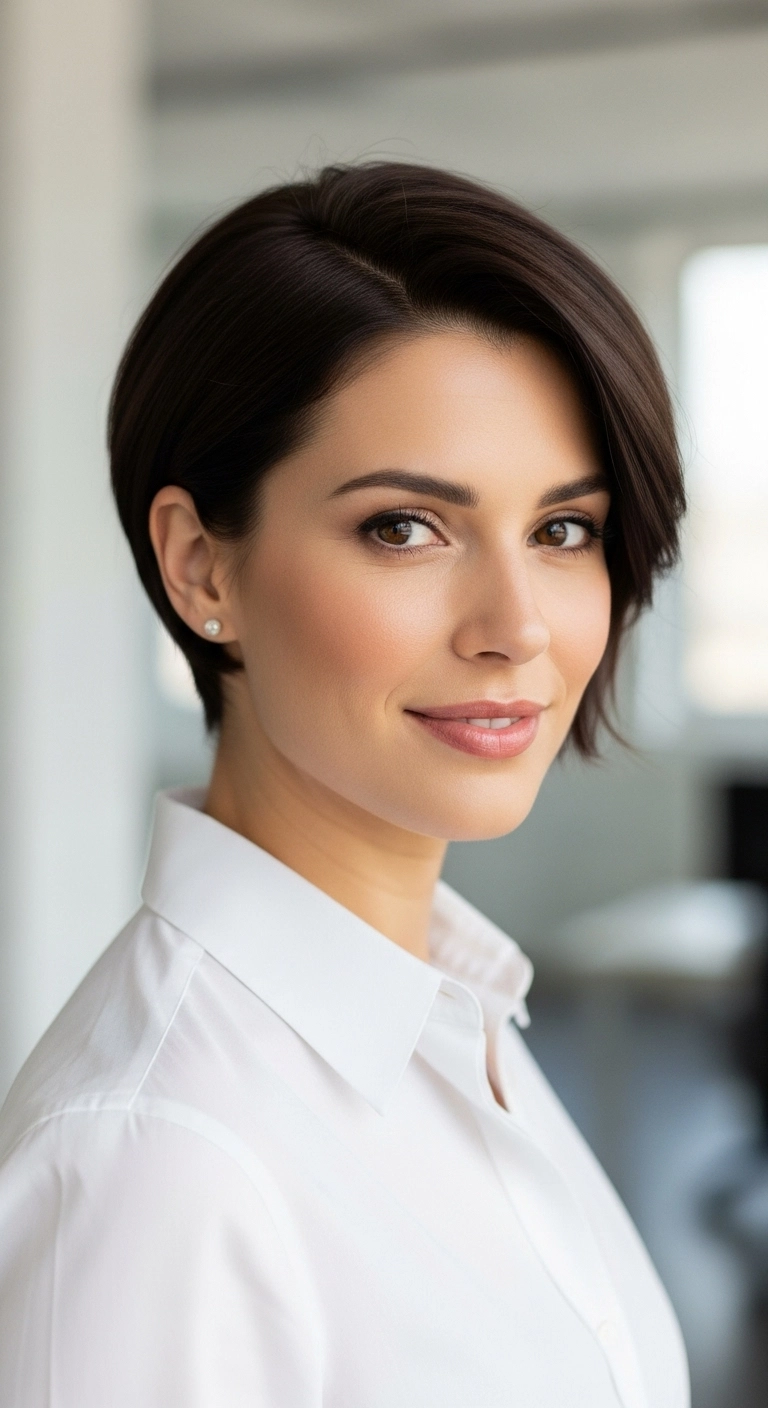
I fell in love with this tailored bixie style when looking for something that combines the ease of a pixie with the feminine frame of a bob. It is ridiculously easy to style on busy mornings, looks effortlessly polished with a crisp white shirt, and tucking one side behind the ear keeps it modern and fresh. If you’ve been on the fence about chopping your hair short — definitely give this soft cut a try!
How to do this
1. Start by prepping towel-dried hair with a quarter-sized amount of the smoothing blowout lotion listed below to protect against heat and tame any flyaways.
2. Create a clean, deep side part using the tail comb listed below, aligning the part with the arch of your eyebrow.
3. Blow dry using the ceramic round brush listed below, directing the roots upward on top for light volume and curving the long front strands gently around the cheekbone.
4. For the shorter side, blow dry downward and tuck it neatly behind your ear, securing lightly if needed.
5. Work a pea-sized amount of the lightweight styling pomade listed below between your fingertips and lightly pinch the ends of the front layers to define the piecey, soft texture.
6. Finish with a gentle mist of the flexible hold hairspray listed below to lock in the shape while keeping the hair touchably soft and natural.
Oh, a perfectly tapered pixie cut, how I love thee! The soft feathered crown layers paired with rich chocolate and warm auburn tones give it so much life and dimension. This is sooo chic and effortlessly cool!! Would you ever be brave enough to chop your locks like this?
How to do this
1. Start on freshly washed, damp hair and prep with a lightweight styling cream or mousse like the volumizing blow dry foam listed below to add lift without stiffness.
2. Blow-dry using a small round ceramic brush or your fingers, directing the roots upward at the crown to build volume and sweeping the longer top layers forward and slightly to the side.
3. Keep the nape flat and smooth against the neck by directional blow-drying downward with a paddle brush.
4. Warm a nickel-sized amount of the matte styling wax paste listed below between your palms and fingers.
5. Work the product through the top and crown, gently pinching the ends into separated, textured pieces and defining the feathered layers.
6. Finish with a light mist of the flexible hold texturizing hairspray listed below to lock in the shape with natural movement.
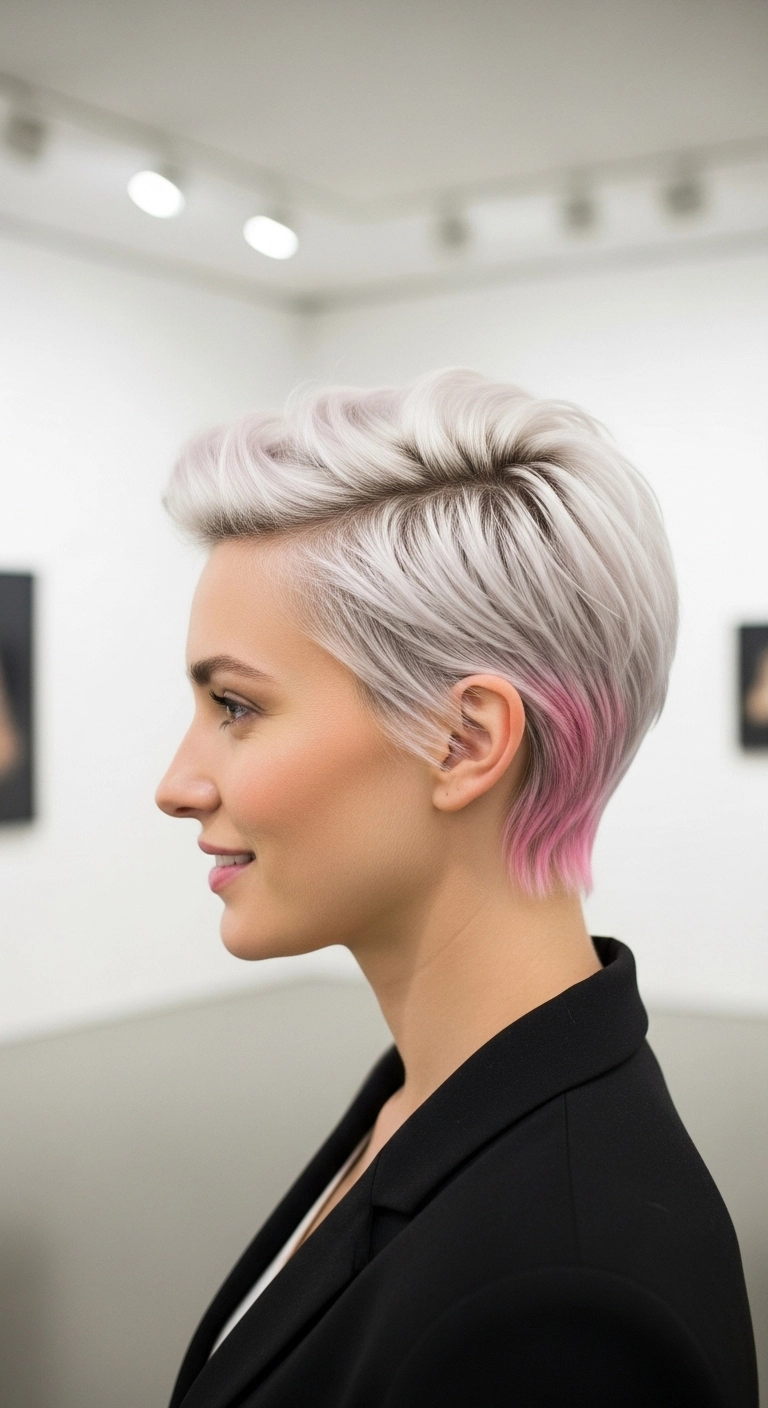
This pixie cut is so chic and has just the right amount of edge with that sneaky pop of pink at the nape! I love how full and airy it looks brushed back at the top, and it frames the cheekbones perfectly. If you've been thinking about going super short with platinum blonde, this is your sign to try it!
How to do this
1. Start on freshly washed, towel-dried hair and apply a dollop of volumizing mousse throughout the crown using the volumizing root mousse listed below.
2. Blow-dry the hair using a small round ceramic brush, directing the top and front sections upward and slightly back away from the hairline to create that airy, brushed-back quiff shape.
3. Use a small flat iron on the nape and side-burn area to keep the tapered layers lying neat and flat against the head.
4. Warm a dime-sized amount of matte styling pomade between your palms using the matte hair texturizing paste listed below, and rake your fingers through the top section to piece out the texture and define the layers.
5. Ensure the pink peekaboo tips at the nape are tucked softly behind the ear line and visible underneath the icy blonde canopy.
6. Mist with a flexible hold finishing hairspray using the flexible hold hairspray listed below to lock in the volume and shape all day long.
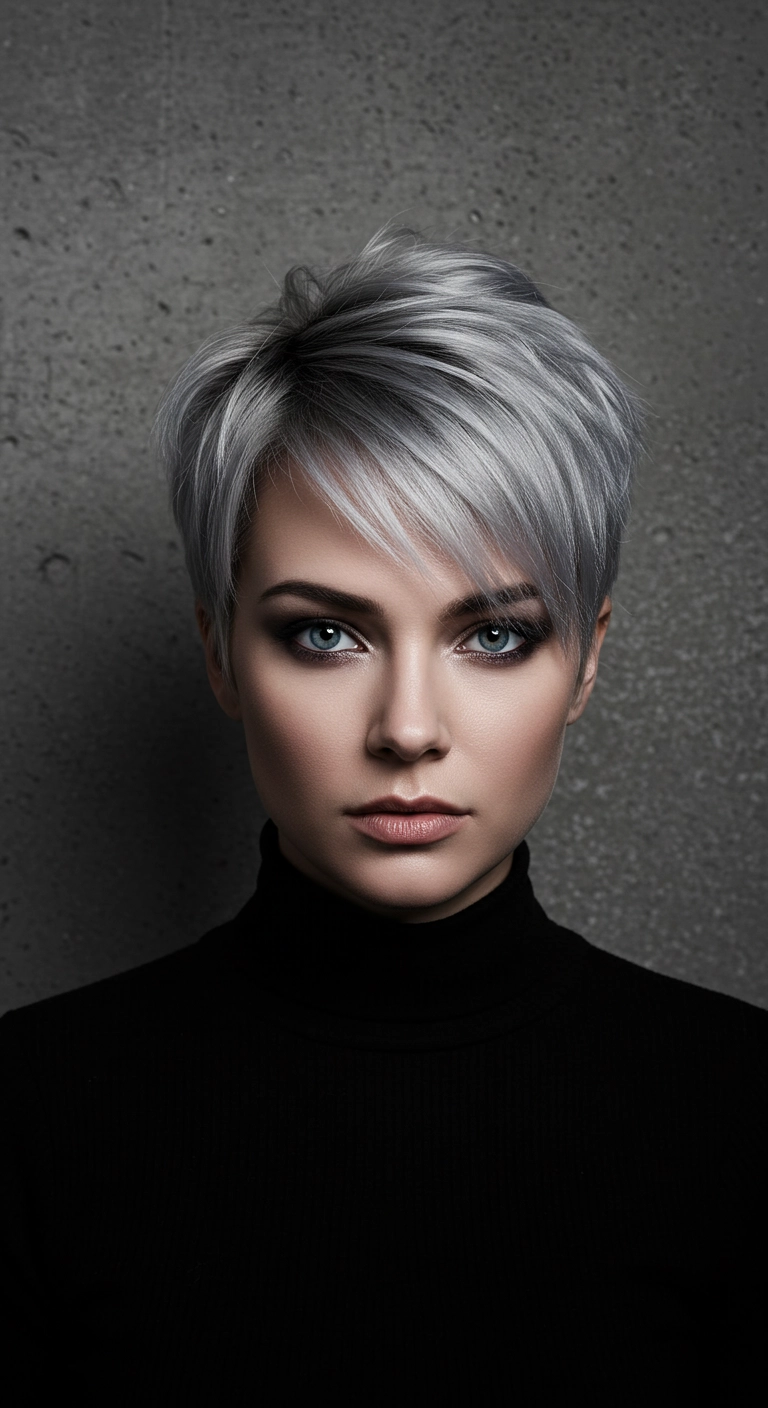
I think the best way to rock a dramatic silver color is with a bold, textured pixie cut. Keeping the roots dark and smudged gives it that effortless, modern edge and buys you so much more time between salon visits. You can sweep the top layers forward across your forehead for a softer fringe, or push them back and piece them out when you want something a little more daring!
How to do this
1. Start by washing hair with a purple toning shampoo to keep cool silver tones bright and eliminate brassiness.
2. Apply a dime-sized amount of the lightweight blow dry smoothing cream listed below to damp hair.
3. Using a small paddle or flat vent brush, blow-dry the hair forward and to one side, following the natural contour of your head to create a sleek yet textured drape.
4. For piecey definition and separation on the bangs and crown, work a pea-sized amount of the matte styling paste listed below between your fingertips.
5. Lightly pinch the ends of the fringe across the brow line to achieve that wispy, piecey fringe finish.
6. Lock the texture and root volume in place using the flexible hold finishing mist listed below.
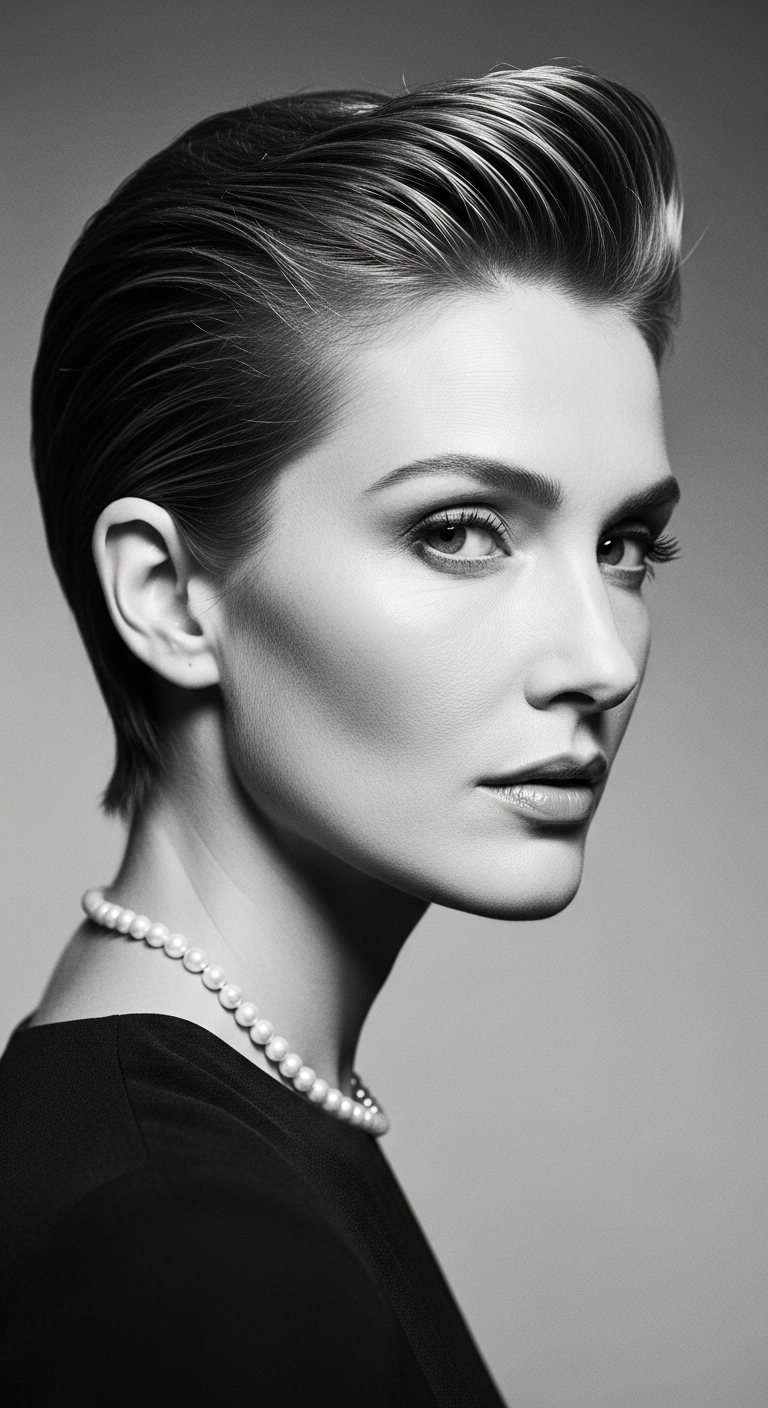
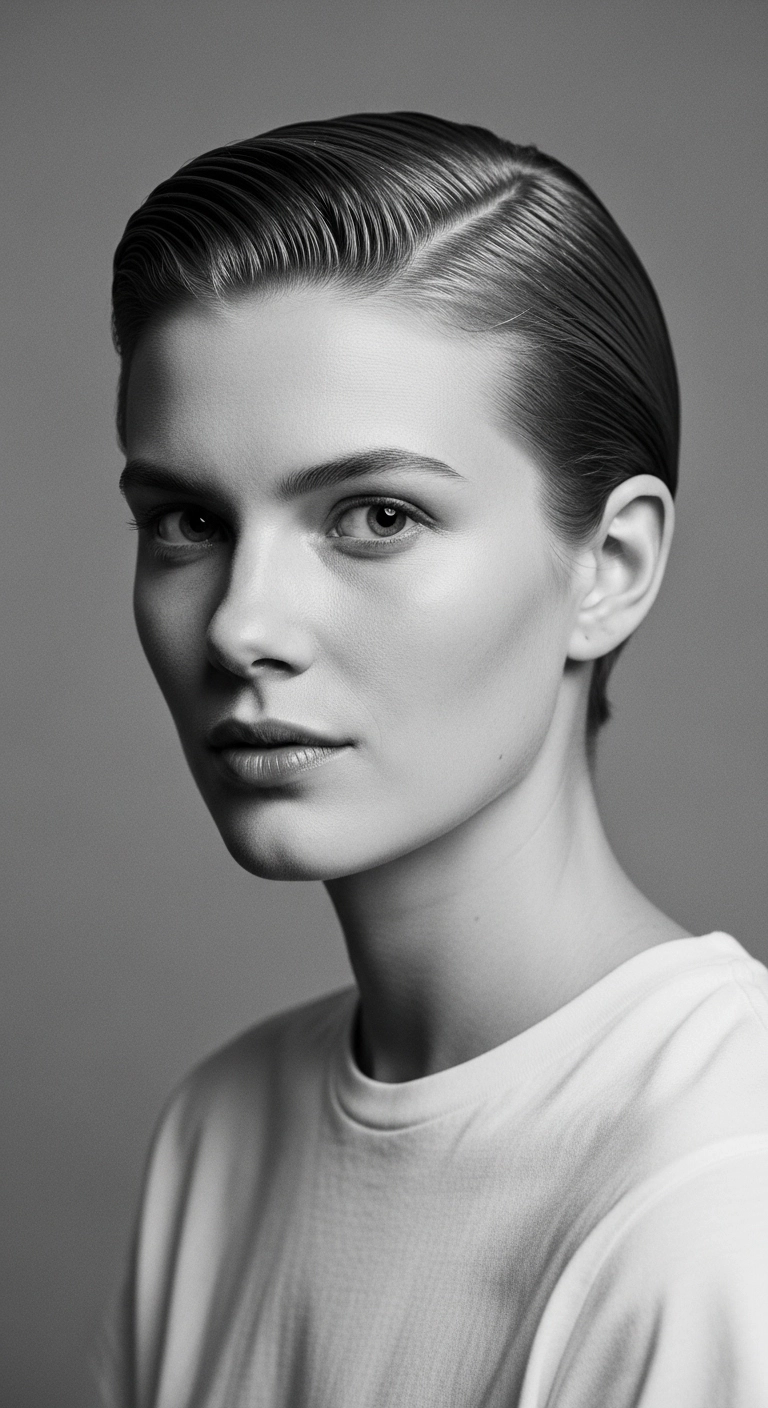
I love how powerful and effortless a slicked-back short cut looks when you give it a sharp, defined side part. It instantly elevates a classic pixie into high-fashion territory, accentuating your cheekbones and jawline with zero fuss. Whether you're heading into a big work meeting or dressing up for an elegant night out, this glass-like combed finish is timeless, clean, and guaranteed to turn heads.
How to do this
1. Start with clean, damp hair straight out of the shower or lightly mist it with water using a spray bottle.
2. Use a fine-tooth tail comb listed below to carve out a clean, precise deep side part starting directly above the arch of your eyebrow.
3. Apply a generous quarter-sized amount of high-shine pomade or styling gel listed below evenly through your hair from roots to ends.
4. Comb the hair on the heavier side cleanly back and slightly contoured against the curve of your head, keeping the tension tight to create clean, defined comb ridges.
5. Smooth down the sides and back flat behind the ear, ensuring no flyaways escape.
6. Finish with a firm mist of strong-hold finishing hairspray listed below and allow it to set without touching for an immaculate, all-day glossy finish.
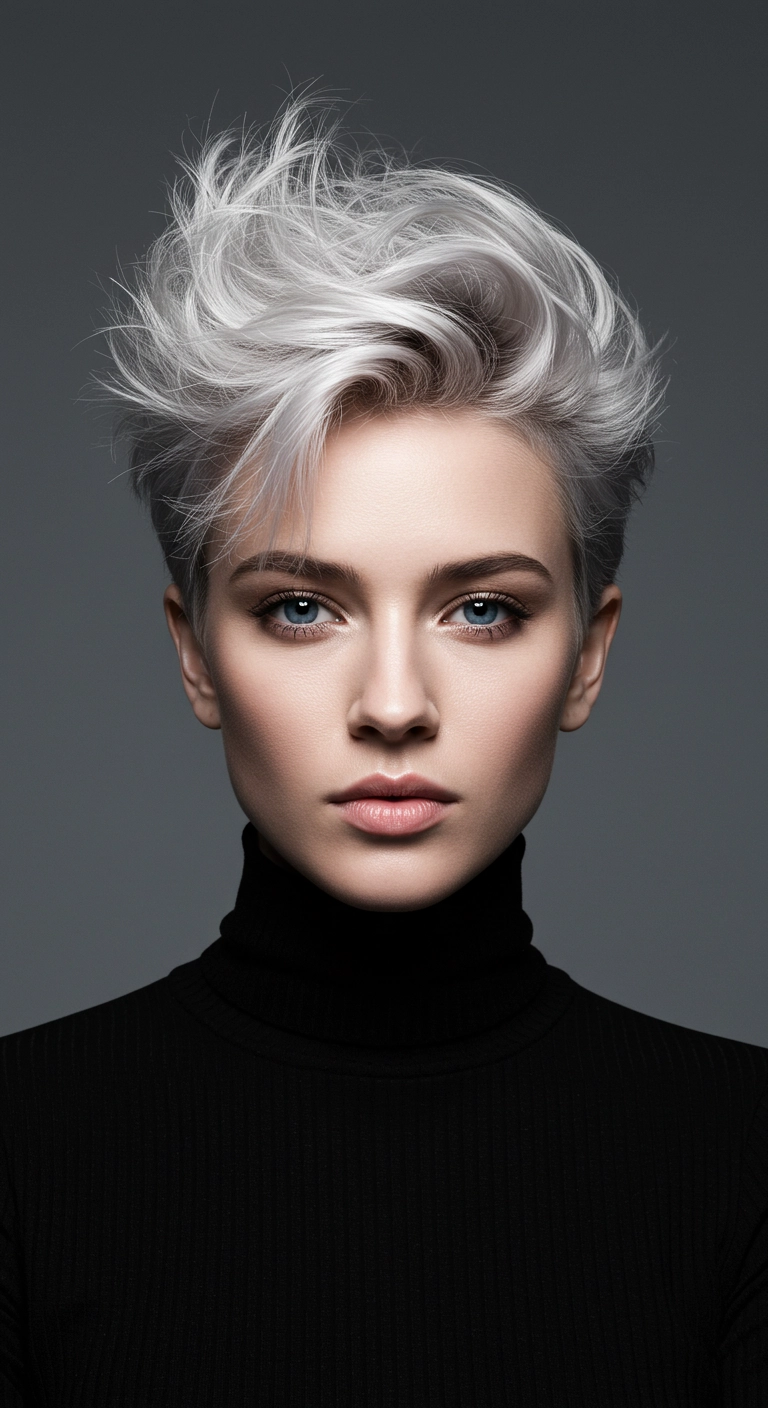
I'm completely obsessed with this cut because it is equal parts edgy, modern, and insanely chic! It instantly highlights your cheekbones and jawline, and that lifted, swept-up texture gives it so much cool attitude. Plus, having short hair means drying time takes literally five minutes in the morning. If you've been thinking about taking the plunge and going bold with a bright platinum crop, this is your sign to try it!
How to do this
1. Start on freshly washed, damp hair and prep using the volumizing root lift mousse listed below to ensure maximum hold and height.
2. Mist hair with the thermal heat protectant spray listed below to shield strands from hot styling tools.
3. Using a blow dryer fitted with a concentrator nozzle and a small ceramic round brush, dry the top section upwards and back, lifting directly off the scalp to create extreme volume.
4. Blow-dry the sides and back down flat and snug against the head shape for a sleek, tapered contrast.
5. Warm a pea-sized amount of the matte styling texturizing paste listed below between your palms and work it through the mid-lengths and ends of the top section, piecing out the ends and sweeping the fringe slightly forward and to the side.
6. Finish the look by misting all over with the strong hold matte hairspray listed below to lock the sculpted quiff in place all day.
Isn’t this textured platinum pixie just so fresh and effortlessly cool?? I love how the sneaky peekaboo mint accents beneath the fringe add a pop of unexpected color without overwhelming the whole cut. This style is absolute perfection if you love short, textured cuts that still feel playful and modern. Plus, styling it is super quick since a dab of matte paste gives you that perfectly piecey, undone look in seconds!
How to do this
1. Start on freshly washed, towel-dried hair by prepping with the lightweight leave-in heat protectant spray listed below to shield high-lift platinum strands.
2. Apply a dime-sized amount of the volumizing styling foam listed below to your roots and mid-lengths to give lift and body to the pixie layers.
3. Using a small round boar bristle brush and the ionic blow dryer listed below, blow-dry the crown forward and sweep the fringe across the forehead to create that piecey, swept shape.
4. Once completely dry, take a pea-sized dab of the matte styling paste listed below, rub it between your fingertips, and gently piece out the fringe and textured layers to reveal the mint peekaboo accents.
5. Lock the airy texture in place with a mist of the flexible hold texturizing hairspray listed below for all-day separation without stiffness.
Pixie cuts can sometimes feel intimidating, but this swept-back style is proof that short hair has so much versatility and edge! I love keeping plenty of length on top so you can blow it out for that effortless, textured volume while the sides stay super neat and sleek. It pairs amazingly with a leather jacket and takes under ten minutes to style in the morning.
How to do this
1. Start with towel-dried, damp hair and prep the crown with the volumizing root lift mousse listed below to ensure long-lasting height and body.
2. Using the small ceramic round brush listed below, blow-dry the top sections upward and back away from your face, directing the airflow from roots to tips to create lift.
3. Blow-dry the sides and nape flat against the head using a styling brush to keep the silhouette sleek and tapered.
4. Warm a dime-sized amount of the matte styling paste listed below between your palms and fingers, then rake it through the top layers to define individual pieces and maintain structure.
5. Use your fingertips to gently direct the crown into a soft, sweeping wave toward the side.
6. Finish by misting the flexible hold hairspray listed below all over to lock in the volume and shape without making it feel stiff or crunchy.
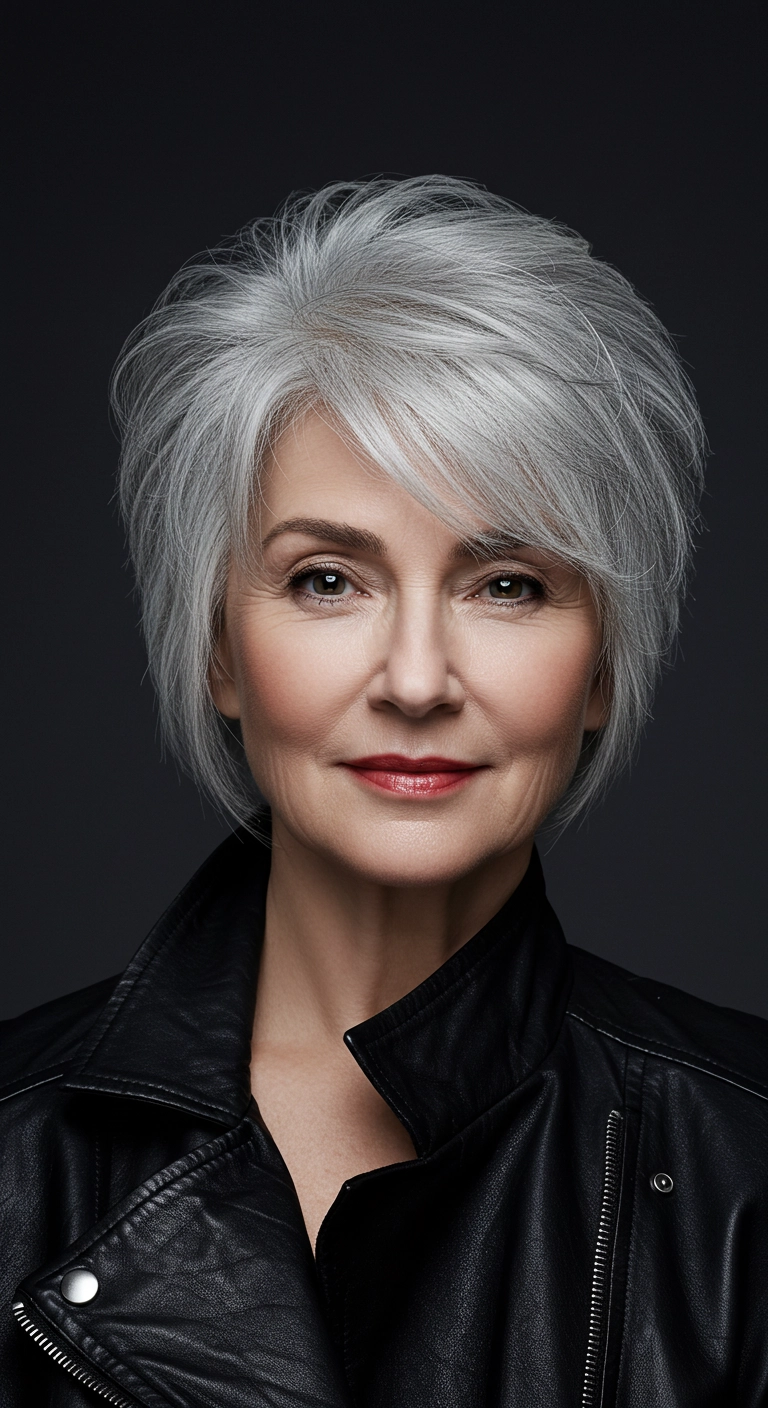
Oh, an icy silver pixie cut, how I love thee. The soft wispy bangs swept to the side make it so effortlessly chic and modern! Have you ever been brave enough to go this short and platinum?
How to do this
1. Start by washing hair with a gentle purple toning shampoo to keep that icy silver shade bright and brass-free.
2. Apply a dime-sized amount of the lightweight leave-in styling cream listed below through damp hair from mid-lengths to ends.
3. Blow dry using a directional nozzle and a small flat paddle brush or styling brush, sweeping the top and bangs across your forehead to one side.
4. Use a micro straightener on low heat if needed, gently bending the ends forward and inward around the temples to shape the feathered layers.
5. Warm a pea-sized amount of the matte styling paste listed below between your fingertips and lightly piece out the ends of the bangs and side-burn layers.
6. Finish with a spritz of the flexible hold hairspray listed below across the crown to lock in volume and hold the fringe in place all day.
If you want something bold and effortlessly cool, this textured pixie is the move! It gives major rock-and-roll attitude with the tight sides and voluminous top, but still feels super sleek and intentional. A quick blast with the blow dryer and some paste, and you're out the door looking like a total rockstar.
How to do this
1. Start on freshly washed, damp hair and prep with a lightweight styling mousse to build foundation and lift.
2. Create a clean, defined side parting on the left side above the temple using a fine-tooth tail comb.
3. Blow-dry the shorter sides downward flat against the scalp, then use a small round brush or just your fingers to direct the longer crown and top section upward and slightly back.
4. Once completely dry, warm a dime-sized amount of the matte styling paste listed below between your palms to emulsify.
5. Work the paste through the longer top lengths, lifting at the roots and pinching individual pieces at the tips to create that effortless, separated faux-hawk crest.
6. Finish off by misting with the flexible hold hairspray listed below to lock the height and separation in place all day.
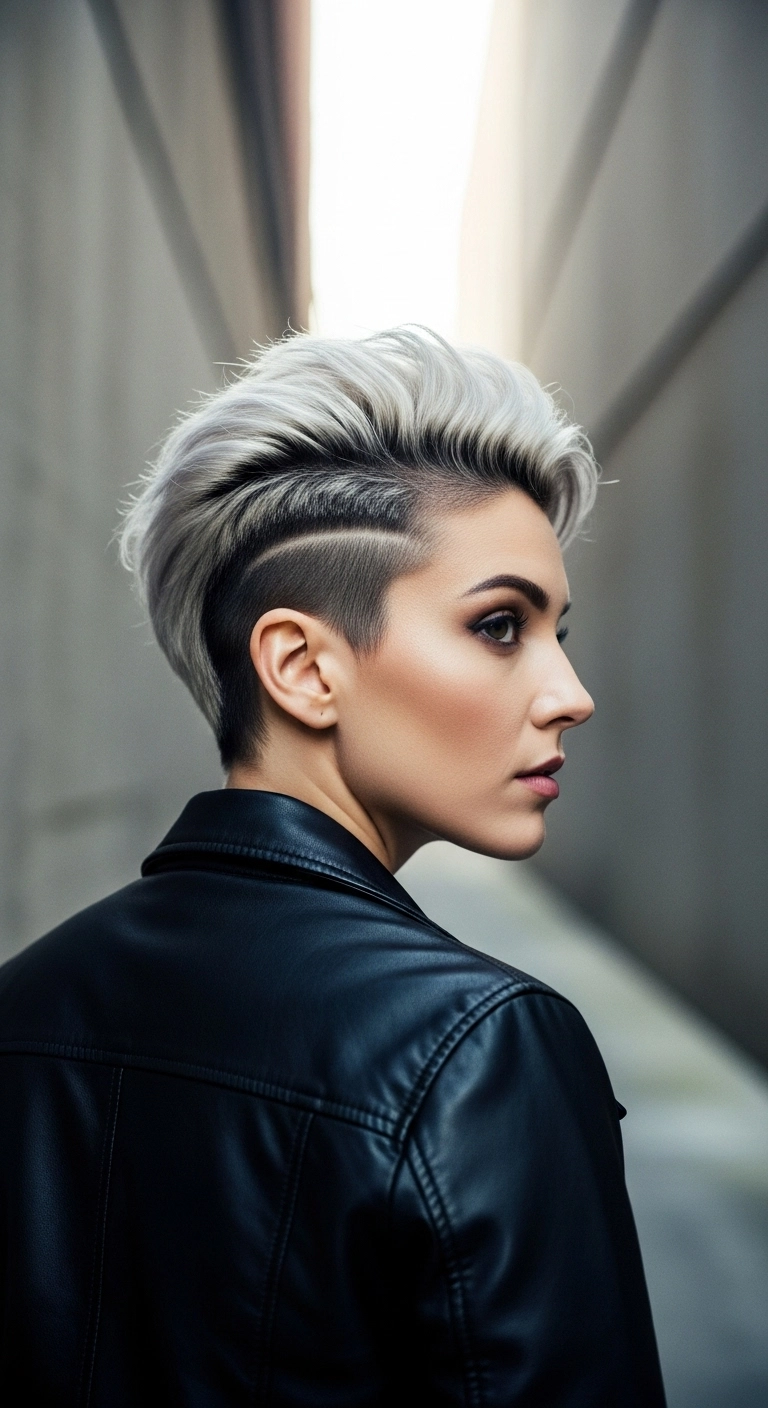
If you want something bold and full of attitude, this icy silver undercut is everything! The high-contrast dark fade with that clean shaved line gives it such a sharp edge, while the brushed-back volume on top keeps it super chic and easy to style with a bit of matte clay.
How to do this
1. Start by washing with the purple toning shampoo listed below to keep those platinum silver lengths looking crisp, cool, and free of any brass.
2. On damp hair, spritz the volumizing root lift spray listed below directly into the top sections to give that crown serious grit and height.
3. Grab a small round brush or vent brush along with your blow dryer, directing the top hair backward and slightly upward to lock in that lifted faux-hawk shape.
4. Once completely dry, warm a dime-sized amount of the matte styling clay listed below between your palms and work it through the longer top layers, raking back to separate the strands.
5. Keep the buzz cut sharp and tidy by applying a drop of the lightweight hair oil listed below to soothe the scalp around the shaved line.
6. Finish off with a light mist of the strong hold hairspray listed below to keep that sweeping texture locked in place from morning to night.
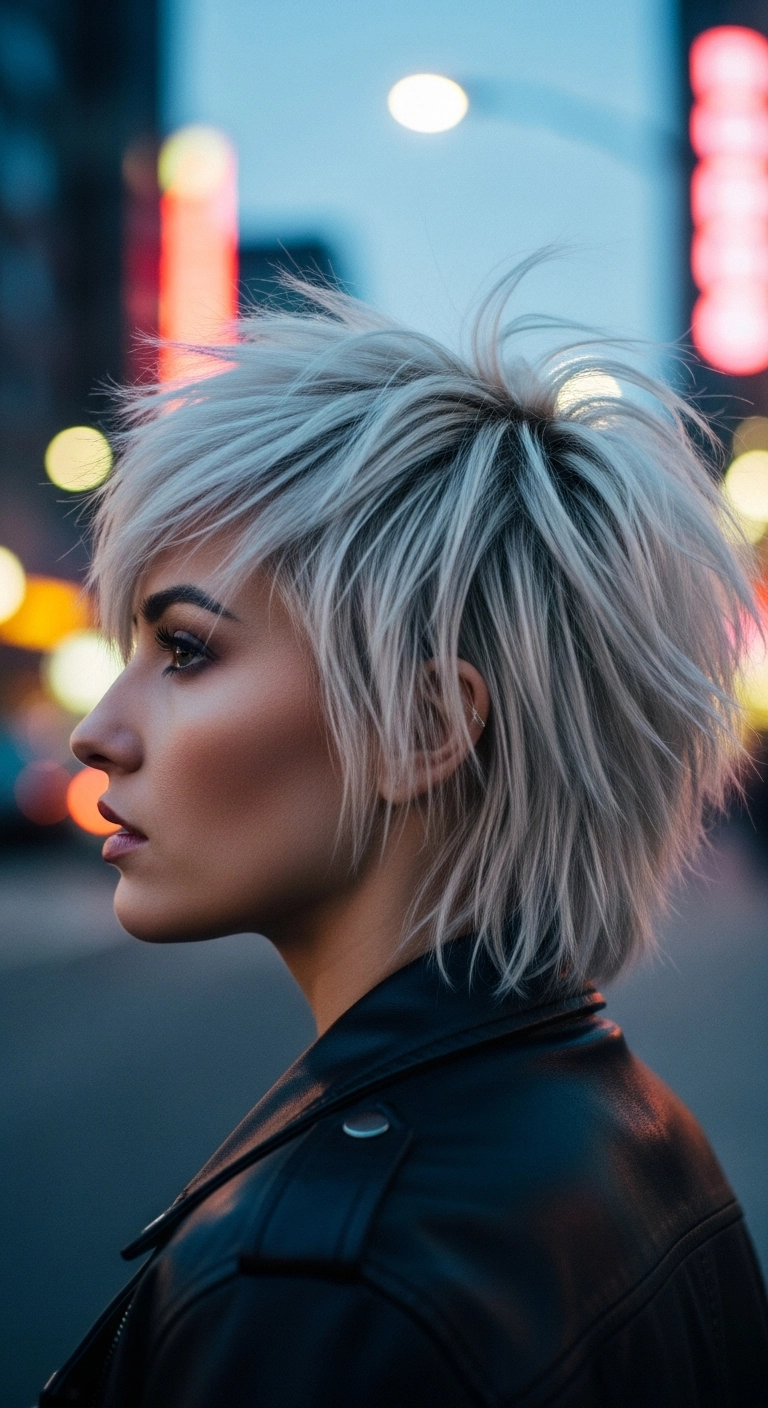
This hairstyle is what I like to call the ultimate edgy bixie shag. You start with heavily razored, piecey layers that give maximum crown volume, tapering down into a slightly longer, feathered nape. The cool platinum silver combined with a subtle dark shadow root gives it an effortless rock-and-roll vibe that looks cool without trying too hard.
How to do this
1. Start on freshly washed, damp hair and prep with a lightweight heat shield using the heat protectant spray listed below to shield your lightened strands.
2. Apply a dollop of volumizing mousse through the roots and mid-lengths using the texturizing styling mousse listed below to give the choppy layers structure and lift.
3. Blow-dry using your fingers and a small vent brush, lifting the hair upward and forward at the crown to build that piecey, spiky height and sweeping the fringe forward.
4. Once completely dry, emulsify a dime-sized amount of styling paste between your palms using the matte hair styling paste listed below.
5. Work the paste through the crown and ends, pinching sections together to define the razored edges, face-framing strands, and piecey fringe.
6. Lock in the volume and airy separation with a targeted misting of the dry texturizing finishing spray listed below.
7. For weekly maintenance to banish yellow tones and keep this cool platinum silver vibrant, wash regularly using the purple toning shampoo listed below.
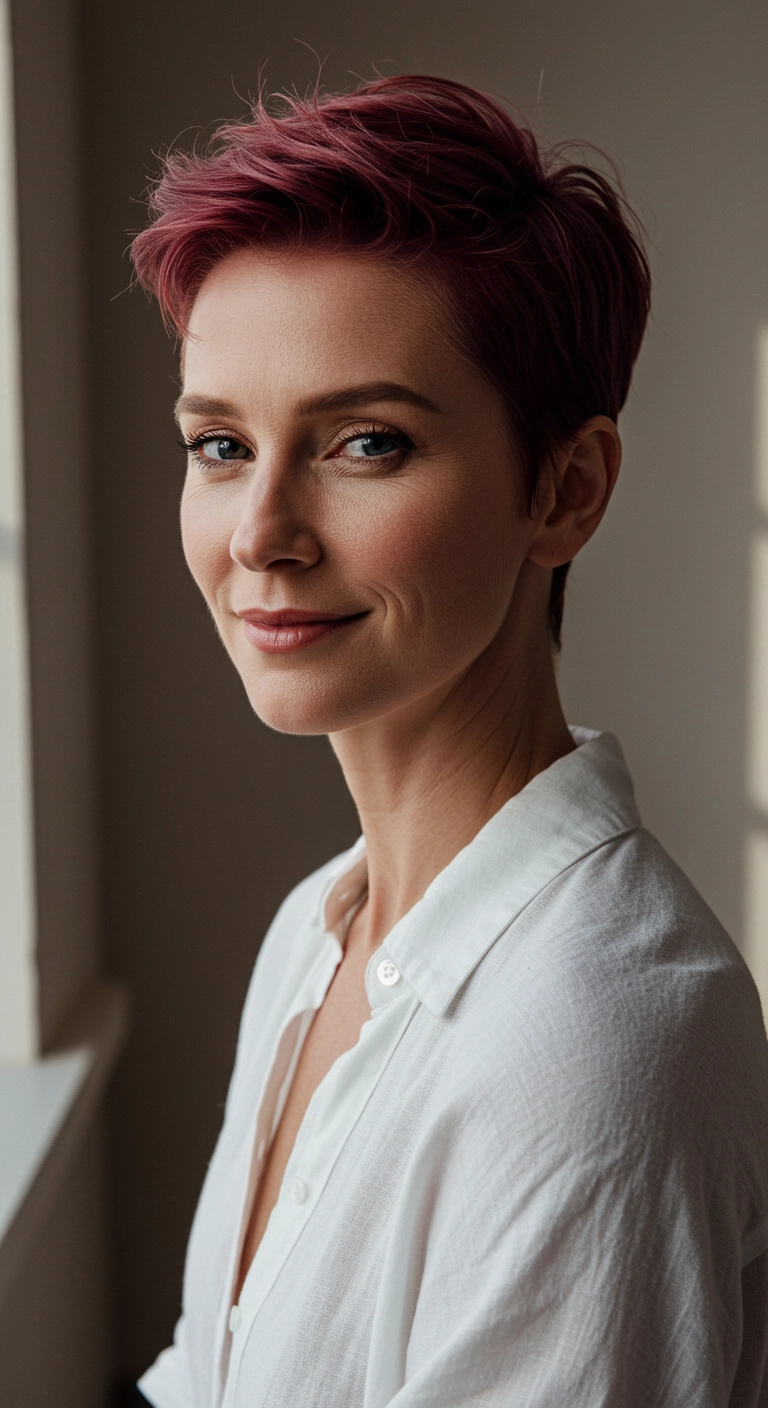
Have you ever thought about going bold with both a pixie and a pop of color? I'm completely in love with this berry-toned cropped cut! It’s soft, modern, and brings so much life to your features without feeling overly high maintenance. You can smooth it down sleek for work or tousle the top for that effortless, piecey vibe on the weekends. It’s such a fun and fresh way to show off your confidence!
How to do this
1. Start with freshly washed, towel-dried hair after applying a lightweight leave-in conditioner using the color-safe leave-in conditioning spray listed below.
2. Work a dime-sized amount of the volumizing styling foam listed below through the crown and top layers to build body and lift.
3. Using a small round brush or just your fingers, blow dry the top section backward and slightly to the side to create gentle volume and direction.
4. Smooth down the tapered sides and nape area with the concentrator nozzle of your blow dryer directed downwards.
5. Warm a small dab of the matte finish styling paste listed below between your fingertips and piece through the top layers to define texture and hold.
6. Finish with a light mist of the flexible hold hairspray listed below to keep the sweep in place all day without feeling stiff.
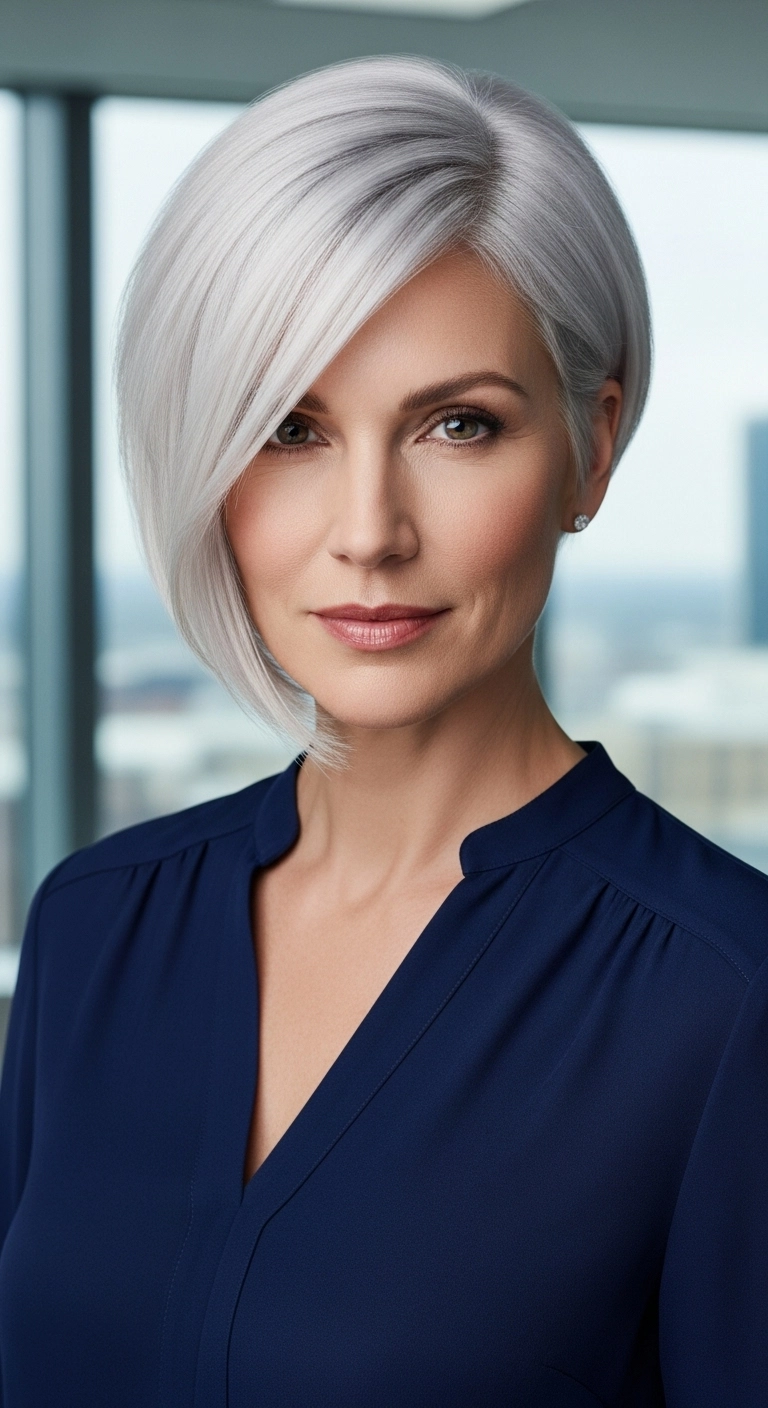
Are you completely obsessed with modern, chic short cuts like I am? I just had to share this stunning asymmetrical silver pixie bob because it’s the absolute definition of elegance and power! The deep side part with that sculpted, sweeping front fringe frames the cheekbones so beautifully, while the tapered opposite side keeps it crisp and fuss-free. Whether you're rocking your natural silver or going for a dramatic icy platinum transformation, this cut brings so much sophisticated flair to your everyday look!
How to do this
1. Start on freshly cleansed, damp hair after applying the purple toning shampoo and conditioner listed below to keep that icy silver tone bright and cancel out any brassiness.
2. Mist hair with the heat protectant spray listed below, combing it evenly through from roots to ends with a fine-tooth tail comb.
3. Apply a nickel-sized amount of the smoothing blowout cream listed below to lock in moisture and give you a sleek, frizz-free base.
4. Establish a deep, clean side part directly aligned with the arch of your eyebrow.
5. Using the ceramic round brush listed below and a blow dryer with a concentrator nozzle, blow-dry the hair downwards in sections, curving the longer front pieces gently inward towards the jaw.
6. Take a flat iron on low-to-medium heat and glide it through the long side-swept fringe to create that ultra-smooth, glass-like finish.
7. Tuck the shorter side neatly behind the ear, and finish by misting a light coat of the flexible hold hairspray listed below along with a drop of lightweight shine serum for that pristine, salon-worthy glow.
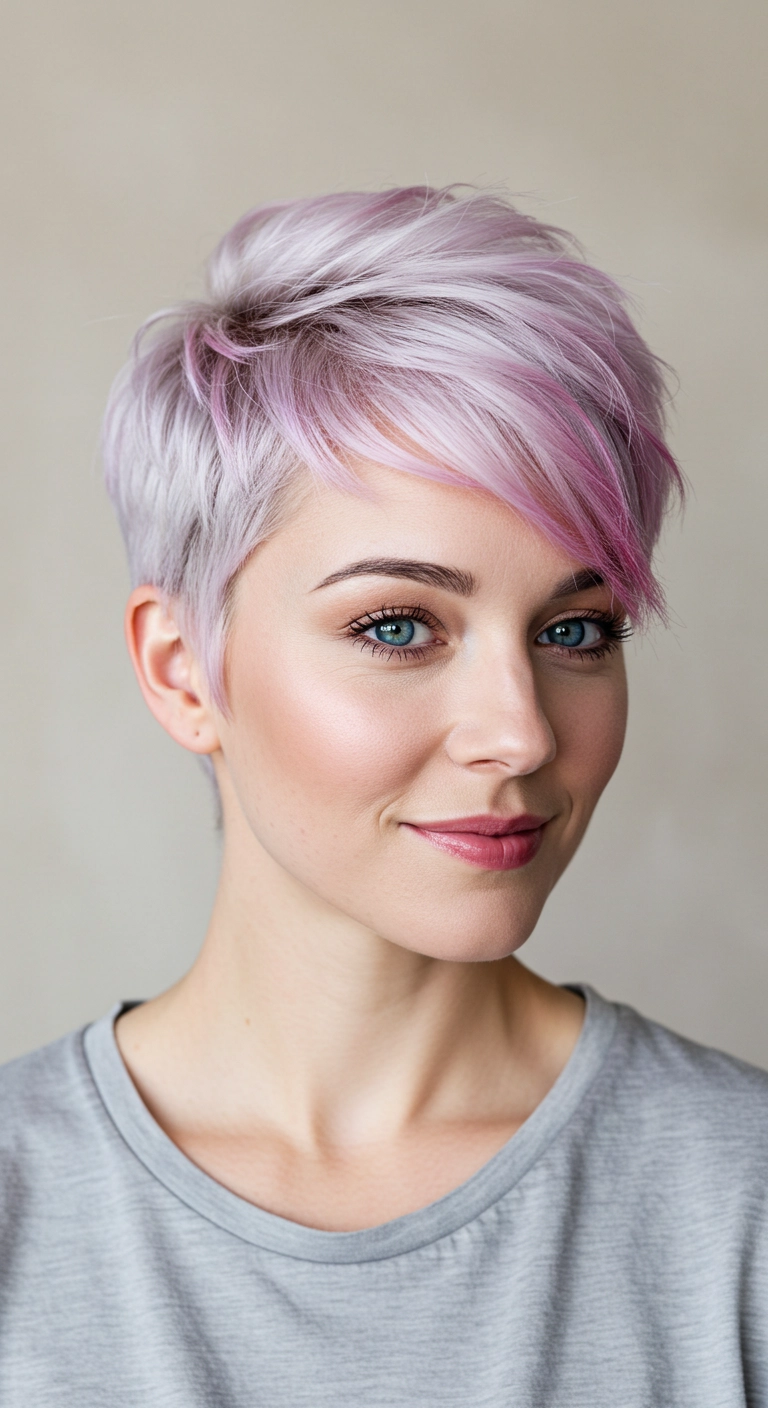
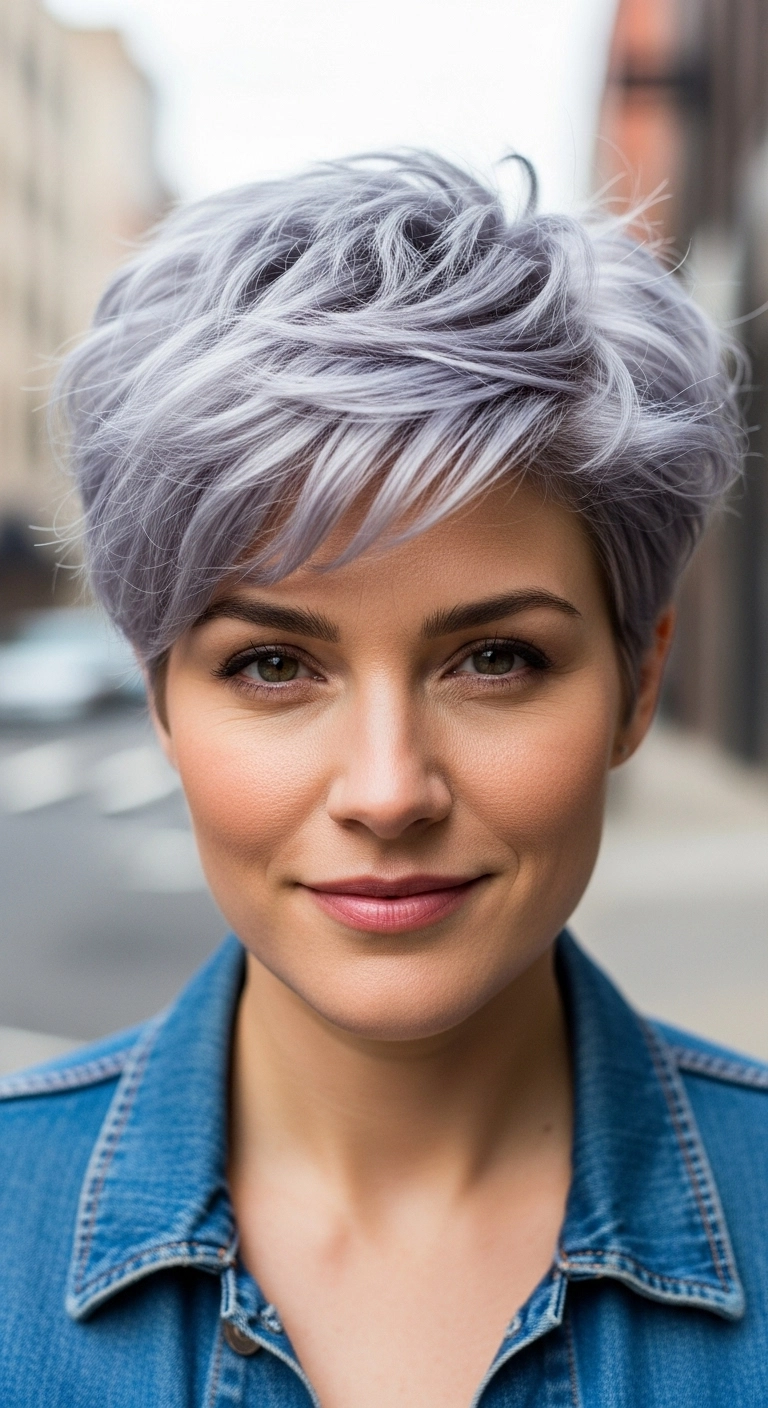
This is a great look if you love short hair but still want enough length on top to play around with styling. The soft icy lavender paired with hidden pops of pink gives it an edgy, modern twist without feeling too heavy or overwhelming.
How to do this
1. Start by prepping damp, towel-dried hair with a lightweight blow-dry primer using the heat protectant and styling prep spray listed below.
2. Blow-dry the sides and back flat against the head using a flat styling brush, directing the airflow downward to keep the nape and ear areas sleek.
3. Focus on the crown and longer top sections, lifting at the roots with your fingers or a small round brush to build natural volume and movement directed forward and across the forehead.
4. Take a tiny dime-sized amount of the matte styling paste listed below, rub it between your palms to warm it up, and gently rake through the top lengths to separate and define the textured layers.
5. Piece out the side-swept bangs across your forehead, gently twisting the tips that show off the vibrant pink accents underneath.
6. Finish with a quick mist of the flexible hold texturizing finishing spray listed below to lock in root lift and keep the style playful all day.
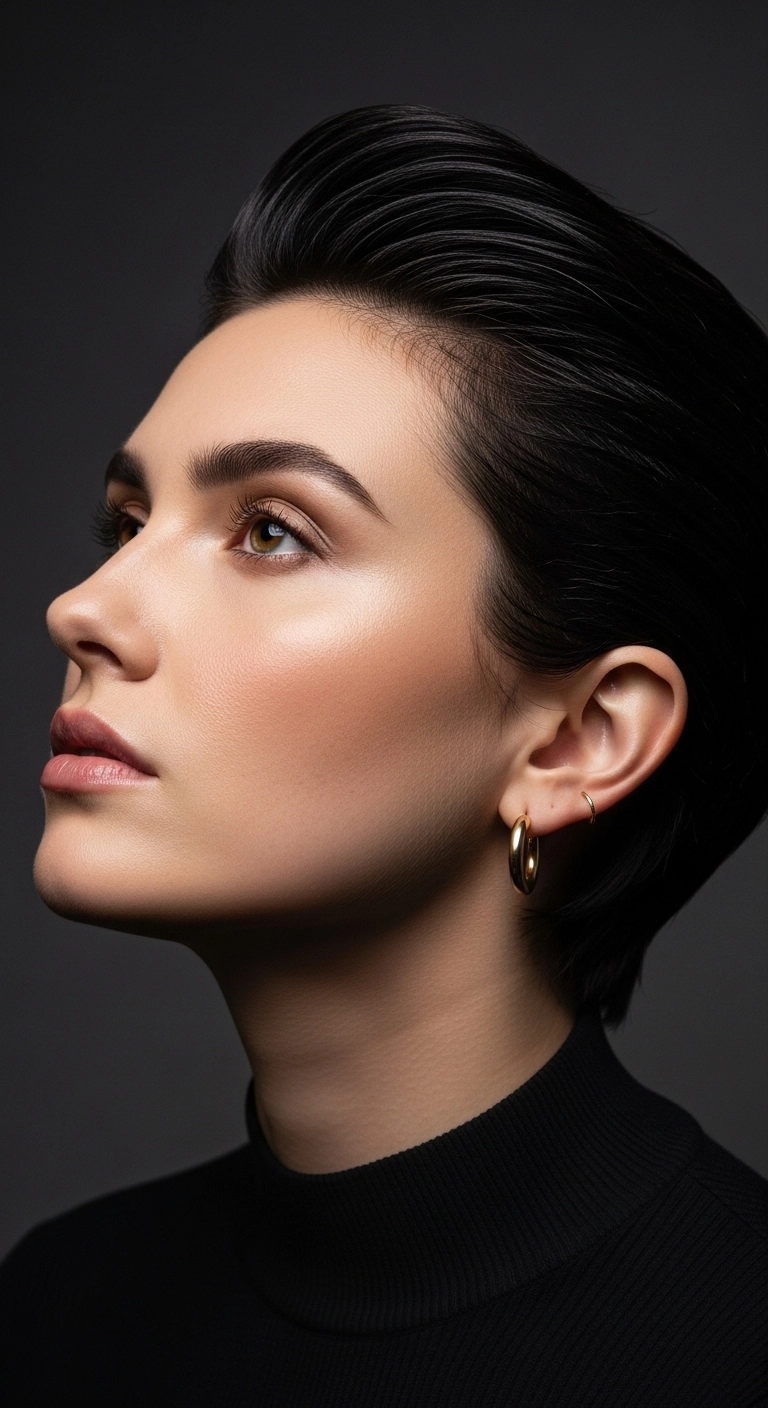
If you're looking for that ultimate power-move hairstyle, this slicked-back pixie is it! It gives instant high-fashion editorial energy while being surprisingly easy to style once you get the hang of blow-drying backward. Just comb it back with a little shine pomade, pair it with simple gold hoops, and you're ready to stun everyone!
How to do this
1. Start on freshly washed, damp hair and prep with the leave-in conditioning spray listed below to add moisture and heat protection.
2. Apply a generous dime-to-nickel sized amount of the strong-hold styling pomade listed below throughout the roots and mid-lengths to ensure flexible hold.
3. Using a blow dryer with a concentrator nozzle and the small boar bristle round brush listed below, blow dry the top section up and straight back off the forehead to build volume at the root.
4. Blow dry the sides and nape flat against the head, brushing backward smoothly behind the ears.
5. Warm a dab of the high-shine styling wax listed below between your palms and smooth over the top and sides, sculpting comb lines straight back.
6. Lock the slicked-back shape in place with a fine mist of the firm-hold finishing hairspray listed below for all-day hold and brilliant gloss.
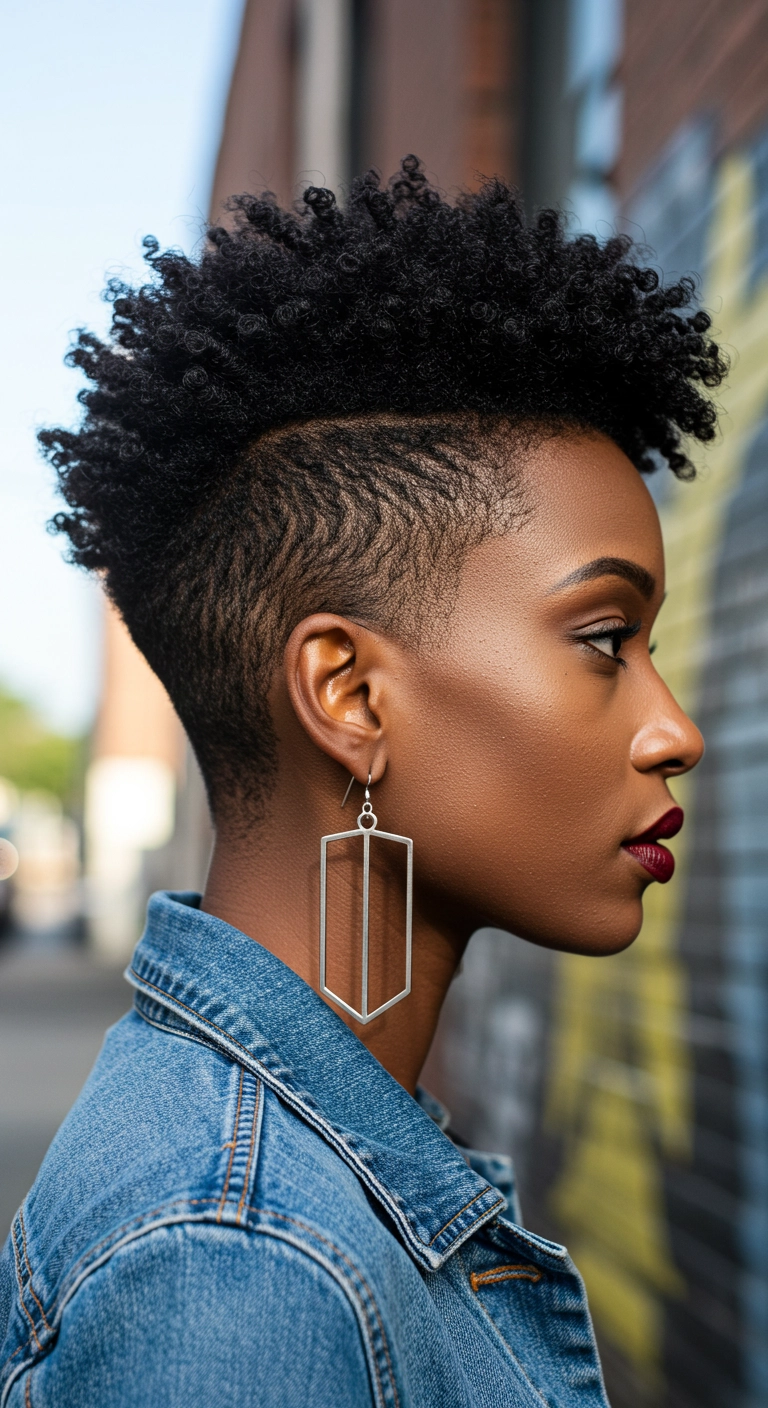
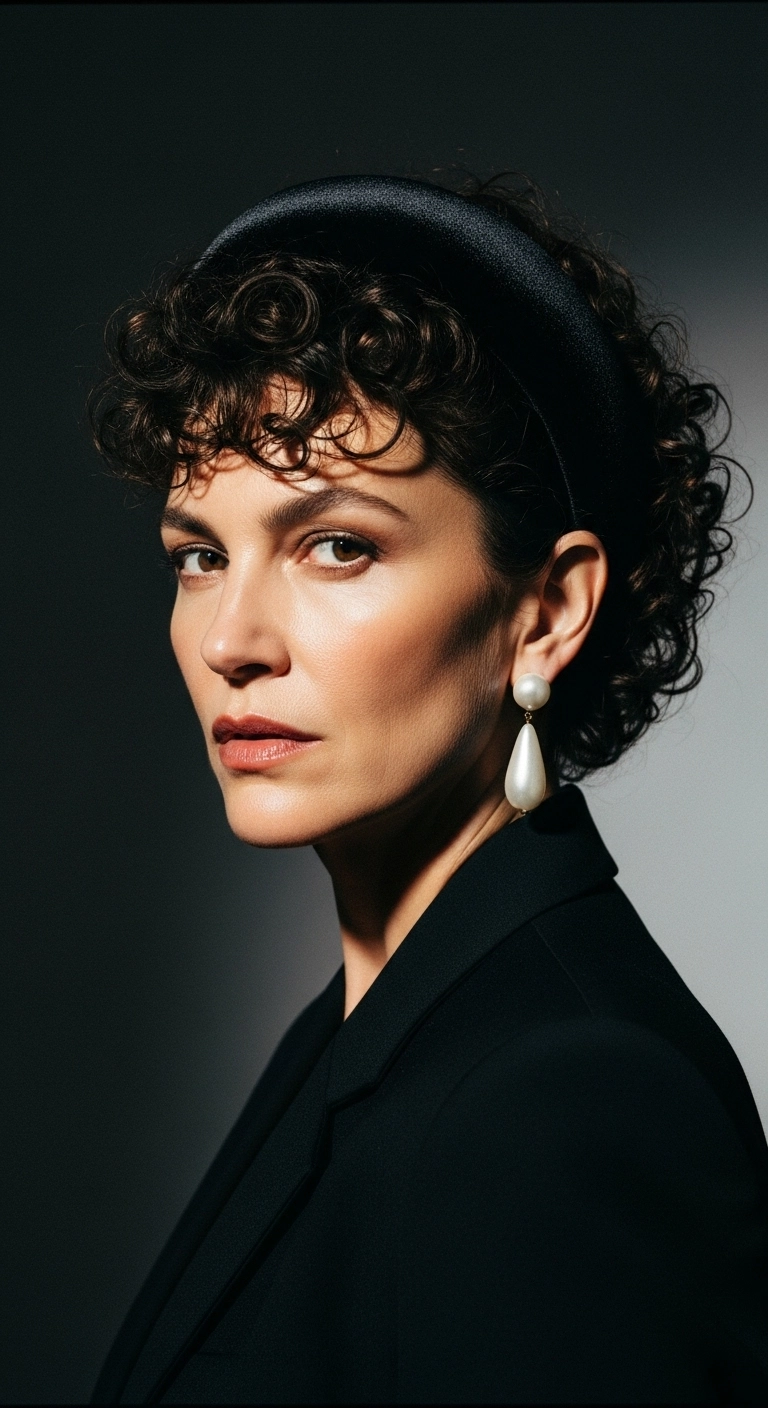
If you want a cut that screams confidence and style, this is definitely it! The contrast between the tight, buzzed fade on the sides and those gorgeous, juicy defined coils up top creates such a striking profile. Pair it with a statement earring and a bold lip, and you're turning heads everywhere you go.
How to do this
1. Start by maintaining the structural taper cut with a clipper fade on the back and sides, leaving length strictly through the top center strip.
2. On damp, freshly cleansed hair, apply a hydrating leave-in conditioner using the moisturizing leave-in spray listed below to prime the coils.
3. Work a curl-defining custard or gel through the crown section using the curl defining gel listed below to enhance coil clumping and eliminate frizz.
4. Use a curl sponge tool or your fingertips with the curl twist styling sponge listed below to swirl the top section in small circular motions, instantly defining uniform coiled ringlets.
5. Lay down and define the side wave line along the fade using a boar bristle styling brush and the strong hold edge control gel listed below.
6. Allow to air dry completely or use a diffuser on low heat, then mist lightly with the lightweight sheen spray listed below for an incredible healthy shine.
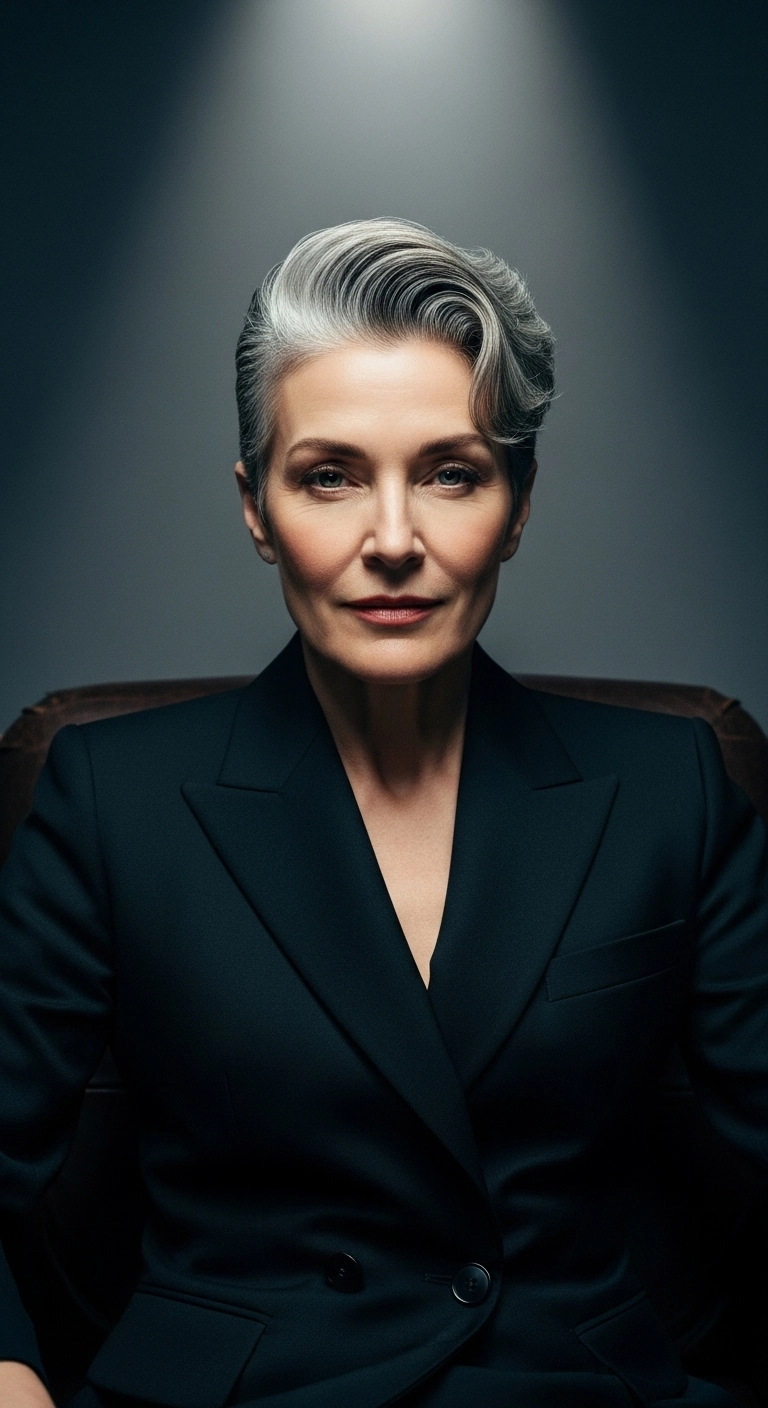
I fell in love with this tailored look the moment I saw how perfectly it combines classic elegance with total boss energy. The sculpted wave on top gives just the right amount of height to elongate the face, while keeping the sides tapered and neat. It looks unbelievably sophisticated on natural silver and grey tones, catching the light in all the best ways. If you want a short cut that feels powerful, chic, and completely timeless, definitely give this sculpted pixie a try!
How to do this
1. Start on freshly washed, towel-dried hair using a volumizing root lifter at the crown and top sections.
2. Apply a dime-sized amount of the smoothing blow-dry cream listed below throughout the lengths to tame flyaways and add heat protection.
3. Using a small to medium ceramic round brush and a blow dryer fitted with a concentrator nozzle, blow-dry the sides tightly back against the head shape.
4. For the top section, roll the hair upward and backward around the round brush, applying tension to create root lift and a sculpted curve toward one side.
5. Warm a pea-sized amount of the flexible styling pomade listed below between your palms and lightly smooth down the sides, then define the front wave swoop with your fingertips.
6. Finish with a generous mist of the strong-hold finishing hairspray listed below to lock the wave structure in place with clean, all-day hold.
A chic, edgy silver bixie cut that brings all the volume and sophistication. I love how the feathered layers create instant lift at the crown while keeping the edges sleek around the jawline. Paired with a leather jacket, it’s giving confident rock-and-roll elegance without having to spend hours styling.
How to do this
1. Start on freshly washed, damp hair and prep with a lightweight volumizing mousse listed below, focusing on the roots to build that gorgeous crown height.
2. Mist through a heat protectant spray listed below from roots to ends before touching any hot tools to keep your silver strands super bright and healthy.
3. Using a small-to-medium ceramic round brush listed below and a blow dryer with a concentrator nozzle, lift sections upward at the crown and blow-dry against the natural fall to maximize lift.
4. Blow-dry the side-swept front bangs over to one side, curving the ends gently back and away from the face to create that soft, face-framing sweep.
5. For the side sections, direct the airflow downwards and curve the brush gently under towards the jawline for a tailored, tapered silhouette.
6. Emulsify a dime-sized amount of the lightweight styling paste listed below between your fingers, then piece out the ends and smooth down any unruly flyaways around the ears.
7. Lock in the volume and airy movement with a quick spritz of the flexible hold hairspray listed below all over.
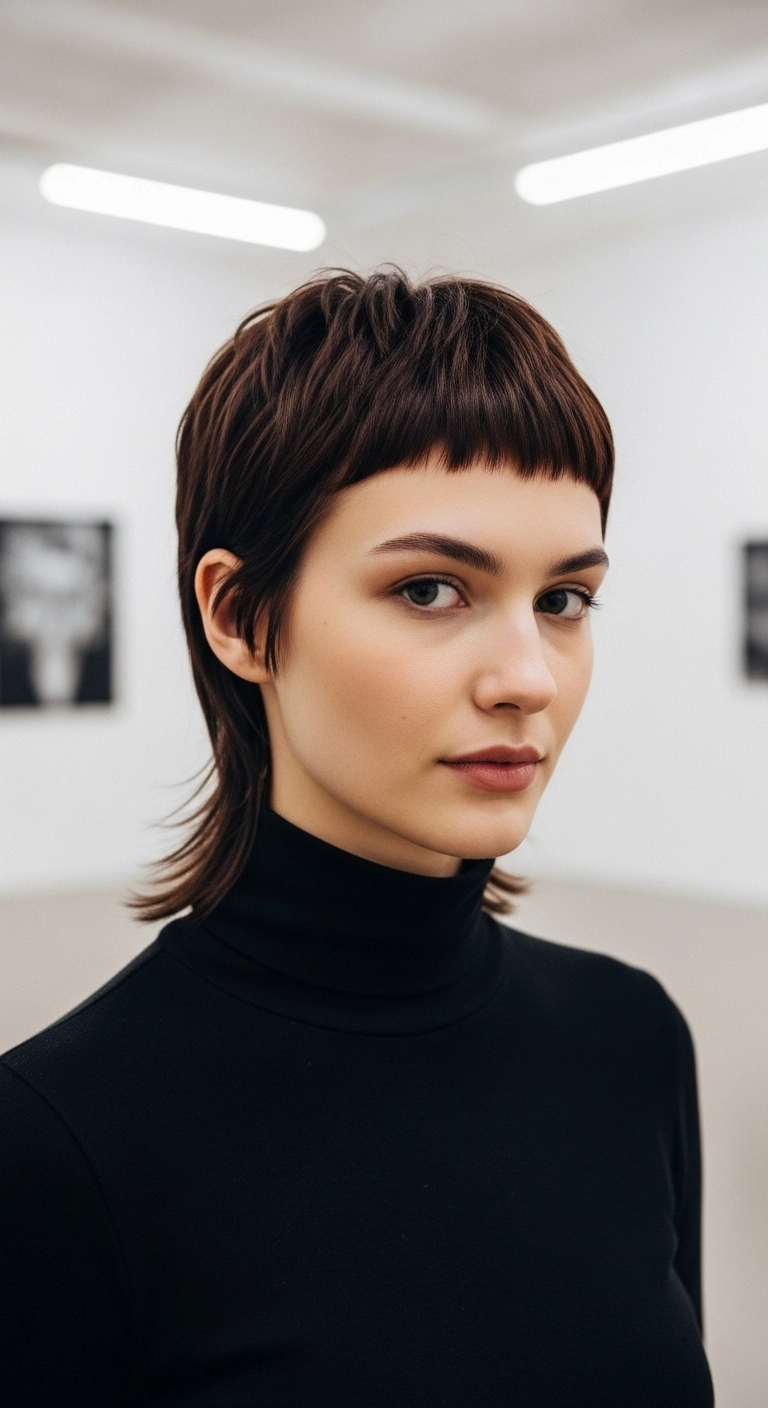
Modern mullets and mixies have been everywhere lately, and this version with choppy micro bangs is the ultimate cool-girl statement. It gives you the best of both worlds—short, textured piecey layers on top with those cute little flared lengths at the nape. It’s effortless, edgy, and honestly so much fun to style with just a dab of matte paste!
How to do this
1. Start on freshly washed, towel-dried hair and apply a quarter-sized amount of the lightweight styling prep cream listed below to add subtle grip and moisture.
2. Blow-dry the micro bangs forward flat against your forehead using a low-speed airflow and the small styling comb listed below, guiding the hair straight down with light tension to prevent cowlicks.
3. Use the ionic blow dryer with styling nozzle listed below to rough-dry the crown and back sections, using your fingers to lift the roots for natural volume and lift.
4. When drying the nape pieces, flick the ends outward slightly along the neck using your fingertips or a mini paddle brush to emphasize that classic modern mullet silhouette.
5. Warm a pea-sized amount of the matte texturizing hair paste listed below between your palms, then piece out the baby bangs and pinch the crown layers to create defined separation.
6. Finish the look by misting a light coat of the flexible hold finishing hairspray listed below all over to keep the piecey texture intact without feeling crunchy.