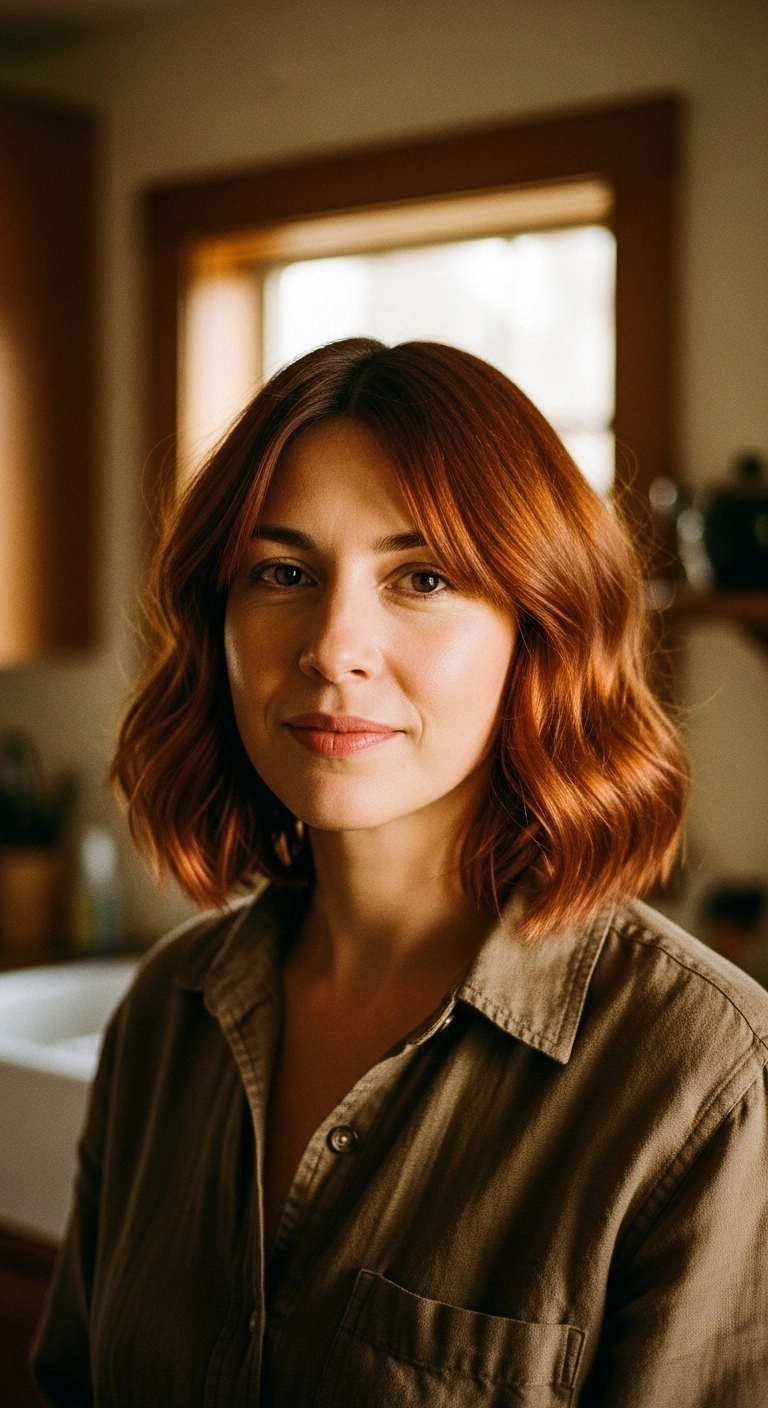
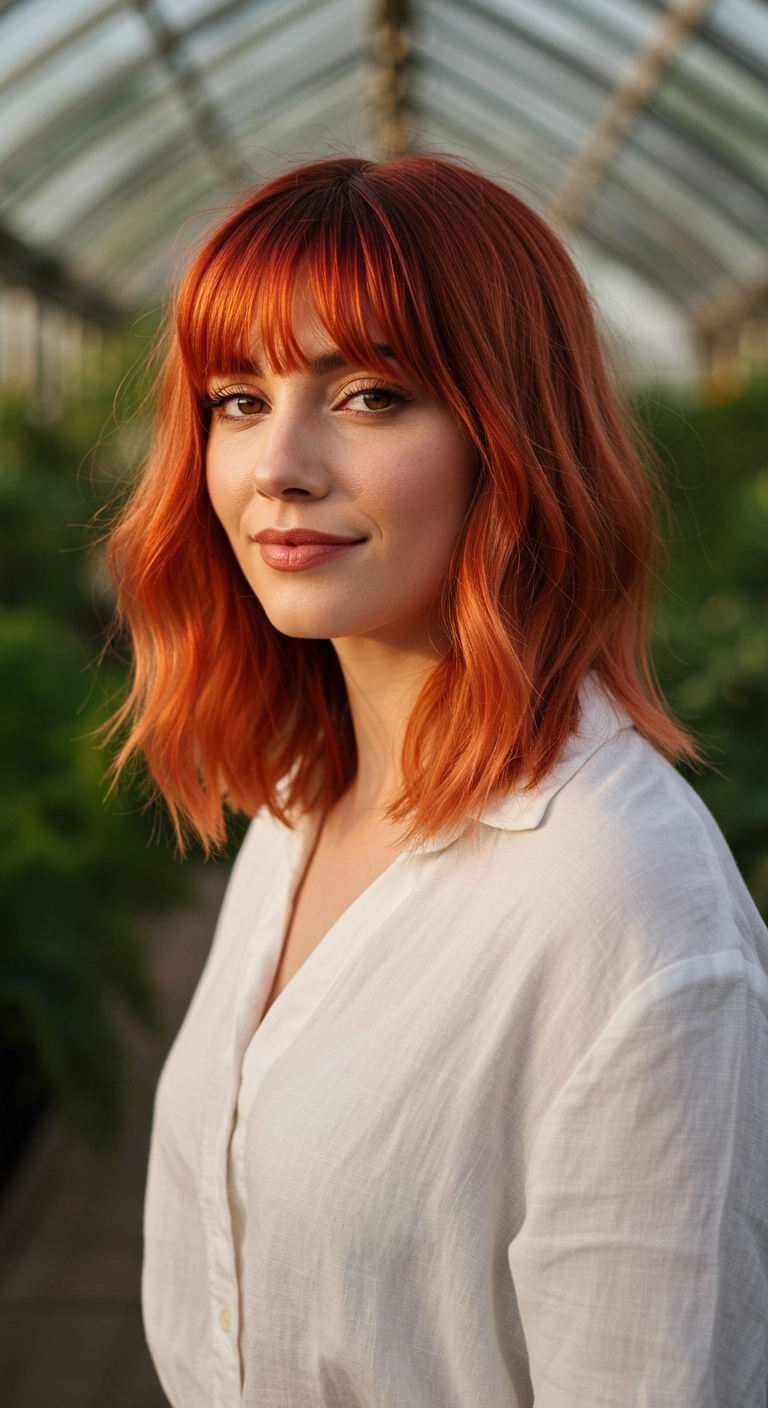
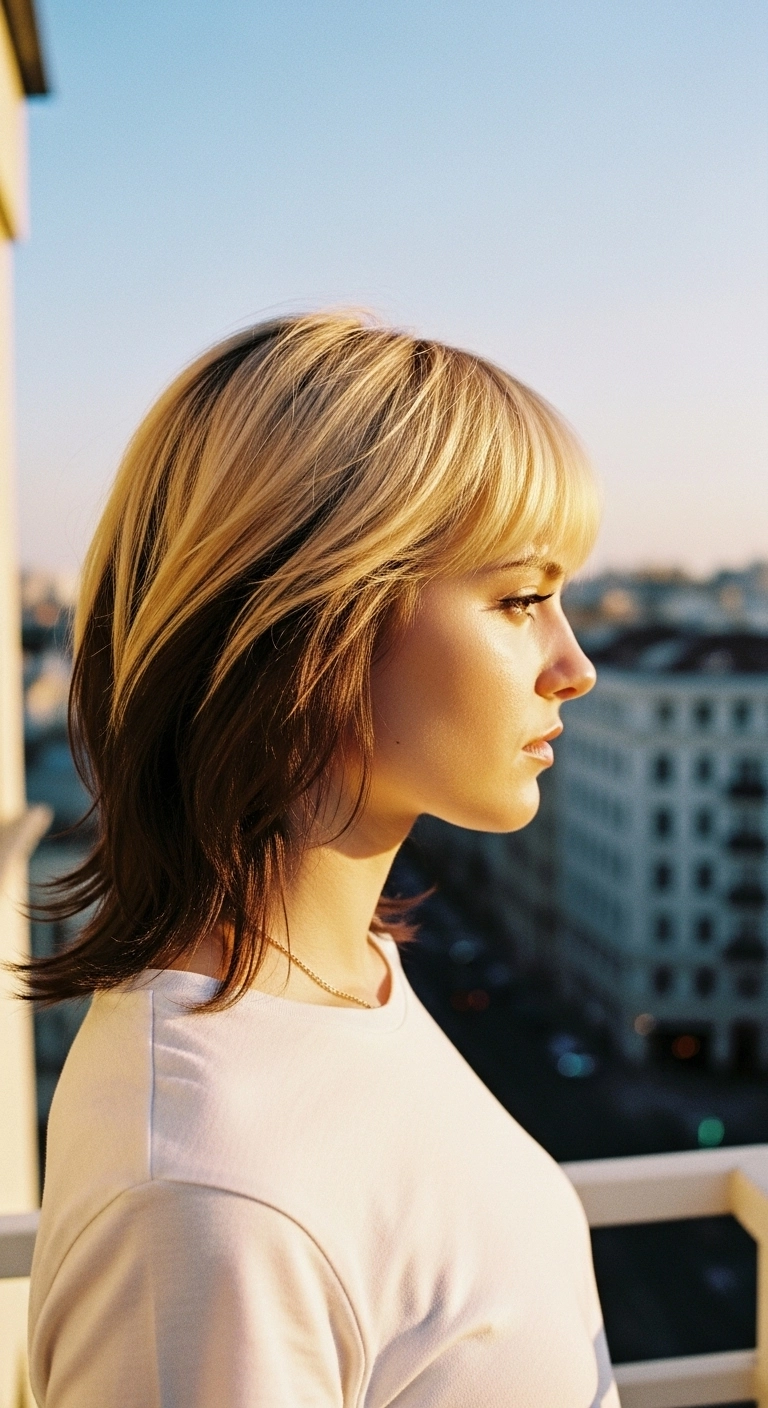
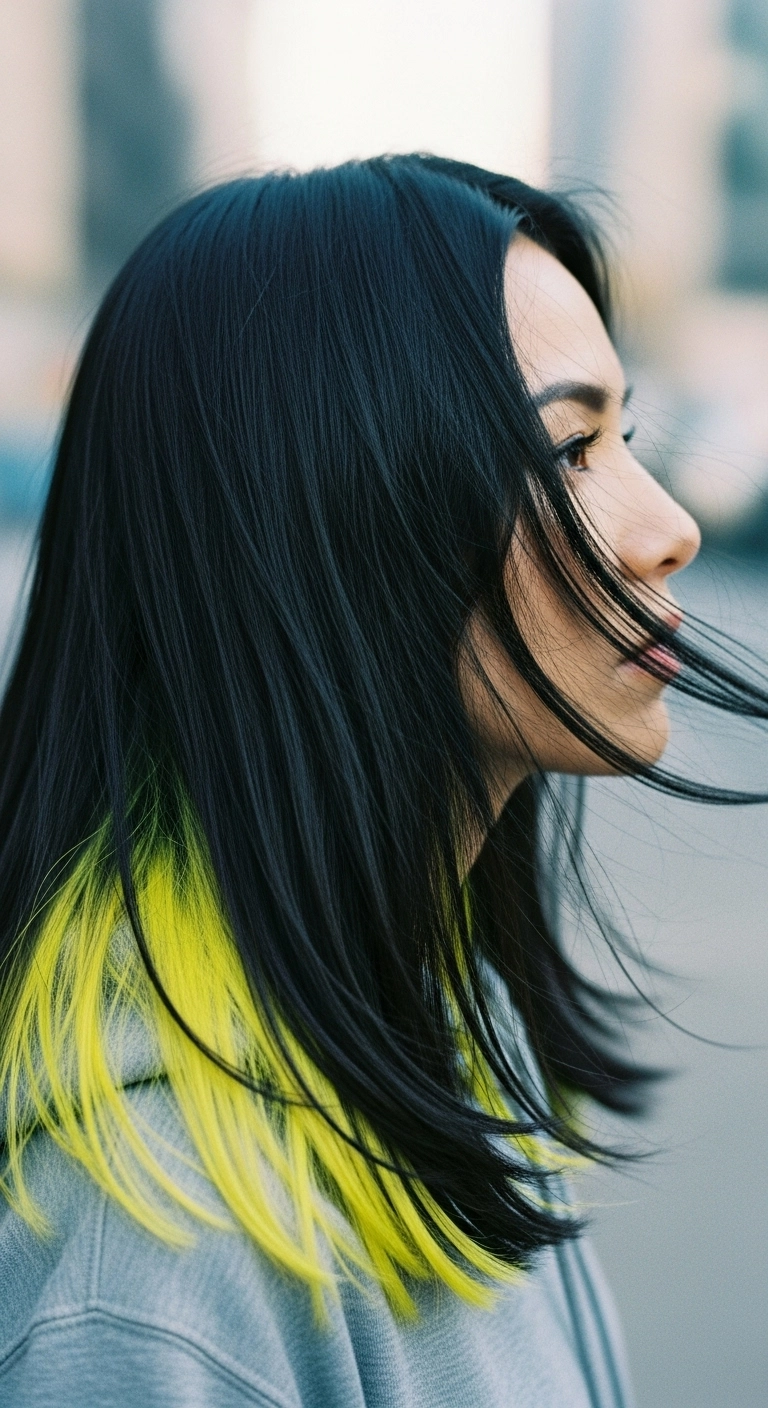
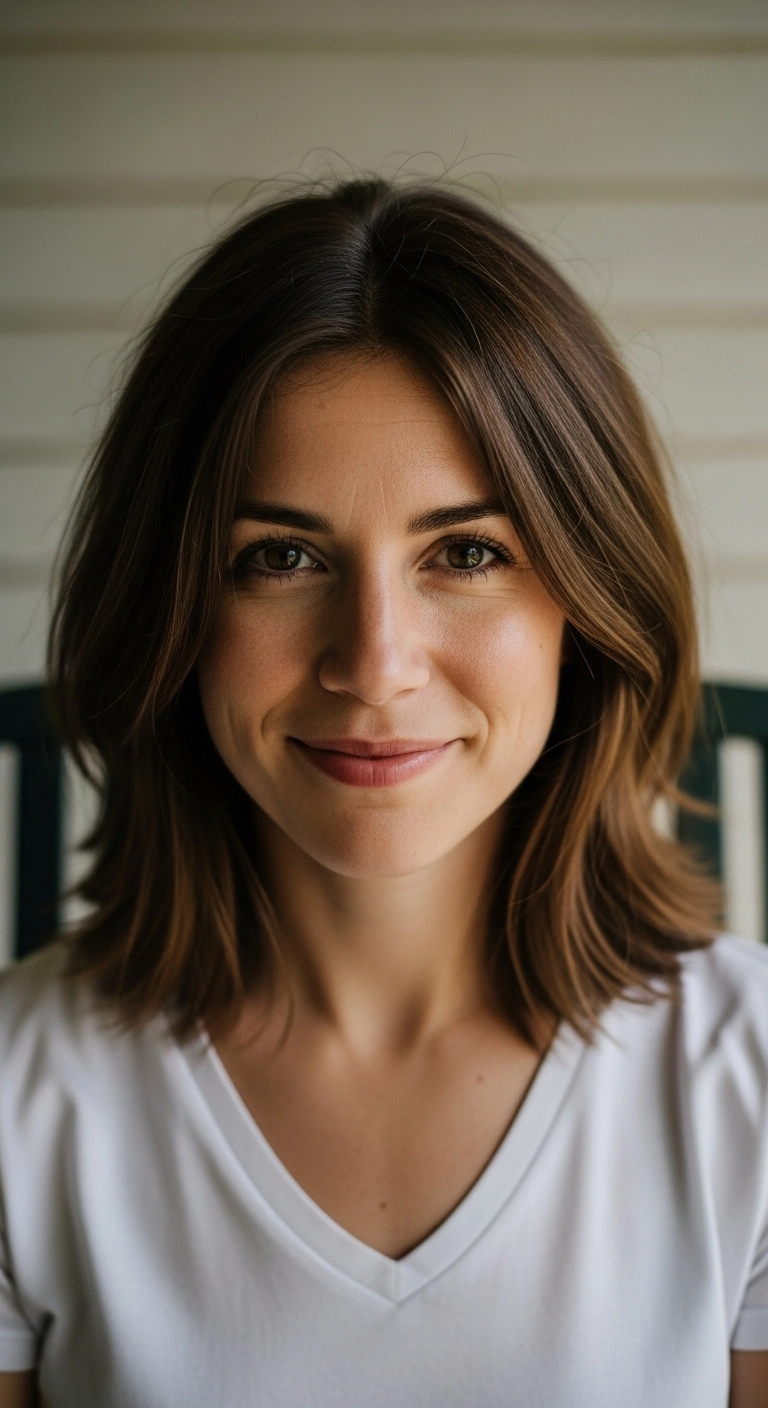
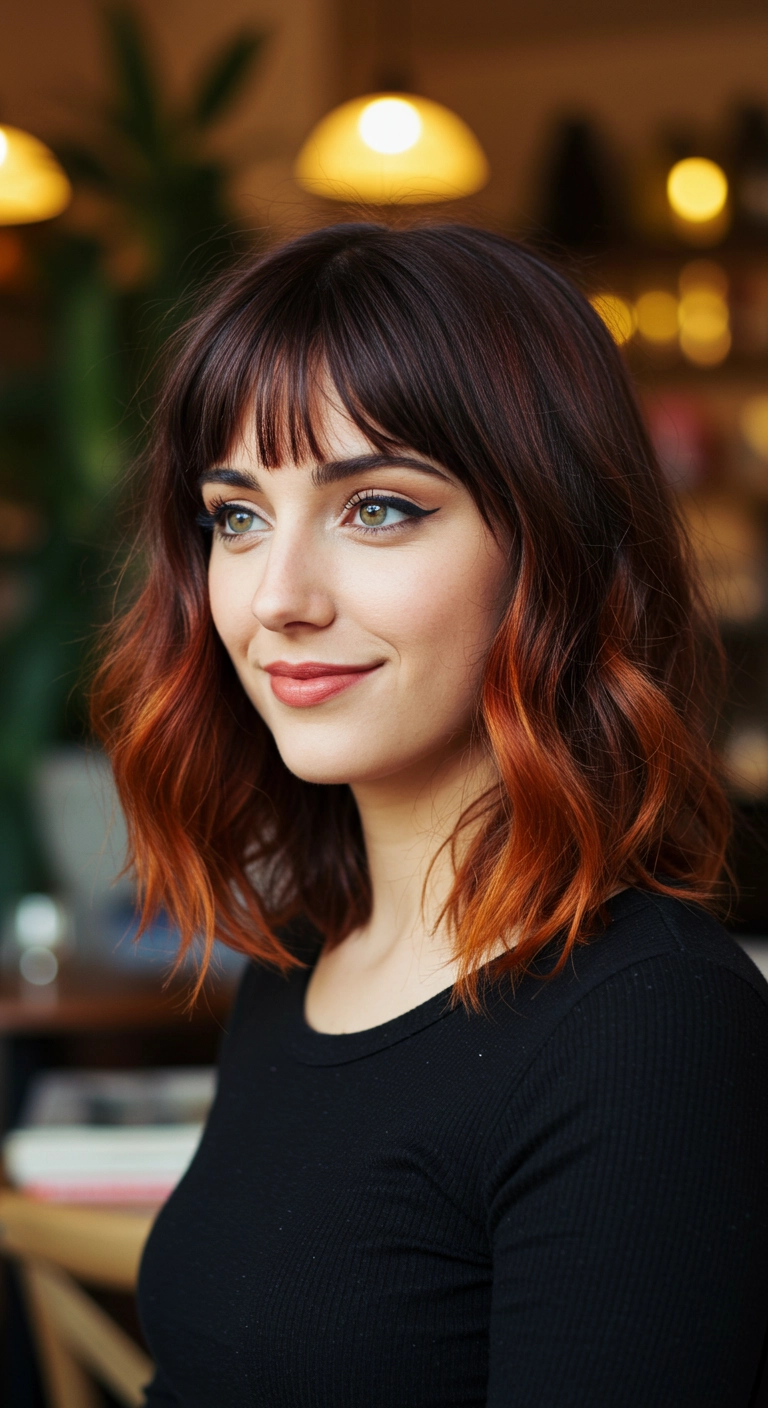
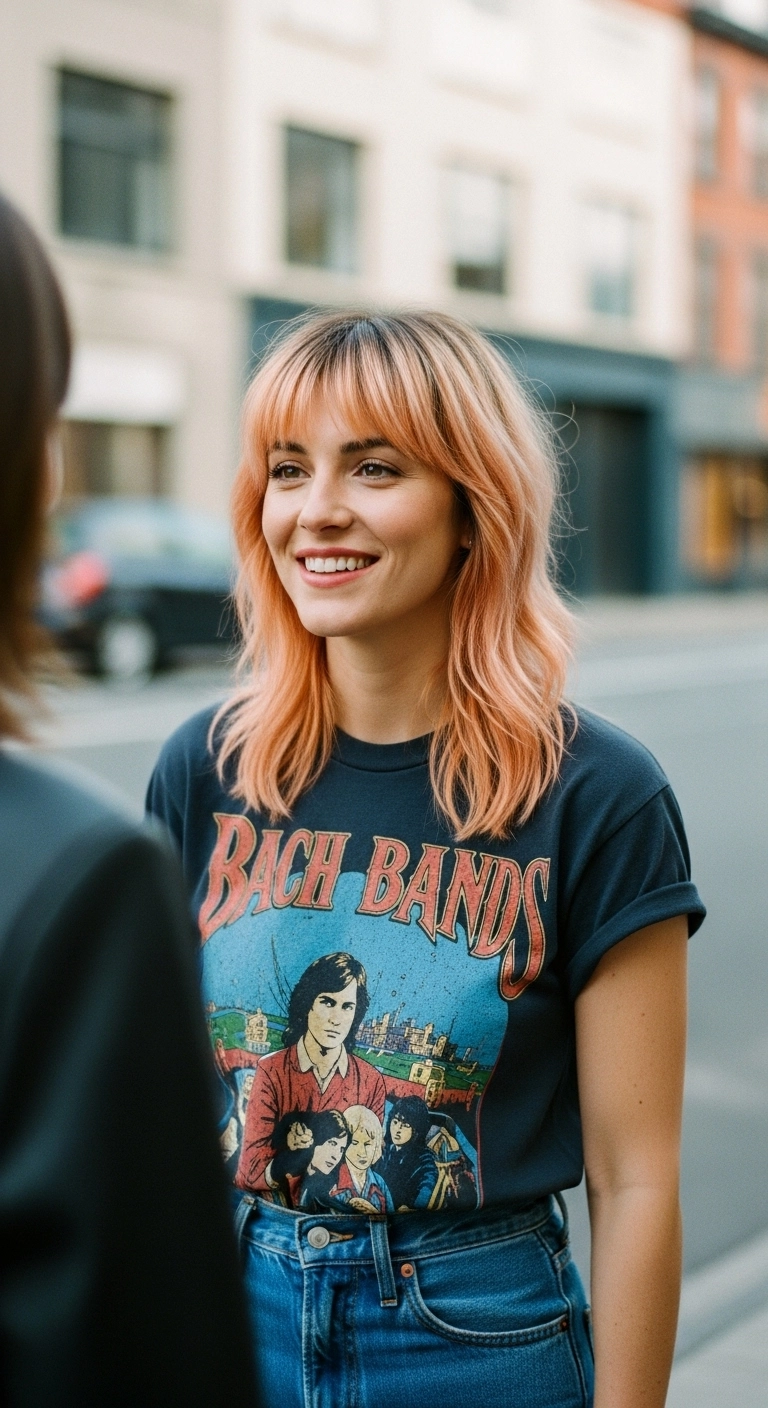
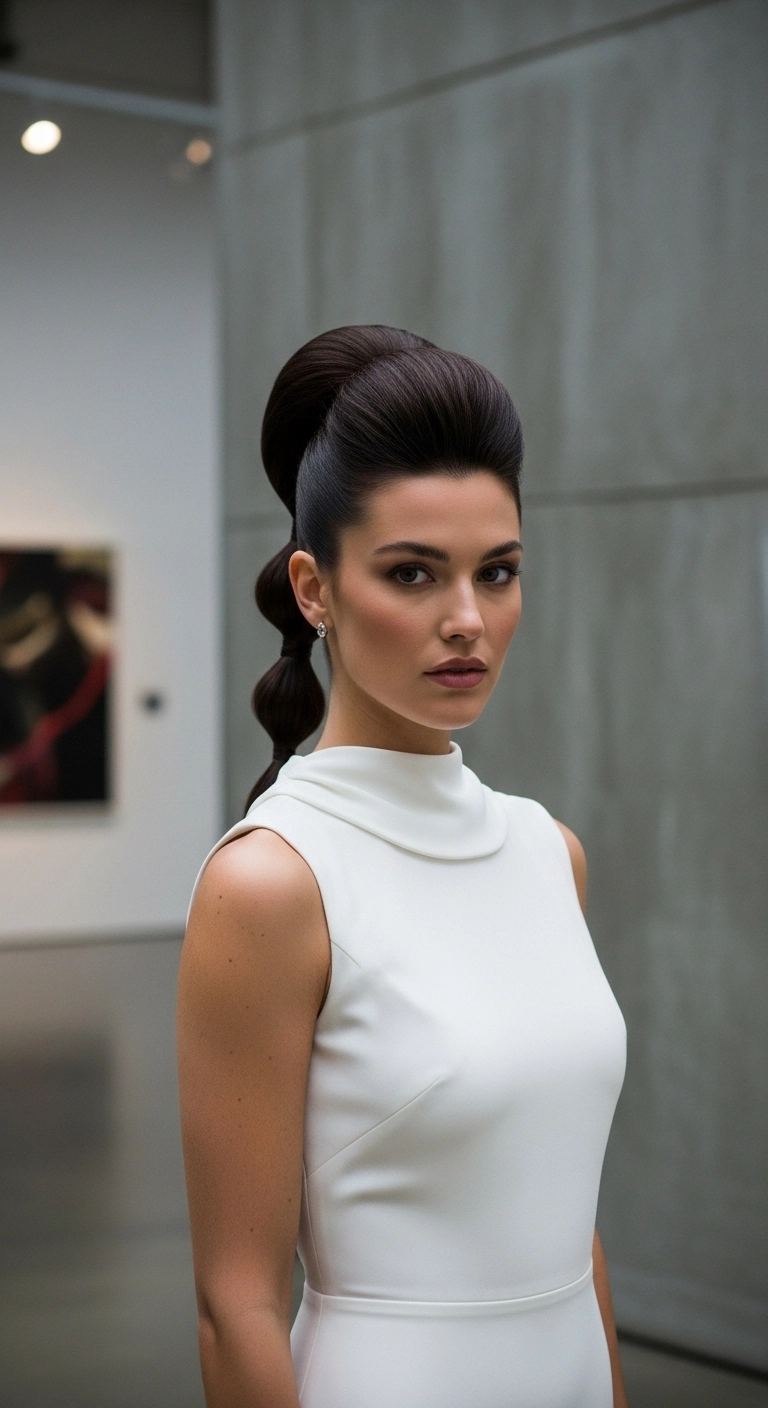
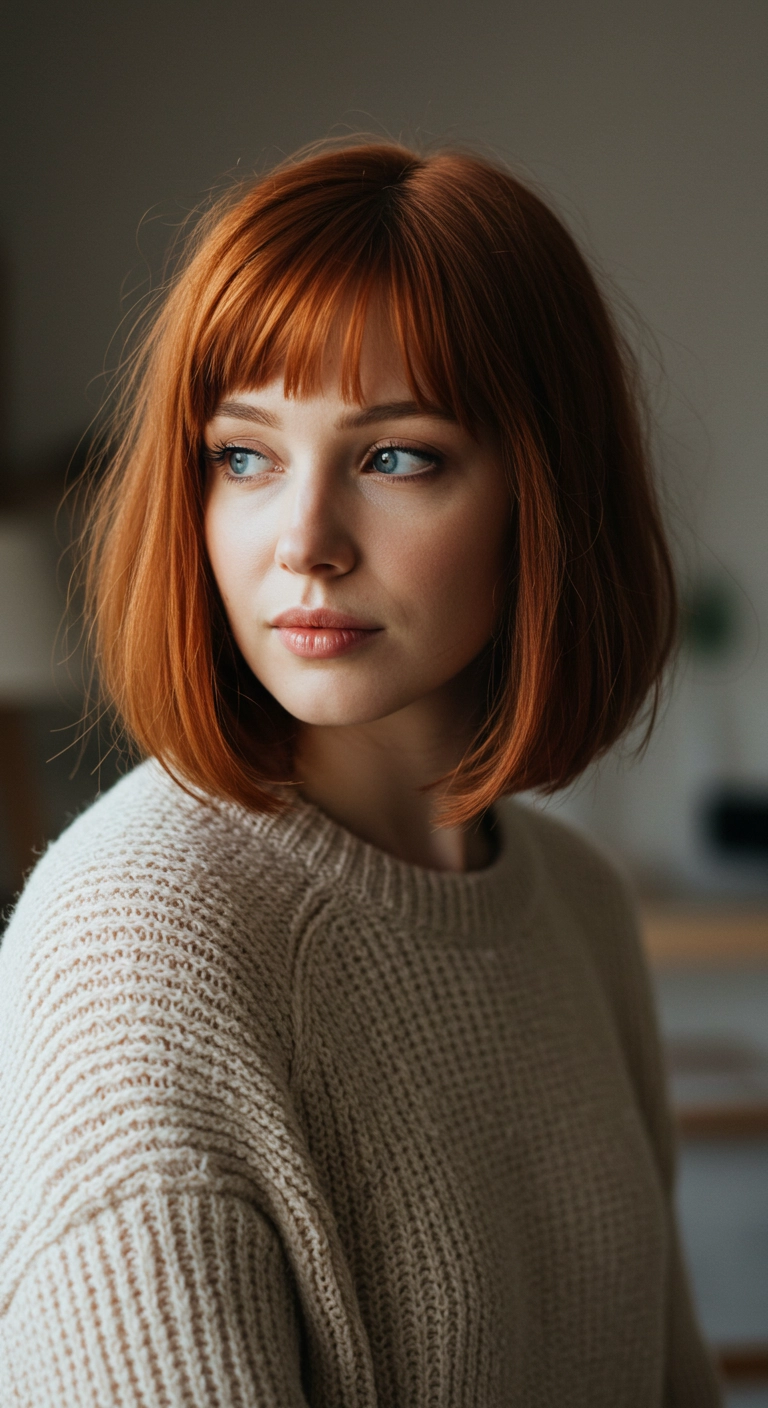
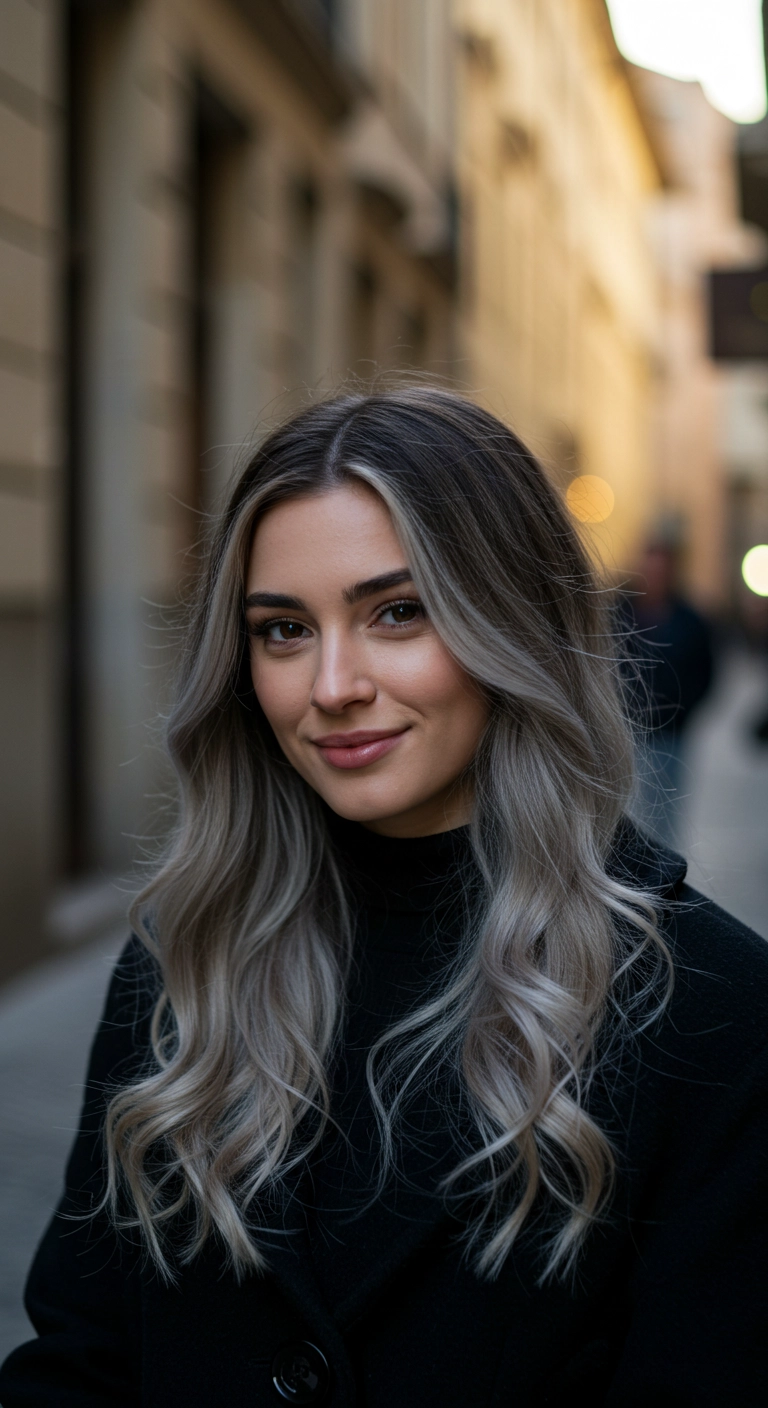
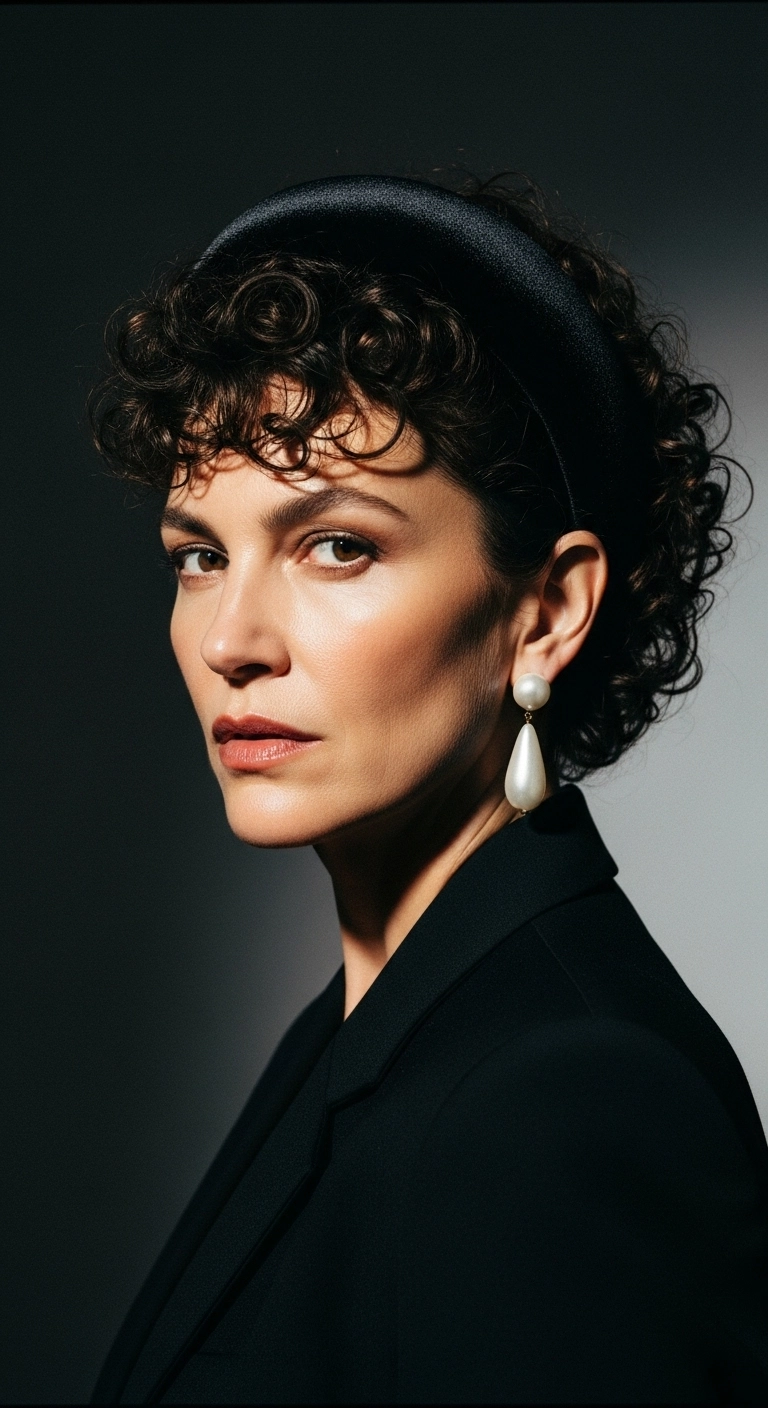
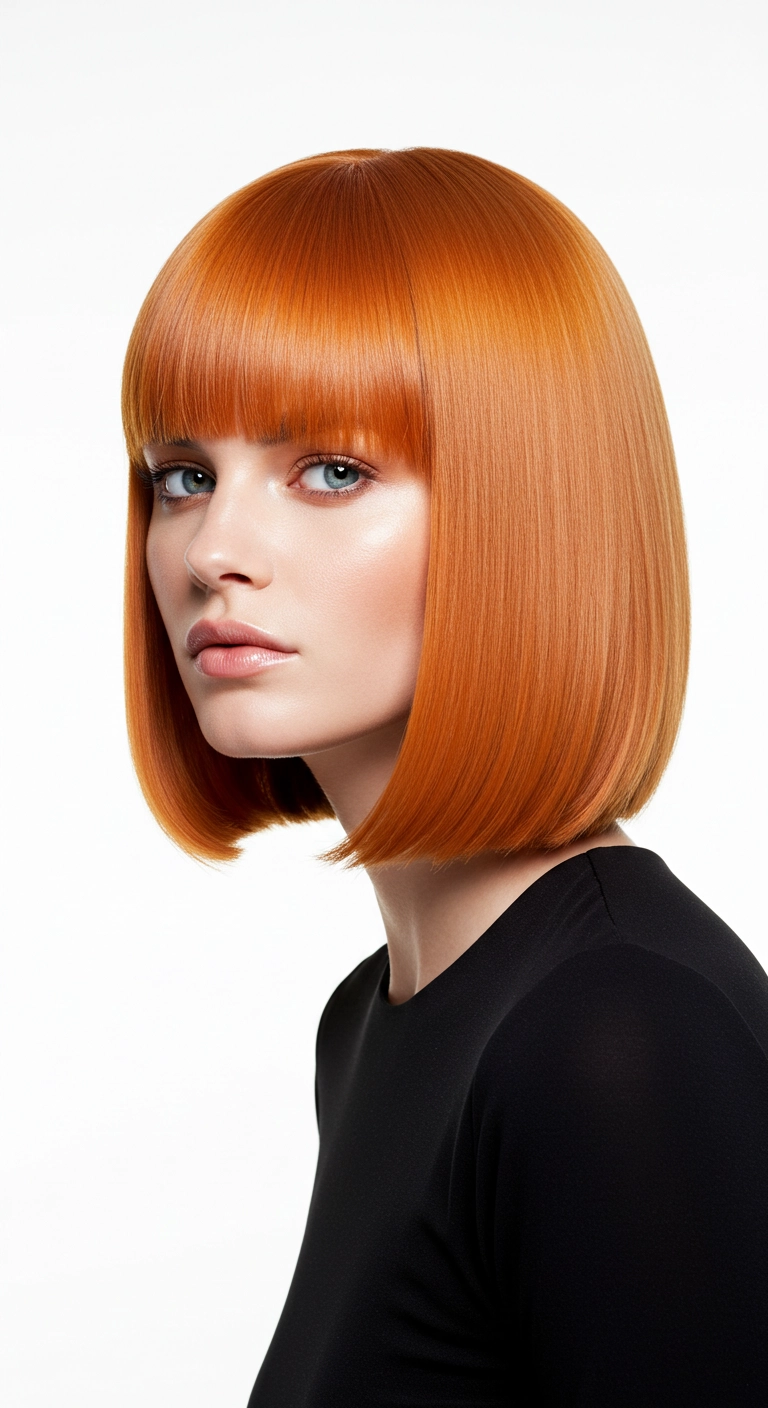
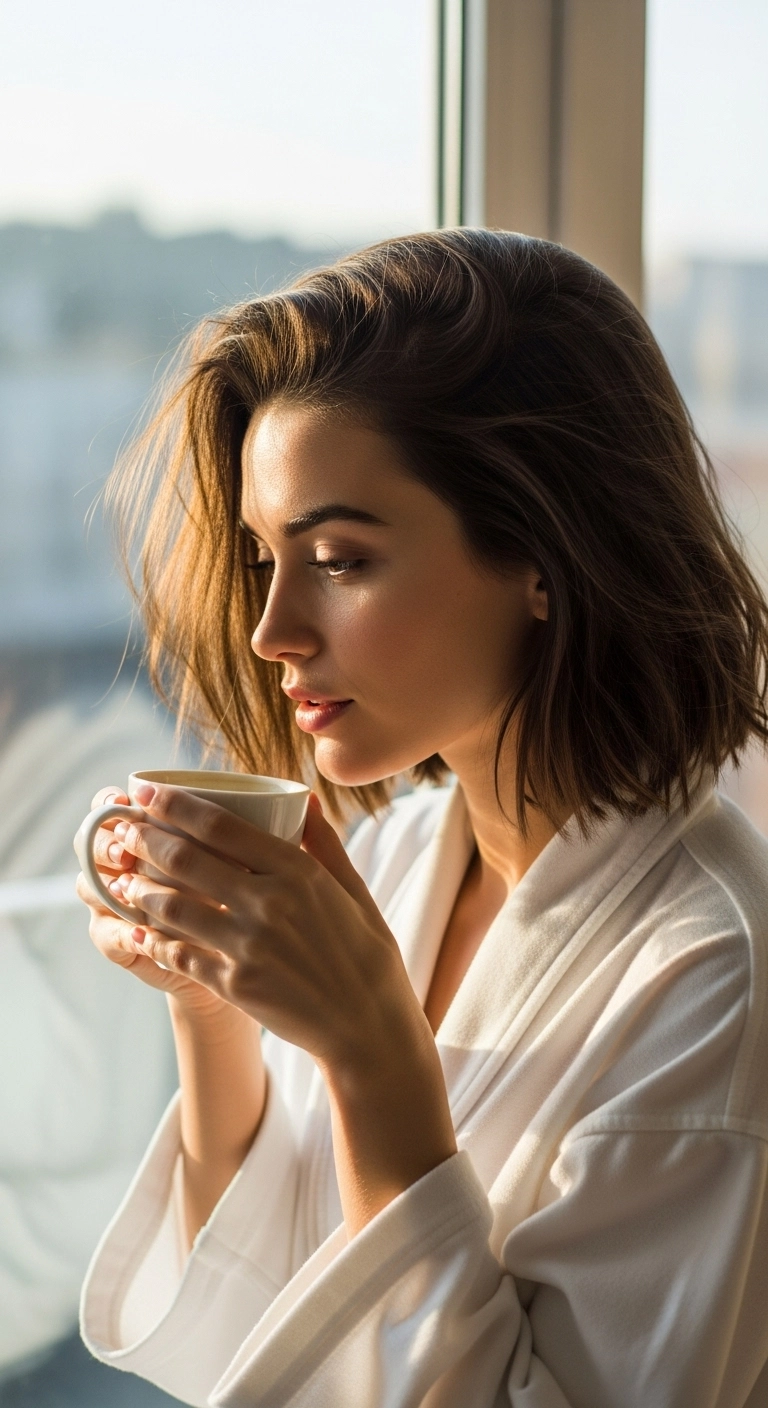
I'm totally obsessed with this rich copper collarbone cut! The wispy fringe is super flattering and gives off major cozy autumn vibes, especially paired with a textured lob. It’s so easy to style in the mornings with just a quick blowout, and you can tuck it behind your ears for an instant chic look!
How to do this
1. Start by prepping damp, freshly washed hair with a lightweight blow-dry heat protectant lotion to shield strands and add slip.
2. Blow-dry the bangs first using a small round boar bristle brush, directing the airflow downward and gently curving the ends under to achieve that soft, wispy look.
3. Section off the rest of your hair and blow-dry using a medium ceramic round brush, lifting at the roots for natural volume and smoothing down to the collarbone.
4. For a slight bevel and bend at the tips, roll the brush inward gently as each section cools to frame the jawline nicely.
5. Mist a light dry texturizing spray through the mid-lengths and shake out with your fingers to give it that effortless, lived-in texture.
6. Finish off with a tiny drop of lightweight hair oil rubbed between your palms and smoothed over the ends to lock in that vibrant copper shine.
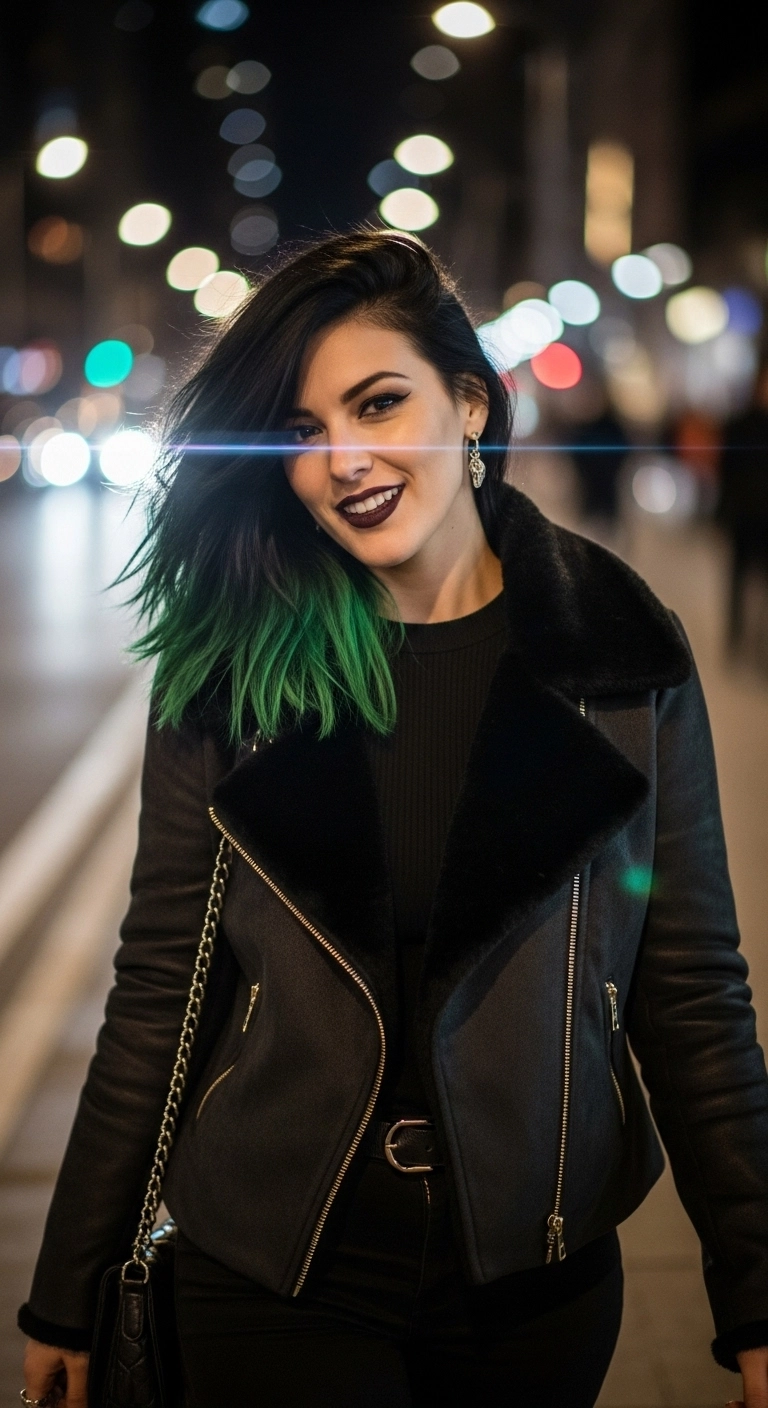
I fell in love with this punchy color combo when I was looking for a fun way to spice up dark hair without committing to an all-over bleach job. The vibrant emerald green dip-dye on the ends creates such a gorgeous contrast against the deep black roots! It gives off that perfect effortless grunge vibe with a deep side sweep. If you want a cool-girl pop of vivid color with low-commitment roots, you definitely have to give this style a try!
How to do this
1. Start by prepping damp hair with the lightweight volumizing mousse listed below, working it from roots to ends for lift and grip.
2. Blow dry the hair using the ceramic round brush listed below, focusing on lifting at the roots to establish a deep, dramatic side part.
3. Once dry, mist with the heat protectant spray listed below to shield colored strands from heat damage.
4. Take random sections and lightly bend them with a 1.25-inch flat iron or curling wand to create loose, piecey, undone texture rather than polished curls.
5. Rub a small amount of the matte styling wax listed below between your palms and piece out the emerald green ends to emphasize the choppy cut.
6. Finish with a generous spritz of the texturizing finishing spray listed below throughout the roots and mid-lengths for lasting volume and that effortless, lived-in edge.
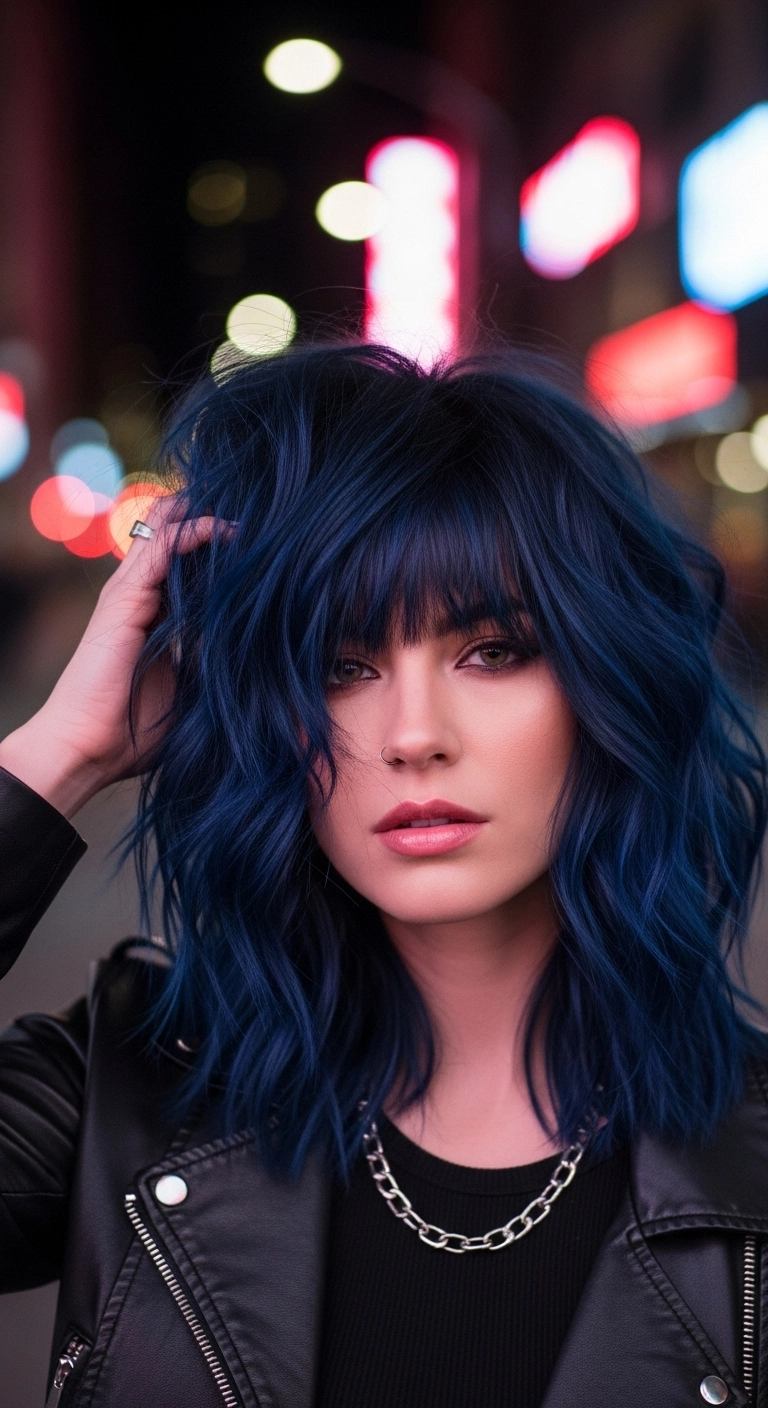
I'm totally obsessed with this midnight blue shaggy lob because it brings the ultimate edgy, rock-and-roll vibe without being over the top. The choppy layers and wispy bangs give it that effortlessly lived-in look that styles so easily on day-two hair. You just add some texture spray, rough it up with your fingers, and you're ready for a concert or a fun night out!
How to do this
1. Prep pre-lightened hair with a semi-permanent direct dye in a deep midnight blue shade, ensuring even saturation from root to tip.
2. On damp, freshly washed hair, spray a generous amount of the heat protectant spray listed below from mid-lengths to ends.
3. Blow-dry the bangs straight down with a small paddle brush using light airflow to achieve that wispy, feathered eye-skimming texture.
4. Rough-dry the rest of the hair using a diffuser or your fingers to encourage natural body and volume through the choppy layers.
5. Use a 1.25-inch curling iron or flat iron to create random, undone bends and S-waves, leaving the ends slightly straight for a relaxed, modern edge.
6. Mist the dry texturizing spray listed below through the mid-lengths and crown, scrunching with your hands to add grit and separation.
7. Finish by rubbing a dime-sized amount of the matte styling wax listed below between your palms and gently piece out the fringe and ends.
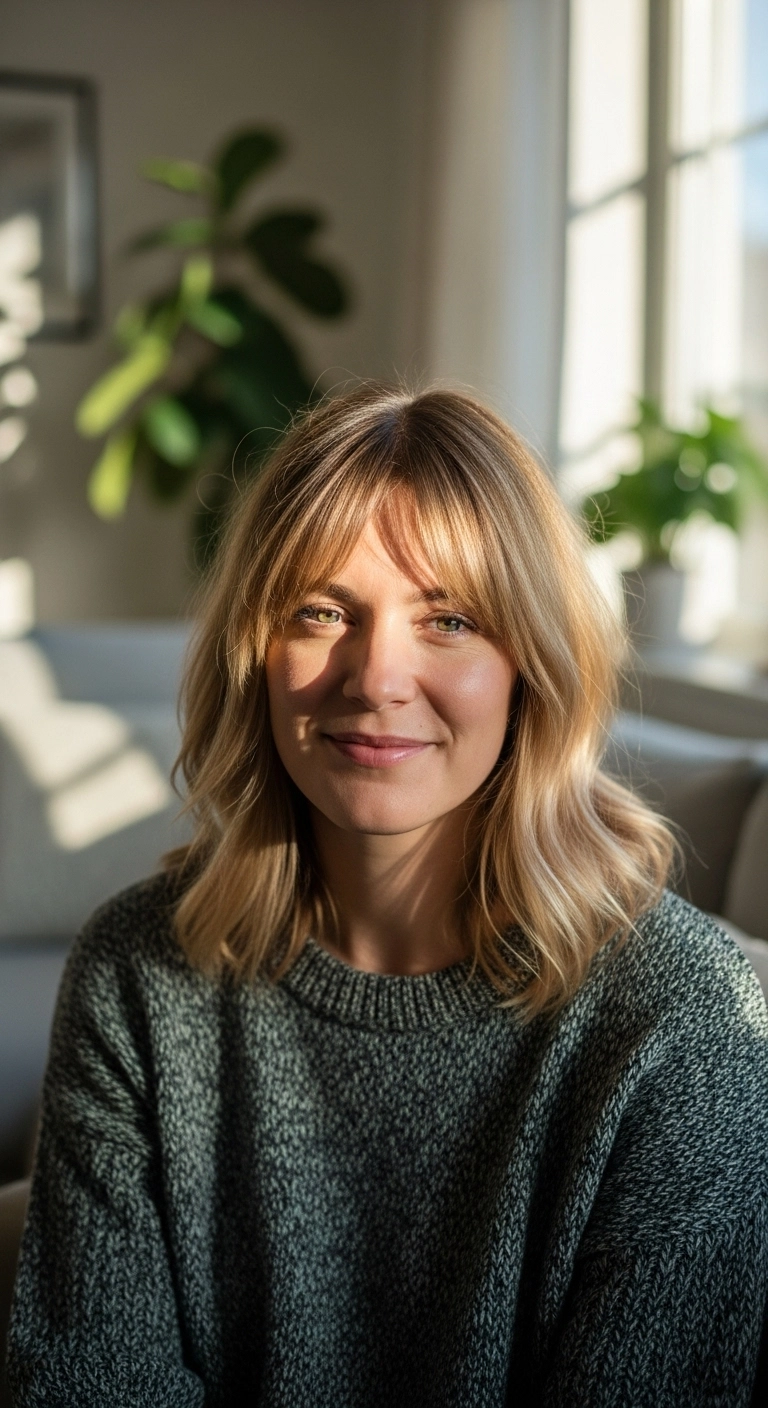
A soft, dimensional lob is the ultimate versatile cut. Pairing blended ash blonde babylights with a shadow root gives you all the brightness without constant salon touch-ups. If you want face-framing softness without full fringe commitment, wispy curtain bangs are the way to go! They blend seamlessly into loose waves and make styling in the morning feel practically effortless.
How to do this
1. Start with towel-dried, freshly washed hair and apply a light heat protectant spray throughout your lengths.
2. Blow dry using the ceramic round brush listed below, focusing on lifting at the roots to build natural crown volume.
3. Style the bangs forward and under with the round brush, then sweep them gently to the sides to create that soft curtain fringe opening.
4. Take random 1.5-inch vertical sections through the mid-lengths and wrap them around the 1.25-inch curling iron listed below for just 4 to 5 seconds, leaving the ends straight for a relaxed finish.
5. Allow curls to cool completely, then run your fingers through to break them up into soft, effortless waves.
6. Spritz with the dry texturizing spray listed below at the roots and mid-lengths to add airy separation and lived-in texture.
7. Finish by smoothing a tiny drop of the lightweight hair oil listed below through the very tips to tame flyaways without weighing the style down.
I am completely obsessed with this rich copper lob. There is something about a collarbone-grazing cut paired with soft, bent waves and curtain bangs that just instantly makes your hair look full, healthy, and styled without trying too hard. If you've been on the fence about going warm or cutting a few inches off, this is your sign to do it!
How to do this
1. Prep clean, towel-dried damp hair by applying a generous pump of the volumizing styling mousse listed below throughout the roots and mid-lengths for lightweight lift and hold.
2. Mist hair with the heat protectant spray with argan oil listed below to shield strands from hot styling tools and retain moisture.
3. Blow dry using a round ceramic brush, lifting at the roots and directing your curtain bangs forward and slightly back around your cheekbones to frame your face.
4. Take vertical 1.5-inch sections of dry hair and wrap them loosely around the 1.25-inch ceramic curling iron listed below, leaving the very ends out to create effortless, modern S-waves.
5. Allow the curls to cool completely, then gently rake through with your fingers or a wide-tooth comb to soften them into relaxed waves.
6. Spritz the dry texturizing spray listed below through the roots and mid-lengths to build lived-in volume and separation.
7. Finish by smoothing a pea-sized drop of the lightweight hair shine oil listed below over the ends to add rich copper gloss and eliminate any flyaways.
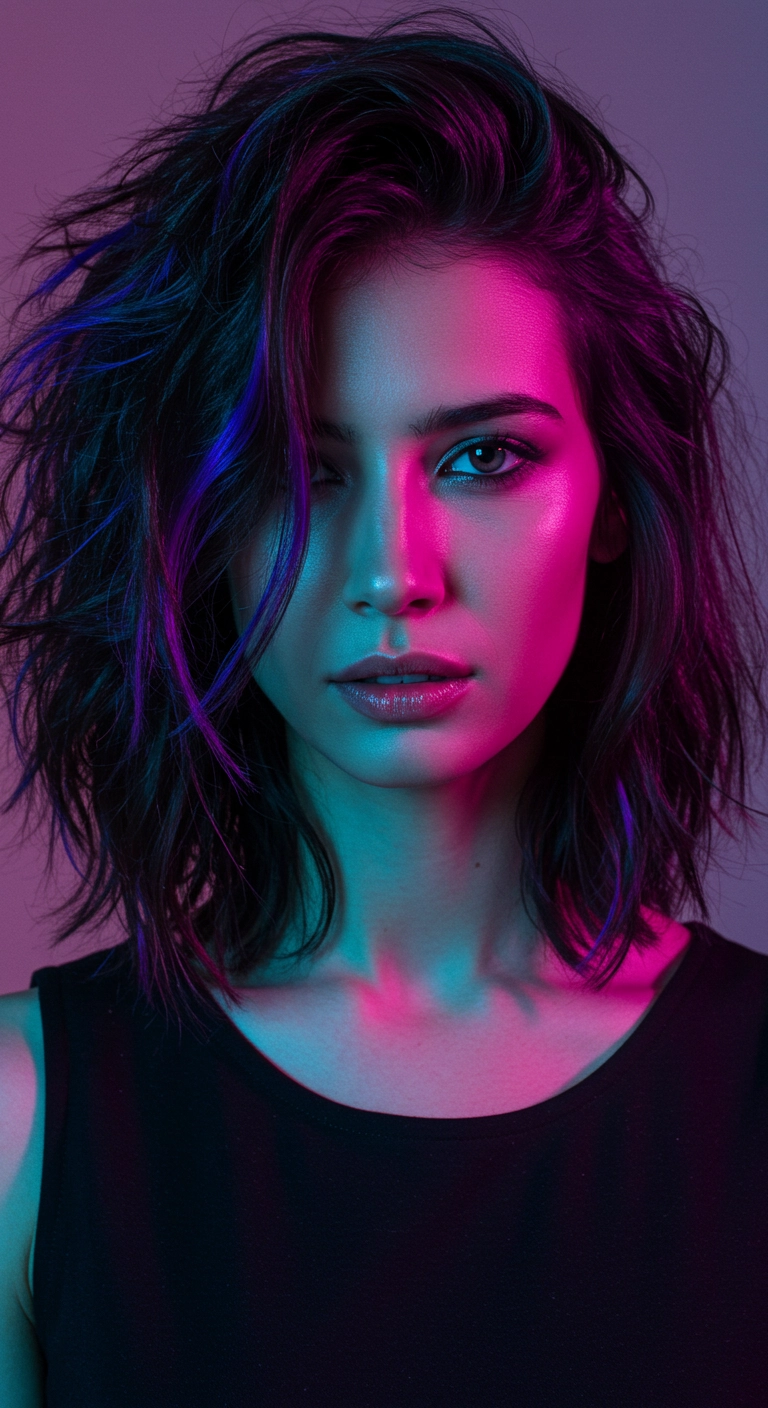
Are you totally obsessed with moody, effortless texture like I am? I added this choppy, lived-in lob to the collection because it serves pure futuristic edge without trying too hard! The deep side flip gives instant instant drama, and those hidden electric violet ribbons weave through dark strands so beautifully when the light hits. You can style it super messy and undone for a night out or smooth it slightly for everyday chic. It's truly the ultimate cool-girl cut to elevate your look!
How to do this
1. Start by prepping damp hair with a volumizing styling mousse from roots to ends to build body and grip.
2. Blow-dry upside down or using a round ceramic brush, lifting at the roots to maximize natural volume on one side for that deep side flip.
3. Lighten targeted thin ribbons around the face and mid-layers using a gentle lightening cream developer kit, then tone and deposit vivid electric violet and cobalt direct dyes.
4. Take random 1-inch to 2-inch vertical sections and create irregular, loose bends with a 1-inch flat iron or curling wand, leaving the very ends straight for that effortless, undone edge.
5. Mist a generous amount of the texturizing volume spray listed below throughout the mid-lengths and roots, flipping your head over to shake out the waves.
6. Define the choppy ends and piecey face-framing tendrils using a pea-sized amount of the matte styling wax paste listed below.
Oh, this vibrant copper lob with soft piecey bangs is pure magic! That warm, glowing shade paired with easy undone waves is just so effortlessly chic. Have you ever been tempted to go full copper like this?
How to do this
1. Start by prepping damp hair with a lightweight styling mousse and a heat protection spray using the heat protectant spray listed below to shield your strands and keep that vibrant copper bright.
2. Blow-dry the bangs straight forward using a small round brush or flat brush, gently rolling the ends down so they sweep smoothly across your brow without puffing out too much.
3. Rough-dry the rest of your hair using a nozzle attachment, lifting at the roots for natural body until completely dry.
4. Take a 1.25-inch curling iron using the ceramic curling iron listed below and wrap vertical 1-to-2-inch sections away from the face, leaving about an inch of the ends out to create that relaxed, undone bend.
5. Alternate the direction of your curls through the back to give the lob plenty of movement and effortless separation.
6. Once the curls cool, mist with a dry texturizing spray using the dry texturizing spray listed below and shake through the waves with your fingers to break them up into soft, lived-in S-waves.
7. Finish the look by applying a tiny drop of lightweight hair oil using the lightweight shine serum listed below through the tips for gloss and definition, followed by a mist of flexible hold hairspray.
If you want a cut that looks effortlessly chic without spending hours in front of the mirror, this wavy lob with bottleneck bangs is the ultimate dream. The warm golden balayage gives it so much natural dimension, and the soft curtain fringe frames the face in the most flattering way without requiring high-maintenance styling every single morning!
How to do this
1. Start by prepping towel-dried hair with a lightweight smoothing blow dry cream to keep everything soft without weighing it down.
2. Blow dry the bangs first using the ceramic round brush listed below, sweeping them downward and slightly outward to create that gentle bottleneck curve that opens up around the eyes.
3. Rough-dry the remaining lengths until 90% dry, then smooth over mid-lengths and ends with a large round brush, lifting at the roots for natural body.
4. Take random 1.5-inch sections and wrap them around the 1.25 inch curling iron listed below, leaving the bottom inch out to maintain that relaxed, lived-in bend rather than a formal curl.
5. Mist with the dry texturizing spray listed below through the mid-lengths, gently raking through the waves with your fingers to break them up into effortless texture.
6. Finish off with a tiny drop of the lightweight hair styling oil listed below applied strictly to the tips to add a healthy, natural gleam.
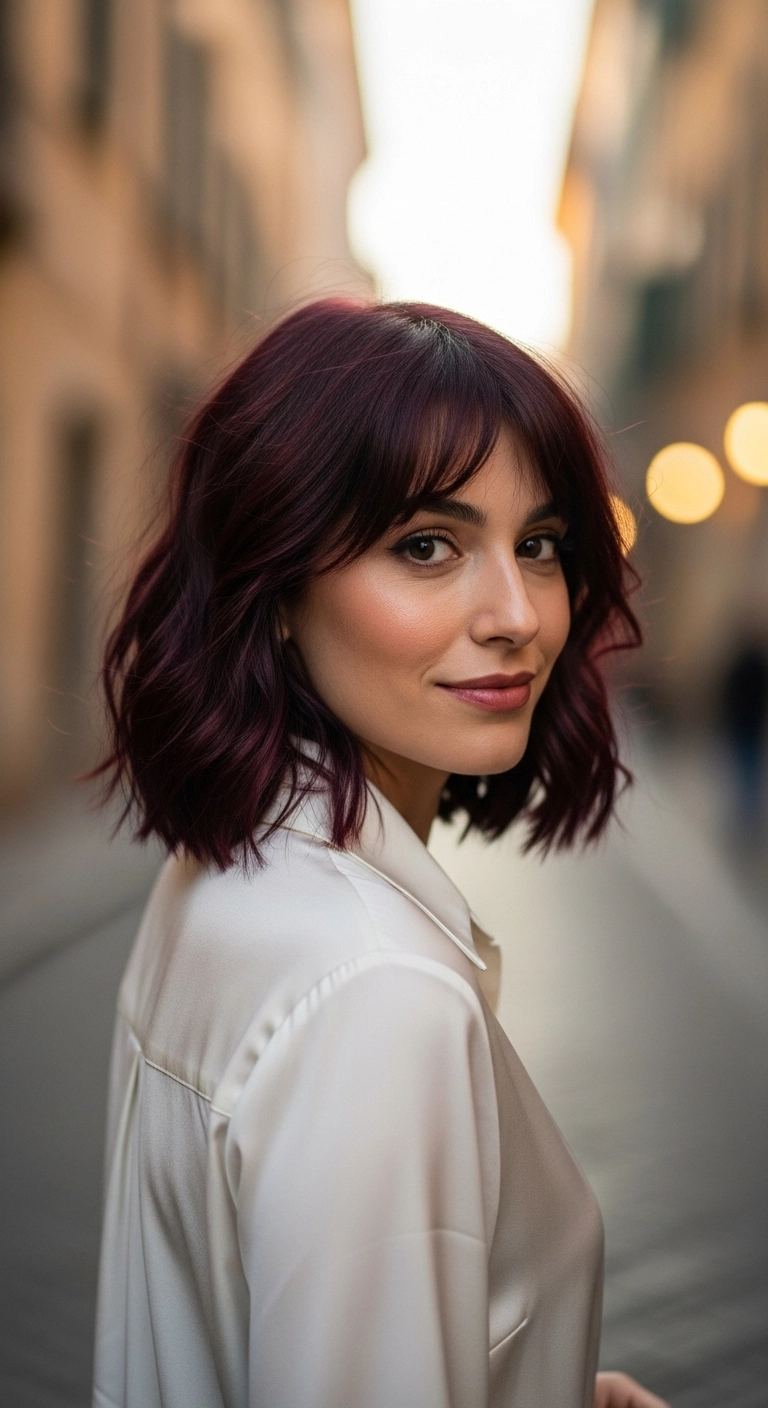
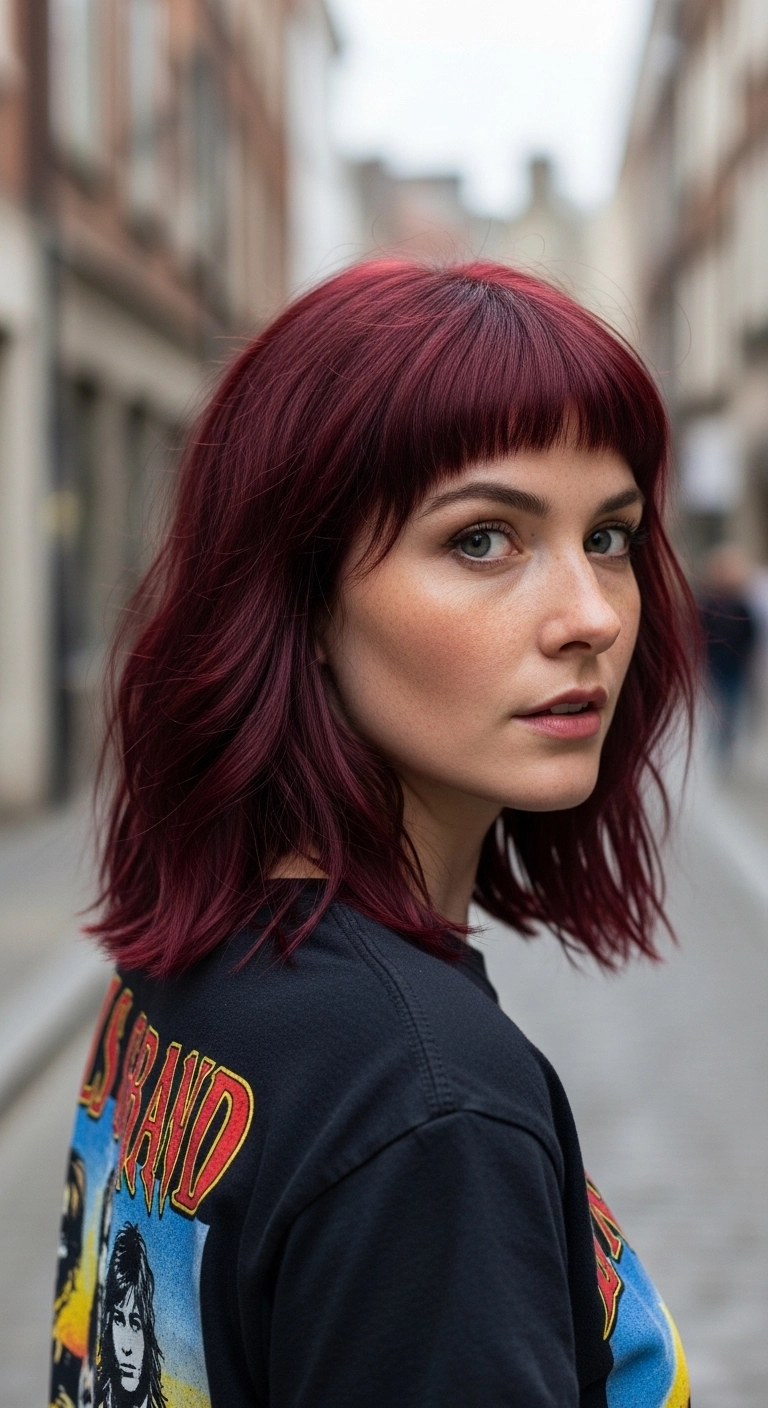
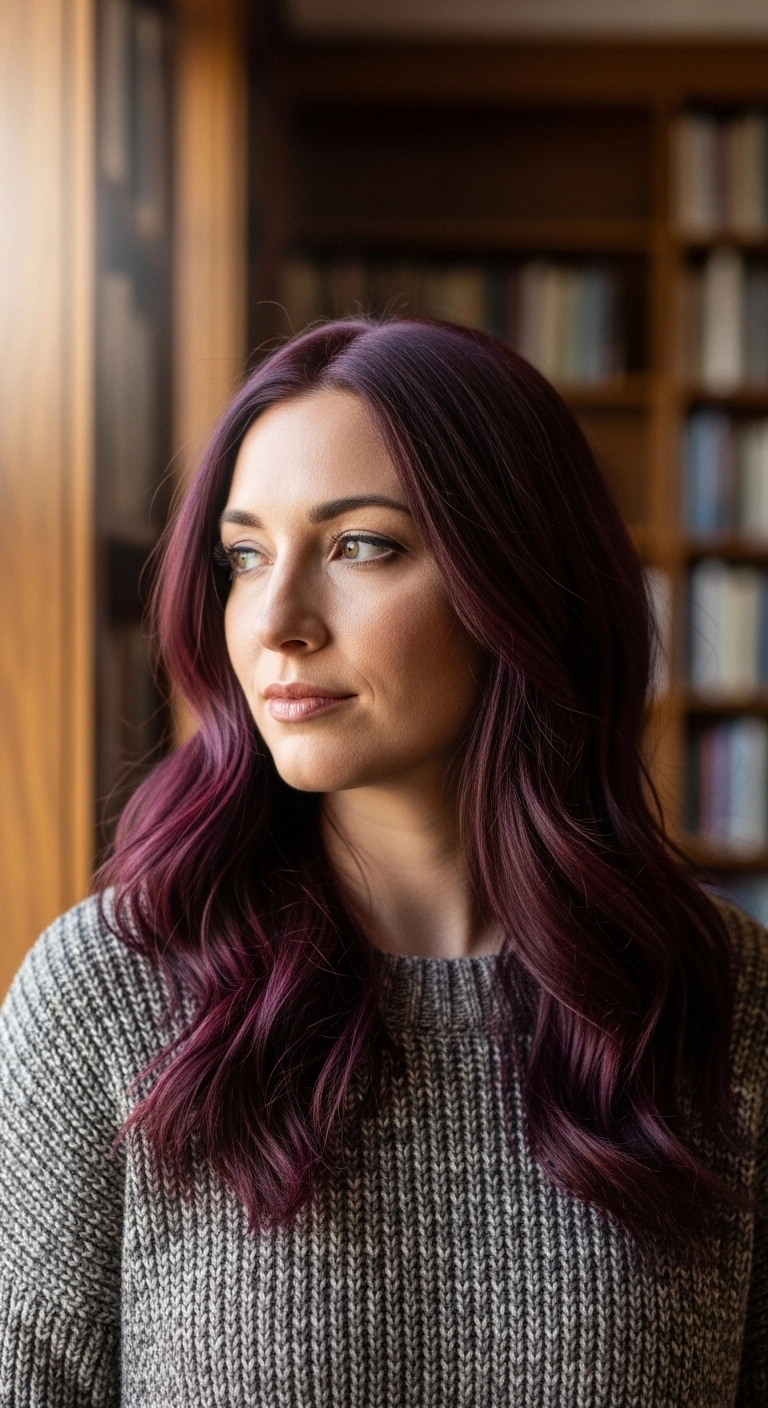
This rich burgundy wavy lob is so effortlessly chic and flattering, which makes it my absolute go-to for coffee dates or city strolls when you want to look put together without trying too hard – I wore this cut on my last vacation and got endless compliments!
How to do this
1. Start by prepping freshly washed, towel-dried hair with a lightweight styling mousse and the heat protectant spray listed below to shield strands from hot styling tools.
2. Blow dry the bangs using a small round ceramic brush, rolling them forward and slightly upward, then parting them in the center so they fall softly into curtain-style bottleneck bangs.
3. Rough-dry the rest of the hair with a paddle brush or diffuser until completely dry, lifting at the roots to ensure natural, airy body.
4. Take random 1- to 2-inch vertical sections of hair and wrap them loosely around a 1.25-inch curling iron, leaving the last inch of the ends out to maintain that modern, relaxed blunt finish.
5. Alternate the curl direction between clockwise and counter-clockwise away from and towards the face to create dynamic, lived-in texture.
6. Once the curls have cooled, break them apart gently with your fingers or a wide-tooth detangling comb.
7. Spray the dry texturizing spray listed below through the mid-lengths and roots to add volume and piecey separation.
8. Finish off with a light mist of flexible hold hairspray and a tiny dab of hair shine serum on the ends for a rich, glossy burgundy glow.
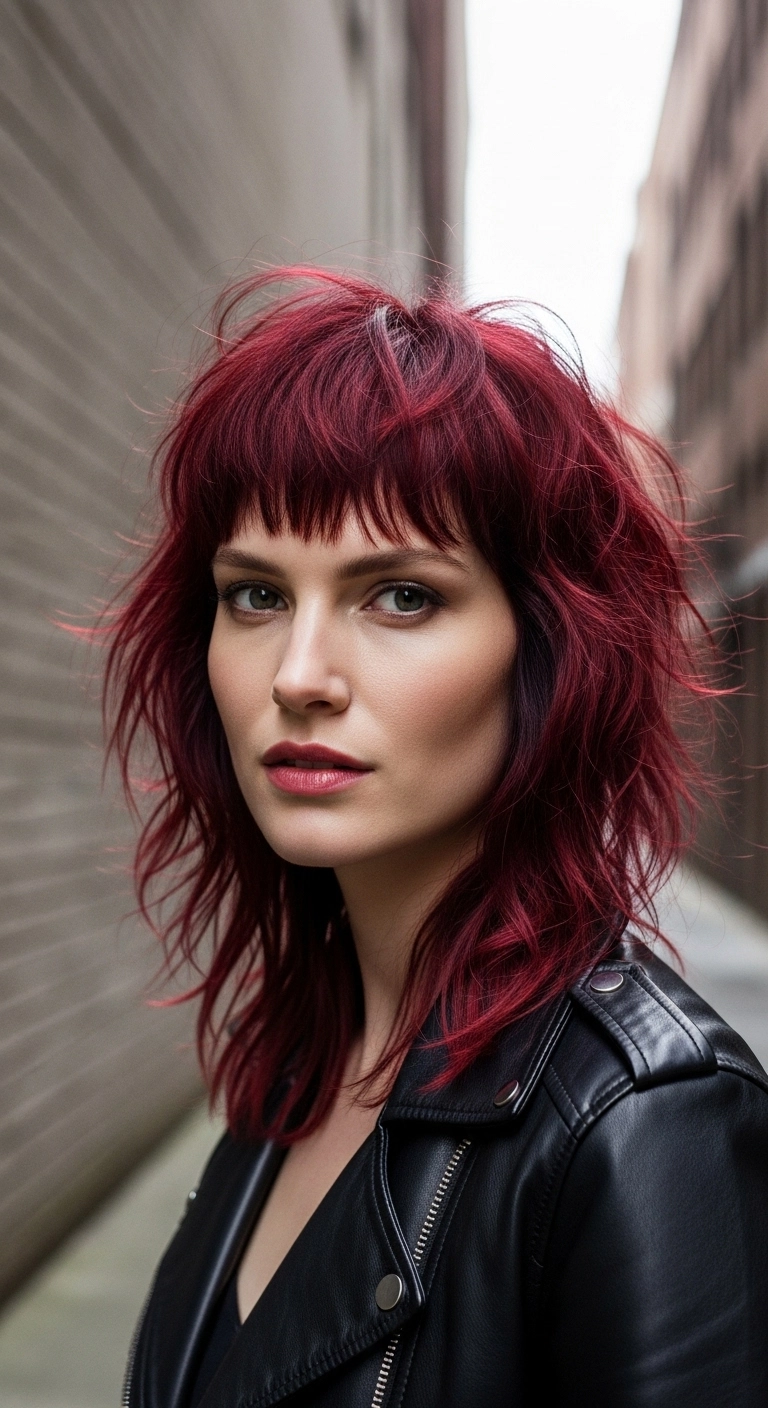
I'm totally obsessed with this edgy red shag because it brings instant rock-and-roll attitude without needing a ton of styling time. You can literally roll out of bed, spray in some texture spray, shake your fingers through it, and walk out looking effortlessly cool. The vibrant ruby tone pairs so well with a leather jacket and makes a bold statement. Definitely give this cut and color a try if you want something fun, punchy, and super low-stress to wear!
How to do this
1. Start by prepping freshly washed, damp hair with a lightweight leave-in conditioner and a pump of the texturizing styling mousse listed below to give your layers natural grit and body.
2. Rough dry your hair upside down with a blow dryer until it is about 80% dry to create maximum root lift and messy volume at the crown.
3. Use a small round brush or your fingers while pointing the airflow down onto the choppy bangs to keep them piecey, textured, and slightly separated above your brows.
4. Take random 1-inch sections through the mid-lengths and create subtle, alternating bends using the flat iron styler listed below, leaving the ends straight and feathery for that quintessential lived-in shag look.
5. Once styled, generously mist all over with the dry texturizing spray listed below, shaking your roots out with your fingers to break up the layers.
6. Emulsify a dime-sized amount of the matte styling wax listed below between your fingertips and pinch the tips of your bangs and face-framing strands to define the razored ends.
7. Keep your vivid crimson tone vibrant between salon visits by washing once a week with the red color depositing shampoo listed below.
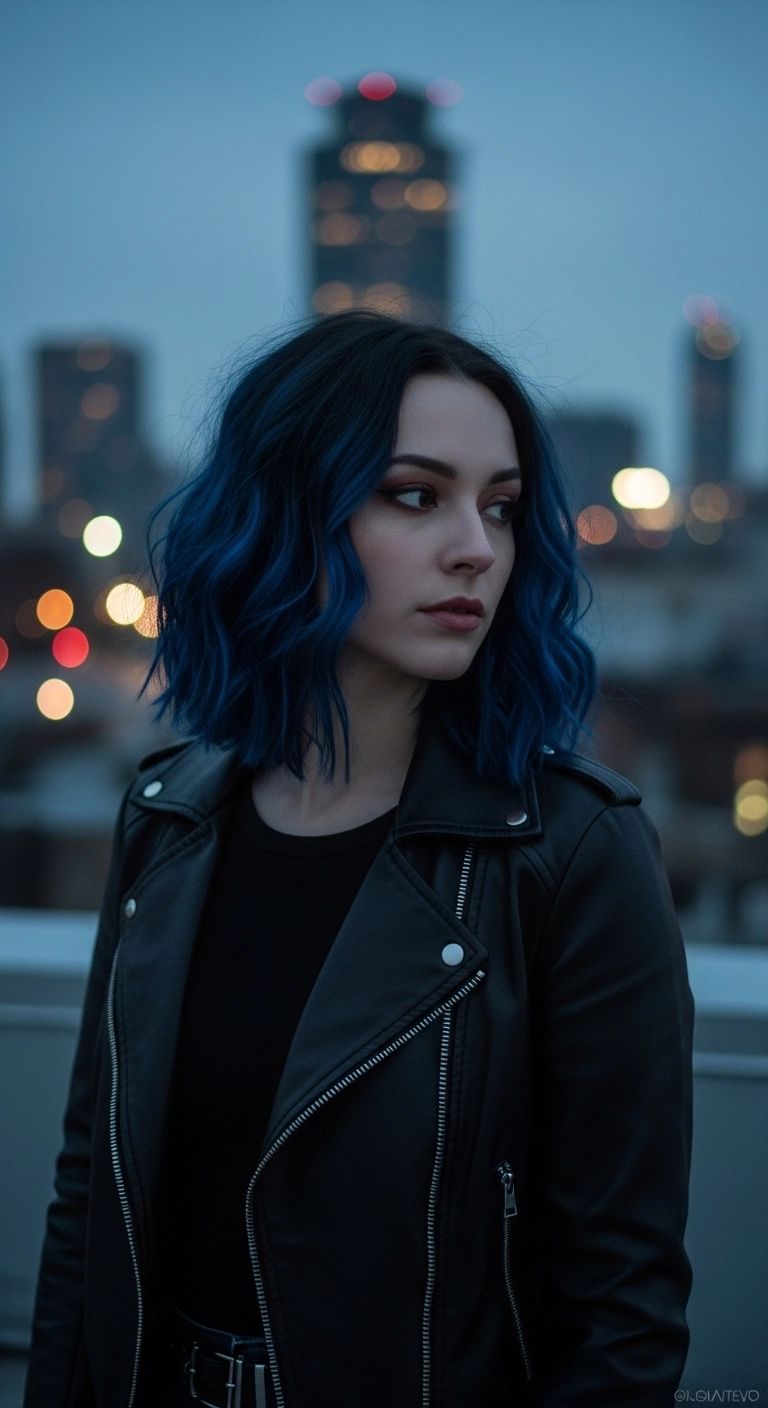
OK, if you’re looking to bring some serious edge into your style, this deep midnight blue lob is it! Keeping a natural shadow root makes vivid colors so much easier to grow out, and paired with undone bends, it totally gives that effortlessly cool rock-and-roll vibe.
How to do this
1. Start by prepping clean, damp hair by applying a dime-sized amount of the heat protectant cream listed below throughout your mid-lengths and ends to shield pre-lightened vivid hair from damage.
2. Blow-dry the hair completely smooth with a round brush, maintaining volume at the roots while keeping the natural density intact.
3. Divide your hair horizontally into three manageable sections and clip the top away.
4. Take one-inch vertical subsections and wrap them loosely around a medium barrel curling iron or styling wand, leaving about an inch of the ends out for that effortless, modern undone finish.
5. Alternate the direction of your curls—curling one piece away from the face and the next toward it—to give the texture plenty of body without clustering together.
6. Once the entire head has cooled, flip your head upside down and generously mist the dry texturizing spray listed below through the roots and mid-lengths to break up the wave pattern.
7. Flip upright and smooth out any flyaways around the center part, finishing with a couple of drops of the lightweight shine hair oil listed below pressed into the blue tips to keep the color glossy and hydrated.
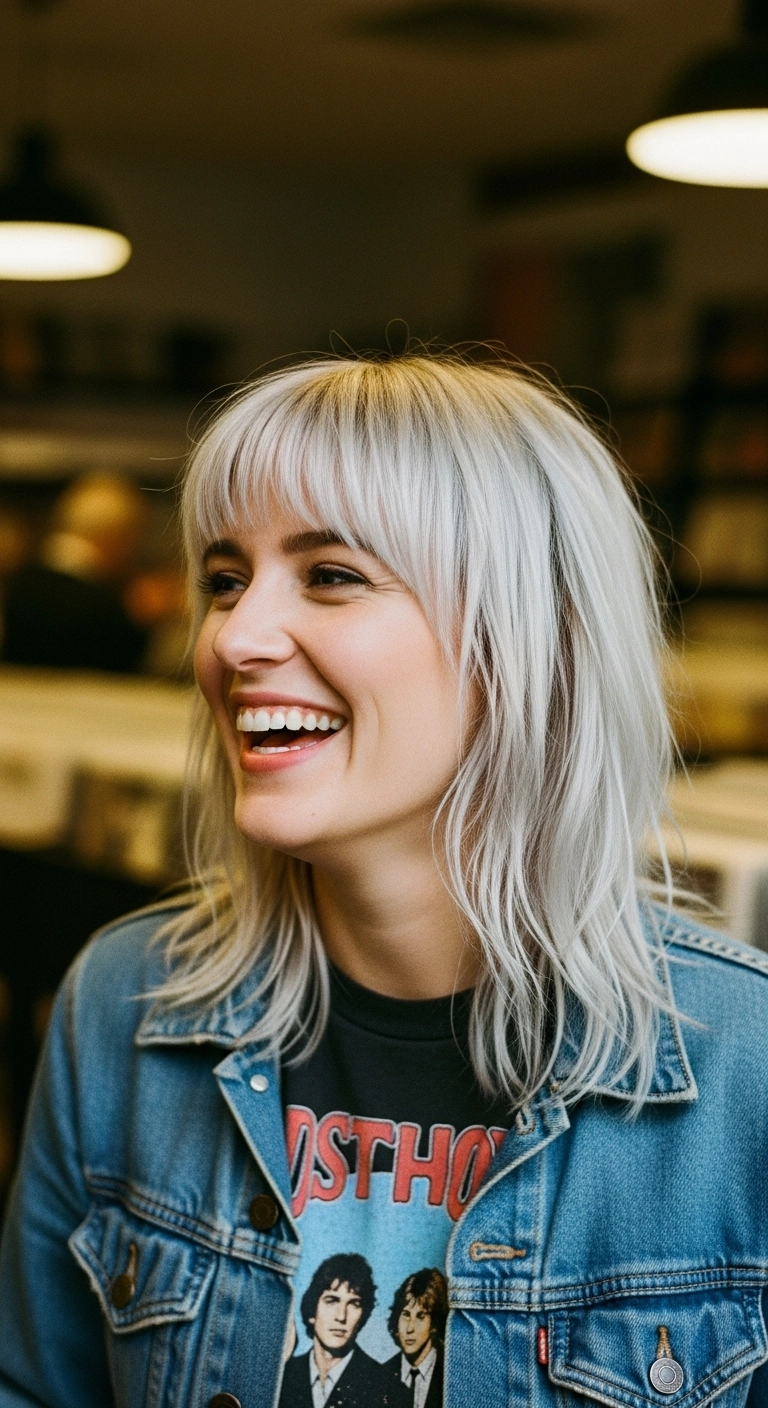
I fell in love with this style the second I decided I wanted something edgy yet effortless to wake up with. The feathered shag layers give your hair instant body without having to spend an hour with a curling iron, and the bright icy platinum gives it that quintessential rocker edge. Plus, the wispy fringe frames your eyes in the prettiest way even on days when you just want to throw the rest in a messy topknot!
How to do this
1. Start by prepping damp, freshly washed hair with a lightweight leave-in conditioner and the heat protectant spray listed below to shield bleached hair from heat styling.
2. Blow-dry the bangs first using a small paddle brush or round brush, sweeping them back and forth against the forehead to eliminate cowlicks and achieve that wispy, natural drape.
3. Rough-dry the rest of the lengths with a hair dryer and your fingers, lifting at the roots to encourage volume and natural texture.
4. Take random 1-to-2 inch vertical sections of the mid-lengths and quickly tap them with a flat iron or styling wand to create slight lived-in bends rather than uniform curls.
5. Shake your fingers through your hair to loosen up the waves and break up the separation.
6. Mist generously with the dry texturizing spray listed below through the mid-lengths and ends for that effortless, rock-and-roll fullness.
7. Finish by pinching a tiny amount of the matte styling wax listed below into the tips of your bangs and face-framing layers to give them that piecey, defined separation.
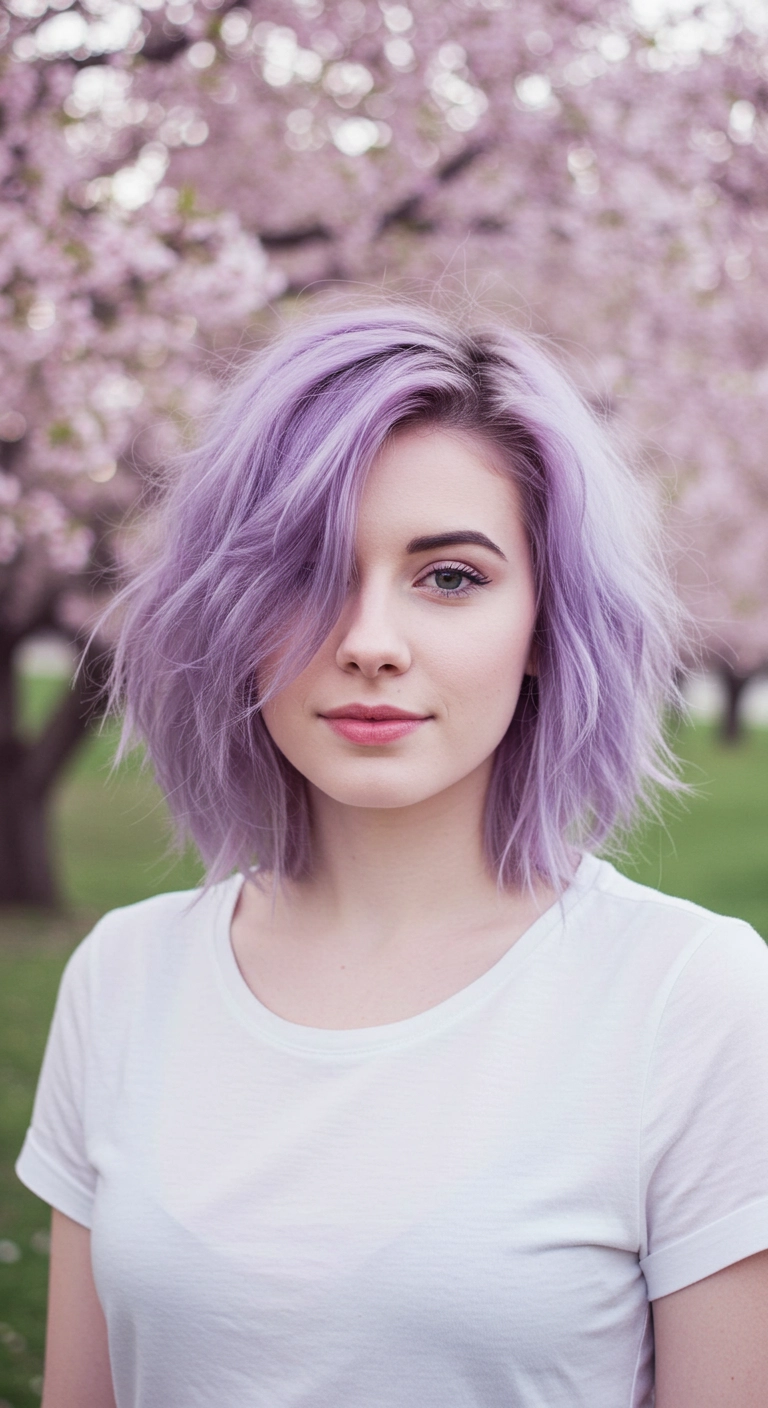
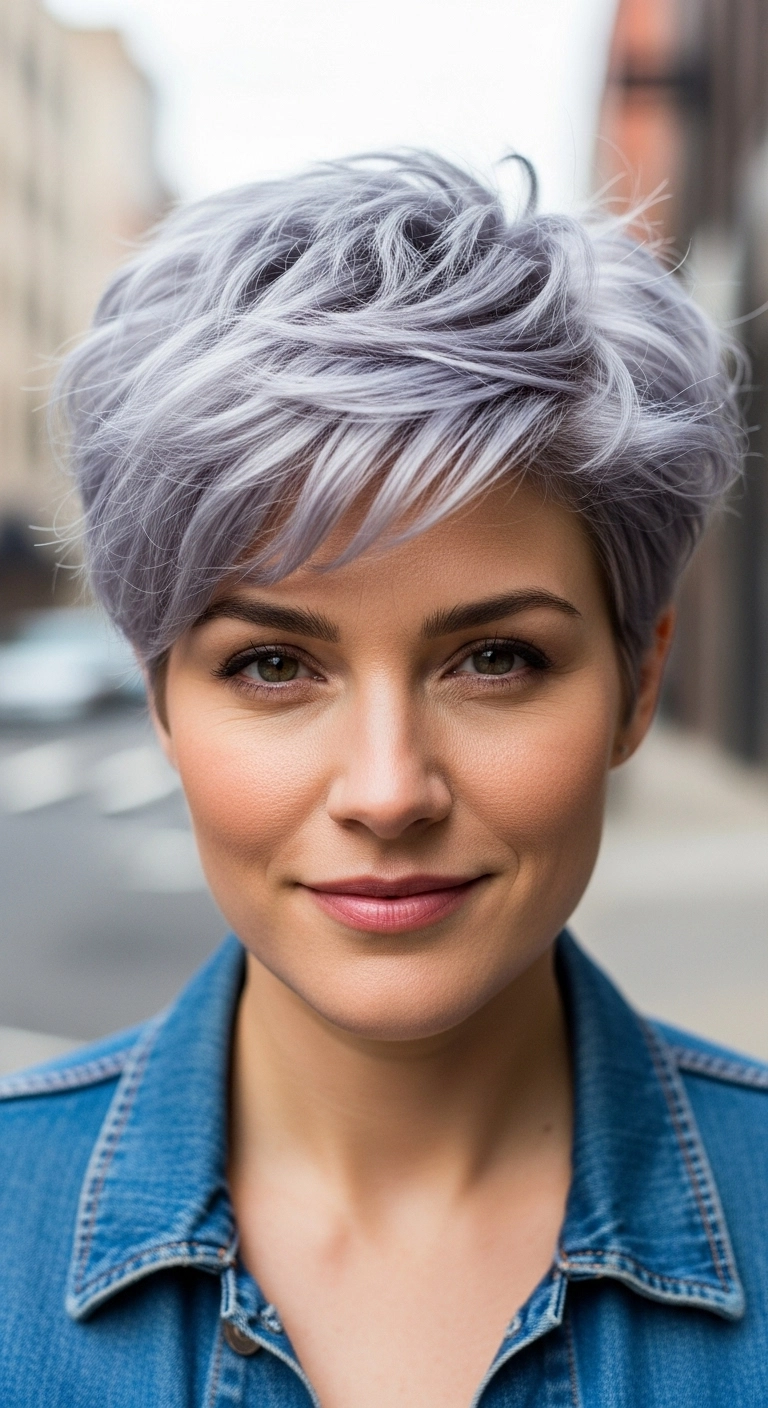
Isn’t this pastel lavender lob totally dream-worthy?? A textured cut like this is the perfect way to wear playful fantasy colors without feeling weighed down. One thing I love about this hairstyle is that messy, side-swept flip that gives it instant effortless volume. You don't have to spend hours styling either—just a quick bend with an iron and some texture spray, and you're good to go!
How to do this
1. Start by bleaching the hair to an even, clean Level 10 platinum blonde base using the gentle hair bleaching kit listed below.
2. Deposit a semi-permanent pastel lavender toner using the pastel lilac semi-permanent hair color listed below, letting it process until you achieve an even cool purple hue.
3. Cut the hair into a textured collarbone-length lob, incorporating interior layers and point-cutting the ends to create a choppy, airy perimeter.
4. Apply a lightweight volumizing mousse to damp roots and mid-lengths using the root lift volumizing mousse listed below.
5. Blow dry with a medium ceramic round brush, lifting hair at the roots and flipping the deep side part over for instant volume.
6. Add subtle, effortless bends through random vertical sections using a flat iron or large barrel curling wand, leaving the tips straight.
7. Mist generously with the dry texturizing spray listed below and shake out the pieces with your fingers for a piecey, lived-in finish.
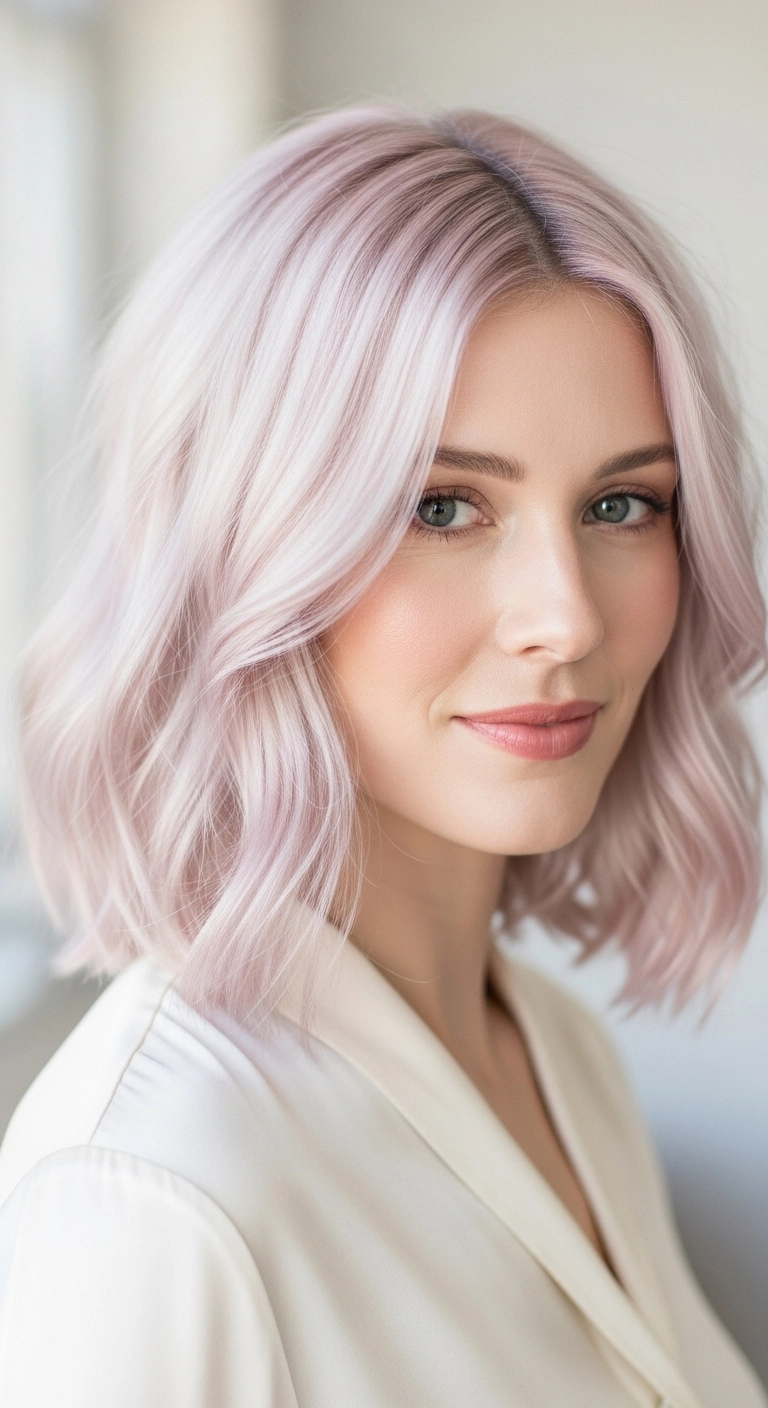
If you want a hair color that feels fresh, playful, and super dreamy without feeling too loud, this icy pastel blush lob is everything!! The soft S-waves give it such an effortless, chic bounce + it looks so stunning catch in natural light.
How to do this
1. Start by prepping towel-dried hair with a lightweight styling leave-in and thermal shield using the heat protectant spray listed below to shield lightened strands.
2. Blow-dry hair smooth using a round brush, focusing on lifting at the roots for gentle body while keeping the ends relatively smooth and airy.
3. Once completely dry, take medium 1.5-inch vertical sections and create soft, lived-in S-waves with a 1.25-inch curling iron using the ceramic curling wand listed below.
4. Leave the very ends slightly straight for a modern, relaxed lob finish rather than curling all the way through the bottom.
5. Direct the front face-framing pieces back away from the cheekbones to beautifully open up the face.
6. Once the hair cools completely, gently rake through the waves with your fingers or a wide-tooth comb to soften the bends.
7. Mist throughout with the texturizing volume spray listed below to add piecey definition, and finish with a drop of the nourishing hair serum listed below on the ends for healthy pastel shine.
Oh, this lived-in golden balayage lob is just absolute perfection! Those bright, sun-kissed face-framing pieces catch the light so effortlessly. Seriously, how dreamy are these soft textured waves?
How to do this
1. Start by prepping damp, freshly washed hair with a lightweight heat protectant spray to shield against thermal damage and add softness.
2. Blow-dry using a round ceramic brush, lifting at the roots to build natural crown volume while keeping the ends relatively smooth and slightly turned under.
3. Once completely dry, take medium 1.5-inch vertical sections and wrap them loosely around a 1.25-inch curling wand, leaving the last inch of the ends out to maintain that modern, blunt silhouette.
4. Alternate the curl direction around your head, but ensure the face-framing pieces around the cheekbones are curled gently away from your face.
5. Let the bends cool completely, then mist hair generously with a dry texturizing spray and gently rake your fingers through to break up the waves into an effortless, lived-in bend.
6. Finish with a drop of nourishing hair oil smoothed over the ends to add shine and define the golden blonde balayage ribbons.
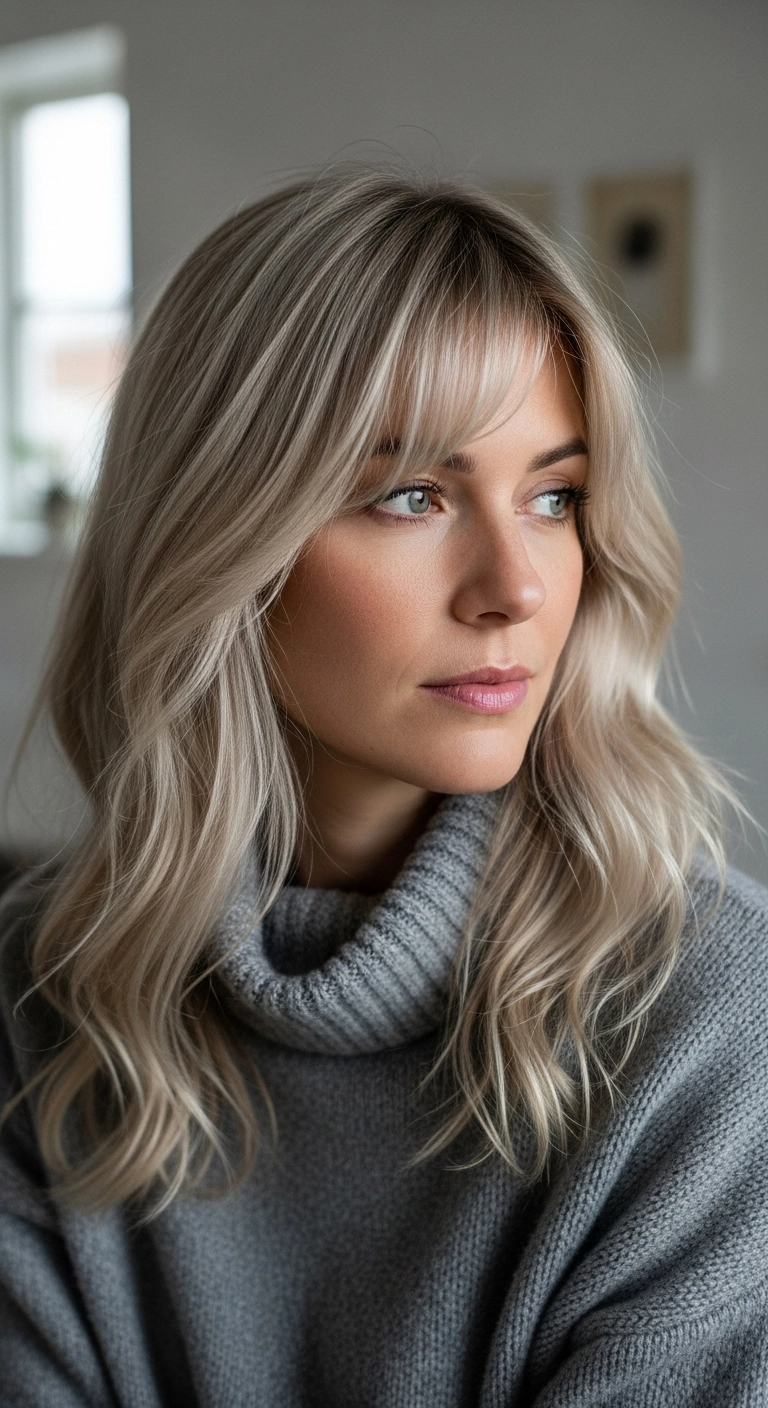
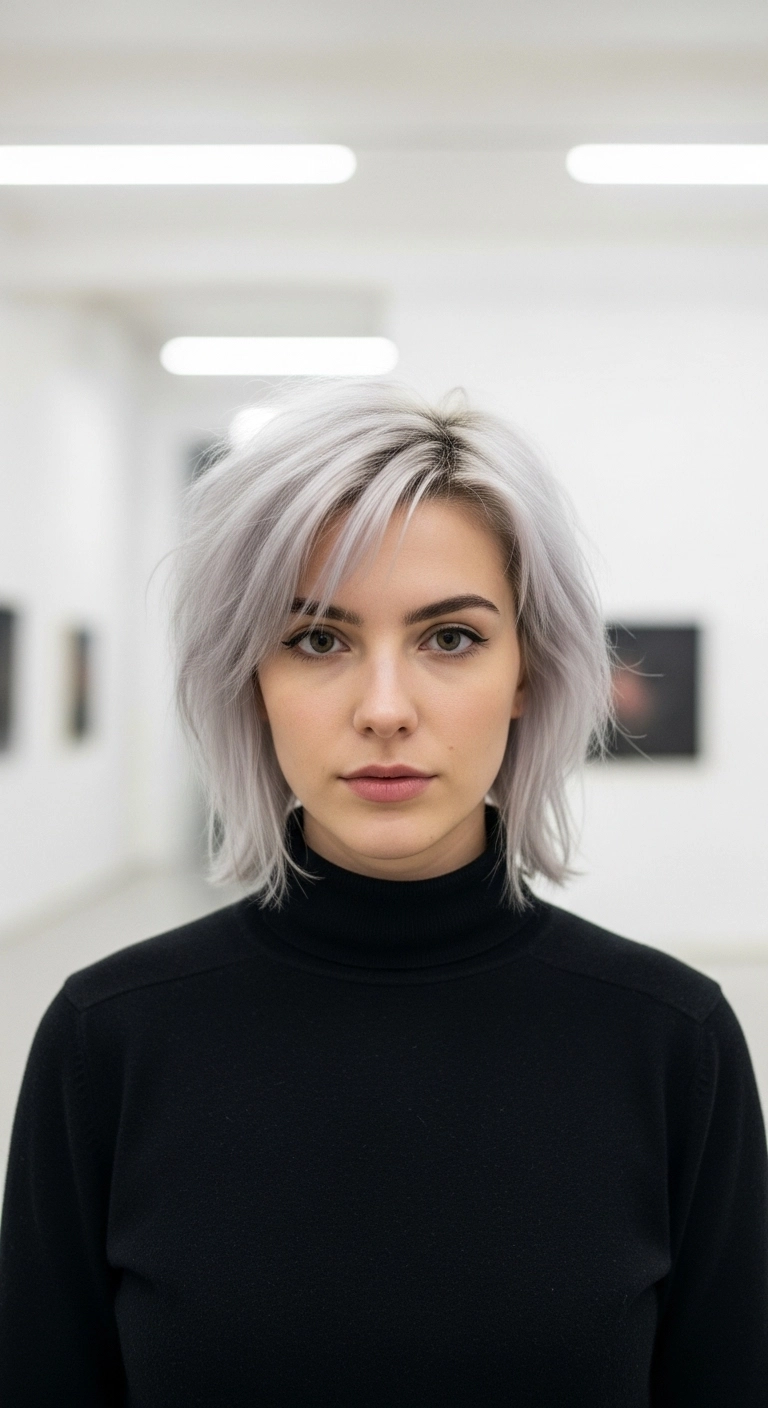
I am completely obsessed with this edgy icy silver bob! It has the most incredible feathered texture and effortless piecey bangs that frame the face like a dream. This look is stunning if you want something super modern, chic, and full of personality that pairs just as easily with a cozy turtleneck as it does on a night out.
How to do this
1. Start by bleaching the hair evenly to a clean level 10 pale yellow base, followed by a cool violet-silver toner using the purple toning shampoo and silver gloss treatment listed below to eliminate warmth.
2. Cut the hair into a textured collarbone-length lob, incorporating interior feathered layers and textured, wispy side fringe to create movement.
3. Prep damp, clean hair with a pump of the lightweight volumizing mousse listed below, focusing on the roots for lift.
4. Blow dry the hair using the ceramic round brush listed below, lifting upward at the crown and sweeping the bangs gently to the side.
5. Once fully dry, mist the roots and mid-lengths with the dry texturizing spray listed below, lightly scrunching with your fingertips to create an airy, piecey separation.
6. Finish the look by applying a pea-sized dab of the matte styling wax listed below to define the ends and keep the side-swept bangs in place.
I'm obsessed with this collarbone-grazing lob because it strikes the ultimate balance between low maintenance and super chic. The shadow root melt makes grow-out totally seamless, while those soft blonde ribbons brighten up your whole complexion. It takes barely ten minutes with a curling wand to style in the morning and holds up all day through errands, work, and date nights. Definitely give this cut and color a shot if you want an effortless glow-up!
How to do this
1. Start by prepping damp hair with a small amount of the heat protectant spray listed below to shield your strands and enhance smoothness.
2. Blow-dry using a round ceramic brush, lifting at the roots to build natural volume and curving the ends slightly under.
3. Using the 1.25-inch curling wand listed below, take vertical 1-to-2-inch sections starting from the mid-lengths, leaving the last inch of the ends out for an effortless bend rather than a tight curl.
4. Alternate the curl directions around the sides, but ensure the face-framing pieces are directed back away from your face.
5. Let the hair cool down completely, then rake through gently with your fingers or a wide-tooth comb to break up the waves.
6. Mist with the dry texturizing spray listed below at the roots and mid-lengths to give that lived-in, piecey texture.
7. Finish by running a drop of the lightweight hair styling oil listed below through the ends to seal in shine and control flyaways.
Going bold with your cut and color doesn’t have to feel intimidating! A rich wine or burgundy hue paired with a shoulder-skimming lob gives instant rocker-chic energy without needing hours of styling. The blunt micro bangs bring all the focus to your eyes and cheekbones, while loose, undone bends keep the whole look feeling casual and effortless. If you want a cool-girl statement haircut, this one is calling your name.
How to do this
1. Start by prepping your freshly washed hair with the heat protectant spray listed below to shield your strands and keep your deep red vibrant.
2. Blow dry using a paddle brush, making sure to dry the bangs straight forward and flat against your forehead with the concentrator nozzle.
3. Using a 1.25-inch curling iron or flat iron, add subtle, irregular bends through the mid-lengths, leaving the very ends straight for an edgy, lived-in texture.
4. Shake out the waves with your fingers and mist the texturizing spray listed below through the lengths to build effortless volume and separation.
5. Define the tips of your micro bangs with a tiny amount of the matte styling wax listed below to give them that cool, piecey finish.
6. Finish with a spritz of flexible hold hairspray listed below to lock your style in place all day.
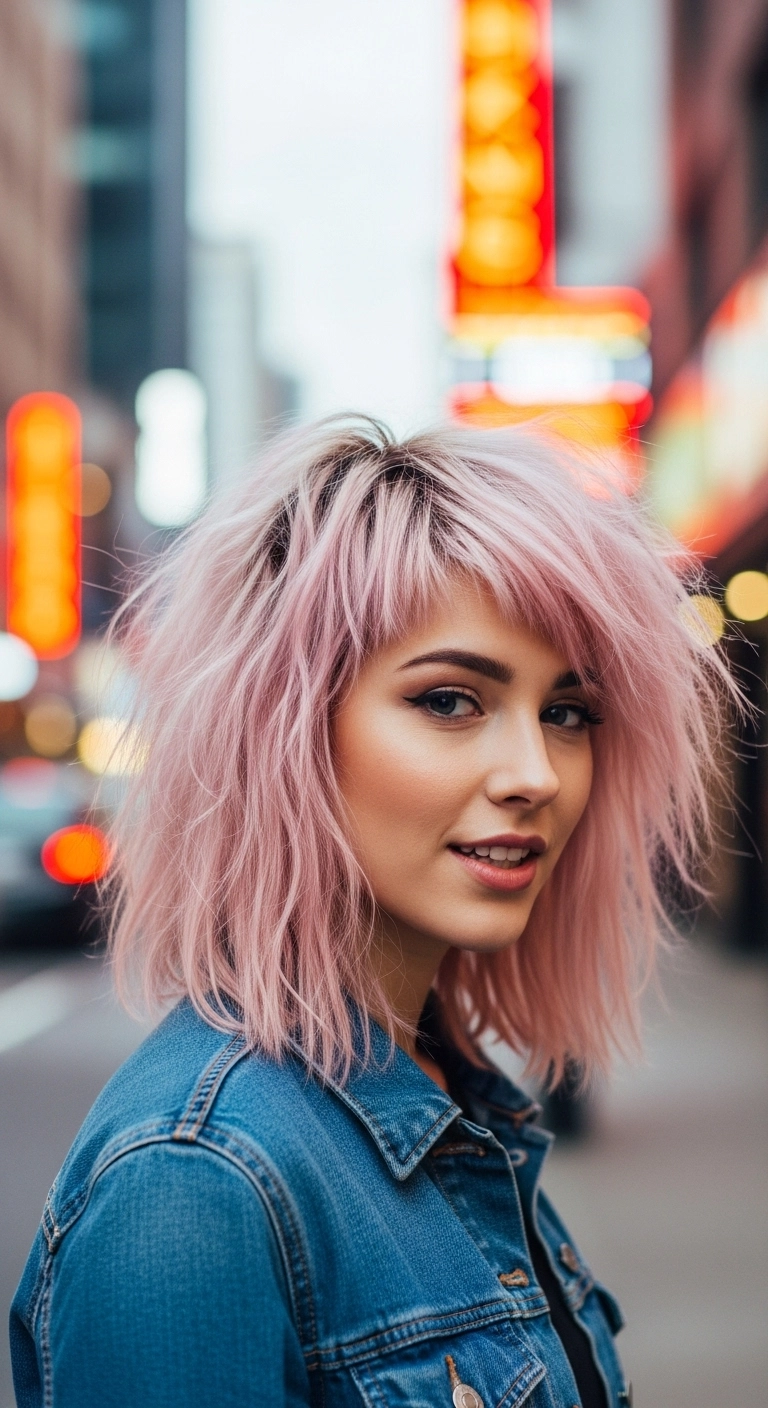
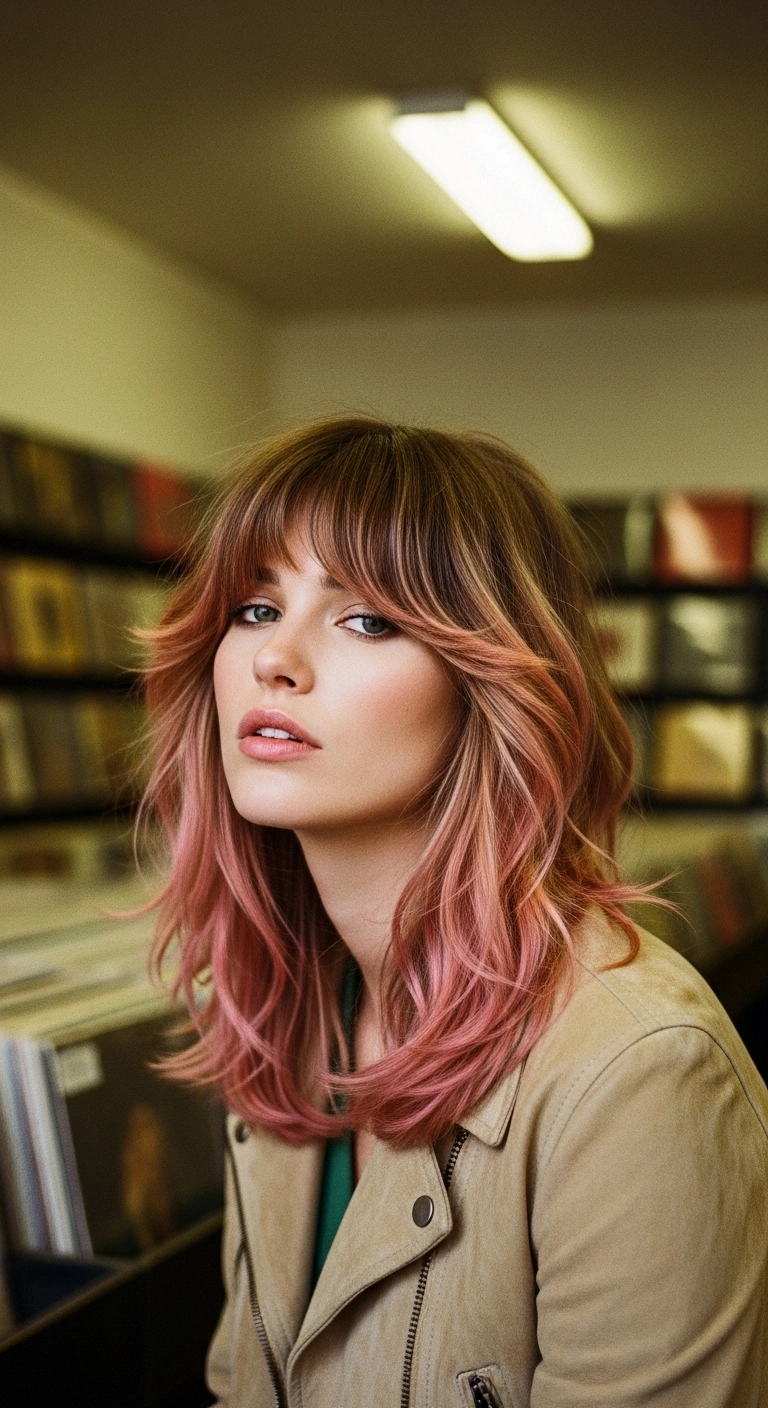
If you want to bring out your inner cool-girl rocker, this pastel pink shaggy lob is everything! It gives that perfectly undone, lived-in bedhead vibe with tons of textured layers and choppy angled bangs. A quick blast of texturizing spray, pinch the ends, and you look effortlessly edgy in seconds!
How to do this
1. Start by bleaching your hair to a clean level 10 platinum blonde using the hair lightening kit listed below, making sure the canvas is completely even.
2. Deposit an all-over pastel blush toner using the pastel pink semi-permanent hair color listed below, allowing it to process fully to get that soft cotton candy shade.
3. Cut the hair into a textured collarbone-skimming lob with heavy razored layers throughout the crown and choppy, angled side-swept bangs.
4. Prep damp hair with a small amount of the lightweight volumizing mousse listed below, working it from roots to ends for lift.
5. Rough dry your hair upside down with a blow dryer to encourage maximum volume and separation.
6. Once dry, mist sections with the dry texturizing spray listed below and lightly scrunch or pinch ends using the matte styling paste listed below to define that piecey, rocker-chic texture.
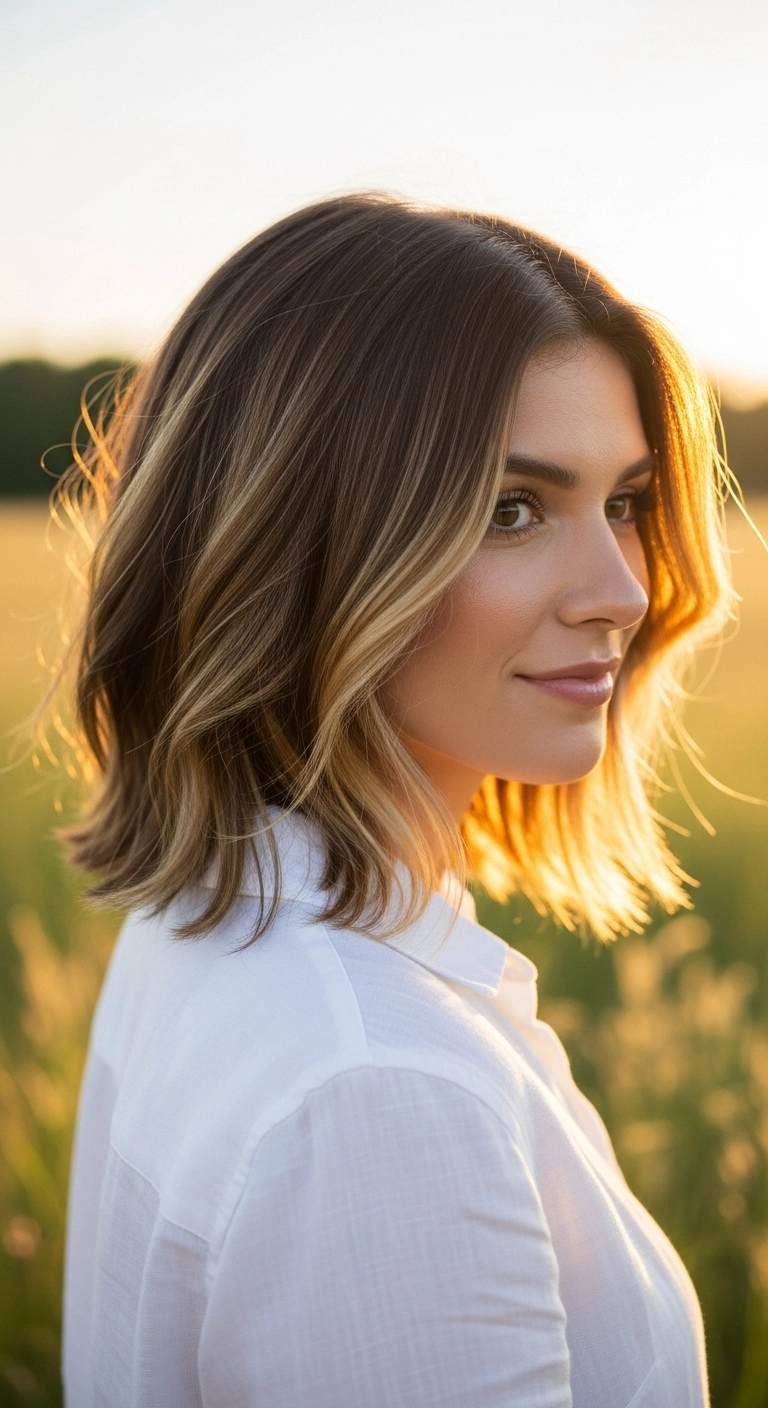
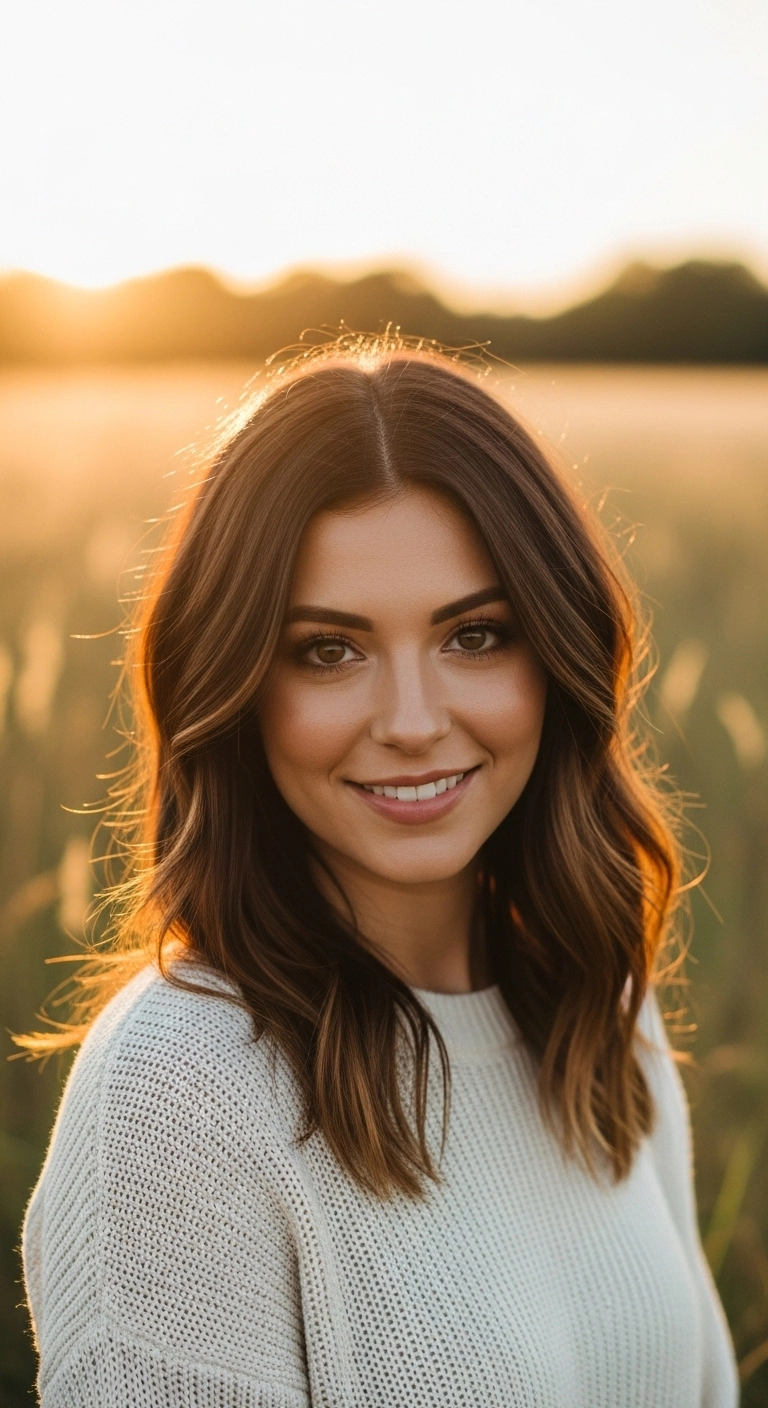
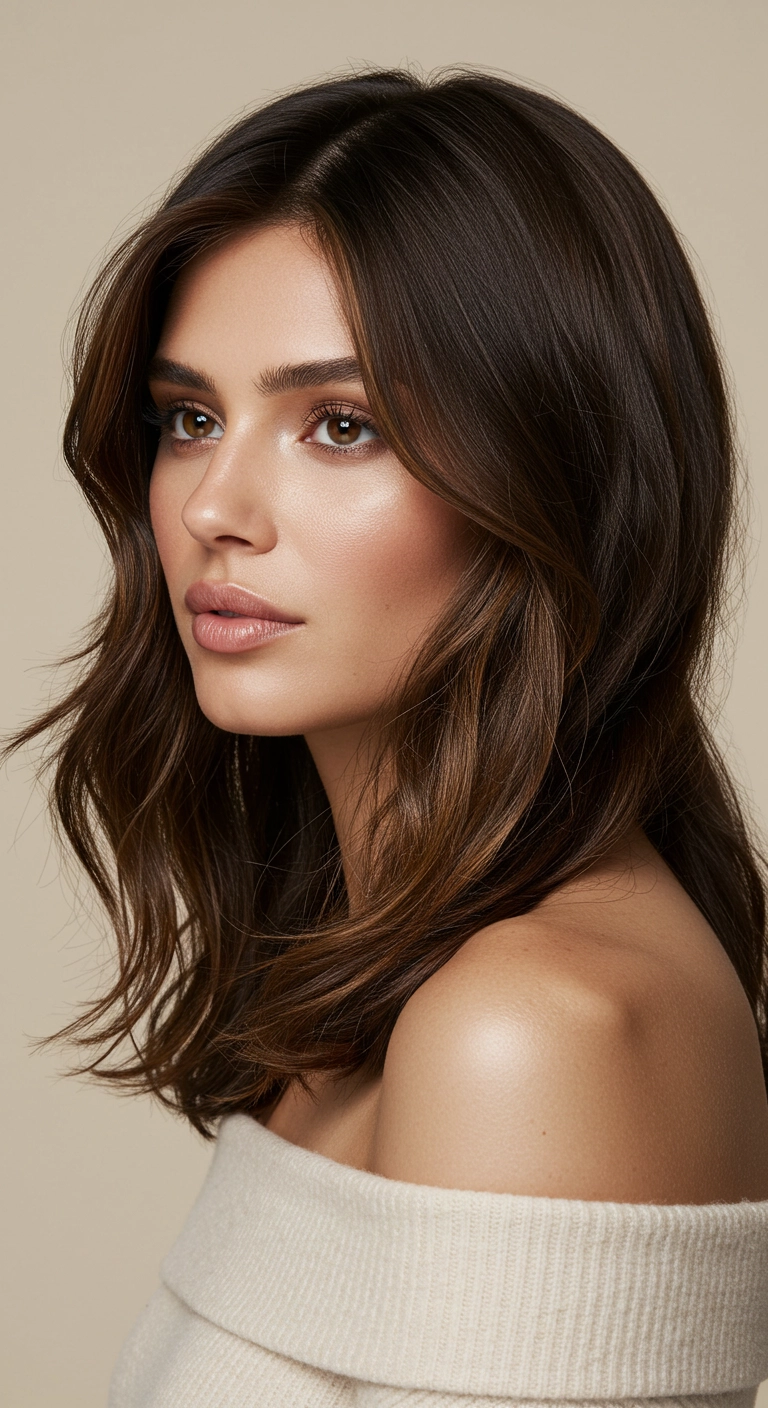
If you want that ultimate 'I woke up like this but better' vibe, this rich chocolate lob with delicate caramel ribbons is absolute perfection! Just a quick pass with a curling wand away from your face and BOOM, you have an effortless, bouncy style that catches the golden hour light every single time.
How to do this
1. Start by prepping clean, towel-dried hair with a lightweight heat protectant spray to shield against thermal damage and lock in shine.
2. Blow dry hair smoothly using a medium round ceramic brush, directing airflow down the shaft to achieve sleek root volume and a soft bevel at the ends.
3. Create a clean, centered middle part using the tail of a fine-tooth comb.
4. Divide hair into horizontal sections and use a 1.25-inch curling iron listed below to curl medium sections away from the face, leaving the very ends slightly straight for a lived-in feel.
5. For the front face-framing pieces, curl loosely outward and hold the iron vertically to create a soft, gentle sweep that accentuates the cheekbones.
6. Allow the curls to cool completely, then gently rake through them with your fingers or a wide-tooth comb to relax them into loose, flowing waves.
7. Finish by misting a light texturizing finishing spray and a touch of hair serum listed below through the mid-lengths and ends for separation and healthy gloss.
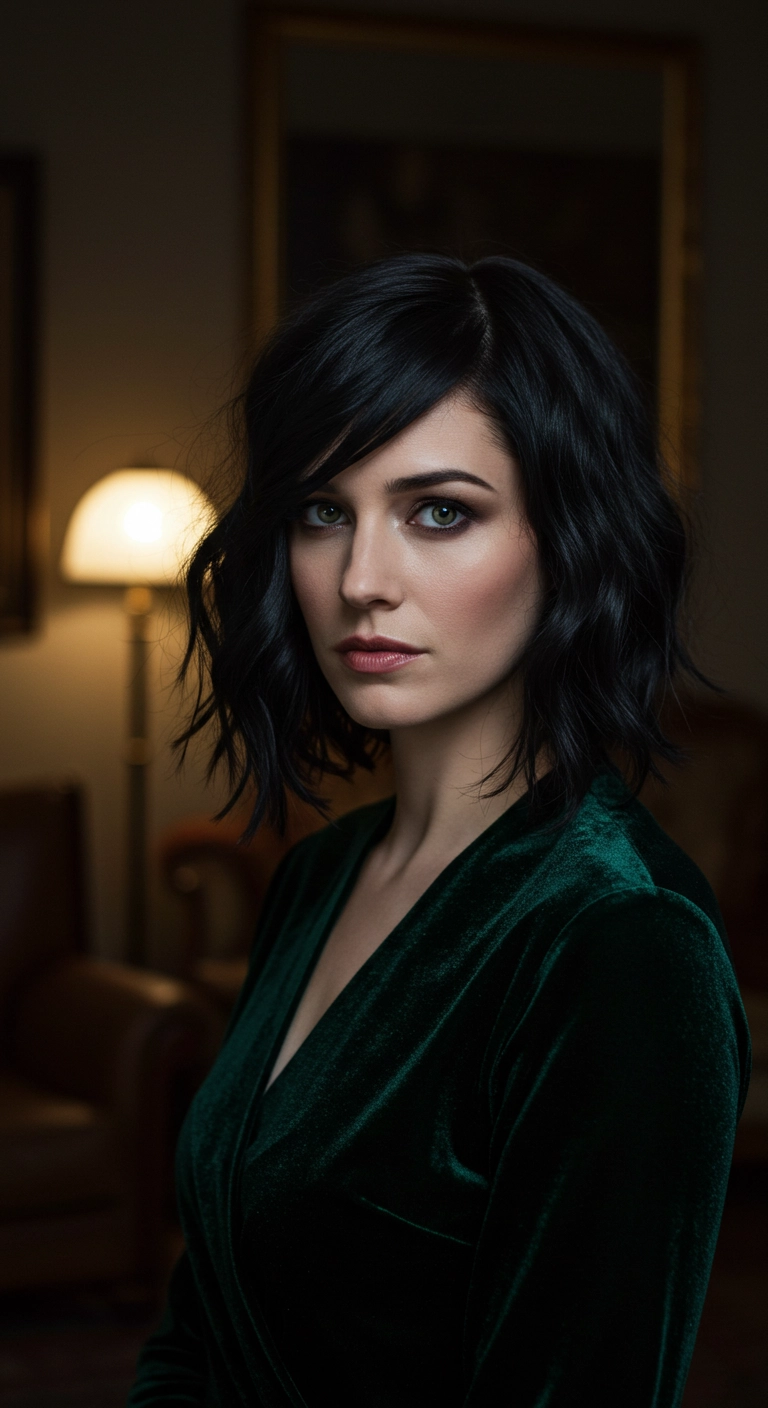
I've always loved how a classic lob instantly elevates an outfit, especially when paired with a rich, dark velvet look! For this style, I opted for relaxed S-waves rather than polished curls because it keeps the overall vibe effortlessly chic and modern. Sweeping that front section across into a deep side part frames the eyes beautifully and gives just the right amount of moody drama. It's super easy to recreate for an evening out or a holiday party, and you can add a delicate hair pin if you want to dress it up even more!
How to do this
1. Start with towel-dried hair and apply a lightweight heat protection primer using the heat protectant spray listed below to shield strands from styling damage.
2. Blow-dry hair using a medium round ceramic brush, lifting at the roots to build soft volume, and establish a deep side part sweeping over one eye.
3. Take 1- to 2-inch vertical sections and wrap them loosely around a 1.25-inch curling wand, leaving the last inch of the ends out to maintain that chic, modern blunt feel.
4. Alternate the curl directions slightly, but ensure the pieces framing your face curl outward and away from the cheekbones.
5. Once your curls have cooled down completely, mist a generous amount of the texturizing wave spray listed below all over your mid-lengths.
6. Gently shake out the waves with your fingers or a wide-tooth comb to break up the pattern into relaxed, lived-in bends.
7. Finish the look with a light mist of the flexible hold hairspray listed below to keep the side-swept shape intact throughout the night.
Are you completely obsessed with the 90s and early 2000s revival like I am?! This two-tone lob is giving the ultimate cool-girl nostalgia vibes with that bold blonde top canopy sitting over a moody brunette underlayer. The soft eyebrow-grazing bangs frame the eyes so beautifully, while those playful flipped-out ends add just the right amount of retro bounce. You can wear it sleek and straight or flip the ends even higher with a round brush for extra drama. It's edgy, fun, and totally effortless for everyday wear!
How to do this
1. Start by sectioning the hair horizontally from ear to ear, separating the top canopy from the underside nape area for the color placement.
2. Lighten the entire top canopy and fringe using the hair bleach lightening powder and developer listed below, while applying a rich brunette gloss to the underneath section.
3. Cut the perimeter to hit just above the shoulders, adding soft feathered layers throughout the crown and razor-cutting the ends to allow them to flick easily.
4. Cut a soft, brow-skimming fringe with subtle piecey texture across the forehead.
5. Prep towel-dried hair by applying a generous amount of the thermal blowout heat protectant spray listed below from mid-lengths to ends.
6. Blow-dry the fringe forward and smooth using a mini round brush, gently curving under at the tips.
7. Using the medium ceramic round brush listed below, blow-dry the lengths by rolling the ends outward and upward to create that signature playful flip.
8. Mist the ends with the flexible hold hairspray listed below and finish with a drop of smoothing hair serum to keep the two-tone colors ultra-glossy and frizz-free.
Products Used
Professional Bleach Powder and Developer Kit
hair bleach lightening powder and 20 volume developer
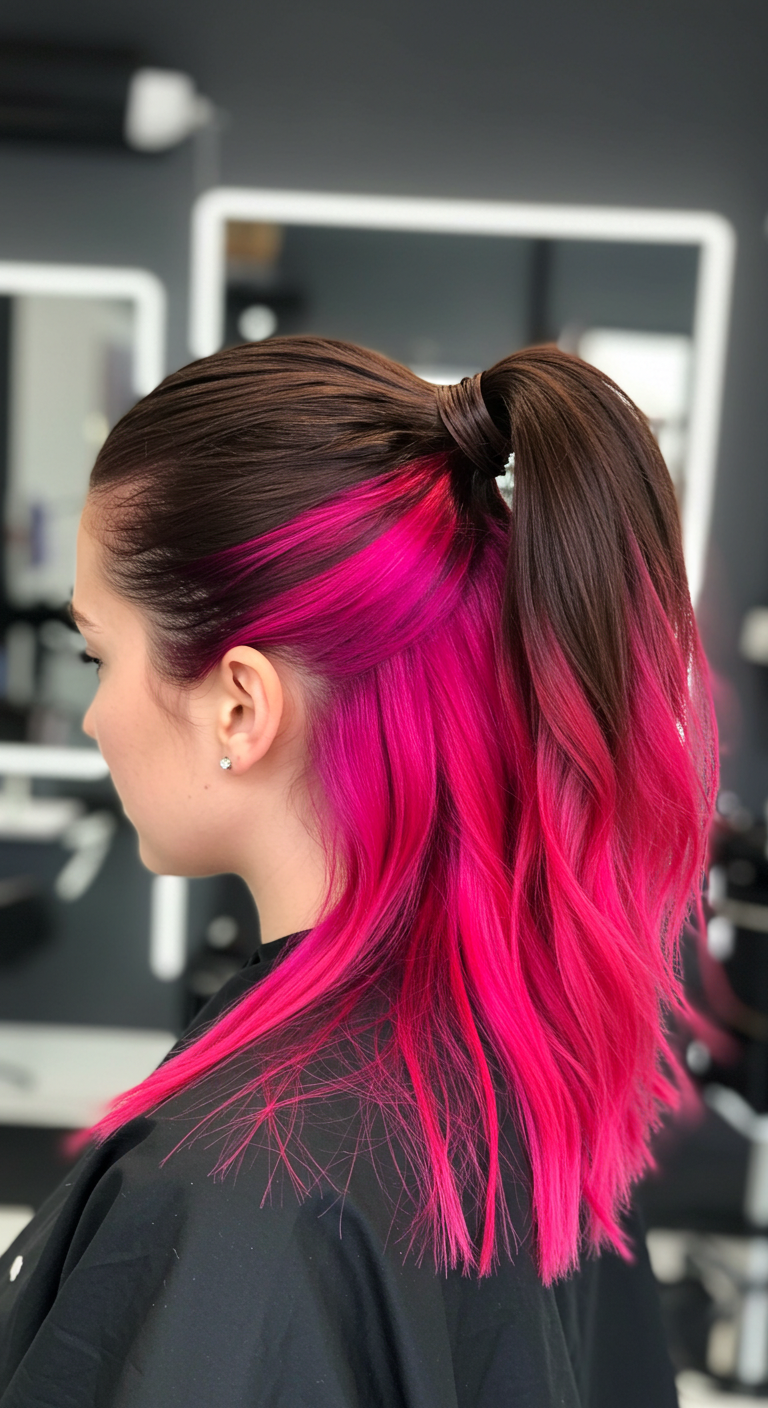
This is the coolest way to experiment with high-voltage color without frying your entire head. Having the bright neon hidden right along the nape means it pops through subtly when the wind hits or when you tuck your hair behind your ears, giving an effortless edge to an otherwise classic black cut.
How to do this
1. Start by sectioning off the entire top canopy of the hair from the temples back to the occipital bone, clipping it firmly out of the way using sectioning clips.
2. On the lower underlayer, pre-lighten the strands up to a clean pale blonde using the hair lightening bleach powder and 20-volume developer listed below.
3. Once lifted and rinsed clean, apply the vibrant neon yellow semi-permanent dye listed below generously through the mid-lengths and ends of that bottom layer, letting it process fully before rinsing in cold water.
4. Apply a gloss or rich dark tint to the top canopy with the jet black demi-permanent hair color listed below to ensure intense contrast and high shine.
5. After washing and towel-drying, prep the lengths with the thermal protection blowout mist listed below to protect the bleached ends from heat.
6. Blow dry smooth using a medium ceramic round brush, focusing on rolling the ends slightly under and outward for an effortless, feathered finish.
7. Finish by running a drop of the smoothing hair serum listed below through the ends to add separation and glossy texture.
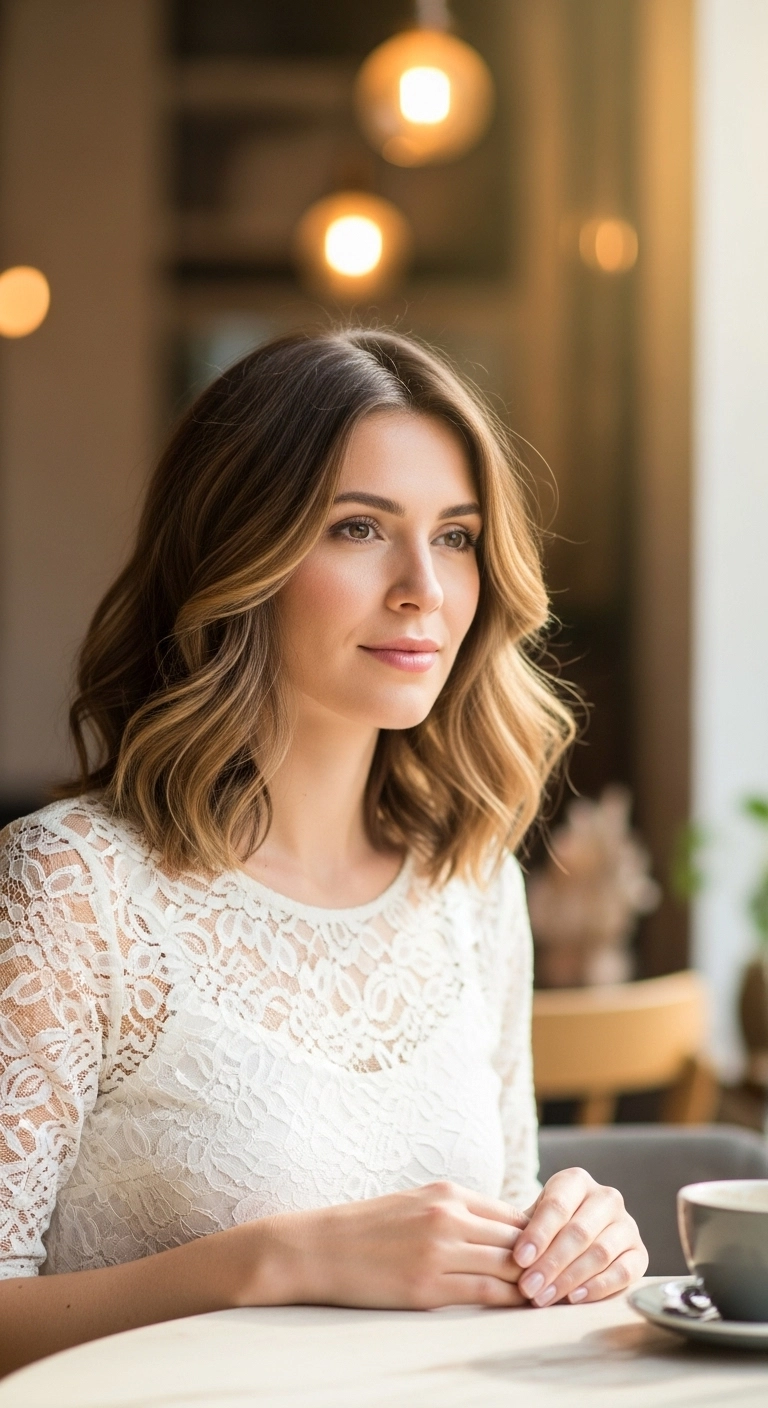
A collarbone lob like this is pretty much the ultimate sweet spot if you want something fresh without sacrificing styling options. I love how the soft layers flick right around the shoulders and frame the cheekbones so naturally. It gives that polished, "I just naturally woke up with gorgeous hair" vibe that works whether you're working from home in a tee or heading out for dinner.
How to do this
1. Start on damp, freshly washed hair and apply a quarter-sized amount of the lightweight heat protectant smoothing lotion listed below evenly from mid-lengths to ends.
2. Establish a neat center part using a fine-tooth tail comb, then section hair horizontally into manageable working quadrants.
3. Blow dry using a medium ceramic round brush listed below, lifting at the roots for gentle volume and rolling the brush outward at the ends to create a soft, bouncy flick.
4. For the front face-framing sections, roll the hair up and back away from the face with the round brush to encourage that signature curtain shape around the cheekbones.
5. Once fully dry, spray a light mist of the flexible hold texturizing spray listed below through the roots and mid-lengths to give movement without stiffness.
6. Finish off by rubbing two drops of the nourishing hair finishing oil listed below between your palms and smoothing over any flyaways for a glossy, healthy sheen.
If you're looking for an effortless way to bring rich warmth into your look without the hassle of high-maintenance roots, this copper ombré lob is totally your answer. The soft, wispy bangs frame the brows perfectly while the lived-in waves keep everything feeling modern and relaxed. It's especially stunning going into cooler months when you want that cozy, dimensional pop of auburn.
How to do this
1. Prep clean, towel-dried hair with a lightweight styling mousse or the leave-in heat protectant spray listed below to shield strands from thermal styling.
2. Blow-dry the bangs straight down using a small round brush or paddle brush, sweeping them slightly back and forth to give them that effortless, piecey Birkin shape.
3. Rough-dry the rest of your hair until it's completely dry, encouraging natural volume at the crown.
4. Using a 1.25-inch curling iron or the ceramic styling wand listed below, take vertical 1-inch sections and create loose, alternating bends, making sure to leave the last inch of your ends straight for a relaxed finish.
5. Once the waves have cooled, mist with the dry texturizing spray listed below and gently rake through with your fingers to break up the curls.
6. Finish the look by working a tiny drop of the lightweight hair oil listed below through the copper ends to seal in shine and enhance the warm color dimension.
This collarbone-length wavy lob is honestly my favorite everyday style because it looks so polished without feeling stiff or try-hard. I wore this to a weekend brunch and coffee date, and the soft warm highlights caught the light so beautifully!
How to do this
1. Start by washing your hair with a hydrating shampoo and applying a lightweight smoothing conditioner to ensure a silky foundation.
2. On towel-dried hair, apply a generous mist of the heat protectant spray listed below from roots to ends, followed by a nickel-sized amount of volumizing blow-dry mousse through the mid-lengths.
3. Rough dry your hair until it's about 80% dry, then section it out and finish drying using the ceramic round brush listed below to smooth down the cuticle and create soft body at the roots.
4. Establish a soft middle or slightly off-center part. Taking 1.5-inch vertical sections, curl each piece with the 1.25-inch curling iron listed below, curling away from your face on both sides and leaving the last inch of the ends out for a lived-in, modern lob finish.
5. Allow all curls to cool completely so they set firmly.
6. Rake through the curls gently using your fingers or the wide-tooth comb listed below to break them up into relaxed, cohesive S-waves.
7. Lift sections and lightly mist with the dry texturizing spray listed below underneath for airy volume and movement.
8. Finish the style with a couple drops of nourishing hair oil listed below rubbed into your palms and smoothed over the ends to add shine and tame any stray flyaways.
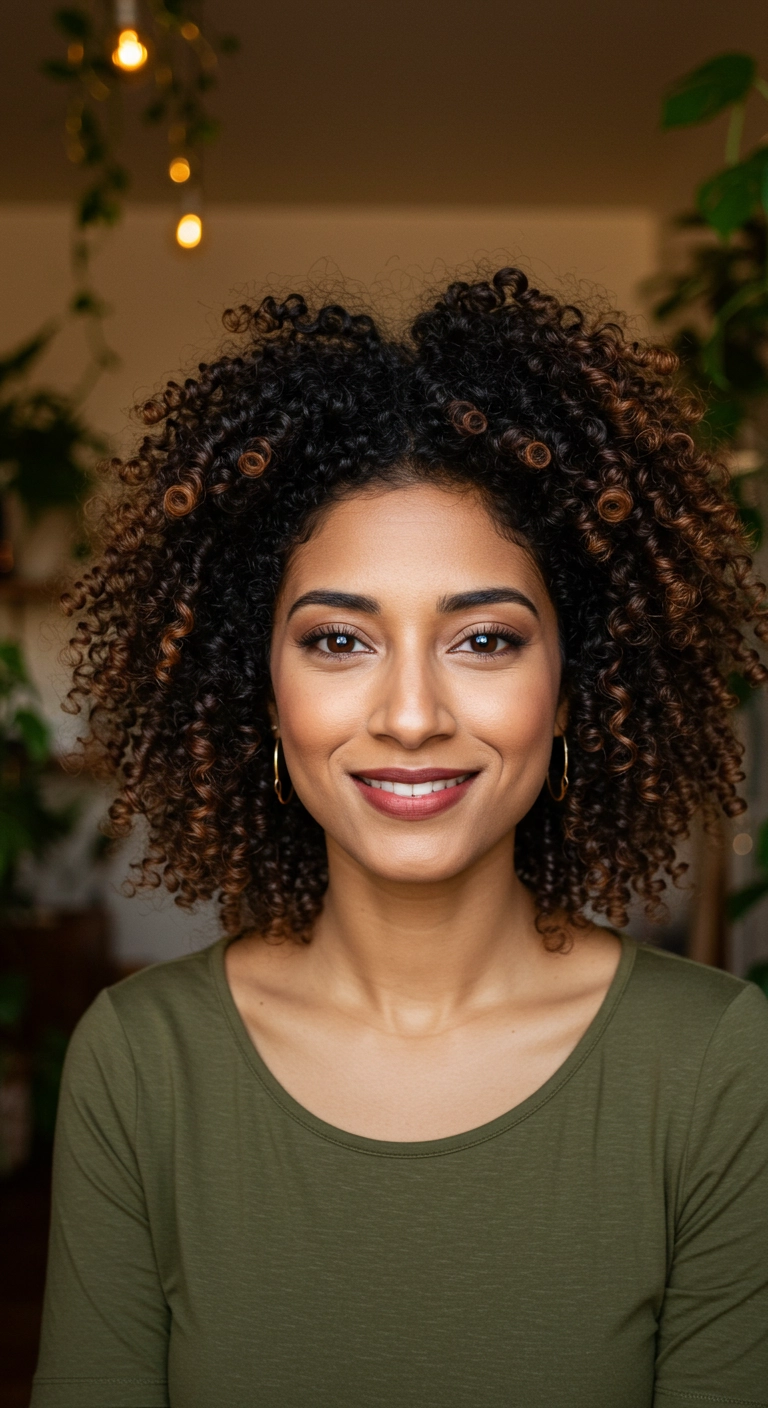
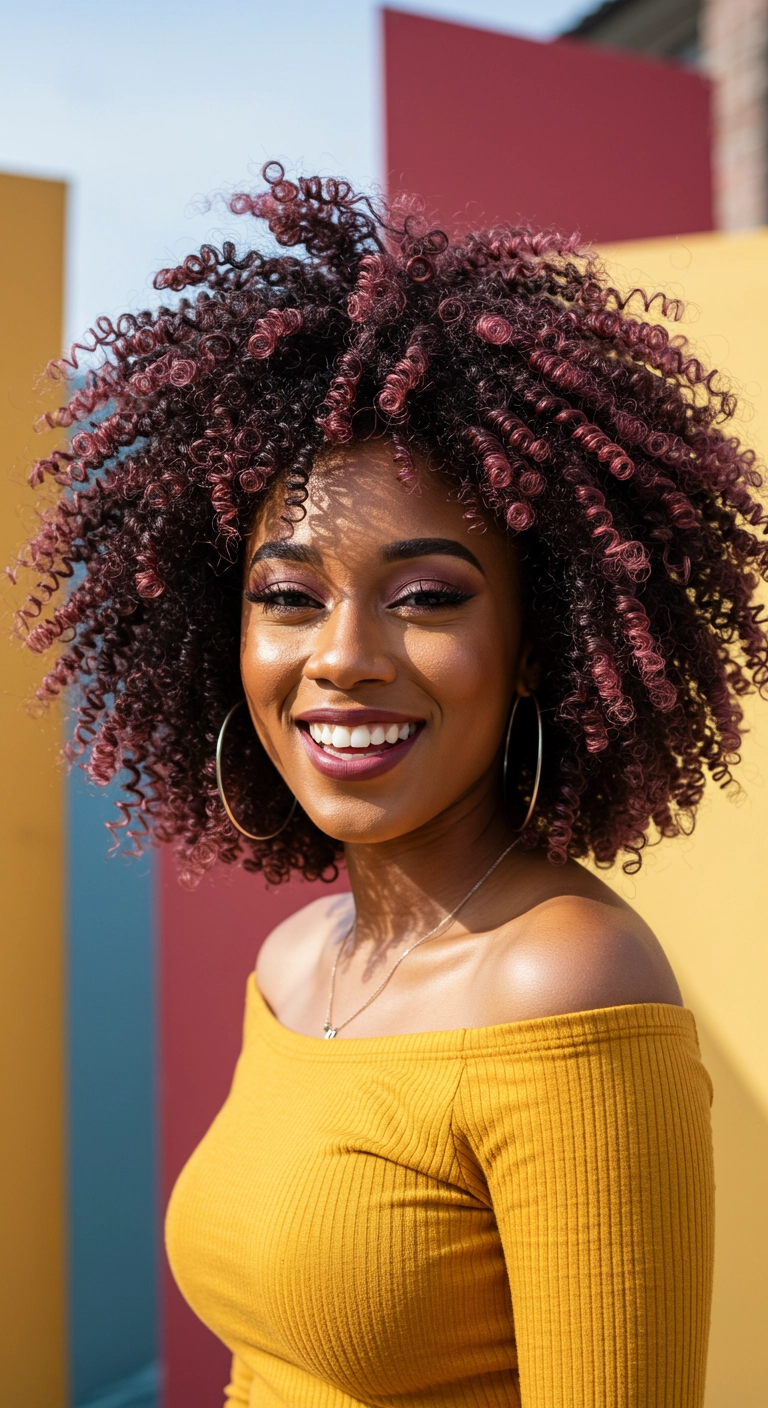
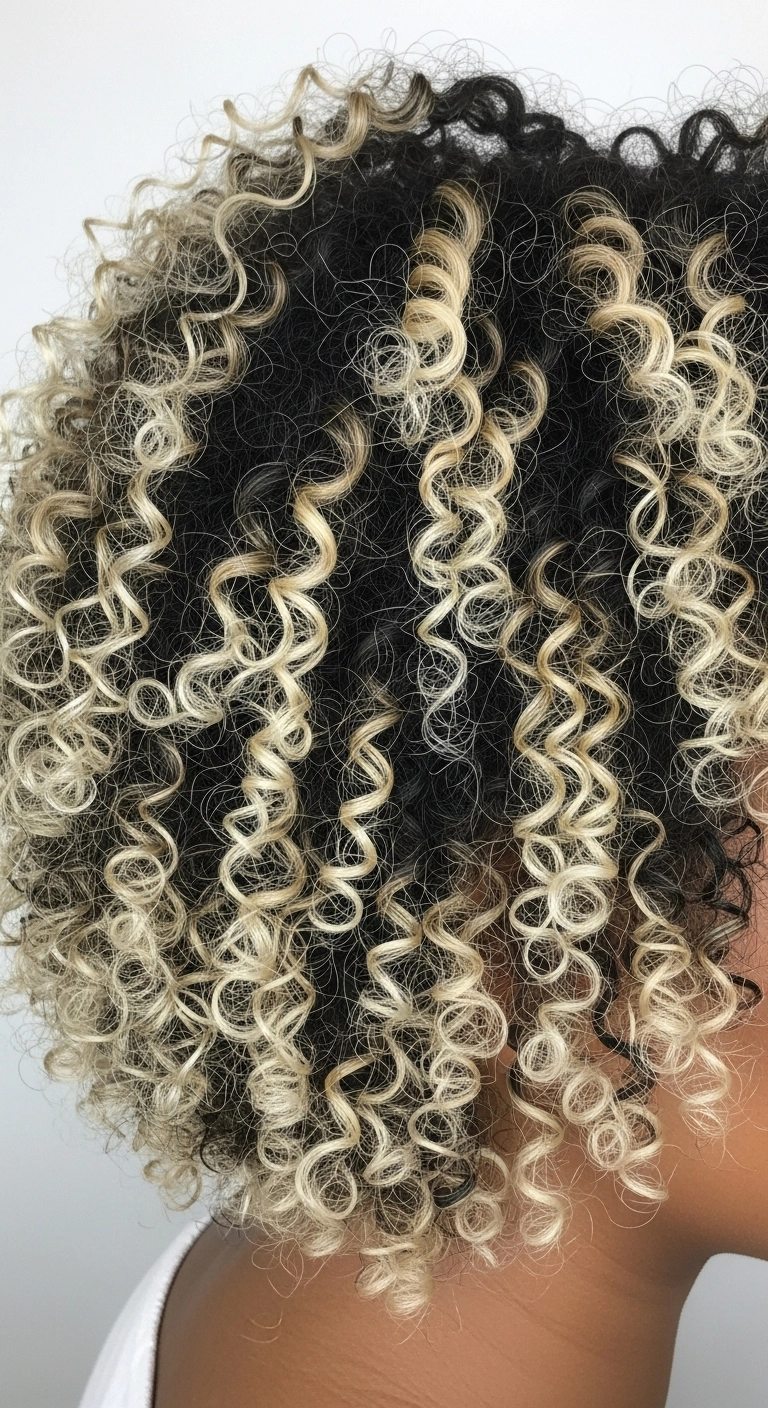
I fell completely in love with this rounded curly cut the moment I saw how perfectly it shapes tight 3C curls without dragging them down! The subtle caramel ribbon highlights catch the light so beautifully and give every single ringlet its own moment to shine. It's such a gorgeous, healthy, and bouncy style that transitions seamlessly from everyday casual to a night out. If you've been looking for a way to give your natural curls incredible shape and dimension, this is definitely the inspiration photo to show your stylist!
How to do this
1. Start on freshly cleansed, soaking wet curls after applying a rich curl-defining leave-in conditioner using the moisturizing leave-in conditioner listed below.
2. Rake through a strong-hold curl cream or defining gel using the curl defining gel listed below from root to tip to lock in moisture and clump your ringlets.
3. Use a targeted styling brush or the finger-coiling technique on smaller sections around the crown and face to ensure crisp, uniform 3C corkscrew definition.
4. Gently scrunch excess water out with a microfiber towel using the microfiber hair towel listed below to avoid unwanted frizz.
5. Attach a large diffuser to your blow dryer using the universal curl diffuser listed below and dry on low heat/low speed, hovering around the roots and mid-lengths until completely dry.
6. Once fully dry, break the gel cast by scrunching a few drops of lightweight oil using the nourishing hair bonding oil listed below to add glossy shine and soft bounce.
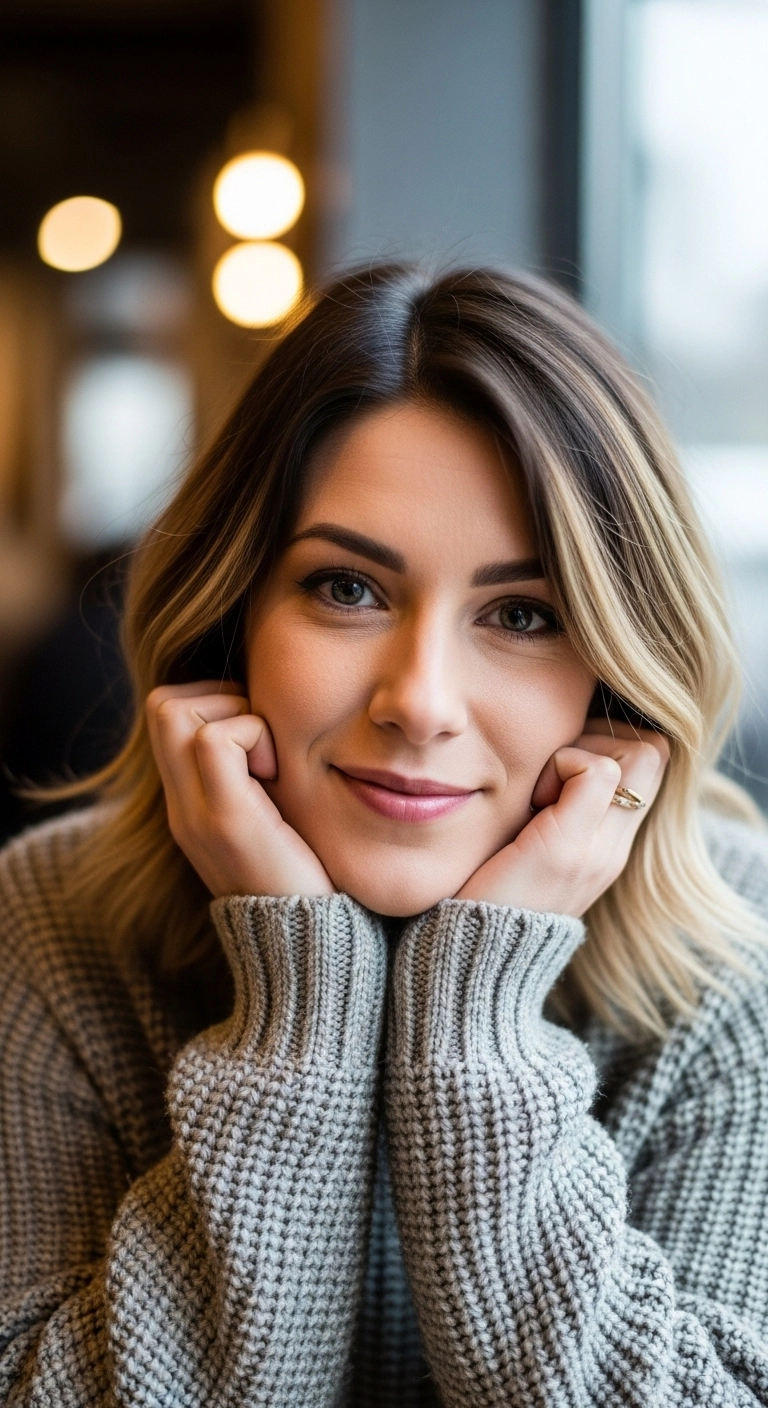
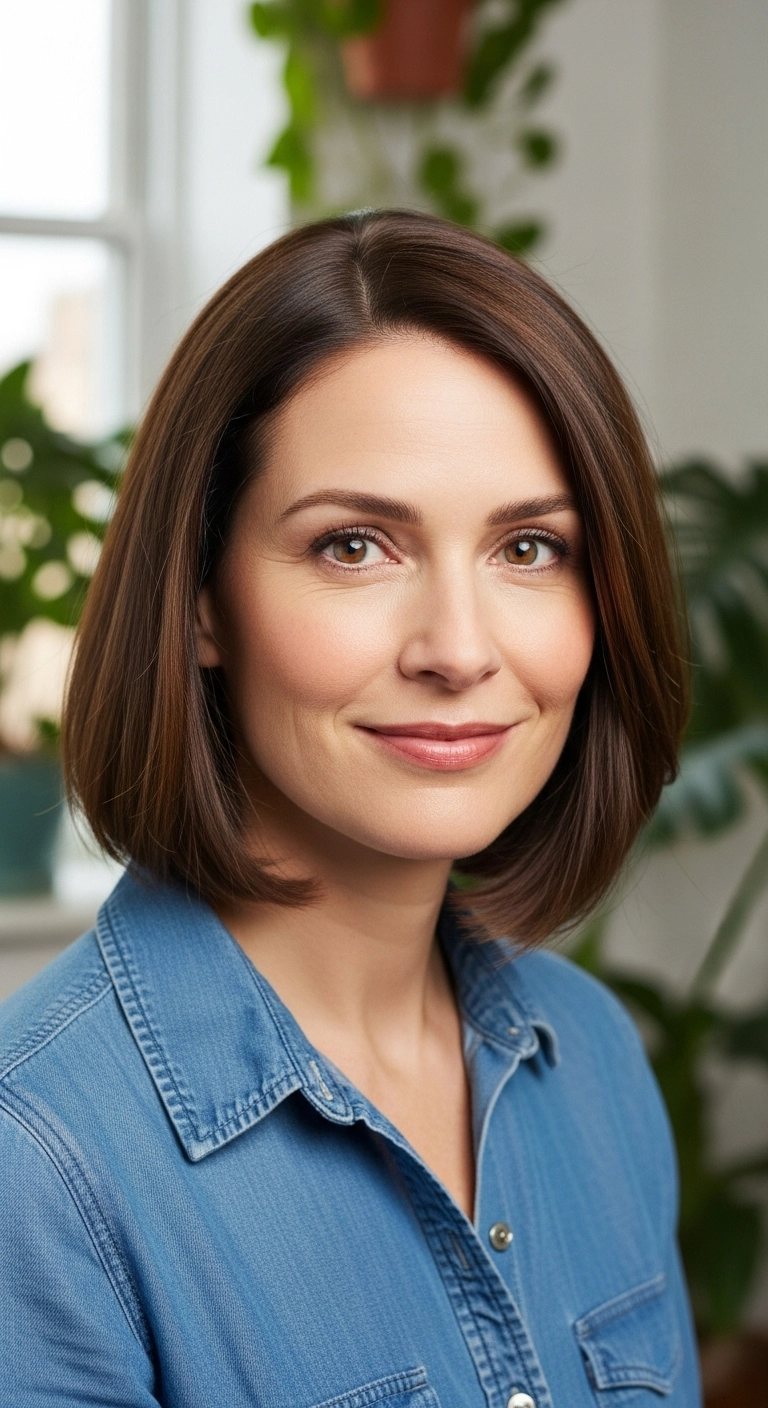
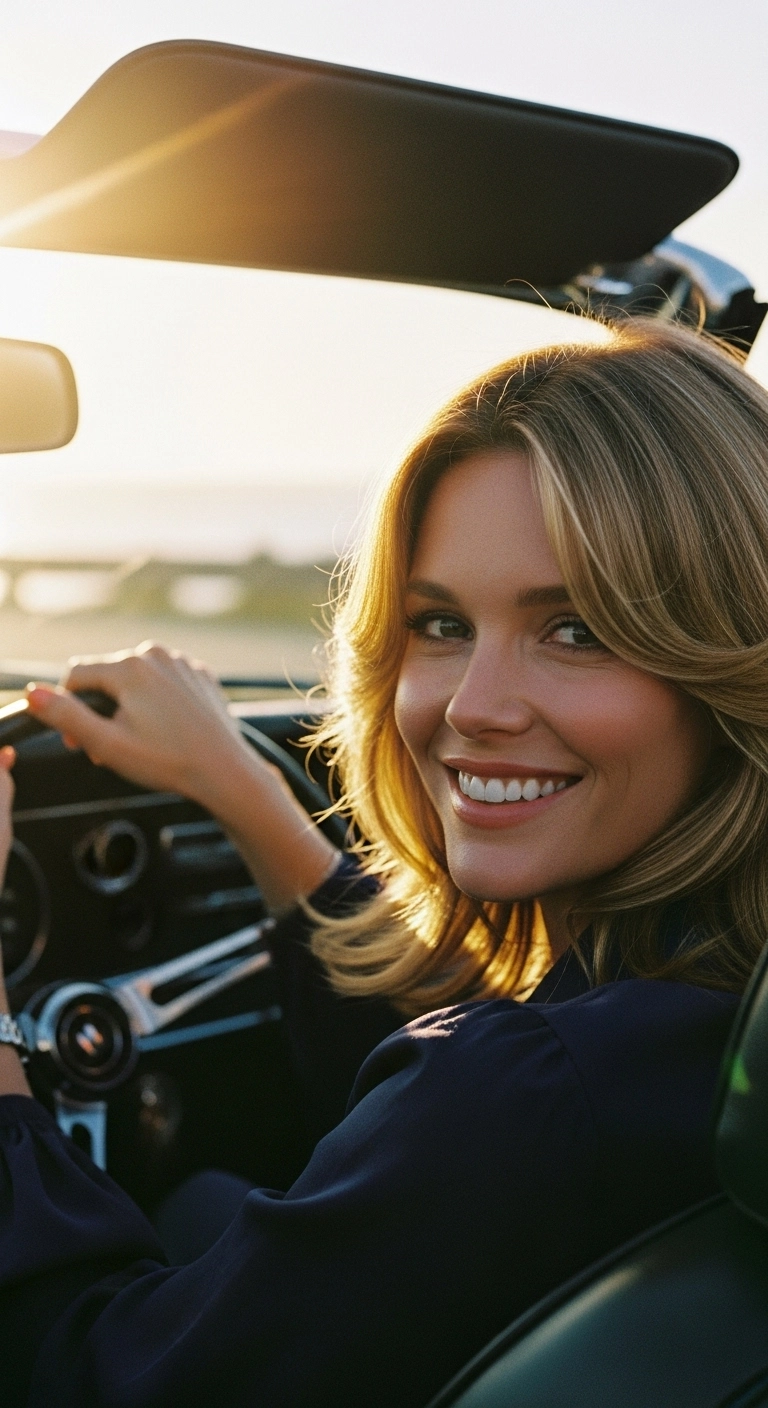
I fell in love with this style because it effortlessly blends classic elegance with everyday ease. It’s that perfect 'expensive brunette' vibe that looks like you barely tried, yet your hair catches the light in all the best ways. The soft face-framing layers instantly lift your features, and it holds up wonderfully whether you're heading to the office or out for an evening cocktail. If you’re looking to refresh your shoulder-length cut with subtle dimensional babylights and breezy movement, this is definitely the look to try!
How to do this
1. Start by prepping clean, damp hair with a lightweight heat protectant spray with argan oil listed below to safeguard your hair from thermal styling.
2. Apply a dollop of volumizing styling mousse listed below throughout the roots and mid-lengths to give your blowout body and hold.
3. Blow-dry using a ceramic round brush listed below, lifting upward at the roots and rolling outward around the face to shape the soft curtain layers.
4. Take a large barrel curling wand listed below and wrap vertical 1.5-inch sections away from the face, leaving the last inch of the ends uncurled for a modern, relaxed finish.
5. Allow the waves to cool completely, then gently rake through them with a wide-tooth detangling comb listed below to soften the bends.
6. Finish with a spritz of flexible hold texturizing hairspray listed below to give effortless separation and all-day movement.
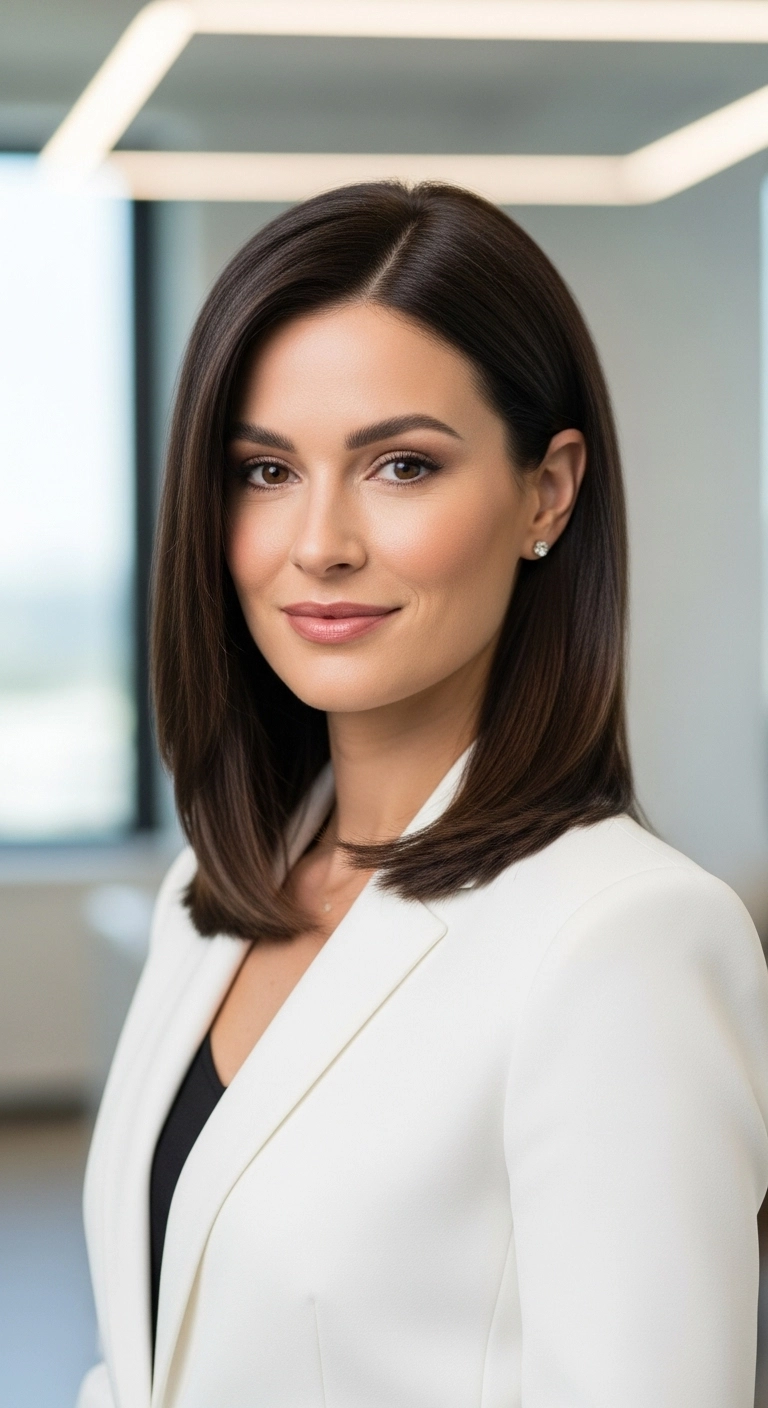
If you've been craving that sleek, ultra-clean aesthetic that looks effortlessly put together, this is your sign! It's a gorgeous blunt lob cut right at the collarbones with the softest curve at the tips. Tucking one side behind the ear gives it an instant polished, CEO-energy touch that never goes out of style.
How to do this
1. Start by washing hair with a hydrating, smoothing shampoo and applying a lightweight conditioner to keep strands silky.
2. On towel-dried hair, mist evenly with the heat protectant spray listed below to shield hair from blow-dryer and iron damage.
3. Apply a dime-sized amount of the smoothing blowout cream listed below from mid-lengths to ends to tame flyaways and enhance shine.
4. Create a clean deep side part using a tail comb.
5. Blow-dry hair in horizontal sections using the ceramic round brush listed below, directing the airflow down the hair shaft and rolling ends gently under for that smooth, beveled finish.
6. If needed, run the ceramic flat iron listed below through the mid-lengths, softly turning your wrist inward at the bottom to seal the bevel without making it look pin-straight.
7. Tuck one side cleanly behind the ear, then mist all over with the lightweight shine serum and flexible hairspray listed below to lock in the glass-hair look all day.
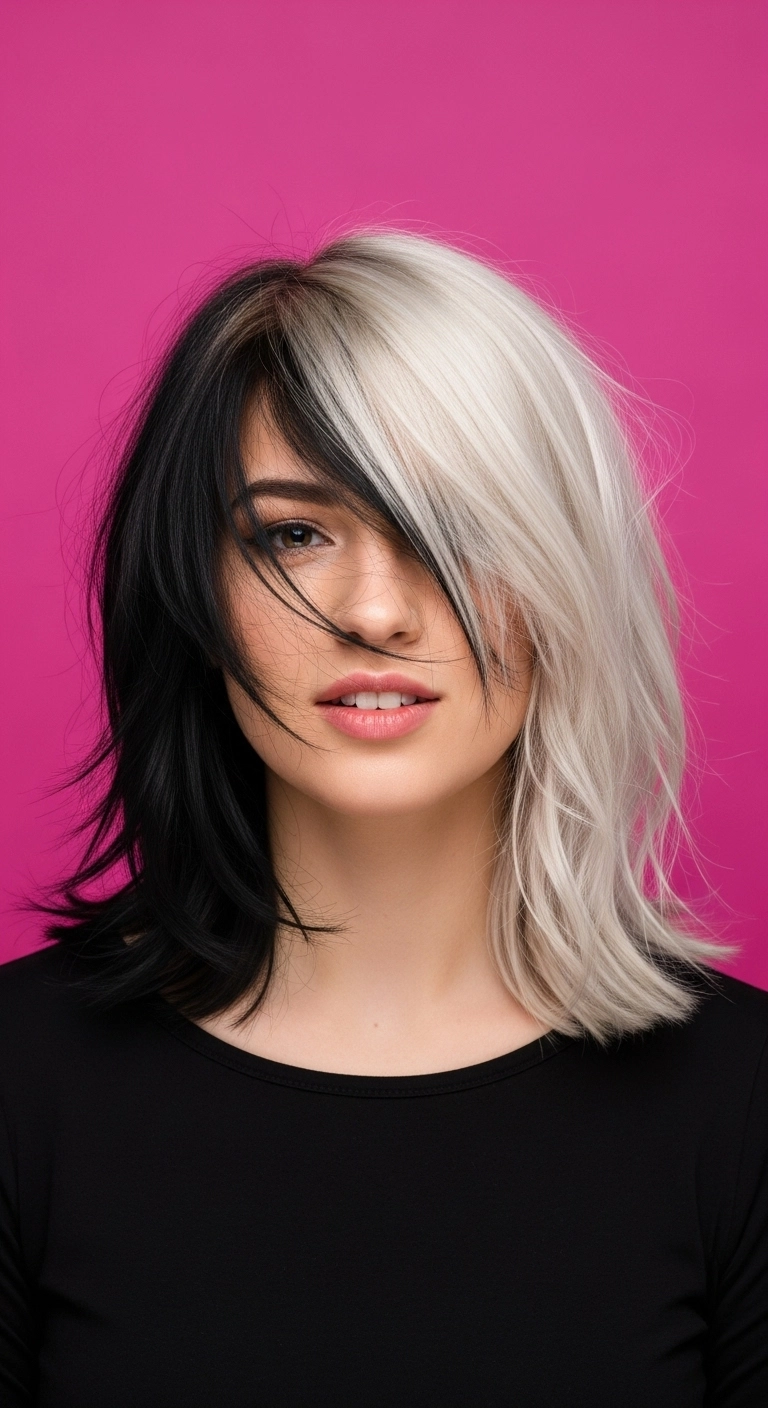
I am totally obsessed with split-dye hair, and this black-and-platinum combo is giving peak edgy energy. You get the best of both worlds—moody jet black on one side and icy, high-impact blonde on the other. Paired with that deep sweeping fringe and textured collarbone cut, it looks cool without trying too hard.
How to do this
1. Start by parting clean, dry hair precisely down the center from forehead to nape to prep for the split dye, clipping each half securely away.
2. Lighten the chosen half of your hair to a pale level 10 blonde using the hair bleach powder and developer listed below, making sure to avoid overlapping onto the opposite section.
3. Once lifted, tone the blonde side to eliminate brassiness using the cool violet toning shampoo listed below to achieve an icy platinum finish.
4. Apply a rich jet-black demi or permanent color to the other half, rinsing each side carefully with cool water so the dark pigment doesn't bleed into the light side.
5. Prep damp hair with the lightweight heat protectant spray listed below before blow-drying.
6. Use a medium round ceramic brush and blow dryer to sweep the long front fringe across the face, slightly beveling the ends of the lob outward for that effortless, piecey kick.
7. Finish the look by misting the dry texturizing spray listed below through the mid-lengths and roots to give it gritty volume and separation.