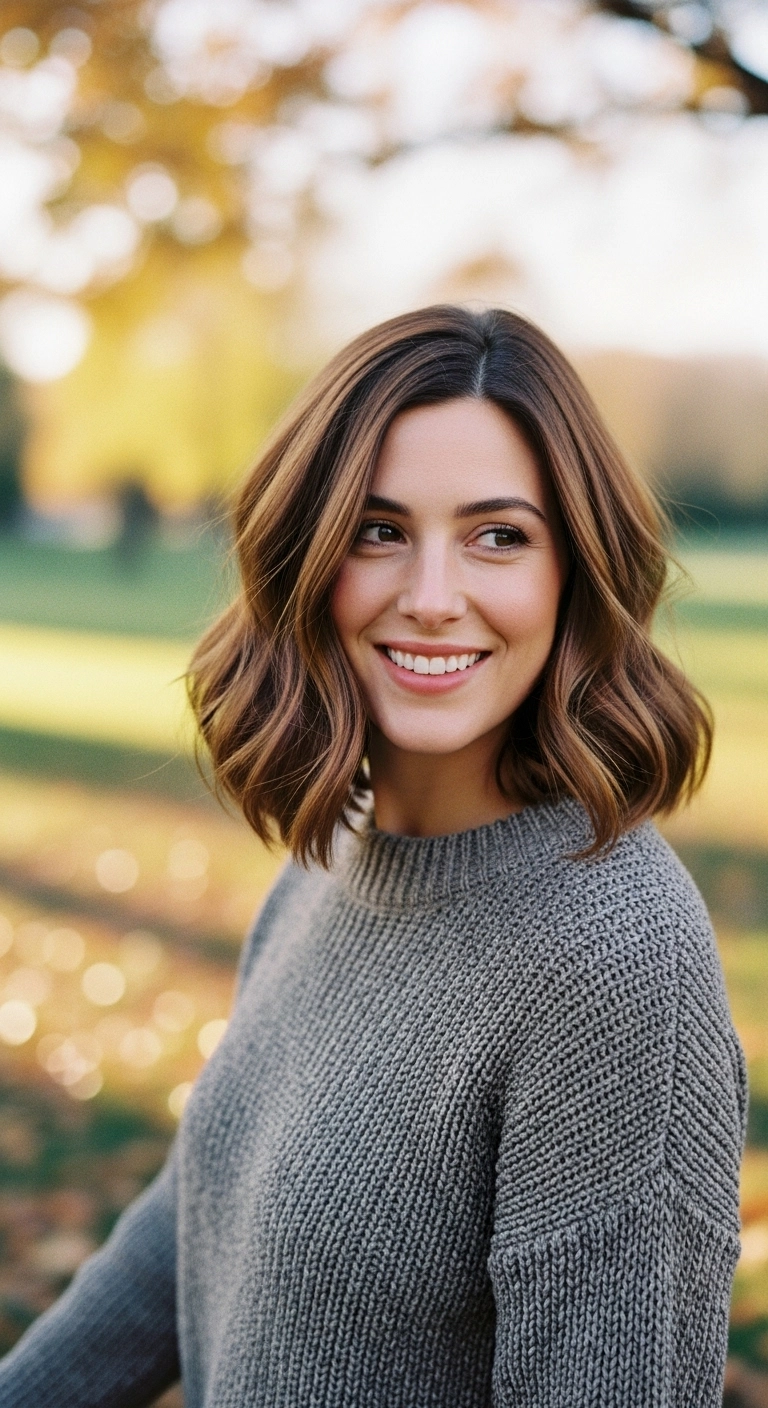
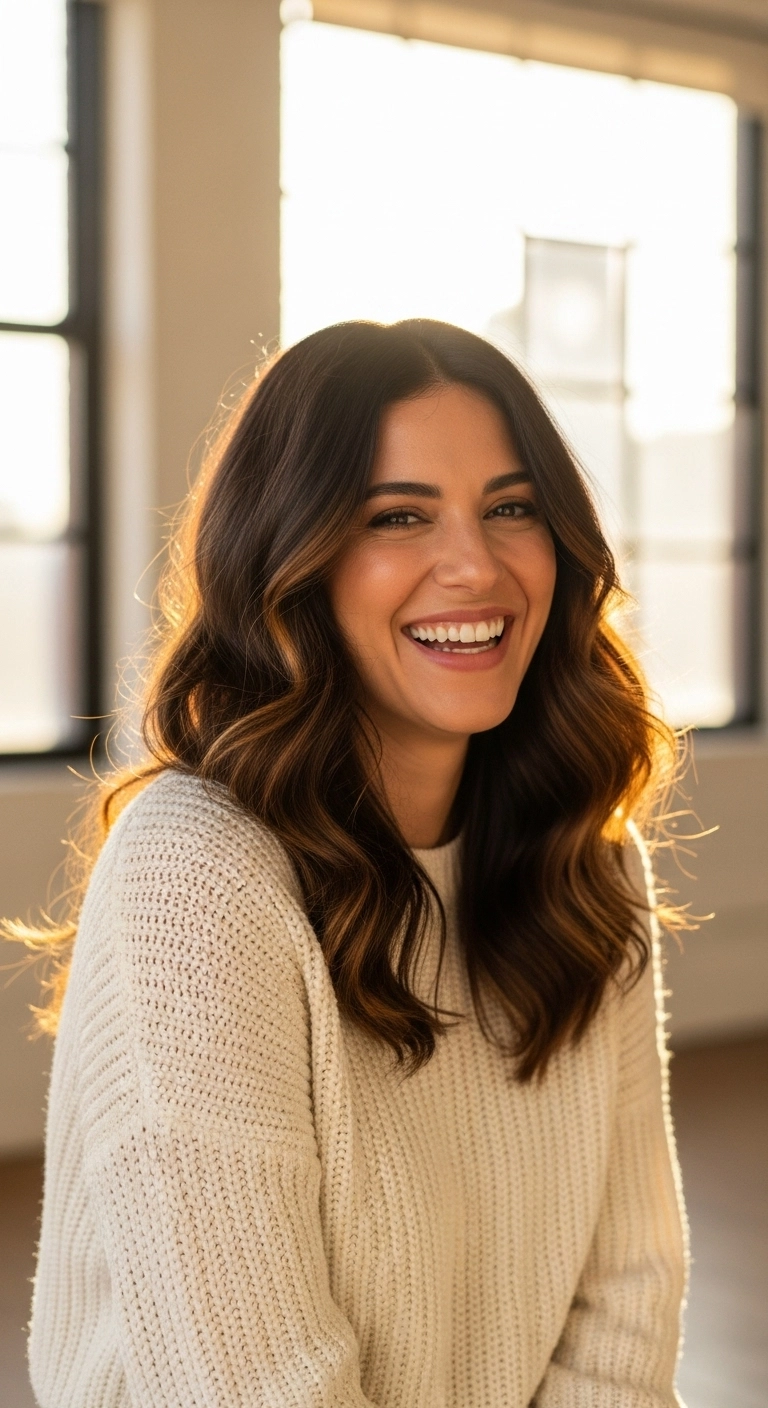
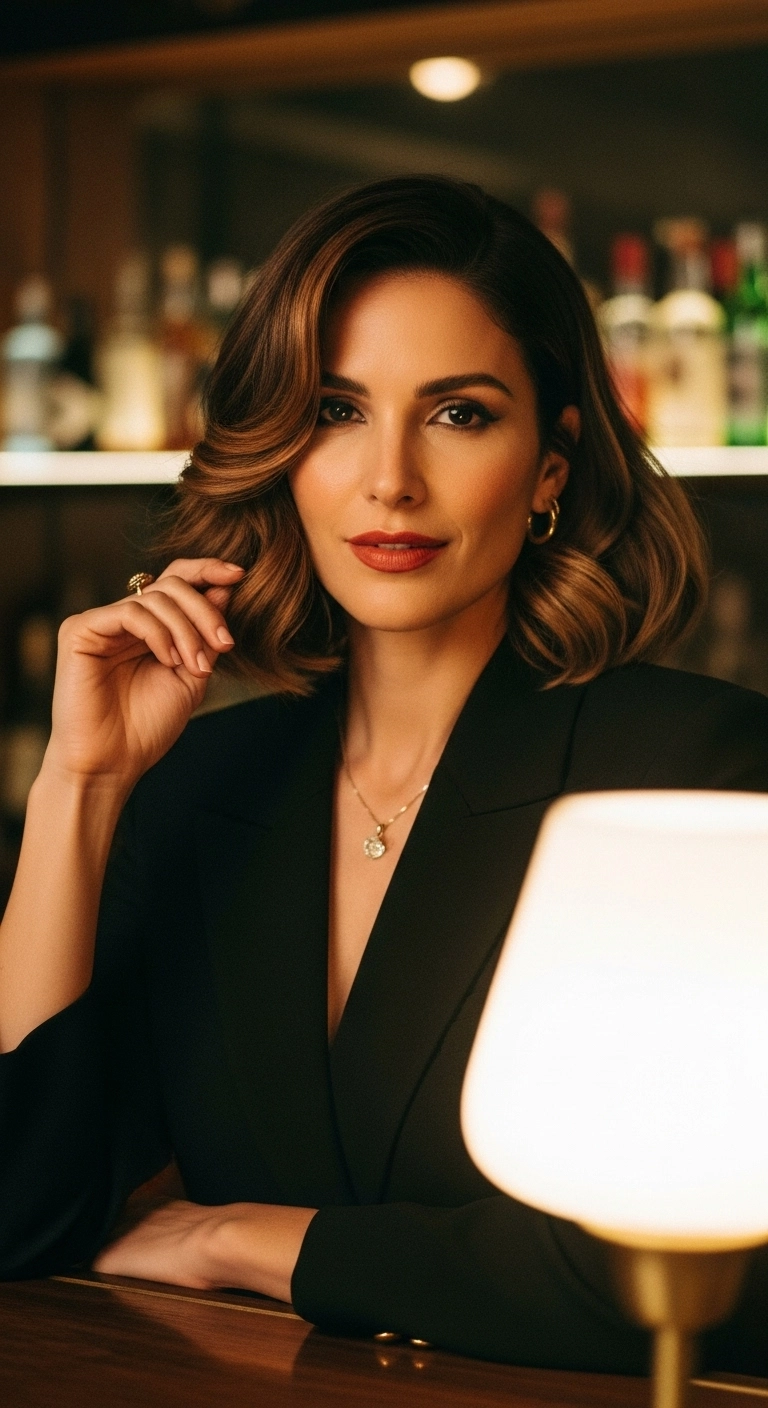
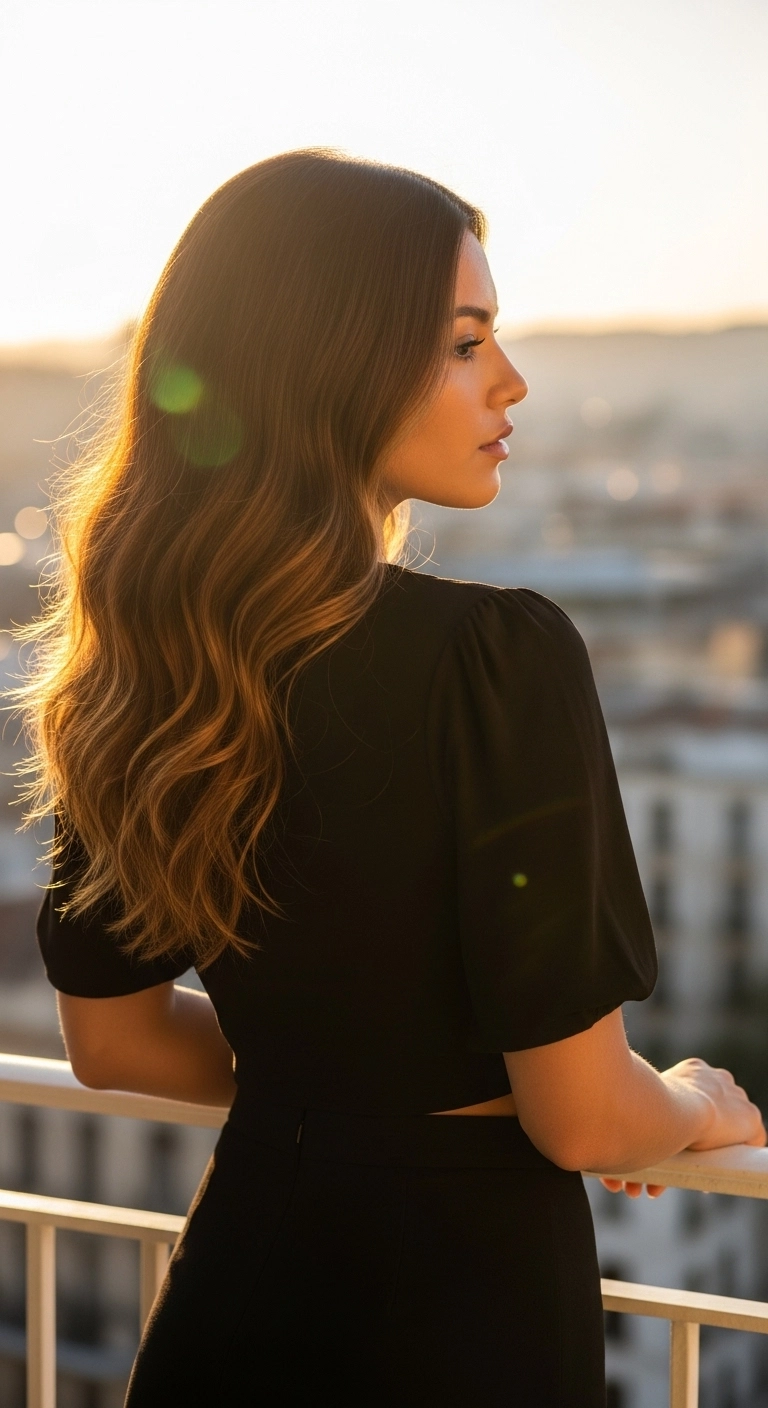
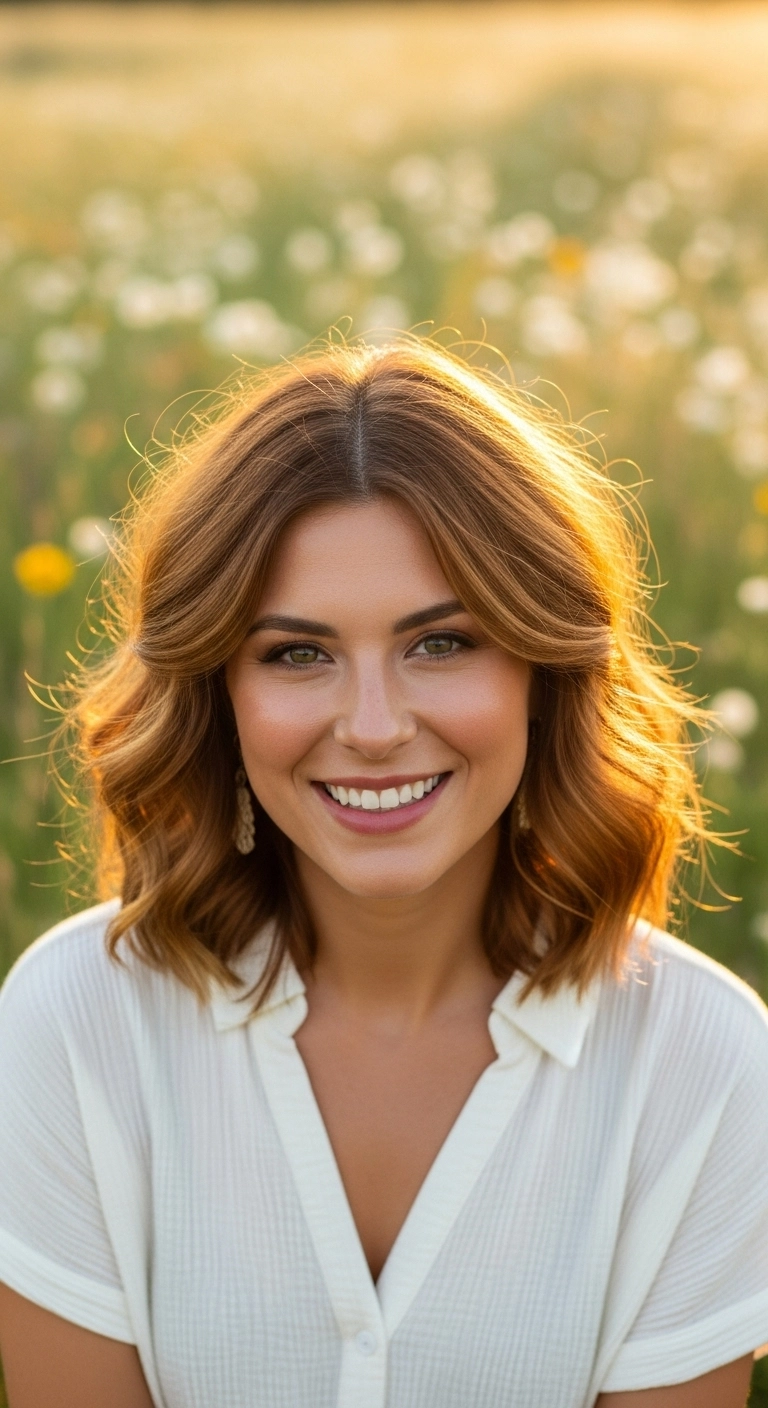
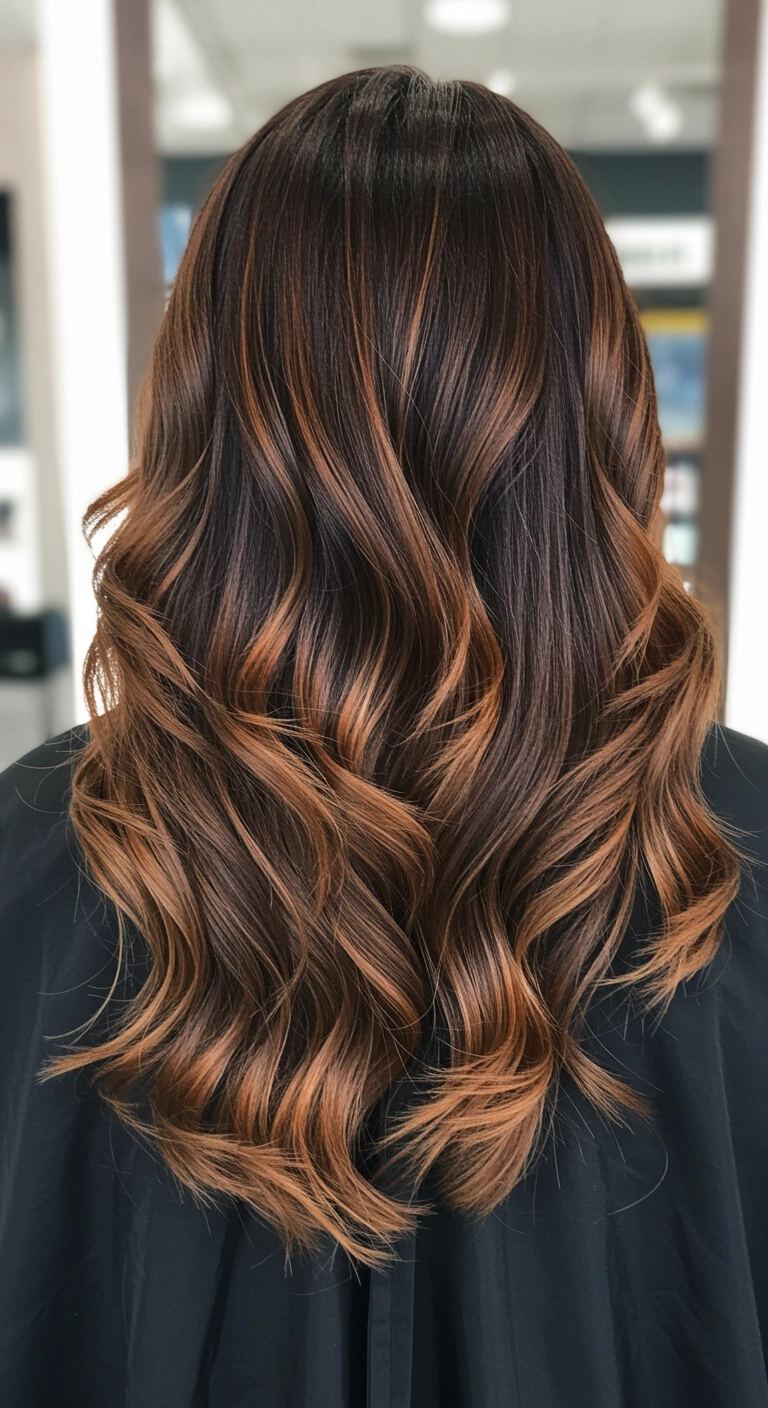
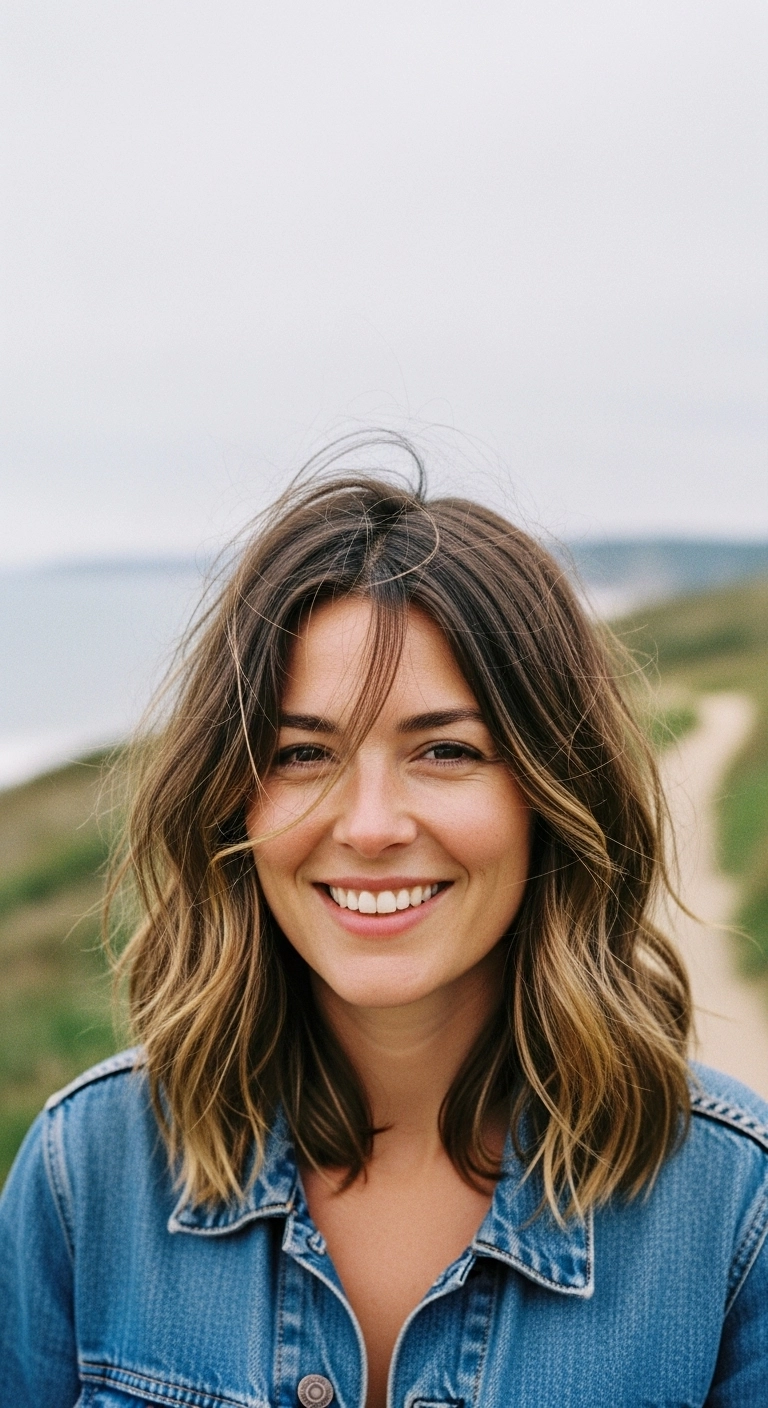
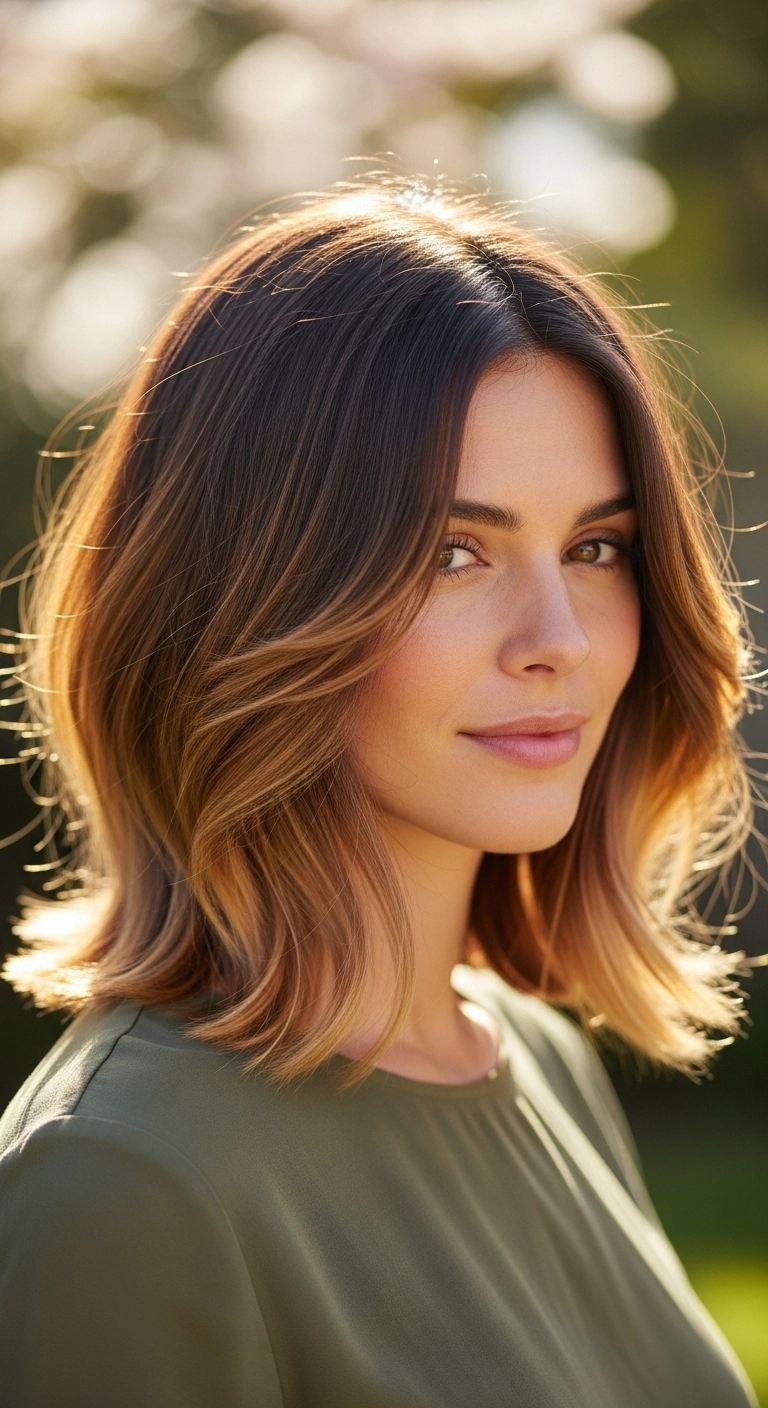
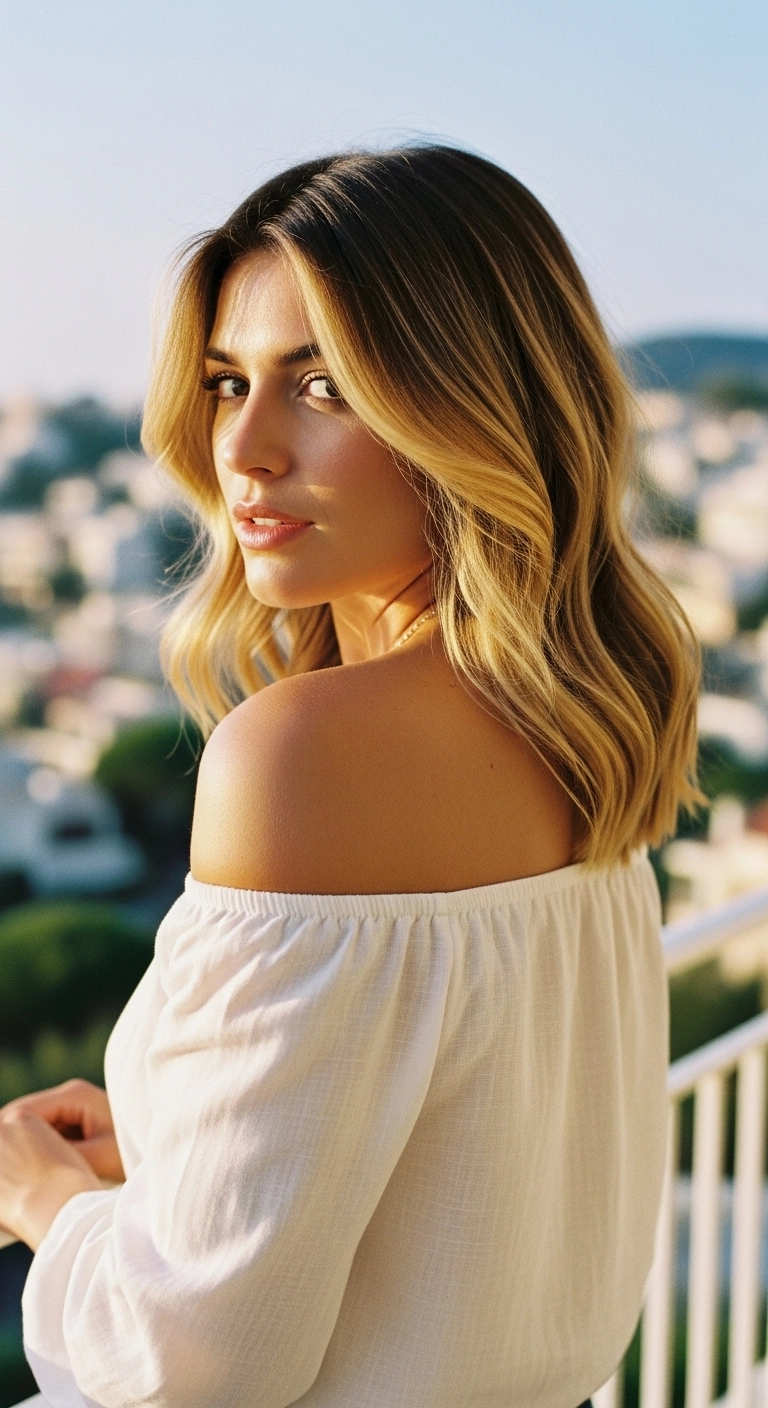
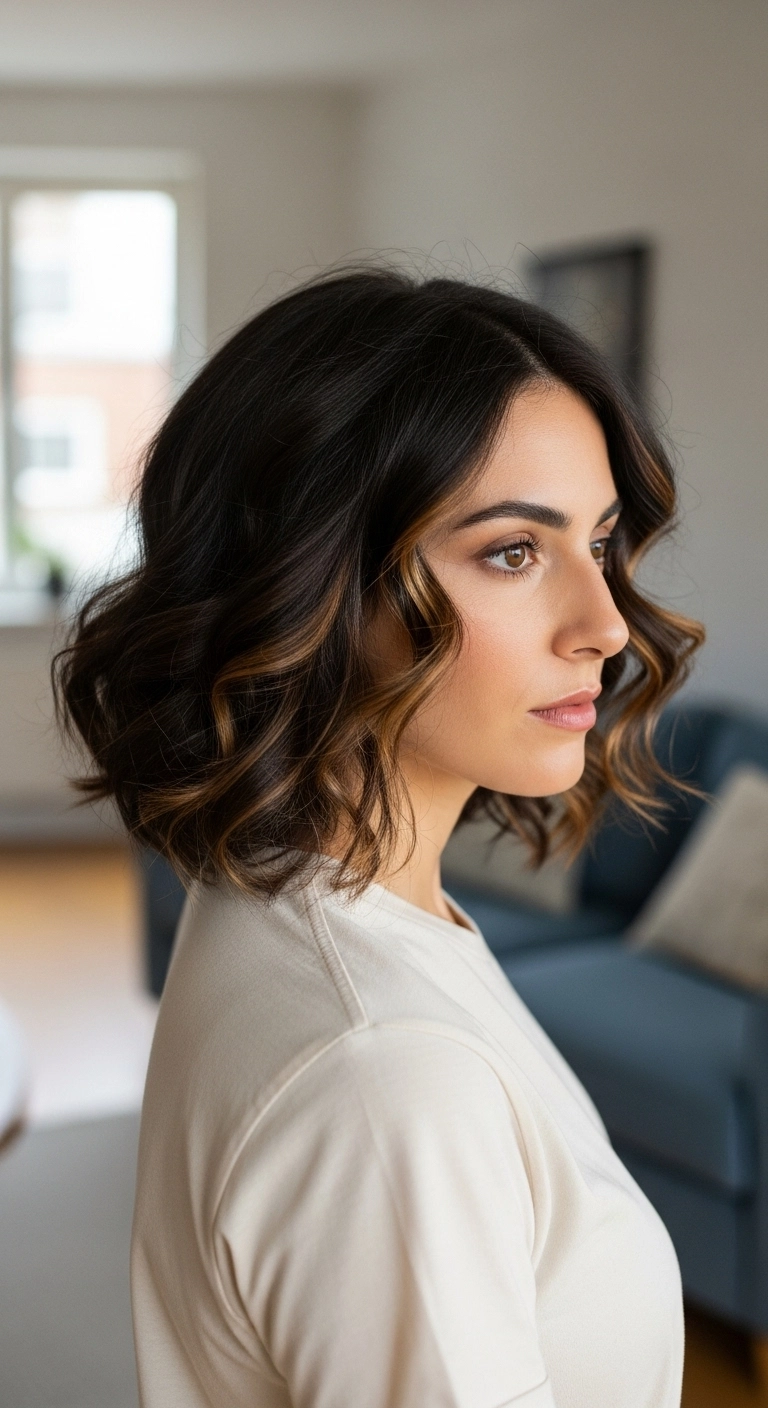
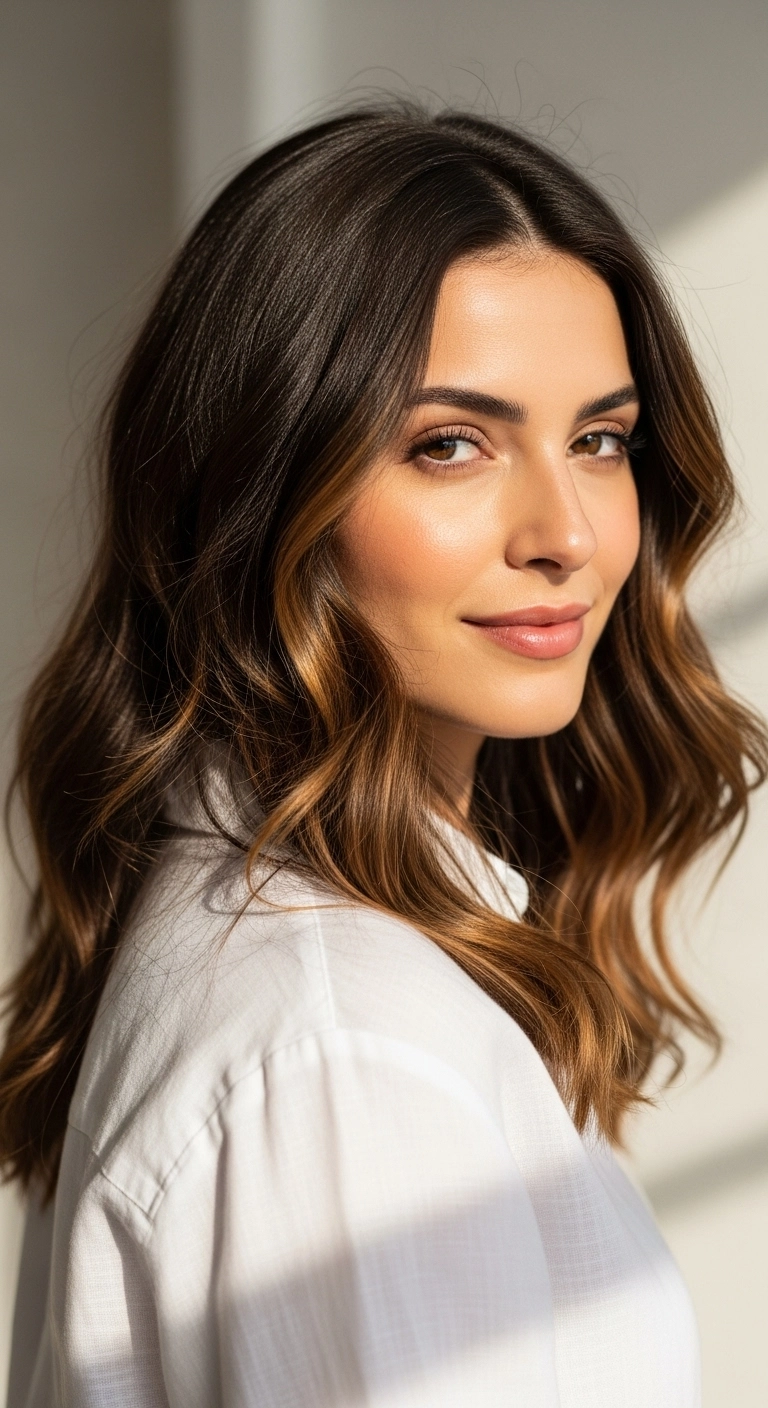
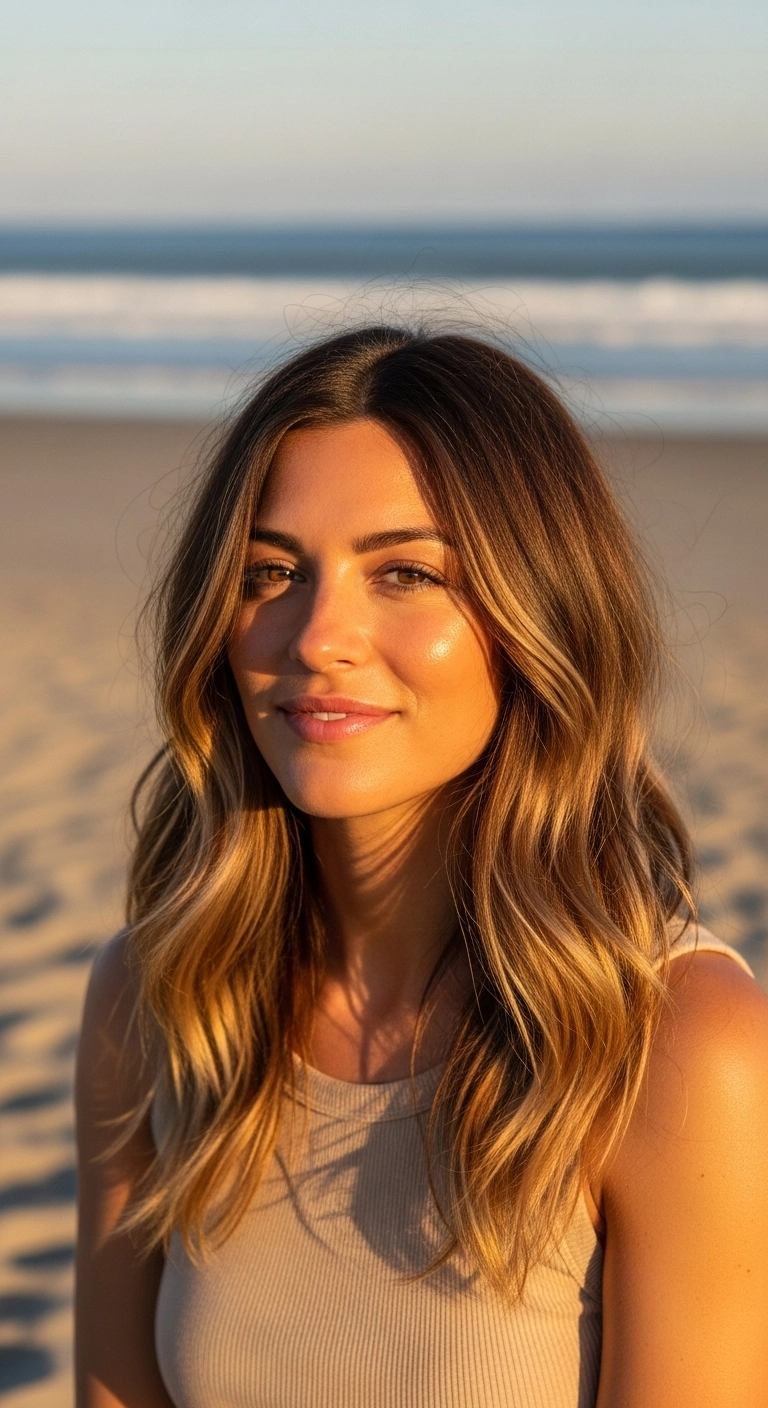
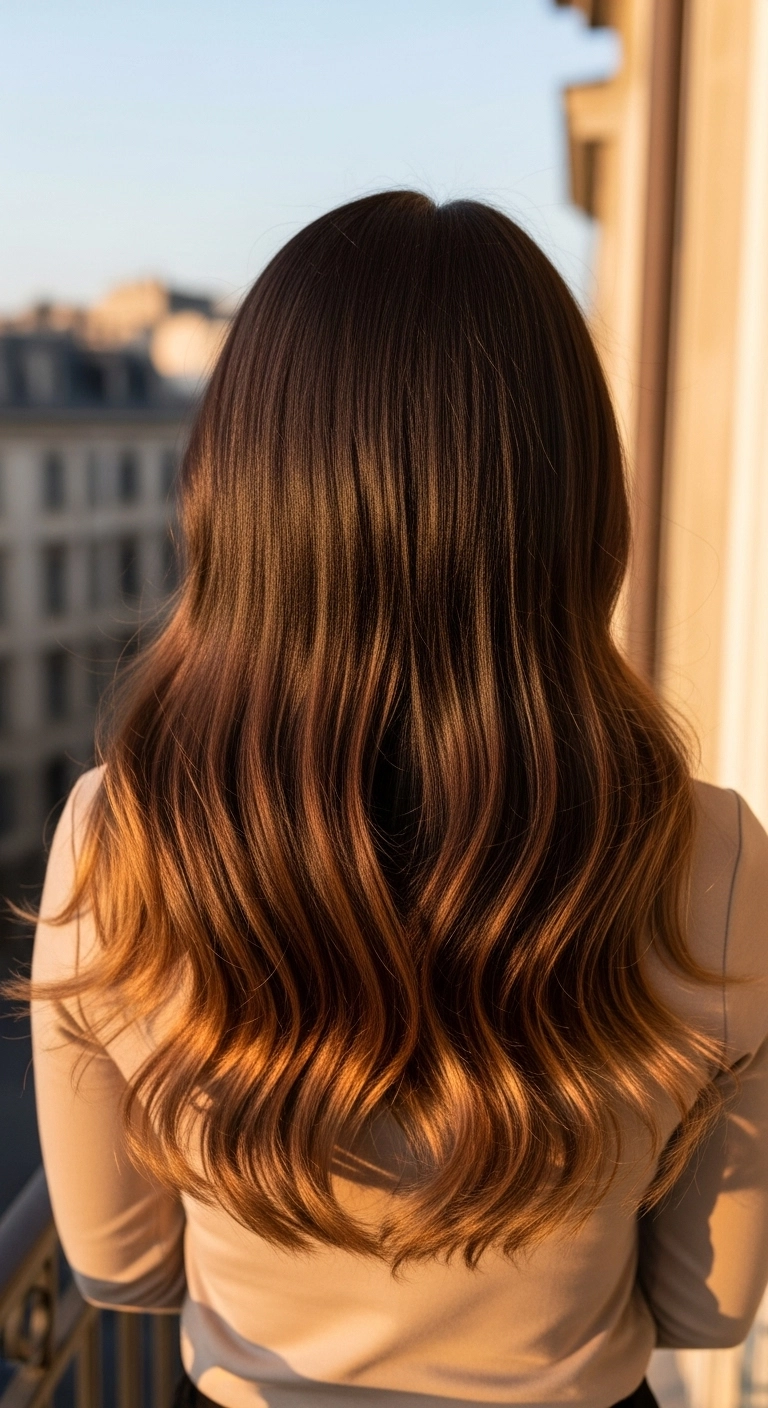
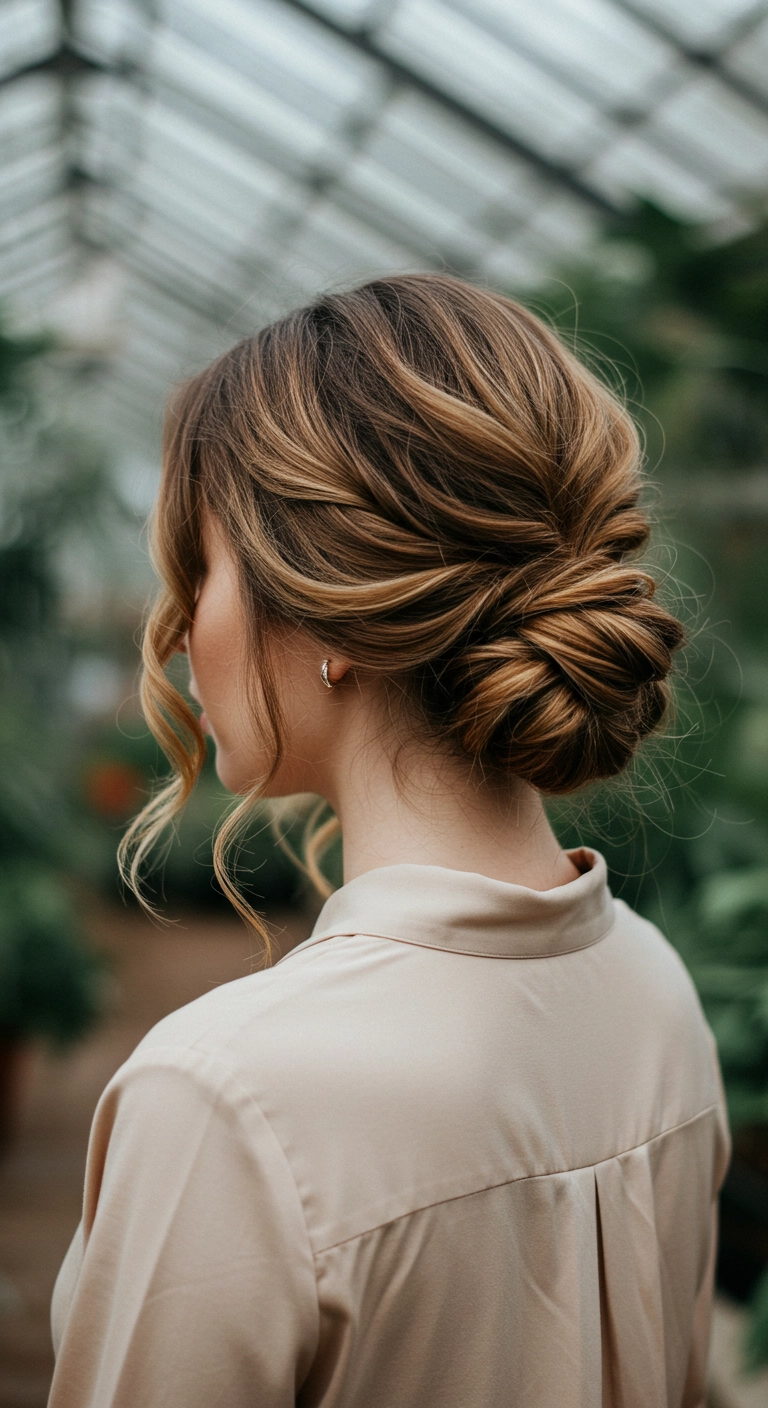
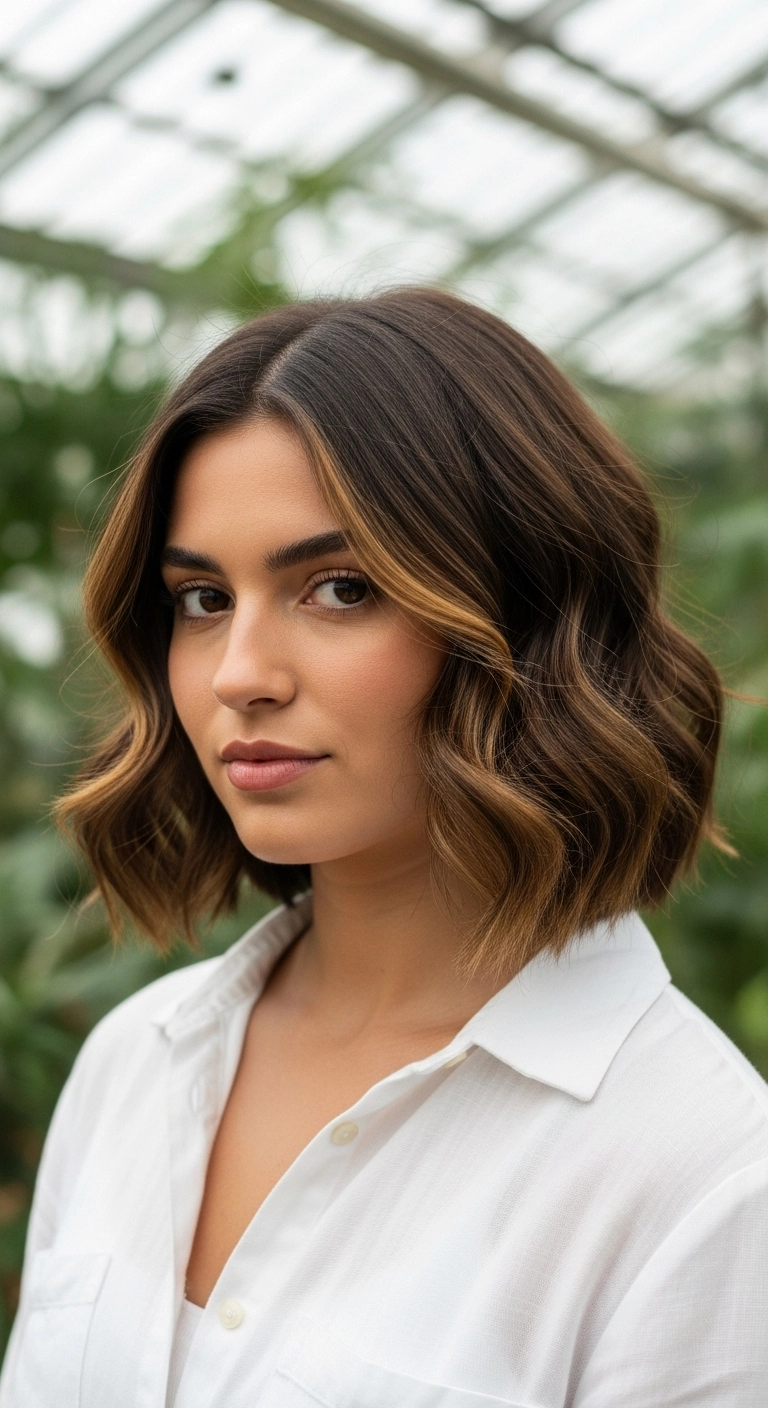
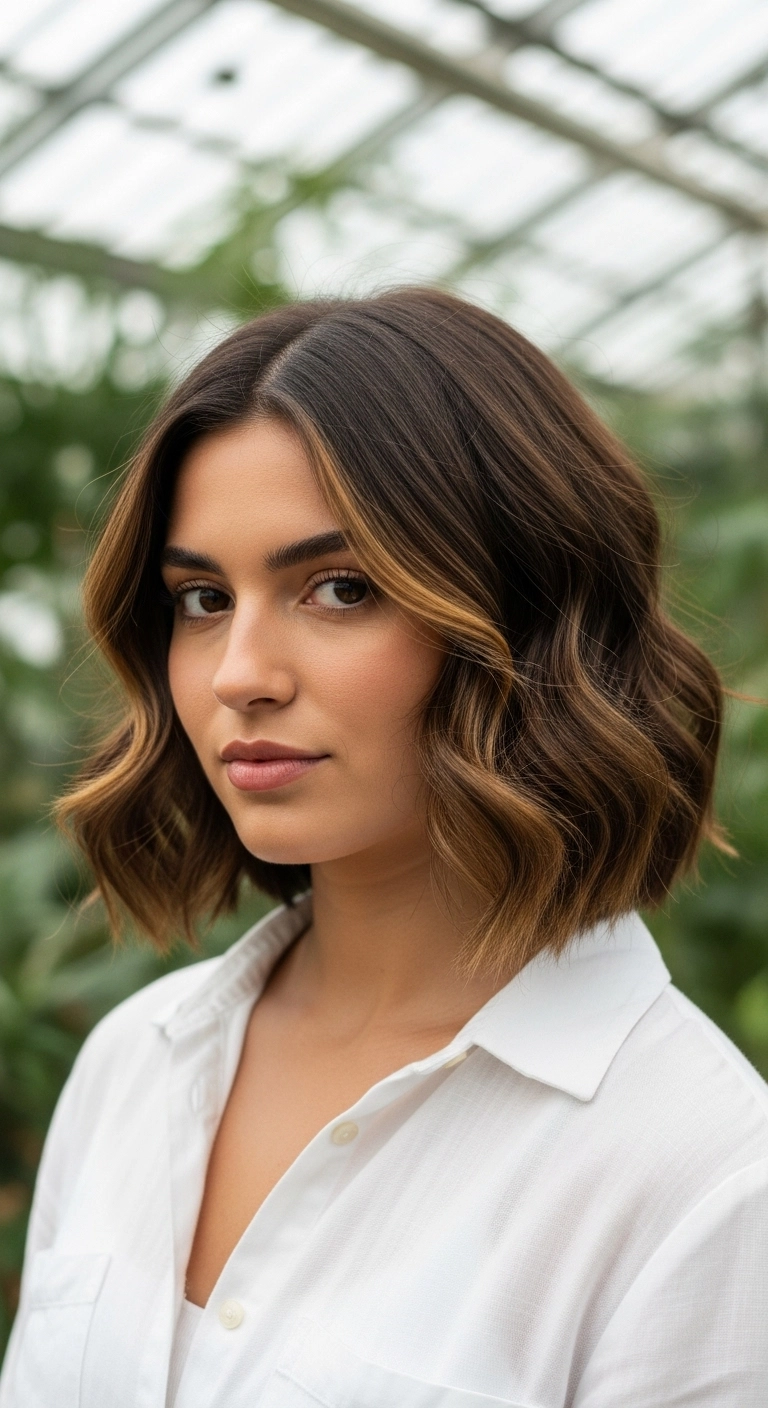
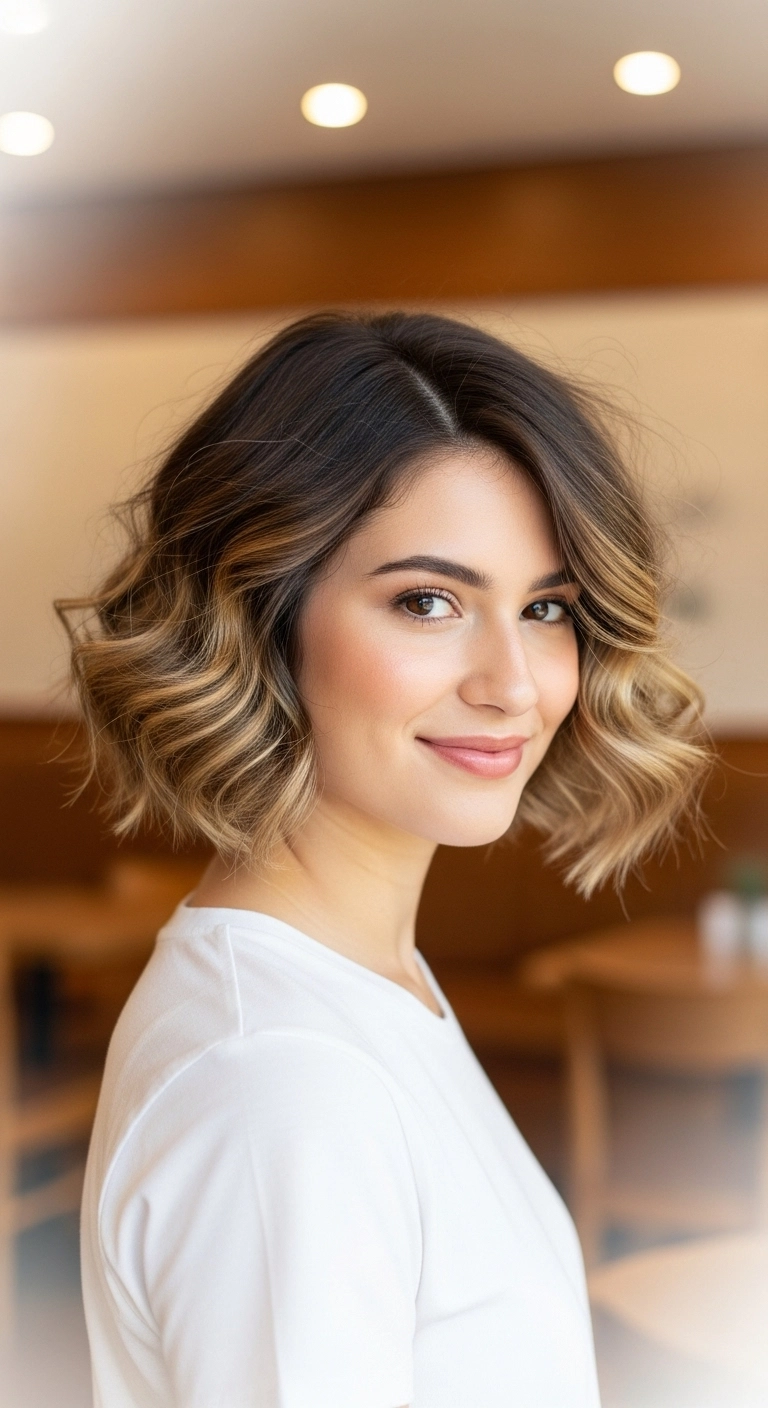
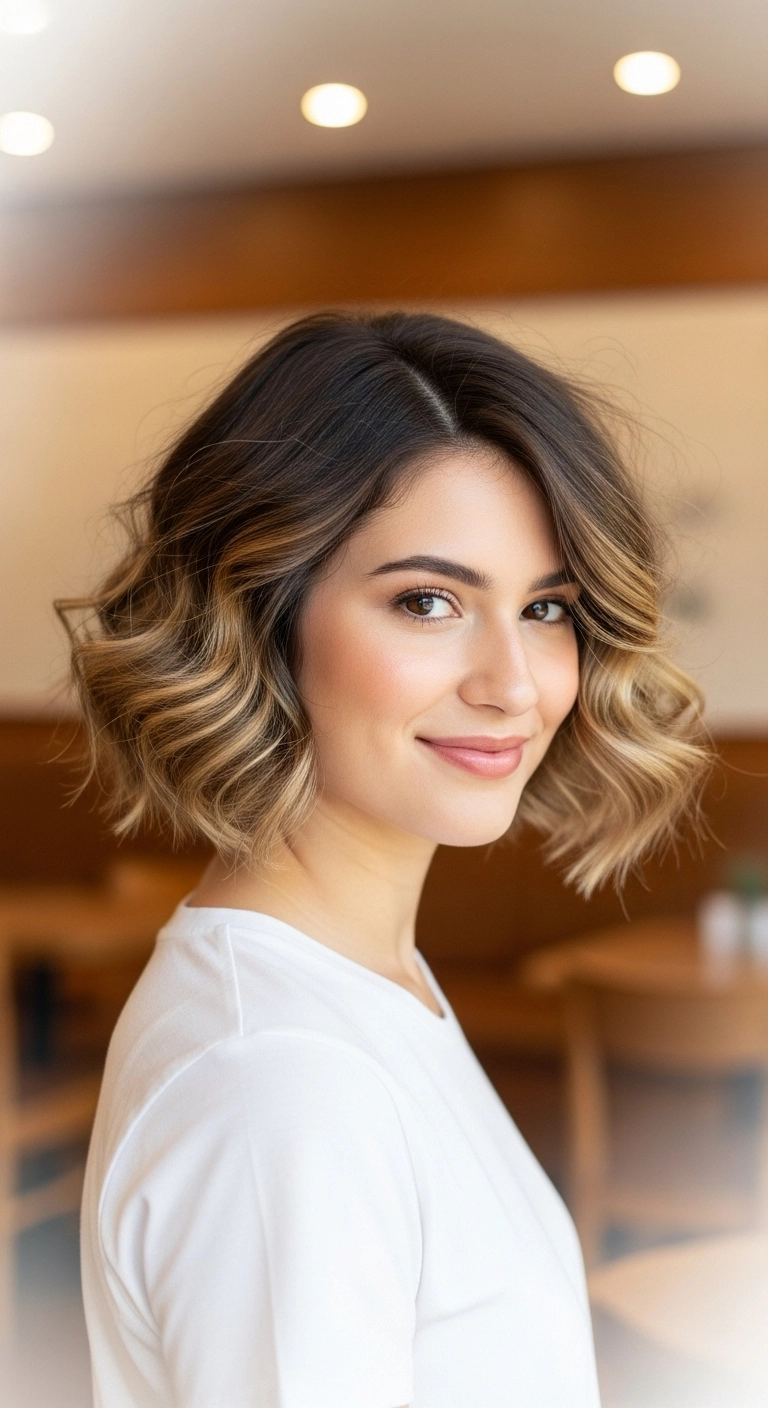
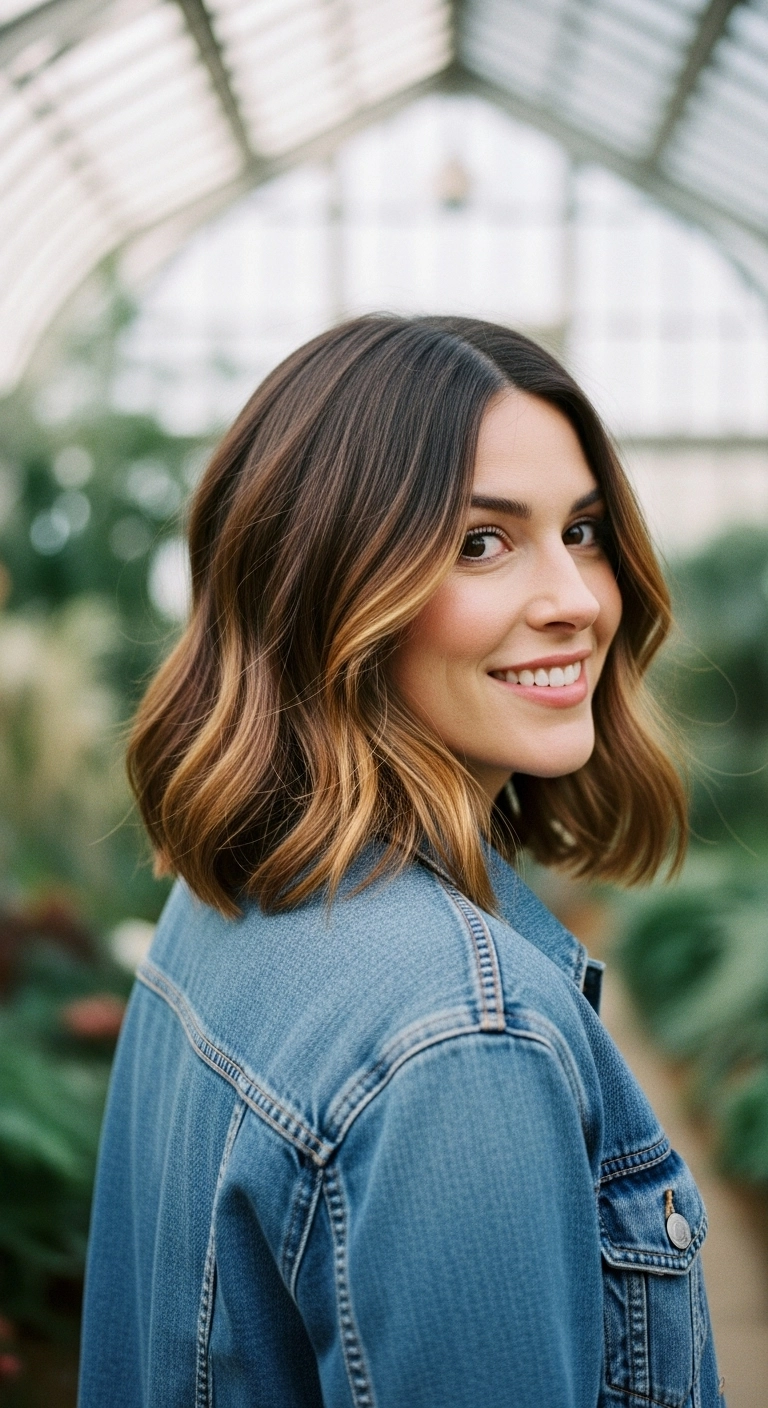
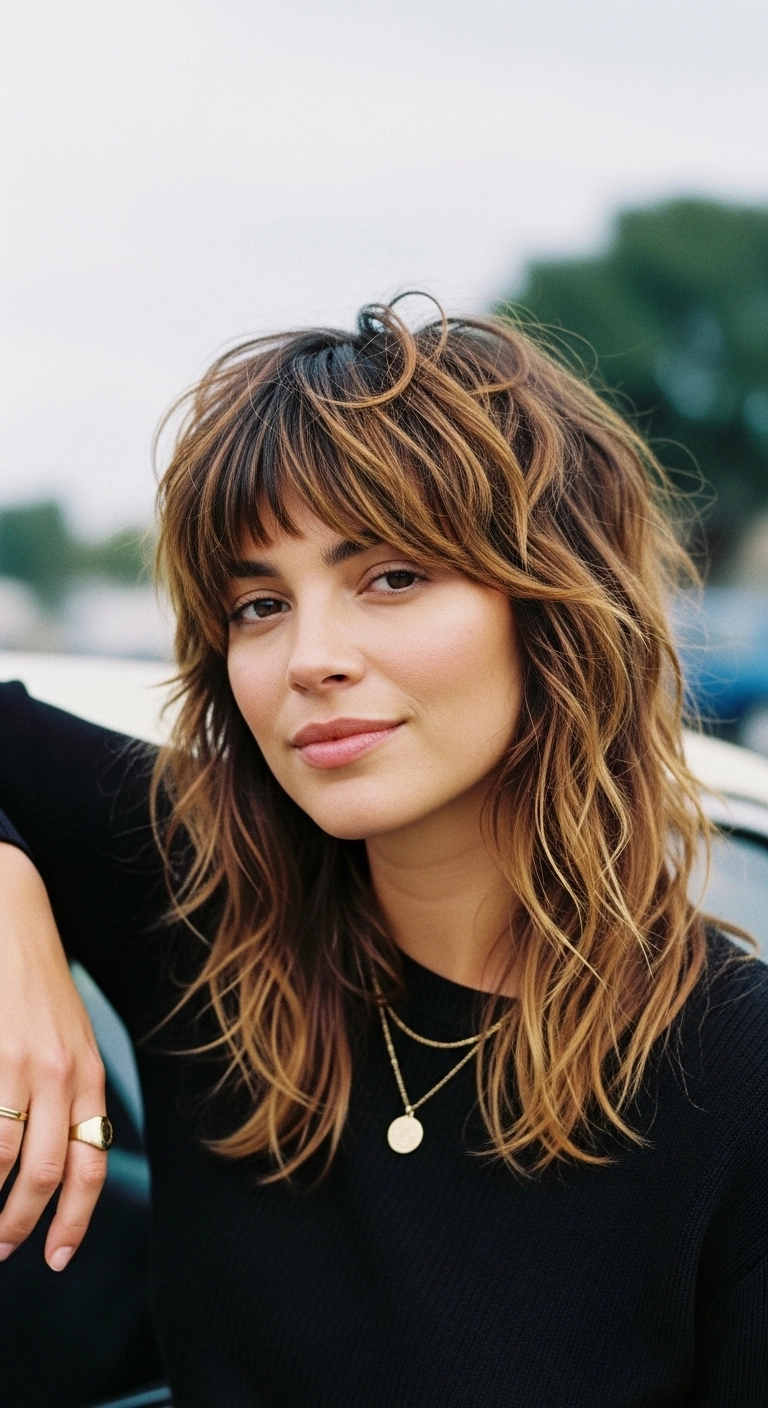
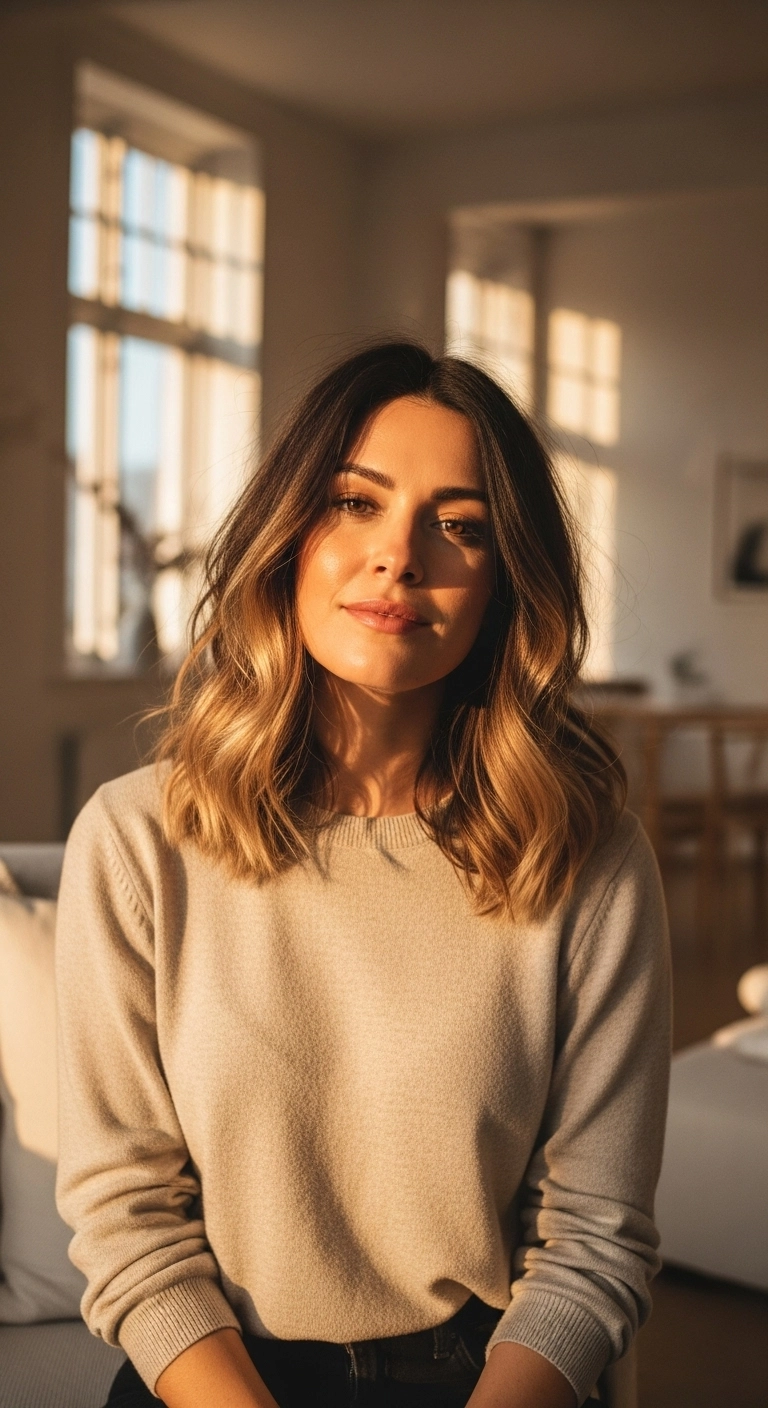
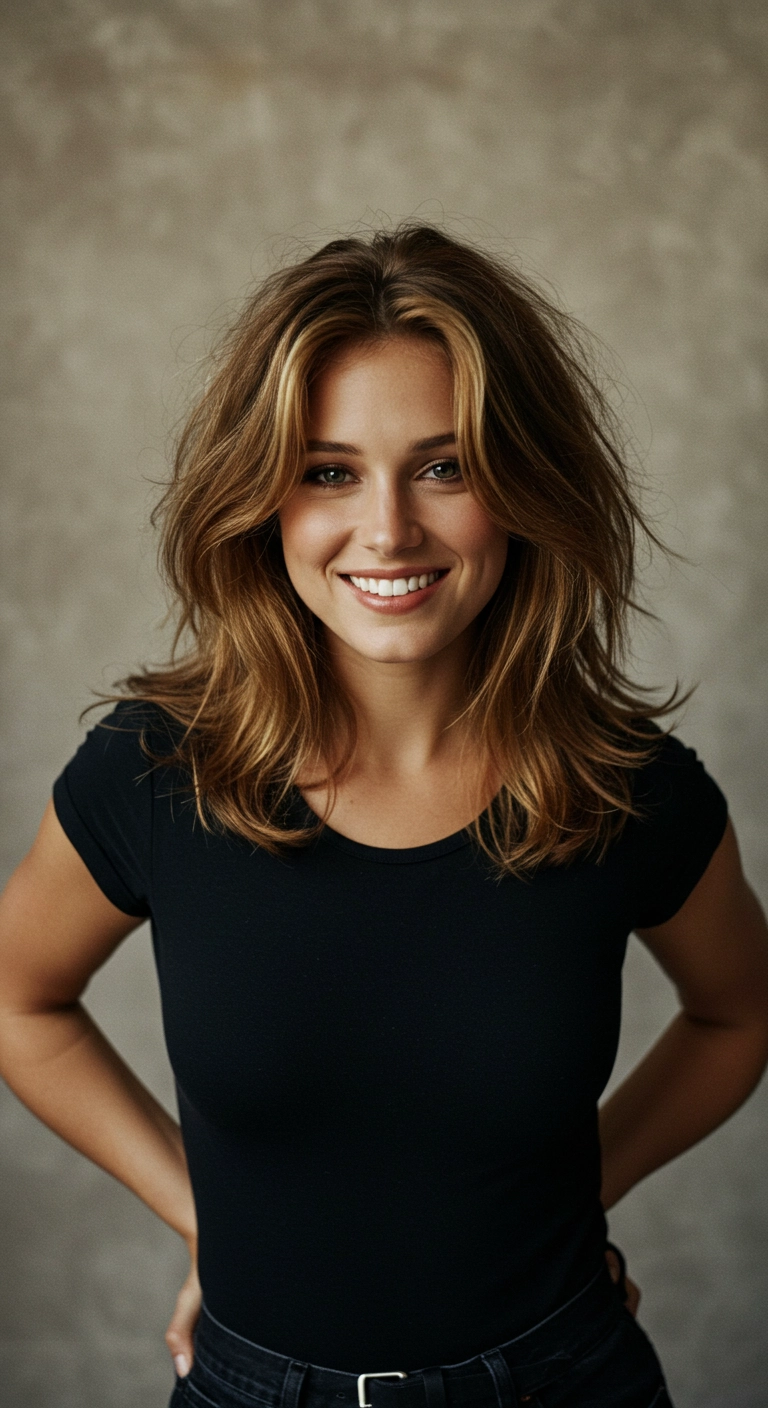
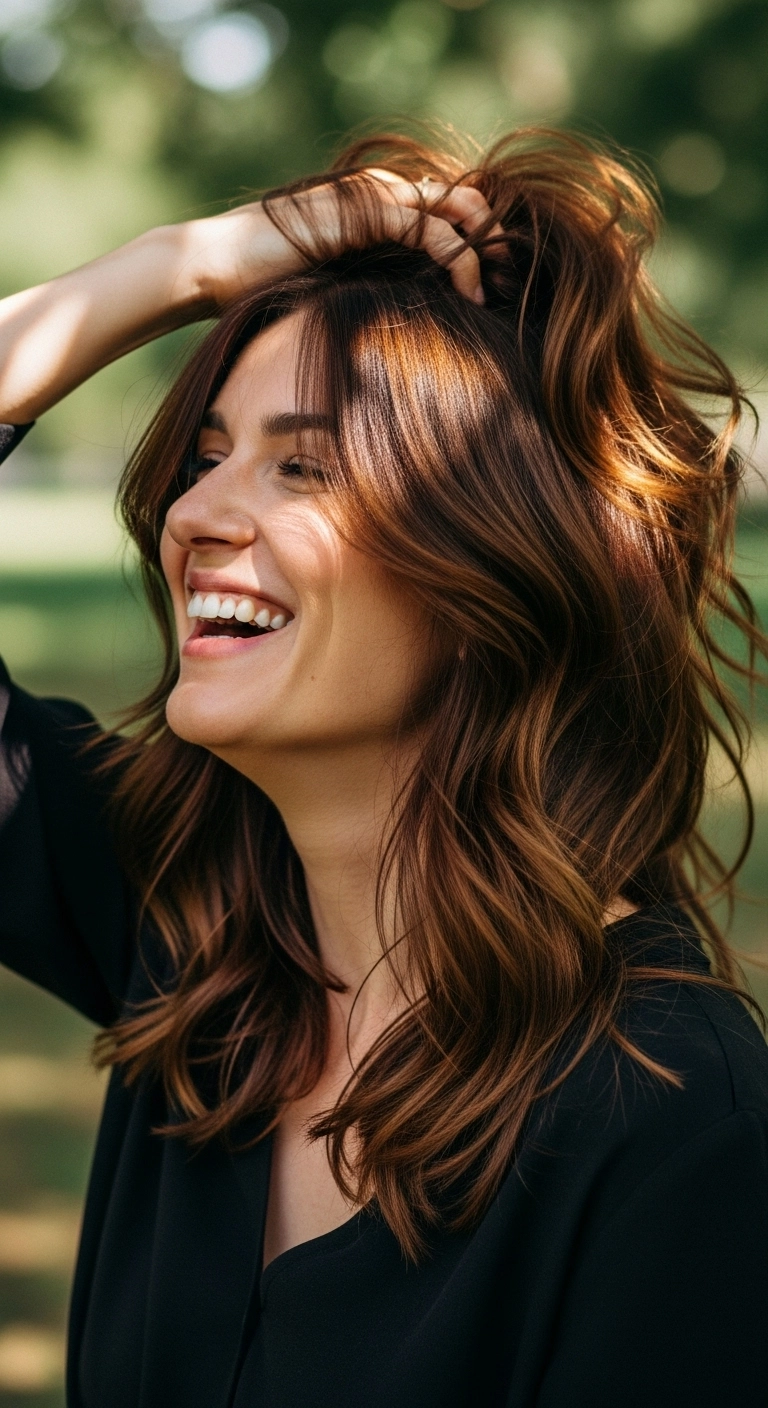
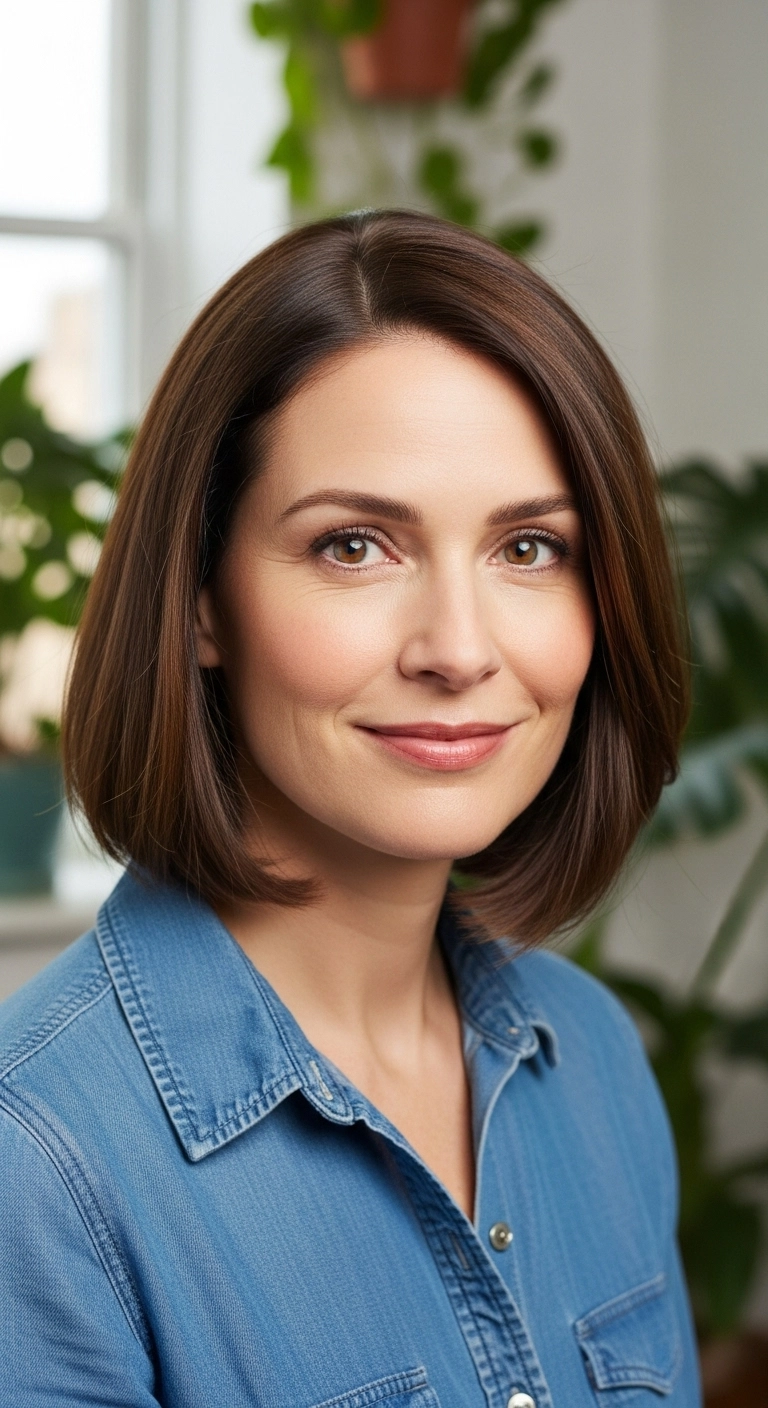
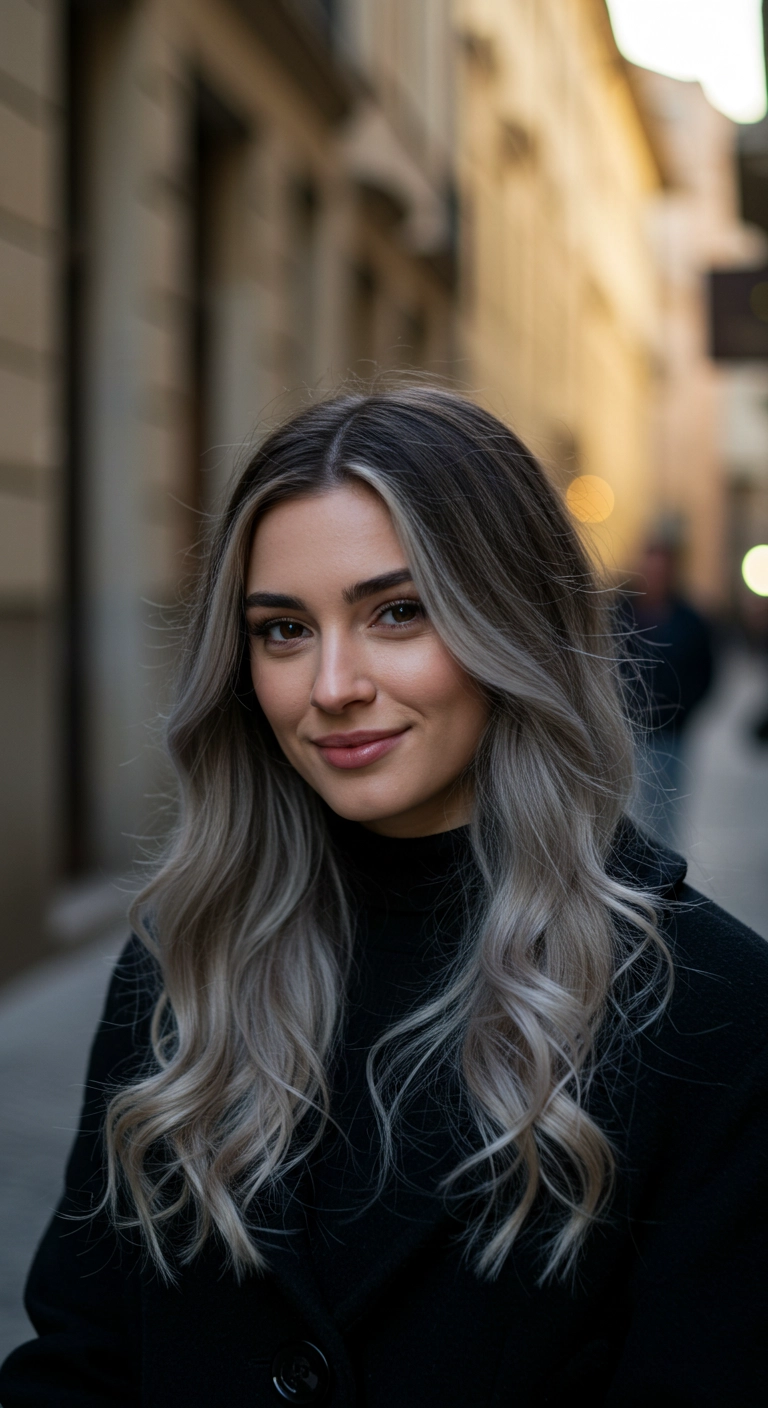
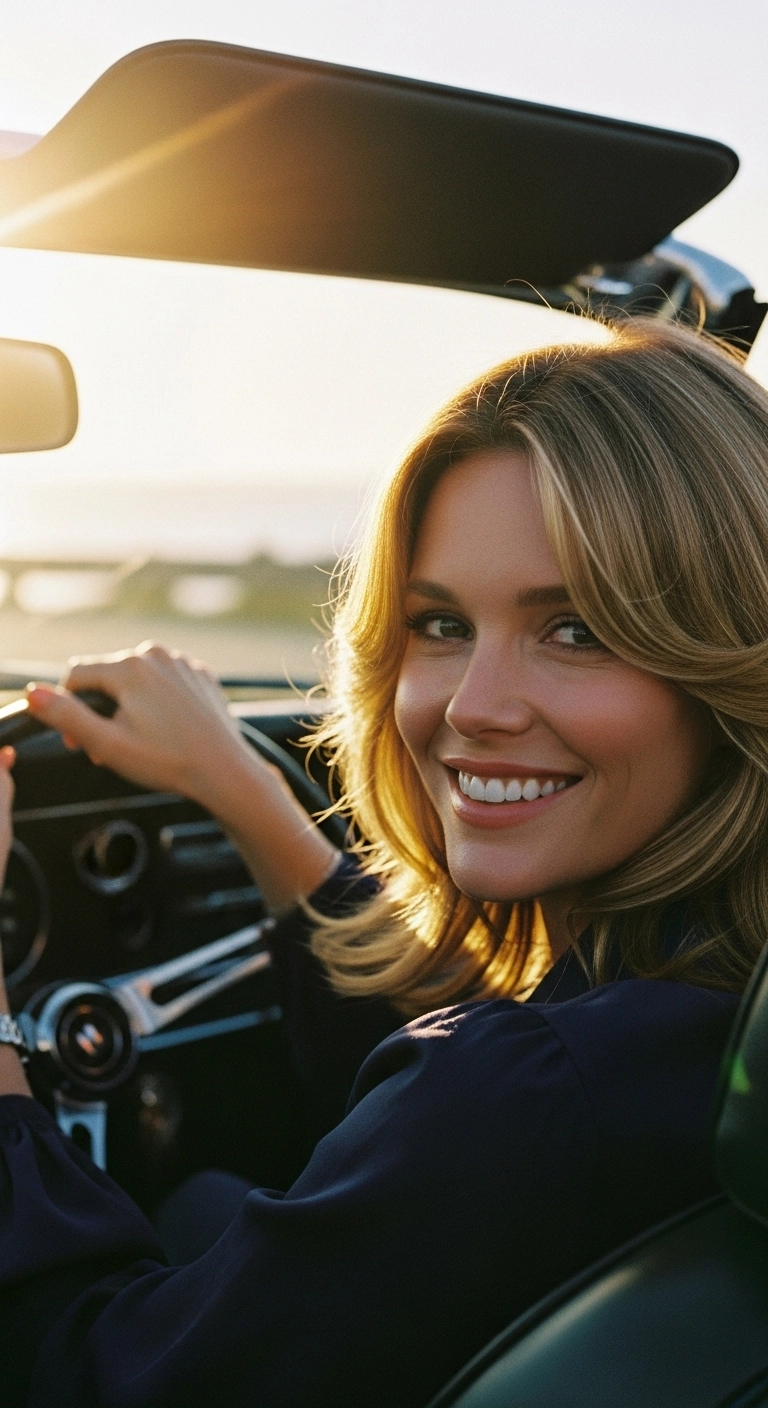
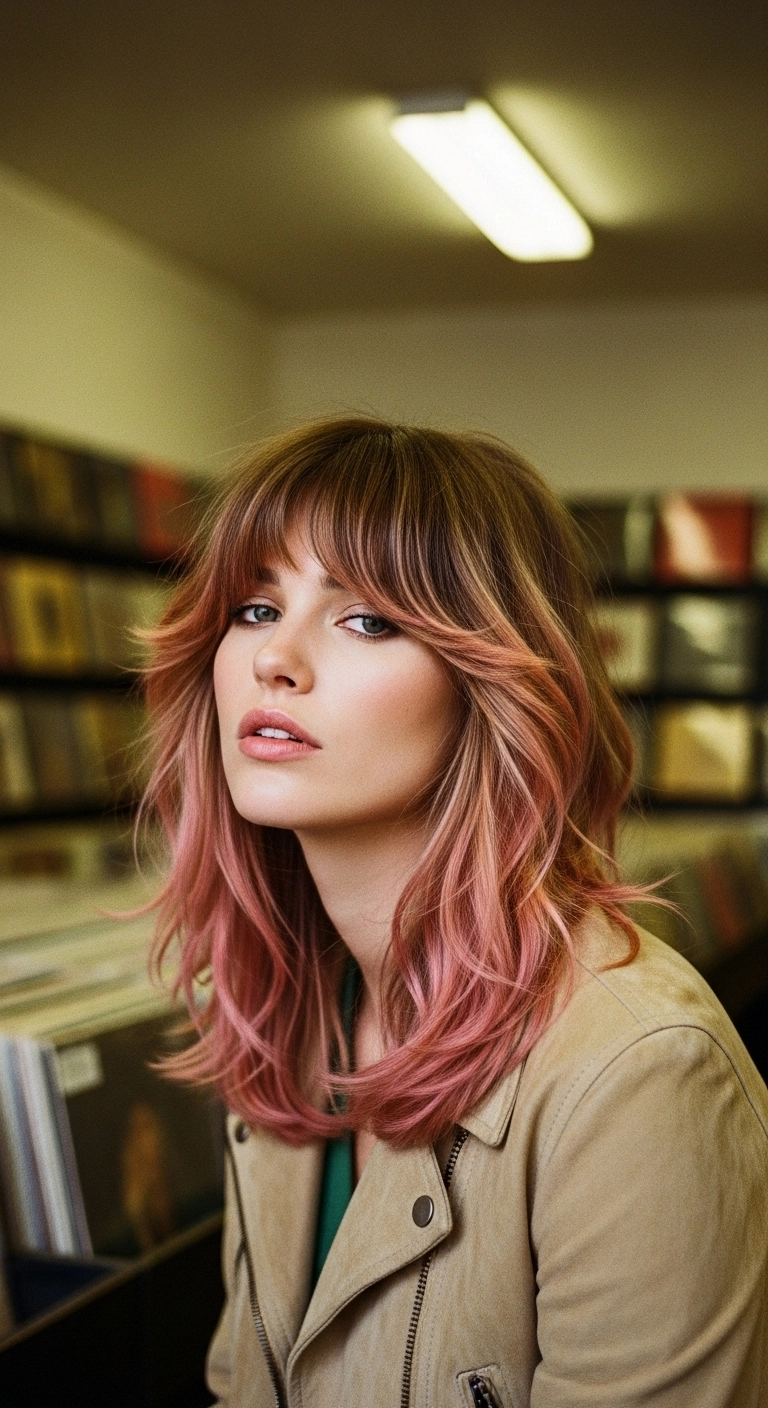
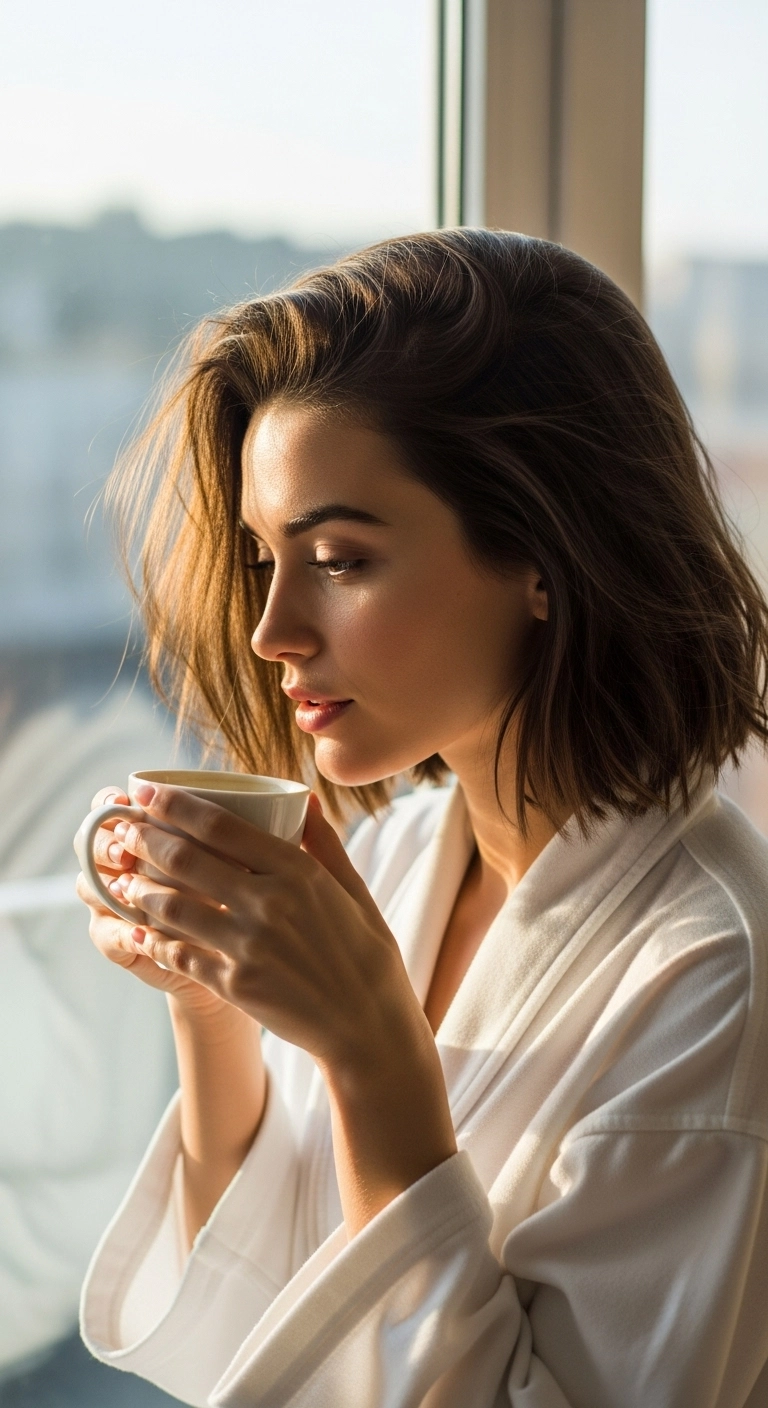
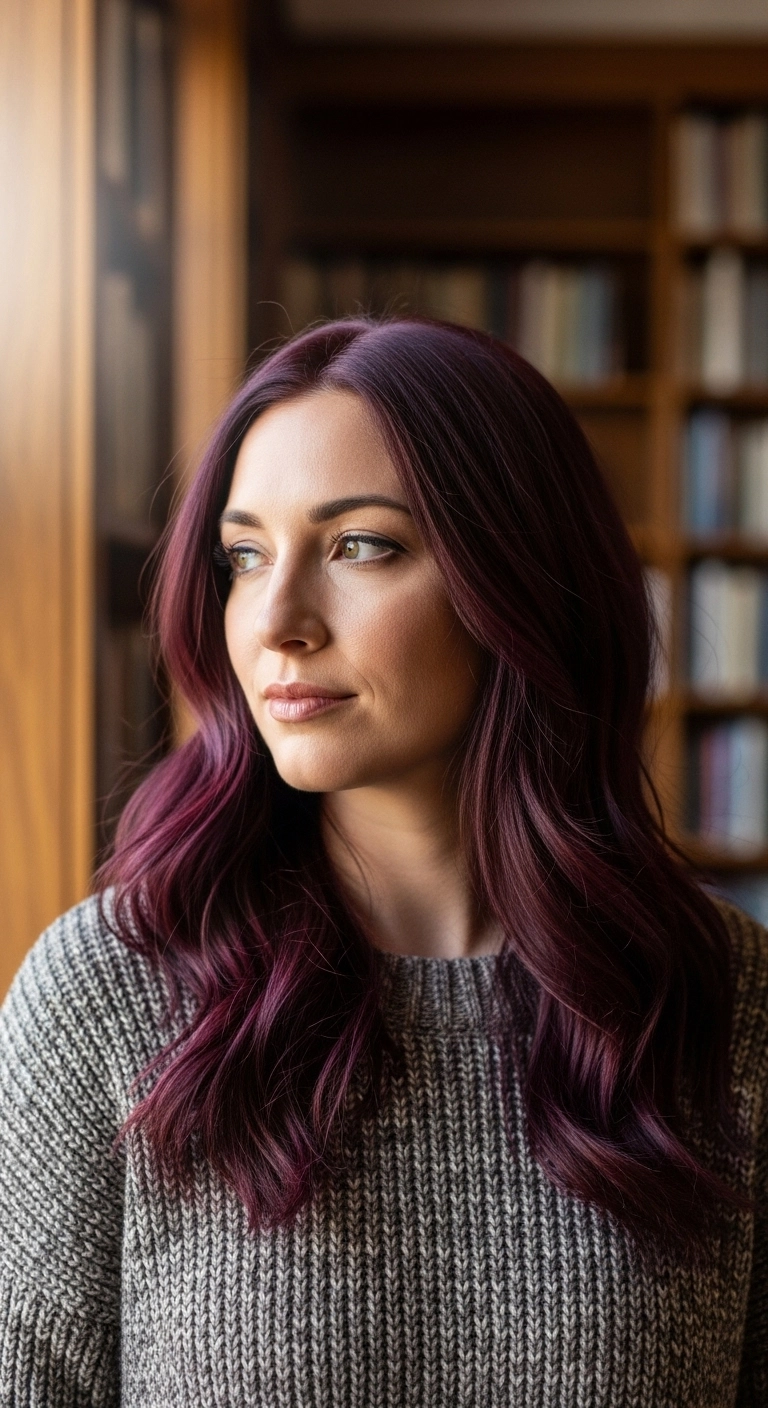
This hairstyle is what I like to call the perfect everyday autumn lob. You start with a collarbone-grazing blunt cut layered subtly for effortless movement, paired with soft caramel highlights melted over a rich brunette base. Add a few loose bends with a curling wand away from your face and shake it out with your fingers for an effortlessly polished look.
How to do this
1. Start by prepping freshly washed, damp hair with the heat protectant spray listed below to shield strands and add a lightweight foundation.
2. Apply a dollop of the volumizing styling mousse listed below right at the roots and mid-lengths to ensure your lob maintains bounce and body throughout the day.
3. Blow-dry using a round ceramic brush, lifting at the roots to create natural volume, and smooth down the cuticle toward the ends.
4. Section off your hair and use the 1.25-inch ceramic curling iron listed below to add soft, loose bends. Wrap vertical 1-to-2 inch sections away from your face, leaving the very bottom inch out for a modern, relaxed finish.
5. Allow curls to cool completely, then mist generously with the dry texturizing spray listed below to break up the shape and provide airy separation.
6. Gently rake your fingers through the waves to blend them together into smooth S-bends.
7. Finish the look by smoothing a couple of drops of the lightweight shine hair oil listed below through the tips for a glossy, healthy autumn glow.
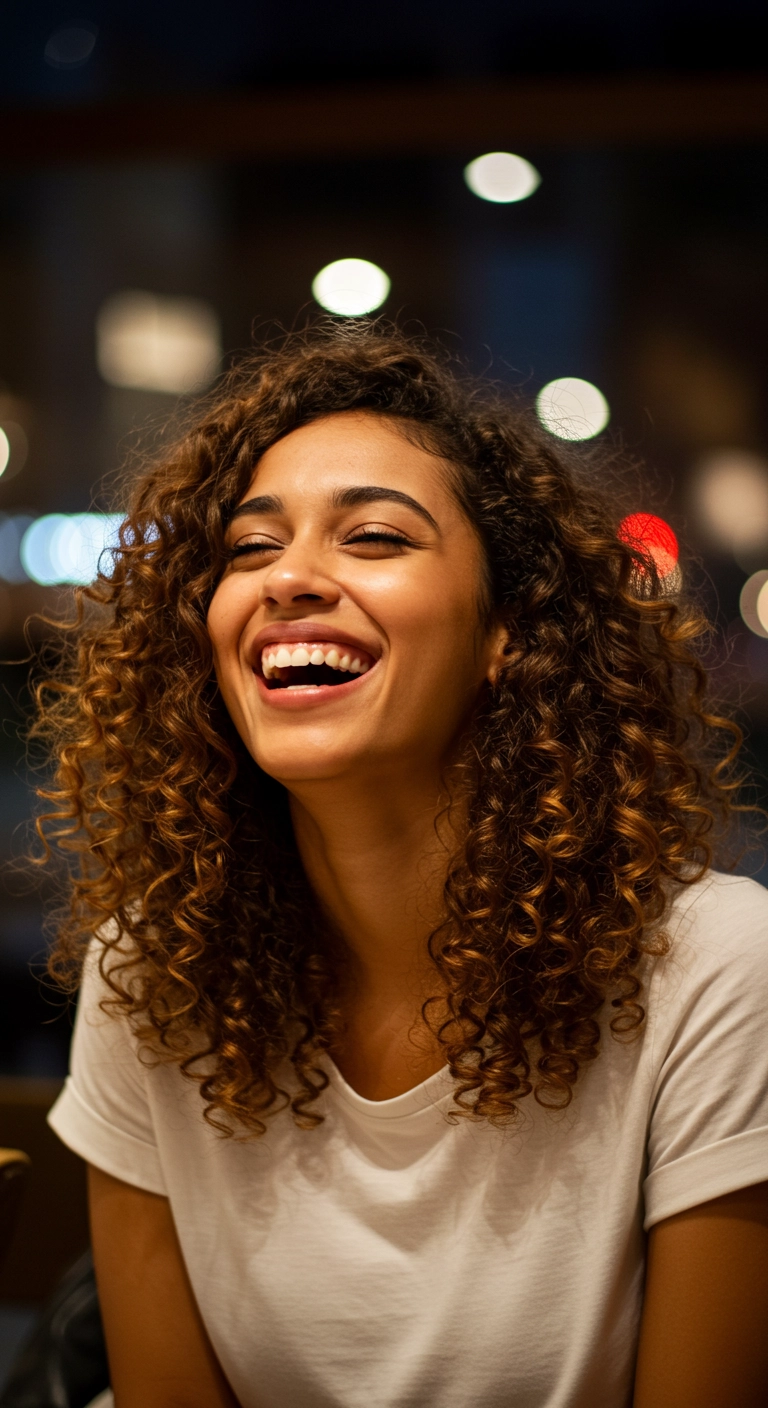
I think the absolute best way to bring out the life in spiral curls is cutting rounded, soft layers so your hair never gets that dreaded heavy pyramid look. Adding warm honey balayage ribbons gives every ringlet dimension, especially when the light hits. You can rock this deep side part for extra root volume or sweep it half-up when you want an effortless, everyday look!
How to do this
1. Start on freshly cleansed, dripping-wet curls after washing with a hydrating curl shampoo and conditioner.
2. Rake a generous amount of the leave-in curl cream listed below through your mid-lengths and ends to lock in hydration and prevent frizz.
3. Section the hair and use the defining curl gel listed below, applying it with the praying-hands method to coat every section evenly.
4. Gently scrunch your curls upward toward the scalp using a microfiber towel to encourage natural ringlet formation and remove excess water.
5. Flip your head upside down and use a hair dryer with the diffuser attachment listed below on low speed and medium heat, gently cupping sections without touching them too much.
6. Once the curls are 100% dry and a slight cast has formed, smooth 2-3 drops of the lightweight hair oil listed below between your palms and gently scrunch out the crunch to reveal soft, bouncy, defined volume.
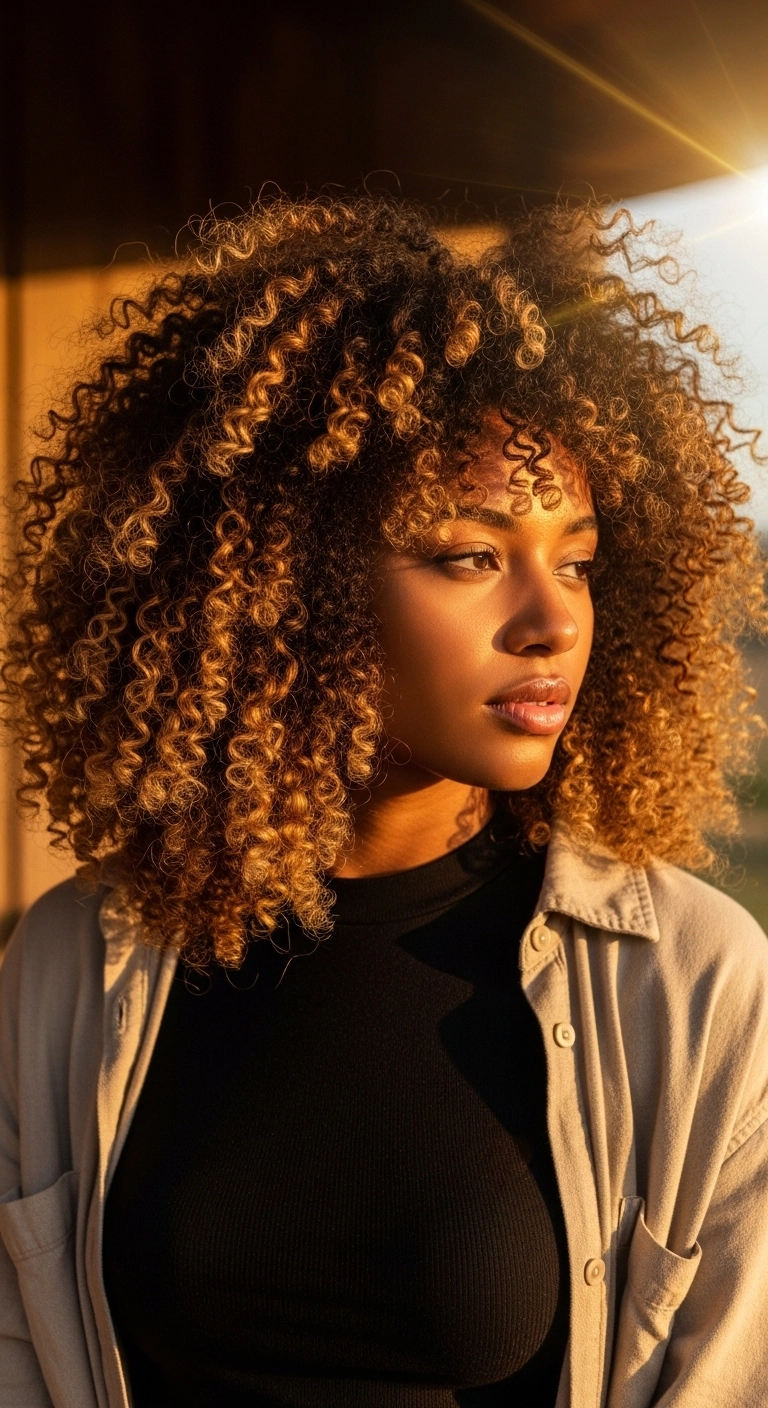
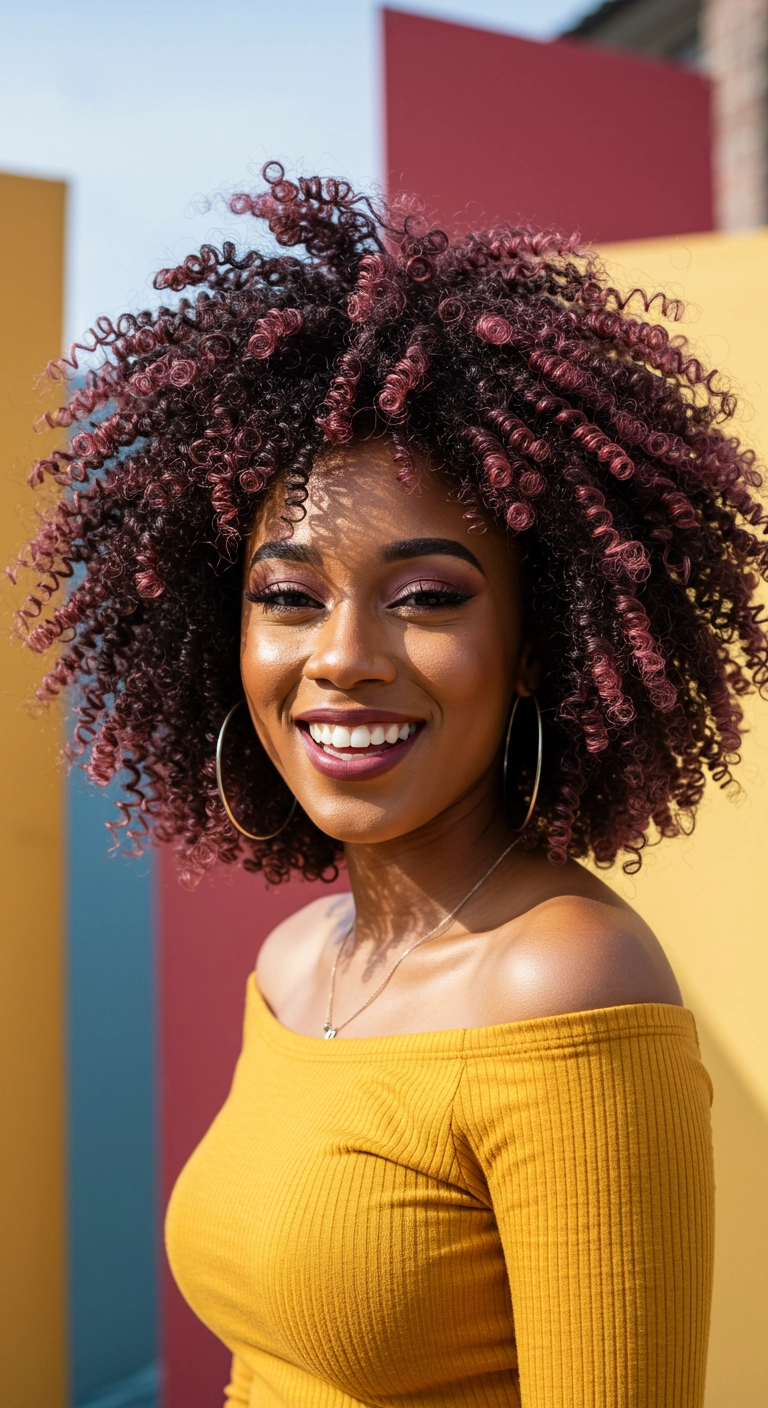
Can we talk about curl goals for a second? The shape, the bounce, and that warm golden hour glow on these curls is everything. A rounded layered cut lets naturally dense coils fluff out without feeling heavy, and adding a subtle honey balayage gives each individual curl so much pop and dimension!
How to do this
1. Start on freshly washed, soaking wet curls after cleansing with a moisturizing sulfate-free shampoo.
2. Rake a generous amount of curl defining leave-in conditioner through your hair from roots to tips using your fingers to ensure every curl is hydrated.
3. Apply the curl defining styling cream listed below in small sections, using a praying hands motion and then gently finger-coiling any looser ringlets around the crown and face.
4. Layer with a lightweight hair oil or serum using the argan hair oil listed below to seal in moisture and provide luminous shine.
5. Flip your head upside down and gently cup curls with a diffuser attachment using the hair dryer with diffuser listed below on low heat and medium speed until about 85% dry.
6. Allow to completely air dry the rest of the way, then gently shake out the roots and pick out the crown using the wide tooth afro pick listed below to maximize that gorgeous, airy volume!
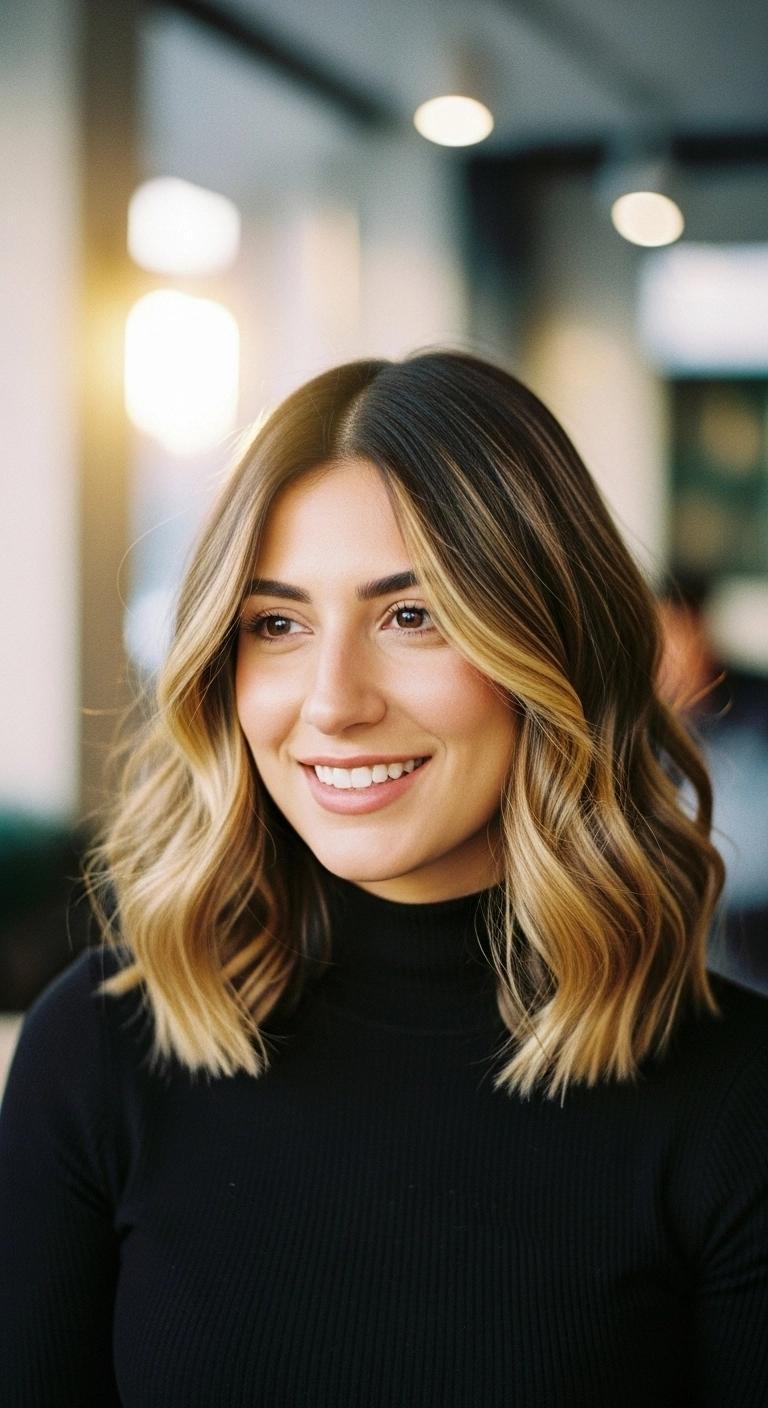
Oh, this warm honey money piece on a shoulder-grazing lob is pure perfection! That contrast between the dark espresso roots and the bright framing blonde gives the prettiest glow. Would you try this lived-in wavy style for your next salon trip?
How to do this
1. Start by prepping freshly washed, damp hair with a thermal shielding cream using the heat protectant spray listed below to keep your blonde bright and healthy.
2. Blow dry hair completely smooth using a round ceramic brush to build volume at the root and create a sleek foundation.
3. Establish a precise center part and separate the hair into workable horizontal tiers.
4. Take 1.5-inch vertical sections and wrap them loosely around a 1.25-inch curling wand, always directing the barrel away from the face, and leave the bottom inch of ends completely uncurled for a modern, relaxed finish.
5. Make sure the prominent blonde money-piece sections in front are curled gently outward right around the cheekbones to accentuate your facial structure.
6. Once cooled, rake your fingers through the waves to break them up, then mist throughout using the dry texturizing spray listed below for airy fullness and soft definition.
7. Finish by rubbing a dime-sized amount of the lightweight hair serum listed below through the ends to add shine and seal away flyaways.
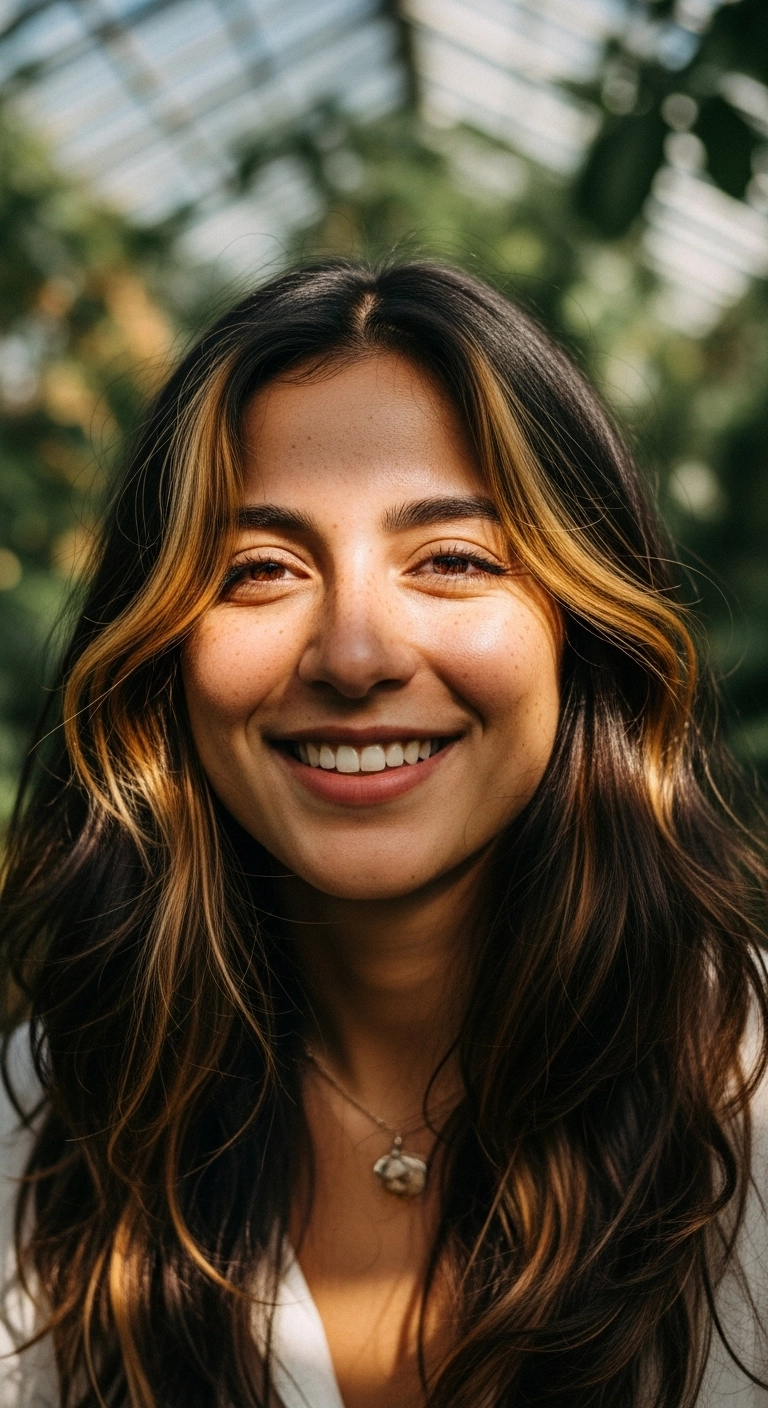
A bright golden money piece framing dark, chocolate-brunette waves. It's the ultimate low-maintenance contrast look—you get that pop of brightness around your face without having to commit to all-over blonde appointments every six weeks. Super easy to throw into loose curls or just let air-dry wavy for casual everyday vibes.
How to do this
1. Start by parting clean, towel-dried hair cleanly down the center using a tail comb.
2. Apply a dime-sized amount of the smoothing leave-in heat protectant cream listed below through your mid-lengths and ends to guard against heat and eliminate frizz.
3. Rough-dry until your hair is about 80% dry, then clip away the top layers so you can blow-dry the lower sections smoothly with a large ceramic round brush.
4. When blow-drying the face-framing blonde sections, roll the brush backwards away from the face to create that signature winged, outward-curling flick.
5. Use a 1.25-inch curling iron to add loose, undone waves to random 1-inch sections throughout the rest of your hair, alternating directions for a lived-in look.
6. Once cooled, rake through your waves with your fingers or a wide-tooth comb and mist the flexible texturizing finishing spray listed below throughout to add airy separation and touchable hold.
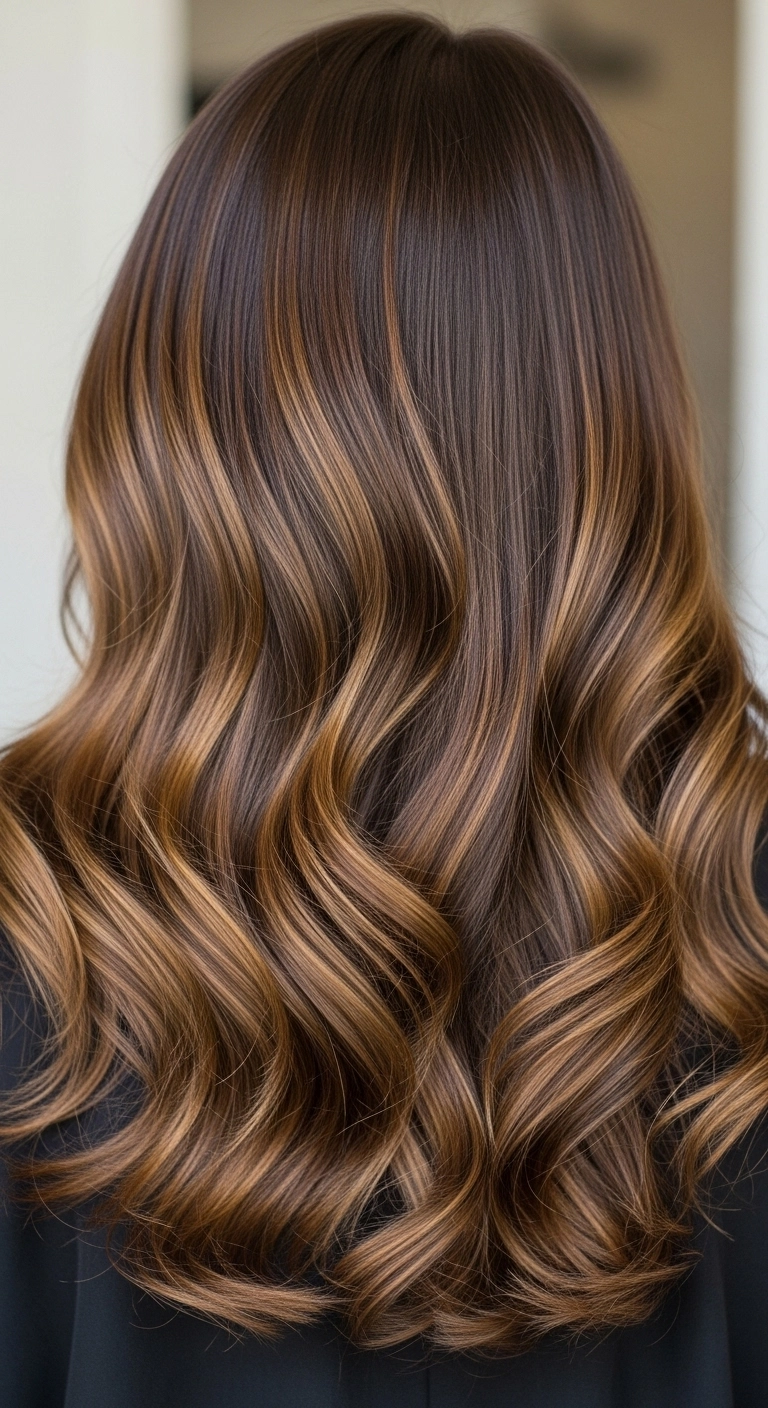
If you want to add life and movement to your dark hair without committing to an all-over light shade, this caramel ribbon balayage is pure magic. The warm ribbons catch the light beautifully on loose curls, giving you that rich, expensive brunette feel that's super easy to grow out.
How to do this
1. Start by prepping freshly washed, damp hair with a lightweight smoothing blowout cream and the heat protectant spray listed below to shield your strands from heat damage.
2. Blow dry the hair in medium sections using a large ceramic round brush to achieve maximum root lift and a silky, frizz-free foundation.
3. Once the hair is fully dry, section it horizontally from the nape of the neck up to keep your styling neat and organized.
4. Take 1.5-inch vertical sections and wrap them around a 1.25-inch curling iron barrel, directing the curls away from where the face would be and leaving the very ends softly relaxed.
5. Allow each curl to completely cool down before touching it so the wave pattern locks firmly in place.
6. Gently rake through the curls with a wide-tooth detangling comb to transform tight spirals into smooth, cascading ribbon waves.
7. Finish by misting a small amount of the high-shine finishing oil listed below over the mid-lengths and ends for that glossy salon finish, followed by a light spray of flexible hold hairspray.
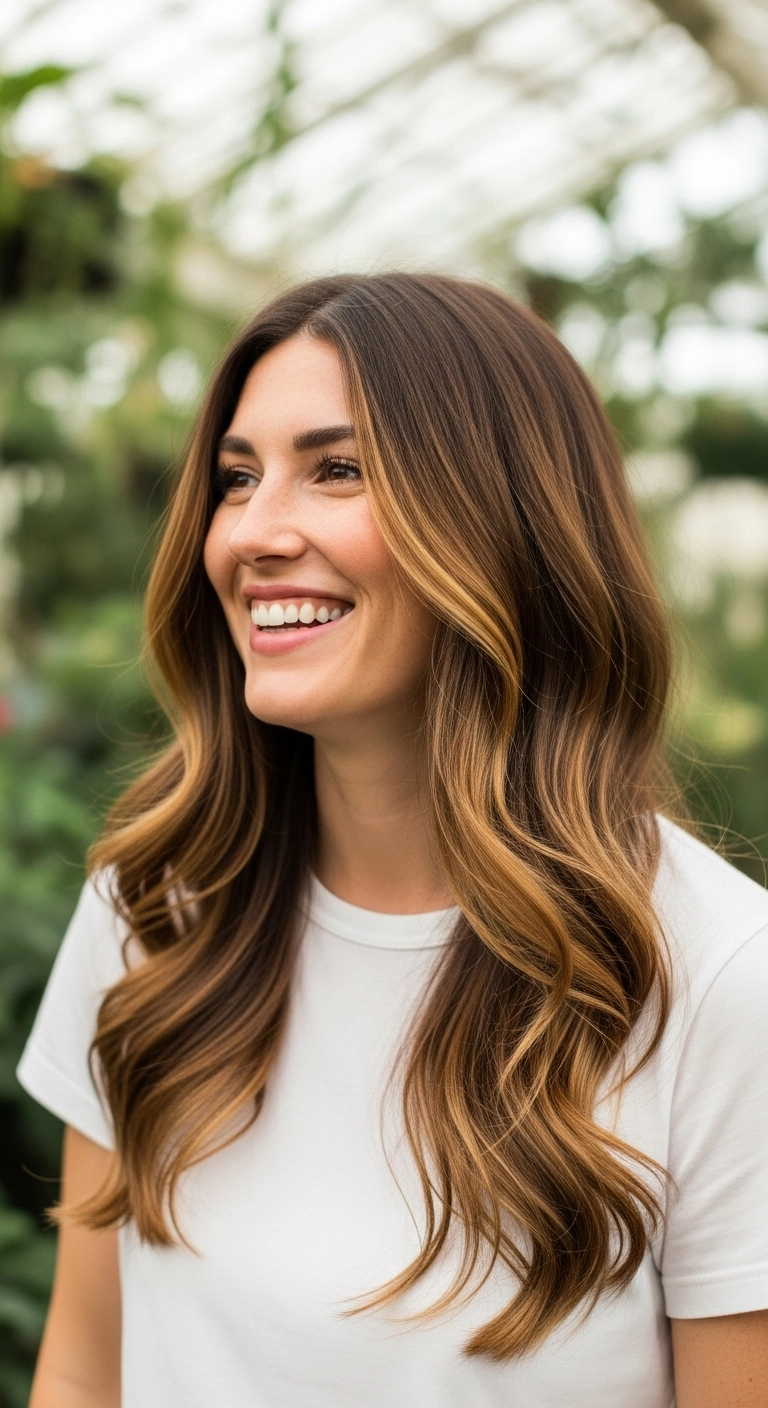
I'm obsessed with this warm honey balayage because it instantly brightens up your whole complexion without high-maintenance roots!! The ribbons of caramel around the face give such a gorgeous sun-kissed glow, and pairing them with loose bouncy waves makes it look effortlessly chic whether you're at work or on a dinner date.
How to do this
1. Start by prepping clean, damp hair with a thermal protectant using the heat protectant spray listed below to shield strands from hot styling tools.
2. Blow-dry your hair completely smooth using a large ceramic round brush to create maximum volume at the root and soft movement at the ends.
3. Part hair neatly down the center, then section it horizontally from the nape of the neck up to the crown.
4. Using the 1.25-inch curling iron listed below, wrap medium-sized vertical sections away from your face, leaving about an inch of the ends out for an effortless, modern finish.
5. When curling the front money piece sections, direct the barrel back and outward at eye level to create that sweeping face-framing curve.
6. Allow all curls to cool completely before touching them, then gently rake through the waves with the wide-tooth comb listed below to soften them into cohesive ribbons.
7. Apply a dime-sized amount of the lightweight hair serum listed below to mid-lengths and ends for glossy shine and frizz control.
8. Mist lightly all over using the flexible hold hairspray listed below to lock in the bounce and movement all day.
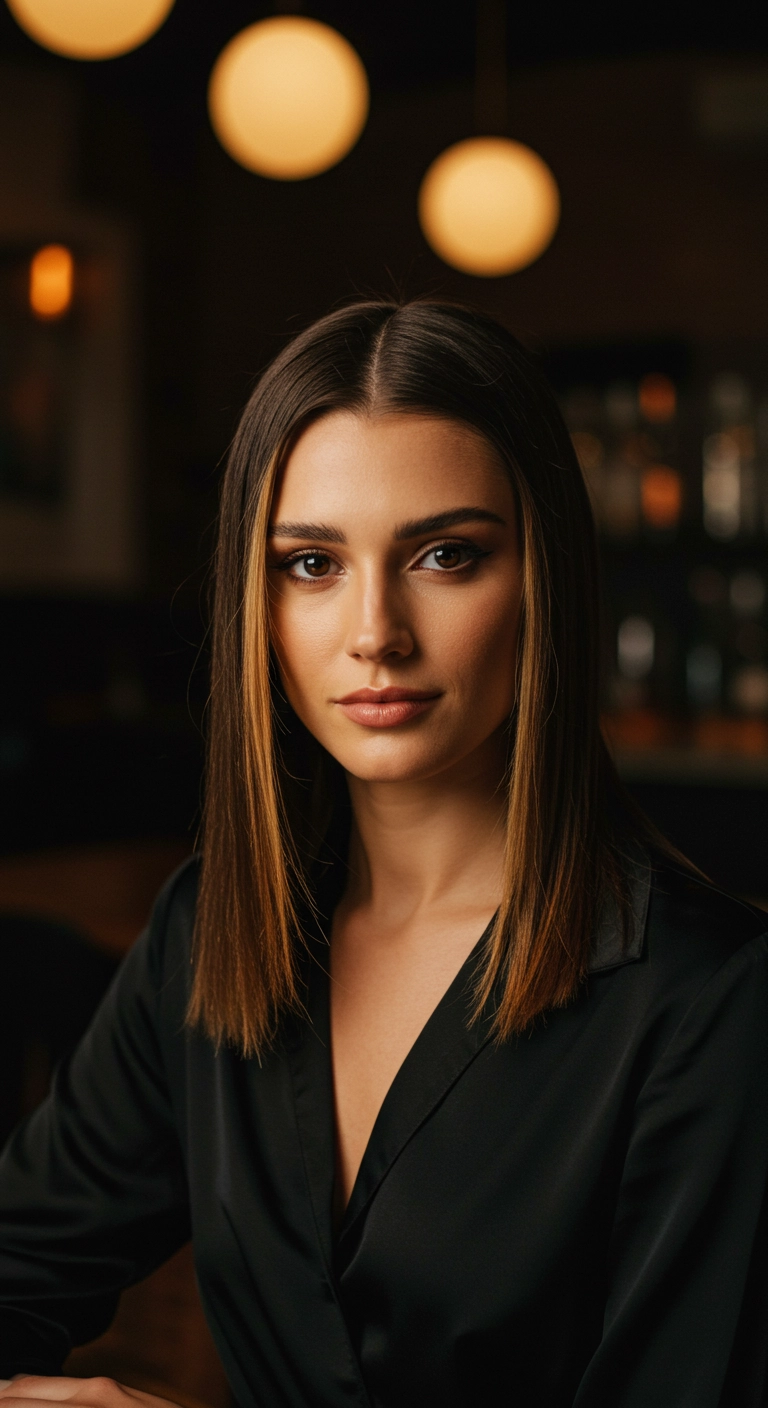
I'm completely obsessed with this sleek blunt collarbone cut, especially with the bold money piece in front! It frames the face so nicely and gives that instant put-together, chic look without being too much. All you need is a flat iron and a good shine serum to keep it looking super glassy!
How to do this
1. Start on freshly washed, damp hair and prep it using the smoothing heat protectant spray listed below to shield strands and minimize frizz.
2. Blow-dry completely straight downwards in sections with a paddle brush, keeping tension tight to ensure a sleek foundation.
3. Create a clean, crisp center part using the fine-tooth rat tail comb listed below, aligning directly with the center of the nose.
4. Section hair horizontally and pass a flat iron through 1-inch sections from roots to ends using the ceramic flat iron listed below, keeping the ends straight and blunt rather than curved.
5. Highlight the face-framing front strands (the money piece) by running the iron slowly over them to emphasize the glossy blonde contrast.
6. Dispense a pea-sized drop of the lightweight hair serum listed below between your palms and smooth over the lengths to tame flyaways and enhance shine.
7. Finish with a gentle mist of the flexible hold finishing hairspray listed below to lock the sleek blunt silhouette in place all evening.
If you love a style that feels totally effortless but still looks like you just stepped out of a luxury salon, this is honestly the dream! I wanted to keep the base super rich and chocolatey while weaving in those warm caramel ribbons right around the cheekbones to catch the light whenever you turn. A blowout with soft, undulating waves gives it that bouncy, healthy finish that pairs just as easily with a cozy knit sweater as it does with an evening date look. It’s warm, flattering, and so incredibly wearable!
How to do this
1. Start by prepping damp, freshly washed hair with a lightweight heat protectant spray listed below to shield your strands and lock in smoothness.
2. Apply a dollop of volumizing mousse through your roots and mid-lengths, then rough-dry using a blow dryer until hair is about 80% dry.
3. Divide your hair into horizontal sections and use a large ceramic round brush listed below to blow out each section, lifting at the roots for bounce and smoothing down the shaft.
4. Once dry, take 1.5 to 2-inch vertical sections and wrap them loosely around a 1.25-inch curling iron listed below, curling away from your face and leaving the very ends slightly straight for a modern feel.
5. Allow all the curls to completely cool down so the wave pattern sets firmly in place.
6. Gently mist a wide-tooth detangling comb with shine-enhancing hair mist and rake through the curls to break them up into soft, cohesive, flowing waves.
7. Finish off with a light mist of flexible hold hairspray listed below to keep the movement fluid all day without stiffness.
I love how luxurious and effortless this Italian bob looks! The deep side part combined with those polished brushed-out waves gives it such a classic vintage vibe that still feels totally modern. It's honestly my go-to cut recommendation if you want something chic that looks amazing for both everyday styling and fancy evenings out.
How to do this
1. Prep damp hair by applying a smoothing heat protectant spray with argan oil listed below from roots to ends.
2. Blow dry using a large ceramic round brush listed below, lifting at the roots to build maximum volume and tucking the ends under for a soft, rounded bounce.
3. Create a deep side part to set the dramatic side swoop.
4. Using a 1.25-inch curling iron listed below, wrap horizontal sections away from the face, letting each curl cool completely in place.
5. Gently brush through the curls using a boar bristle paddle brush listed below to transform tight curls into soft, glossy, flowing waves.
6. Finish by misting with a flexible hold shine hairspray listed below to lock in the bounce and glossy finish all evening.
If you're looking for that effortless 'golden hour' glow all year round, this warm caramel balayage is pure perfection! The seamless blend from rich espresso roots down to soft honey ends creates incredible depth that truly comes alive with loose, brushed-out waves.
How to do this
1. Start by prepping freshly washed, damp hair with a thermal protectant spray listed below to shield strands from heat and add a silky foundation.
2. Blow-dry hair smooth using a large ceramic round brush listed below, focusing on lifting the roots and smoothing out the lengths.
3. Divide hair into clean horizontal sections, starting from the nape and working upwards.
4. Take 1.5 to 2-inch sections and wrap them loosely around a 1.25-inch curling iron listed below, leaving the very ends slightly straight for that relaxed, modern bend.
5. Direct the curls away from the face as you move toward the front to maintain an open, flattering frame.
6. Allow all curls to cool completely, then gently comb through them using a wide-tooth detangling comb listed below to turn curls into soft waves.
7. Finish by misting a lightweight luminous shine spray listed below over the mid-lengths and ends to catch the light and enhance the caramel balayage dimension.
The effortlessly wavy lob with swept-back curtain bangs. Such a timeless, gorgeous look! I love how the warm honey-caramel tones catch the natural sunlight and add so much dimension. It’s super versatile and flattering on almost every face shape—perfect for everyday wear or a casual weekend brunch.
How to do this
1. Start on freshly washed, damp hair and prep with the heat protectant spray listed below from roots to ends to protect against thermal damage.
2. Apply a golf ball-sized amount of the volumizing styling mousse listed below to your roots and mid-lengths to give the blowout lasting bounce and body.
3. Blow-dry using the round ceramic blow dry brush listed below, lifting upward at the crown for volume and directing the curtain fringe sections back and away from the face.
4. Once completely dry, divide your hair into 1.5-inch vertical sections and create soft, alternating bends using the 1.25 inch curling iron listed below, leaving the very ends slightly straight for a lived-in texture.
5. Allow curls to cool completely, then mist all over with the dry texturizing spray listed below before gently running your fingers through to break up the waves into an effortless, flowing shape.
If you're craving that effortlessly chic, fresh-off-the-beach vibe, this look is absolute perfection! The deep brunette roots melt seamlessly into warm, honeyed golden ribbons that catch the golden hour light just right. It’s gorgeous, super low maintenance, and grows out like a dream.
How to do this
1. Prep clean, towel-dried hair with a lightweight styling leave-in cream using the nourishing leave-in conditioning cream listed below to smooth strands and prevent frizz.
2. Mist hair with the heat protectant spray with argan oil listed below from roots to ends before blow-drying smooth with a large round brush.
3. Create a crisp, precise center part with a tail comb.
4. Take 1.5-inch to 2-inch vertical sections of hair and wrap them loosely around the 1.25-inch ceramic curling iron listed below, leaving the bottom 1-2 inches straight for that relaxed, modern beach finish.
5. Alternate curl directions away from and toward the face for natural movement, keeping the front pieces curled away from the cheeks.
6. Once cooled, rake your fingers through the curls and spray the dry texturizing wave spray listed below throughout the mid-lengths and ends for separation.
7. Smooth a drop of the lightweight finishing hair oil listed below onto the ends to enhance the warm golden highlights and lock in shine.
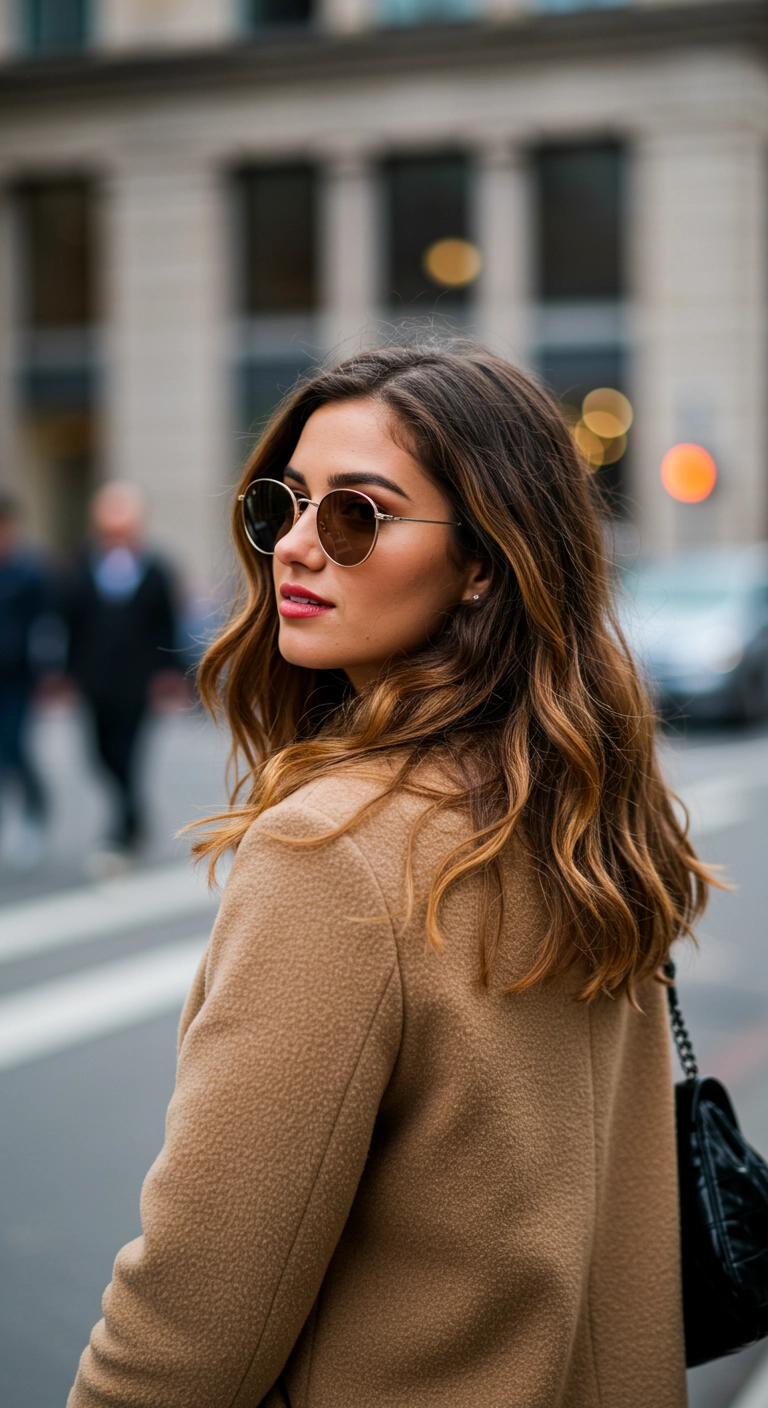
I’m absolutely in love with this hairstyle because it gives you that effortless, expensive-looking city girl energy without taking hours to perfect. The warm caramel highlights bring out so much dimension in loose waves, making it ideal for a day at work that turns into drinks with friends. It looks just as chic whether you dress it up with a wool coat or keep it totally relaxed on the weekend. Definitely give these loose dimensional waves a try, they're so flattering and easy to recreate!
How to do this
1. Start by prepping clean, damp hair with a thermal protectant like the heat protectant spray listed below to shield strands from hot styling tools.
2. Blow dry the hair using a large ceramic round brush to smooth down cuticles while boosting natural body and bounce at the roots.
3. Section the hair into top and bottom halves, then take 1.5-inch vertical sections and wrap them around the 1.25-inch curling iron listed below, curling away from the face.
4. Leave roughly an inch at the tips uncurled to create that relaxed, modern, lived-in wave look.
5. Allow all curls to cool completely so they set properly, then mist throughout using the dry texturizing spray listed below.
6. Gently comb through with the wide-tooth comb listed below or your fingers to break up the spirals into seamless, flowing S-waves.
7. Finish by working a dime-sized amount of the lightweight hair serum listed below through the ends to add shine and seal away flyaways.
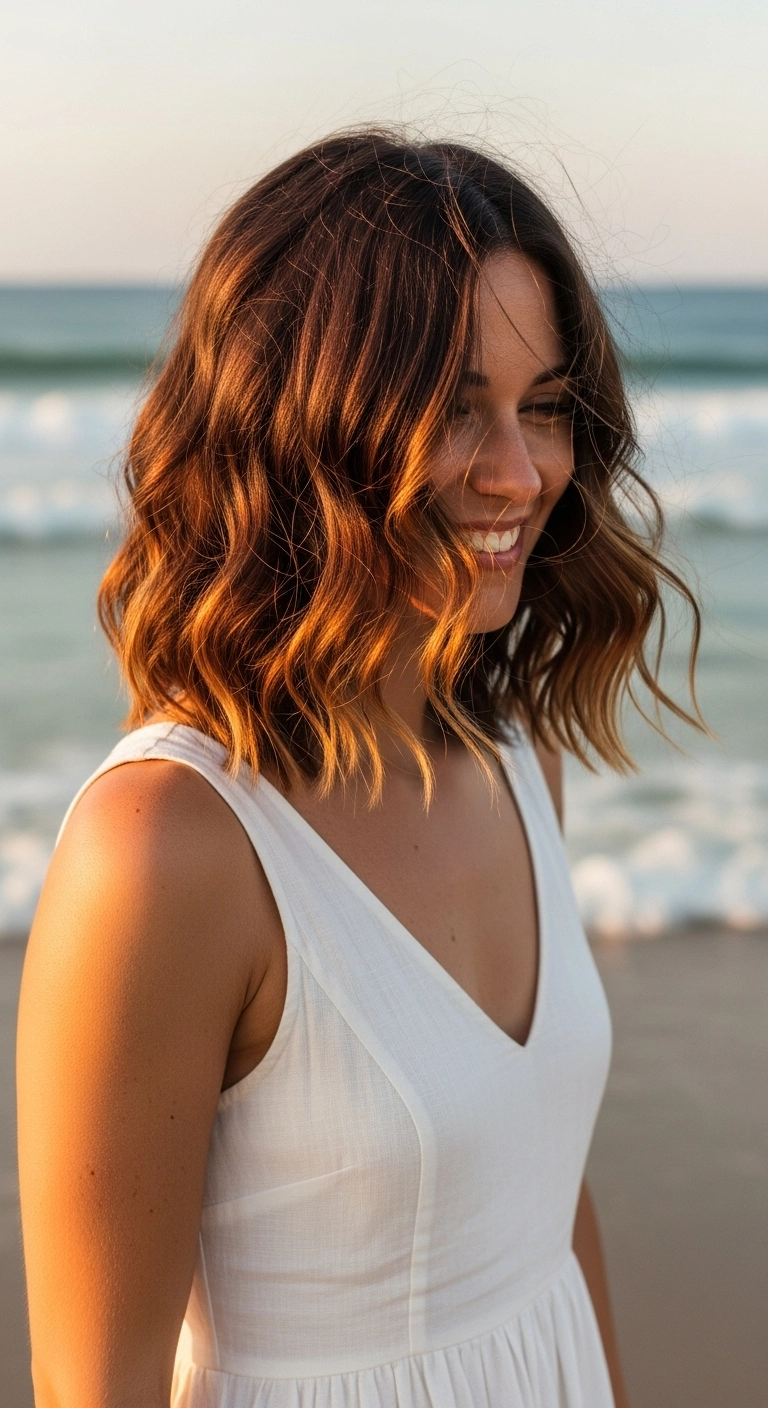
There’s honestly nothing better than fresh beach waves that catch the sun just right! I love how this warm honey balayage gives dimension without looking overdone, and keeping the roots shadowed means grow-out is a total breeze.
How to do this
1. Start by prepping damp, freshly washed hair with the thermal heat protectant spray listed below to shield your strands from heat styling.
2. Apply a golf ball-sized amount of the lightweight volumizing mousse listed below through the roots and mid-lengths to give your roots that lifted, bouncy volume.
3. Rough-dry your hair until it's about 80% dry, then use a large ceramic round brush to smooth out the lengths and bevel the ends under.
4. Section hair horizontally and take 1.5 to 2-inch vertical sections using the 1.25-inch curling iron listed below. Wrap the hair away from your face, leaving the bottom inch out for that lived-in, relaxed finish.
5. Once all sections are curled and cooled down completely, gently rake through the waves with your fingers or a wide-tooth comb to break them up into soft ribbons.
6. Mist generously with the dry texturizing spray listed below through the mid-lengths and ends, shaking out the hair upside down for instant, airy beach texture.
7. Finish by smoothing a tiny drop of the lightweight hair styling oil listed below through the ends to add shine and seal away flyaways.
Embrace your natural curl texture with this gorgeous, bouncy look! A warm honey-caramel balayage gives dimension to every single ringlet, and the rounded shoulder-length cut keeps the volume completely effortless. Just add a little curl cream and diffuser love, and you're good to glow!
How to do this
1. Start on freshly cleansed, wet hair and apply a generous amount of the curl-defining leave-in cream listed below to lock in initial moisture.
2. Rake through with your fingers or a flexible detangling brush to evenly coat your curls from roots to tips.
3. Work in sections and glaze a dime-sized amount of the lightweight curl defining gel listed below over your strands to encourage bouncy ringlet definition and hold.
4. Gently scrunch your hair upwards toward the scalp to build up that gorgeous natural curl pattern.
5. Attach a diffuser to your blow dryer on low-to-medium heat and hover-diffuse until your hair is about 80-90% dry, flipping your head from side to side for maximum volume.
6. Once fully dry, break the light gel cast by scrunching a few drops of the nourishing hair oil listed below into the mid-lengths and warm caramel ends for radiant shine and touchable softness.
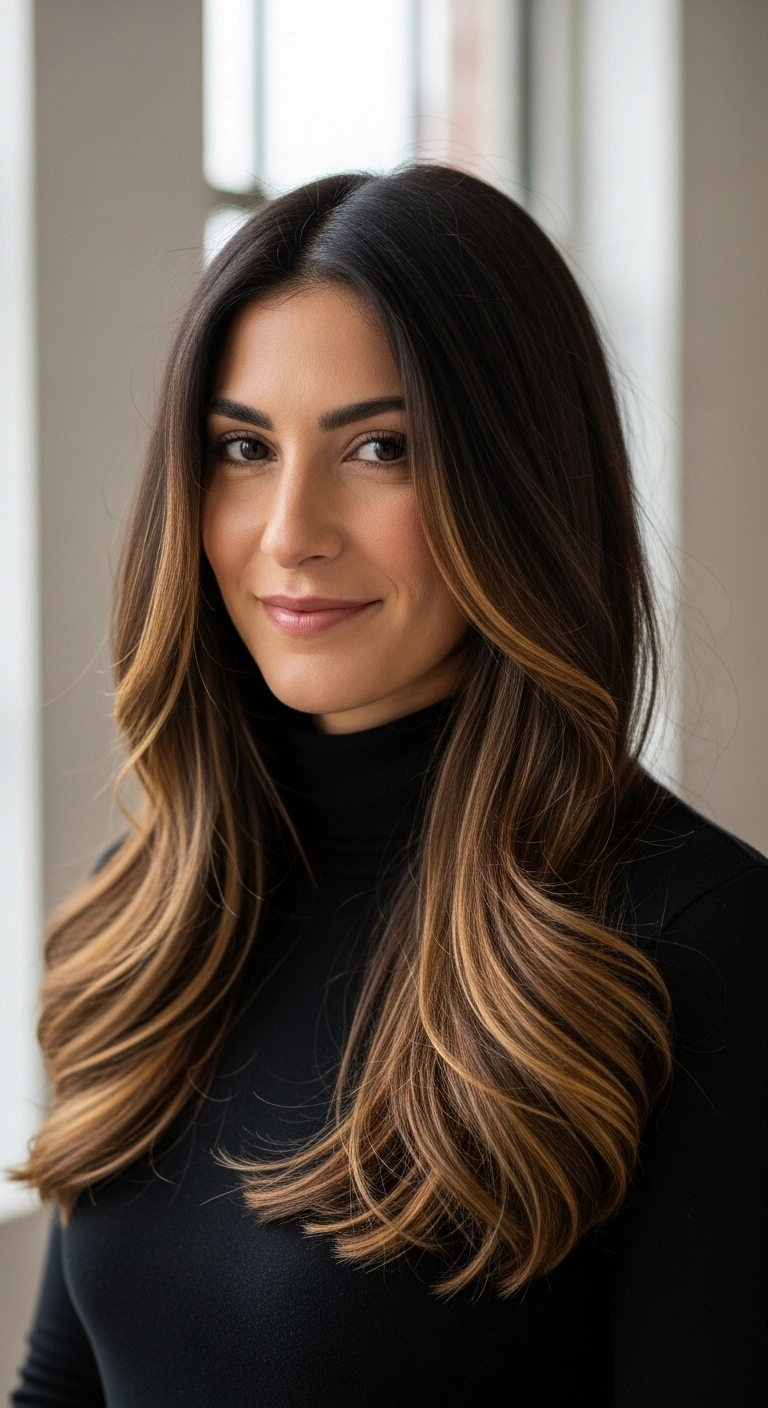
If you want that effortlessly expensive brunette look, this is totally your sign to do it! The soft caramel ribbons give just the right amount of brightness around the face without losing that rich, moody base. It’s polished, bouncy, and works for literally any occasion you have lined up this week!
How to do this
1. Start with freshly washed, towel-dried hair and apply a smoothing blowout cream along with the heat protectant spray listed below to shield strands and add slip.
2. Section hair into manageable horizontal layers using sectioning alligator clips listed below, starting from the nape of the neck up toward the crown.
3. Using a large ceramic round brush listed below and a focused concentrator nozzle on your blow dryer, dry each section by pulling taut and rolling inward and outward at the ends to build natural volume and smooth the cuticle.
4. For the face-framing ribbons, roll the hair up and away from the face on the round brush, letting each section cool for a few seconds before releasing to set the bounce.
5. Once fully dry, take a wide-barrel curling iron or wand to lightly enhance the swooping curves through the mid-lengths and ends if needed.
6. Warm two to three drops of the lightweight nourishing hair serum listed below between your palms and gently glide over the mid-lengths and ends to eliminate flyaways and seal in high-shine luster.
7. Finish by misting with the flexible hold hairspray listed below to keep the bouncy curves intact without making them stiff.
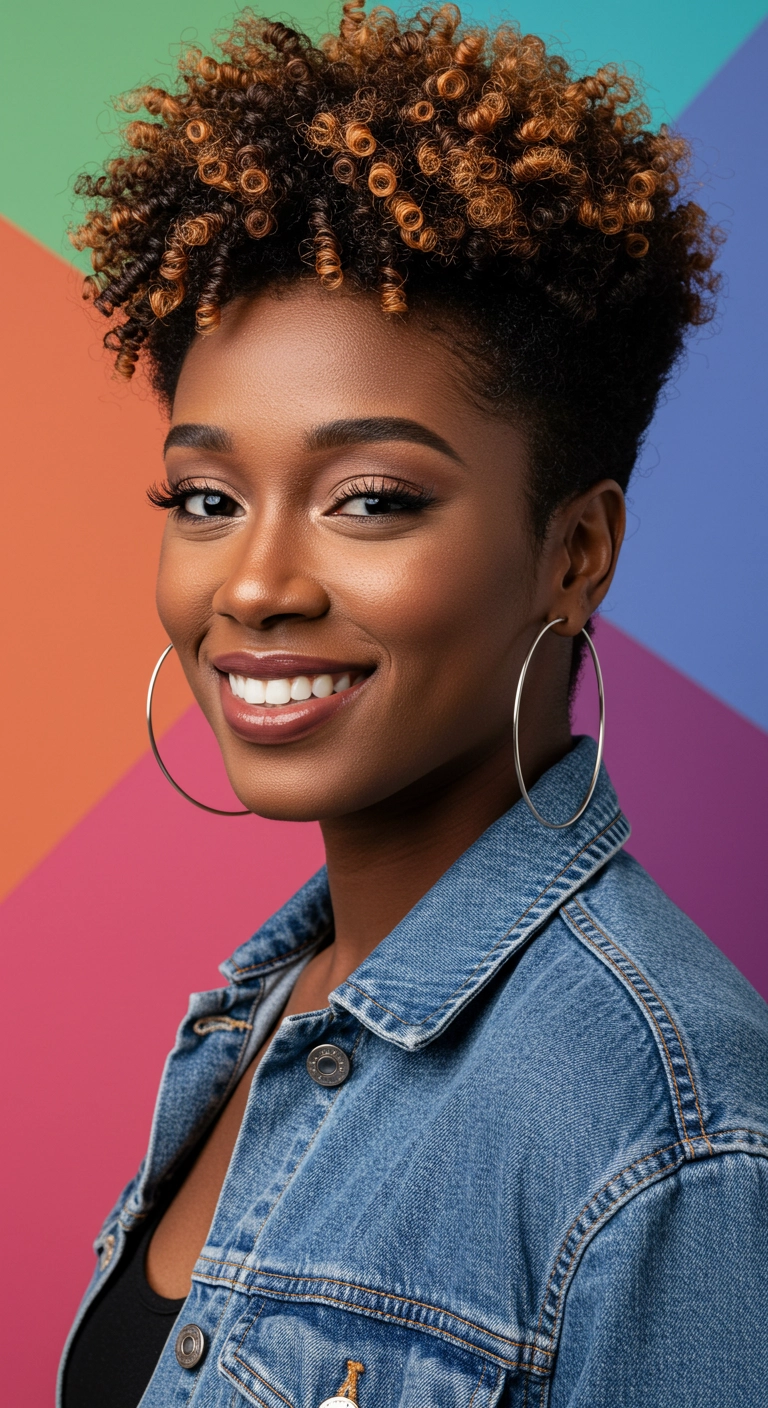
I love this tapered coil cut so much!! The way the honey caramel tips pop against the rich dark base gives the curls so much life and dimension. It's chic, super flattering on the face, and gives all the playful volume while keeping the sides clean and easy to maintain!
How to do this
1. Start on freshly cleansed, damp hair that has been conditioned thoroughly to ensure maximum hydration for defined coily curls.
2. Apply a generous amount of curl defining leave-in conditioner using the leave-in moisturizing curl cream listed below to lock in slip and moisture.
3. Work in small sections across the top and crown, applying a firm-hold curling gel using the flaxseed styling gel listed below.
4. Twirl and spin each small segment around your finger into tight, perfect ringlets to create defined finger coils throughout the longer top section.
5. Smooth down and taper the shorter side and back sections neatly using the edge control styling pomade listed below.
6. Dry hair completely using a hooded dryer or using the ionic hair dryer with diffuser attachment listed below to set the coils firmly in place without disturbing the curl pattern.
7. Finish by gently smoothing a drop of shine serum using the lightweight argan hair oil listed below across the coils to add radiant gloss and break any crunchy cast.
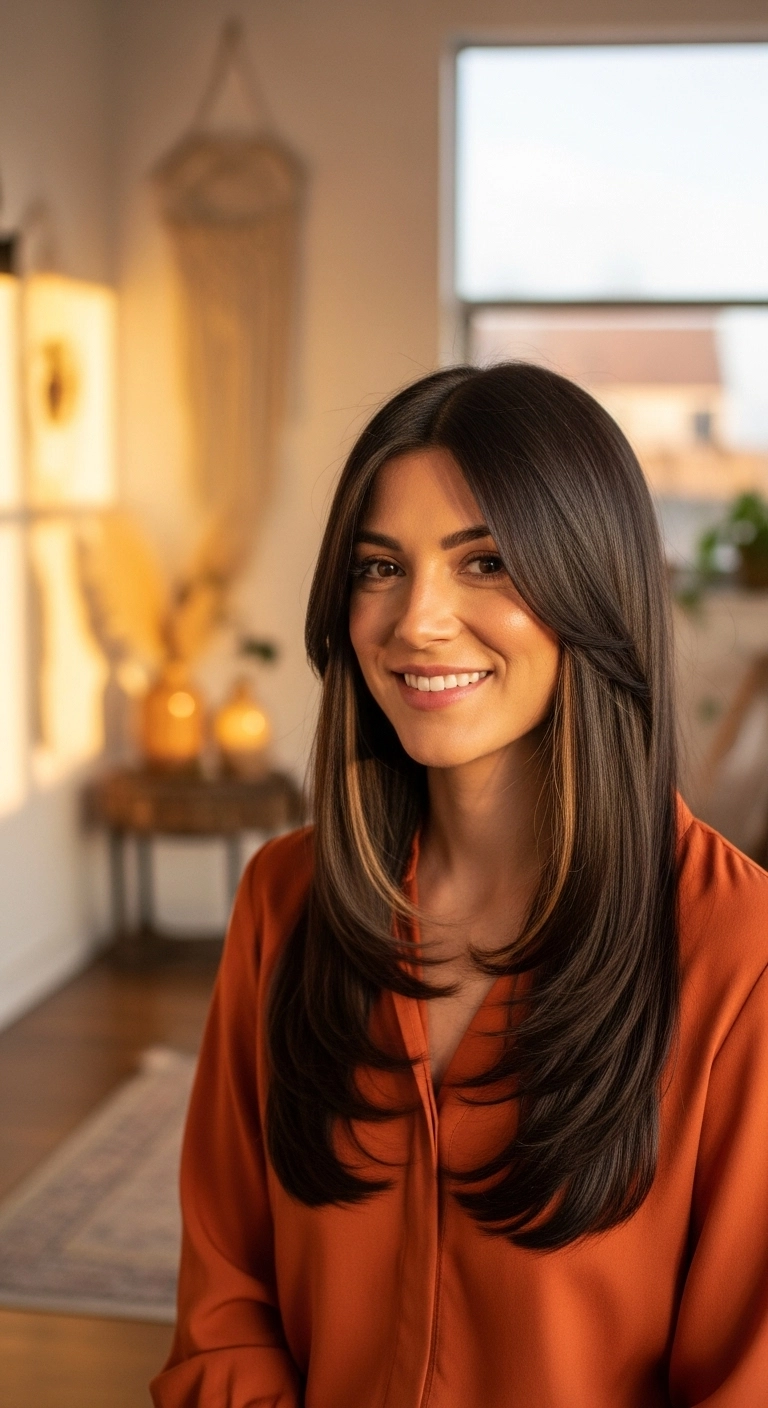
Isn’t this bouncy layered blowout so gorgeous to look at?! The cascading face-framing layers flatter literally every face shape, but the real star here is that subtle caramel peekaboo piece hiding right underneath the front strands. It gives you that trendy pop of brightness without committing to all-over blonde, making it super low maintenance and effortlessly chic!
How to do this
1. Start on freshly washed, damp hair and prep from roots to ends with a lightweight blowout cream using the smoothing blowout cream listed below to add heat protection and slip.
2. Blow-dry the hair until it's about 80% dry, then section your hair into manageable tiers starting from the bottom nape area.
3. Take a large ceramic round brush using the ceramic round brush listed below and blow-dry each section forward and inward, curving the ends under to create that soft C-shape curve.
4. For the front face-framing layers and curtain bangs, roll the brush up and back away from the face, setting them with cool air to create that sweeping bounce.
5. Highlight the peekaboo caramel strands underneath the front framing fringe by gently brushing them forward so they peek through the dark espresso overlayer.
6. Finish the style by smoothing a tiny pump of hair serum using the nourishing hair shine serum listed below over the mid-lengths and ends to lock down flyaways and boost high-gloss shine.
I am completely obsessed with this effortless beachy lob! The warm caramel balayage glows so gorgeously in the sunlight, and those undone bends give off the ultimate relaxed, carefree vibe. It's the perfect cut and length if you want something lightweight and chic that looks stunning with just a quick wave wand styling!
How to do this
1. Prep clean, damp towel-dried hair by misting the heat protectant spray listed below evenly from roots to ends.
2. Blow-dry the hair smooth using a medium round ceramic brush, focusing on lifting at the roots for natural body while keeping the ends relatively straight.
3. Divide hair into horizontal sections starting at the nape. Take 1-inch to 1.5-inch vertical sub-sections and wrap them around a 1.25-inch curling wand listed below.
4. When curling each section, leave the bottom inch of hair out of the iron to create that modern, undone beach wave silhouette.
5. Alternate the direction of each curl towards and away from the face, but ensure the pieces framing the face are curled back away from the cheekbones.
6. Once the entire head has cooled completely, rake your fingers or the wide-tooth comb listed below through the waves to break them apart into soft, lived-in bends.
7. Spray the sea salt texturizing spray listed below through the mid-lengths and scrunch upwards to add separation and effortless beachy grit.
8. Finish off by smoothing a drop of the lightweight hair styling oil listed below through the tips for shine and frizz control.
I am completely obsessed with this rich, dimensional color! The way these warm caramel ribbons melt through a deep chocolate base gives so much life and bounce to thick hair. If you feel like your dark brunette is looking a little flat or one-dimensional, asking your stylist for subtle balayage and long layers like this will completely transform your everyday look!
How to do this
1. Prep freshly washed, damp hair with a thermal protectant using the heat protectant spray listed below to shield strands from hot styling tools.
2. Blow dry hair completely smooth using a large ceramic round brush to create body, soft movement, and root lift.
3. Section the hair into manageable horizontal layers, starting at the nape of the neck.
4. Take 1.5 to 2-inch vertical sections and wrap them loosely around a 1.25-inch curling iron using the ceramic curling wand listed below, leaving the very ends slightly relaxed.
5. Alternate curl directions away from the face to create dimensional, flowing ribbon waves that showcase the caramel balayage.
6. Allow all curls to cool completely, then mist hair gently using the flexible hold hairspray listed below.
7. Rake fingers or a wide-tooth comb gently through the curls to break them up into seamless, soft waves, and finish with a drop of the hair shine serum listed below on the ends.
I’m honestly obsessed with this hairstyle. It’s that perfect lived-in, textured lob with warm honey balayage highlights that just effortlessly catches the light. The curtain bangs blend so nicely into the loose waves, making it look so full and bouncy. It’s chic enough for everyday wear, looks incredible on casual weekends, and only takes a few minutes to style with a curling wand!
How to do this
1. Start by prepping damp, towel-dried hair with a lightweight heat protectant spray to shield your strands and keep them shiny.
2. Apply a dime-sized amount of texturizing foam or mousse throughout the mid-lengths and ends for light grip and natural body.
3. Blow-dry using a medium round brush, lifting at the roots around the crown and parting to create effortless volume.
4. Take 1 to 2-inch vertical sections of hair and wrap them around a 1.25-inch curling iron or wand, leaving the last inch of the ends out to achieve that relaxed, undone bend.
5. For the curtain bangs, gently curl them away from your face for just a few seconds to create that soft, winged frame around your eyes and cheekbones.
6. Once the hair has completely cooled, rake your fingers through the waves to break them up gently.
7. Finish by spritzing a dry texturizing spray through the roots and mid-lengths to give it that piecey, lived-in texture and hold.
The warm caramel balayage lob. Honestly, this might just be the most flattering everyday cut out there! I love how the soft curtain layers gently frame the face, and the sun-lit ends give it so much dimension without having to worry about constant root touch-ups. It's chic, effortless, and transitions seamlessly from work to date night.
How to do this
1. Start by prepping damp, freshly washed hair with the leave-in conditioning heat protectant spray listed below to shield strands and add softness.
2. Apply a golf ball-sized puff of the volumizing styling mousse listed below evenly through your roots and mid-lengths to give body and light hold.
3. Rough-dry your hair using a blow dryer until it is about 80% dry.
4. Section hair horizontally into manageable tiers, then use the ceramic round barrel brush listed below to blow-dry each section smooth, pulling upward at the crown for lift.
5. When working on the bottom ends, roll the round brush upwards and outward to create that bouncy, subtle outward flick.
6. For the face-framing curtain layers, blow-dry the pieces backwards away from your face to achieve that signature soft swoop around the cheekbones.
7. Warm a couple of drops of the lightweight nourishing hair serum listed below between your palms and smooth over the ends to eliminate flyaways and boost shine.
8. Mist lightly with the flexible hold finishing hairspray listed below to lock in the effortless shape throughout the day.
Can we just talk about how stunning this honey blonde lob is? I’m completely obsessed with this cut and color combo because it feels so effortlessly chic and radiant, don’t you think?! The warm balayage highlights give so much depth against the darker roots, and styling it with soft, undone waves lets the lighter face-framing pieces pop beautifully. Whether you're dressing it up with an off-the-shoulder top or keeping it super casual on a weekend getaway, this look is an absolute dream!
How to do this
1. Start by prepping damp hair with a lightweight heat protectant spray using the heat protectant spray listed below to shield your blonde strands from thermal styling.
2. Rough dry your hair until it's about 80% dry, then smooth out the base using a ceramic round brush and a blow dryer to create subtle volume at the roots.
3. Divide the hair into horizontal sections and use a 1.25-inch curling iron listed below to add soft bends. Wrap large sections vertically around the barrel, keeping the iron moving and leaving the last inch of the ends out to maintain that modern, blunt lob look.
4. Alternately curl sections towards and away from the face, making sure the face-framing money pieces curl gently outward to accentuate your cheekbones.
5. Allow all curls to completely cool, then gently rake through them with your fingers or a wide-tooth comb to relax them into loose, lived-in S-waves.
6. Mist a generous amount of the dry texturizing spray listed below through the mid-lengths and ends for that airy, tousled separation.
7. Finish off with a tiny drop of nourishing hair oil smoothed over the ends to add a healthy, golden sunlit shine.
A chic wavy lob is my absolute go-to whenever anyone wants a fresh chop that doesn't feel high-maintenance. Painting soft caramel ribbons right through the front brings so much warmth to a dark espresso base without committing to an all-over bleach job. The loose bends give it that perfect effortless bounce you can wear straight from the office right out to dinner!
How to do this
1. Start by prepping freshly washed, damp hair with a lightweight heat protectant spray listed below to shield your strands and keep that brunette color rich and glossy.
2. Blow dry hair using a medium round ceramic brush listed below, lifting at the roots around the crown to build subtle, natural body without over-puffing.
3. Once hair is completely dry, divide it into horizontal sections starting from the nape of the neck up to the crown.
4. Take 1.5-inch vertical sections and wrap them loosely around a 1.25-inch curling wand listed below, holding each bend for only 4-5 seconds and leaving the very ends out for that relaxed, modern lob silhouette.
5. For the front face-framing pieces where the warm caramel highlights pop, curl gently away from the face to open up your features.
6. Let all curls cool down completely, then mist evenly with the dry texturizing spray listed below.
7. Gently rake through the waves with your fingers or a wide-tooth comb to soften them into effortless, lived-in S-bends.
8. Finish with a drop of nourishing lightweight hair oil listed below smoothed over the mid-lengths and ends to catch the light and lock in shine.
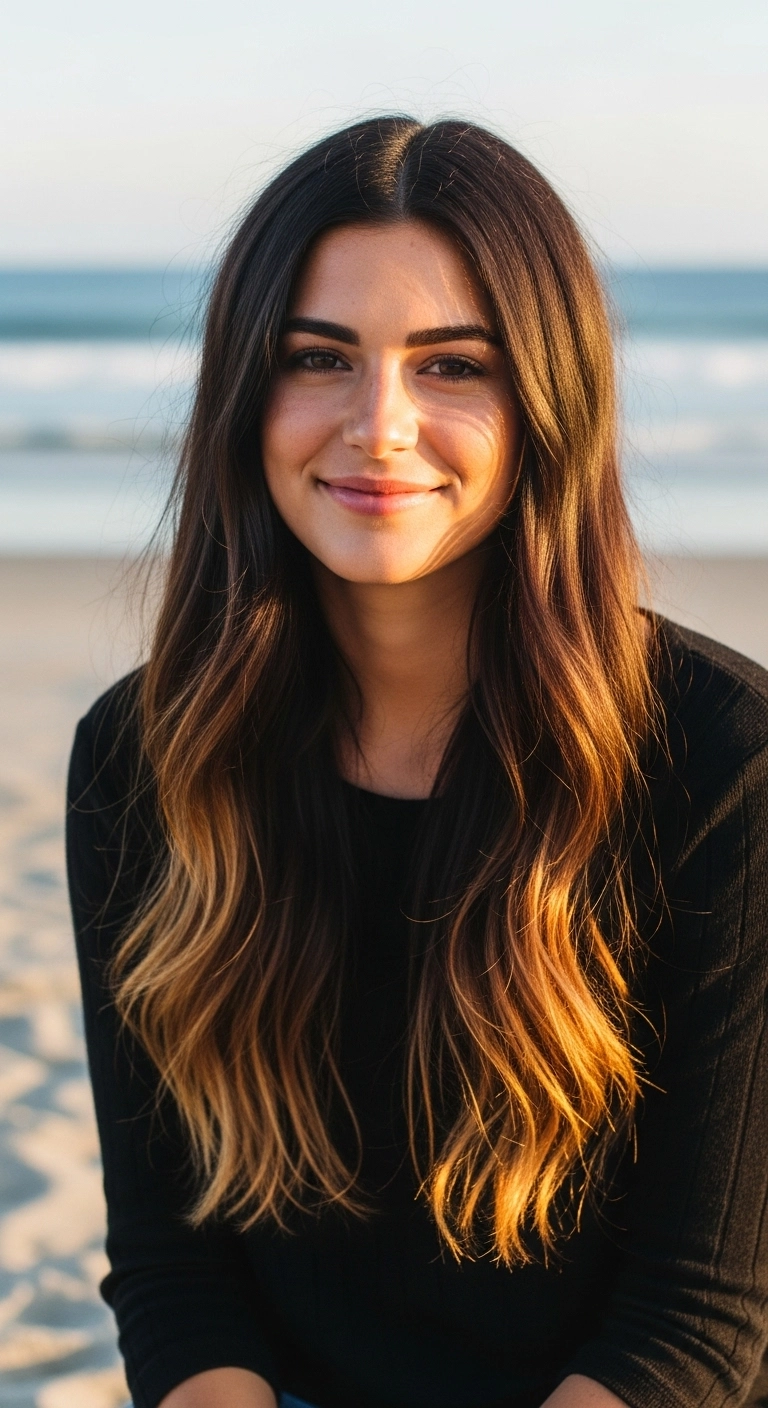
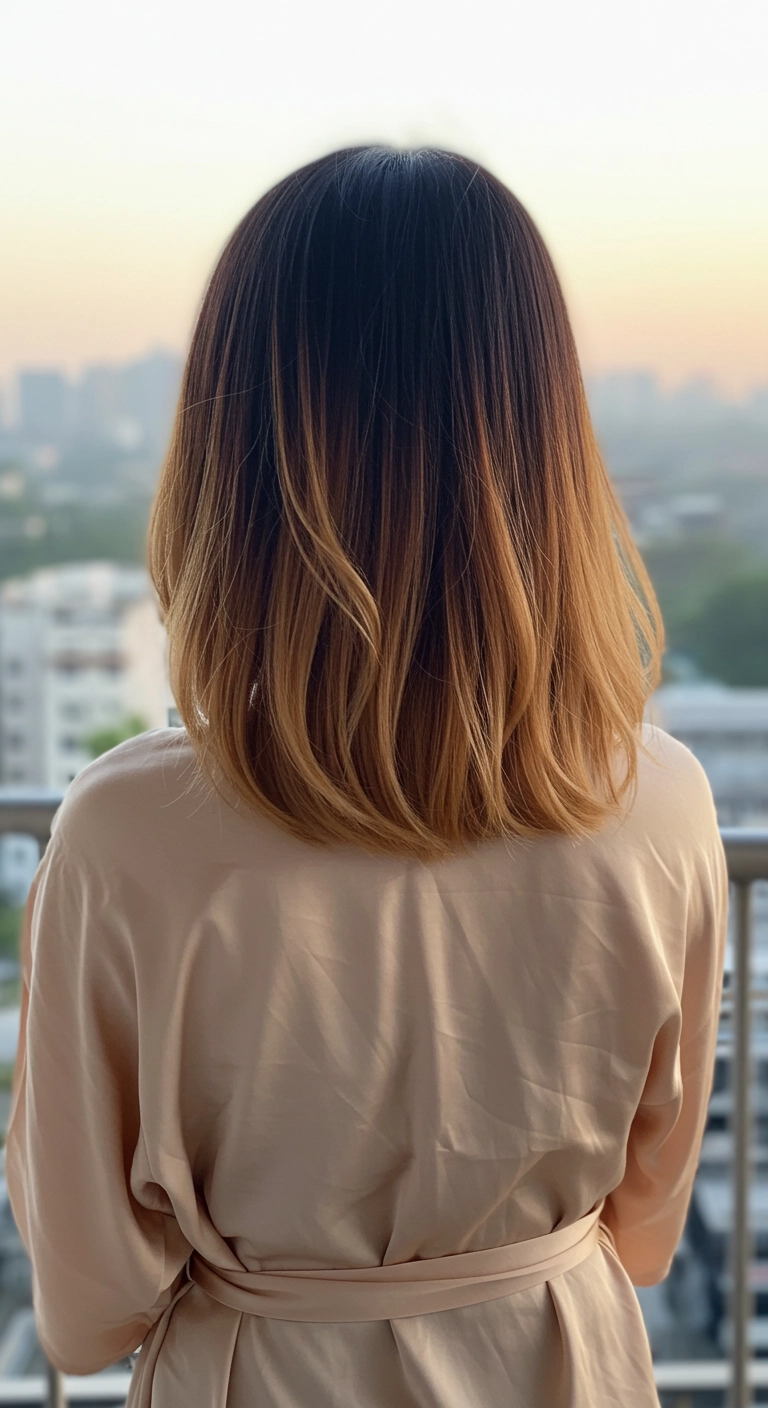
Are you as obsessed with effortless, low-maintenance color as I am? I just had to share this gorgeous caramel ombré lob because it's the absolute perfect blend of chic and practical! The seamless melt from rich dark brown roots to warm honey tips means zero harsh regrowth lines, which makes salon upkeep a breeze. Paired with a soft, round-brushed blowout that curves gently under at the ends, it gives such an elegant, polished vibe whether you're heading to the office or out for coffee. Give this shoulder-grazing cut a try if you're looking for that perfect everyday glow-up!
How to do this
1. Start by washing your hair with a hydrating, color-safe shampoo and conditioner to keep your ombré strands soft and vibrant.
2. On towel-dried hair, apply a dime-sized amount of smoothing heat protectant serum throughout the mid-lengths and ends using the lightweight hair serum listed below.
3. Detangle gently and section hair into manageable quadrants using styling clips.
4. Blow dry each section using a medium round ceramic brush, pulling tension downwards from roots to mid-lengths to smooth out any natural frizz.
5. When you reach the ends, roll the round brush under towards your neck and blast with warm air, then hit the cool shot button to lock in that soft curved bevel.
6. If you want a little more defined bend or polish, run a large-barrel curling wand or straightening iron through the tips, flicking them inward.
7. Finish by misting an ultra-fine shine spray and a touch of flexible hold hairspray over the crown and ends to keep everything sleek all day.
If you want a low-maintenance color that still turns heads, this shadow root melt into rich honey caramel waves is absolute perfection! It gives all the warmth and brightness around your shoulders while keeping the grow-out completely effortless.
How to do this
1. Start by prepping freshly washed, damp hair with a heat protectant and lightweight blowout cream using the heat protectant spray listed below to shield hair from styling damage.
2. Blow dry hair smoothly using a large ceramic round brush to achieve maximum root volume and smooth cuticle flow, parting down the exact center.
3. Section off the hair and use a 1.25-inch curling wand using the ceramic curling iron listed below to create loose S-waves, wrapping large 1.5-inch sections away from the face while leaving the very tips slightly straight for a modern feel.
4. For the front face-framing pieces, curl loosely outward to softly highlight cheekbones and frame the facial features.
5. Allow the curls to completely cool, then gently rake through them with your fingers or a wide-tooth comb to soften the wave shape into natural, bouncy bends.
6. Finish the look by misting a bit of texturizing spray and shine serum through the mid-lengths and ends using the dry texturizing spray listed below for all-day hold and dimension.
I’m totally obsessed with this hairstyle! It’s the ultimate effortless lob that combines gorgeous honey and caramel tones with perfectly tousled waves. I love how the deep side flip gives it so much instant volume and personality without looking overdone. It’s truly versatile enough to rock to work, casual weekend outings, or dressed up for a fun date night, and it gives you that chic, lived-in feel with barely any fuss.
How to do this
1. Start by prepping damp hair with a lightweight volumizing mousse applied directly at the roots, using the volumizing root lift spray listed below to help create height.
2. Rough blow-dry hair with your head flipped upside down until it is about 80% dry to encourage maximum natural body.
3. Using a medium ceramic round brush, smooth out the mid-lengths while keeping volume at the crown, then flip your hair over into a deep side part.
4. Take random 1- to 2-inch vertical sections and wrap them loosely around a 1.25-inch curling iron, alternating directions and leaving the bottom inch of hair out for that lived-in, undone edge.
5. Mist a generous amount of the dry texturizing spray listed below through the mid-lengths and underside of the hair.
6. Break apart the curls thoroughly using your fingers or a wide-tooth comb, gently shaking the roots to create a piecey, full texture.
7. Finish off with a light spritz of flexible hold hairspray to hold the shape while allowing natural movement all day.
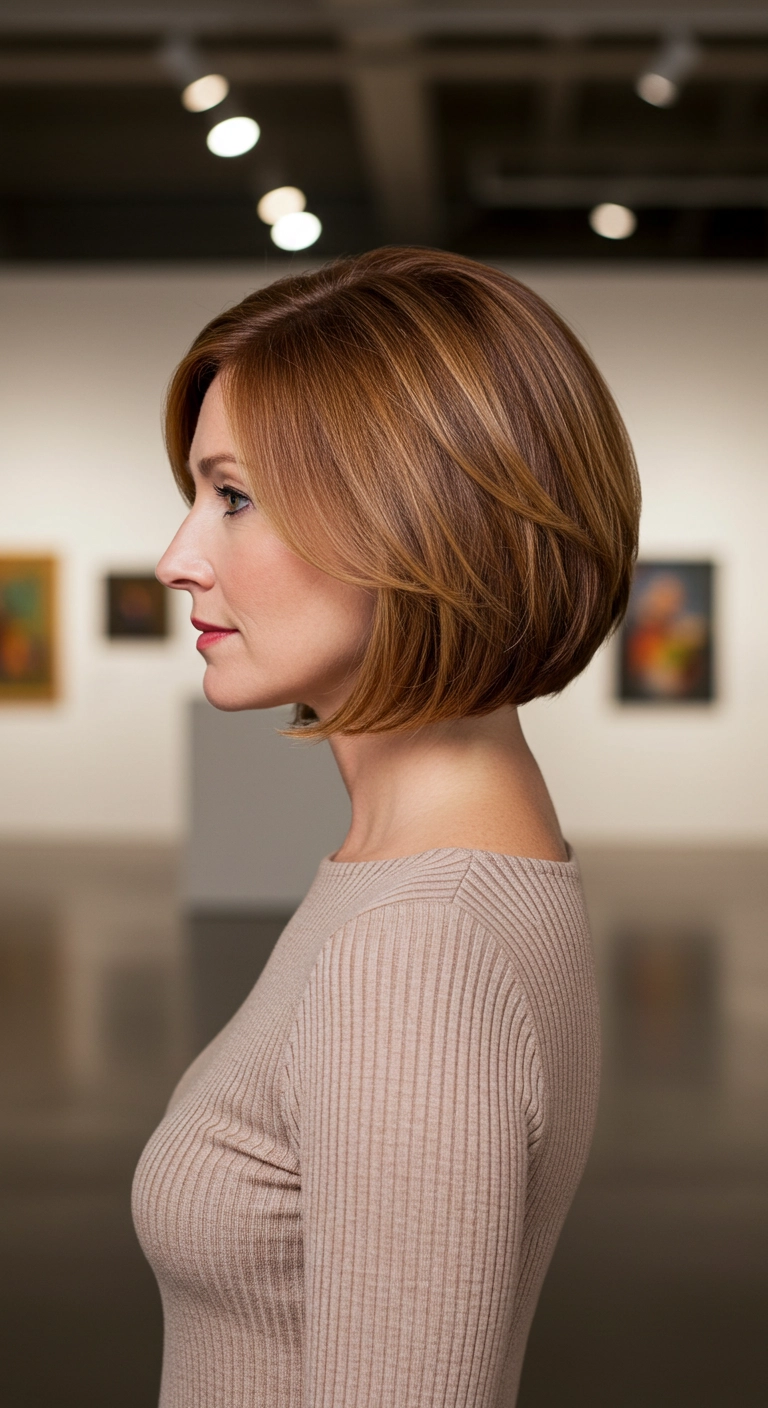
If you've been on the fence about chopping your hair into a bob, consider this your sign to just go for it! This layered rounded bob brings so much soft bounce and dimension, especially with those delicate warm honey highlights woven throughout. It’s polished enough for the boardroom but relaxed enough for your everyday coffee run!
How to do this
1. Start by prepping damp, freshly washed hair with a lightweight blow-dry primer using the heat protectant spray listed below to shield your hair and give it a silky glide.
2. Apply a golf-ball-sized dollop of the volumizing styling foam listed below directly to the roots and mid-lengths to build lift and roundness at the crown.
3. Section hair horizontally into manageable tiers, beginning at the nape of the neck, and clip away the upper sections using the professional hair styling clips listed below.
4. Using a medium-sized ceramic round brush like the ceramic round blow-dry brush listed below and a hair dryer with a concentrator nozzle, blow-dry downward from roots to ends, curling under slightly at the tips to create that classic curved bob silhouette.
5. When working on the top and face-framing sections, roll the brush backwards away from the face to create that sweeping, layered curve across the cheekbone.
6. Finish by misting lightly with the flexible hold hairspray listed below to lock in the volume, tame any stray flyaways, and keep the rounded shape all day long.
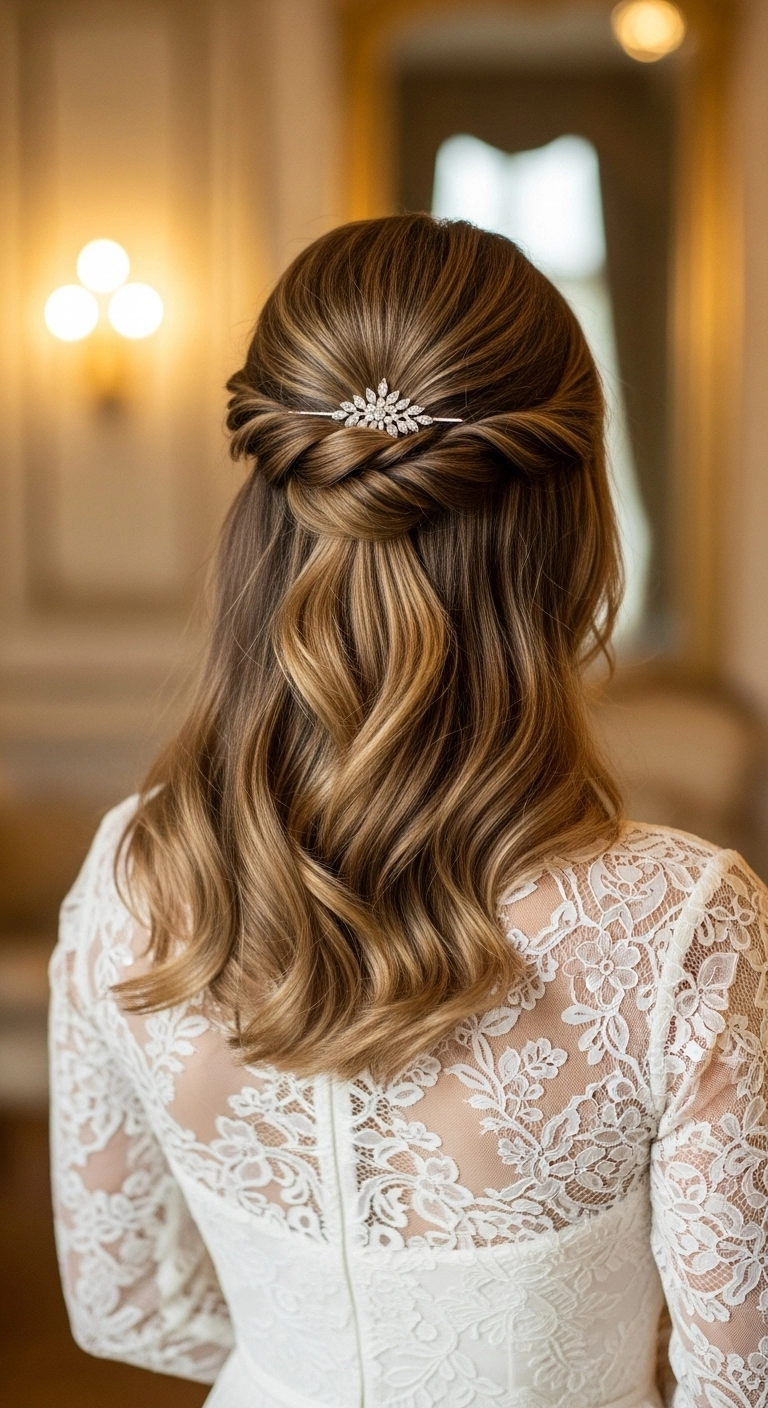
Are you dreaming of the ultimate romantic wedding hairstyle that never goes out of style? I fell completely in love with this twisted half-up look because it gives you the best of both worlds—the structure and security of an elegant updo, combined with the effortless drama of cascading honey waves down your back! The delicate jeweled pin sits right at the twist like the perfect crown jewel. Whether you’re walking down the aisle or heading to a black-tie gala, this look is pure fairytale elegance!
How to do this
1. Start by prepping clean, dry hair with a generous misting of the heat protectant spray listed below to shield strands from hot styling tools.
2. Using a 1.25-inch curling iron listed below, wrap medium sections of hair away from the face to create soft, uniform romantic waves throughout the entire head.
3. Gently comb through the curls with the wide-tooth comb listed below to transform them into soft, cascading, glossy waves.
4. Lightly tease the crown area to build subtle height, then mist with the texturizing volume spray listed below for gentle lift and hold.
5. Take a 2-inch section of hair from above the left ear and gently twist it backwards towards the center of the head, securing temporarily.
6. Repeat on the right side, twisting backwards and crossing it over or intertwining with the first twist at the back of the crown, securing discreetly underneath with bobby pins.
7. Slide in the crystal floral bridal hair pin listed below directly at the overlap to cover the pins and add an elegant focal point.
8. Finish the entire style with a light misting of the flexible hold hairspray listed below for a polished, frizz-free hold that lasts all night.
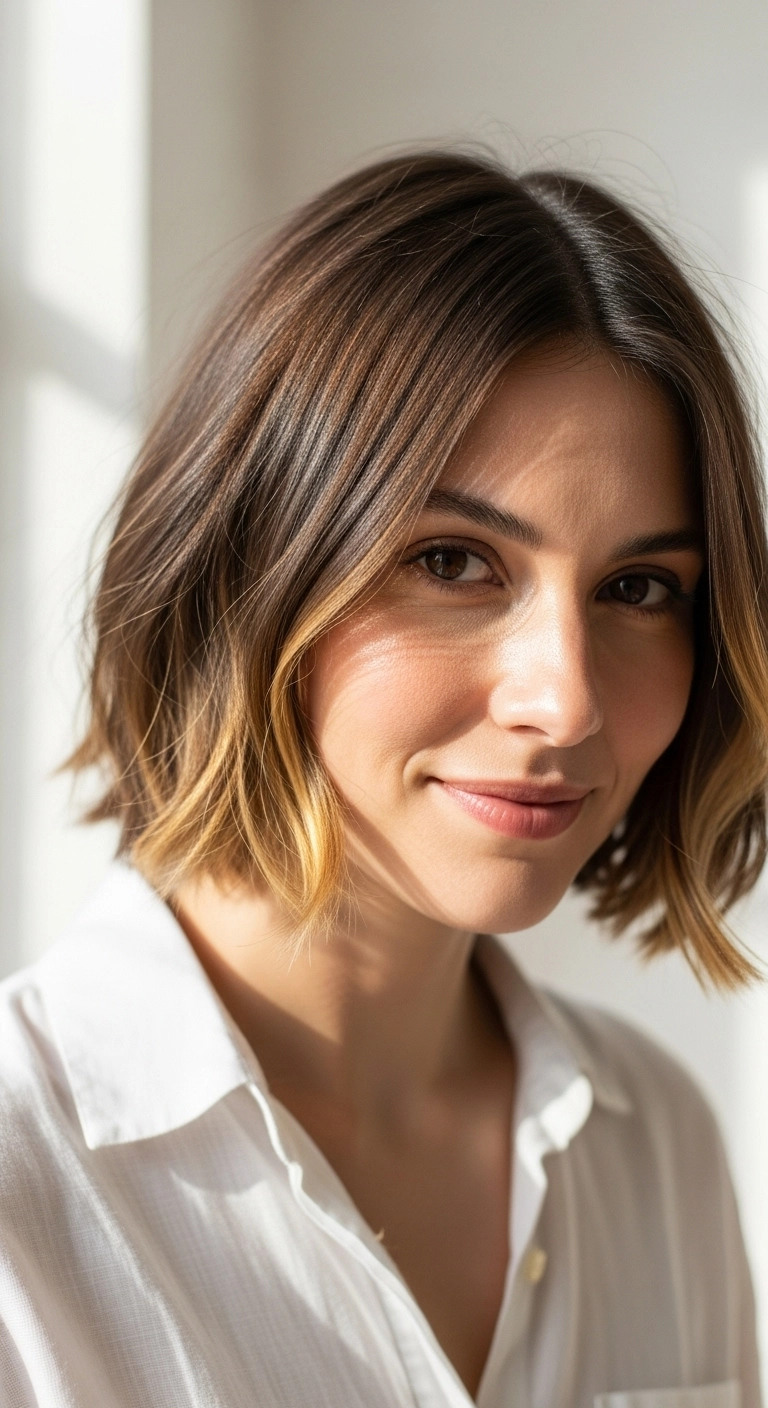
This textured chin-length bob is so easy to style and gives you that perfect "cool girl" effortless vibe – I wore this exact haircut all summer long and got endless compliments every day!
How to do this
1. Start by prepping damp, towel-dried hair with a lightweight heat protectant spray listed below to shield strands from hot styling tools.
2. Blow-dry the hair using a medium round ceramic brush, lifting at the roots around the crown and center part to build natural body and volume.
3. Once dry, create a slightly off-center part. Take random 1- to 2-inch vertical sections of hair, focusing especially around the face-framing blonde pieces.
4. Using the 1.25-inch curling wand listed below, wrap each section loosely around the barrel just once at the mid-lengths, leaving the very ends straight to get that casual, undone bend.
5. Alternate curl directions away from and toward the face throughout the back, but curl the front blonde strands strictly away from the face to open up your features.
6. Let the hair cool down completely, then lightly mist the dry texturizing spray listed below through the roots and mid-lengths.
7. Rake through the waves with your fingers or a wide-tooth comb to break up the shape and finish with a drop of smoothing hair oil listed below on the ends for a healthy shine.
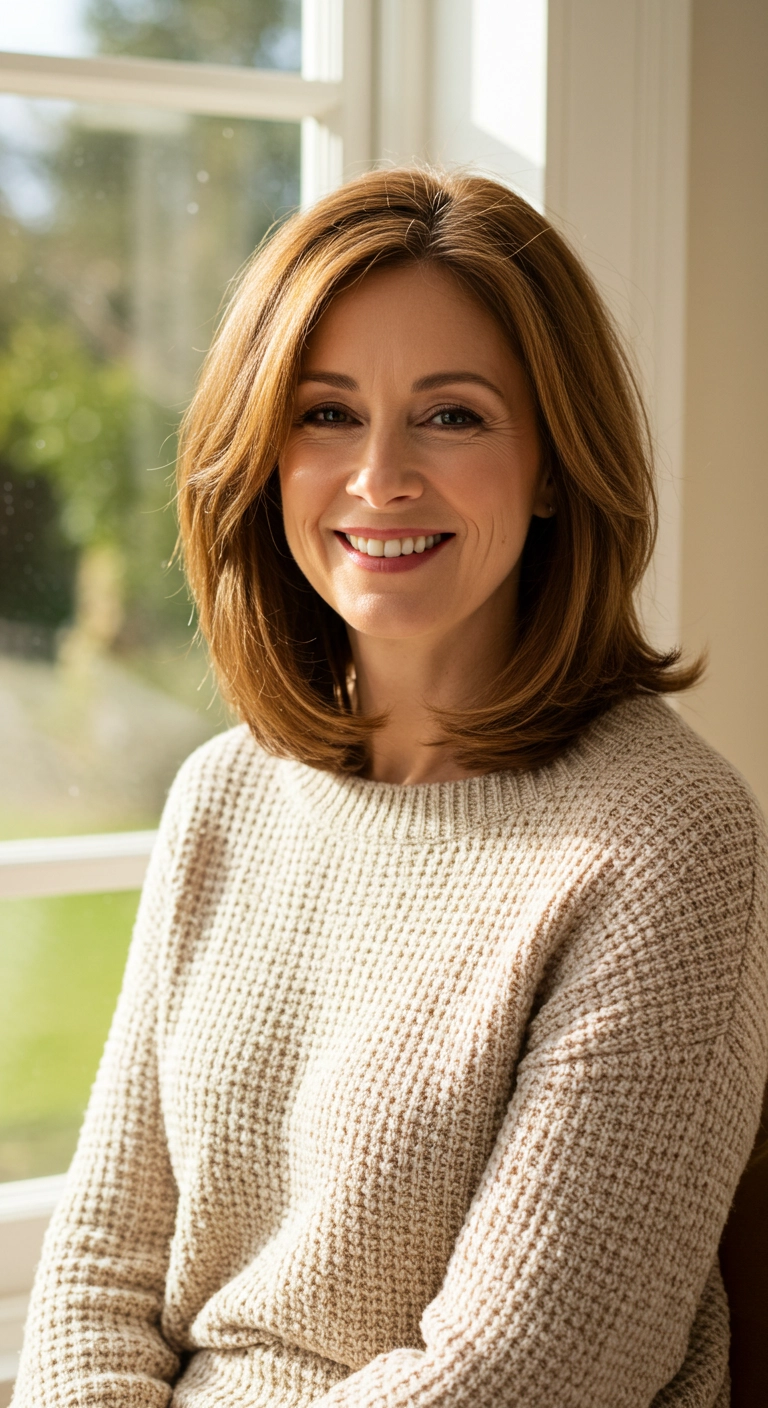
Honestly, a classic layered lob never goes out of style, especially when you give it that fresh, bouncy blowout feel! The soft warm honey tones add so much life and warmth to the face without feeling overdone. If you're looking for an effortless, chic look that works everywhere from the office to dinner dates, this is your sign to try it!
How to do this
1. Start on freshly washed, damp hair and prep with the leave-in heat protectant spray listed below to shield strands and add a silky base.
2. Apply a golf ball-sized amount of the volumizing styling mousse listed below throughout the roots and mid-lengths to give that bouncy, lifted blowout shape.
3. Section your hair into manageable quadrants using the sectioning alligator clips listed below so you can blow dry methodically.
4. Blow dry section by section using the round ceramic thermal brush listed below, lifting upward at the roots for fullness and rolling the ends under slightly while letting face-framing pieces curve away from the cheeks.
5. Once fully dry, mist the lightweight flexible hold hairspray listed below all over to keep the rounded movement and bouncy layers in place throughout the day.
I love how effortless a rich caramel balayage looks when paired with loose, lived-in waves. It brings so much warmth to the face without feeling like an aggressive bleach job! I kept the roots deep and natural so grow-out is completely painless, while the ribbons around the cheekbones catch the light just right. If you want something that feels polished enough for work yet soft enough for date night, this is definitely your go-to.
How to do this
1. Start by prepping freshly washed, damp hair with a lightweight smoothing cream and the heat protectant spray listed below to shield strands and add slip.
2. Blow dry using a large ceramic round brush, lifting at the roots for soft natural volume and smoothing the cuticle down through the ends.
3. Once completely dry, divide the hair into horizontal sections and mist lightly with a flexible styling mist.
4. Take 1.5-inch sections and wrap them loosely around the 1.25-inch curling iron listed below, curling away from the face while leaving the last inch of the ends slightly relaxed.
5. Let the curls cool completely to set the pattern, then gently run through them using the wide-tooth comb listed below to open them up into soft, flowing waves.
6. Finish by warming a pea-sized amount of the hair oil listed below between your palms and smoothing over the lengths for radiant shine, followed by a mist of finishing hairspray.
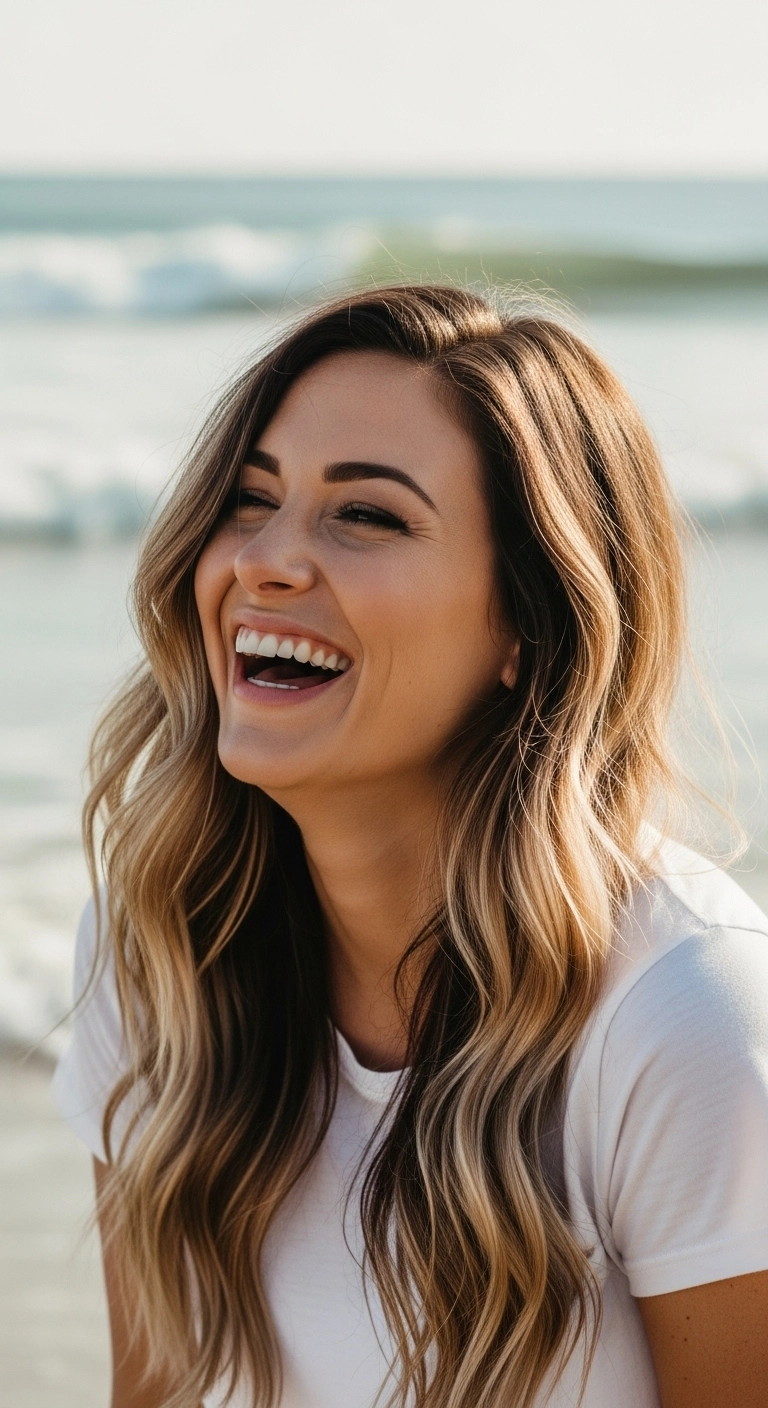
I’m absolutely in love with this hairstyle because it gives that effortless, just-came-from-the-beach glow without requiring a whole glam squad. The warm honey ribbons catch the golden hour light so beautifully, and loose S-waves make it easy to look put together whether you're heading out to dinner or spending the day by the water. Definitely give these easy beach waves a try, it’s a lot easier to do than you would think!
How to do this
1. Start on freshly washed, towel-dried hair and apply a quarter-sized amount of the heat protectant spray with argan oil listed below throughout your lengths and ends.
2. Blow dry hair using a round brush or paddle brush until it is completely dry, creating a clean center part down the middle.
3. Divide your hair into 1- to 2-inch vertical sections. Using the 1.25-inch ceramic curling iron listed below, wrap each section loosely around the barrel away from your face, leaving about an inch of the ends straight for that relaxed, modern vibe.
4. Hold for 5–7 seconds, release, and let the curl cool completely before touching it.
5. Once all sections are cooled, gently comb through the waves using the wide-tooth detangling comb listed below to soften them into loose, lived-in S-waves.
6. Mist the dry texturizing spray listed below generously from mid-lengths to ends, scrunching lightly with your hands for airy volume and movement.
7. Finish by smoothing a drop of the nourishing hair oil listed below through the very ends to lock in hydration and add a sun-kissed shine.
Can we just talk about this stunning, warm caramel balayage for a second?! I absolutely had to share this gorgeous soft-wave style because it has that effortless, rich brunette look that feels so luxurious and healthy. The seamless melt from a deep chocolate base into honey and golden ribbons catches the light in the most breathtaking way, especially when styled into loose, flowing waves. Whether you wear it polished for work or tousled for weekend brunch, this cut and color blend is timeless perfection!
How to do this
1. Start by prepping clean, damp hair with a heat protectant spray and a lightweight smoothing blowout cream to ensure a frizz-free foundation.
2. Blow-dry using a large ceramic round barrel brush, directing the airflow down the hair shaft to build smooth volume through the crown and mid-lengths.
3. Once completely dry, divide the hair into horizontal sections from the nape to the crown.
4. Take 1.5 to 2-inch vertical subsections and wrap them loosely around a 1.25-inch curling iron or wand, leaving the very ends slightly relaxed.
5. Alternate the curl direction slightly or curl away from the center to achieve seamless, fluid S-waves.
6. Allow all curls to cool completely, then gently rake through them with a wide-tooth detangling comb to soften the curls into uniform waves.
7. Finish the look by misting a lightweight shine oil mist over the mid-lengths and ends for that radiant, glossy finish, followed by a light mist of flexible hold hairspray.
I fell in love with this style while looking for the ultimate effortless wedding guest updo. It looks super intricate from behind, but once you break down the overlapping twists, it comes together in under ten minutes! The soft, face-framing tendrils keep it relaxed rather than stiff, and it shows off warm balayage ribbons like nothing else. If you have an upcoming formal event and want to keep your hair up and out of your face all night, you definitely need to save this one!
How to do this
1. Prep dry hair with a generous spritz of the texturizing volume spray listed below to add grip, body, and hold before styling.
2. Using the 1.25-inch curling iron listed below, add soft, loose bends throughout the crown and leave two gentle face-framing strands out around the ears.
3. Section off the front side panels and softly backcomb the crown using the teasing brush listed below to create gentle, rounded height at the back of the head.
4. Gather the remaining back section into a loose low ponytail at the nape of the neck, securing with a clear elastic.
5. Loop and tuck the ponytail into an elegant, horizontal low rolled bun, pinning it securely against the scalp using the matte bobby pins listed below.
6. Take the right and left side sections, twist them loosely backward while draping over the ears, and cross them directly over the top of the bun, pinning the ends underneath to conceal the base.
7. Gently pinch and pull subtle ribbons of hair across the crown and bun to add an airy, dimensional texture, then lock everything in place with the flexible hold hairspray listed below.
Are you as obsessed with a chic, effortless short cut as I am? I couldn't resist adding this gorgeous wavy bob to the list because it's just so universally flattering, don't you think?! The soft caramel and honey balayage ribbons brighten up the deep brunette base without requiring high-maintenance root touch-ups. Plus, styling it with those relaxed, flat-iron S-waves keeps it looking cool and modern rather than too done-up. Try this look next time you're craving a fresh chop that still gives plenty of movement and style!
How to do this
1. Start by prepping damp, freshly washed hair with the leave-in heat protectant spray listed below to shield strands from hot styling tools.
2. Blow dry hair smoothly using a round ceramic brush, lifting at the roots to maintain natural fullness while keeping the perimeter sleek.
3. Establish a clean center part using a fine-tooth tail comb.
4. Section hair horizontally into manageable layers, working from the bottom upward.
5. Using the 1.25-inch ceramic curling wand listed below, take 1- to 2-inch vertical sections and create relaxed, horizontal S-waves by wrapping hair loosely around the barrel and leaving the very ends straight for a modern blunt finish.
6. Pay special attention to the front money-piece sections, directing the waves gently away from the face to flatter cheekbones.
7. Allow all curls to cool completely, then mist hair thoroughly with the dry texturizing spray listed below.
8. Gently break apart the waves using your fingers or a wide-tooth comb to achieve that effortless, lived-in texture.
9. Finish with a drop of the nourishing hair styling oil listed below rubbed into palms and smoothed over the ends to lock in shine and banish stray frizz.
This is a go-to haircut if you want an easy, chic look that feels put together without spending an hour in front of the mirror. The bright face-framing honey pieces instantly illuminate your complexion, while the blunt wavy bob keeps things bouncy and modern.
How to do this
1. Start by prepping freshly washed, damp hair with the heat protectant spray listed below to shield strands from hot styling tools.
2. Blow dry using a round ceramic brush, lifting at the roots for soft natural volume and smoothing the ends straight down.
3. Create a clean middle part using a fine-tooth tail comb.
4. Section off the hair and use the 1.25-inch curling iron listed below to create soft, undulating S-waves. Wrap 1-to-2-inch ribbons of hair horizontally, leaving the ends slightly straight to maintain the modern bob shape.
5. When curling the face-framing money piece sections, curl away from the face starting at cheekbone height to open up your features.
6. Let curls cool completely, then mist all over using the dry texturizing spray listed below.
7. Gently break up the wave ridges with your fingers or a wide-tooth comb for that effortless, lived-in bend.
8. Rub a tiny drop of the lightweight hair serum listed below between your palms and smooth over flyaways and ends for a high-gloss finish.
Short hair definitely doesn't have to be boring. A wavy bob is one of the most flattering, chic cuts out there, especially when paired with a seamless honey balayage. If you feel like your short curls end up looking too stiff or round, try curling away from your face and leaving the very ends untouched! Giving the hair a quick finger-comb with some texturizing spray will instantly give you that effortless, cool-girl movement.
How to do this
1. Start by prepping damp hair with a lightweight styling mousse and a heat defense mist using the Heat Protectant Spray listed below.
2. Blow-dry using the Ceramic Tourmaline Hair Dryer listed below along with a medium round brush to create maximum lift at the roots and a smooth foundation.
3. Create a deep side part to add effortless volume on the heavier side.
4. Take 1 to 2-inch vertical sections and create soft, dimensional bends using the 1.25 Inch Ceramic Curling Wand listed below, leaving the very ends slightly straight for a modern touch.
5. Once your waves have cooled down completely, gently rake through them with your fingers or a wide-tooth comb to soften the shape.
6. Mist all over using the Dry Texturizing Finishing Spray listed below to give the bob that lived-in, airy separation and hold.
7. Finish the tips with a drop of smoothing shine oil using the Lightweight Hair Oil listed below for added reflection on the blonde balayage ends.
There’s nothing like rocking a bouncy, lived-in chin bob when you want that effortless chic vibe! I love how the warm honey balayage adds so much dimension to these loose waves without feeling overly styled.
How to do this
1. Start on freshly washed, towel-dried hair and apply a generous mist of the heat protectant spray listed below to prep your strands.
2. Blow dry using the ceramic round brush listed below, focusing on lifting at the roots to build natural crown volume while directing the front into a gentle side sweep.
3. Once bone-dry, divide your bob into horizontal sections and create loose, ribbon waves using the 1.25-inch curling iron listed below, alternating directions away from the face.
4. Let the curls cool completely so they set, then use the wide tooth comb listed below to gently rake through and break them apart into soft, dimensional bends.
5. Spray a liberal amount of the dry texturizing spray listed below through the mid-lengths and ends, giving your hair a little shake for lived-in volume.
6. Finish off with a light mist of the flexible hold hairspray listed below to keep that bouncy, chic shape holding all day long.
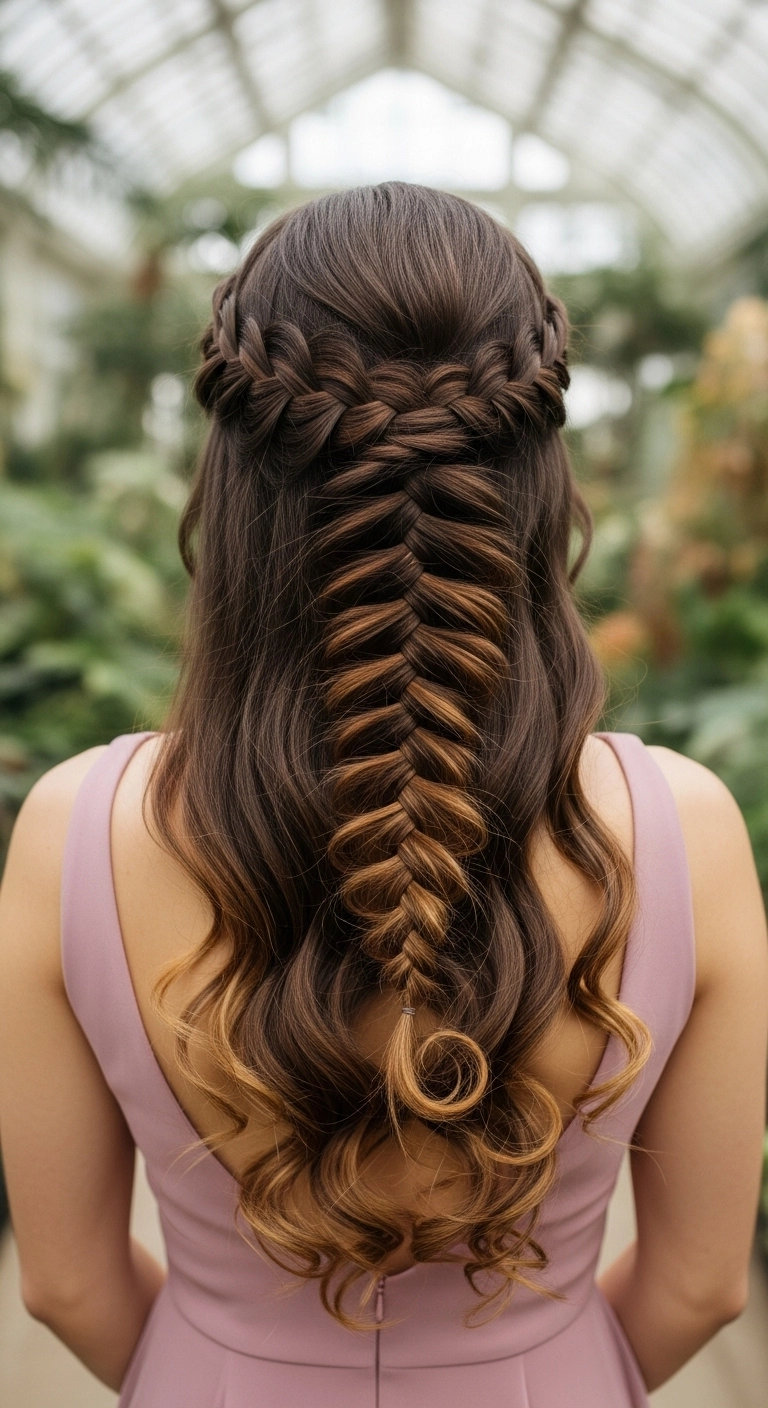
This half-up braided look is absolutely breathtaking for any wedding or formal event! The combination of side Dutch braids meeting into a relaxed, dimensional fishtail shows off balayage highlights like nothing else. It feels super ethereal and romantic without being overly stiff, and those soft flowing curls underneath make it look effortless!
How to do this
1. Prep dry, clean hair with a light misting using the heat protectant spray listed below to shield your hair from styling tools.
2. Use a 1.25-inch curling iron using the curling wand listed below to create soft, romantic waves throughout the mid-lengths and ends, making sure all curls face away from the back center.
3. Take a section from each side above the temples and create two Dutch braids heading towards the center back of the head, gently pancaking each plait to create fullness.
4. Secure the two side braids together at the crown with a clear elastic using the clear mini hair elastics listed below.
5. Continue down the center length creating an intricate fishtail braid, taking pieces from the loose perimeter to weave in or softly pulling the strands outward for an airy, dimensional effect.
6. Tie off the bottom of the braid with an elastic, leaving the curled tail loose, and gently tug on each loop of the braid to expand its shape.
7. Finish by misting with the flexible hold finishing hairspray listed below and smoothing down any flyaways using the hair shine serum listed below for a glossy, picture-perfect hold.
Looking for that perfect, effortless "I woke up like this" style that looks chic everywhere you go? This sun-kissed wavy lob gives you tons of movement, natural volume, and rich dimensional honey tones. It’s the ultimate cool-girl haircut that flatters practically every face shape with zero fuss!
How to do this
1. Start by prepping damp, towel-dried hair with a lightweight styling mousse or the volumizing root lift spray listed below to build natural body.
2. Blow-dry using a medium round ceramic brush, lifting at the roots—especially around the crown and side parting—to create that signature effortless flip.
3. Once dry, mist hair lightly using the heat protectant spray listed below to shield strands before heat styling.
4. Take 1.5 to 2-inch vertical sections and wrap them loosely around the 1.25-inch curling iron listed below, alternating directions and leaving the bottom inch out for a modern, relaxed finish.
5. Allow curls to cool completely, then rake through them gently with your fingers or a wide-tooth comb to break them into soft, touchable S-waves.
6. Generously spritz the texturizing sea salt spray or dry texture spray listed below from mid-lengths to ends, scrunching lightly with your hands for lived-in texture.
7. Finish off with a light mist of the flexible hold hairspray listed below to lock in the volume and bounce all day.
Are you loving this cozy, lived-in lob vibe as much as I am? I added this layered honey-toned blowout to the list because it's the ultimate everyday go-to look! The soft inward-curving layers hug the collarbone and frame the face so effortlessly, while the warm golden highlights add just the right amount of dimension without needing tons of upkeep. Whether you tuck it behind your ears on a lazy morning or blow it out for brunch, it always looks effortlessly put together.
How to do this
1. Start by washing hair with a lightweight volumizing shampoo and conditioner to give natural body and lift at the roots.
2. On towel-dried hair, apply a dime-sized amount of smoothing blowout cream and generously mist the heat protectant spray with argan oil listed below from roots to ends.
3. Detangle thoroughly using the wide-tooth detangling comb listed below to ensure even product distribution.
4. Rough-dry hair using a blow dryer until it is roughly 80% dry, lifting at the crown for added root volume.
5. Section hair into manageable tiers and use the ceramic round blow-dry brush listed below to smooth down each section, rolling inwards at the ends to create that soft, face-framing curve.
6. Pay special attention to the front pieces around the cheeks and jawline, rolling them back and inwards to gently contour the face.
7. Finish by spritzing the lightweight texturizing finishing spray listed below throughout mid-lengths and ends for that effortless, lived-in movement.
I’m absolutely in love with this wavy lob because it looks so put-together while being practically zero fuss. You can rock it for school drop-offs or errands, and then add a quick swipe of lipstick and you’re instantly ready for date night. Leaving the ends straight gives it that effortlessly chic vibe that feels so fresh and modern. If you've been thinking about chopping your hair or warming up your color with some soft caramel balayage, definitely give this look a try!
How to do this
1. Prep clean, towel-dried hair with a lightweight smoothing heat protectant spray listed below to shield your hair from hot tool damage.
2. Blow dry hair using a medium round boar bristle brush, lifting slightly at the roots to maintain natural volume and smooth the cuticle.
3. Create a clean middle part and section hair into horizontal layers starting from the nape of your neck upwards.
4. Take a 1.25-inch curling wand or iron, wrapping vertical 1-to-2-inch sections away from your face. Be sure to leave the last inch of the ends uncurled for that blunt, modern edge.
5. When curling the front face-framing ribbons, hold the iron vertically and direct the wave gently outward at cheek level to highlight the lighter money-piece tones.
6. Let your waves completely cool down for several minutes so the shape sets properly.
7. Rake through the curls gently with your fingers or a wide-tooth comb to break them into soft, lived-in S-waves.
8. Mist evenly with the dry texturizing spray listed below at the roots and mid-lengths to add grit, body, and effortless separation.
9. Finish with a drop of nourishing hair oil smoothed through the ends to add rich shine and tame any stray flyaways.
If you've been on the fence about cutting bangs or trying a shag, let this be your sign to finally go for it! The choppy, brow-grazing fringe seamlessly melts into those gorgeous, textured layers, giving total rock-and-roll cool girl energy. Plus, those warm honey highlights catch the light in the dreamiest way without feeling high-maintenance.
How to do this
1. Start by prepping damp hair with a lightweight styling mousse to build natural volume and texture.
2. Blow-dry the bangs forward using a small round brush or flat brush, gently beveling the ends so they fall straight and piecey across the forehead.
3. Rough-dry the rest of the hair using a diffuser attachment, scrunching with your hands to enhance your natural wave pattern.
4. Take random 1-inch sections through the mid-lengths and wrap them loosely around a 1-inch curling wand, leaving the roots and ends out to maintain a lived-in bend.
5. Mist a dry texturizing spray generously throughout the crown and mid-lengths, lifting sections at the roots for that iconic shag volume.
6. Work a pea-sized amount of flexible styling cream or pomade between your fingertips to pinch and separate the fringe and ends for distinct definition.
If you want that ultimate 'I woke up like this' cool-girl hair, this honey balayage lob is your dream cut! The subtle golden gradient brightens up your complexion without the crazy root upkeep, and adding loose bendy waves takes literally ten minutes in the morning. It's effortlessly chic, super low-stress, and looks polished anywhere you go!
How to do this
1. Start with clean, damp hair and apply a smoothing blowout cream to ensure softness and reduce frizz.
2. Mist hair from roots to ends using the heat protectant spray listed below to shield strands from hot styling tools.
3. Blow dry using a large round brush, lifting at the roots for gentle volume and keeping the ends smooth.
4. Divide your hair into 1- to 2-inch horizontal sections, starting at the nape of your neck.
5. Wrap each section around the 1.25-inch curling iron listed below, leaving the bottom half-inch out for that modern, relaxed finish.
6. Once all sections are curled and completely cool, gently comb through them using the wide-tooth comb listed below to turn the curls into loose, cohesive waves.
7. Spray the dry texturizing spray listed below through the mid-lengths and ends to add separation and effortless movement.
8. Finish with a light spritz of the flexible hold hairspray listed below to keep your waves bouncy all day long.
A classic 90s-inspired blowout with gorgeous golden money pieces? Yes, please! The face-framing layers and soft bounce make this so flattering and easy to style. Would you rock this effortless layered look?
How to do this
1. Start on freshly washed, damp hair and prep from roots to ends with the heat protectant spray listed below to shield strands and add slip.
2. Apply a golf ball-sized dollop of the volumizing styling mousse listed below throughout the roots and mid-lengths to give body and structure.
3. Section the hair into manageable quadrants and blow dry with a large ceramic round brush, lifting upwards at the roots for maximum crown volume and rolling outward at the ends for that soft flip.
4. When blow-drying the face-framing curtain bangs, roll them away from your face and up, allowing them to cool on the brush to lock in that gorgeous sweep.
5. Use a medium-barrel curling wand on random vertical sections if needed to enhance the soft bend and movement.
6. Mist the dry texturizing spray listed below generously through the roots and mid-shaft, flipping your head upside down and shaking it out for lived-in fullness.
7. Finish by smoothing a tiny drop of the lightweight hair oil listed below through the tips for shine, then mist with the flexible hold hairspray listed below to hold the look all day.
Oh, the effortless dimensional brunette, how I adore you! That sun-kissed warm caramel tone with bouncy layered waves is pure perfection. Have you ever rocked this rich shade before?
How to do this
1. Start by washing hair with a color-safe nourishing shampoo and conditioner, then apply a dime-sized amount of the lightweight heat protectant smoothing serum listed below to towel-dried mid-lengths and ends.
2. Mist hair with the volumizing root lift spray listed below directly onto the crown and roots for touchable body.
3. Blow-dry using the ceramic round brush listed below, lifting upward at the roots to build volume and rolling hair away from the face around the cheekbones to create soft curtain curves.
4. Take a 1.25-inch curling iron and wrap random vertical sections away from the face, leaving the last inch of the ends out to maintain an effortless, lived-in bend rather than tight curls.
5. Flip your head upside down and thoroughly shake out the waves, then spray the dry texturizing spray listed below through the roots and mid-lengths to build airy separation.
6. Finish by raking a tiny drop of the shine-enhancing lightweight hair oil listed below through the ends to define the layers and enhance dimension.
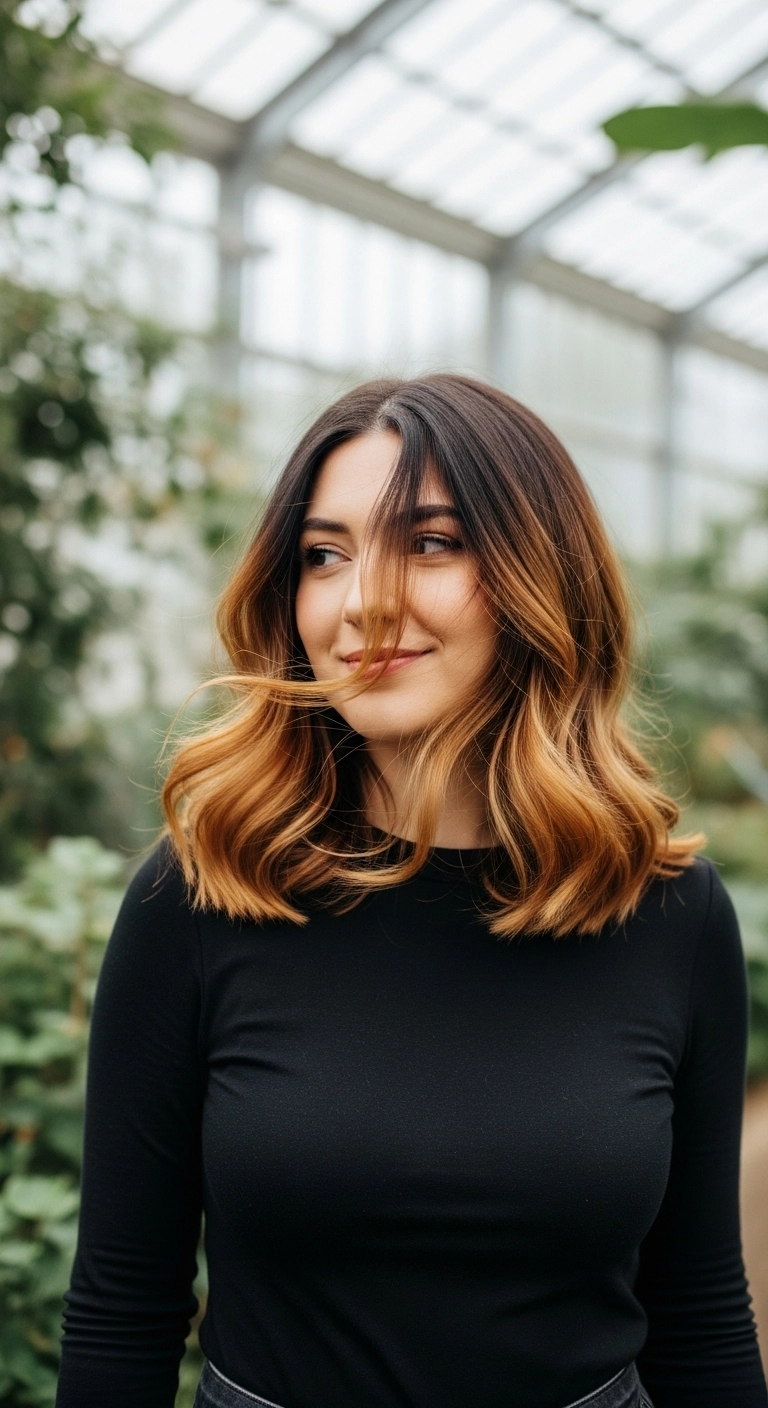
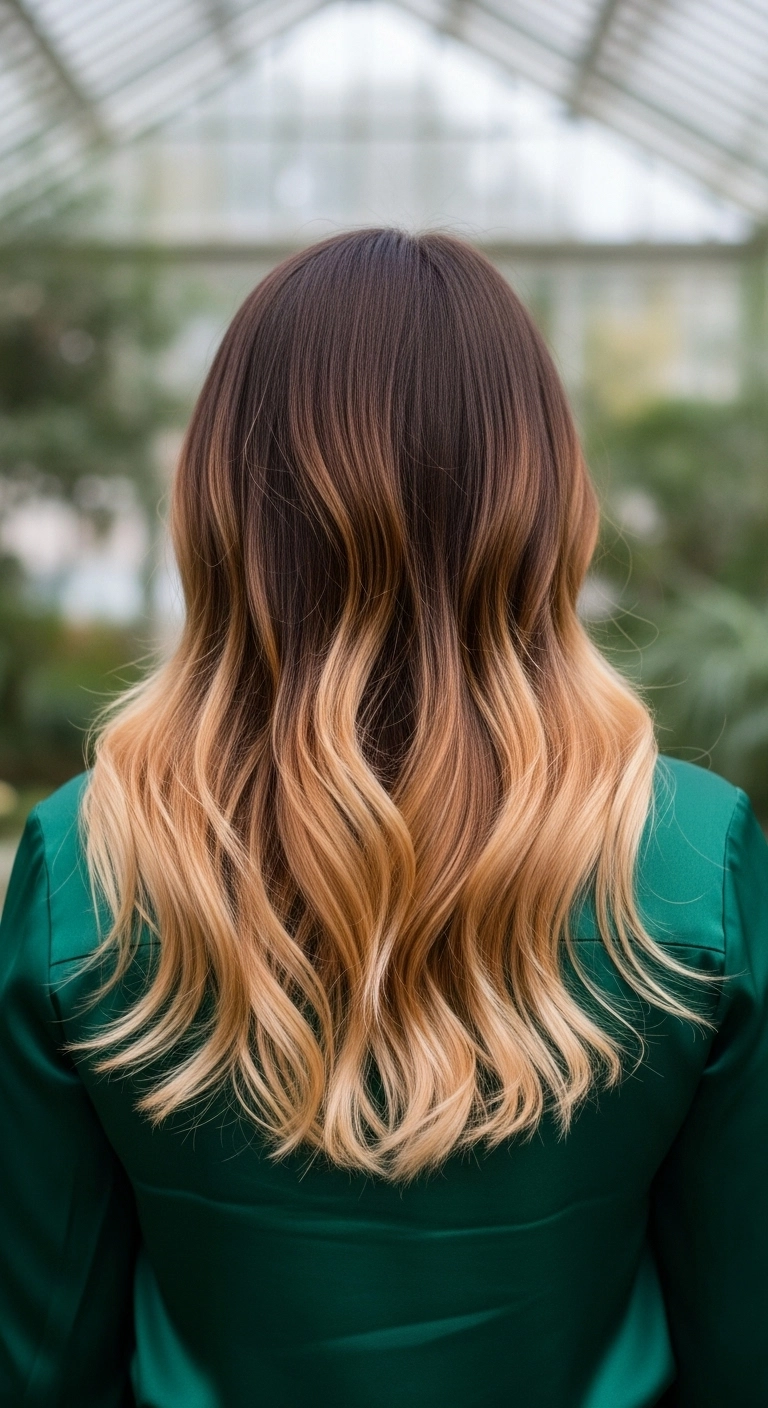
This rich brunette to honey-blonde ombre melt is gorgeous and surprisingly low maintenance – I wore this style to an outdoor botanical garden event and got non-stop compliments!
How to do this
1. Start by prepping clean, damp hair with the lightweight blowout heat protectant spray listed below from mid-lengths to ends.
2. Blow-dry smooth using a large ceramic round brush to achieve maximum shine, volume, and silky straightness through the dark crown section.
3. Divide your hair into 2-inch horizontal sections and apply a 1.25-inch curling iron listed below to create loose, relaxed S-waves starting below the ear level.
4. Let the waves cool completely for 5 minutes, then gently brush them out using the wide-tooth detangling comb listed below to merge them into soft, fluid ribbons.
5. Work a pea-sized drop of the smoothing hair oil listed below between your palms and smooth over the golden blonde ends to seal flyaways and impart a glass-like shine.
6. Finish with a flexible mist of the medium-hold finishing hairspray listed below to keep your gradient waves bouncy and locked in all day.
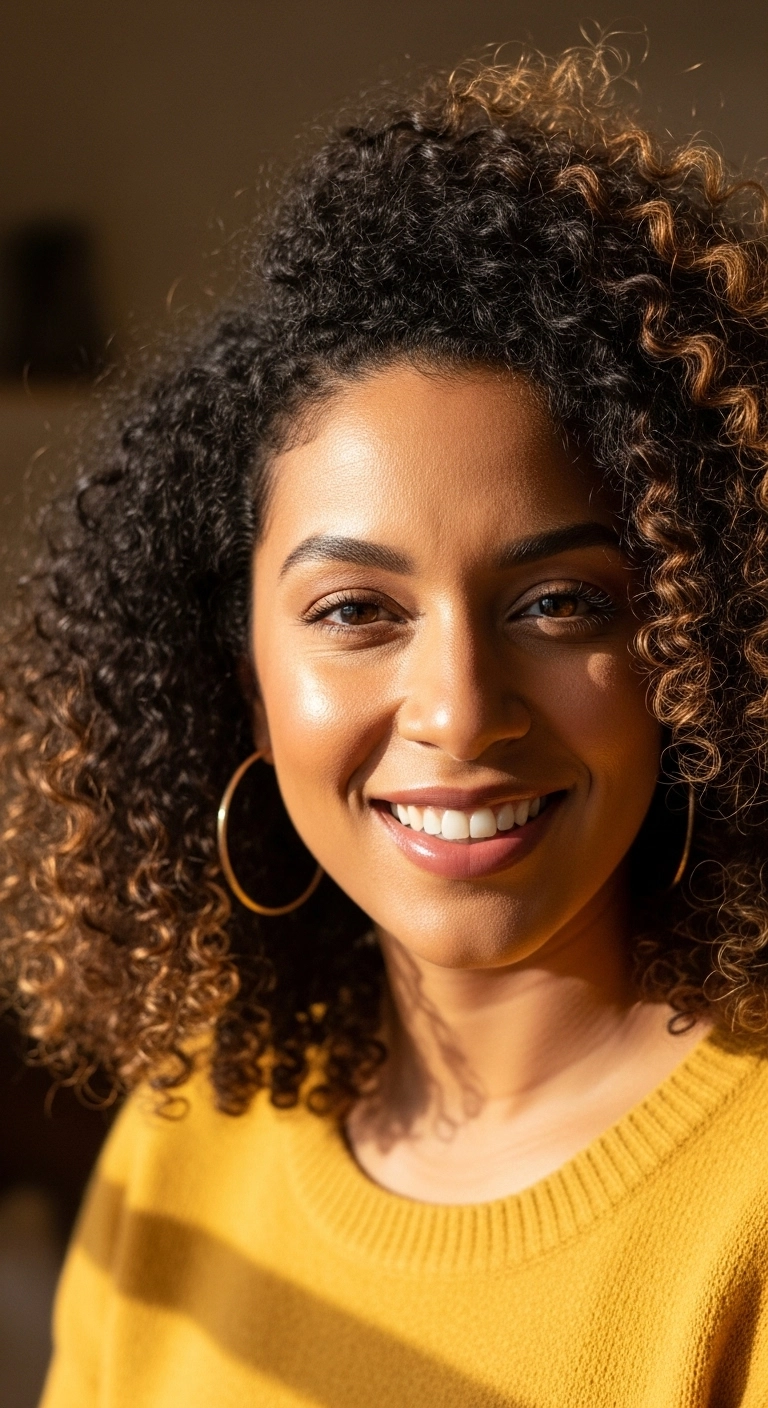
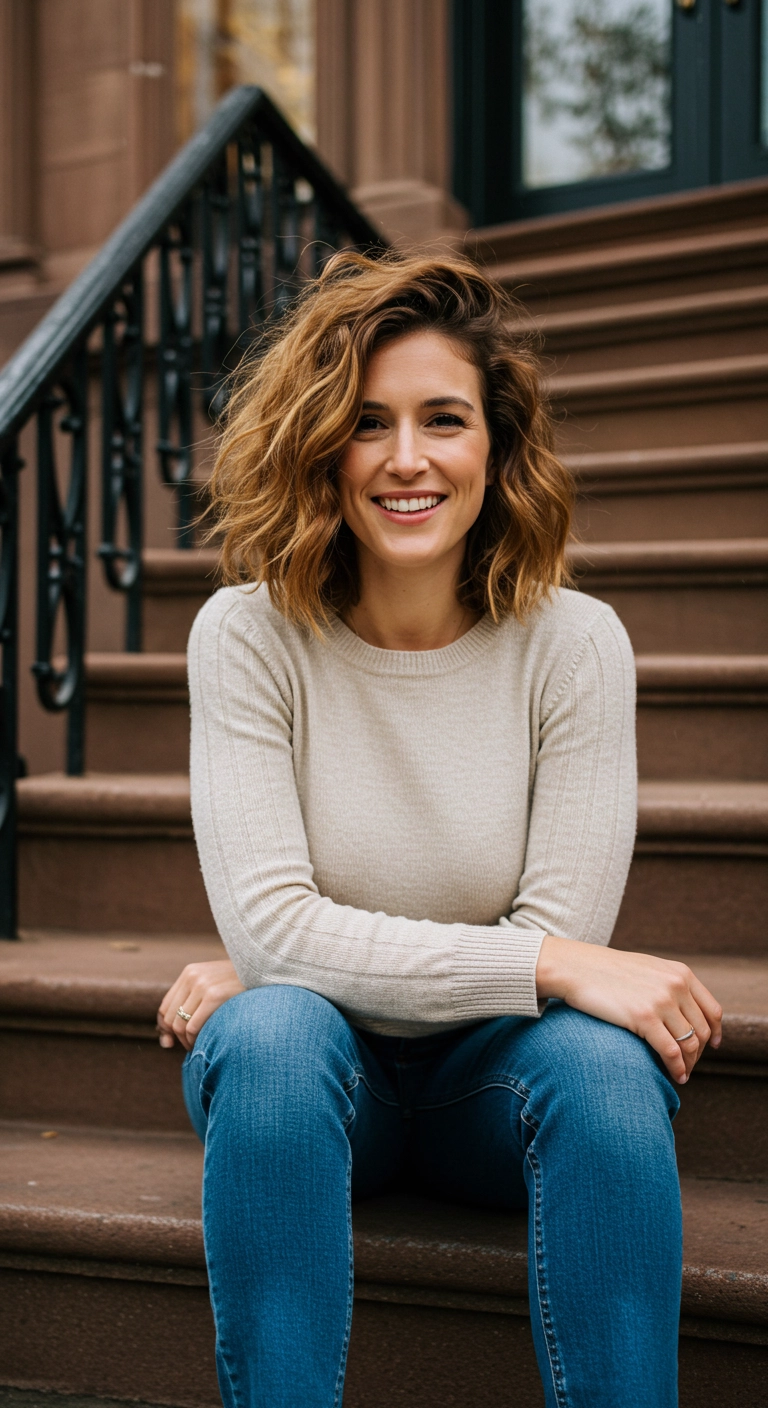
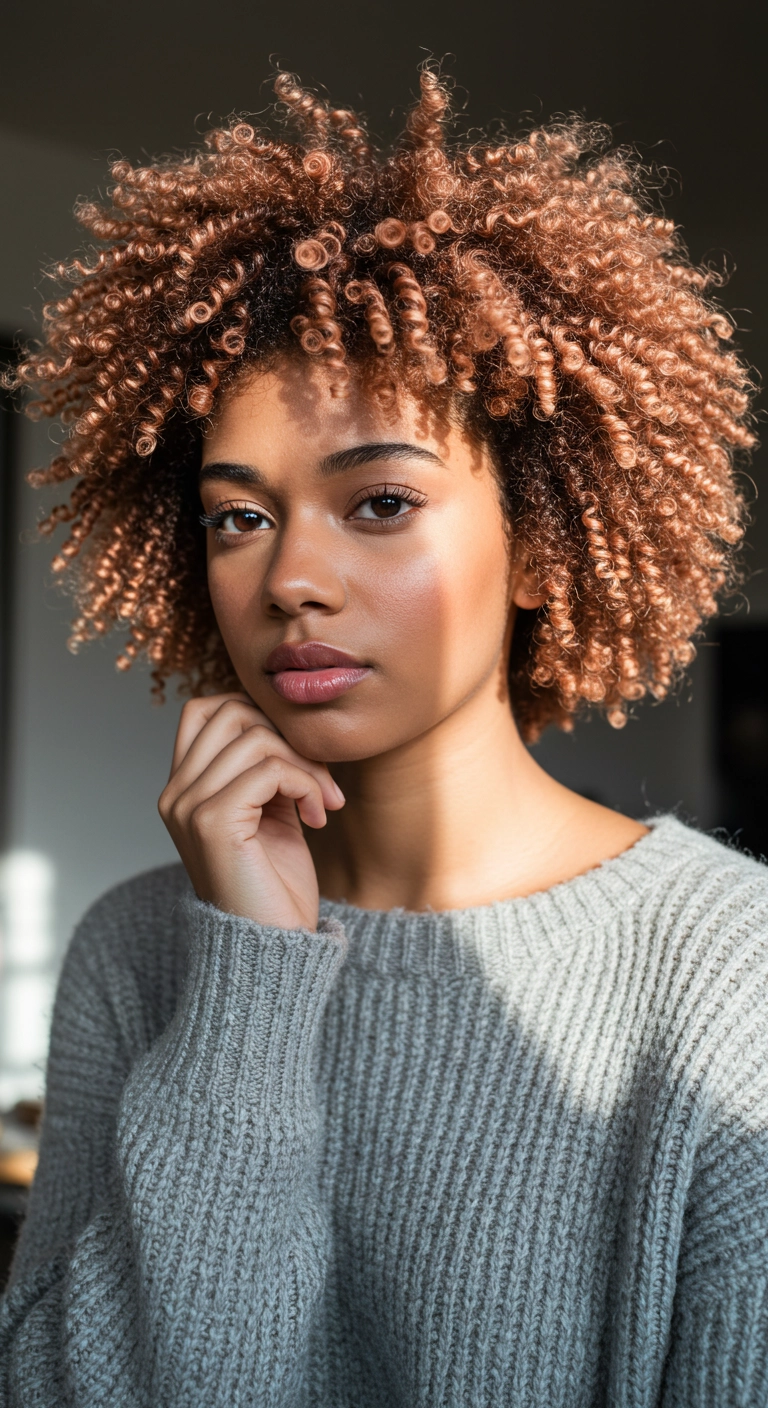
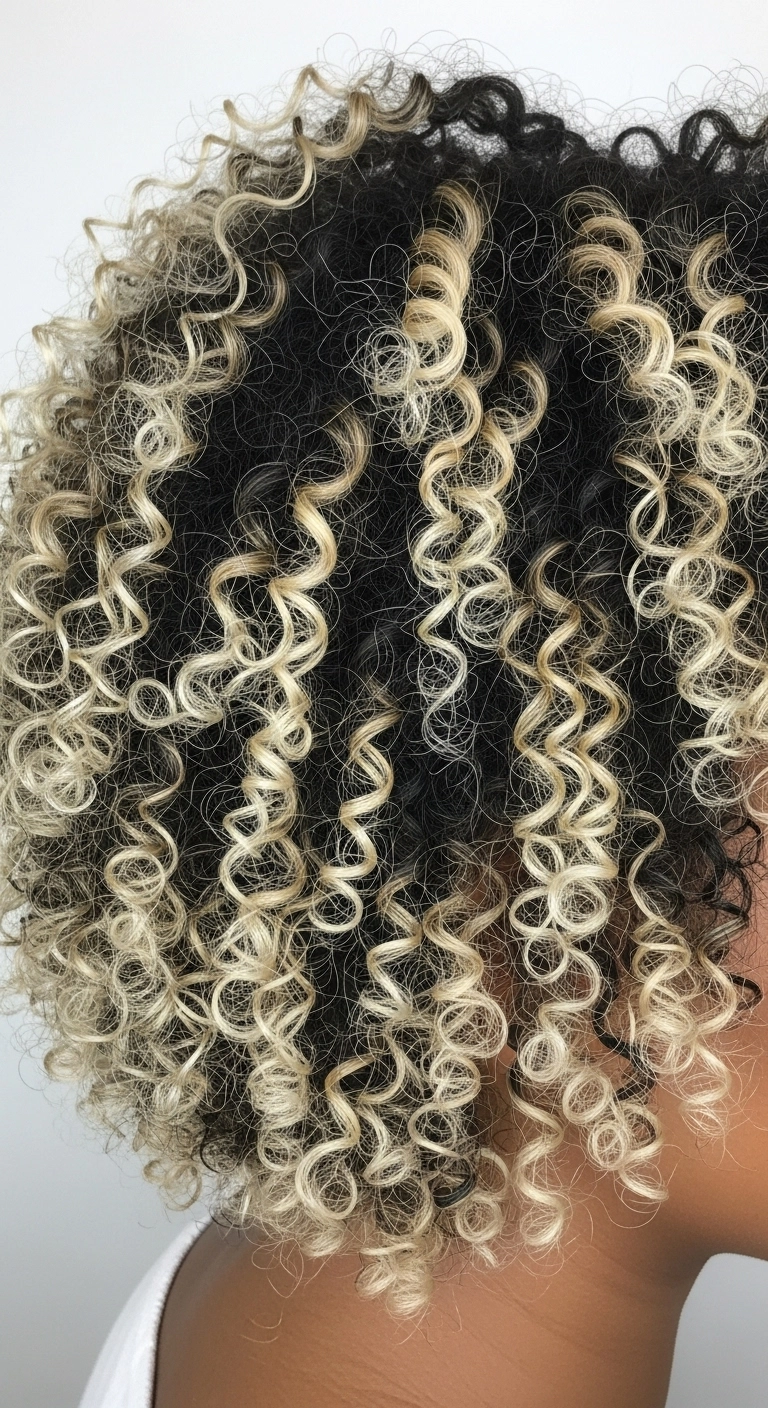
I'm totally obsessed with this warm, dimensional curly cut because it gives you that effortless halo of volume while keeping every single ringlet defined and bouncy! The warm copper and honey highlights catch the golden hour light so beautifully and bring so much life to natural curls. It is such an easy wash-and-go look once you get your finger-coiling routine down, and it looks just as stunning dressed down in a cozy sweater as it does for a fun night out.
How to do this
1. Start on freshly cleansed and conditioned curls that are still dripping wet.
2. Rake a generous amount of the hydrating leave-in conditioner listed below through your curls from roots to ends to lock in hydration.
3. Section the hair and apply the curl defining cream listed below using the praying-hands method to smooth down frizz and clump the ringlets.
4. Take individual curl clusters around the top and face frame and gently finger coil them using a dab of the lightweight curling jelly listed below to create ultra-crisp, defined spirals.
5. Attach a diffuser to your blow dryer, tilt your head sideways and upside down, and hover-diffuse on medium heat and low airflow until hair is completely dry without touching to prevent frizz.
6. Once fully dry, break any slight gel cast and add radiant shine by scrunching a few drops of the nourishing hair oil listed below into your curls, then fluff the roots with an afro pick for maximum volume.