I only recommend products or services that I believe will add value to my readers. By using these affiliate links, I’ll receive a commission if you purchase through my link, at no extra cost to you. Please read full disclosure here.
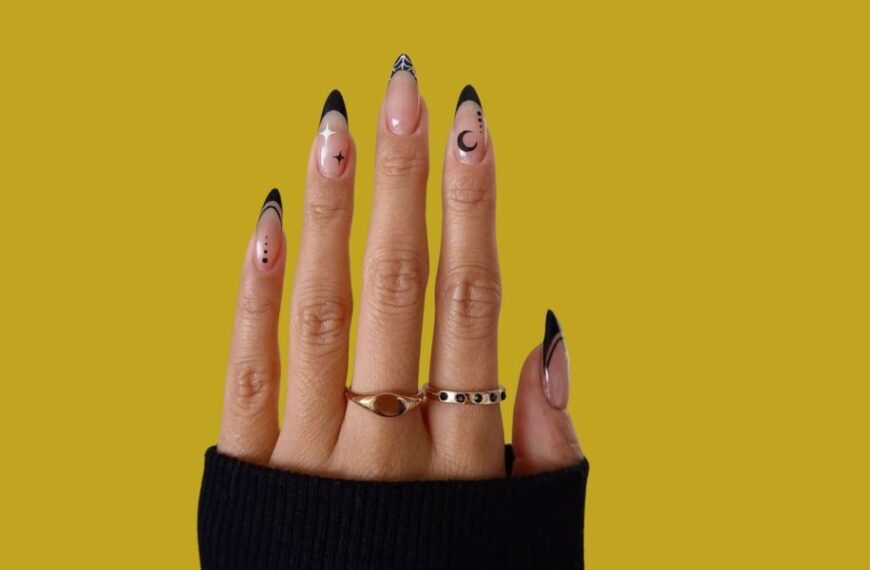
As the sun shines brighter, our nail game needs to level up. Summer is all about embracing vibrant colors and effortless style. What better way to do that than with a stunning luxe shine on your fingertips?
The allure of beachy flair on your nails is undeniable. It evokes images of coastal escapes and sun-kissed days. With the right gel nail design, you can bring a touch of that laid-back charm to your everyday look.
Discover the latest ideas to elevate your nail style this season. From subtle shimmer to bold statements, there’s something for everyone. Get ready to dive into the world of summer gel nails and unlock the secrets to a flawless, high-shine finish that lasts all season long.
Article Highlights
- Elevate your nail game with vibrant colors and luxe shine.
- Bring a touch of beachy flair to your everyday look.
- Explore the latest ideas for summer gel nail designs.
- Achieve a flawless, high-shine finish that lasts.
- Get inspired by subtle shimmer and bold statement designs.
The Allure of Summer-Ready Gel Manicures
Summer gel manicures are great because they last through the season’s fun. Whether you’re at the beach, pool, or outdoors, gel polish keeps your nails looking good.
Gel nails are a summer favorite because they last long and shine bright. They keep your nails looking vibrant all season.
Benefits of Gel Polish for Summer Activities
Gel polish is perfect for summer because it’s water-resistant and lasts long. These traits are key for water activities or when your hands are busy.
Water Resistance for Beach and Pool Days
Gel polish’s water resistance is a big plus for beach and pool days. It keeps your polish from chipping or fading when wet.
Durability During Outdoor Adventures
Gel polish is also very durable. It stays shiny and colorful even with outdoor activities. It’s great for hiking, gardening, or other outdoor fun.
Essential Tools and Products for Perfect Summer Gel Nails
Getting a flawless summer gel manicure starts with the right tools and products. To get salon-quality nails at home, you need the best materials.
Must-Have Gel Polish Brands and Colors
Top gel polish brands like OPI, Essie, and Gelish have lots of summer colors. Coral, pink, and ocean blues are big this season. Choose a gel polish color that matches your skin and style.
Tools for Professional-Looking Results
To get professional-looking results, you need some key tools. A UV or LED lamp is a must for curing gel polish. Nail guides or stickers also help for a clean, precise look.
Prep Products for Long-Lasting Manicures
Prepping your nails is key for a long-lasting gel manicure. Prep products like dehydrators and primers are very important.
Dehydrators and Primers Worth Investing In
Dehydrators remove nail surface moisture. Primers help gel polish stick better. A good dehydrator and primer make your gel manicure last longer.
Nail Prep: Creating the Perfect Canvas

Nail preparation is key for a great gel manicure. It makes the finish last longer and look flawless.
Proper Nail Cleaning and Shaping
Before you apply gel polish, clean and shape your nails. Use a gentle cleanser to remove oils and residue. Then, shape your nails to your liking, making sure they’re smooth.
- Use a lint-free wipe to clean the nail surface.
- Gently shape the nail with a nail file.
Cuticle Care for Flawless Application
Cuticle care is crucial in nail prep. Push back your cuticles gently with a cuticle pusher. Then, trim any extra cuticle tissue. This prevents lifting and ensures a smooth gel application.
- Soften cuticles with a cuticle oil or cream.
- Gently push back cuticles with a cuticle pusher.
- Trim excess cuticle tissue carefully.
Buffing and Base Preparation Techniques
Buffing your nails makes them smooth for gel polish. Use a buffer to lightly buff the nail, removing ridges. Next, apply a base coat to help the gel polish stick.
- Buff the nail surface lightly.
- Apply a base coat to enhance adhesion.
Common Prep Mistakes That Affect Longevity
Avoid common mistakes like not cleaning the nail properly, not shaping it right, and not buffing. These can cause a bad gel application and shorten its life.
Color Selection: Trending Summer Gel Nail Colors for 2025
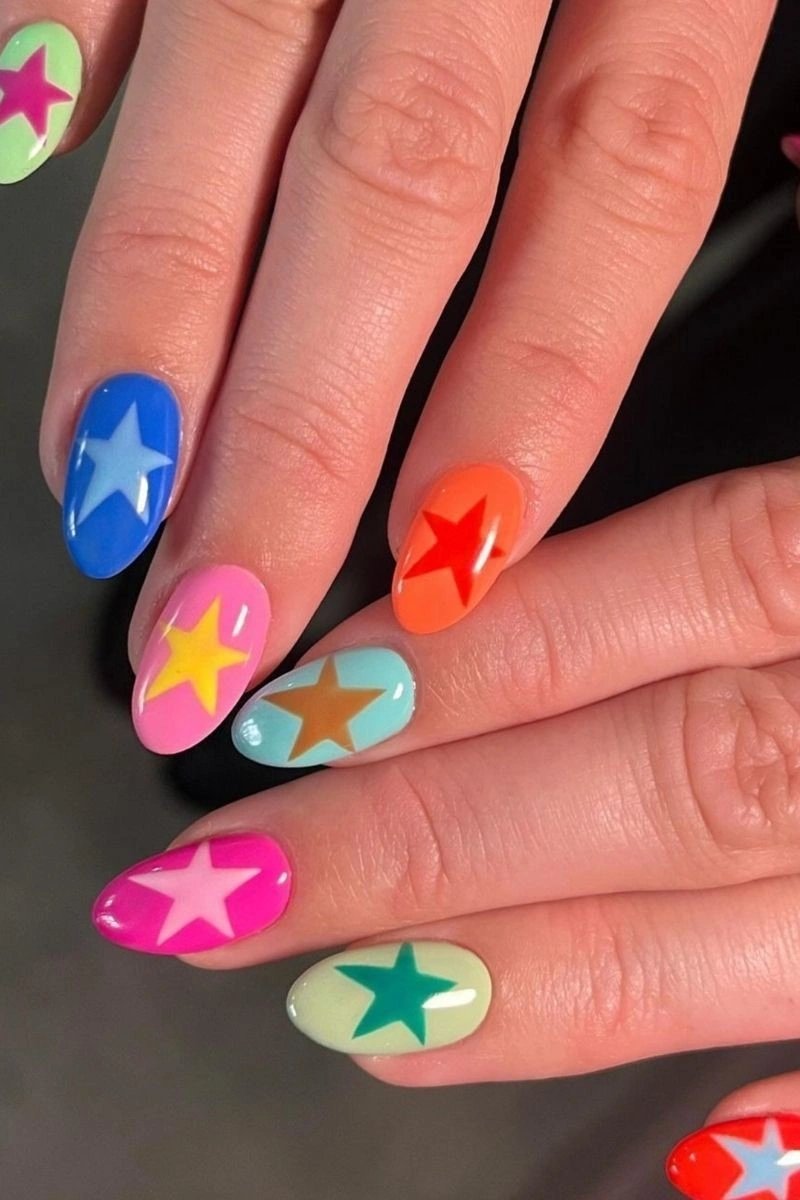
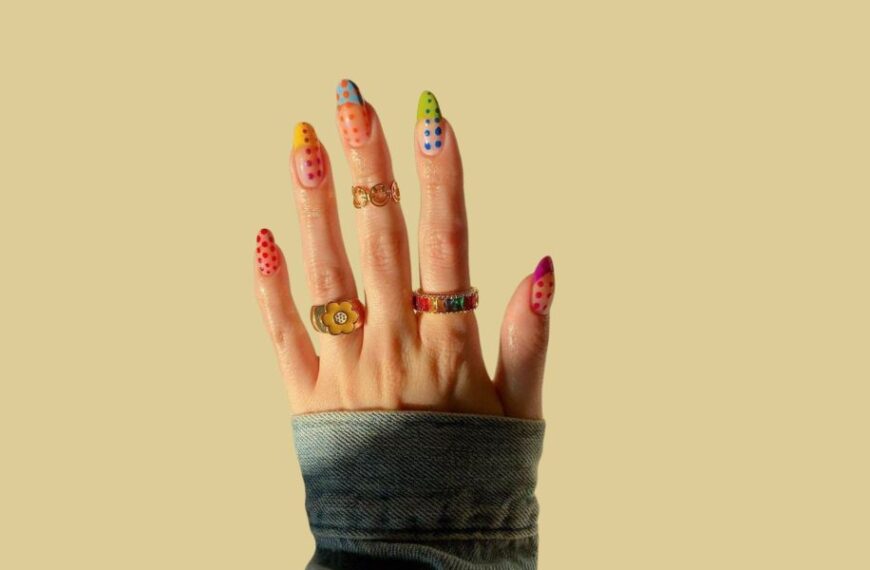
Summer 2025 is here, and gel nail colors are bursting with life. We see vibrant hues that remind us of sunny days. These colors celebrate the warmth and beauty of the season.
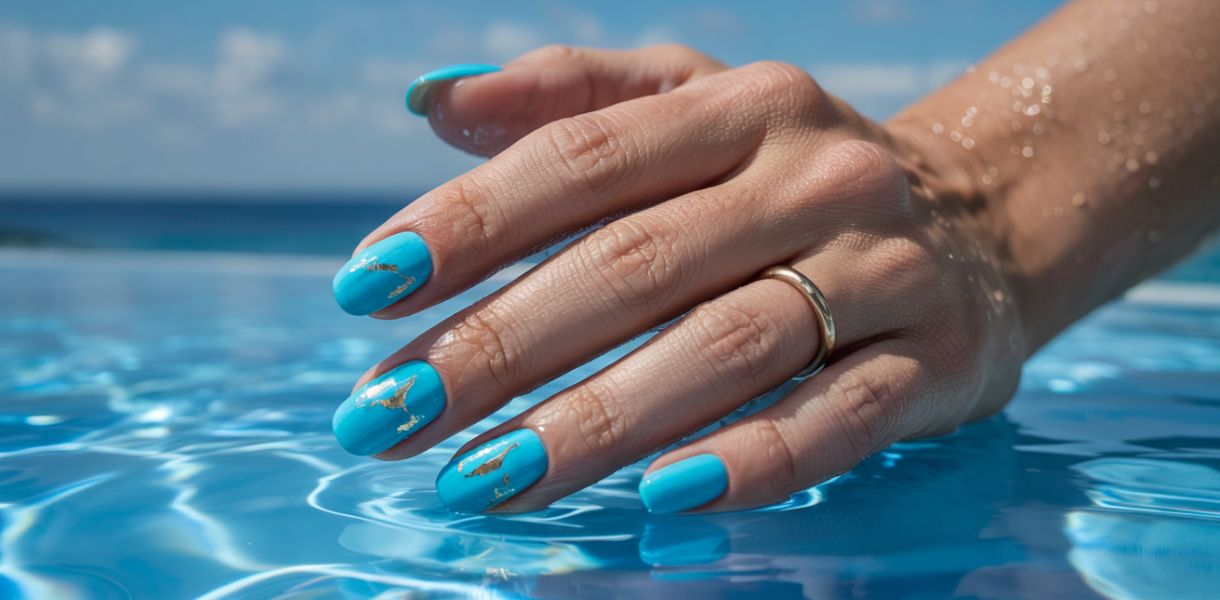
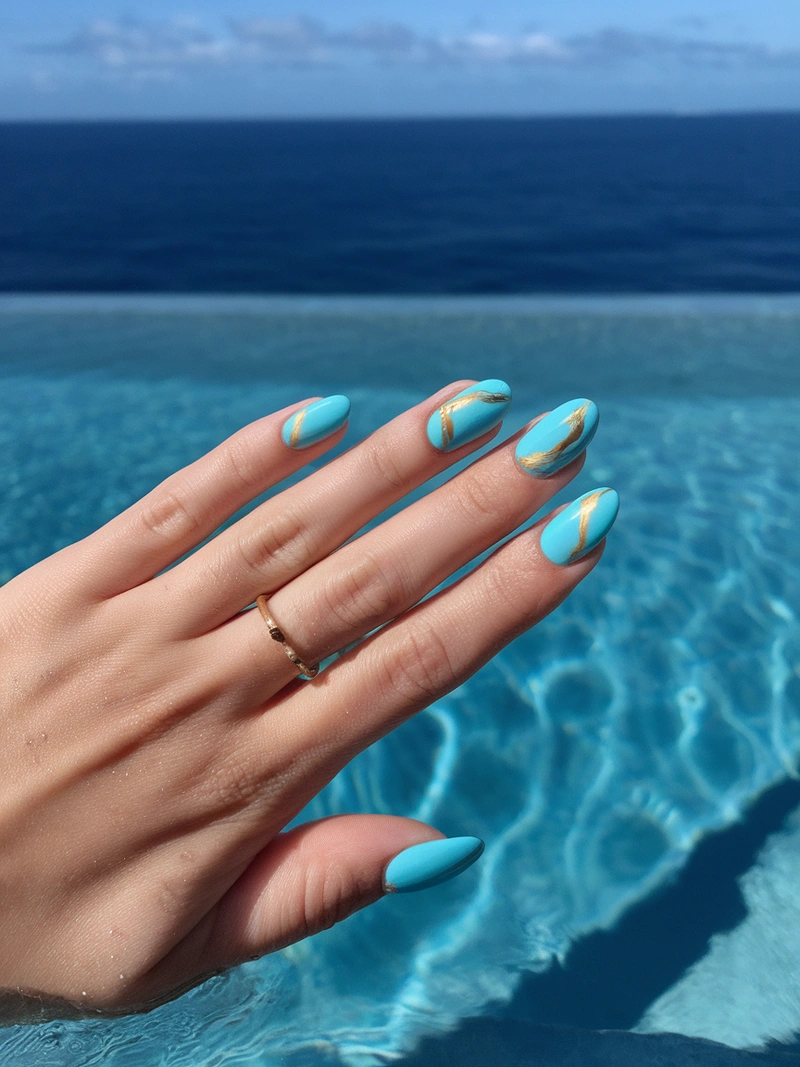
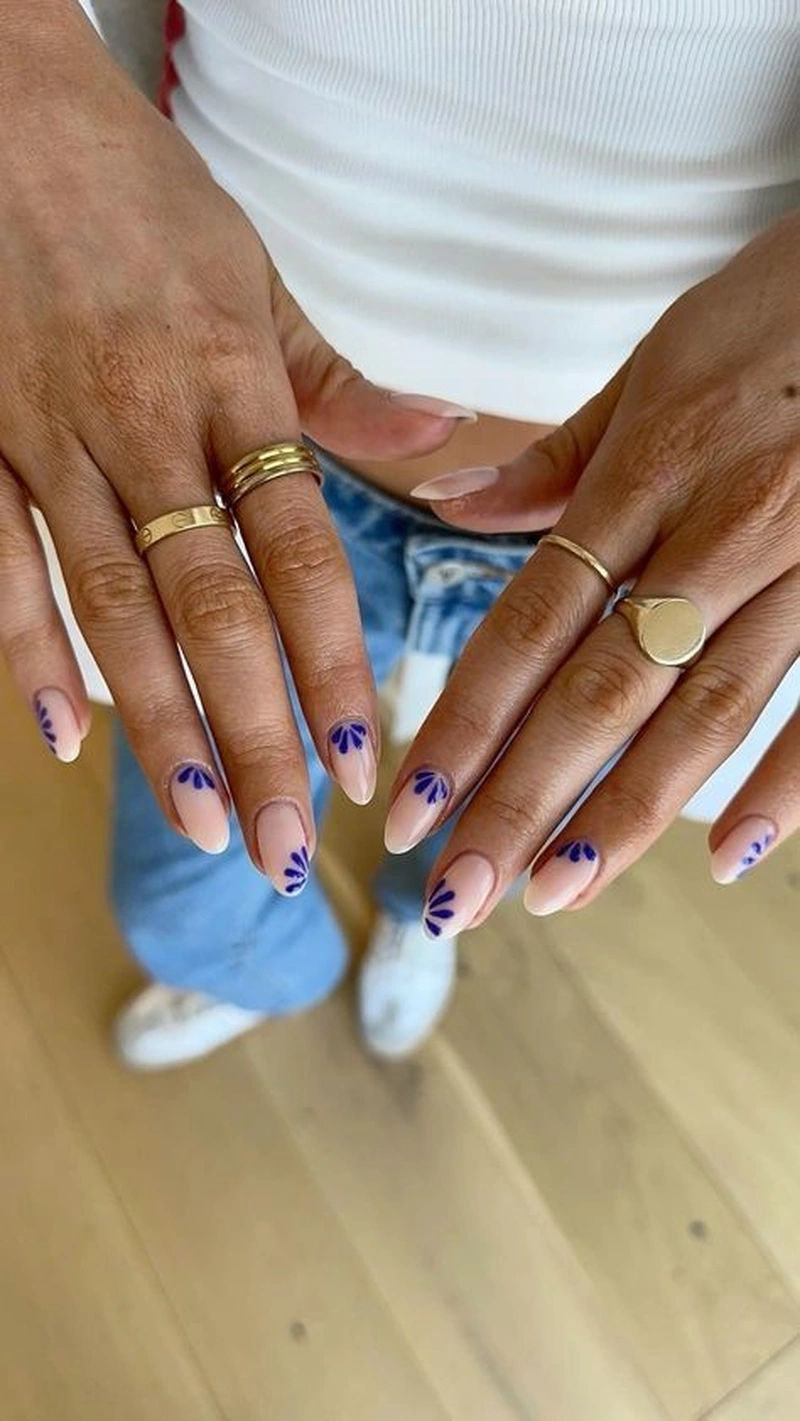
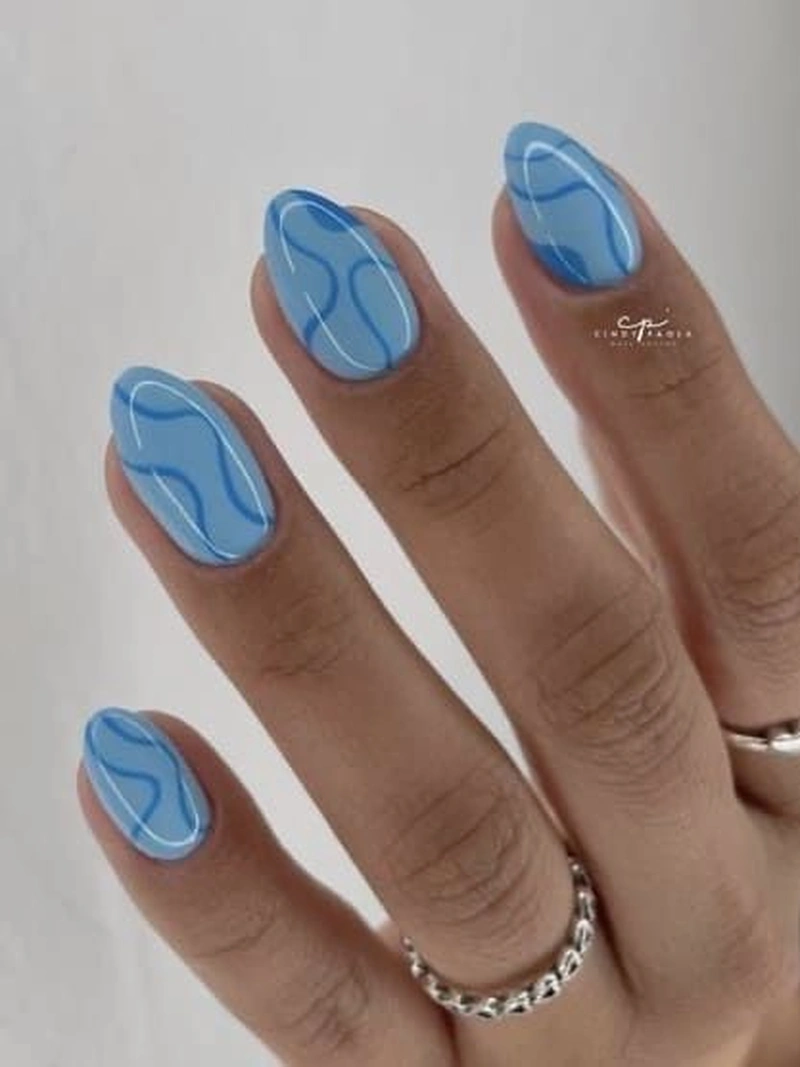
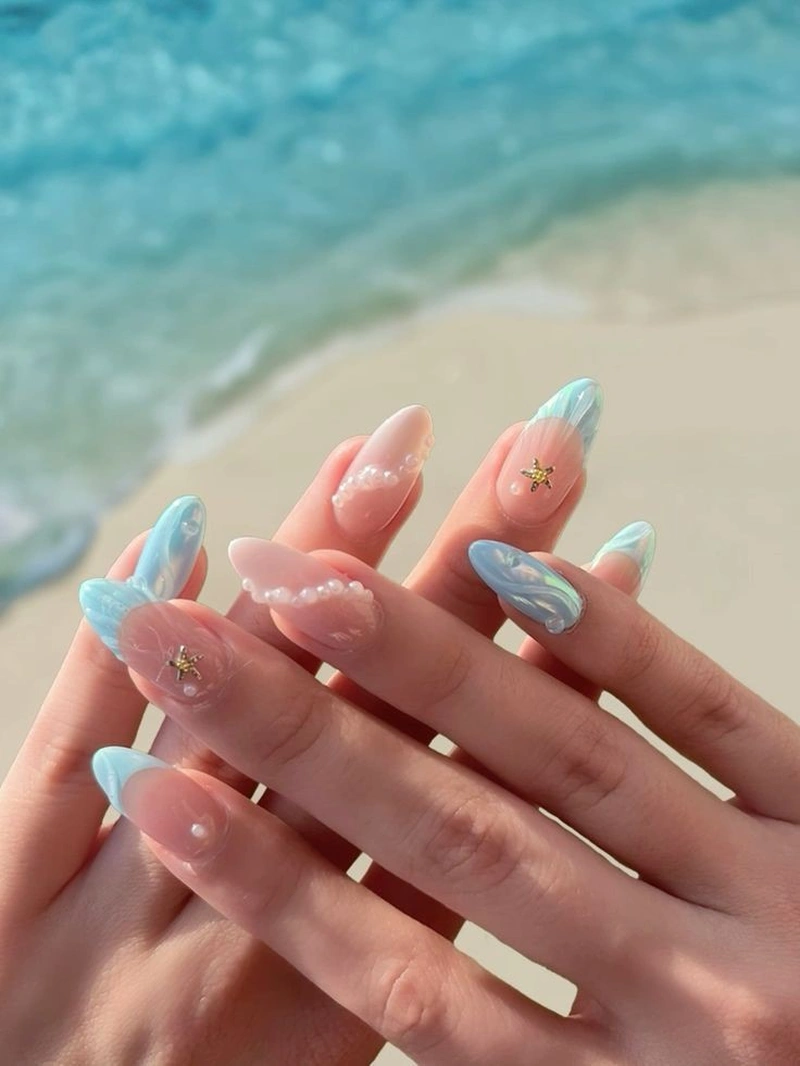
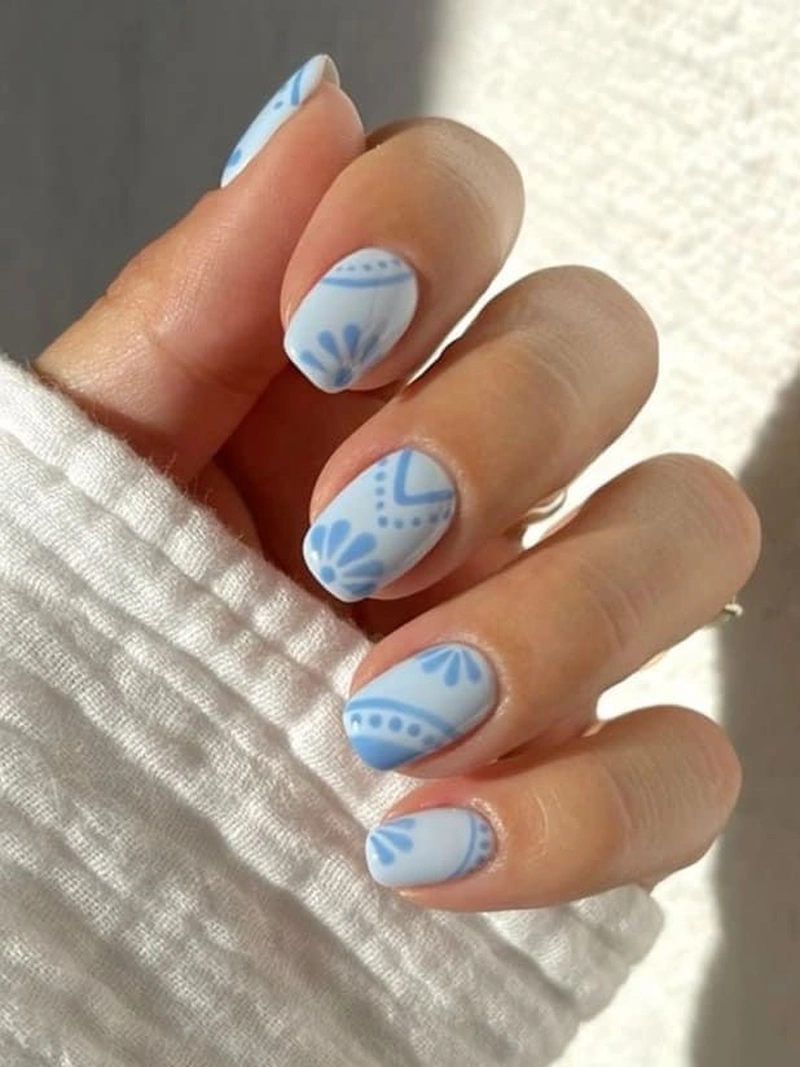
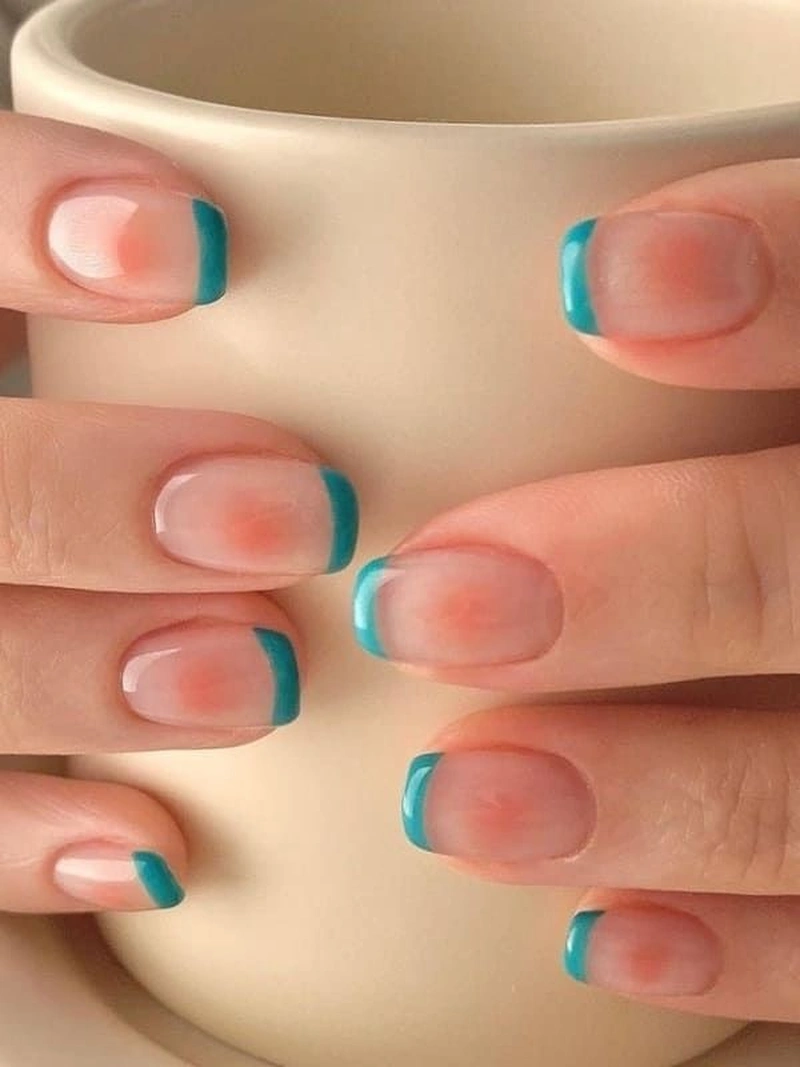
Vibrant Blues and Ocean-Inspired Hues
The ocean inspires many summer nail colors. Vibrant blues and ocean-inspired hues lead the trend. Cobalt blue, navy, and turquoise bring a beachy feel. They look great alone or with other summer shades.
- Cobalt blue for a bold statement
- Navy blue for a sophisticated look
- Turquoise for a fun, beachy vibe
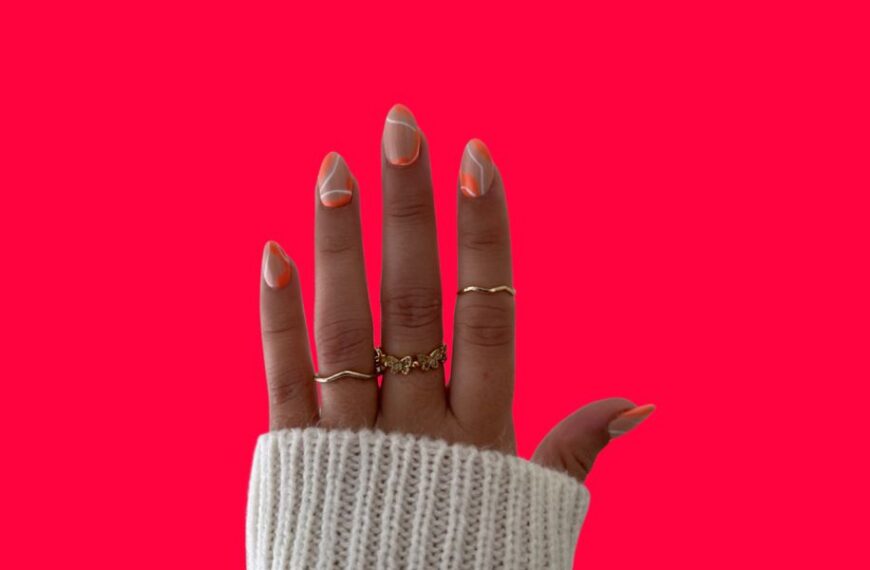
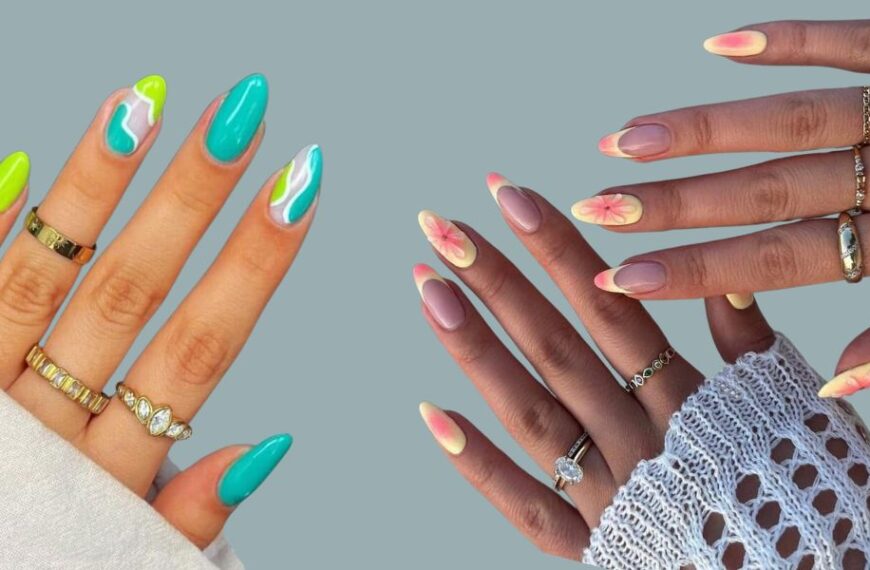
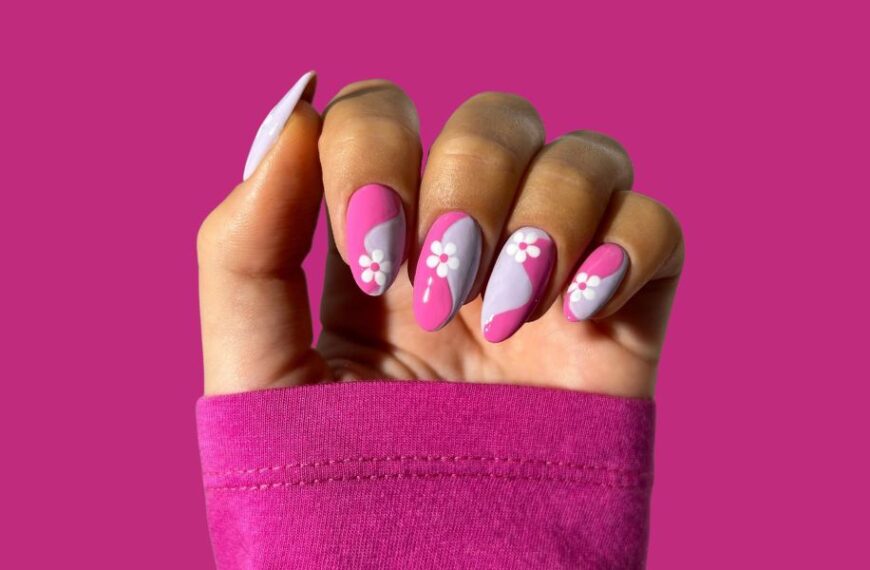
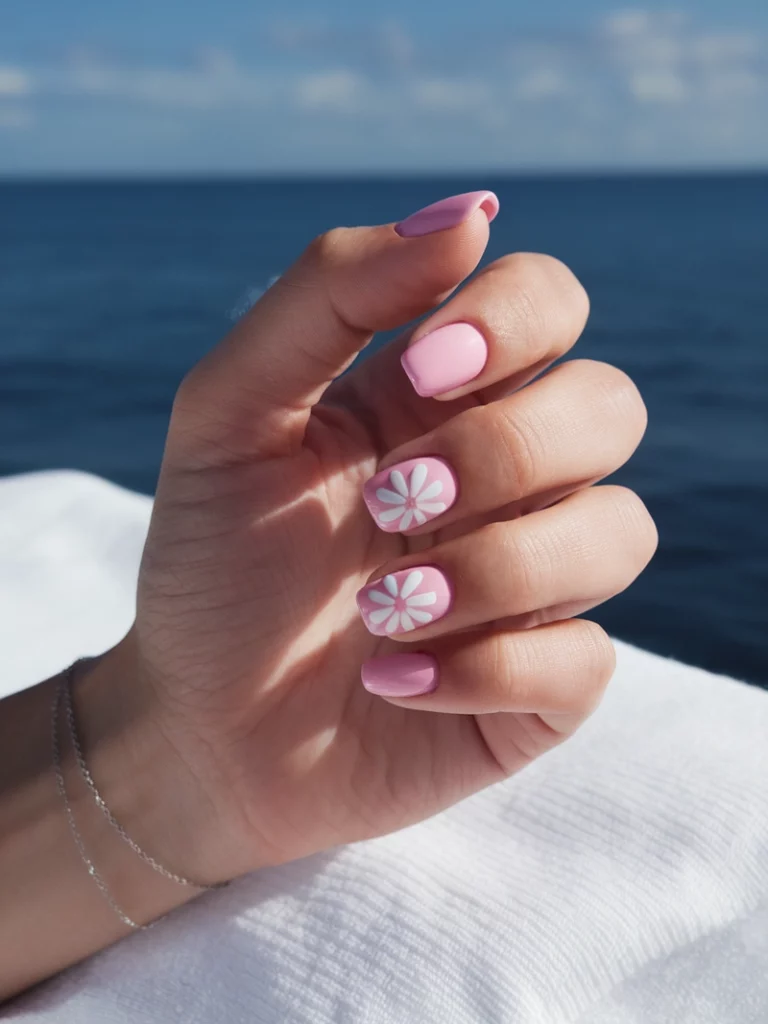
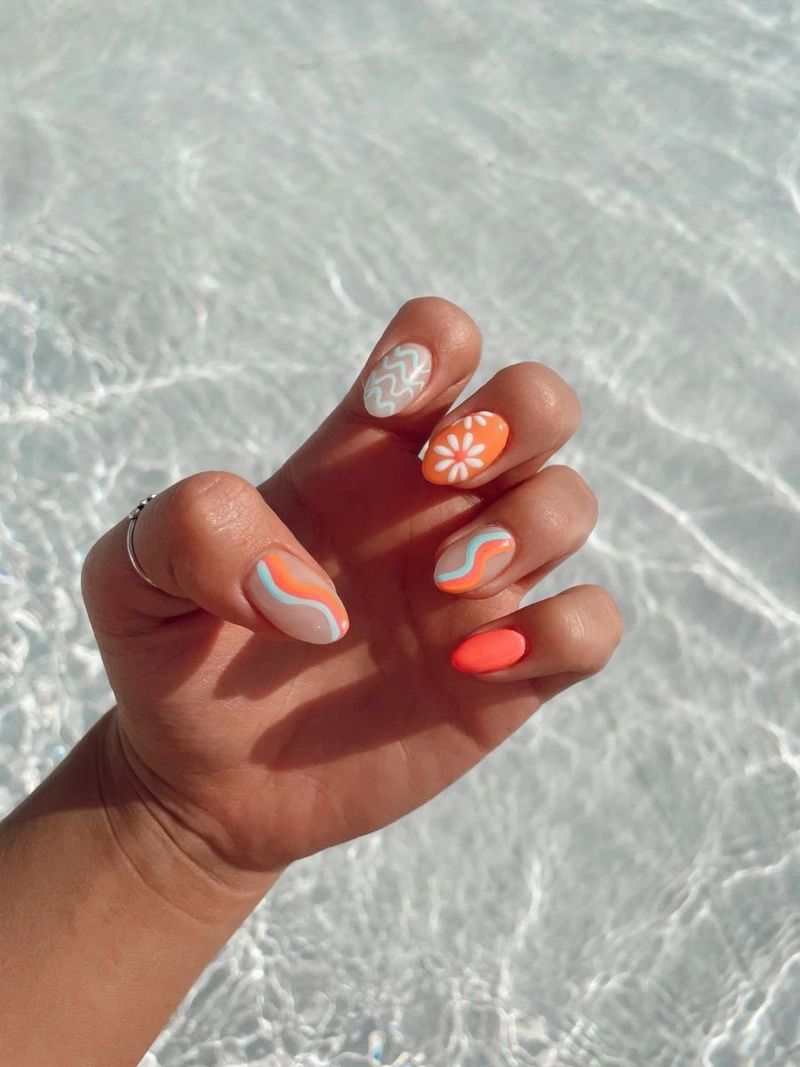
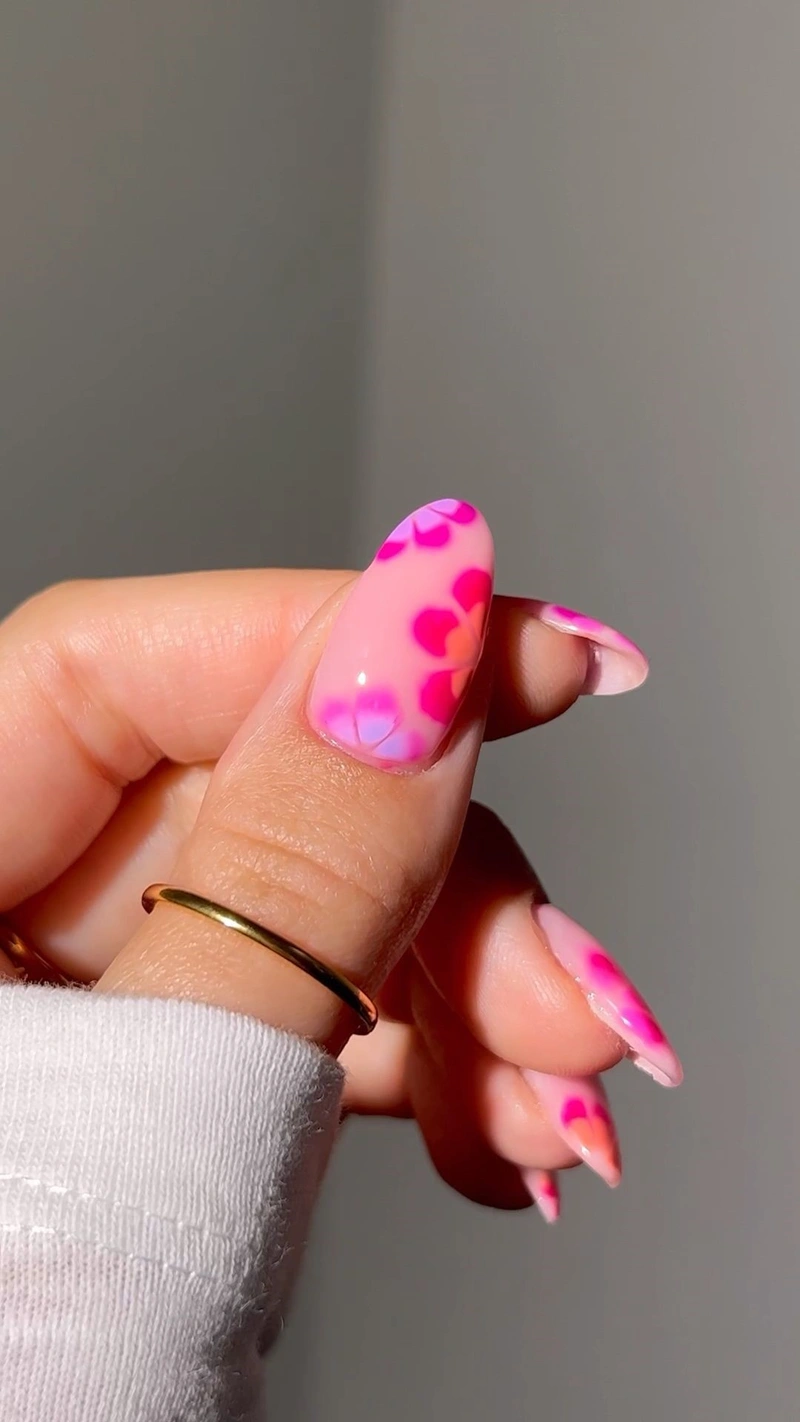
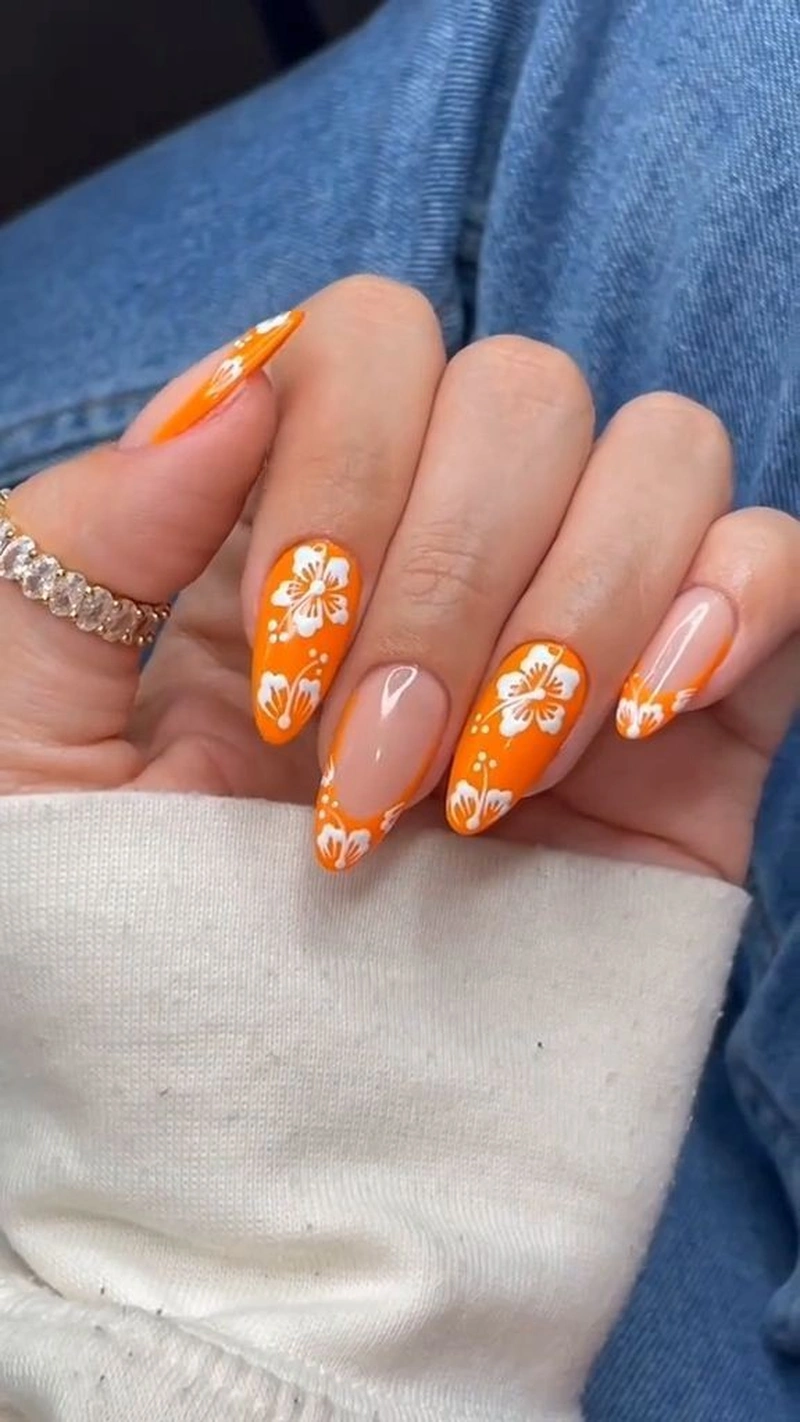
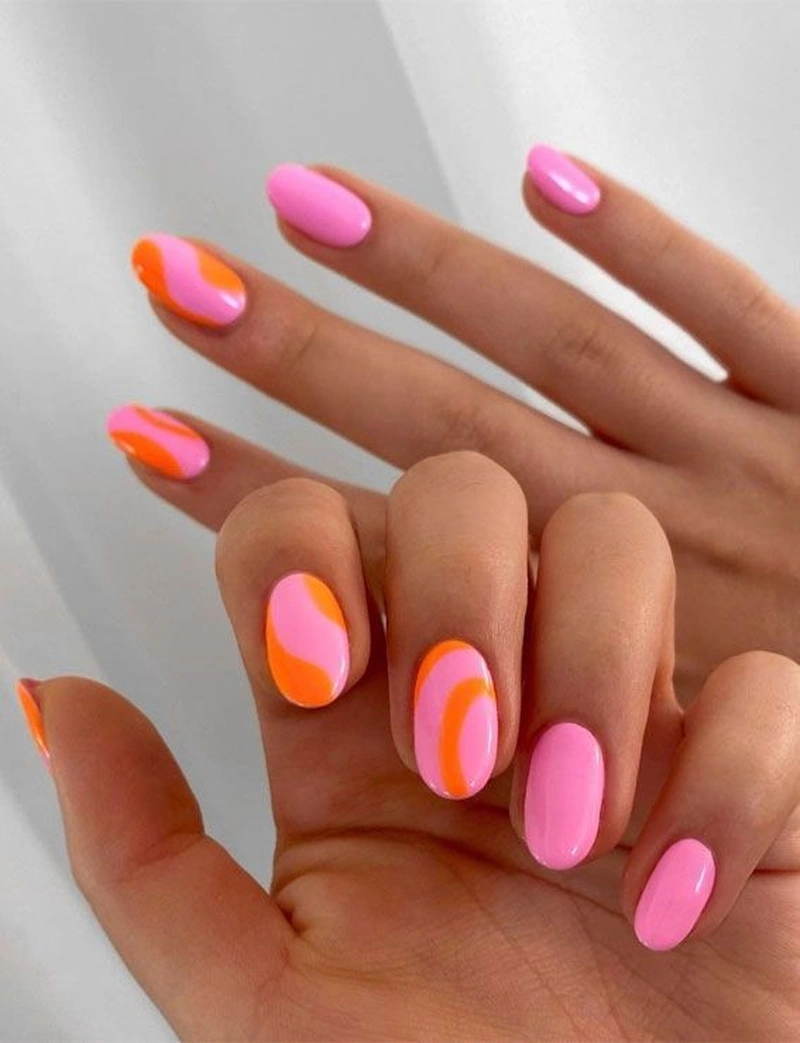
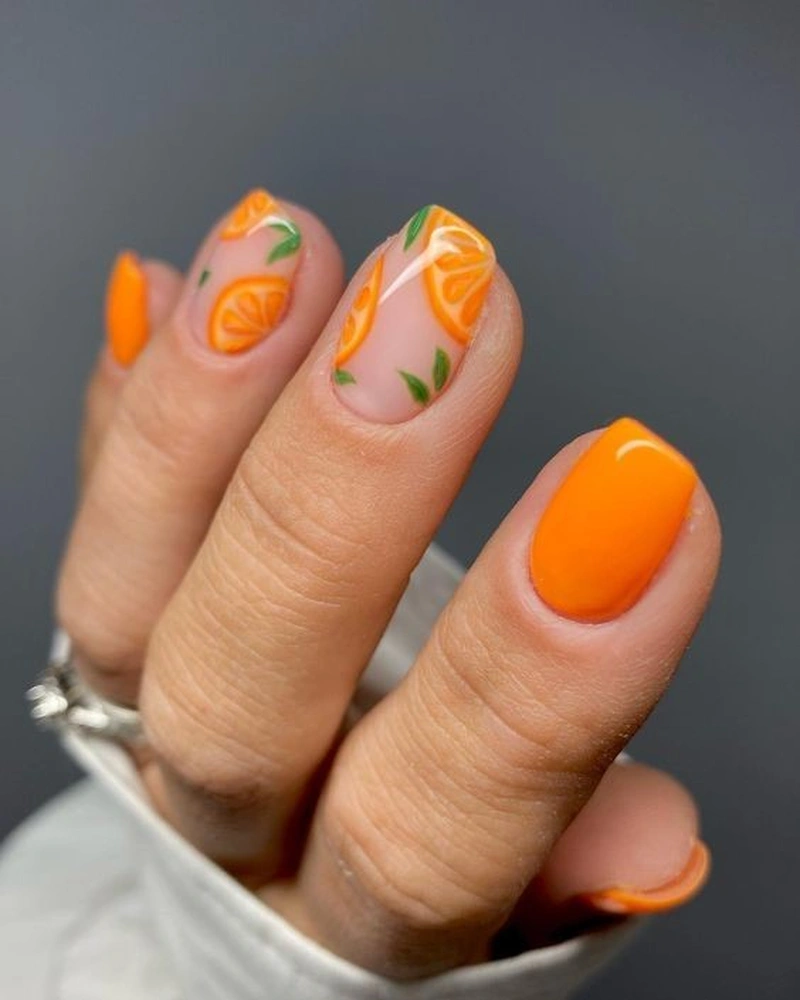
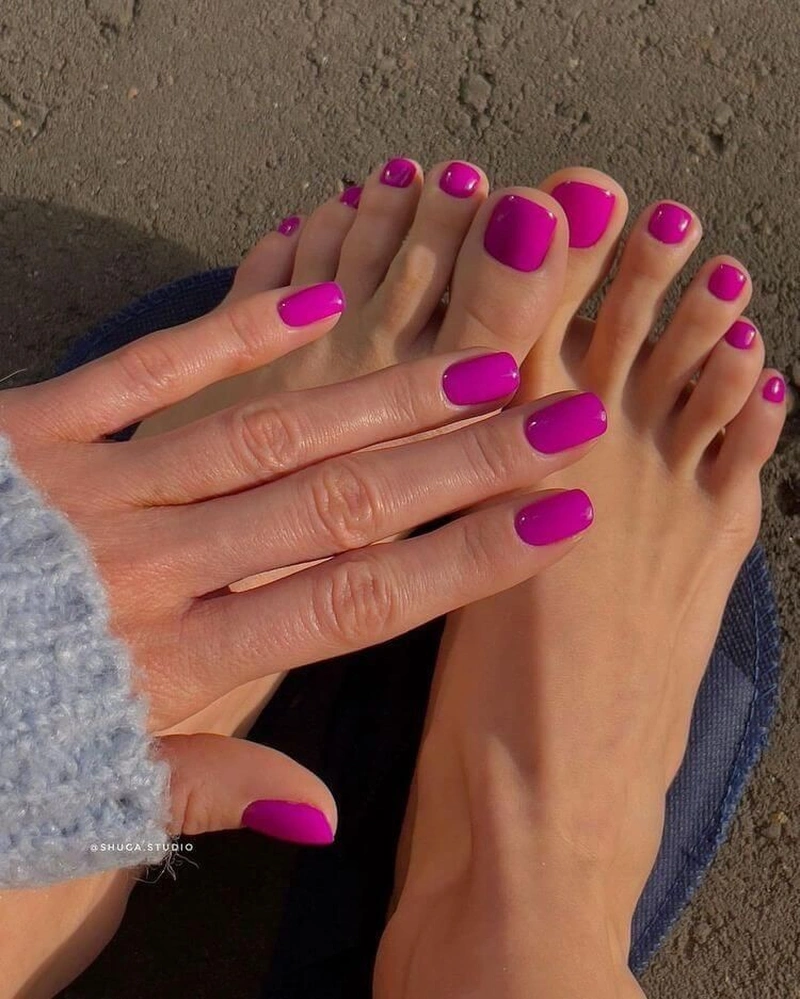
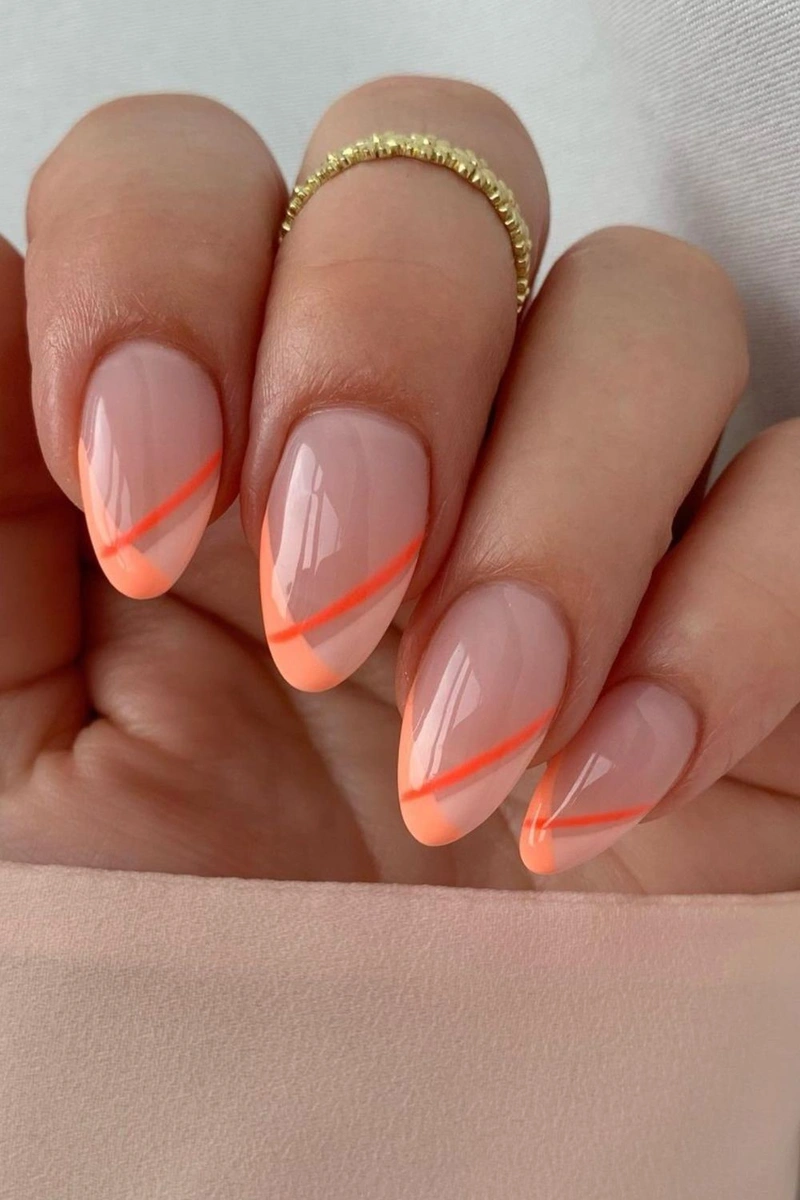
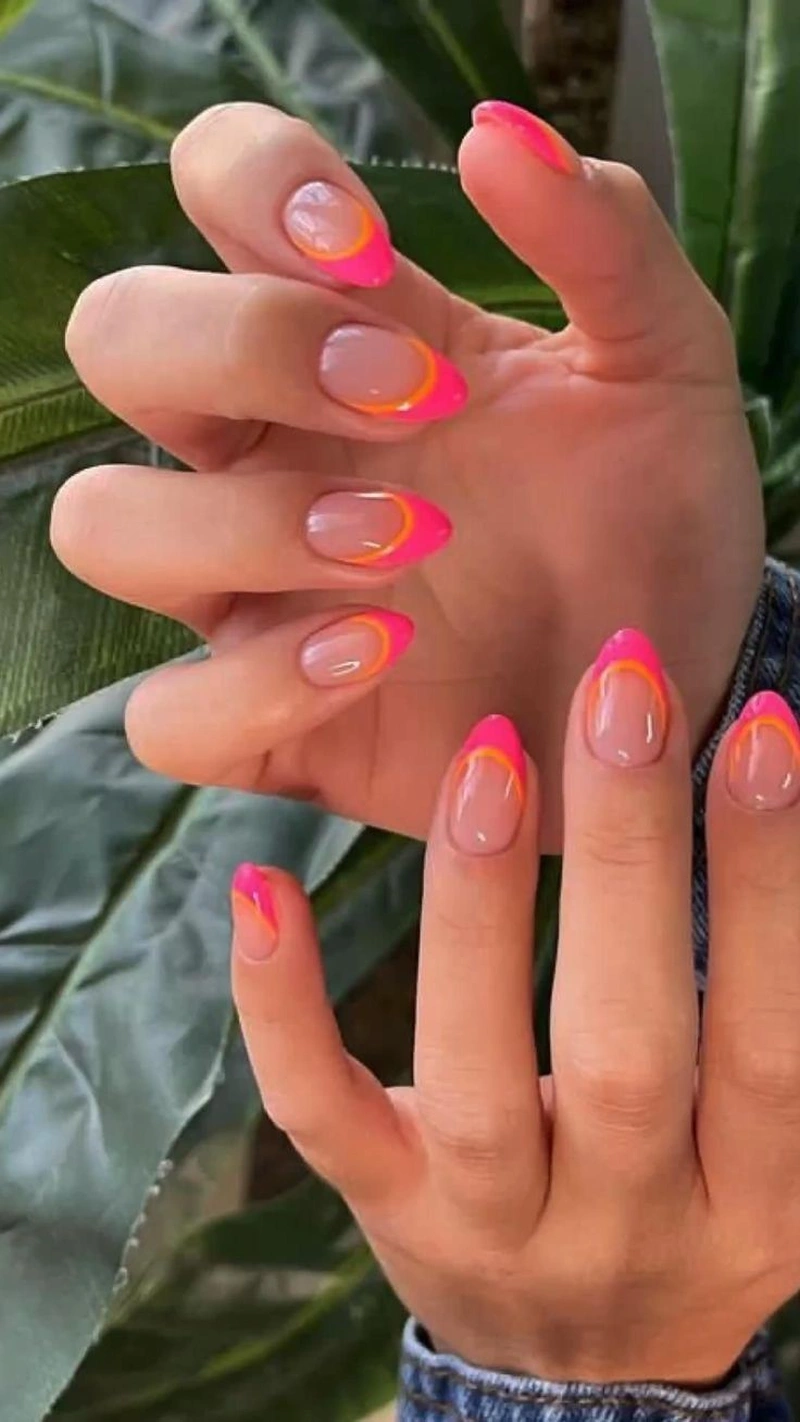
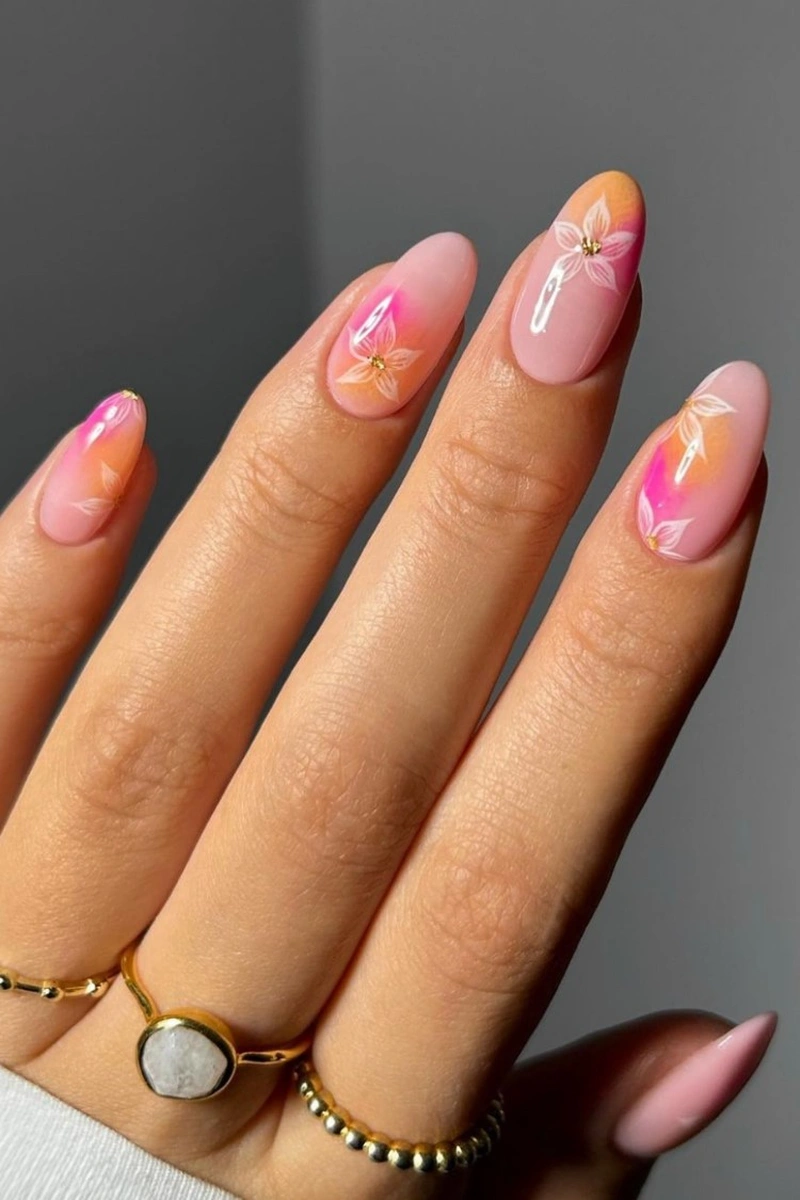
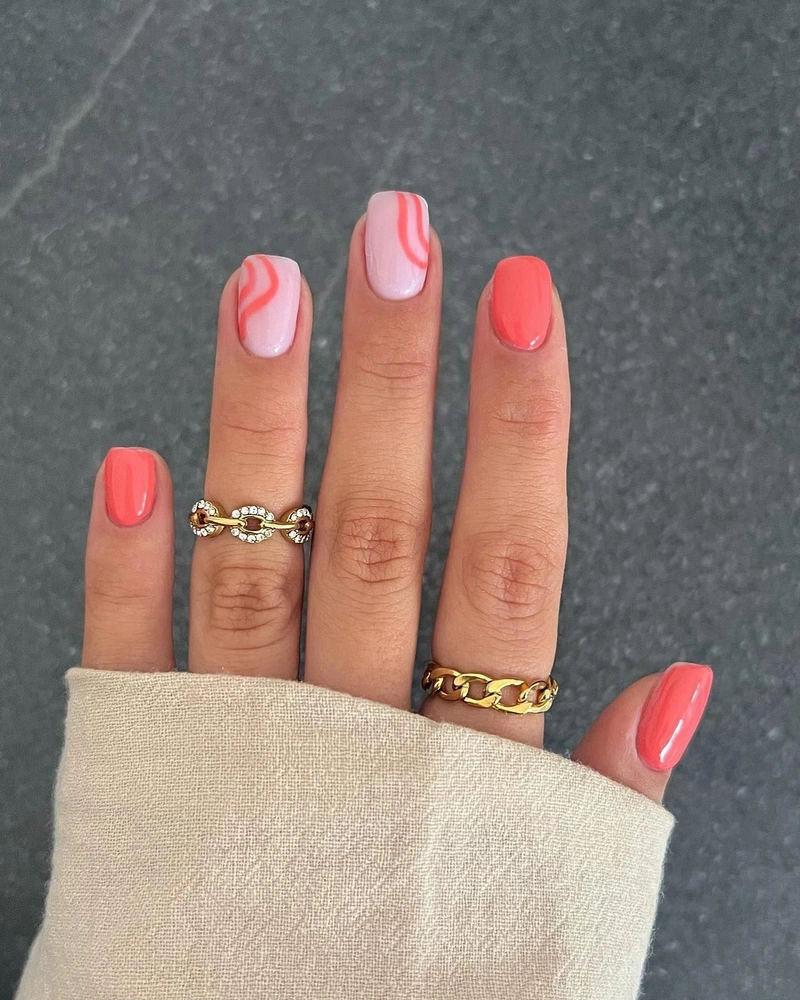
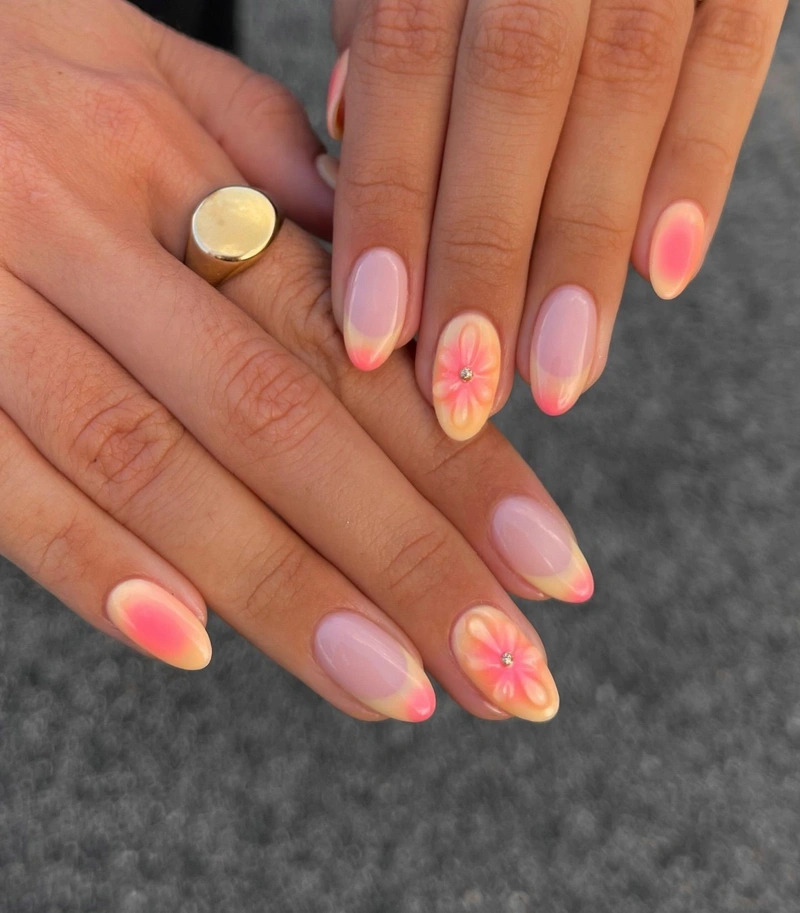
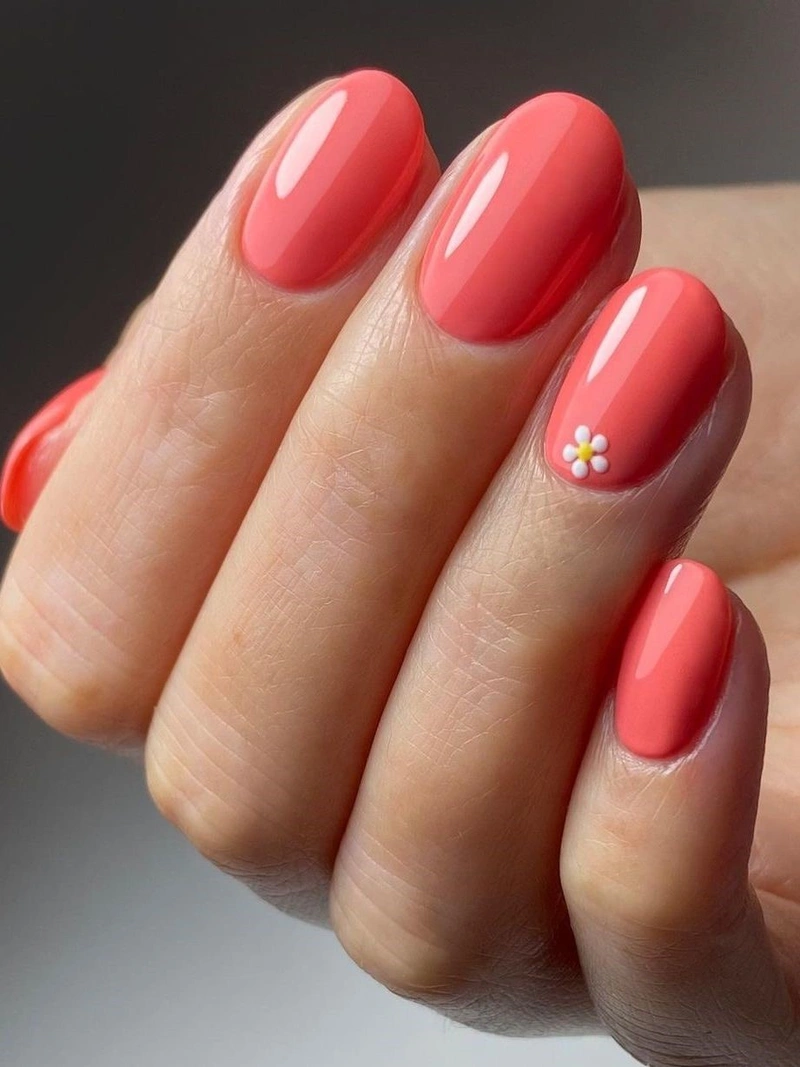
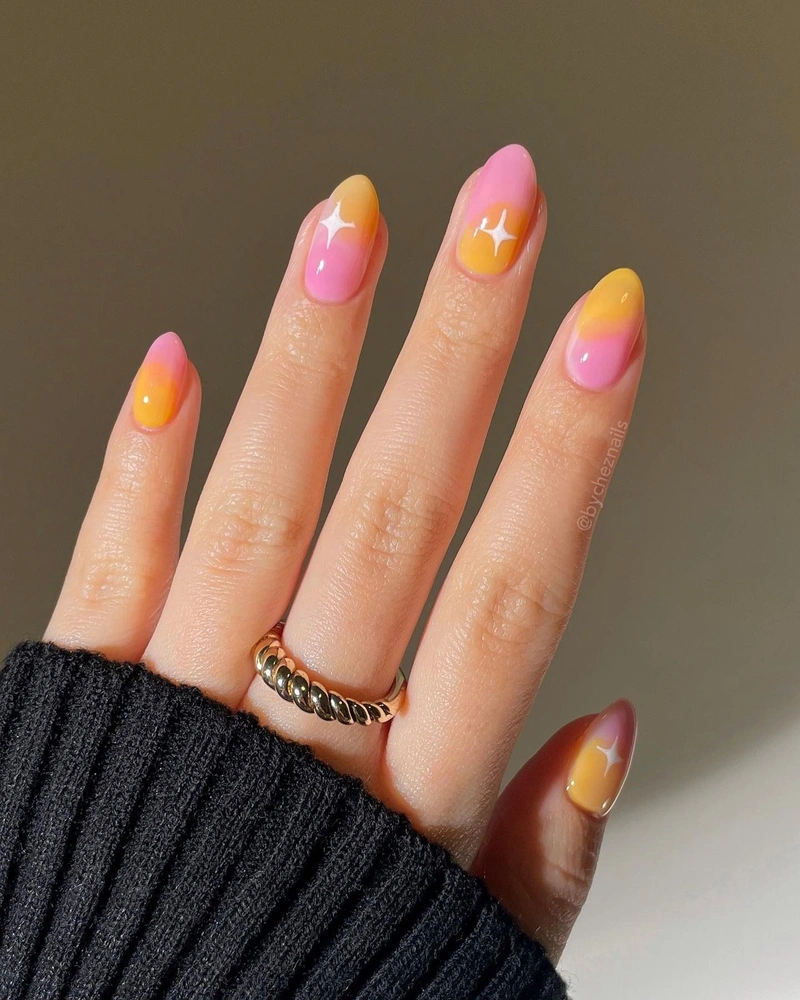
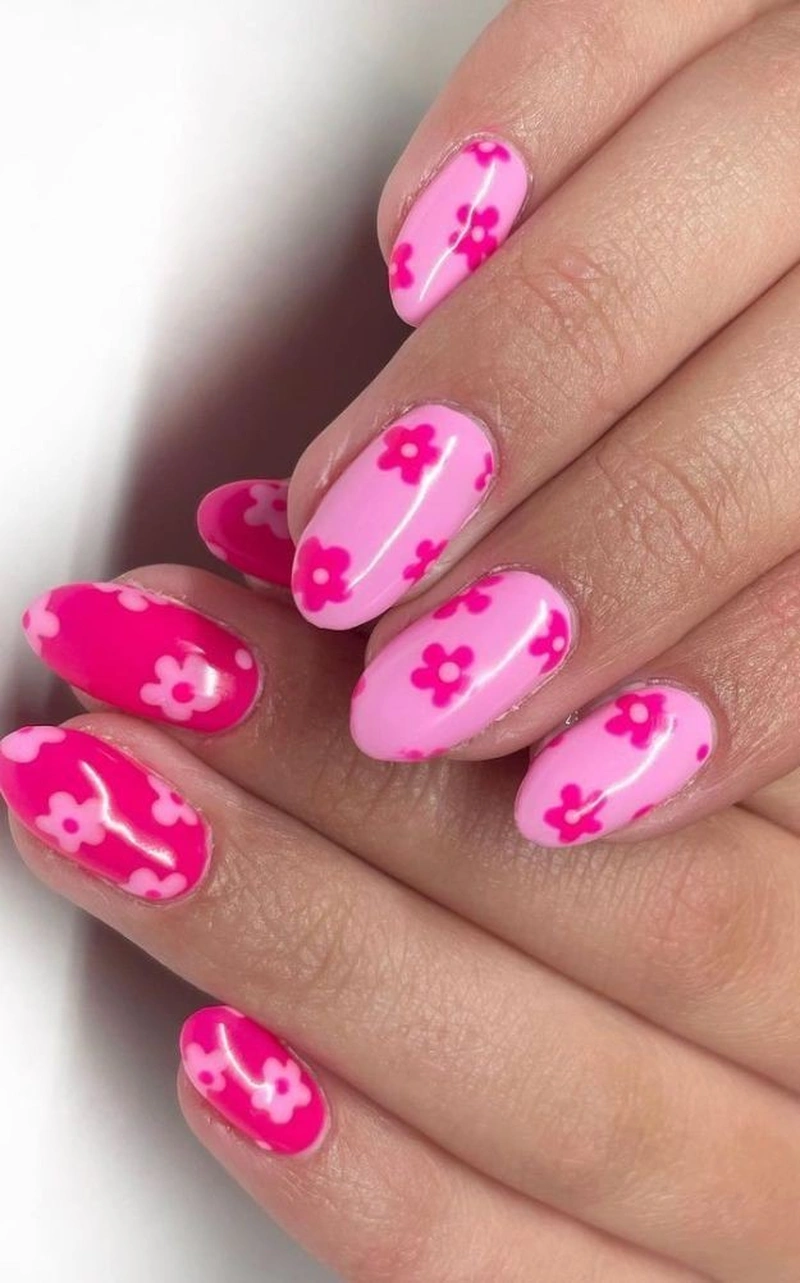
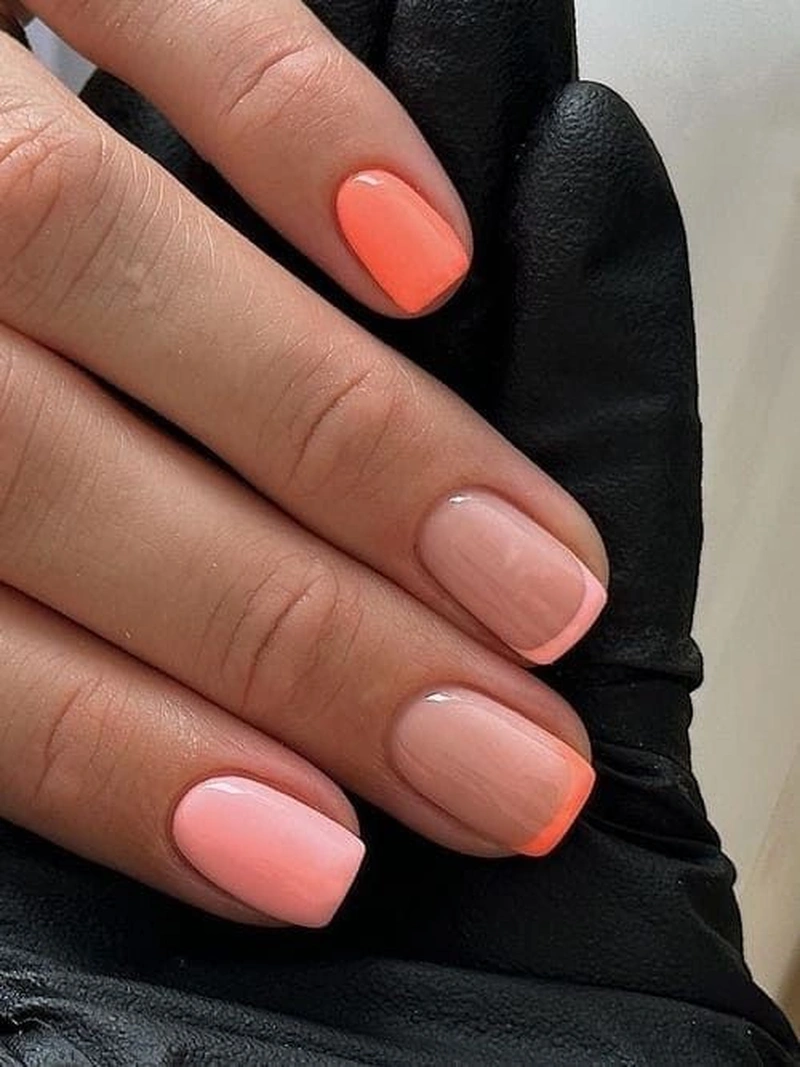
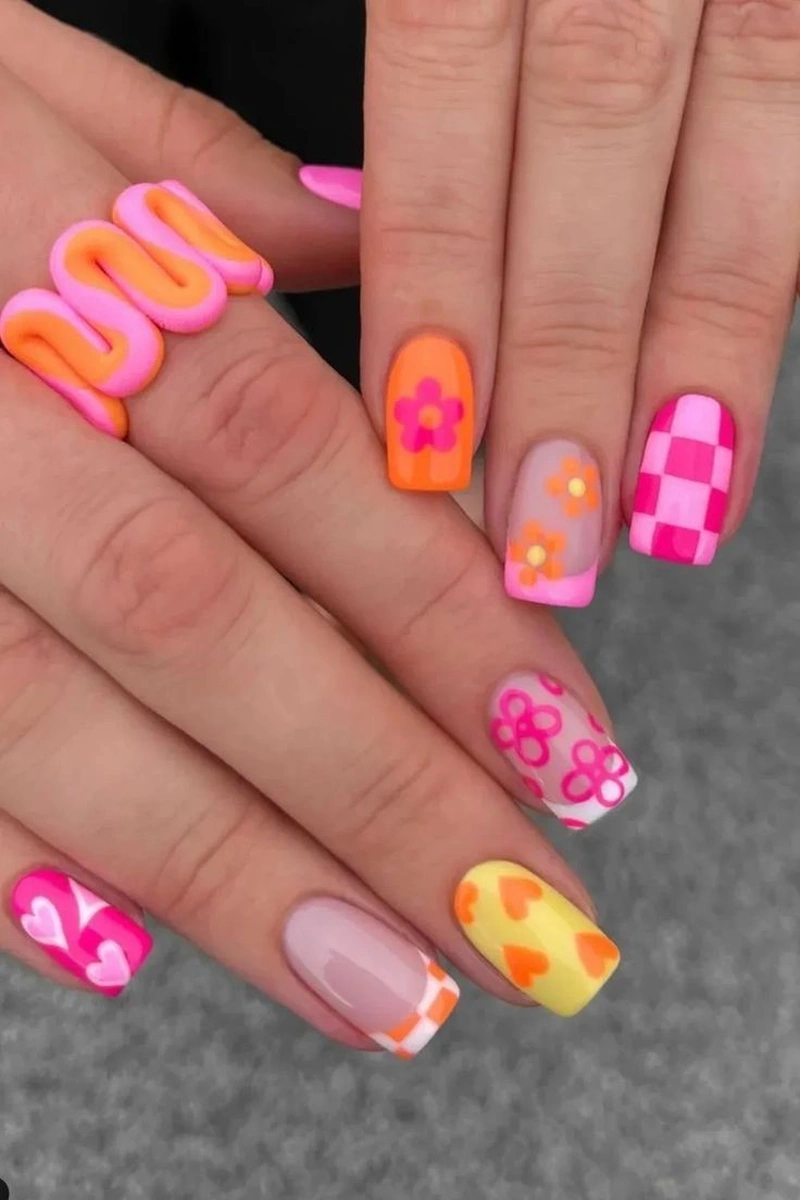
Sunset Pinks and Corals
Sunset shades are key in summer nail trends. Sunset pinks and corals capture the golden tones of summer evenings. They offer a soft yet vibrant option for nail colors.
- Soft pink for a subtle look
- Coral for a fun, playful vibe
- Warm orange-pink for a sunset-inspired look
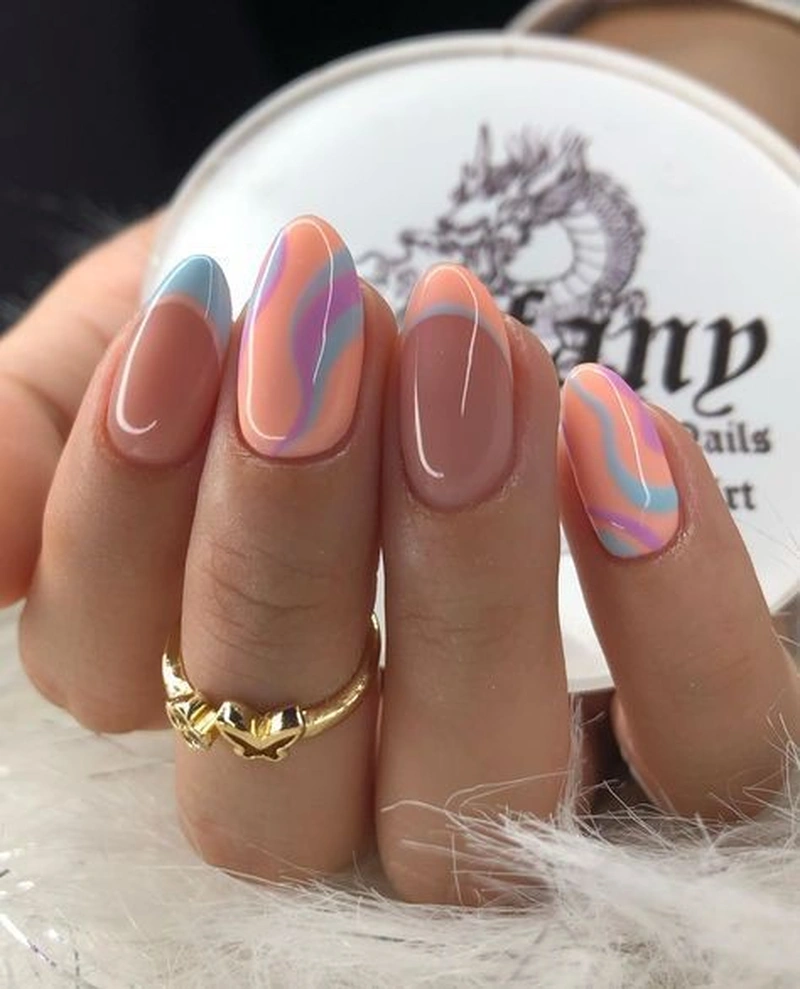
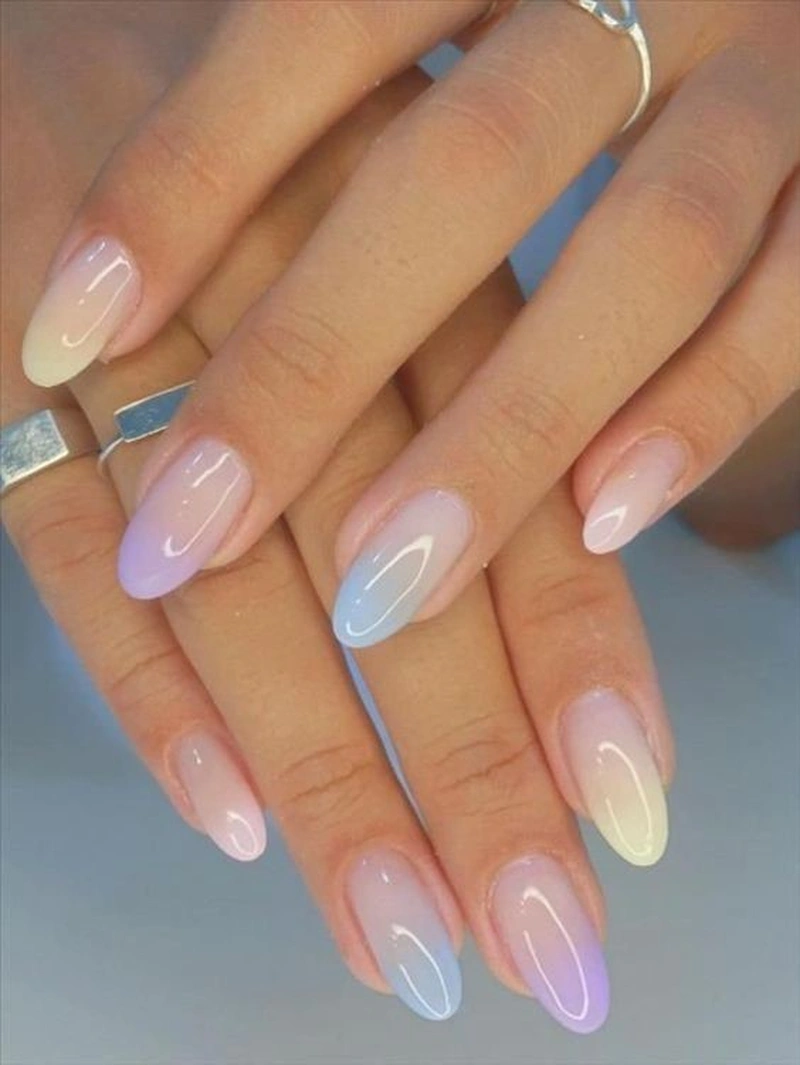
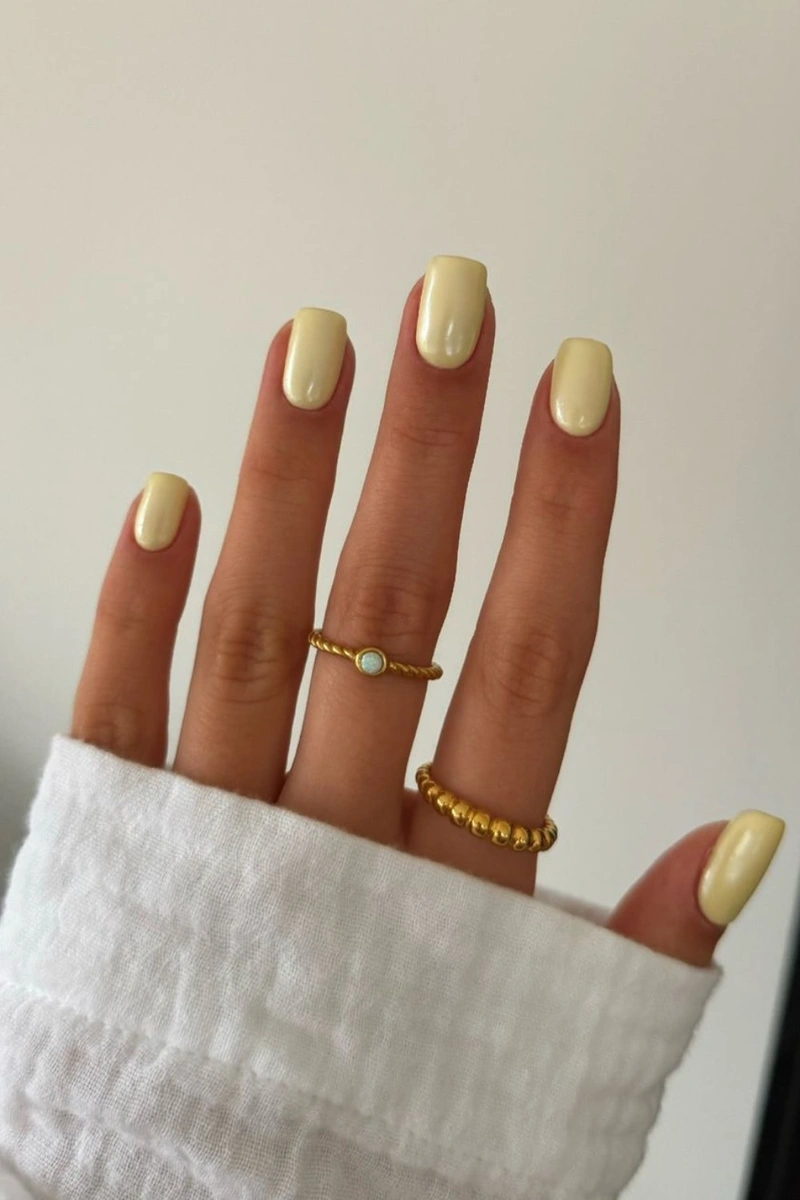
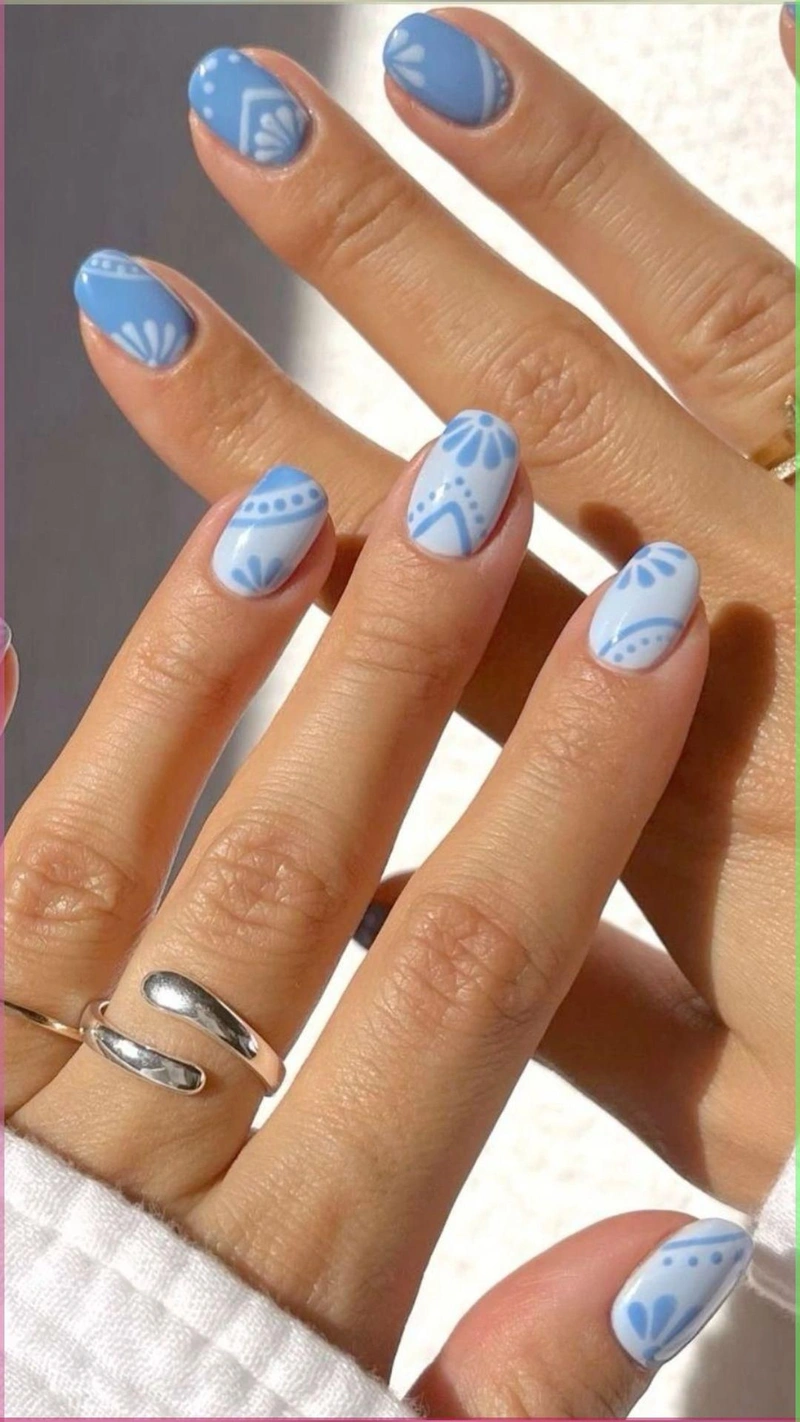
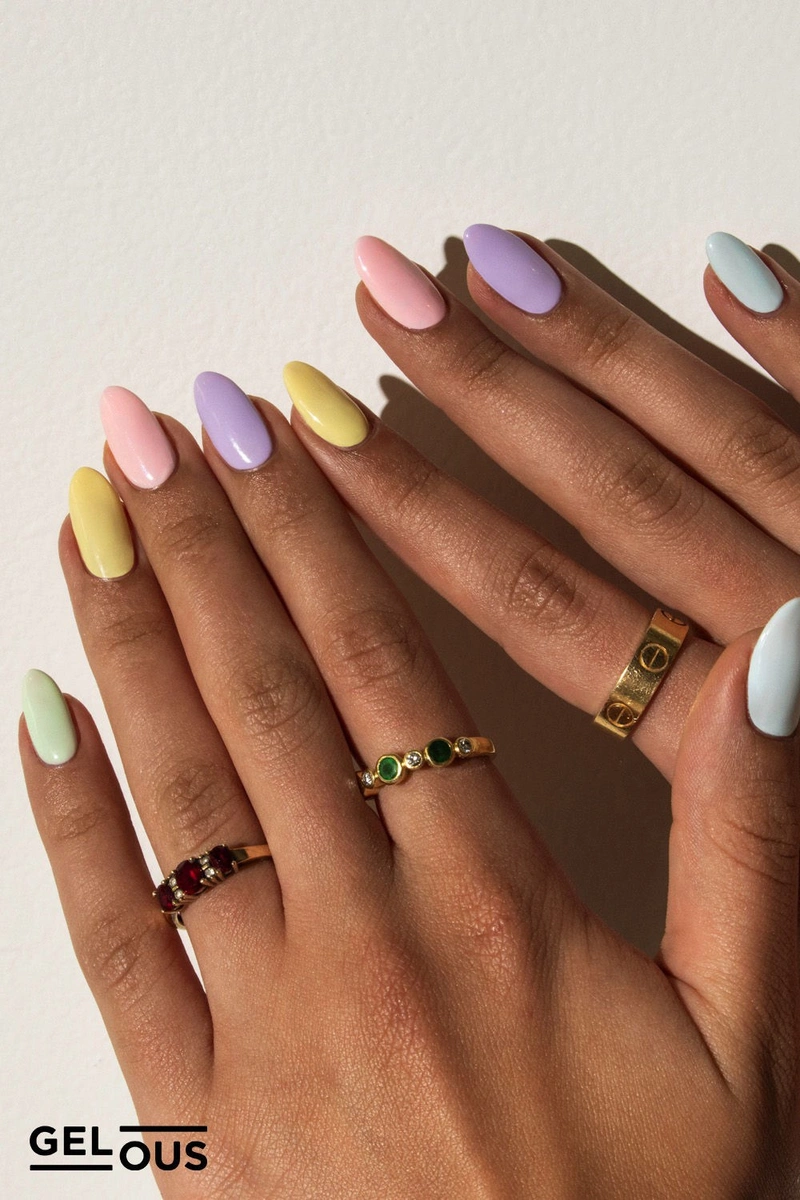
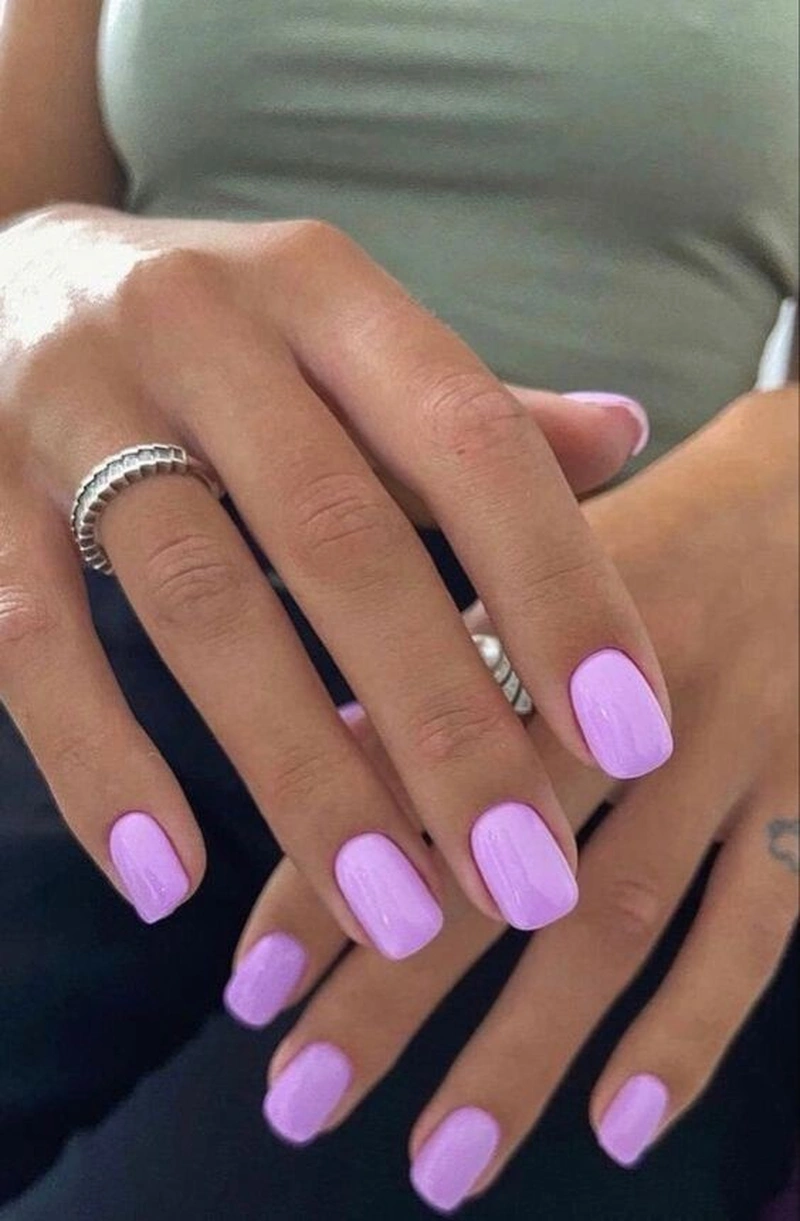
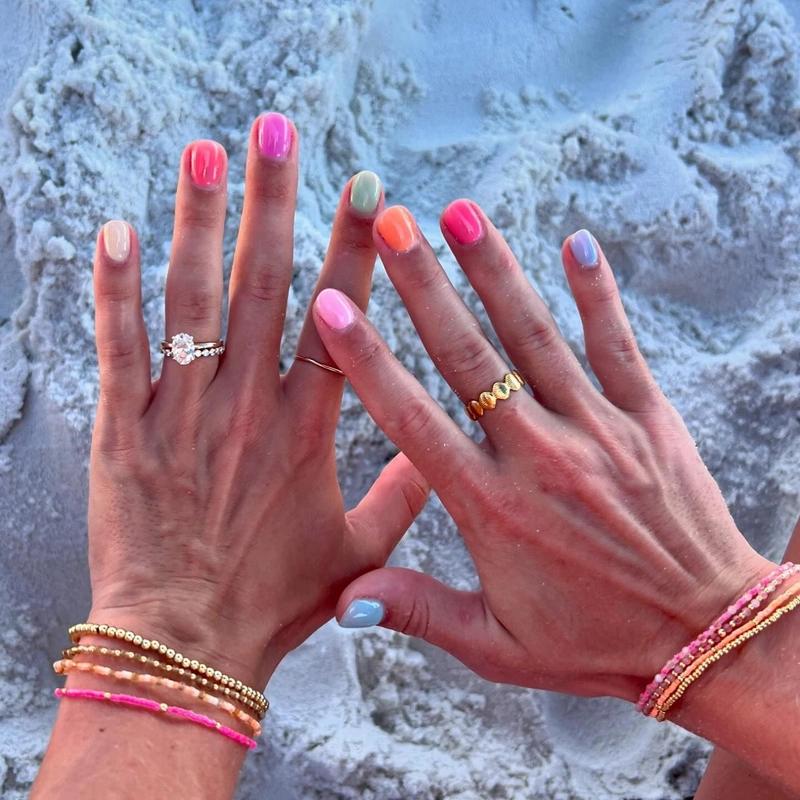
Pastel Palettes for Subtle Summer Elegance
Pastel shades are great for a soft summer look. Soft pink, baby blue, and mint green create a delicate, elegant manicure.
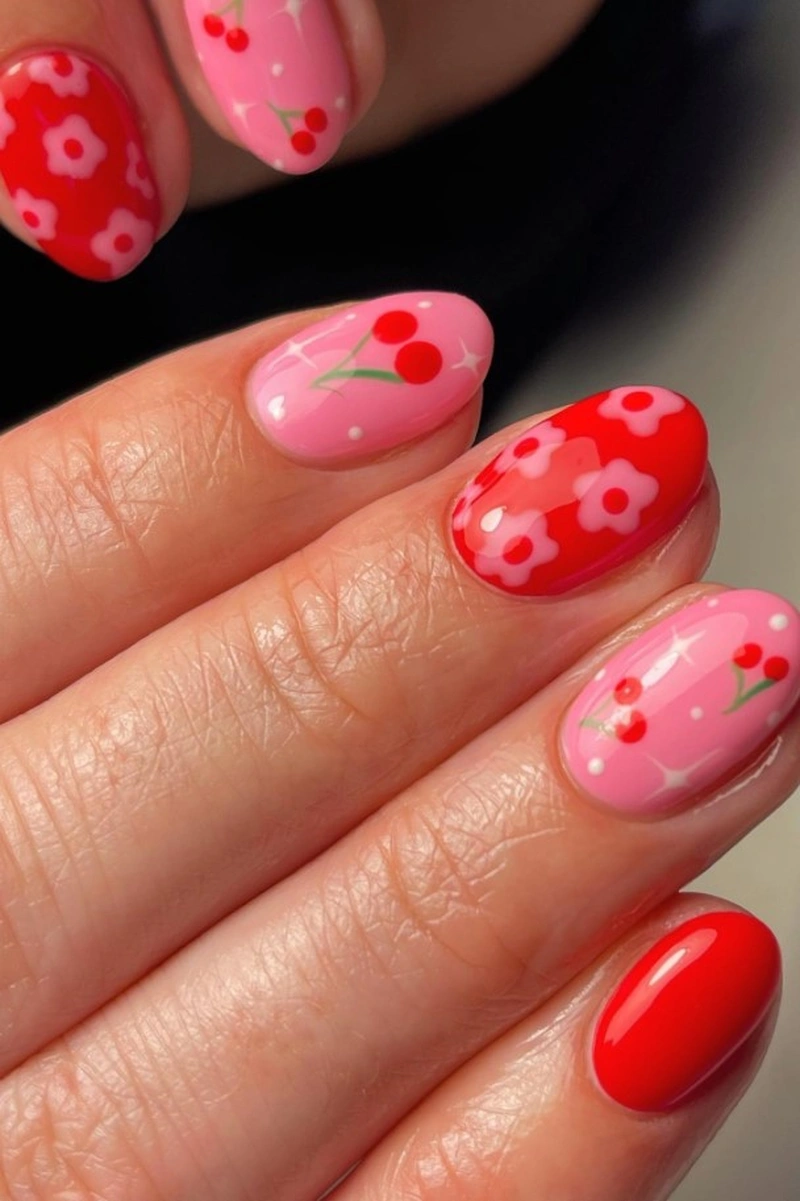
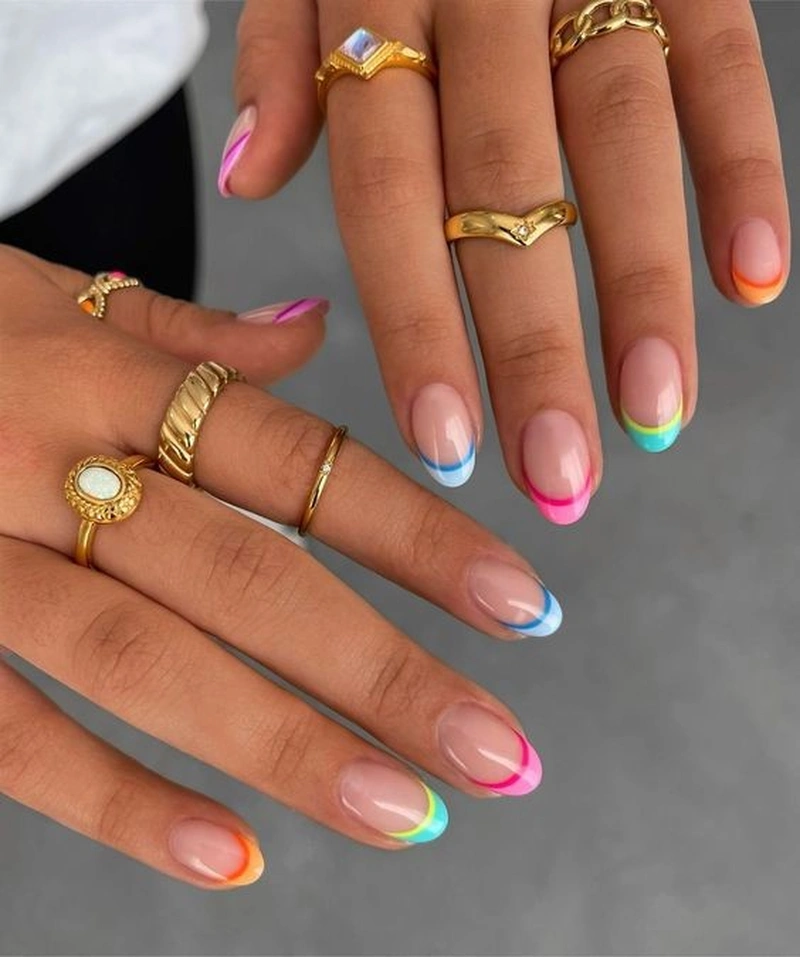
Color Combinations for Beach-Ready Manicures
Combining summer gel nail colors can make your look unique. Try pairing vibrant blues with coral or mixing pastels for a soft ombre effect. Alternating sunset pinks and whites can create a fun, geometric design.
These combinations are perfect for a beach-ready manicure that will surely impress.
Summer Gel Nails: Step-by-Step Application Guide
Get ready to shine with our step-by-step guide to applying summer gel nails. Achieving a professional-looking gel manicure at home is easier than you think. Just use the right techniques and products.
Base Coat Application Techniques
A good base coat is key for a lasting gel manicure. It protects your nails and helps the gel polish stick better.
Thin vs. Thick Application Methods
When applying base coat, finding the right balance is key. A thin layer gives a smooth finish, while a thick layer can cause unevenness. Apply a thin, even layer to each nail, covering the entire nail surface.
Color Application for Maximum Opacity
The key to a vibrant gel manicure is in the color application. For maximum opacity, apply the gel polish in thin layers. Let each layer cure before adding the next.
Building Coverage Without Bulkiness
To achieve maximum opacity without bulkiness, build up gradually with thin layers. This prevents the gel polish from becoming too thick and uneven. Usually, two to three coats are enough for most gel polishes.
Top Coat Secrets for Ultra Shine
The top coat is what gives your gel manicure that ultra-shine finish. Apply a thin layer of top coat to seal in the color and add shine.
Curing Times for Different Gel Systems
Curing times can vary depending on the gel system you’re using. Check your gel polish brand’s instructions for the recommended curing time. Generally, curing under the UV or LED lamp for 30 seconds to 1 minute is enough.
By following these steps and techniques, you can achieve a salon-quality gel manicure at home. Remember to be patient and take your time for a flawless finish.
- Prep your nails properly before application
- Use thin layers for base coat, color, and top coat
- Cure each layer according to the manufacturer’s instructions
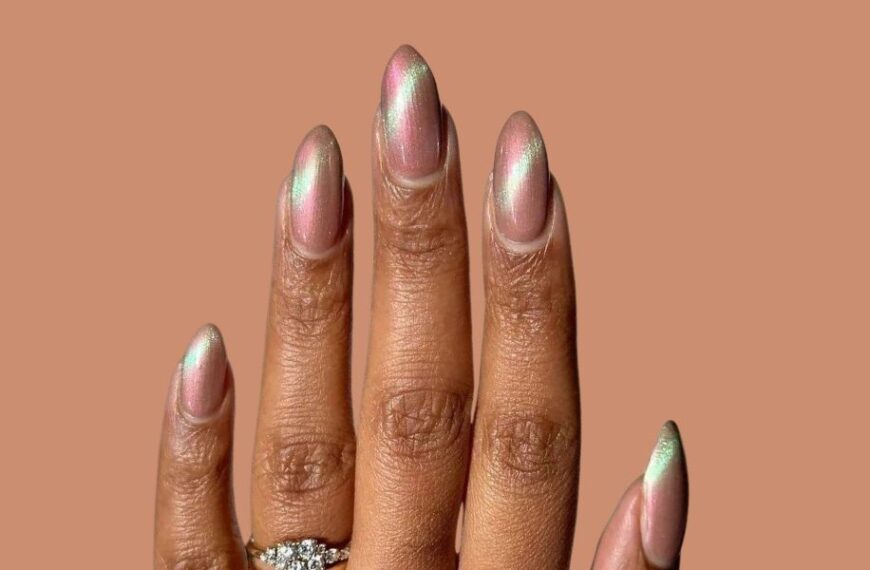
Achieving that Luxe High-Shine Finish

For a luxurious summer gel nail look, a high-gloss finish is key. It makes your manicure pop. To get this look, you need to know the right techniques and products.
Layering Techniques for Glass-Like Shine
Layering is crucial for a shiny finish. Thin layers of gel polish lead to a smooth look. Make sure to cure each layer well under UV or LED light for a lasting shine.
Tips for effective layering:
- Apply thin coats to avoid pooling.
- Cure each layer as recommended by the manufacturer.
- Finish with a high-quality top coat for maximum shine.
Troubleshooting Common Shine Issues
Shine problems can happen even with the best care. Common issues include dull spots, uneven surfaces, and lackluster finishes. Identifying the cause is the first step to fixing these issues.
Fixing Dull Spots and Uneven Surfaces
Dull spots can be fixed by buffing the nail and applying more top coat. For uneven surfaces, use a nail filler or gel builder. This will smooth out your nail for polish.
Products that Enhance Gel Nail Brilliance
The right products are vital for a shiny finish. High-gloss top coats give a mirror-like shine that lasts.
High-Gloss Top Coats Worth Splurging On
Investing in a top-notch top coat can take your gel nails to the next level. Look for top coats known for their shine and durability. Brands that specialize in gel polish often have the best options.
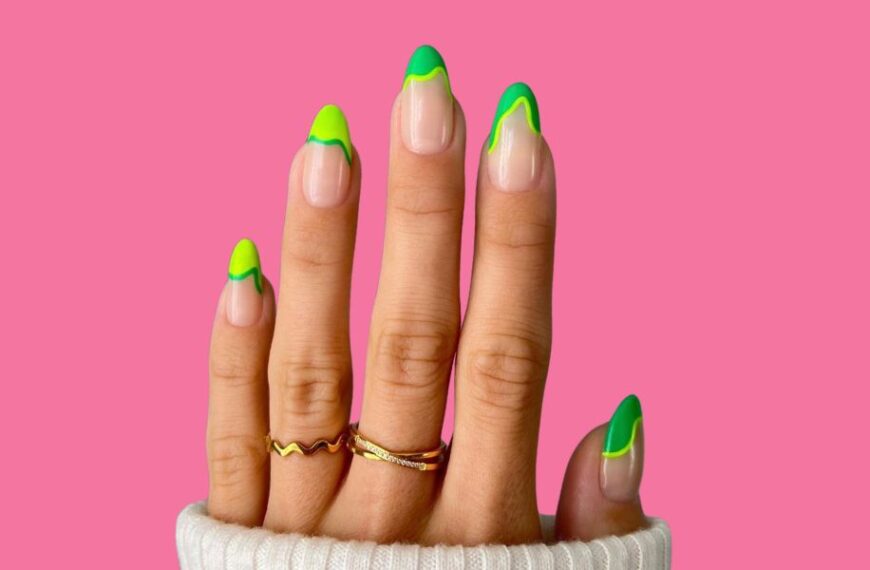
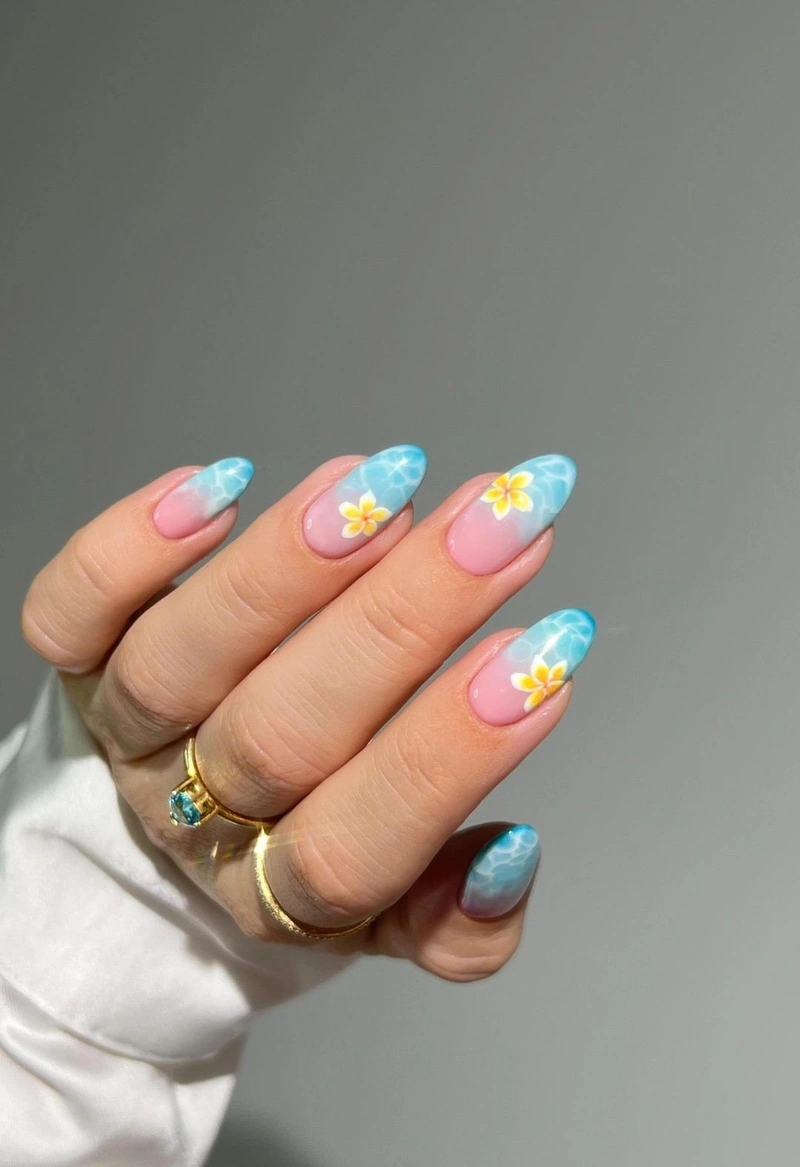
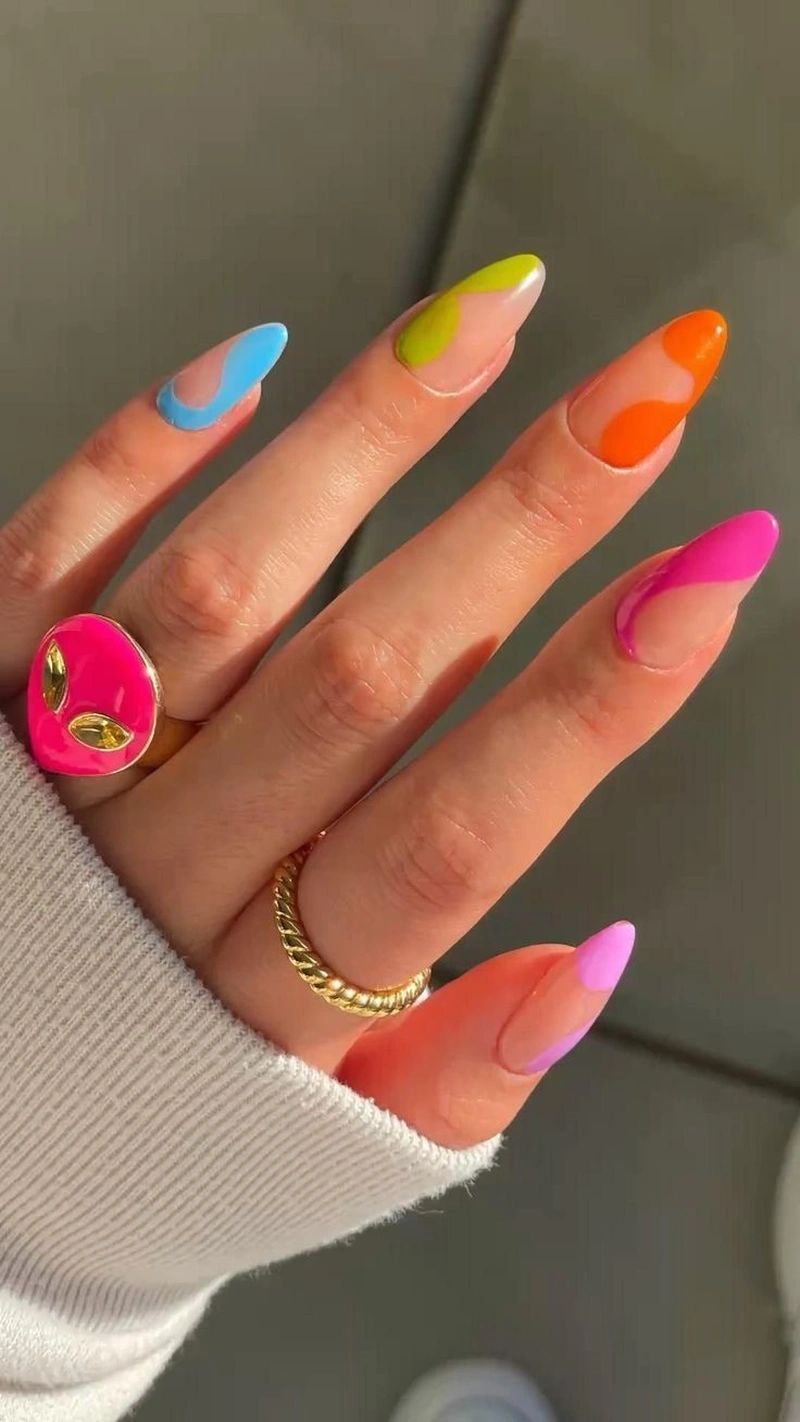
Beach-Inspired Nail Art Designs for Beginners
Turn your nails into a beach paradise with our easy nail art tutorials. Beach-inspired designs are perfect for summer. You can get a stylish look without needing lots of experience.
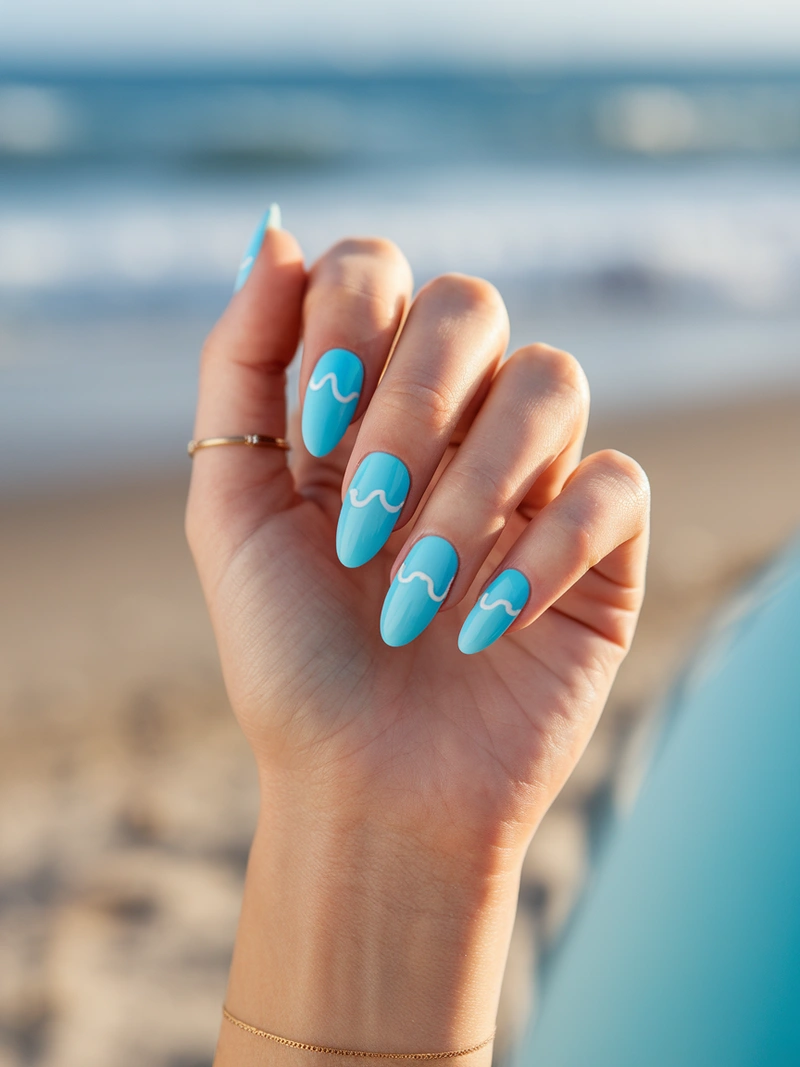
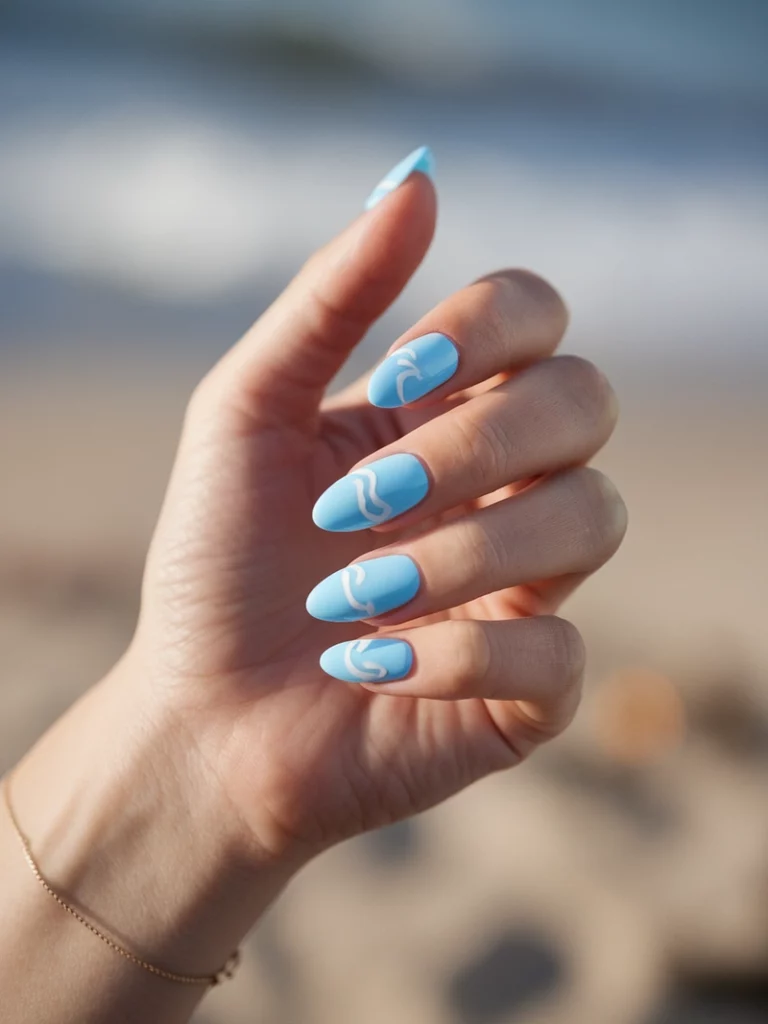
Simple Wave Patterns Tutorial
Begin your beach nail art with simple wave patterns. You’ll need basic tools and a bit of practice.
Tools and Techniques for Perfect Waves
For flawless waves, use a nail art brush and a gel polish that’s easy to work with. A nail stamp or dotting tool can add more detail.
- Start with a light blue or pastel gel polish as the base.
- Paint wavy lines with a white or cream gel polish and a brush.
- Seal with a top coat to keep the design in place.
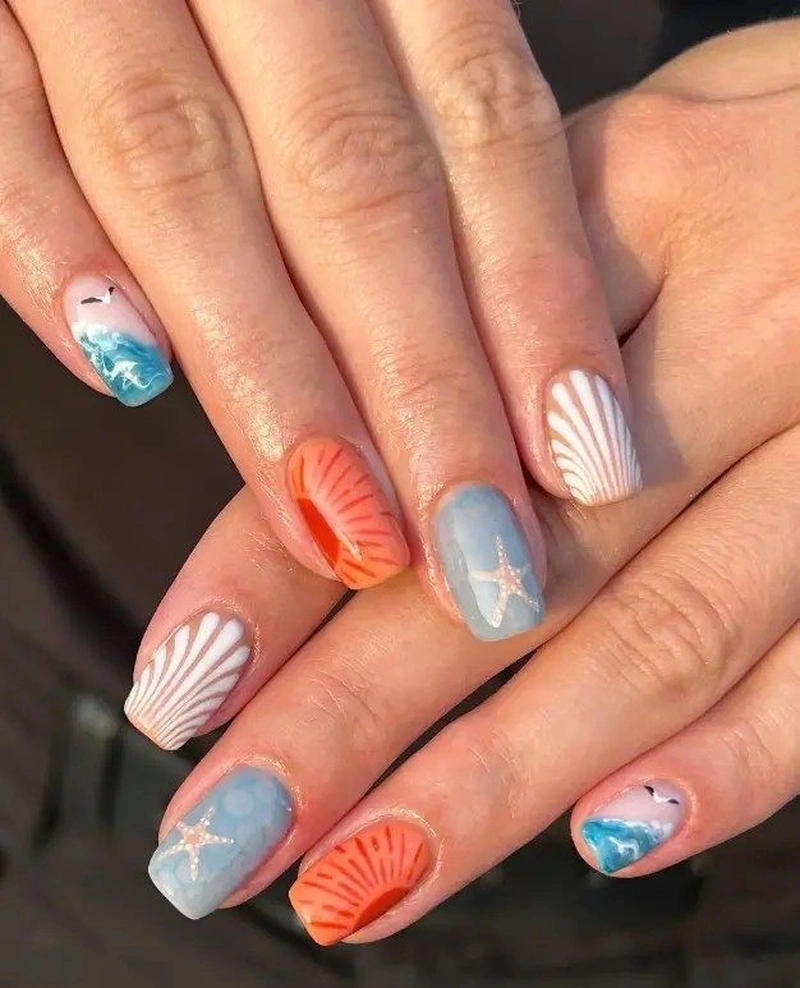
Seashell and Starfish Accents
Add ocean touches to your nails with seashell and starfish accents. You can use nail guides, stickers, or freehand painting.
Stamping vs. Freehand Methods
Choose between stamping or freehand for seashell and starfish designs. Stamping is easier for beginners.
- Find a nail art stamp or freehand design that looks like a seashell or starfish.
- Apply a small amount of gel polish to the design.
- Seal with a top coat to keep the accent in place.
Sandy Texture Techniques
Make your nails look sandy with microbeads or glitter. This adds depth and interest to your beach nail art.
Creating Dimension with Microbeads and Glitter
To get a sandy look, apply clear gel polish and then add microbeads or glitter. Seal with a top coat to keep the texture.
- Use a small amount of clear gel polish to avoid overwhelming the nail.
- Sprinkle microbeads or glitter evenly across the nail.
- Finish with a top coat to seal the texture.
Advanced Beachy Nail Art for Summer 2025


Dive into the world of advanced beachy nail art and discover stunning designs that evoke the spirit of summer. As we welcome the sun-kissed days of 2025, it’s the perfect time to elevate your nail game with sophisticated and intricate beach-inspired designs.
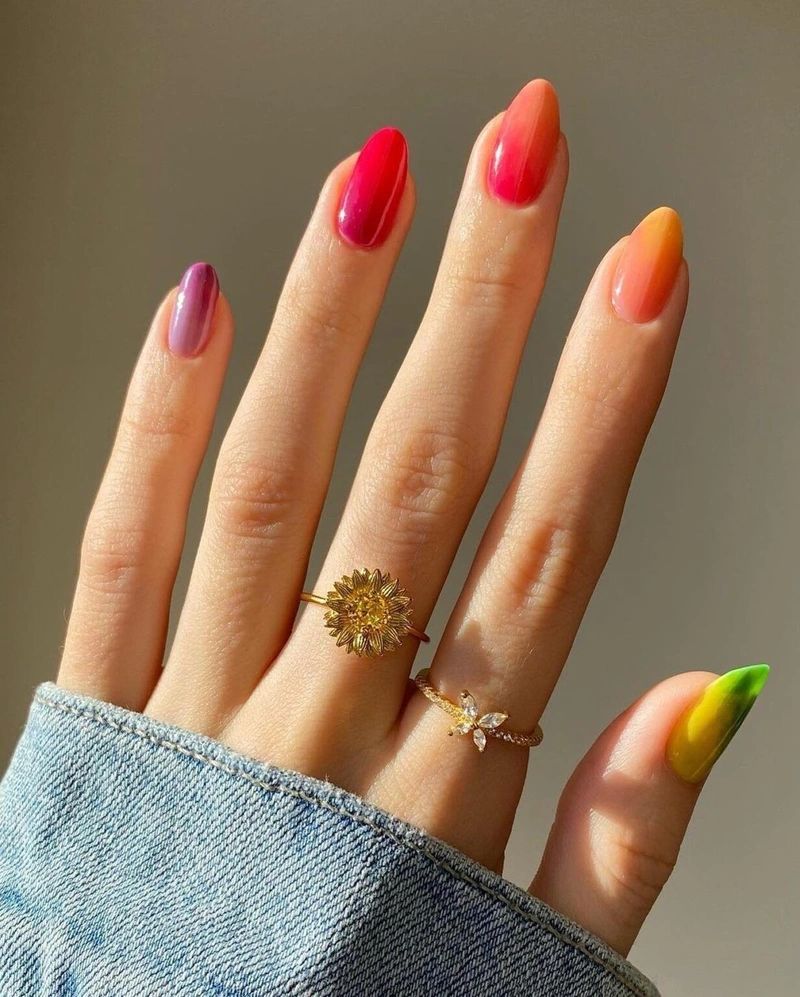
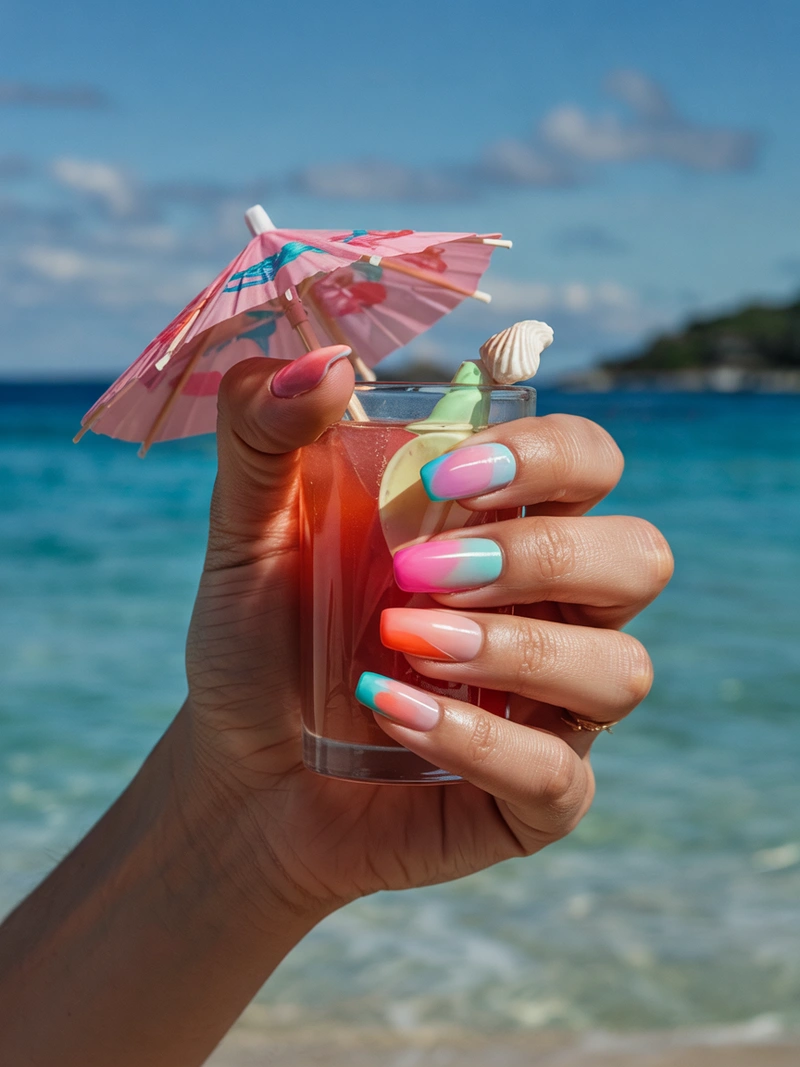
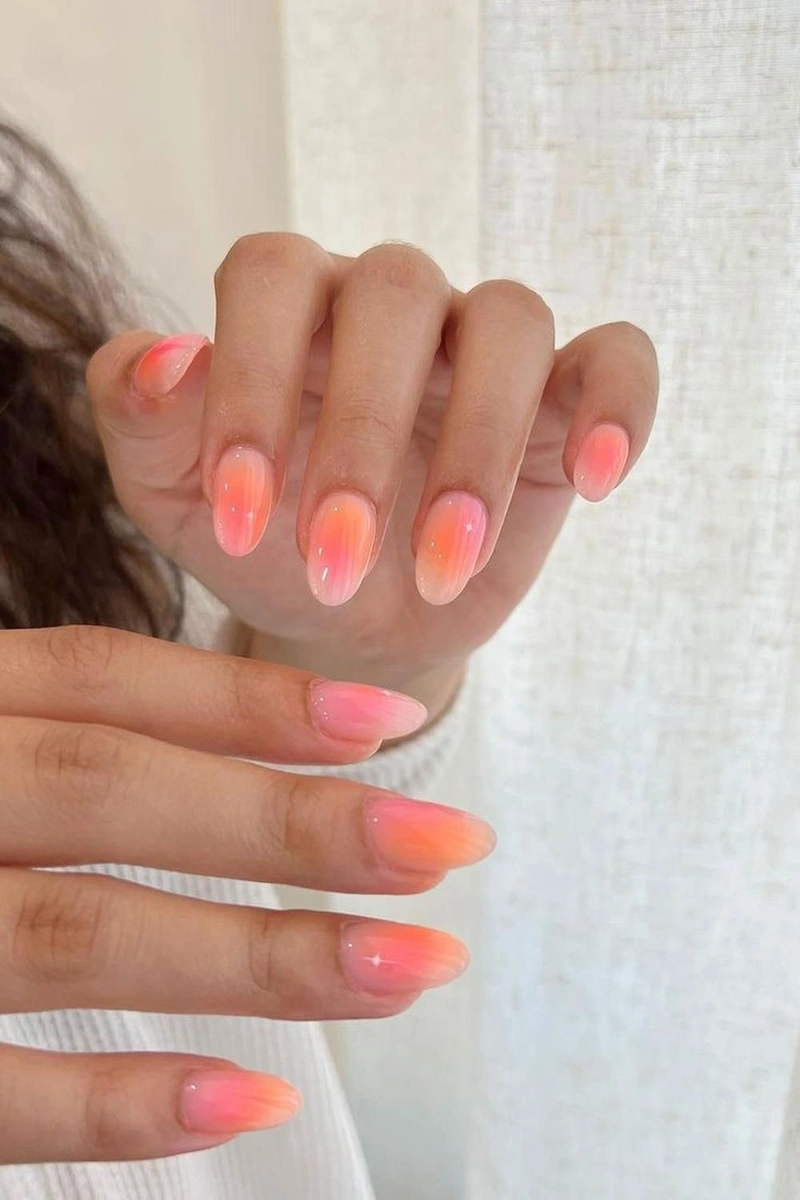
Tropical Sunset Gradient Tutorial
Create a breathtaking tropical sunset on your nails with a gradient technique that blends vibrant colors. To achieve this look, you’ll need a sponge and a selection of gel polishes in shades of orange, pink, and purple.
Blending Colors for Realistic Sunset Effects
The key to a realistic sunset gradient is blending the colors seamlessly. Start by applying a base coat, then dab small amounts of gel polish onto the sponge and gently dab it onto your nail. Repeat with different colors, blending as you go, to create a smooth transition between shades.
Underwater Scene Creation
Transport yourself to an underwater world with a nail art design that features ocean creatures and coral. This look requires some precision, but the result is well worth the effort.
Layering Techniques for Depth and Movement
To achieve depth and movement in your underwater scene, use layering techniques. Start with a light blue base coat, then add layers of gel polish to create dimension. Use a small brush to paint on details like fish or seaweed, and finish with a top coat to seal your design.
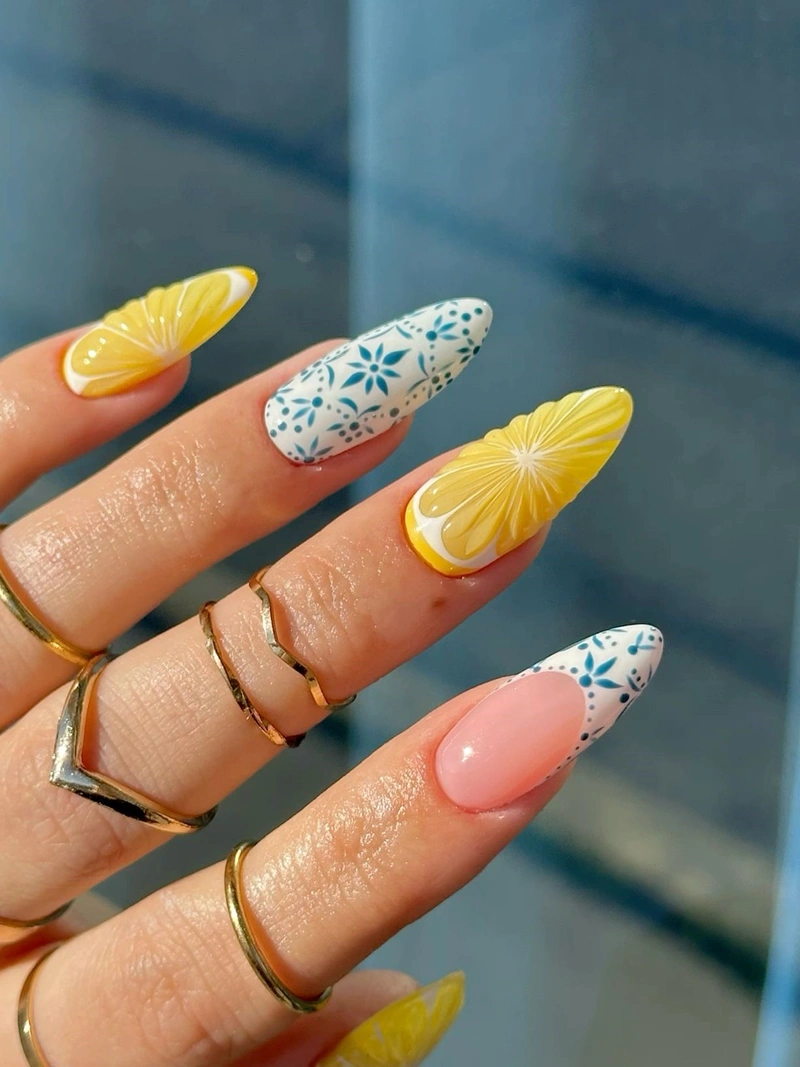
3D Beach Elements and Embellishments
Add some extra flair to your beachy nail art with 3D elements like seashells, starfish, or charms. These embellishments can be applied using a small amount of gel resin or nail glue.
Working with Charms and Custom Accents
Charms and custom accents can be used to create a truly unique nail art design. Experiment with different shapes and sizes to find the perfect accent for your beachy look. Apply a small amount of gel resin or nail glue to secure the charm to your nail, and finish with a top coat to seal.
Nail Shapes Trending for Summer: From Oval to Almond


As summer approaches, the right nail shape can elevate your style. Oval and almond shapes are in this season. They’re perfect for summer events.
Choosing the Right Shape for Your Hand Type
Finding the perfect nail shape starts with knowing your hand type. Oval shapes can make short fingers appear longer. Almond shapes add elegance to longer fingers.
- Oval shapes fit most hand types and are great for a classic look.
- Almond shapes are ideal for medium to long nail beds, adding sophistication.
How to Achieve Perfect Almond Shapes
Getting the perfect almond shape requires precision and the right method. It’s about achieving a balanced and symmetrical look.
Filing Techniques for Symmetrical Results
To get symmetry, use a fine-grit nail file. Carefully shape the nail to make both sides even.
- Begin by shaping the nail to a point, then round the tip for the almond shape.
- Use a nail buffer to smooth out any ridges or imperfections.
Short vs. Long Styles for Summer Activities
Choosing between short and long nails depends on your summer plans. Short nails are better for active lifestyles. Long nails are great for special events.
Practical Considerations for Active Lifestyles
If you enjoy water sports or have an active summer, go for shorter nails. They’re less likely to get damaged and easier to manage.
Think about your lifestyle when picking between short and long nails. This way, your manicure will last all season.Key Takeaways:
- Oval and almond shapes are trending for summer.
- Choose a shape that complements your hand type.
- Consider your lifestyle when deciding on nail length.
Maintaining Your Summer Gel Manicure
To keep your summer gel manicure looking great, regular care is essential. With the right steps and precautions, you can enjoy a perfect look all season long.
Protection Tips for Beach and Pool Days
Protect your gel manicure when you’re at the beach or pool. Wear gloves for activities with harsh chemicals or lots of water. Be careful with sunscreen; some ingredients can harm gel polish.
Sunscreen Effects on Gel Polish
Certain sunscreen chemicals can damage gel polish. Choose a broad-spectrum sunscreen and apply it around your nails to avoid contact.
Gentle Removal Process Step-by-Step
First, gather your tools: acetone, cotton balls, nail foil, and a cuticle pusher. Soak a cotton ball in acetone and place it on your nail. Then, wrap the nail with foil to keep it in place. Do this for each nail.
Wait 10-15 minutes to see if the gel polish is ready to come off. If it is, use a cuticle pusher to gently scrape it off. Be gentle to avoid damaging your nail.
In Summary: Flaunting Your Perfect Summer Gel Nails
Getting a perfect summer gel manicure is easy with the right tools and tips. Choose colors like pastels or bright blues for a beachy look. This will give your nails a luxe shine perfect for summer.
Whether you want something simple or detailed beach nail art, the secret is in the prep and application. Follow these tips to show off your nails with confidence.
Show off your summer gel nails and enjoy the beach with a stunning manicure. Simple colors and designs can make a big statement. With the right products and techniques, your nails will shine all summer.
Don’t forget! Save this article to Pinterest to read it later!

FAQ
What are the best gel polish colors for summer 2025?
For summer 2025, look for vibrant blues and ocean-inspired colors. Sunset pinks, corals, and soft pastels are also in. They offer a light and fresh look for the season.
How do I achieve a luxe high-shine finish with gel nails?
To get a shiny finish, use layering and troubleshoot shine problems. Apply a high-gloss top coat for that extra sparkle.
What nail shape is best for summer activities?
Short styles are great for summer because they’re easy to care for. Almond shapes add a stylish touch. Pick a shape that suits your hand.
How can I maintain my summer gel manicure?
Keep your gel manicure looking good by protecting your nails from sunscreen. Use touch-up techniques for longer wear. Watch for signs it’s time for a new look.
Can I remove gel polish at home, and if so, how?
Yes, you can remove gel polish at home. Use the foil method or soak-off clips gently. Follow up with care to keep your nails healthy.
What are some simple beach-inspired nail art designs for beginners?
Easy beach designs include wave patterns and seashell accents. You can also try sandy textures with tools like microbeads and glitter.
How do I choose the right gel polish brand and color?
Pick gel polish brands and colors that match your summer style. Look for ones with good reviews and lasting power.
What are the benefits of gel polish for summer activities?
Gel polish is great for summer because it’s water-resistant and lasts long. It’s perfect for beach days, pool time, and outdoor fun.